
August 6, 2018
3 Fun-to-Make Dollhouse Electronics
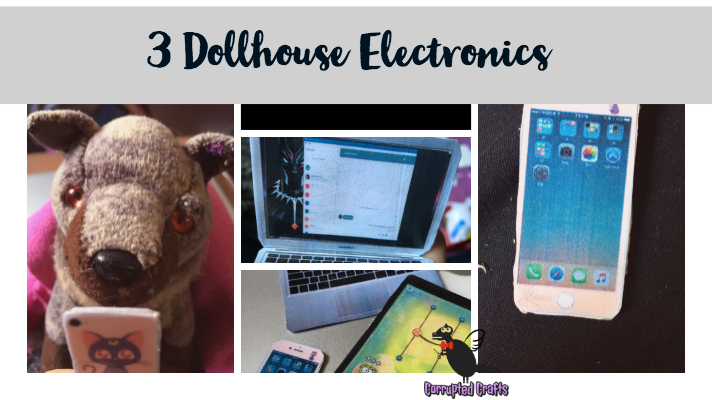
Dollhouse things can be fun and realistic, but most dollhouse electronics are expensive or have to be bought online. Here are three dollhouse sized electronics to make at home with your printer What you will need This template Clear packing tape Cardboard Scissors Glue or glue stick Printing your Template for your Dollhouse Electronic Start off by downloading and printing up the Dollhouse Electronics Template, which has everything you will need already on it.
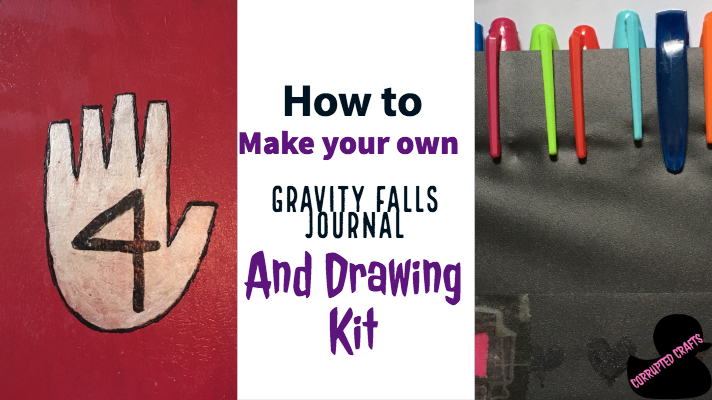
On the hunt for Bill Cipher? This easy, fun, and creative project will help you on the go to write down notes or sketch drawings. What you will need Red paint Gold paint Black nail polish Unicorn skin flakey nail polish Set of markers or pencils Paintbrush Red fabric Hot glue Binder with three pockets preferably Graph paper Lined paper Blank paper Sticky dry erase board sheets Getting set up to Make your Portable Drawing
July 30, 2018
Bakeable Clay Starfish
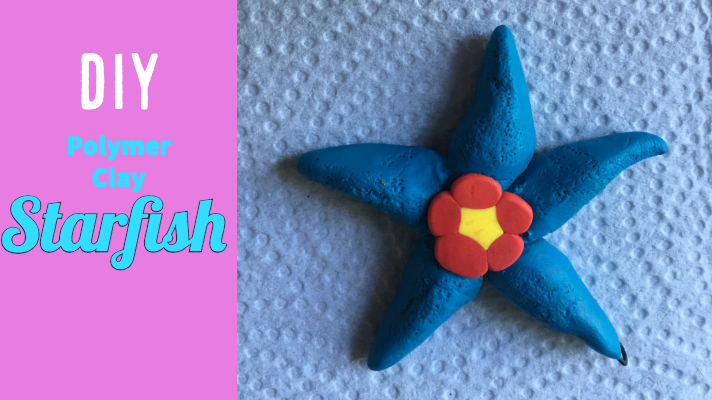
Starfish are one of the most interesting things to find on the beach. This little necklace is perfect to wear by the sea for good luck. What you will need Polymer clay in yellow, red, and blue Brush for texture Pliers Hands Wire Picking your Colors for the Bakeable Clay Starfish I say in my list of stuff to get red, blue, and yellow, however you may use any three colors you wish. The red
July 27, 2018
Sculpey Basics
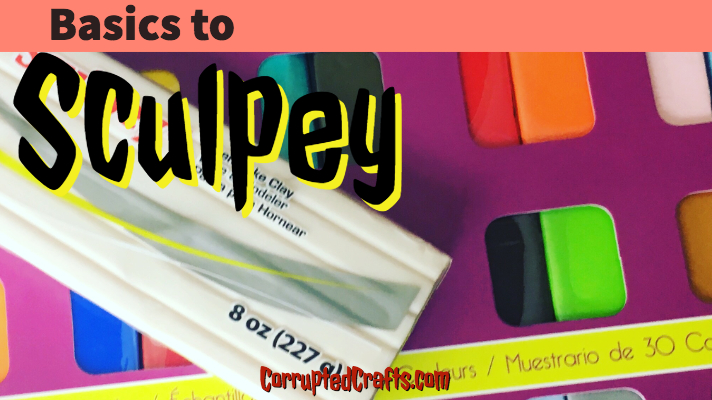
Everyone who wants to learn how to work with polymer clay should know a few things and have a few basic tools to help get started. What you should have in your polymer clay toolkit: Dotting tools Sculpey sample set to play with Sharp blade such as an Exacto Multifunction tool with Pliers Paddle wire Aluminum foil Oven Superglue Rubbing Alcohol Why Dotting tools are Important for More than Doing Nail Art When I first
July 18, 2018
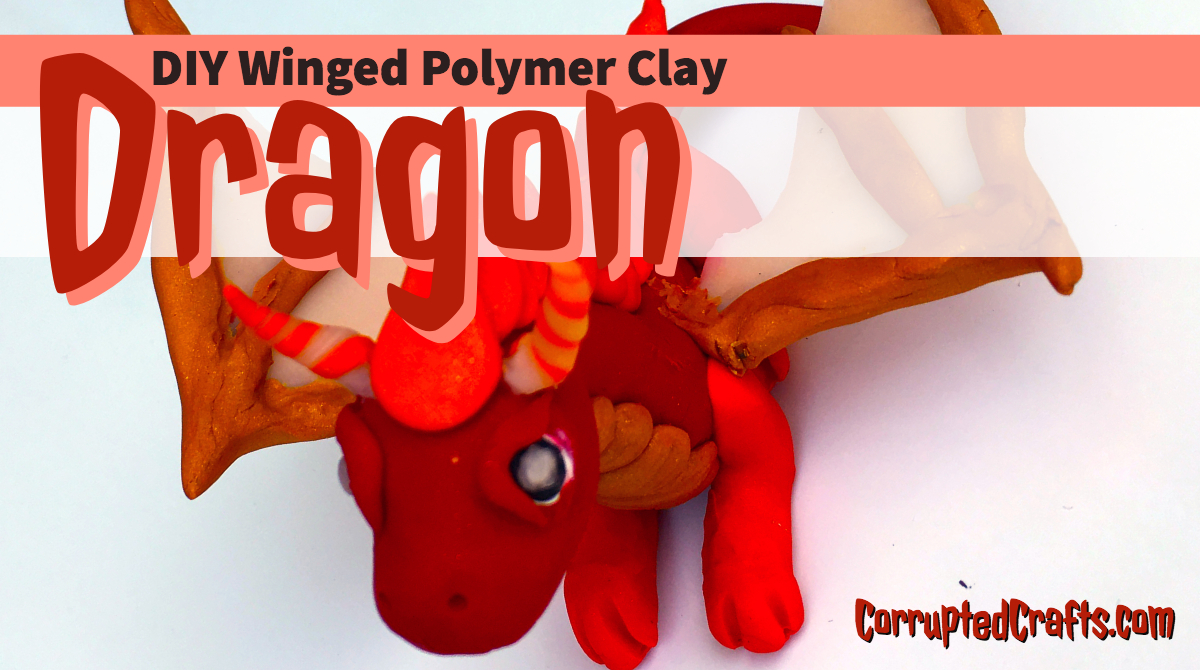
Polymer Clay Winged Dragon DIY
I have done tutorials on a snake and a sea dragon, but what about a fire dragon? Meet Cinder, my latest Polymer clay dragon project. What you will need Wire Pliers A sample box of polymer clay by Sculpey Dotting tools- you don’t think you need them but trust me, they come in handy so much. Wire Framework on the Polymer Clay Dragon Starting with about a foot of wire, make the shape shown in

July 16, 2018
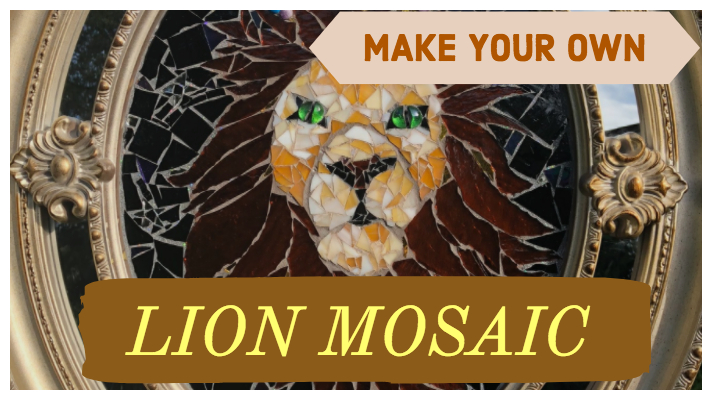
Stained Glass Mosaic Lion Part 3
Where we Left off on the Lion Mosaic We last glued the gems to the crown of the beast. Once the glue cures, pull the lion mosaic back out to the crafting table to be worked on. If you have not read part one and two, please go read those before reading this final post. Make sure the Gems are Secure Very gently wiggle them around to make sure they are secure as possible. Do
July 13, 2018
Mosaic Stained Glass Lion: Part 2
Welcome Back If you have NOT read part 1 of the Lion Mosaic, please read the first part before continuing to part two. If you read any further without having seen part one, things may not make sense. Setting up Outside Start out with a bunch of paper bowls and a Sharpie. Mark each paper bowl with a color of glass, separating light and dark tan pieces from the main piece of glass for the
July 11, 2018
Mosaic Stained Glass Lion: Part 1
This is part one of a gorgeous lion mosaic. If worked on consistently, this piece should take about two weeks to recreate. Be prepared to get cut, as no glass project is complete without at least a few little scratches on your fingertips. What you will need (about a $300 dollar is required) Big frame, preferably oval and guilded Gold mirror glass Regular mirror glass Dark brown transparent glass A tan and white mixed piece

July 9, 2018
How to Make Homemade Shrinky Dinks
Shrinky Dinks are flat charms made from plastic that are easy to make and fun to wear, perfect for a rainy day craft for boys and girls alike. What you will need Number 6 plastic Hole punch Sharpie set Oven Parchment paper or tin foil Scissors An image of something four times as big as you want the charm What Will not Work This little cupcake was the result of a tragic accident. The cupcake
July 4, 2018
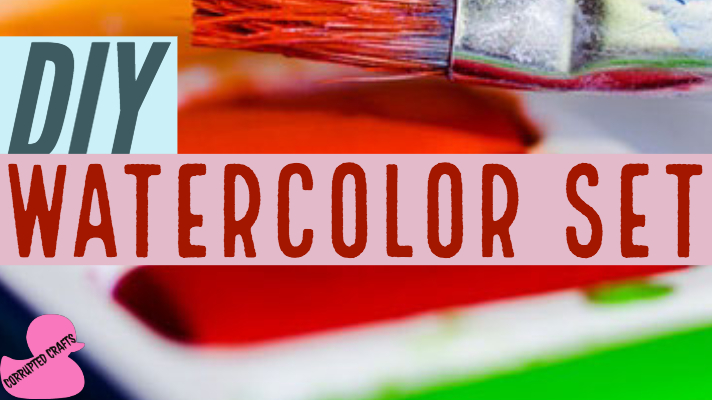
DIY Mini Watercolor Palette
Watercolors are fun to play with, but sometimes they can be a little uncooperative or not vibrant enough. Here is how to make a watercolor set of your own- that fits in a Altoid’s tin. What you will need Dry powdery pastels in black, orange, yellow, red, purple, blue, and green Rubbing alcohol Dropper Small stirring stick or toothpick Old EOS container bottom 7 old caps from normal lip balms, such as Chapstick Exacto or