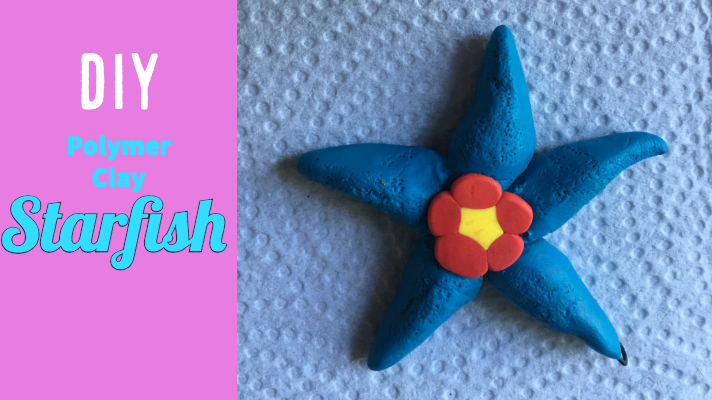
Starfish are one of the most interesting things to find on the beach. This little necklace is perfect to wear by the sea for good luck.
What you will need
Picking your Colors for the Bakeable Clay Starfish
I say in my list of stuff to get red, blue, and yellow, however you may use any three colors you wish. The red and yellow are used for the flower and the blue is the base color of the starfish.
Planning out the Bakeable Clay Starfish
Start by thinking about how you want the starfish to look. The starfish may have as many legs as desired, and the legs can bend every which way.
Making Balls of Clay
Make as many balls of clay as you want to have legs on the starfish.
Arranging the Clay
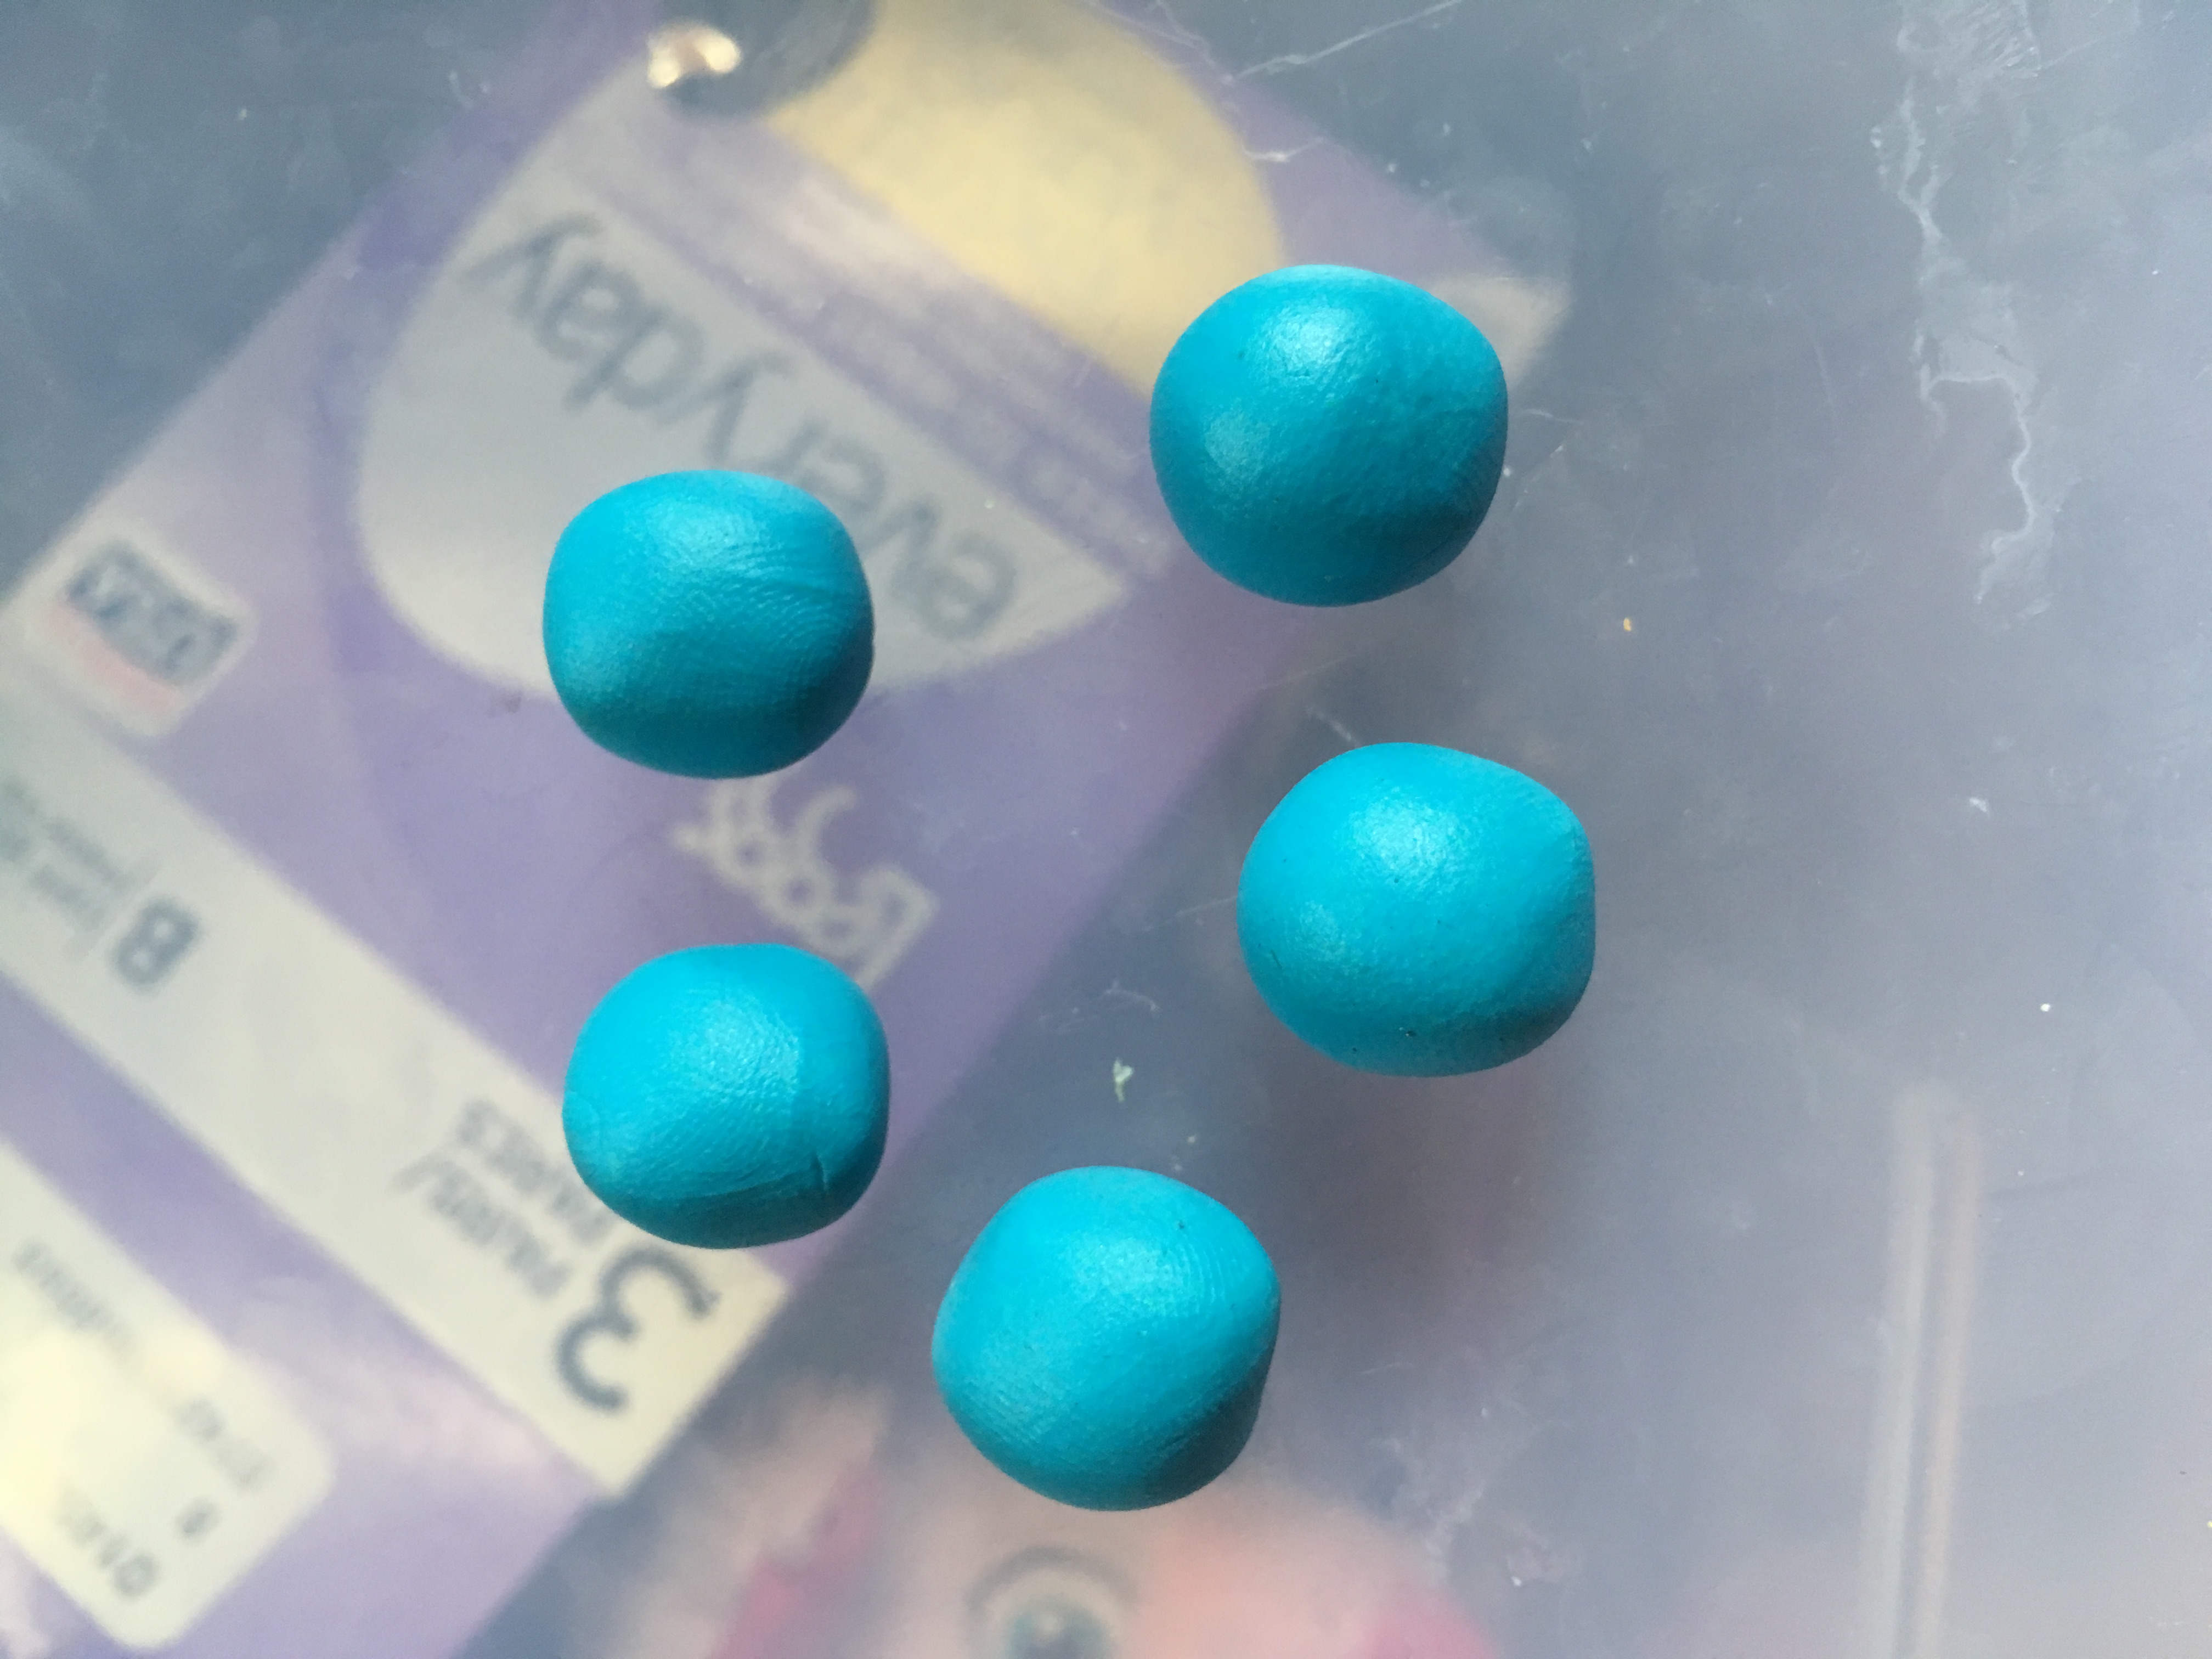
Arrange the legs in a circle, adjusting them all to roughly the same size and as close as possible.
Making the Balls into Cones
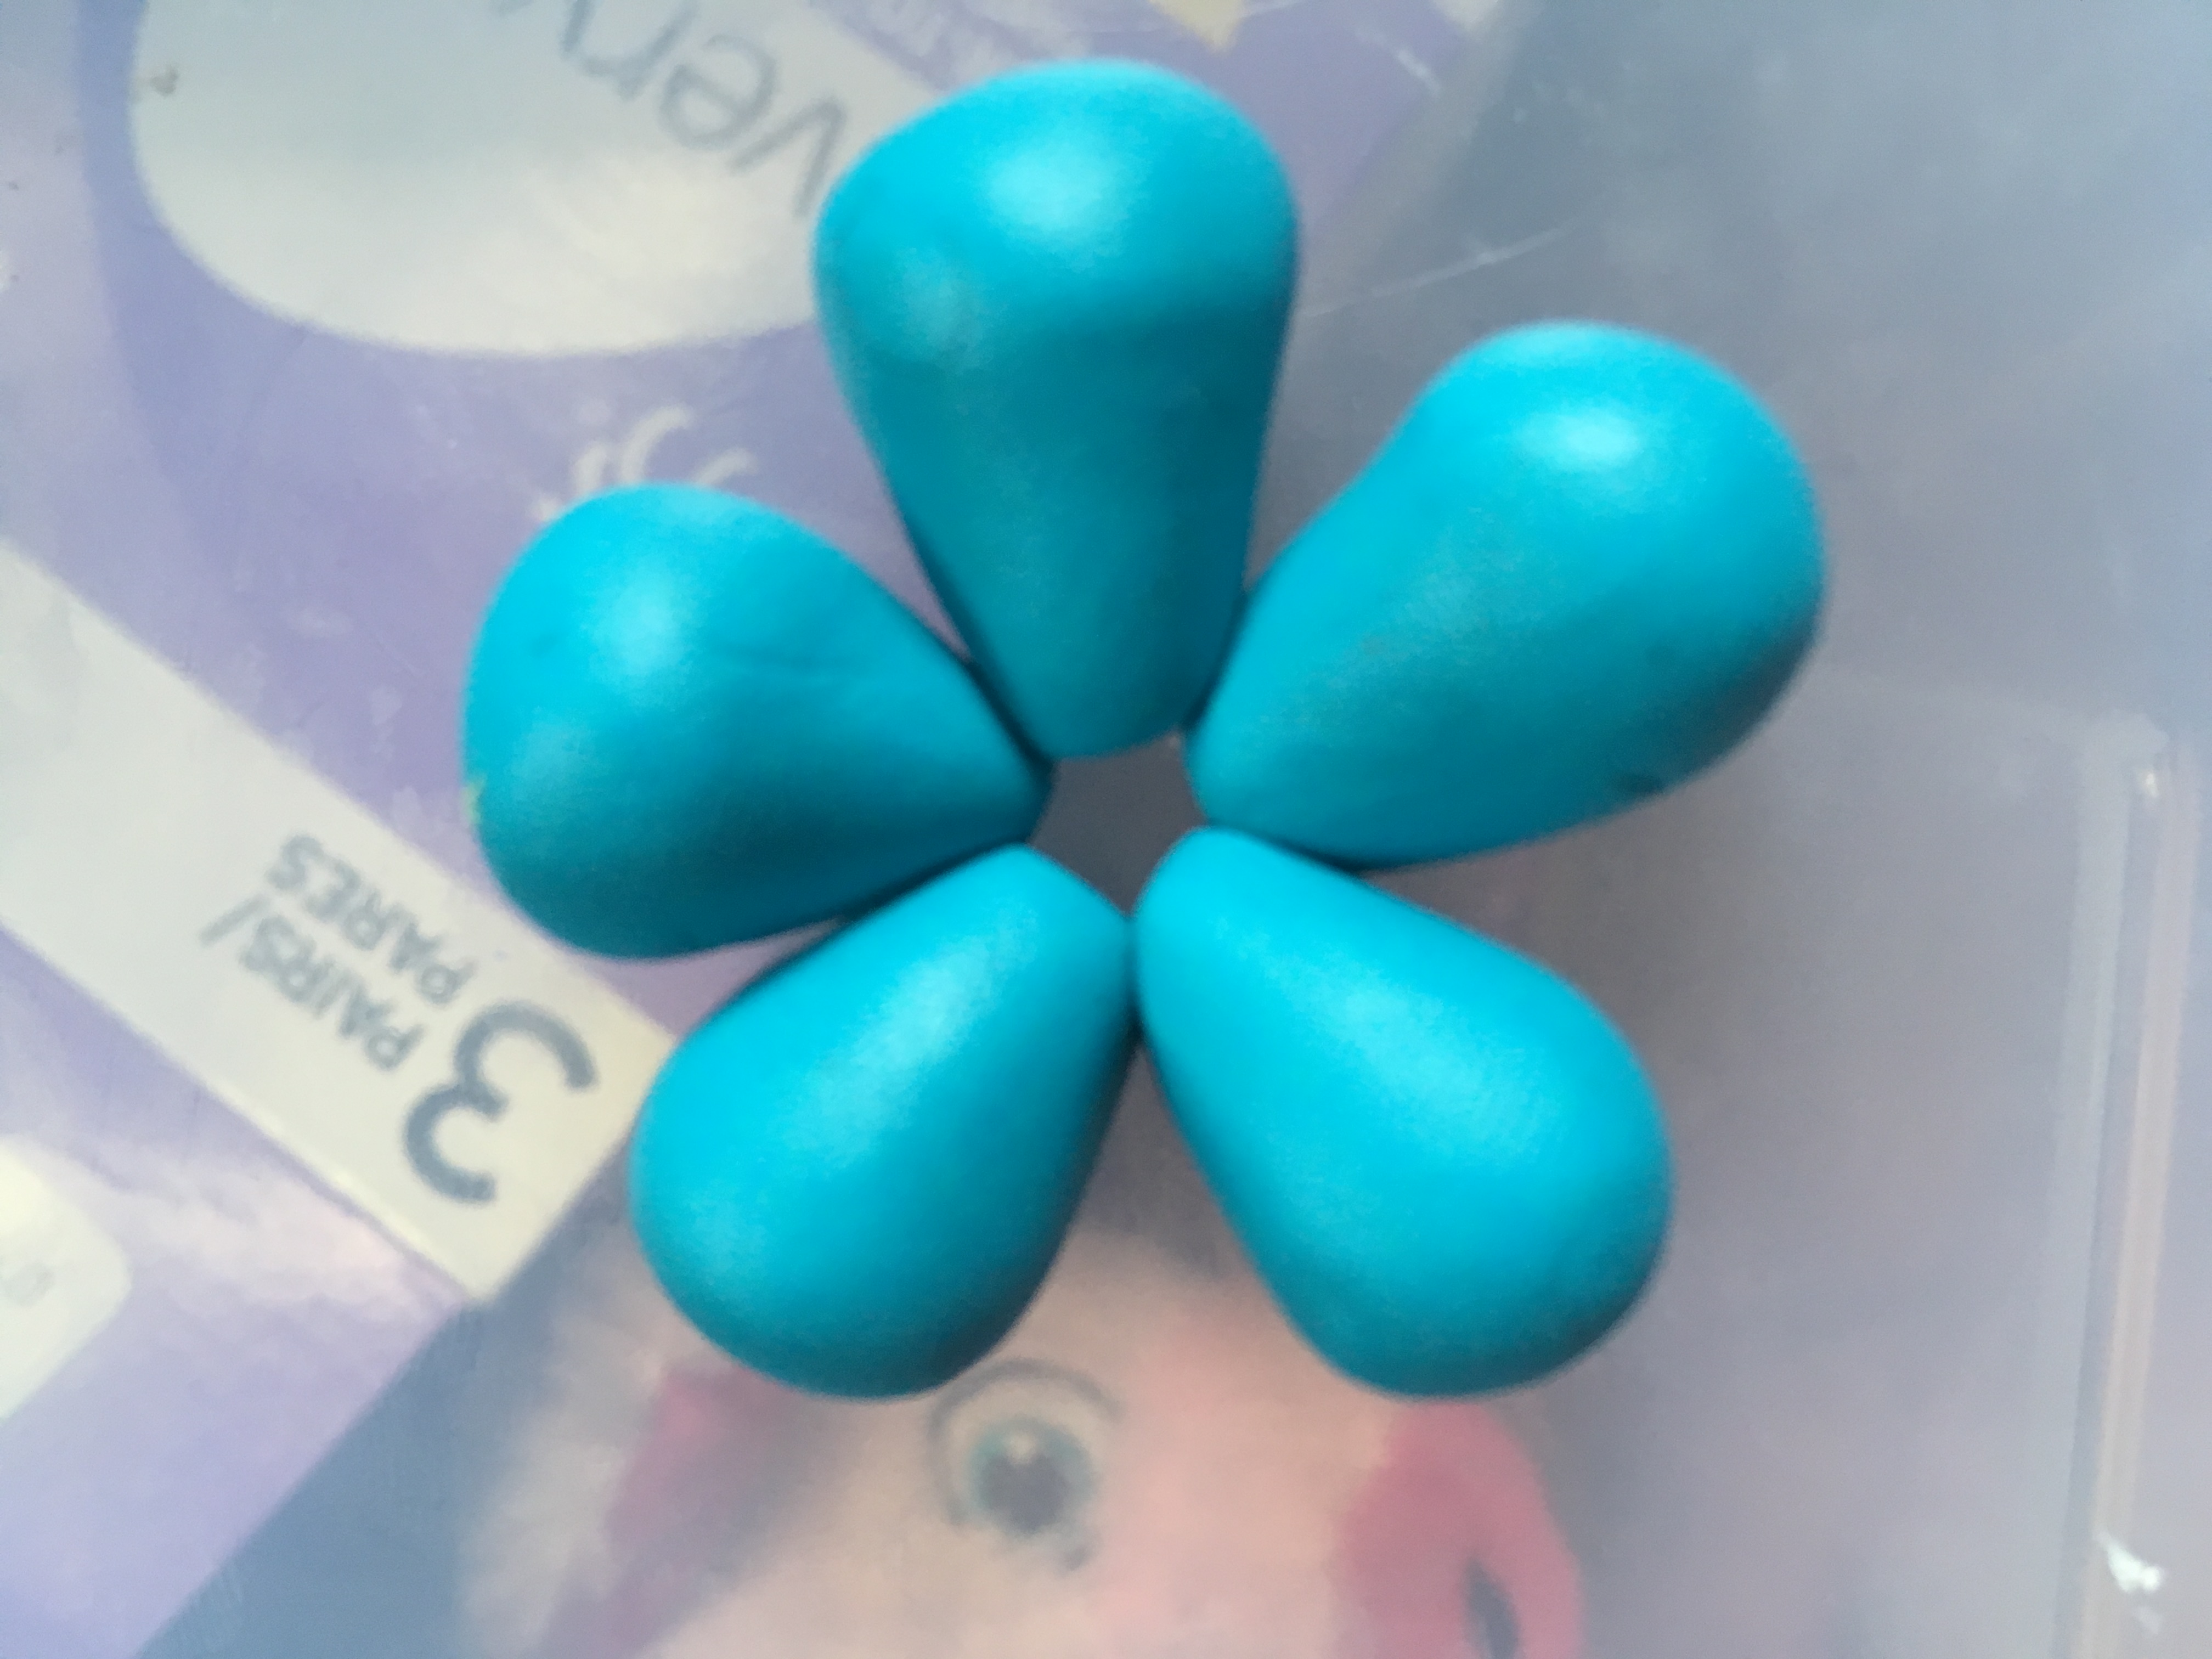
Next roll out either end of each ball so that you have little rolls of weird blueness. Arrange them back into a circle.
Mushing the Pieces of the Bakeable Clay Starfish Together
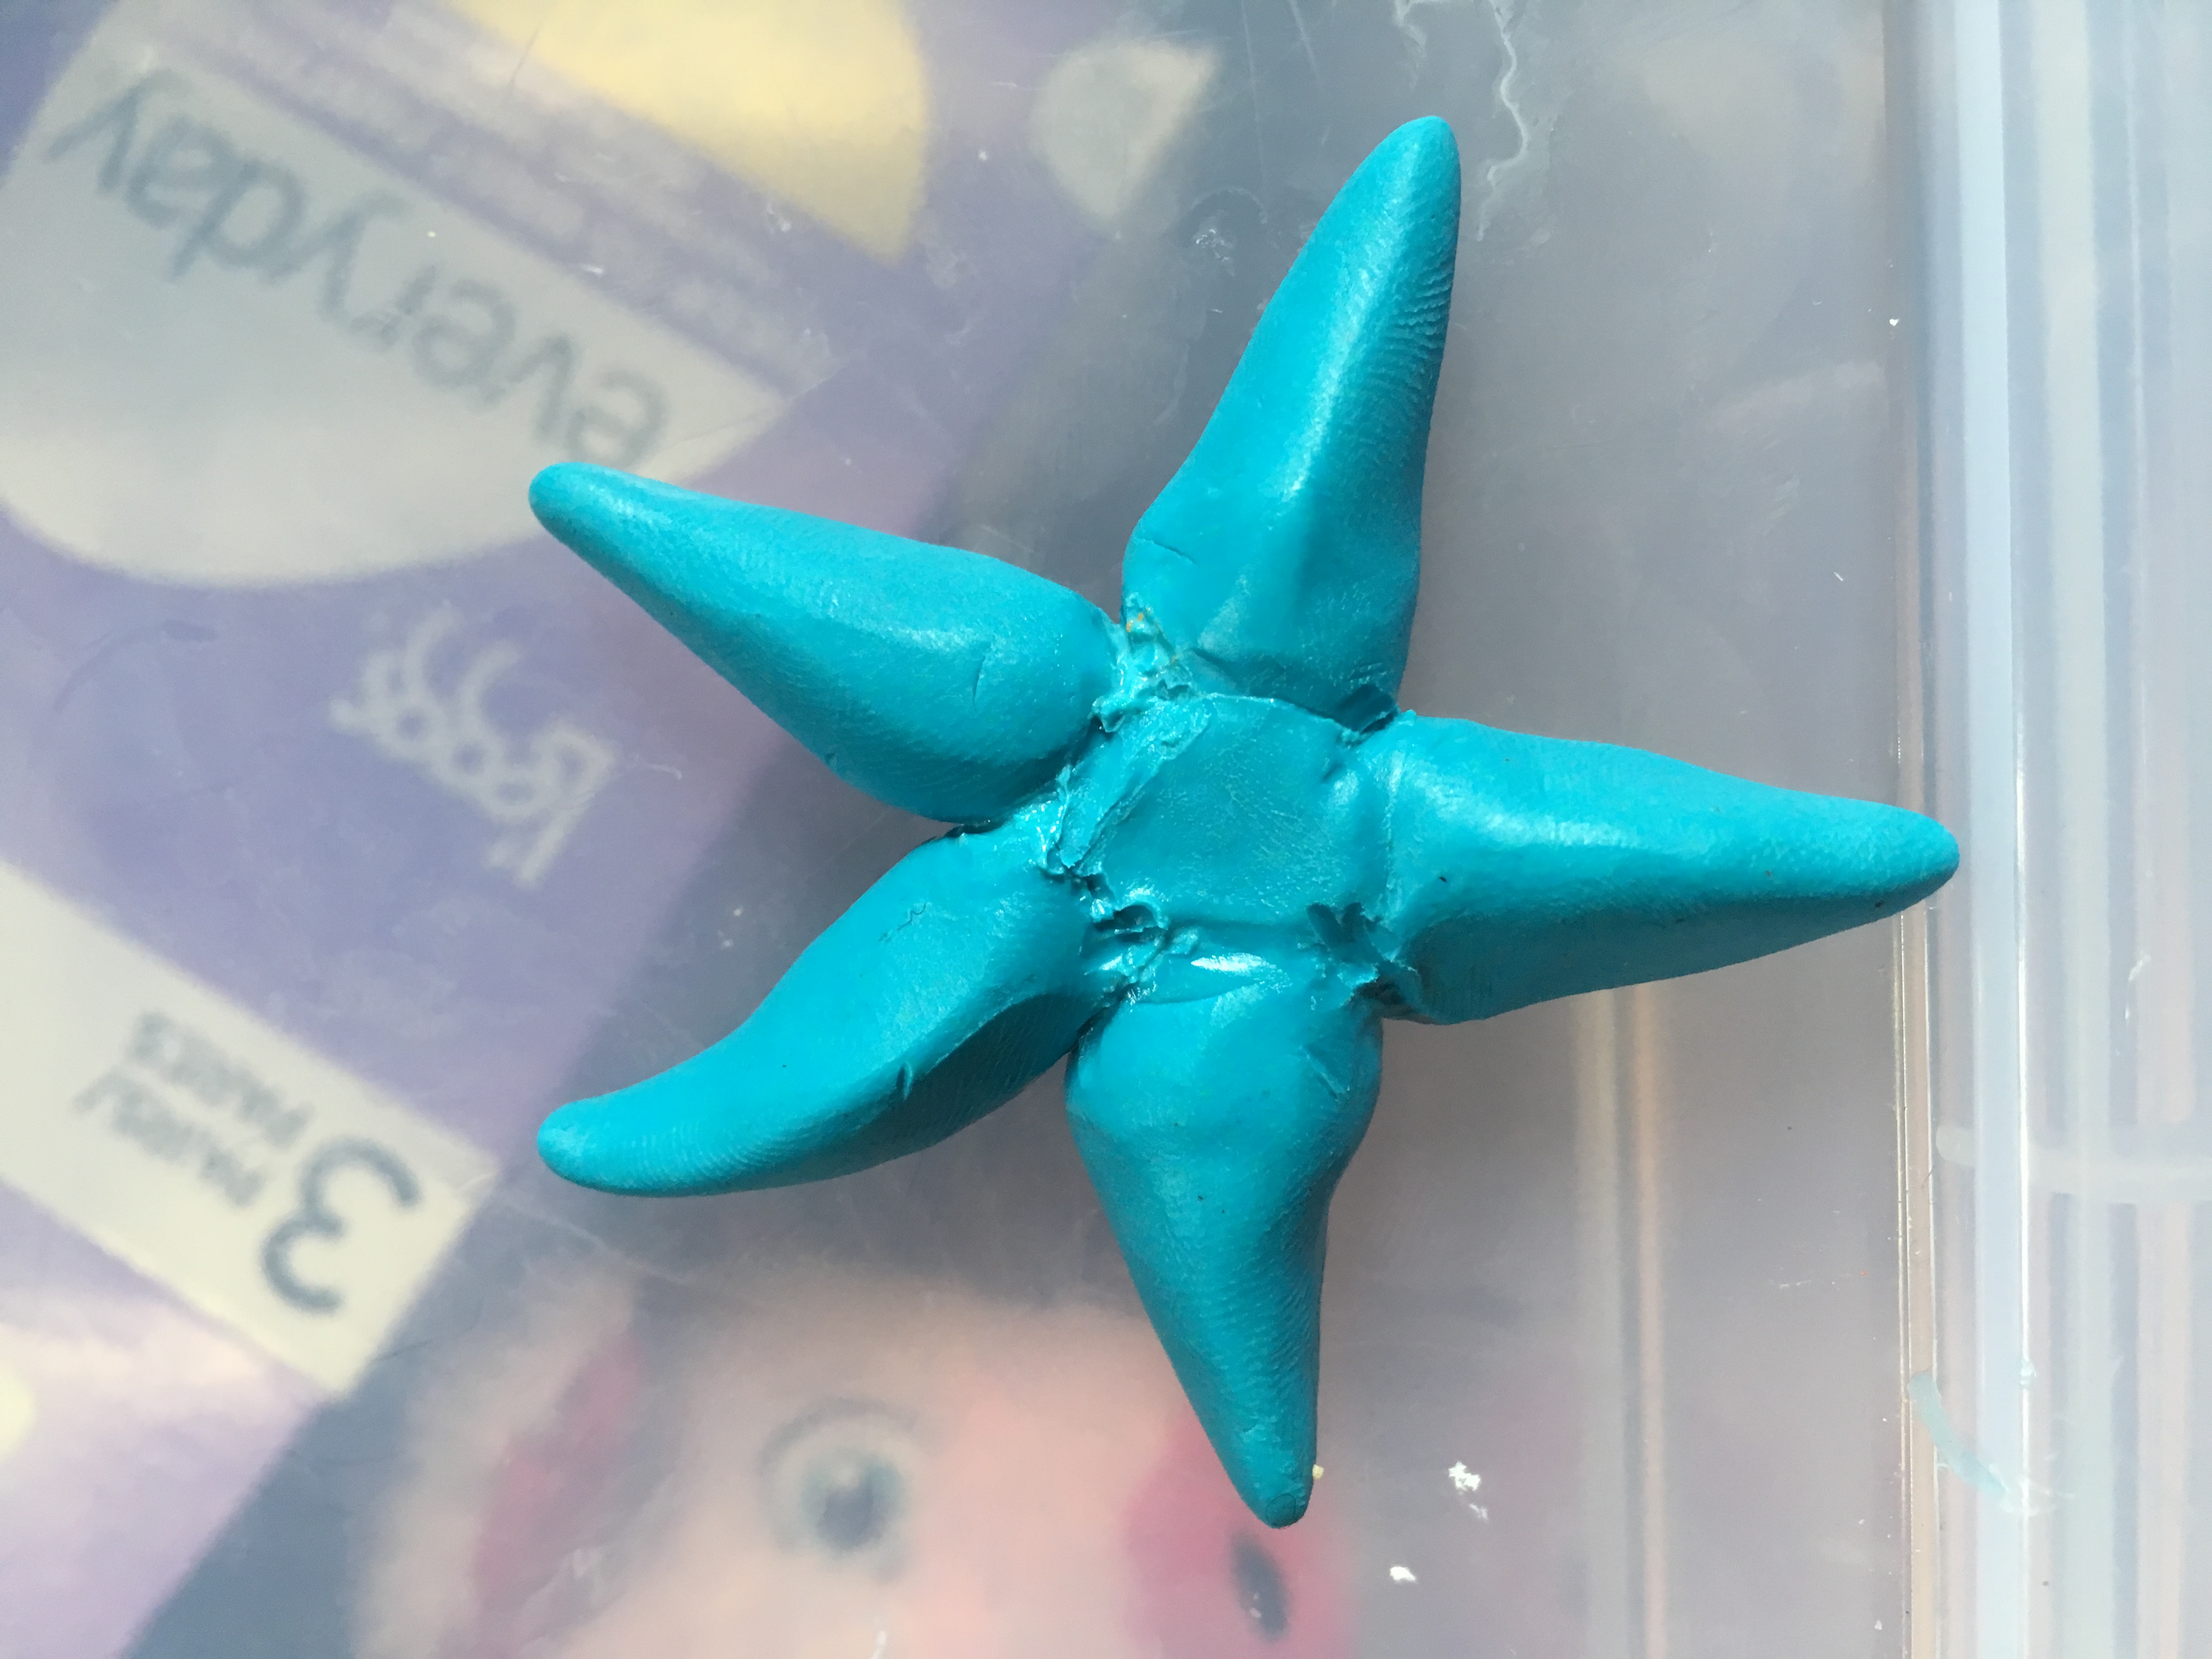
In the center, mush the little pieces together as best as possible. It will not be stable so do not pick it up at this point.
Adding a Centerpiece
Use a small piece of blue clay and a dotting tool to mash the clay into the center of the starfish. Gently flip it over and do the same on the other side.
Making the Flower
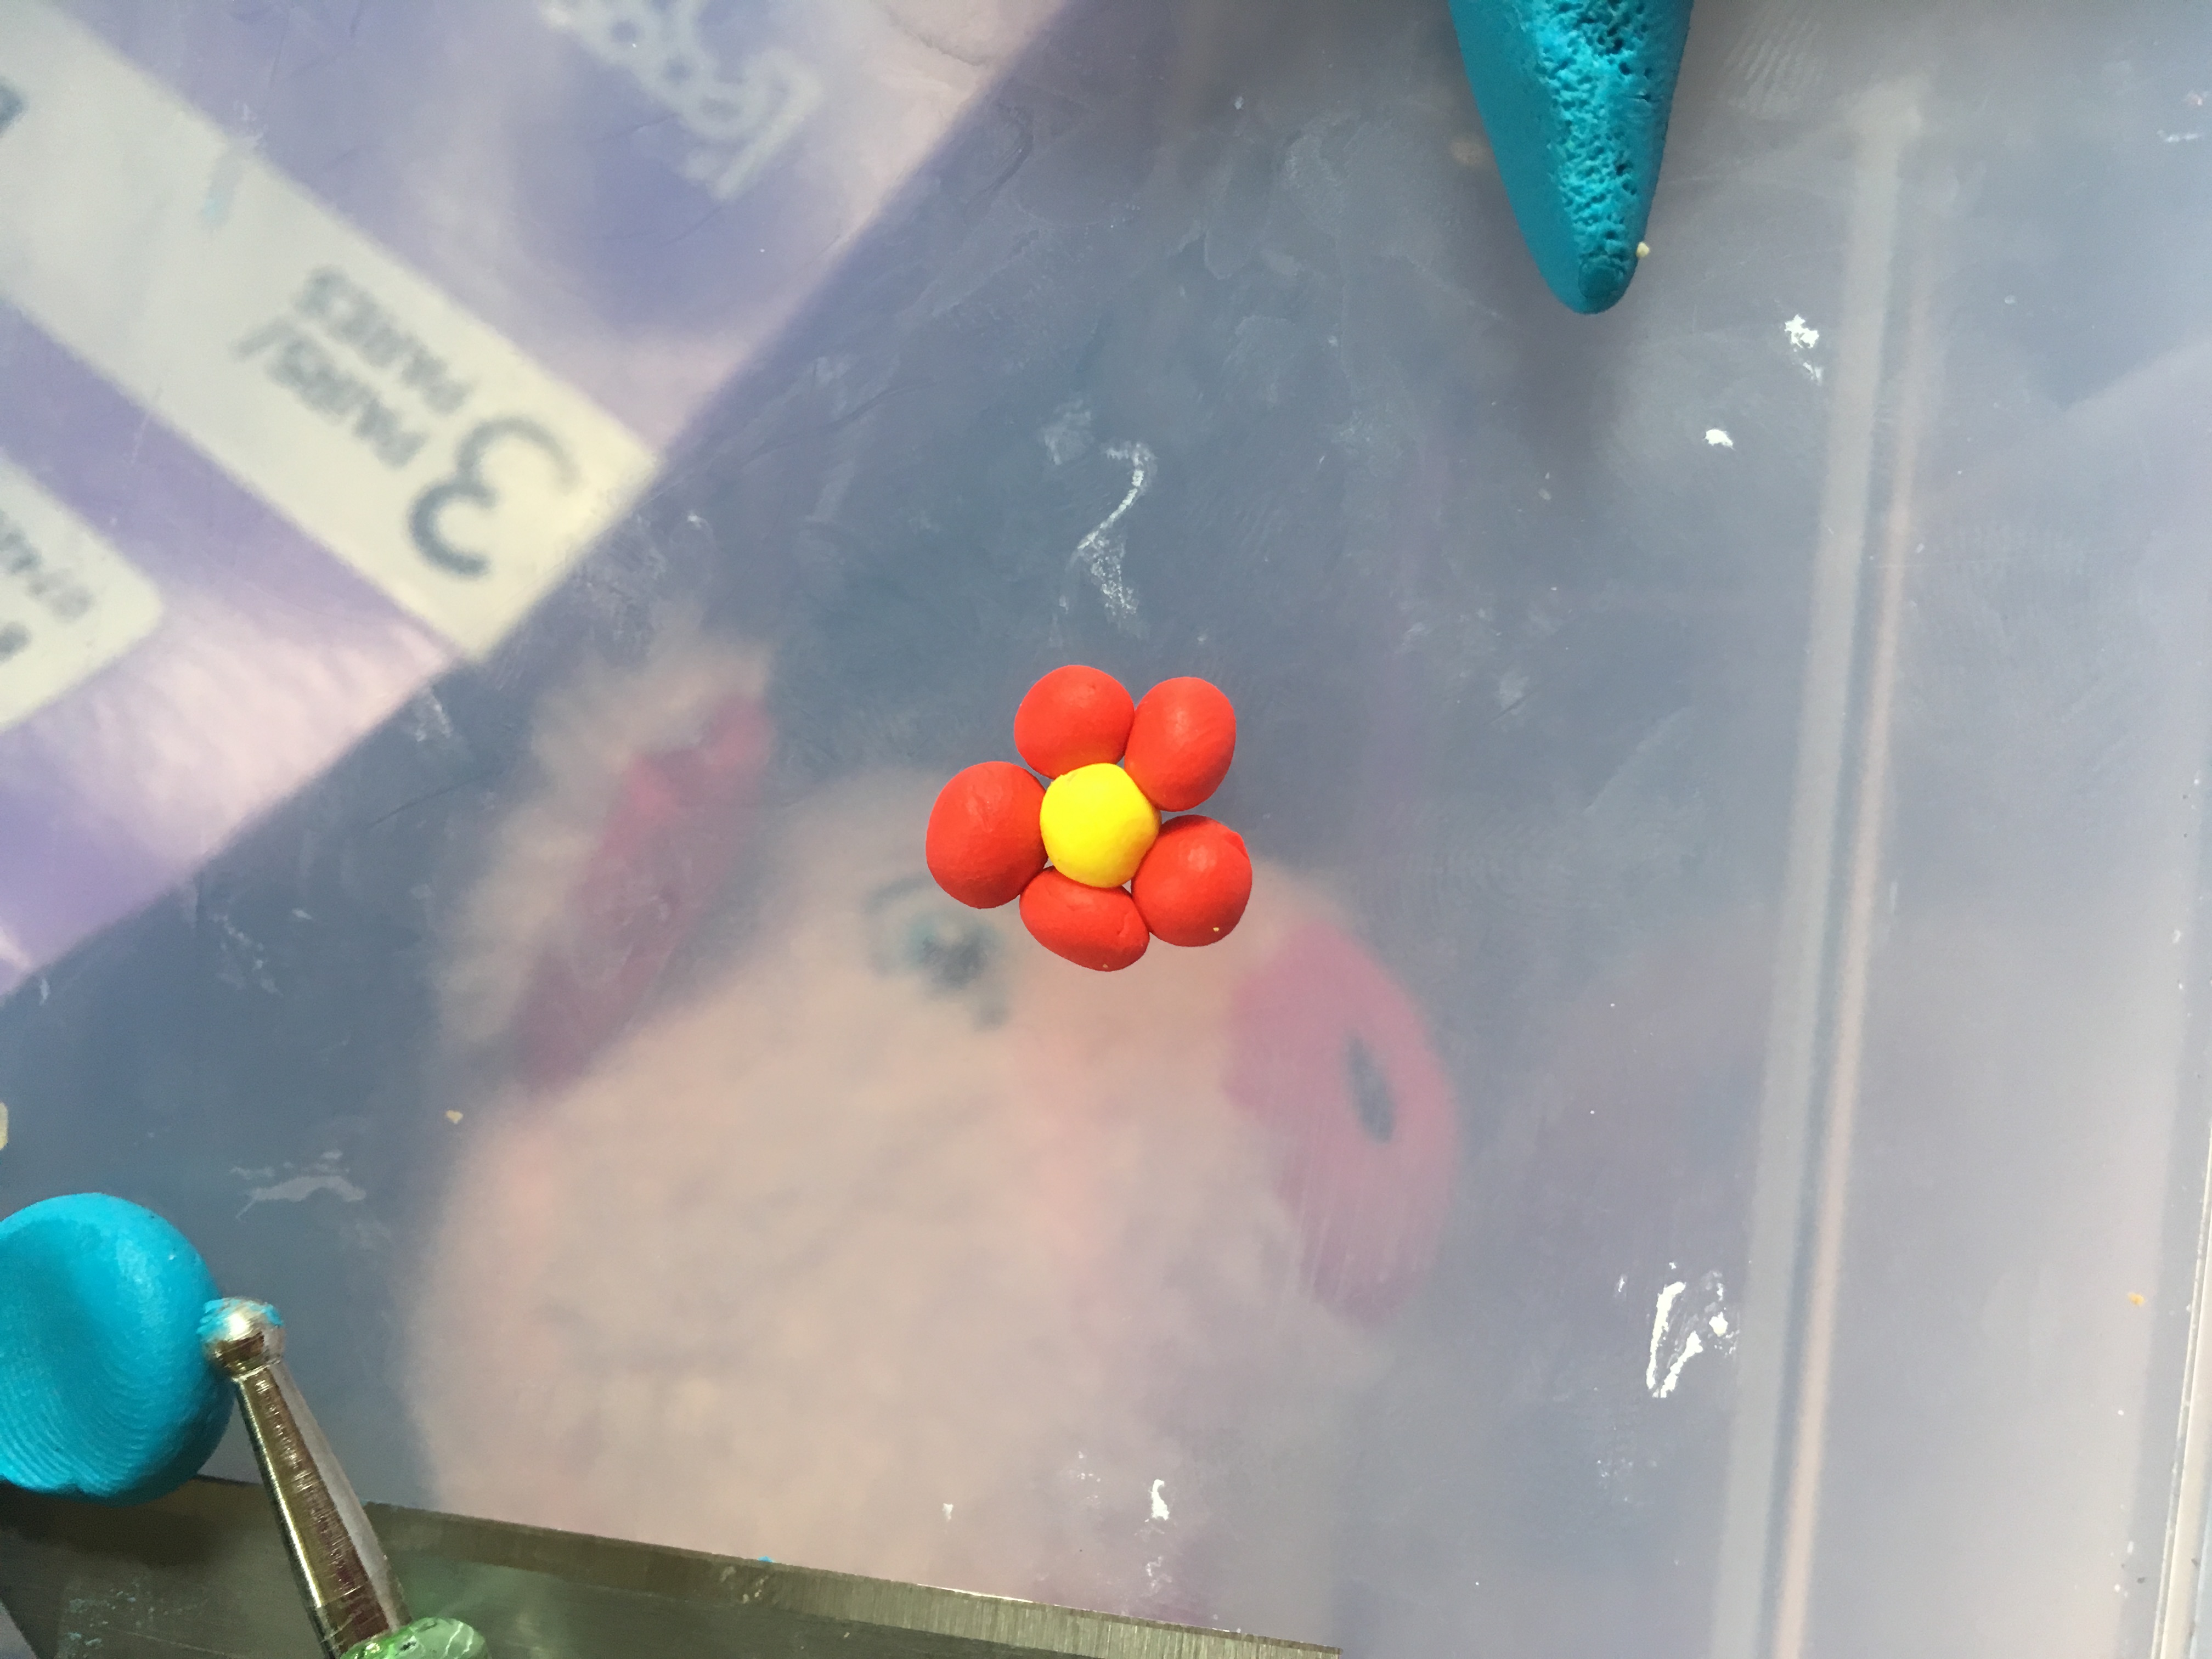
For the flower, use 5 balls of red clay and one ball of yellow clay. Arrange the red balls around the yellow ball and gently squish them all together to make them one piece.
Attaching the Flower
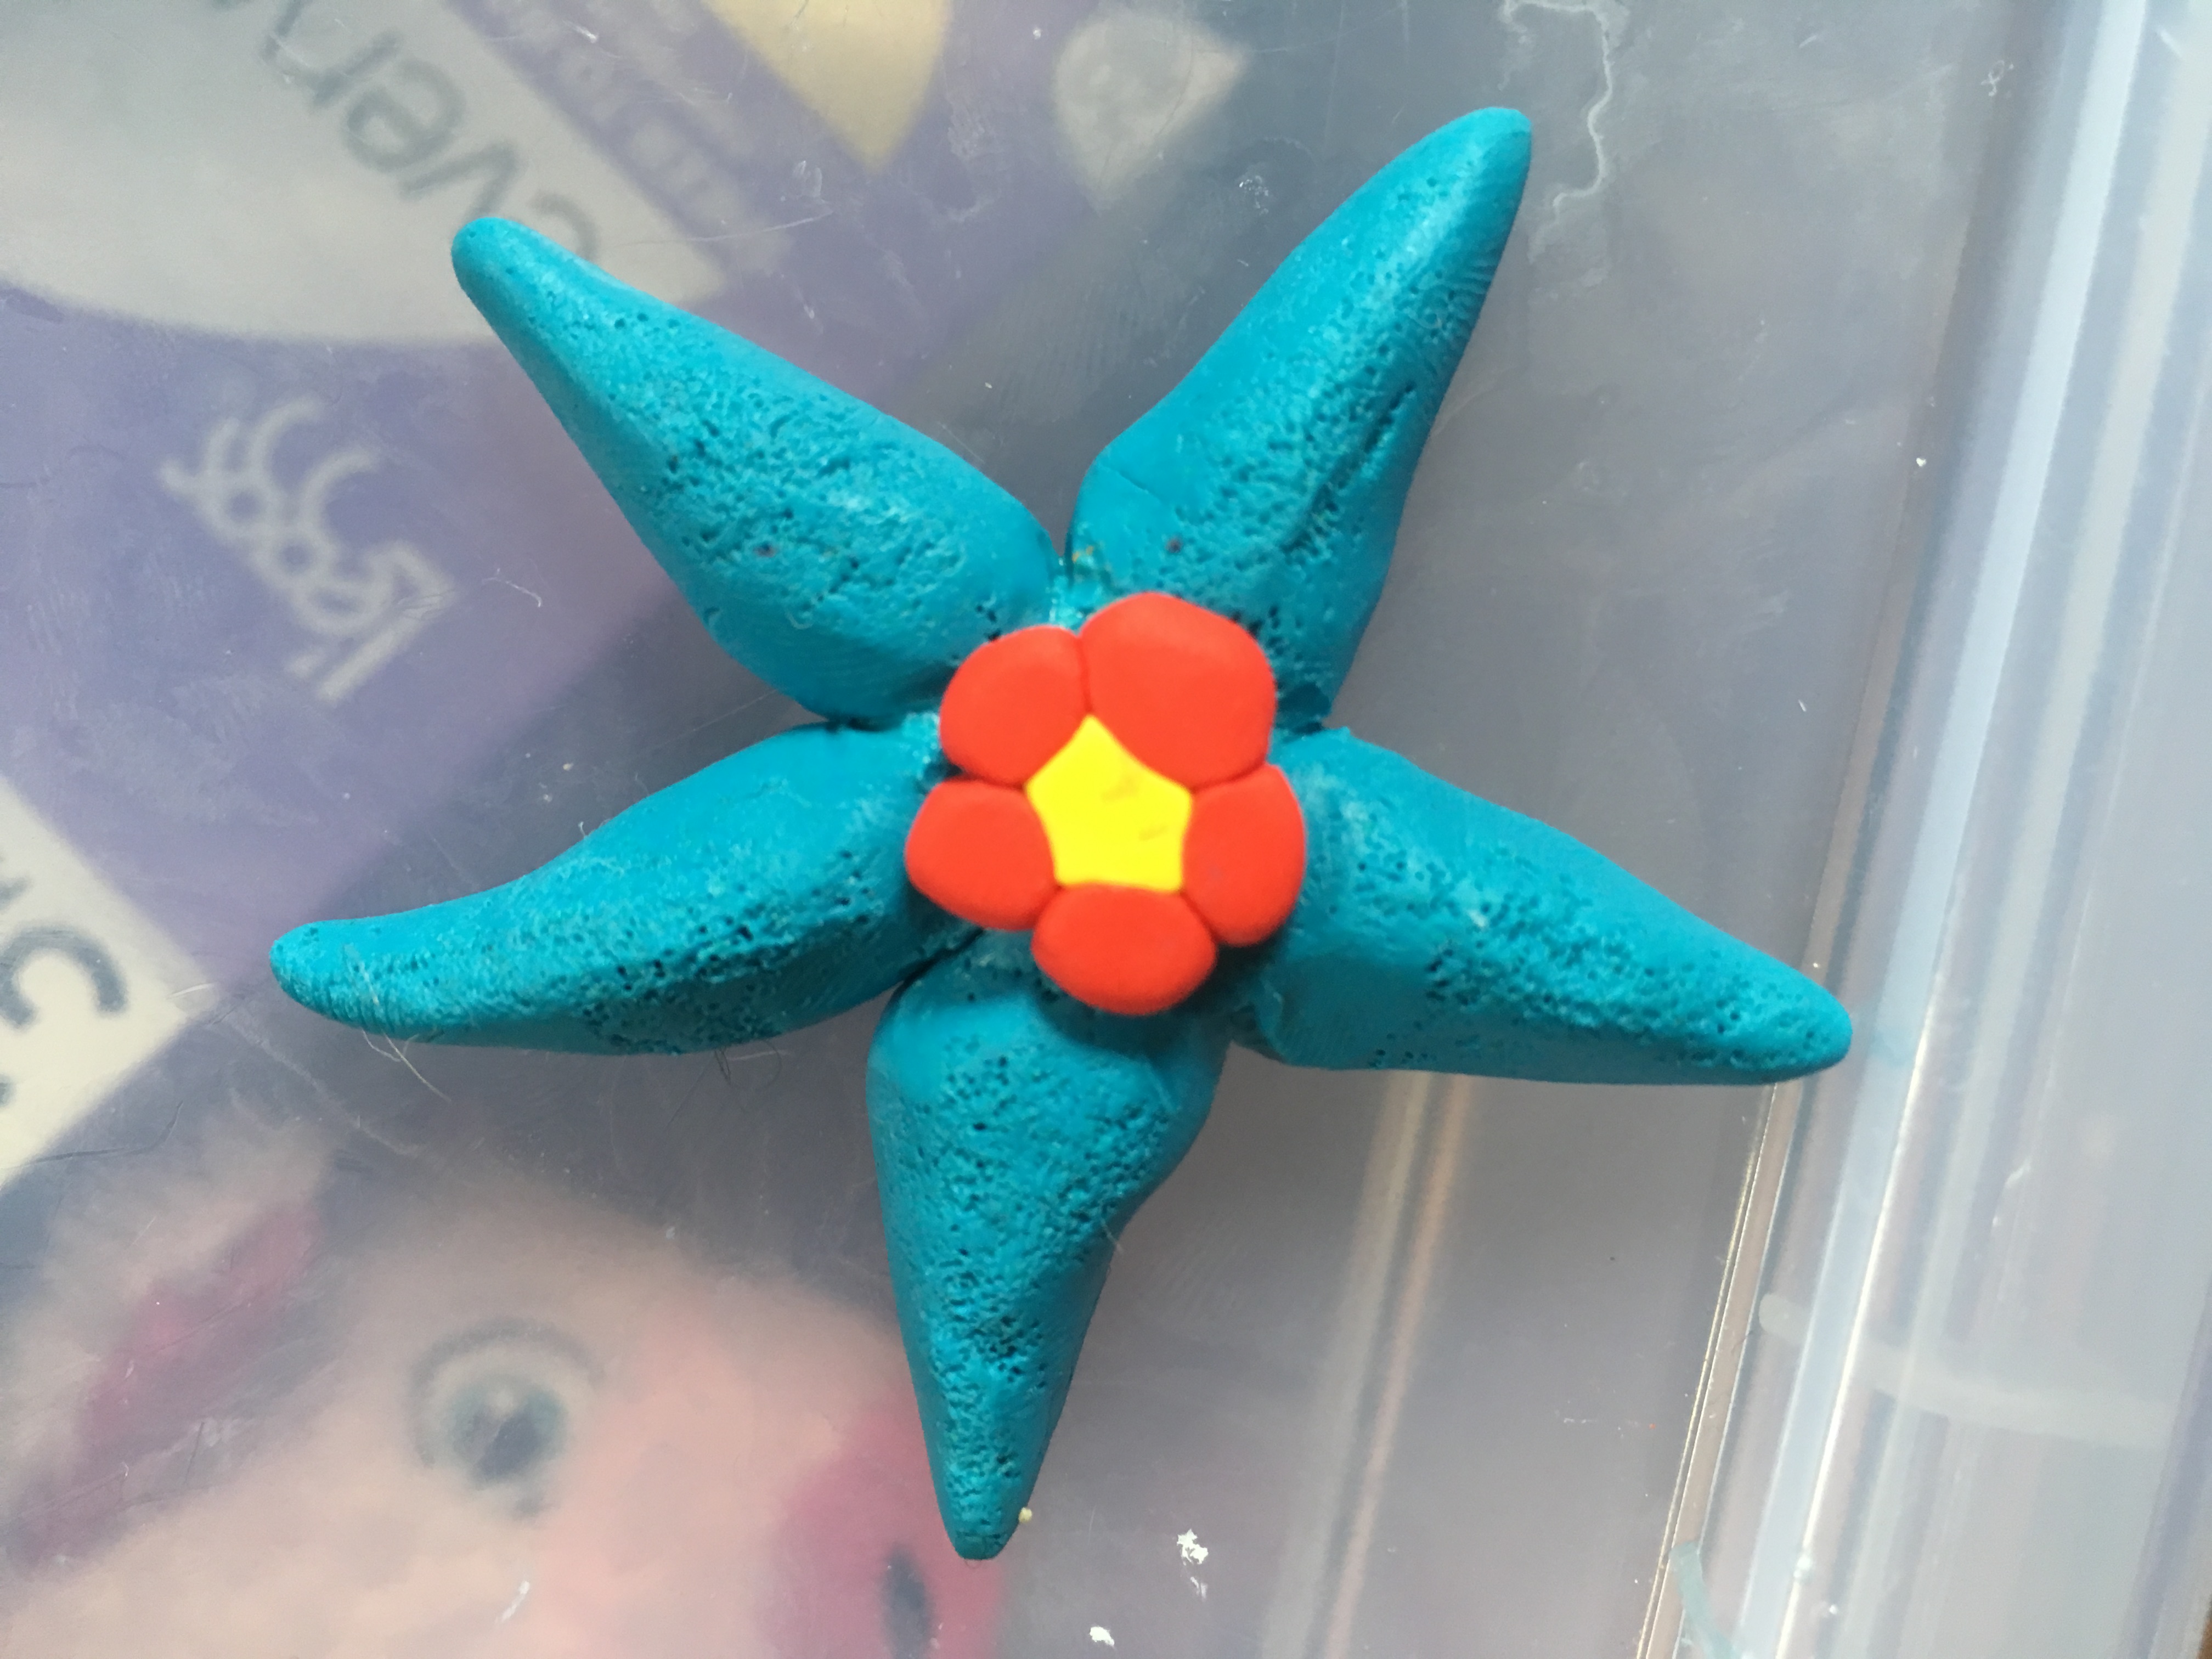
Mush the flower onto the center of the starfish. Be careful not to break the starfish in the process.
Making the Wire Hook
For the charm part, bend a bit of wire like an anchor. Twist it with a loop for a chain or piece of string to go through.
Putting the hook in the Starfish
Gently push the hook into the top leg of the starfish. Poke the clay around the hook to secure it in place.
Shaping and Texturing the Starfish
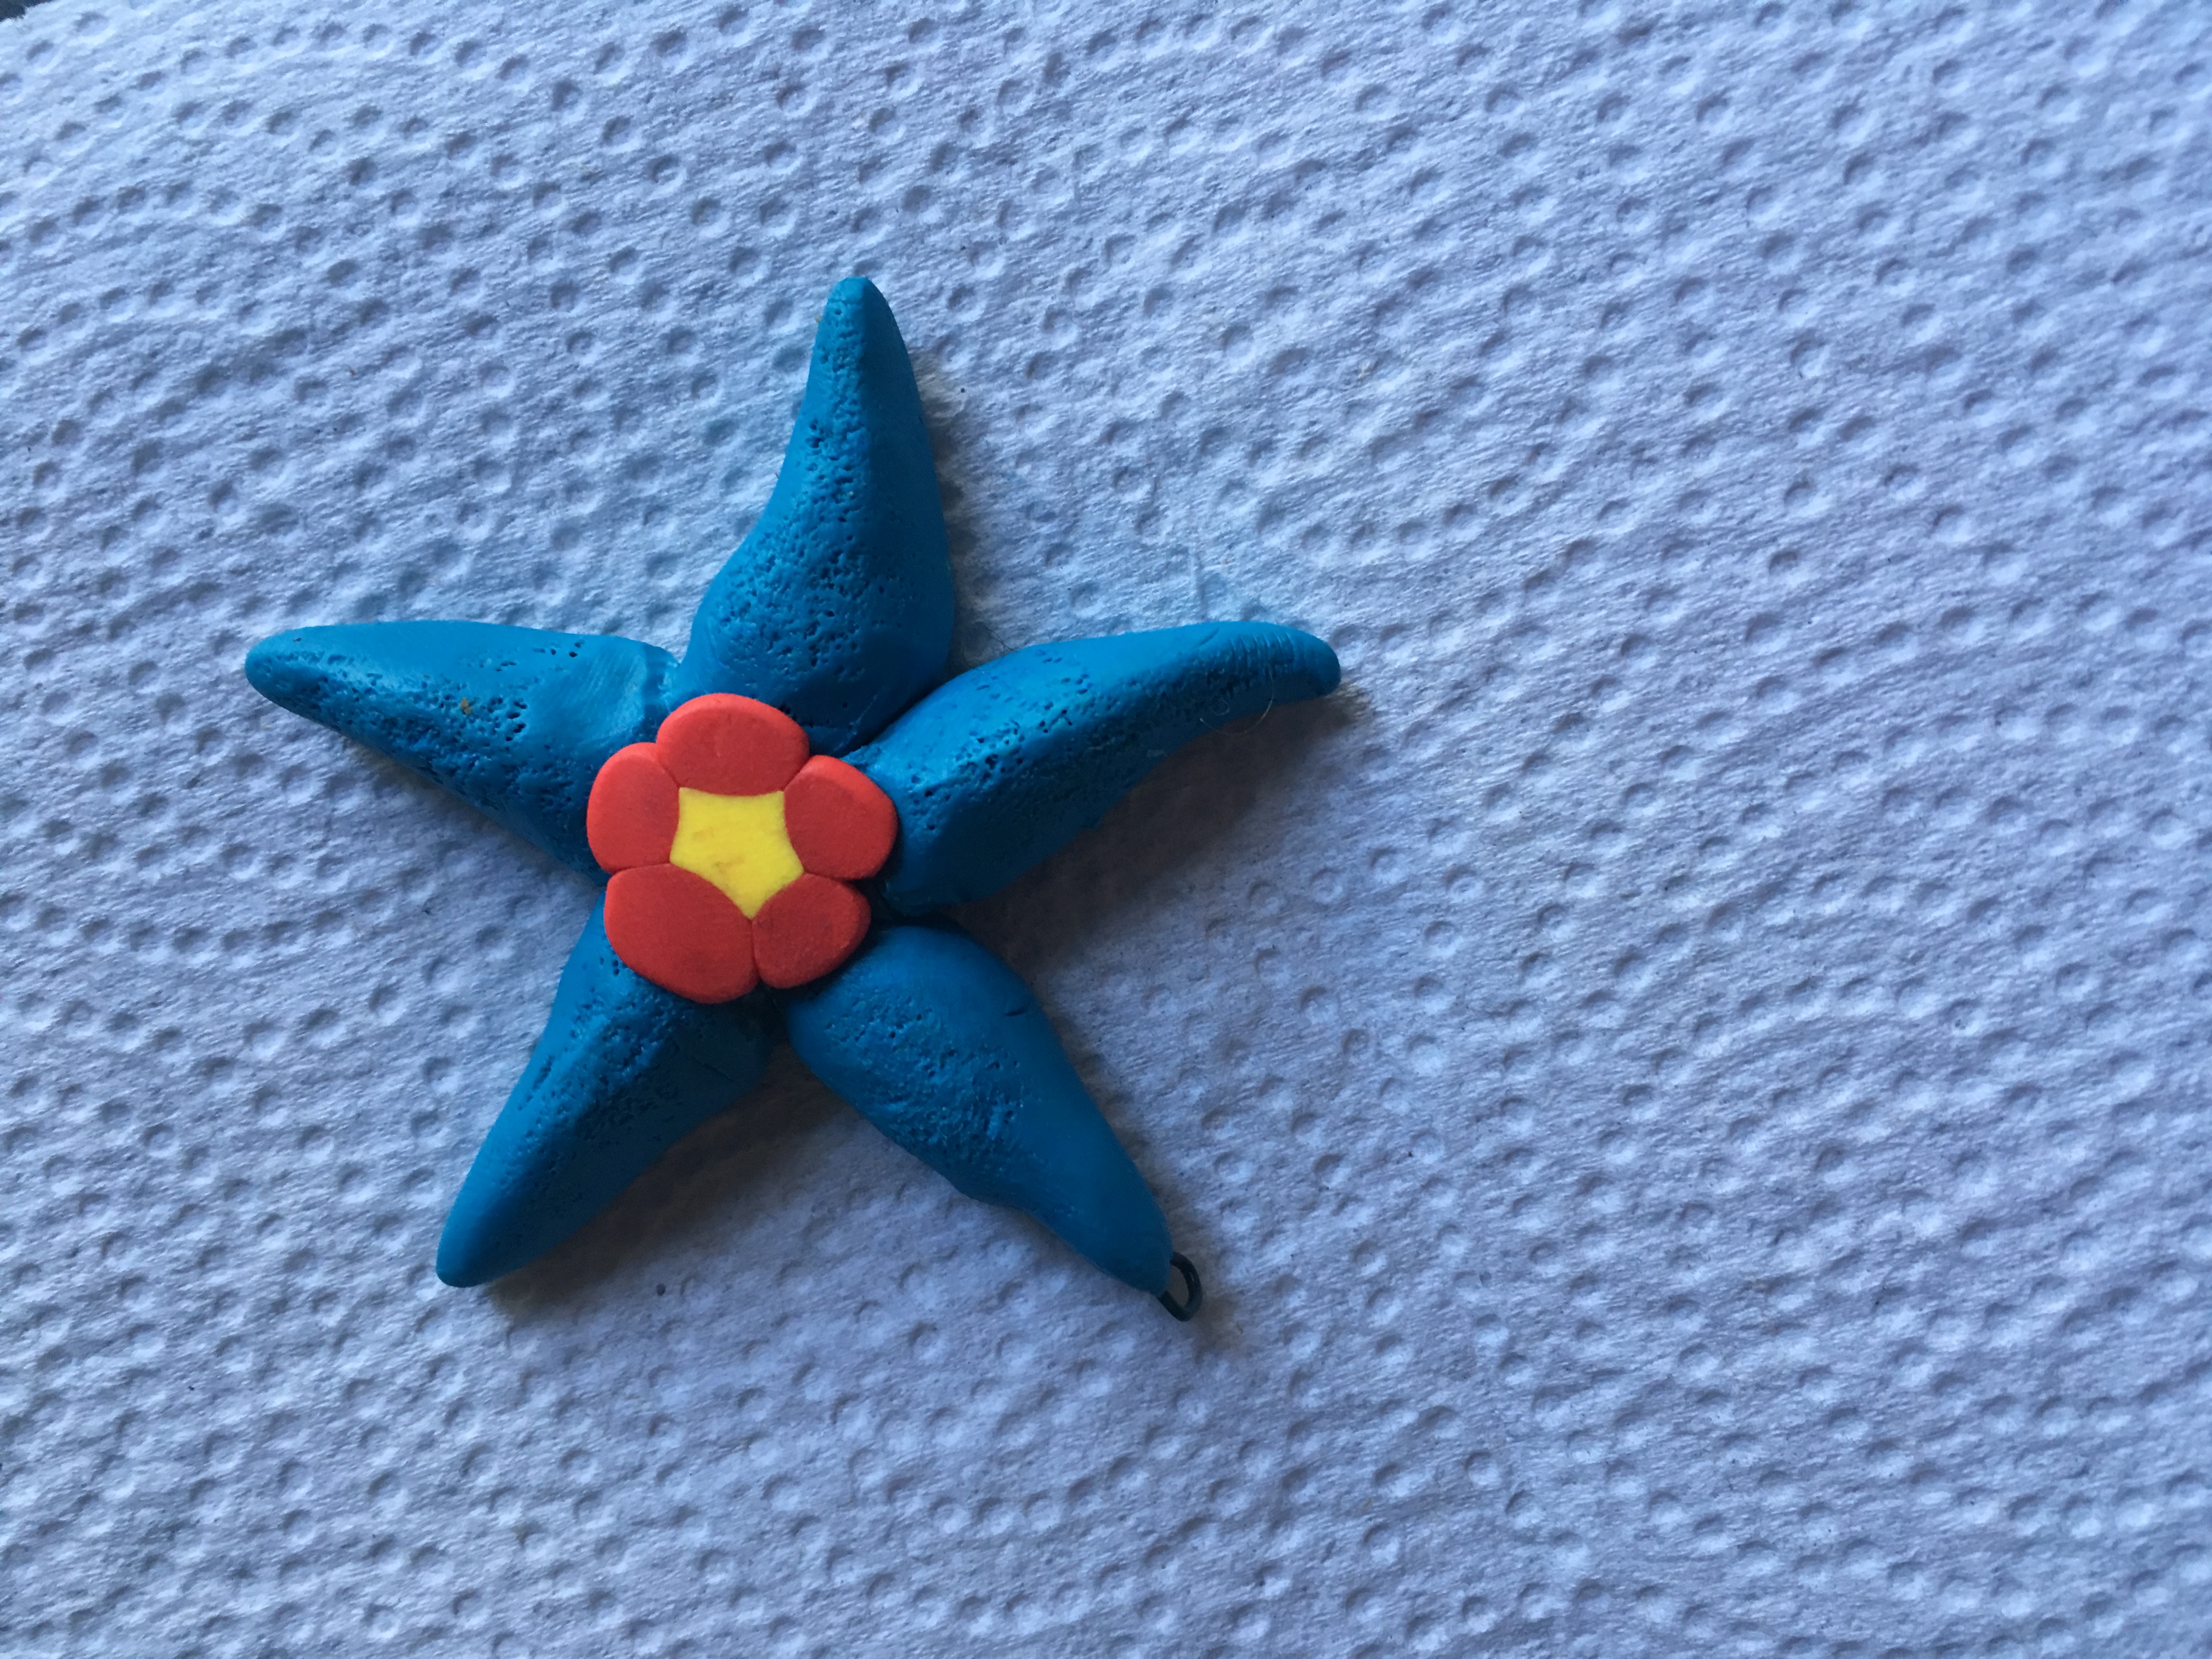
On the side with the flower, use your fingers to squish the arms to be more triangular on top, and use a toothbrush or nail brush to tap in some texture on the legs.
Baking the Bakeable Clay Starfish
Pop the starfish into the oven at 275 for 15 minutes and allow it to cool before touching.
Finish
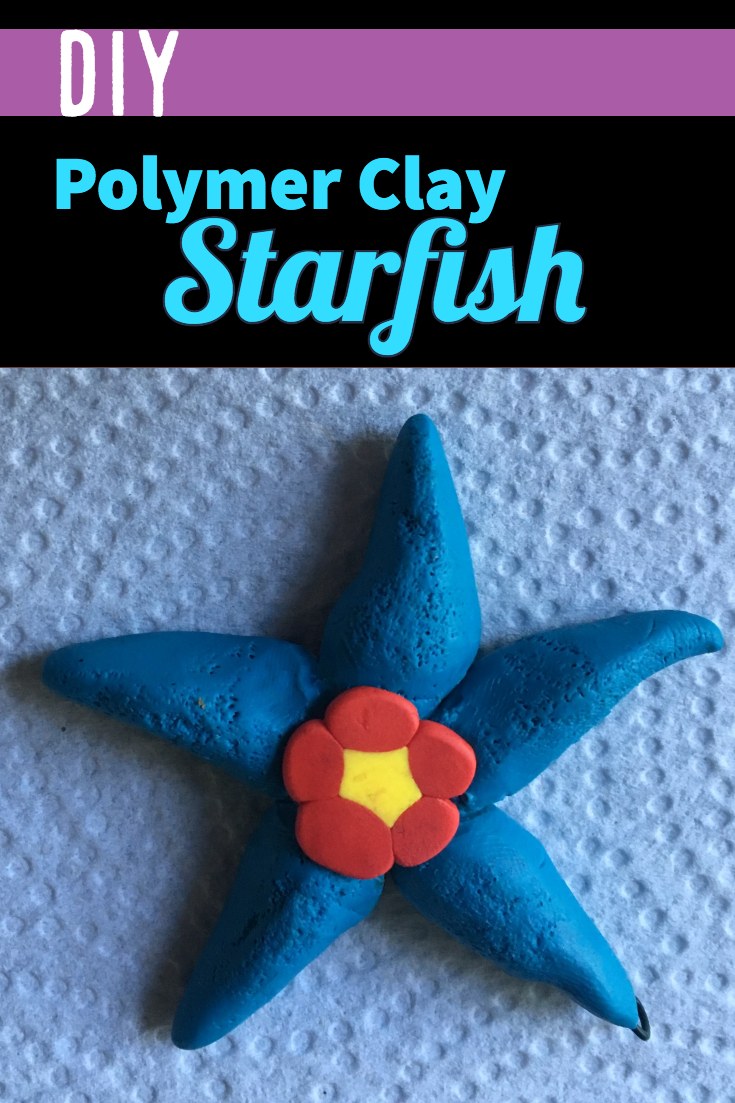
You can stop here or add a glaze or clear coat on top of the clay. Happy Crafting!