I have done tutorials on a snake and a sea dragon, but what about a fire dragon? Meet Cinder, my latest Polymer clay dragon project.
What you will need
- Wire
- Pliers
- A sample box of polymer clay by Sculpey
- Dotting tools- you don’t think you need them but trust me, they come in handy so much.
Wire Framework on the Polymer Clay Dragon
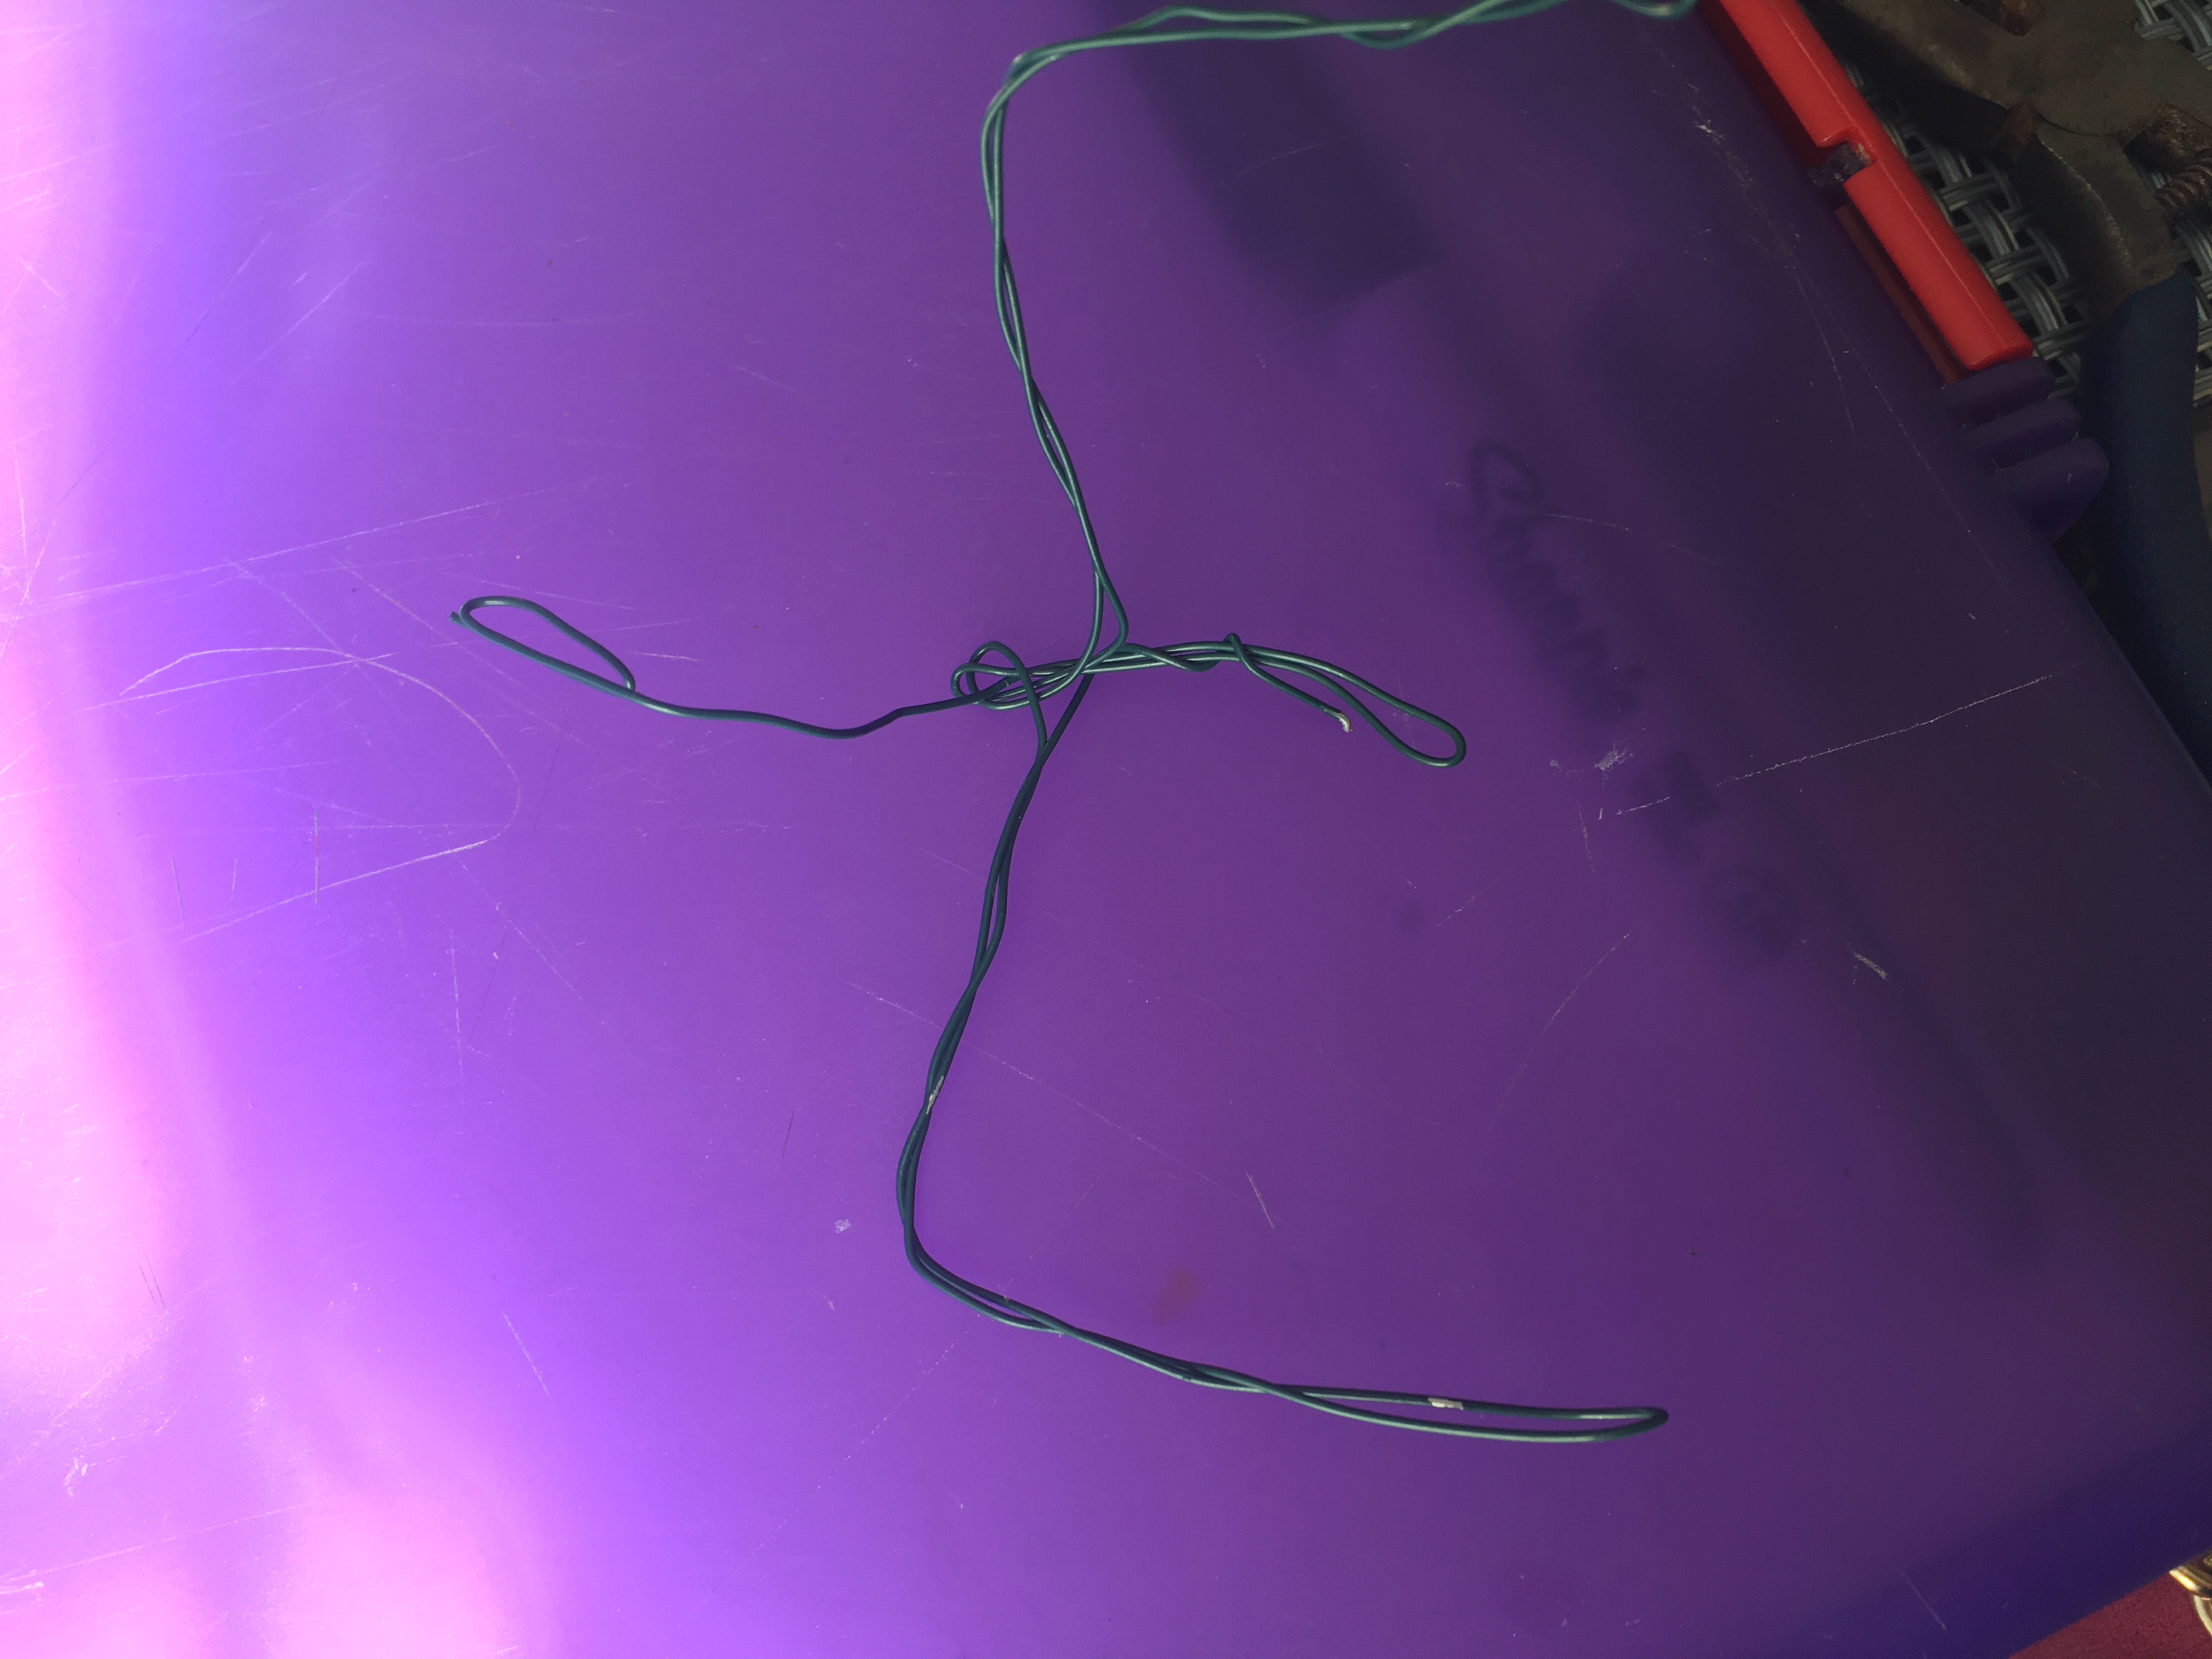
Starting with about a foot of wire, make the shape shown in the image by bending the wire in half, and bring up the two sides to the end of the neck and bend them into the wing shapes.
Neck and Body of the Dragon
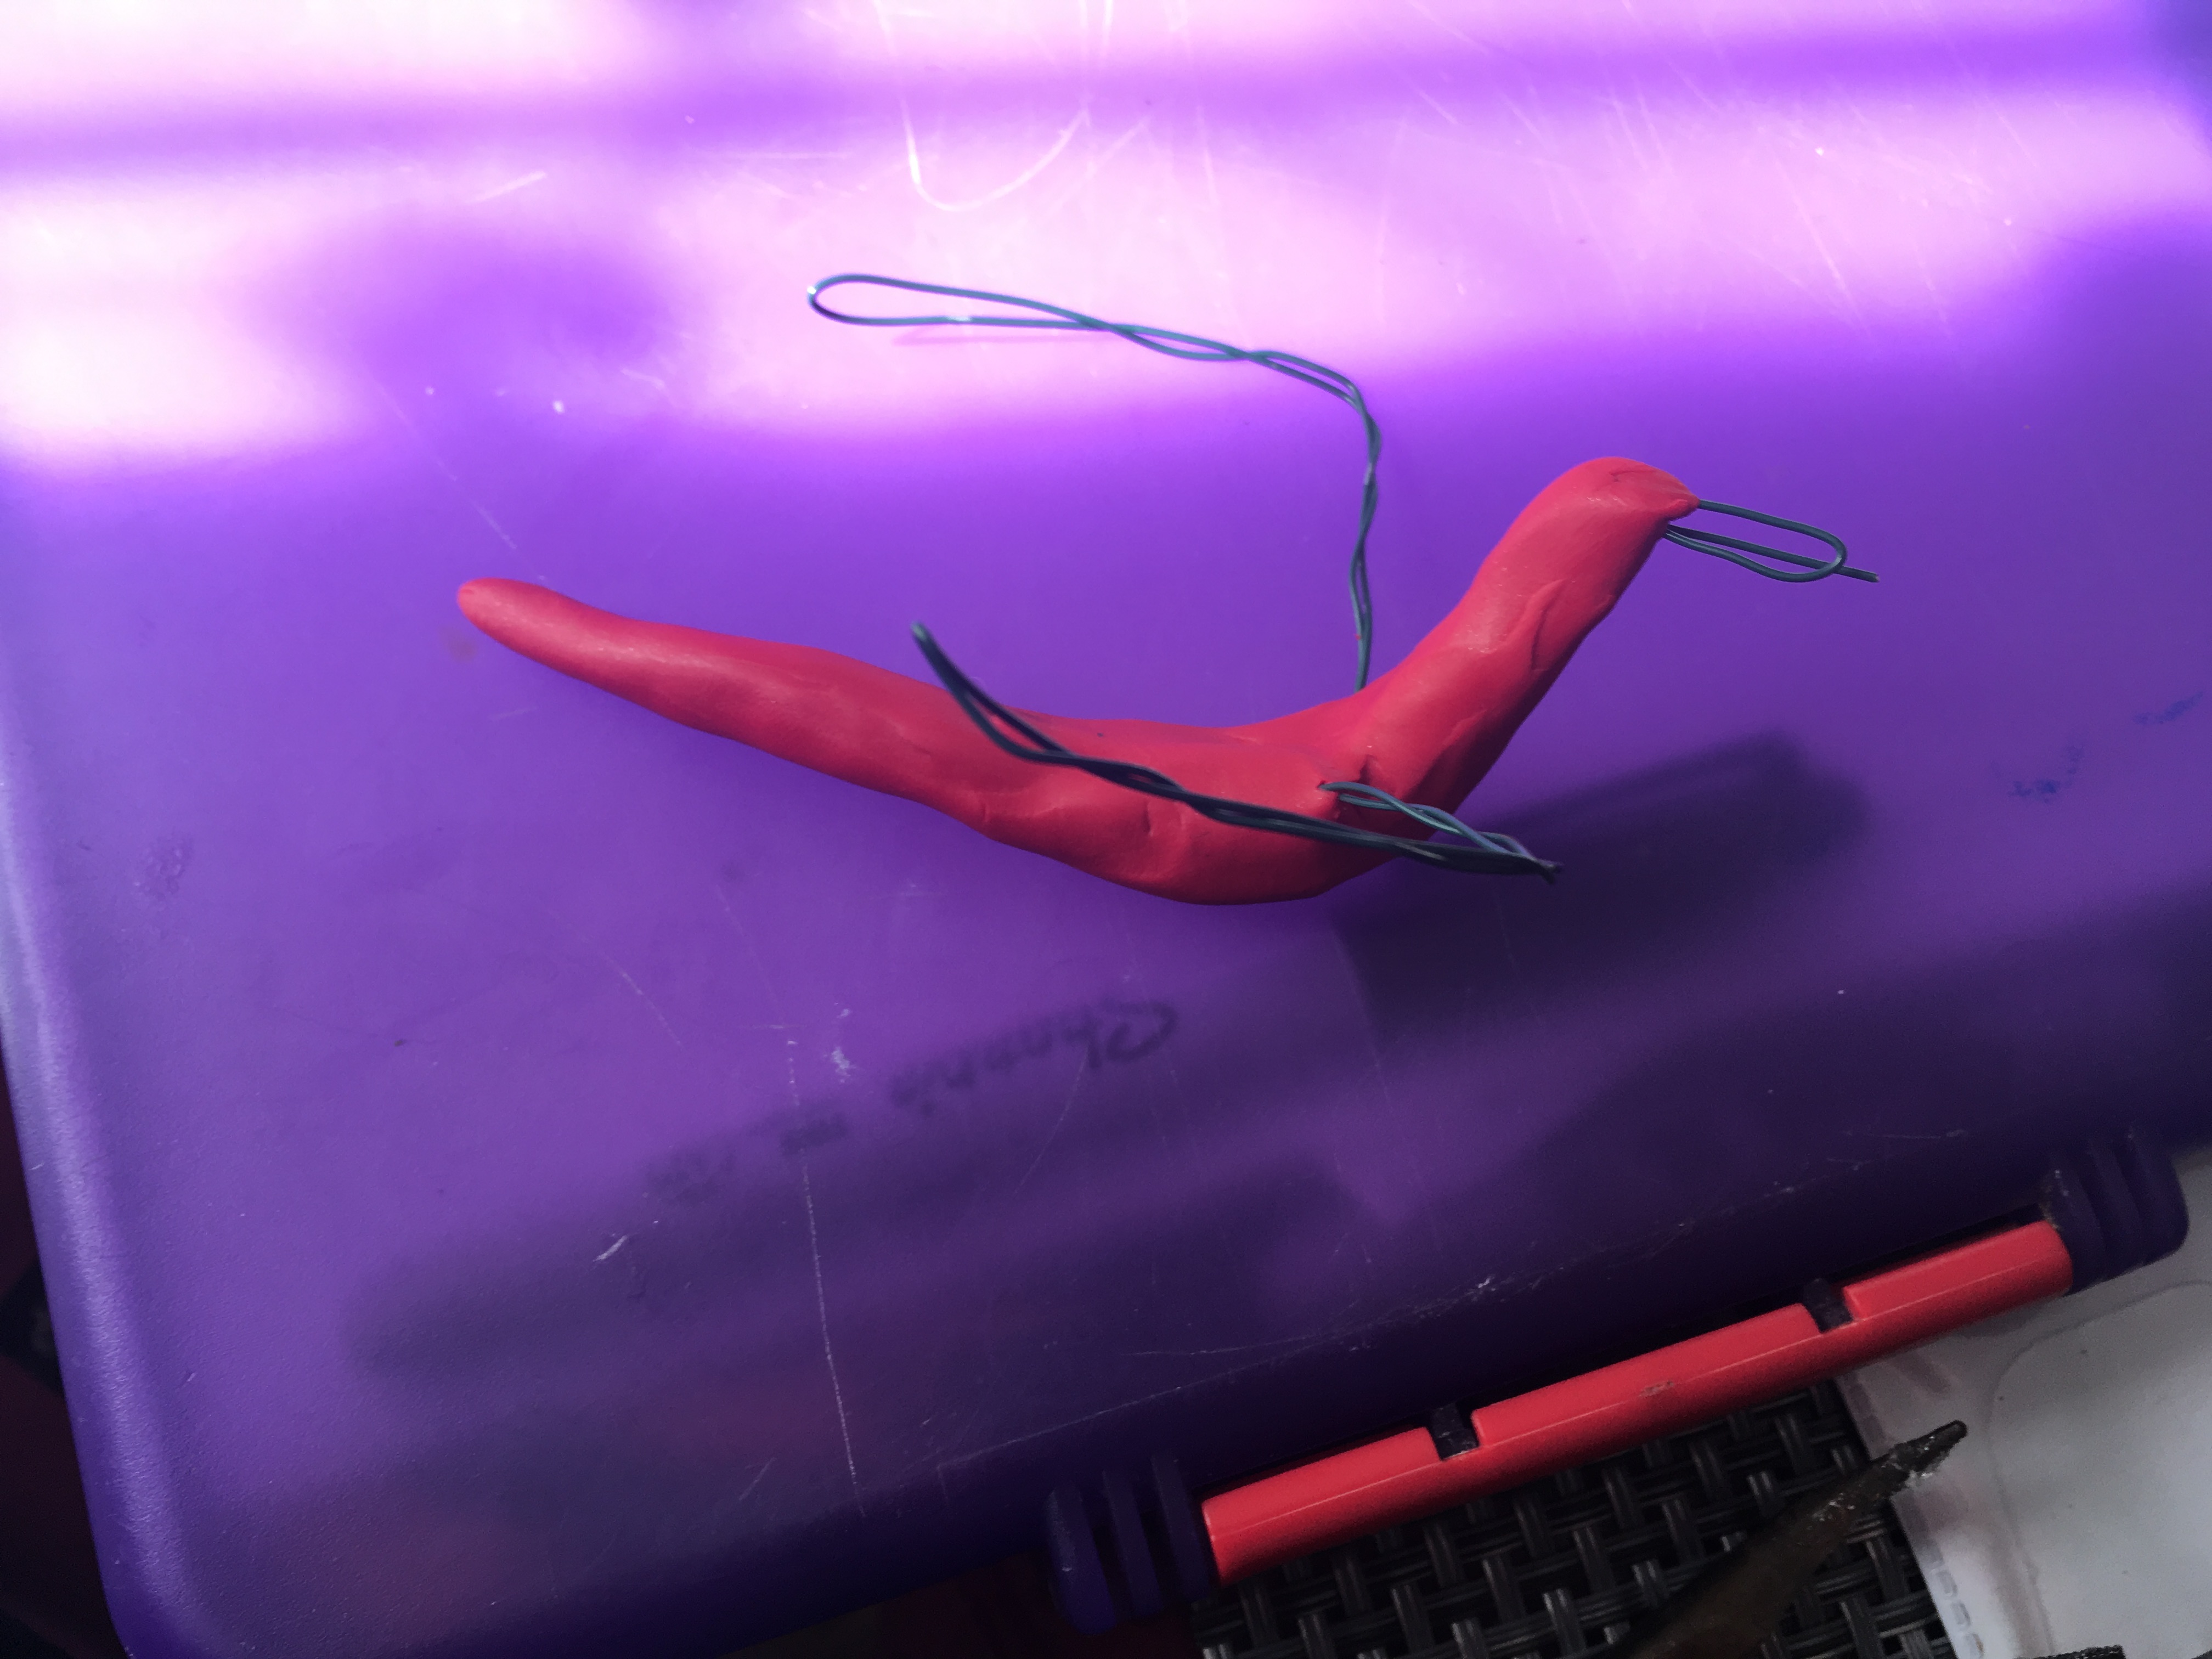
Add red clay all over the wire neck and base, leaving the wing pieces bare. Smooth it down over the wire carefully.
Sculpting out the Neck and Tail
Add more red clay to the tail and the neck to make him thicker. Cinder should not look like he needs a pot roast. End the tail in a smooth point and make sure to keep the clay round and not flat, to make him look more real.
Sculpting the Head
For the head, take a blob of red clay that is a decent size and make it an egg shape. Gently make the snout by using a dotting tool to gently smooth a little notch on the top of the head and add eye sockets and nostrils. Make sure the eyes are even by looking down on him from the top.
Sculpting the Belly Scales
Make oval shapes out of shimmery gold clay and gently attach them to the belly. Go all the way down to where the paws will be.
Making the Front Paws
For the front paws, roll out a thick piece of orangey red clay and bend it. Make an identical one and press them on either side of the dragon where they should be, and shape them back to 3D.
Making the back Paws
The back paws are a little thicker, so repeat the process but make them a bit thicker to make the dragon look like he is really laying down.
Adding the Middle Part of the Wings
Using the wire and pliers, cut off about two inches of wire and bend it around the part of the wing that bends so that the metal becomes the middle piece of the wing, Do this for both sides.
Making the end of the Tail
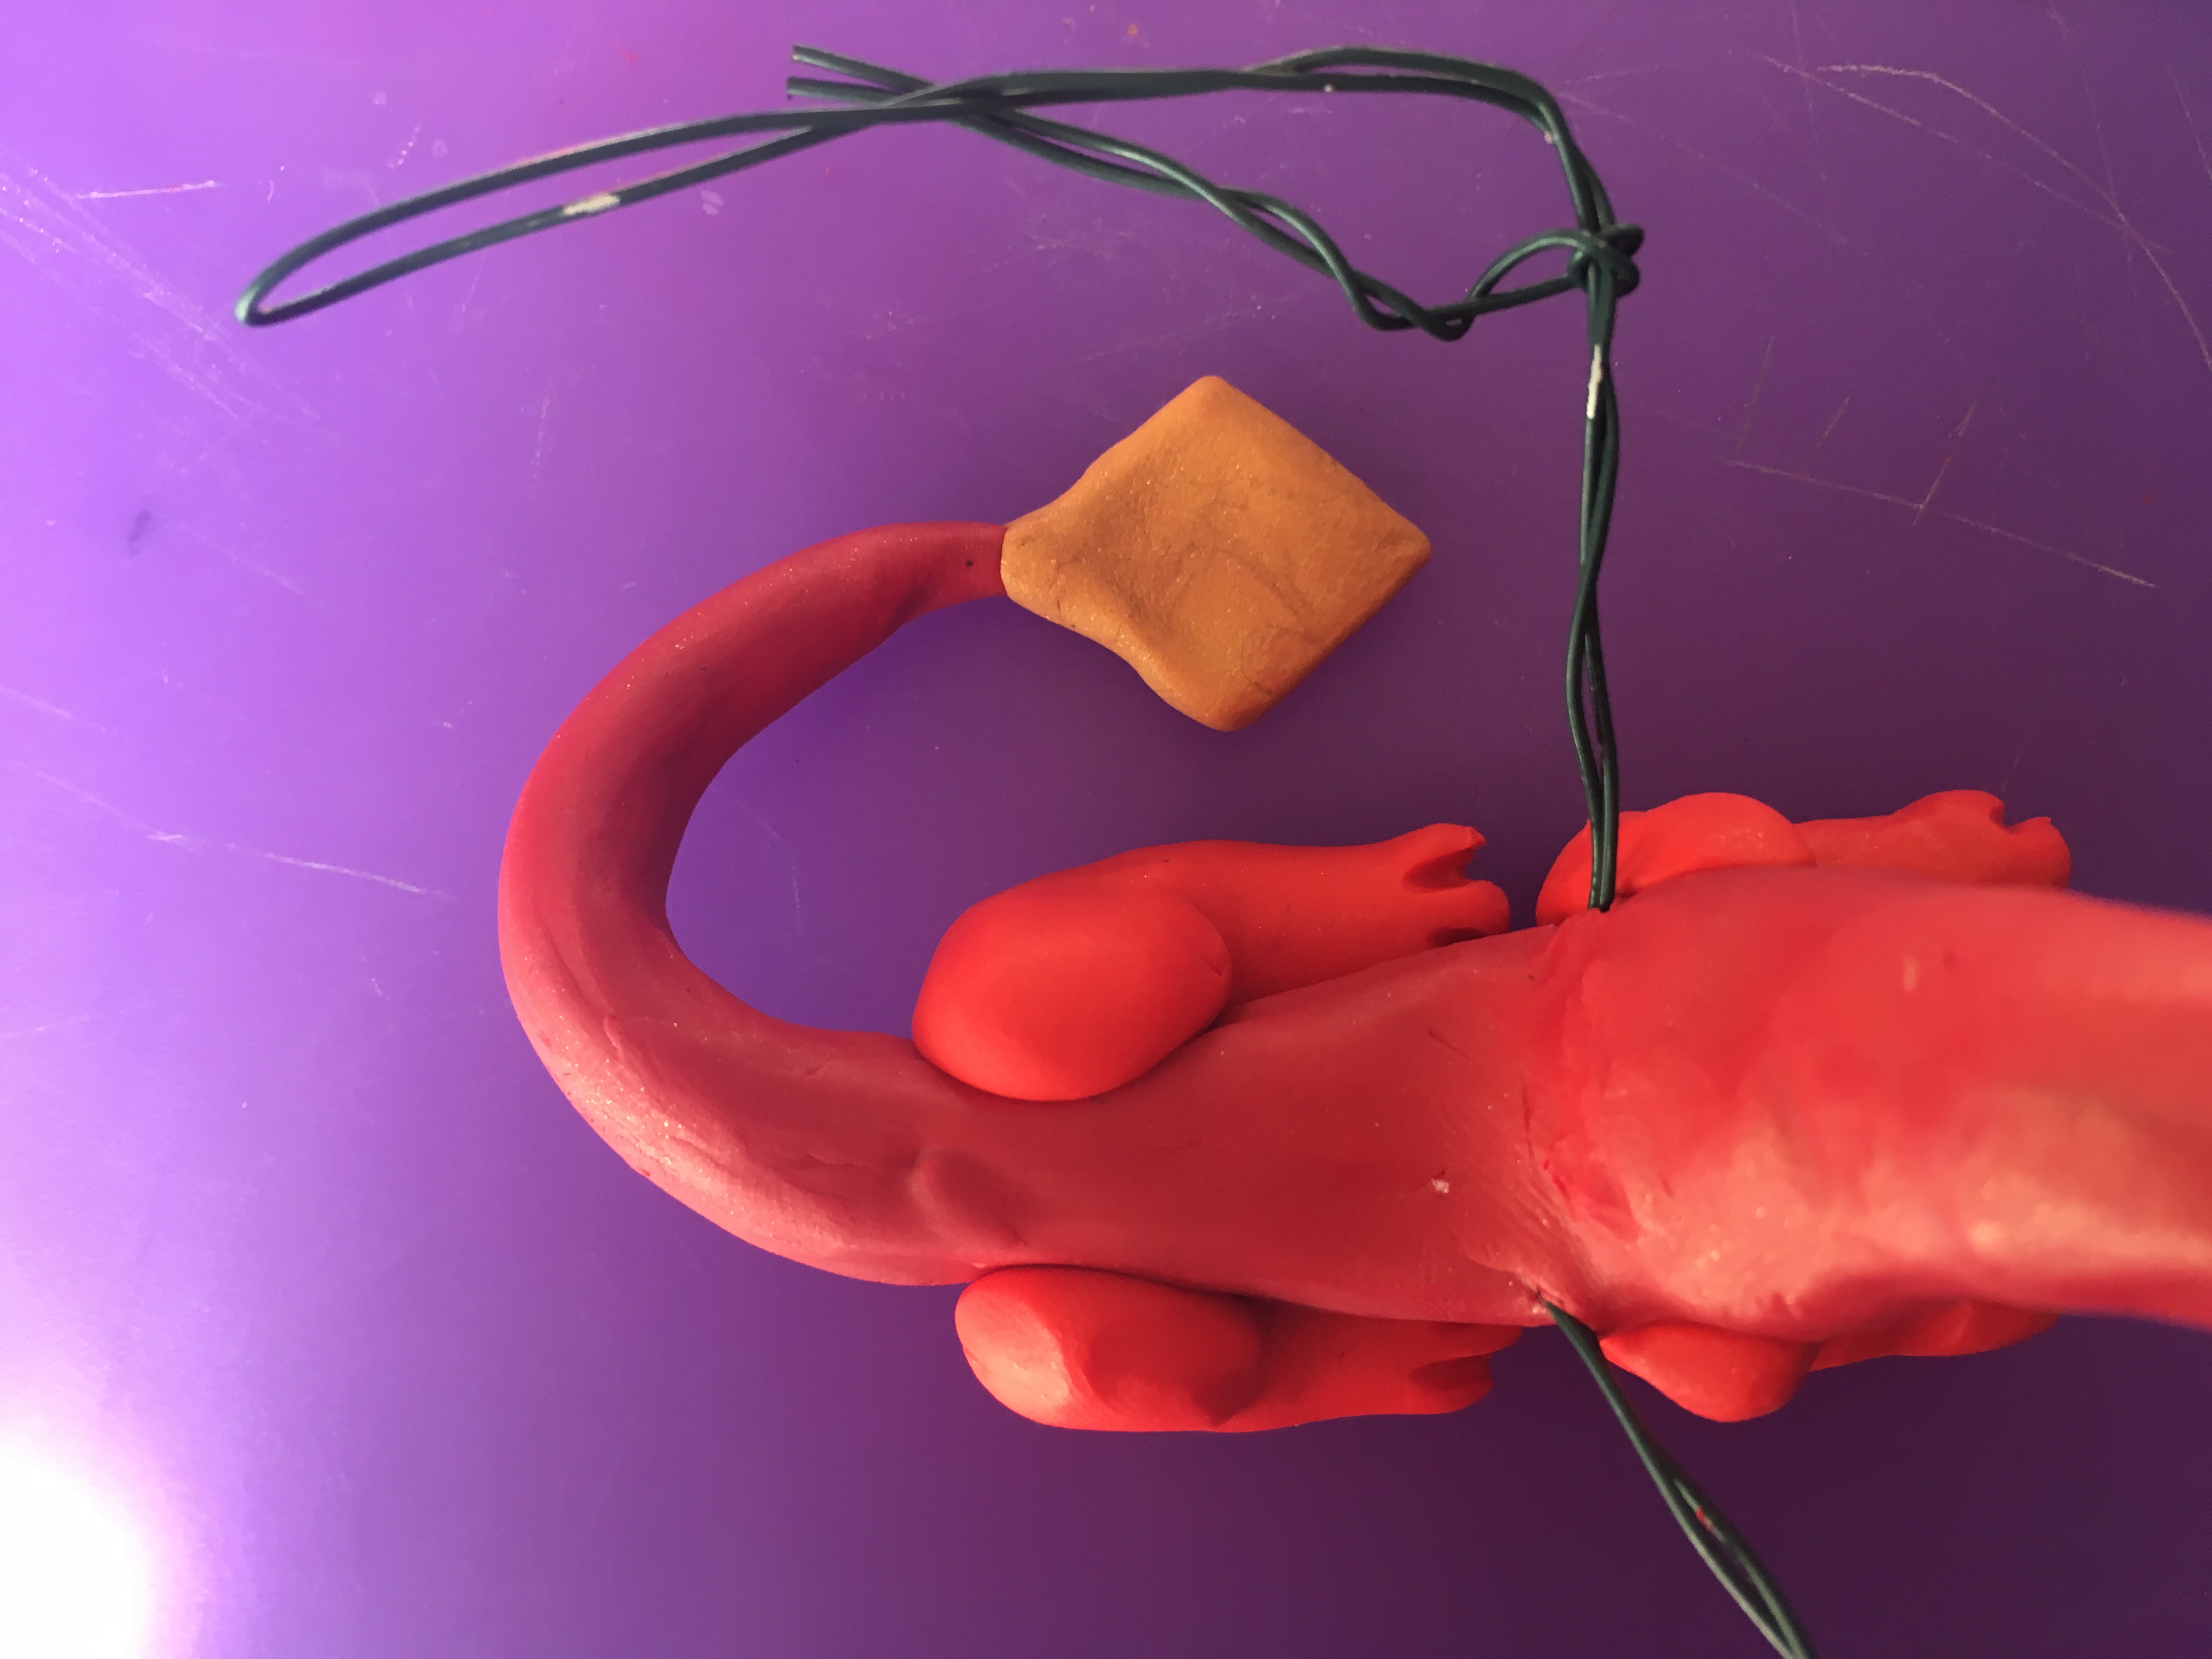
The end of the tail is diamond shaped, so using gold shimmery clay, make a diamond shape and poke a hole at the end. Put the tail into the hole and press it down to ensure it does not fall off. Add a tiny diamond of orange on top.
Making the eyes
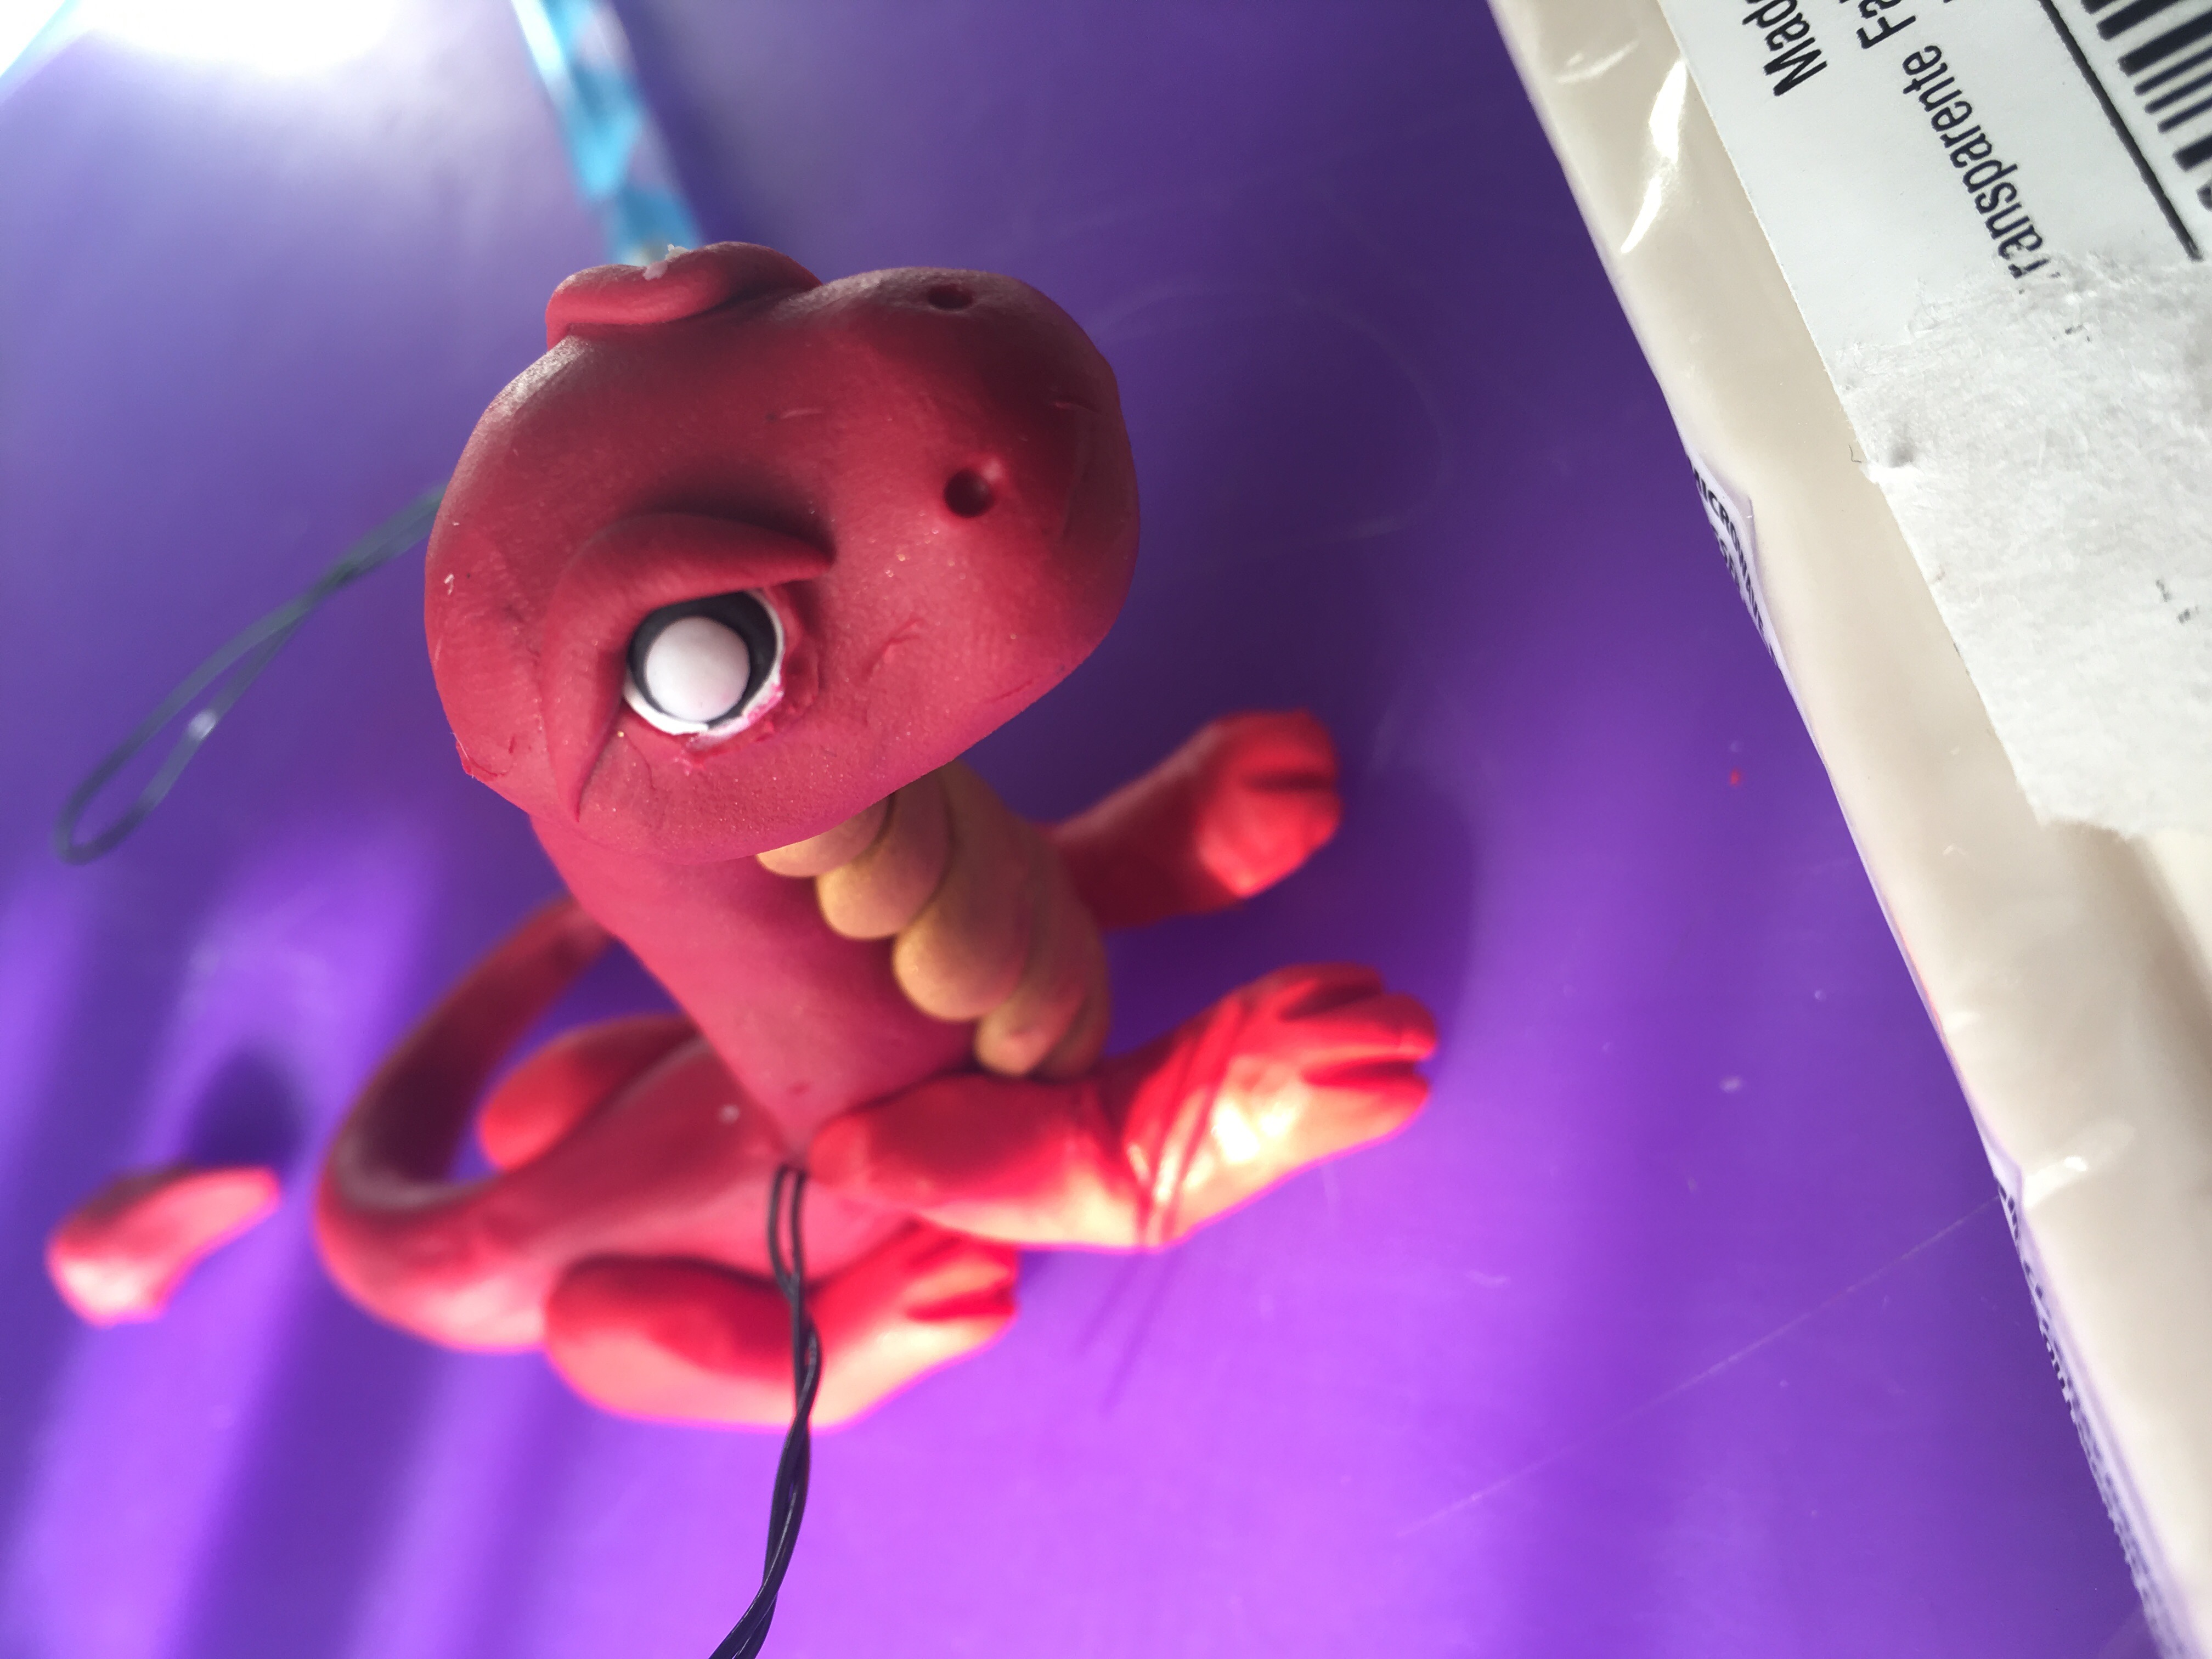
For the eyes, I started with a little bit of white on the dotting tool and smushed it into the eye socket. Add black clay in the white clay, smush another hole, and smush translucent Sculpey in the black hole. Ta da, Eye. Add a bit of clay over the top of the eye to make Cinders look mean but adorable.
Doing Translucent on the Wings of the Polymer Clay Dragon
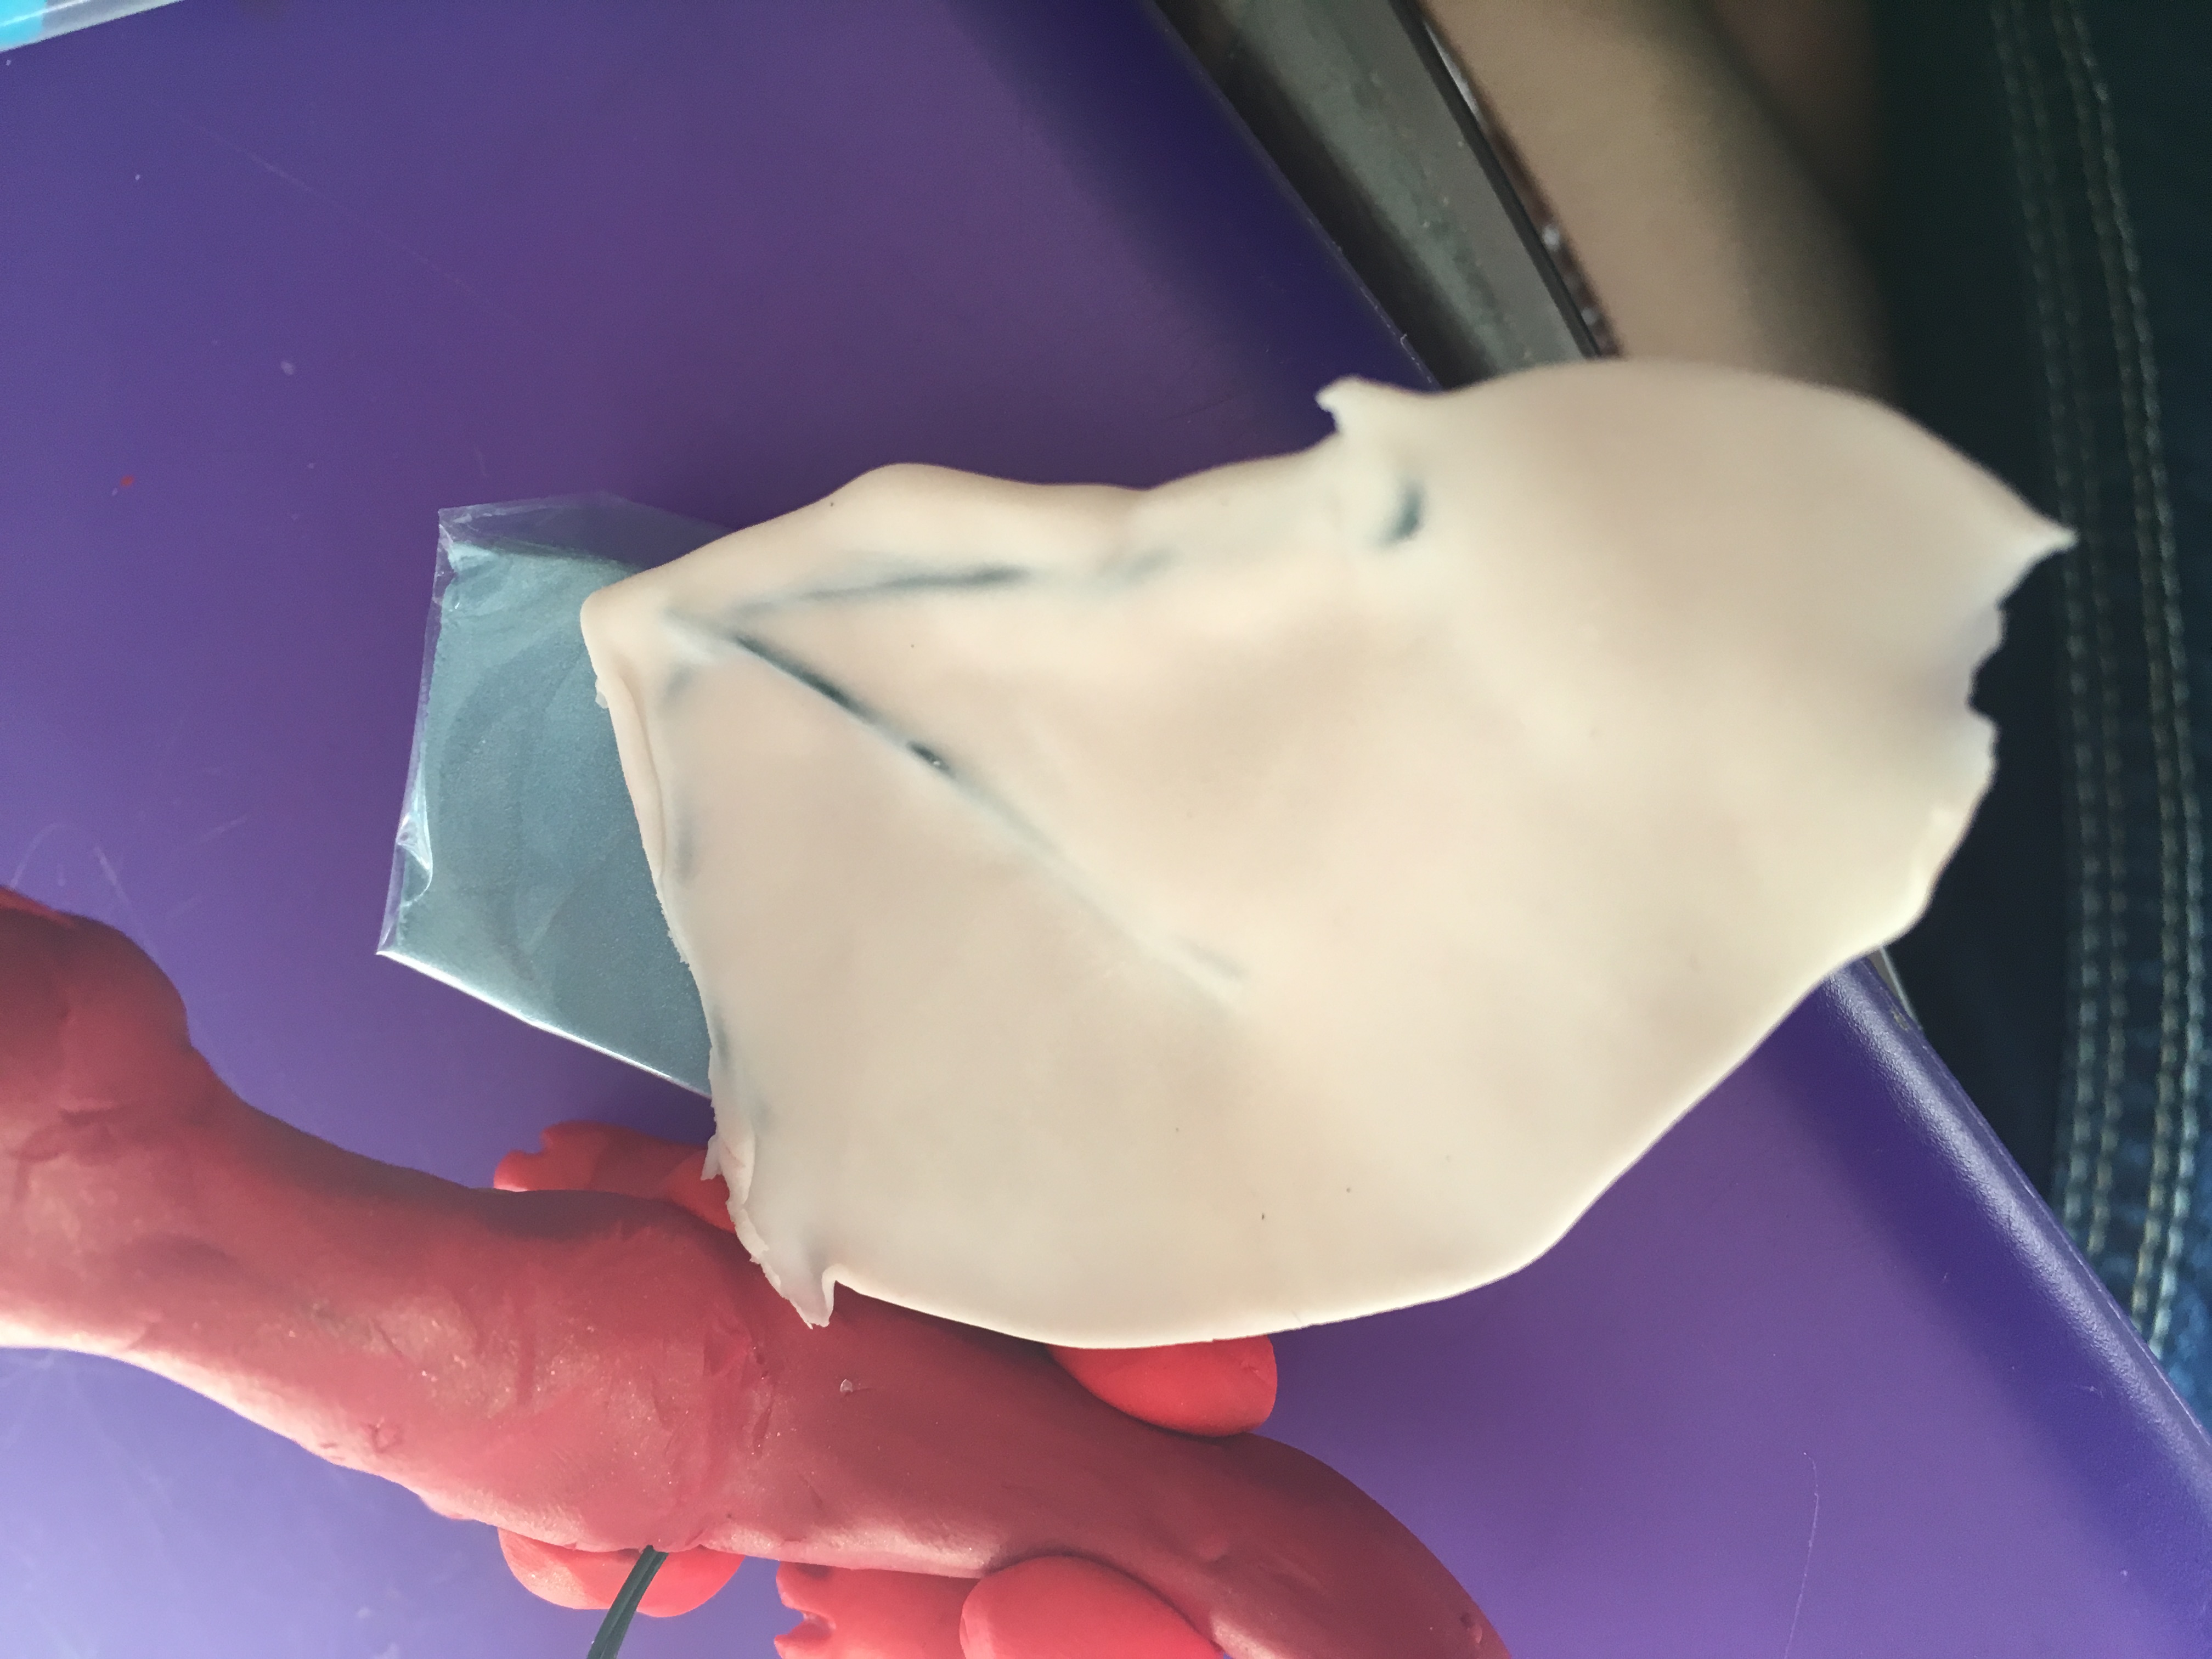
Next, using translucent Sculpey about 1/8th of an inch thick, press the wire into the wing gently. Cut off excess clay and make sure the translucent is well supported. Do this on both sides.
Doing the Gold on the Wings

Using the shimmery gold clay again, apply strips to the wings and press it down to cover the wires. Make sure to get the edges and blend the middle piece well.
Horns and back Spines of the Polymer Clay Dragon Snake
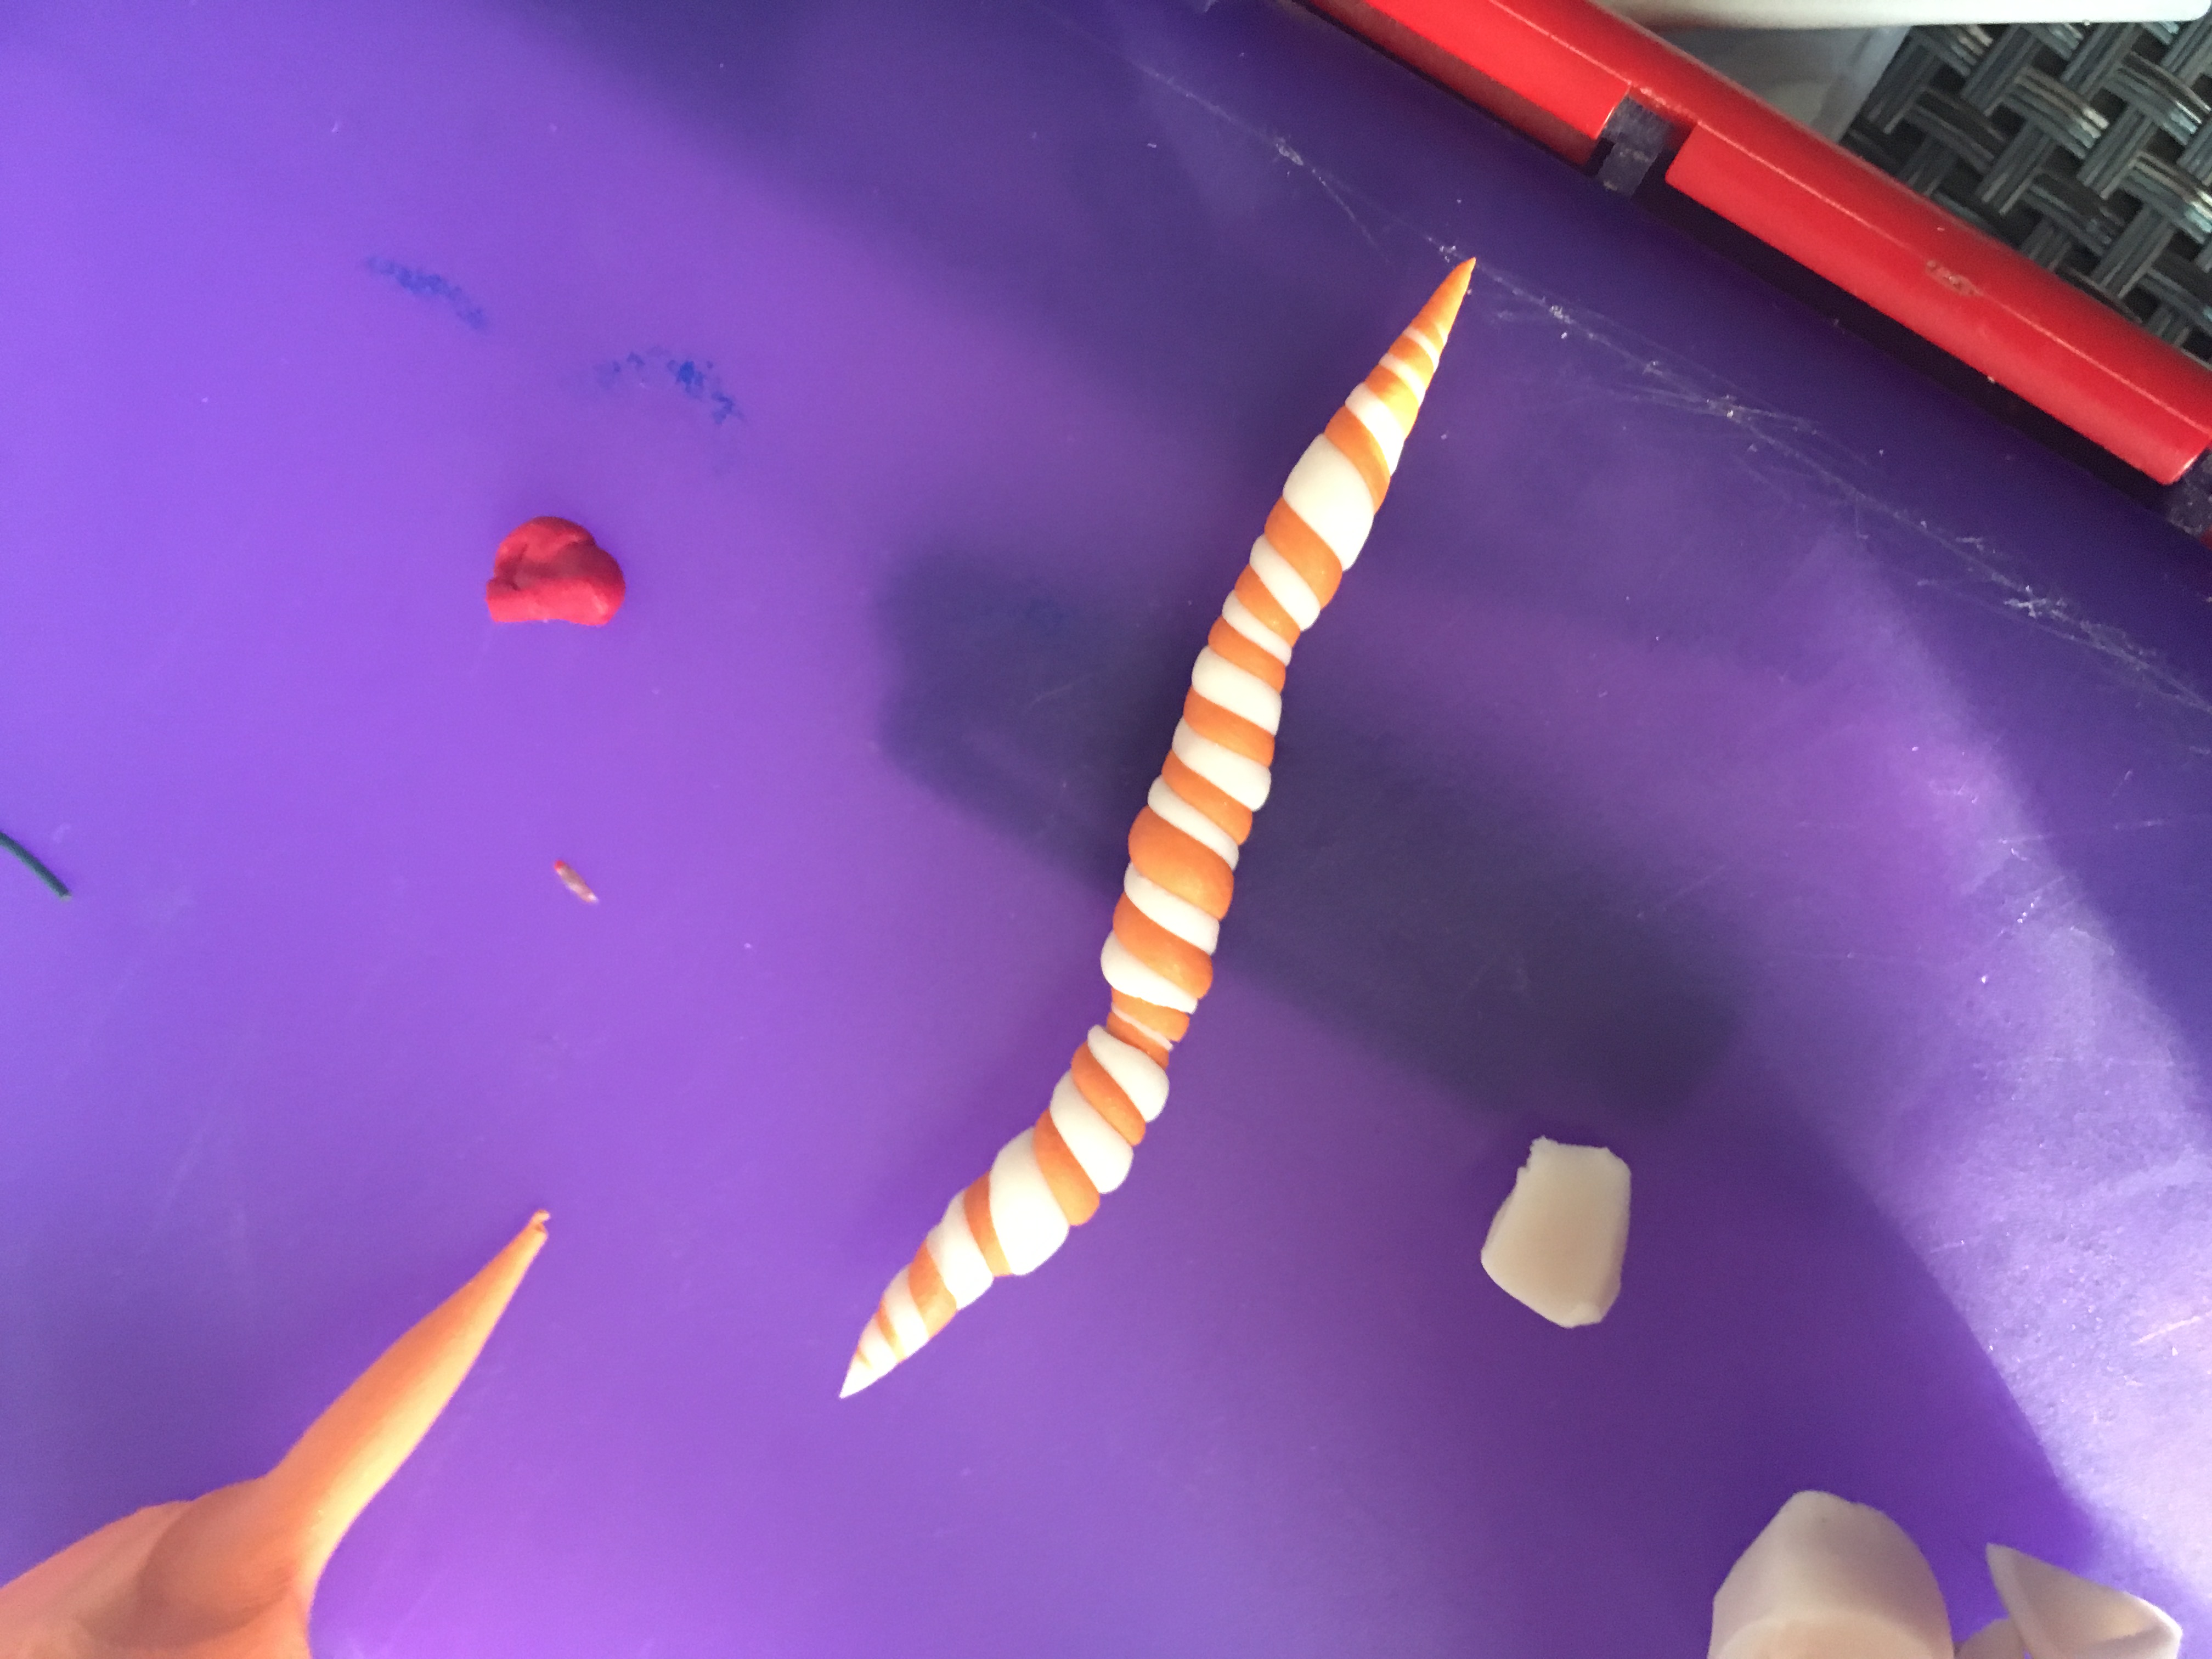
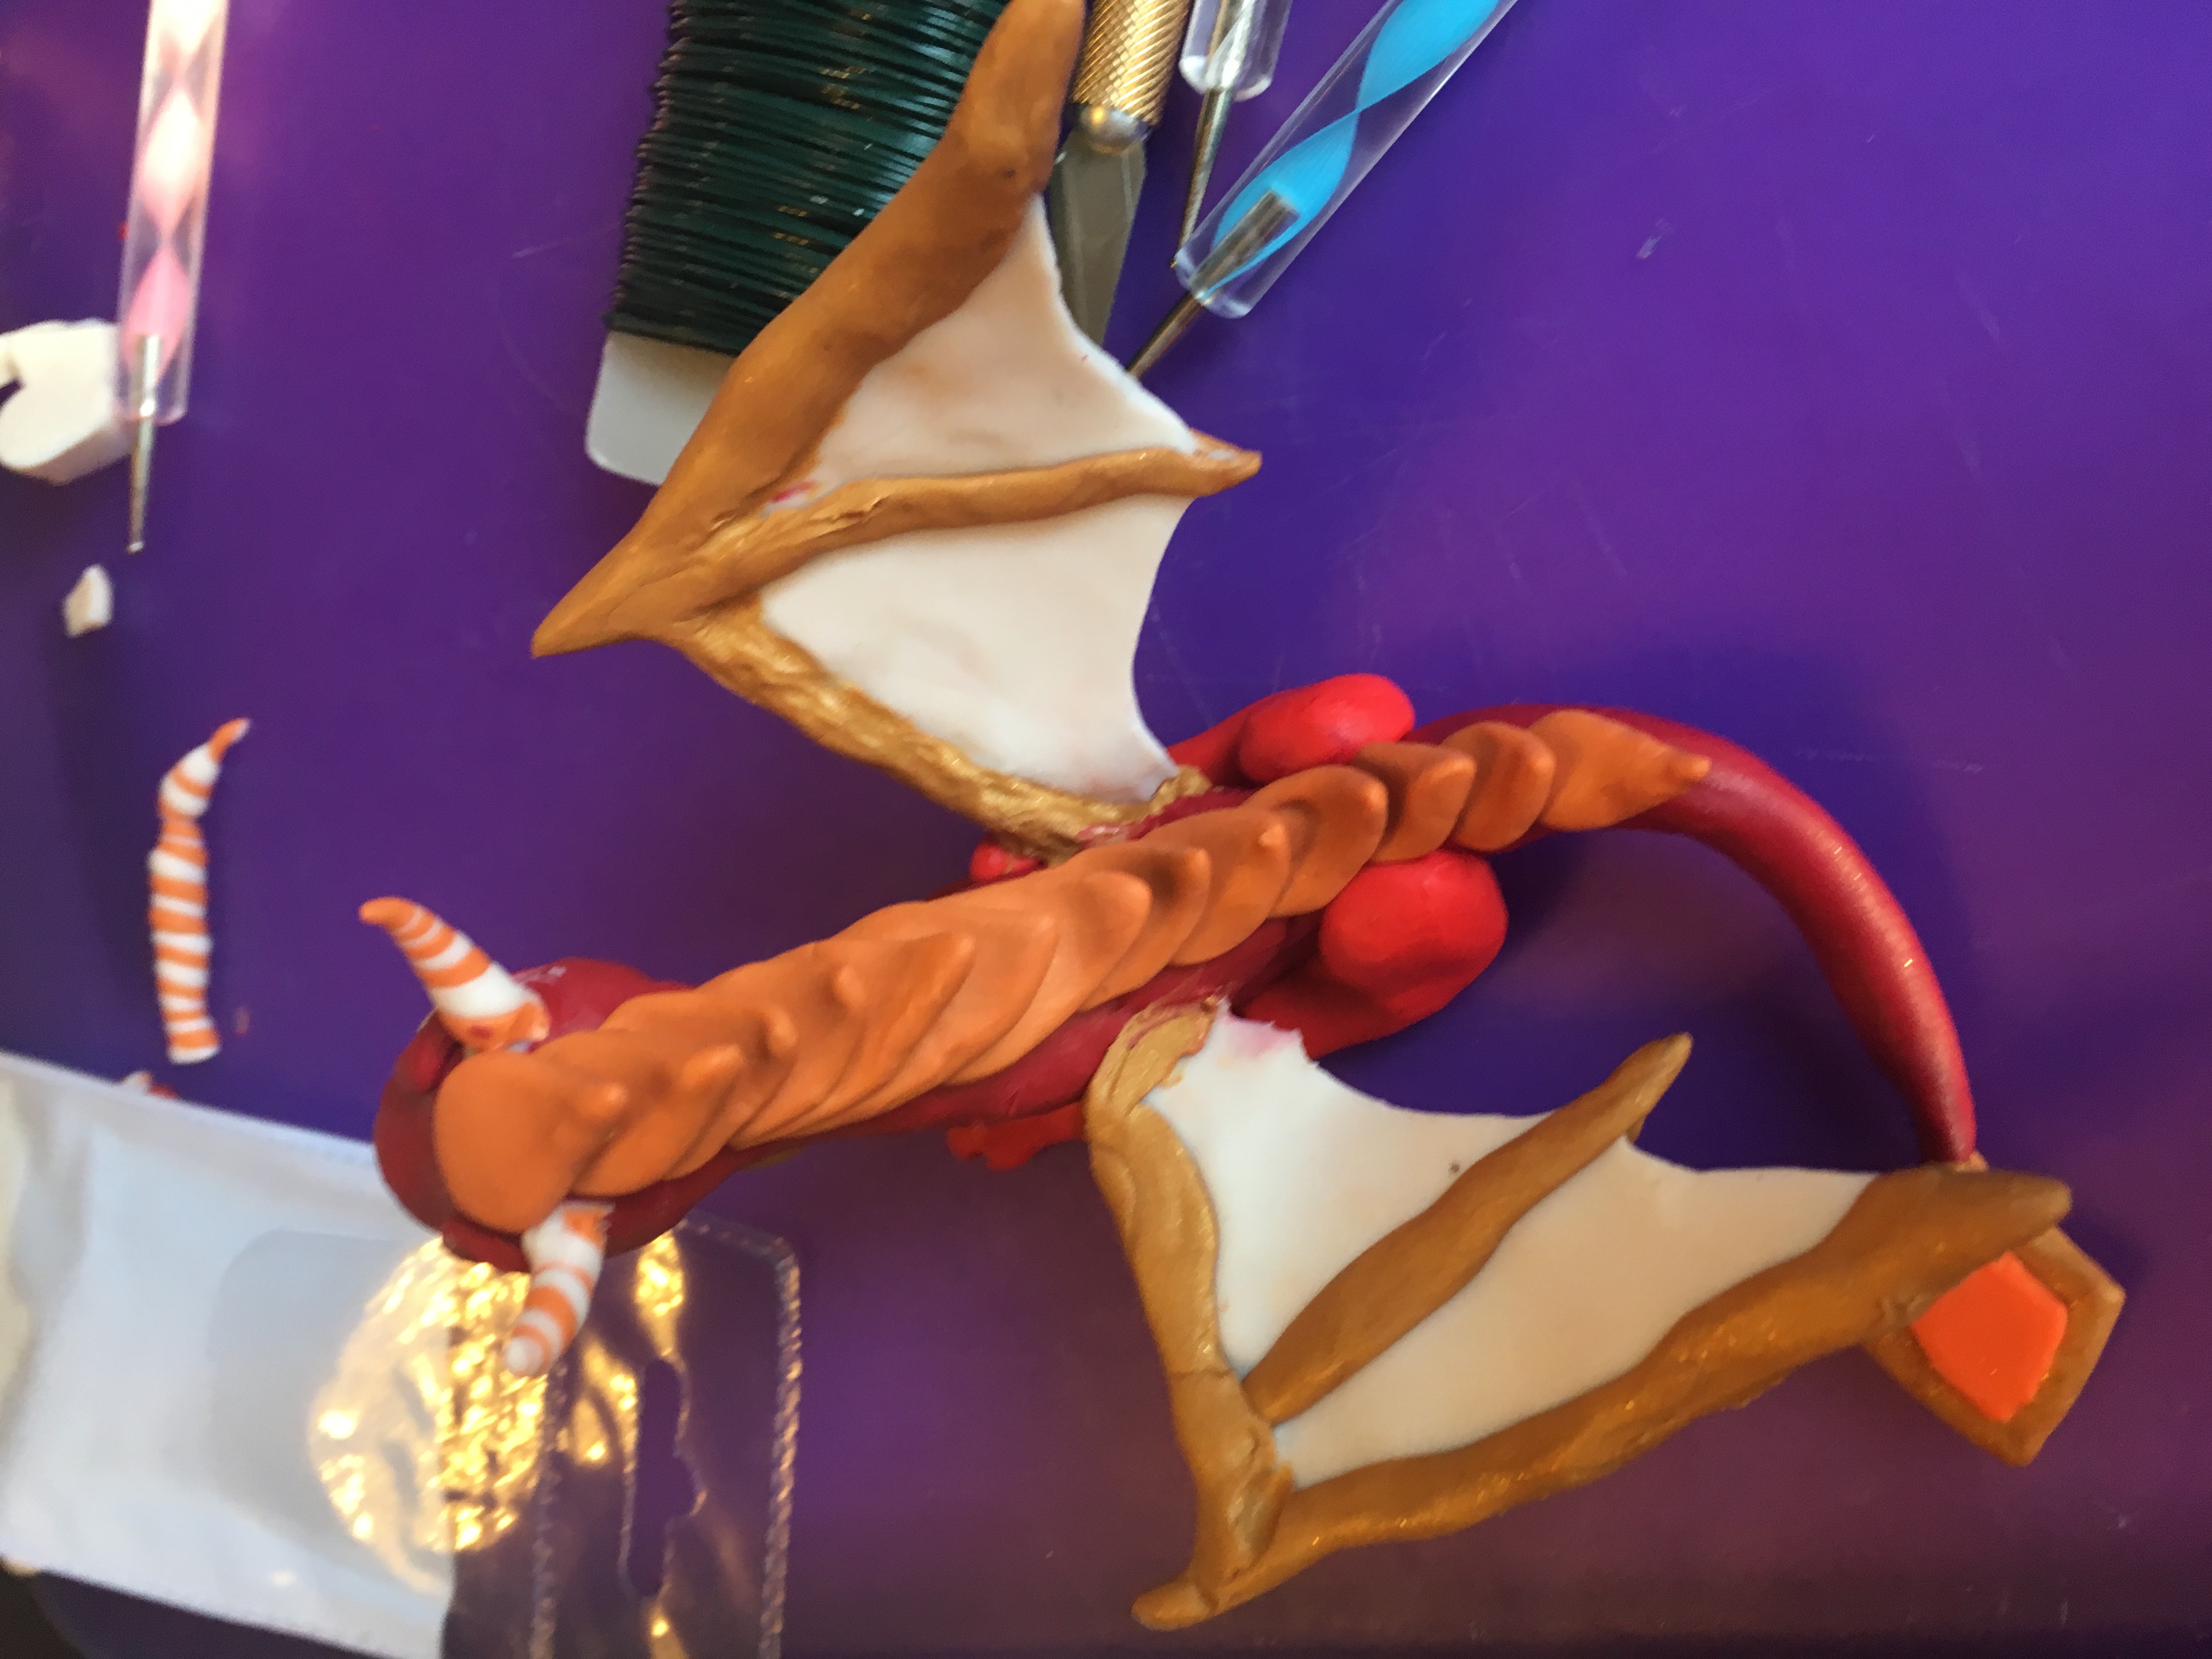
For the horns, I took orange and translucent Sculpey and twisted them together, and blended it into the clay with my Exacto. Make tear drop shapes out of Sculpey and, starting at the end point, layer them going all the way up to between the horns.
Baking
Preheat the oven to 275 and bake for about 15 minutes. Because the Translucent Sculpey is so thin, the clay cannot bake for the full 30.
Finish
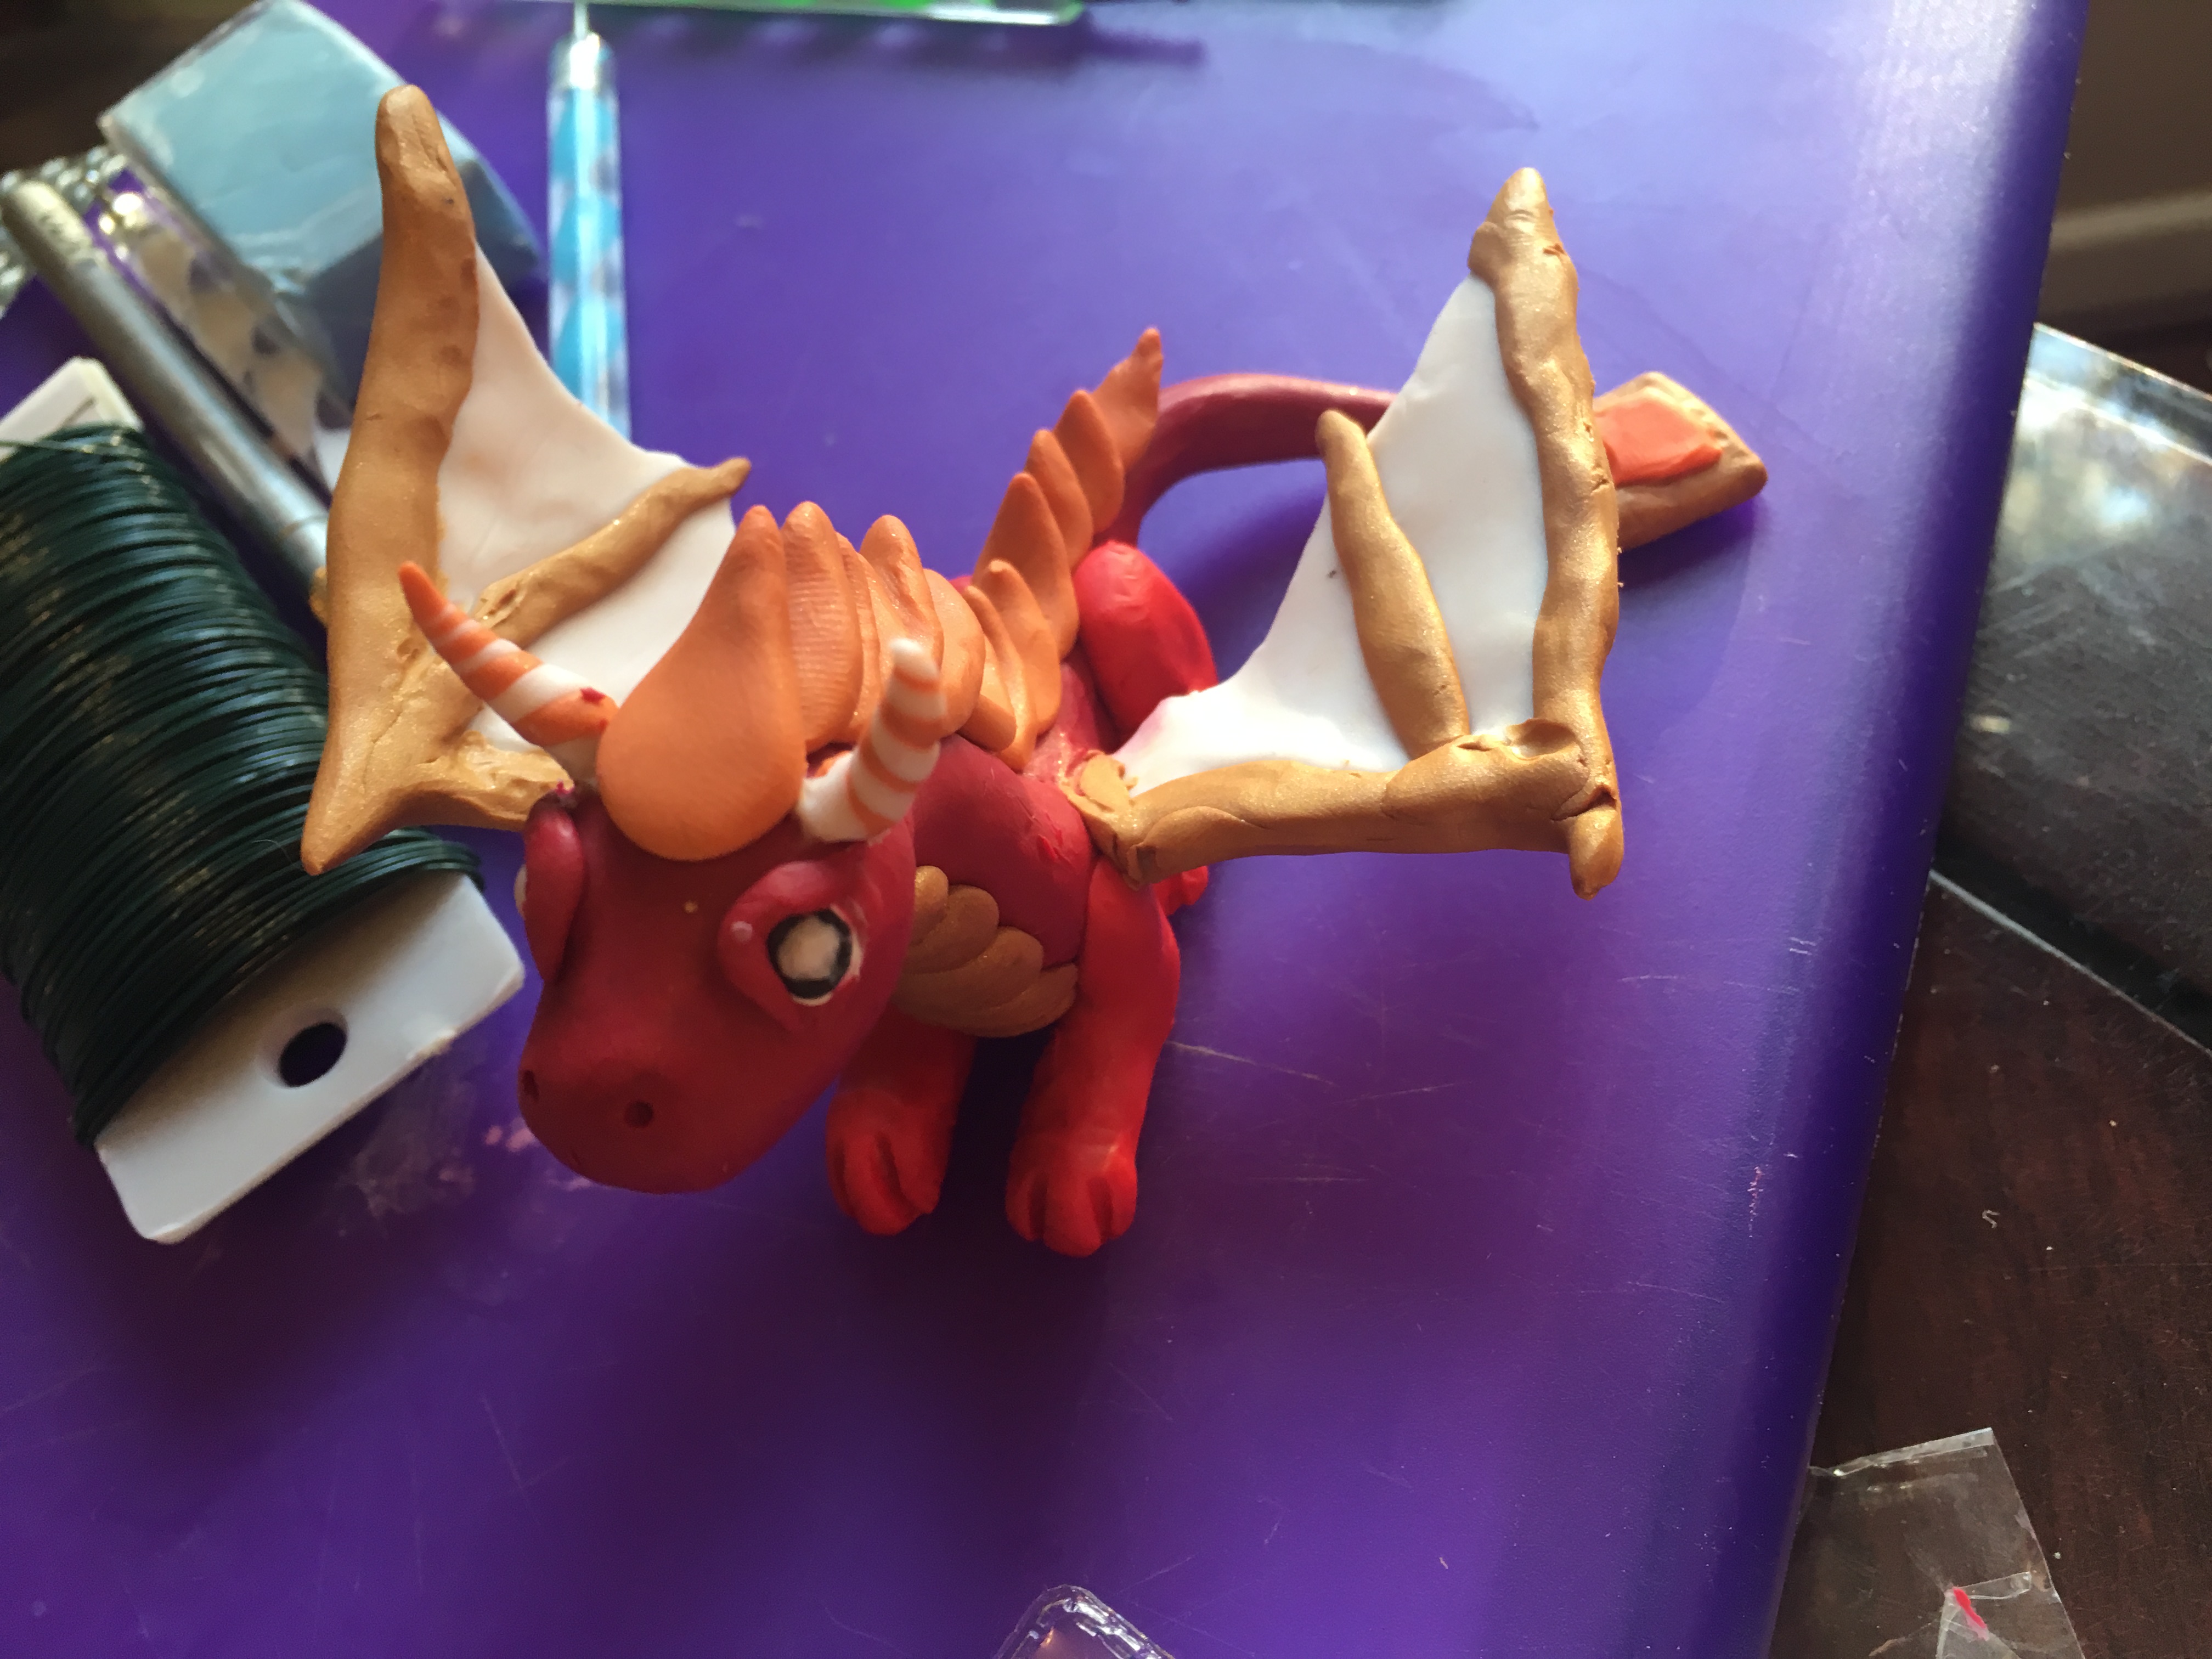
Optionally, once Cinders is cooled, glaze or clear coat can be applied for a shiny effect, or he can be left matte. Either way, you are done. Happy crafting!
Save to Pinterest