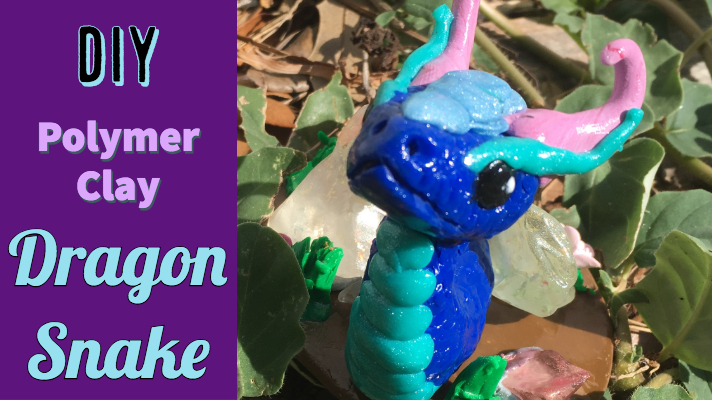
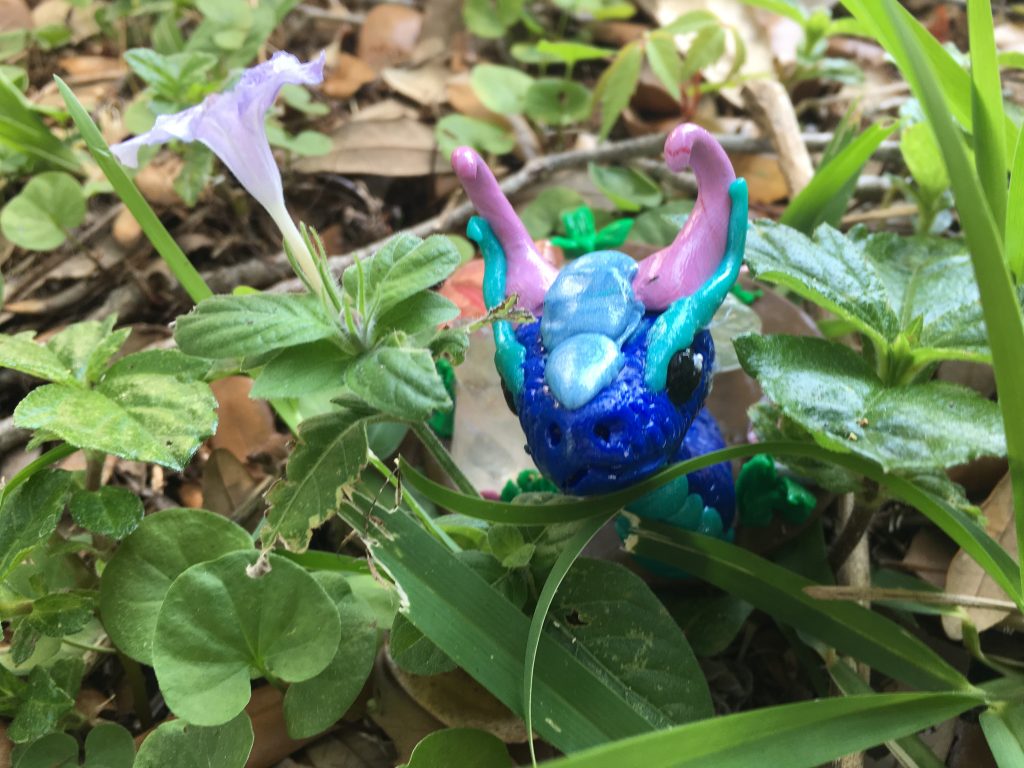
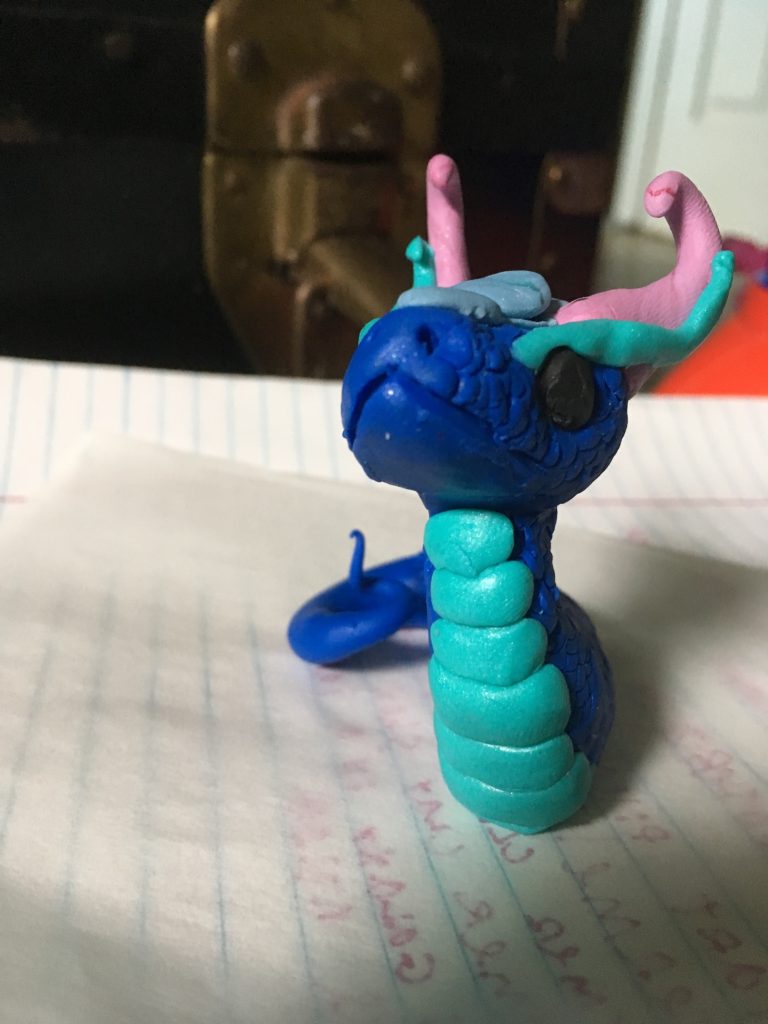
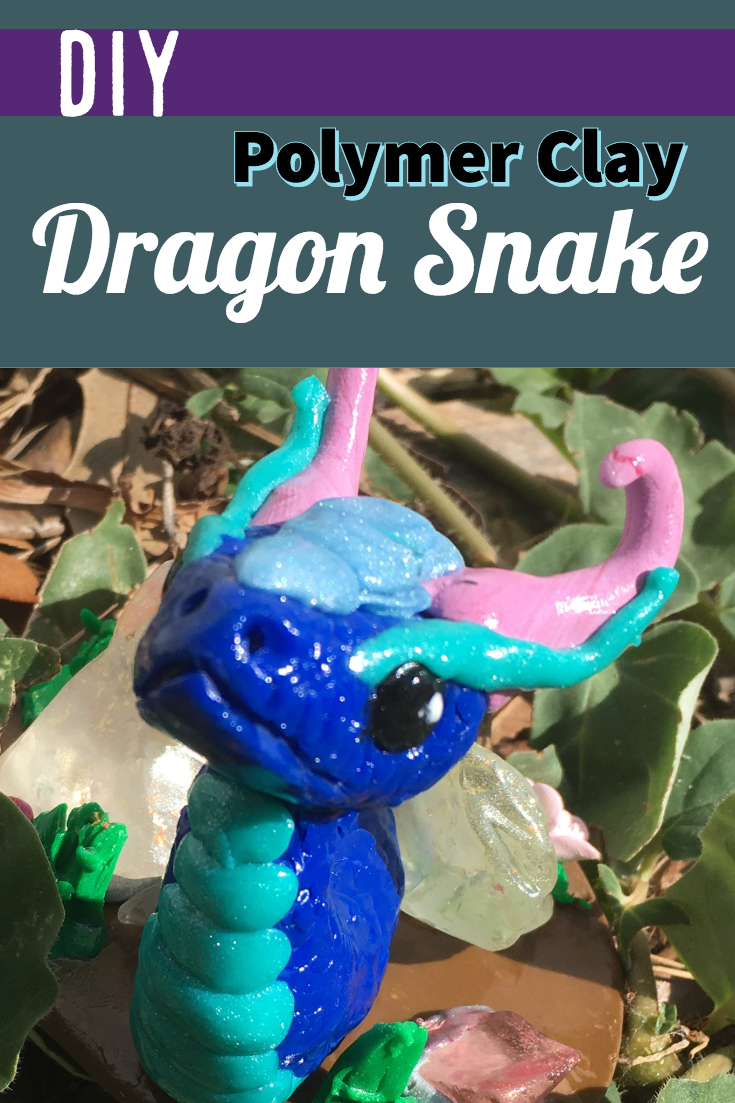
Have you ever seen a snake as cute as this one? This little guy took about two hours to sculpt from start to finish, and he is simply magical. This tutorial will show you how to make this little Polymer clay dragon snake as easily as possible.
Materials
- A sample set of Sculpey, this set is preferred
- A dotting tool set
- Wood carving tool for the scales, I used the curved one
- Parchment paper
- Wire
- Multifunction tool with pliers, Gerber is one of the best brands there is
Step 1: Choosing your Snake’s Colors
Start by picking out four colors that go together, preferably one base color that stands out against the other colors. I chose dark blue, light blue, turquoise, and also a metallic blue.
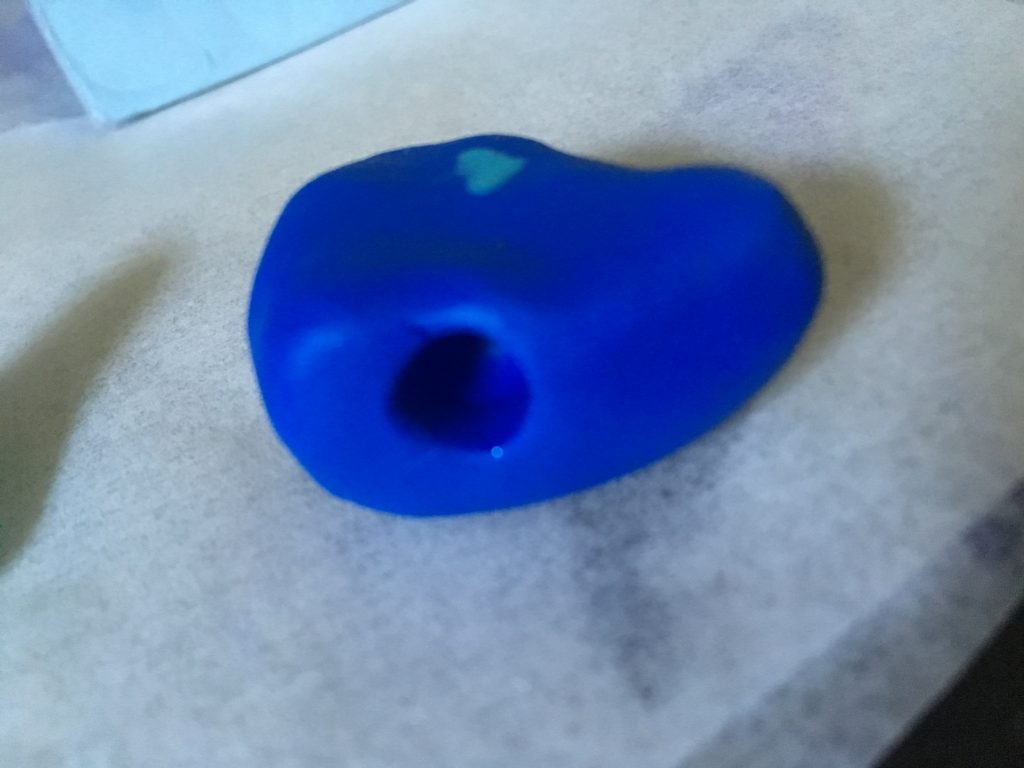
Step 2: Cut a Piece off and Sculpt
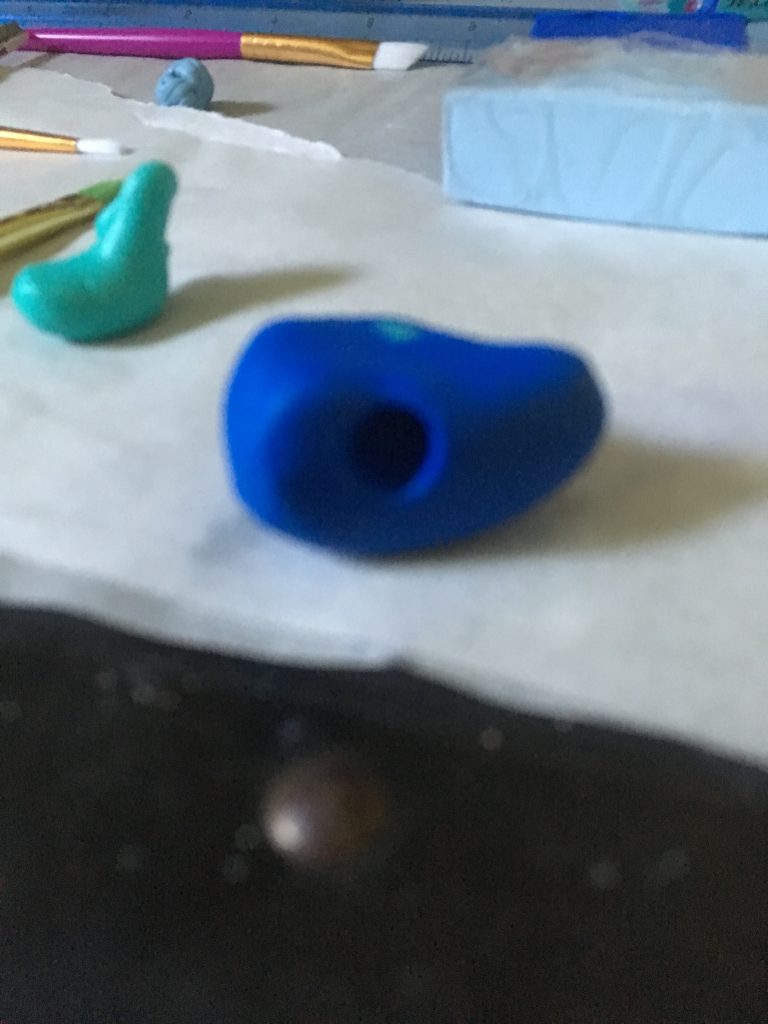
Cut a piece of dark blue clay, about a fourth of the block, and knead it on your hands. Once kneaded, shape it into a very rounded triangle. Round the back of the head as much as you can.
Step 3: Poking eye Sockets on the head of your Polymer Clay Dragon Snake
Using a large dotting tool or the end of a paint brush, gently push in two eye sockets on either side of the head. Look down the middle of the nose to make sure they are as even as possible.
Step 3: Sculpting the Horns
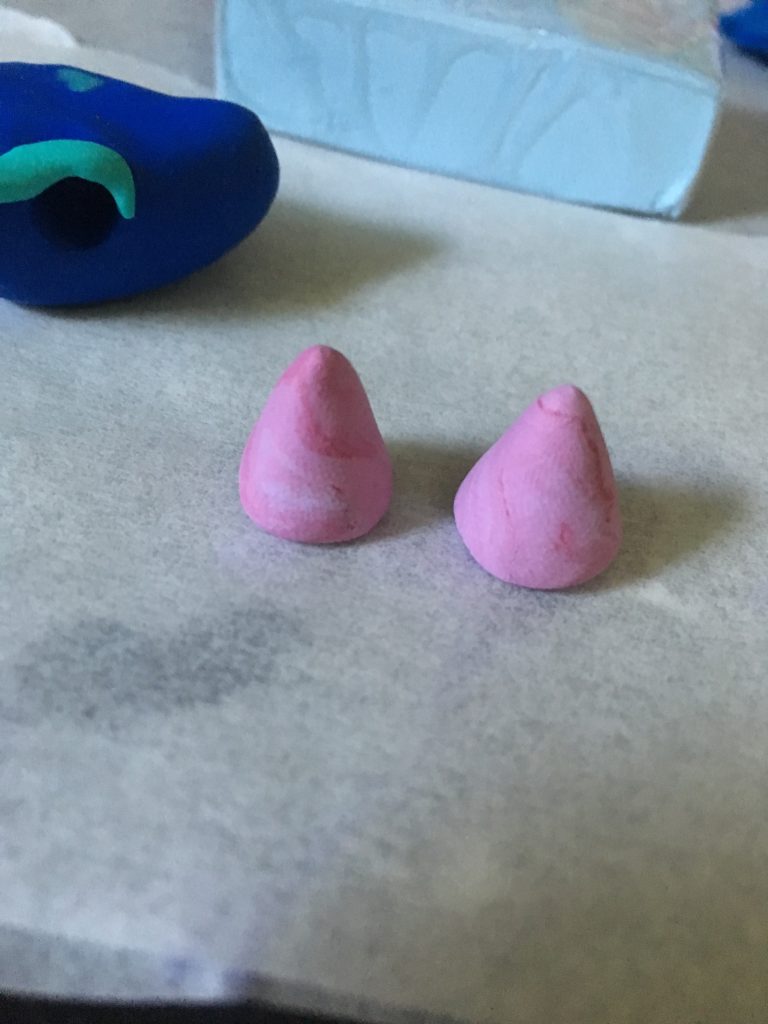
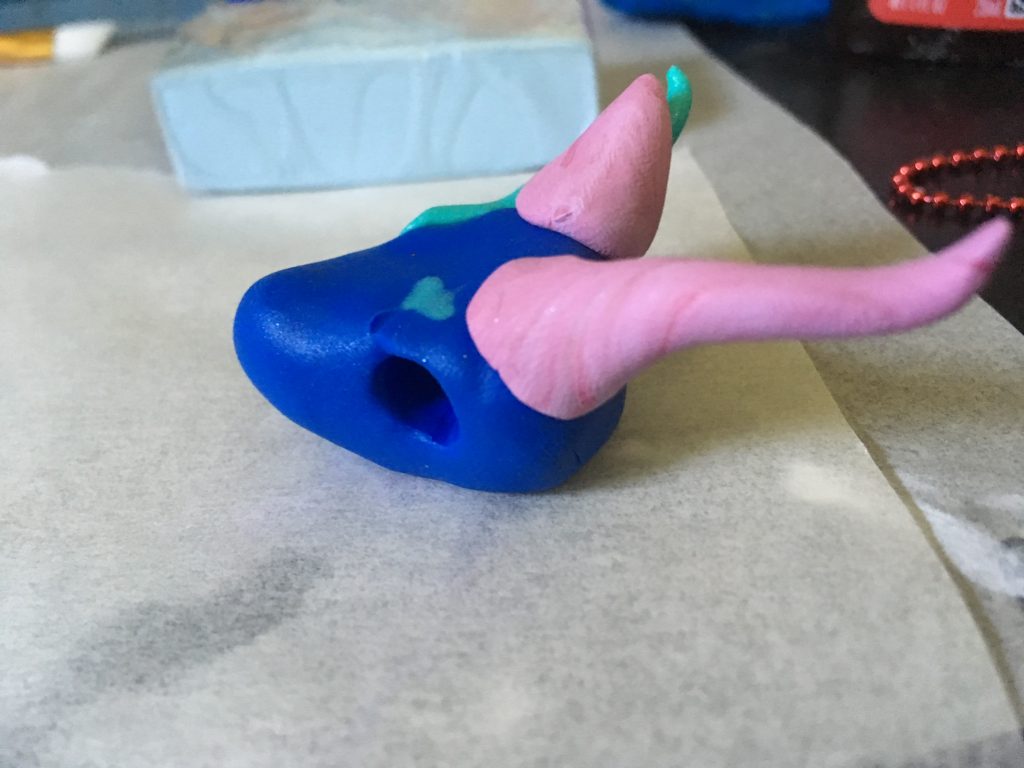
For the horns, I mixed some light purple and red together but not all the way mixed, and left them as nubby cones until I attached them to the head, then I rolled them between my fingers gently to make them long and curled the tip slightly.
Step 4: Making the Polymer Clay Dragon Snake’s Eyebrows
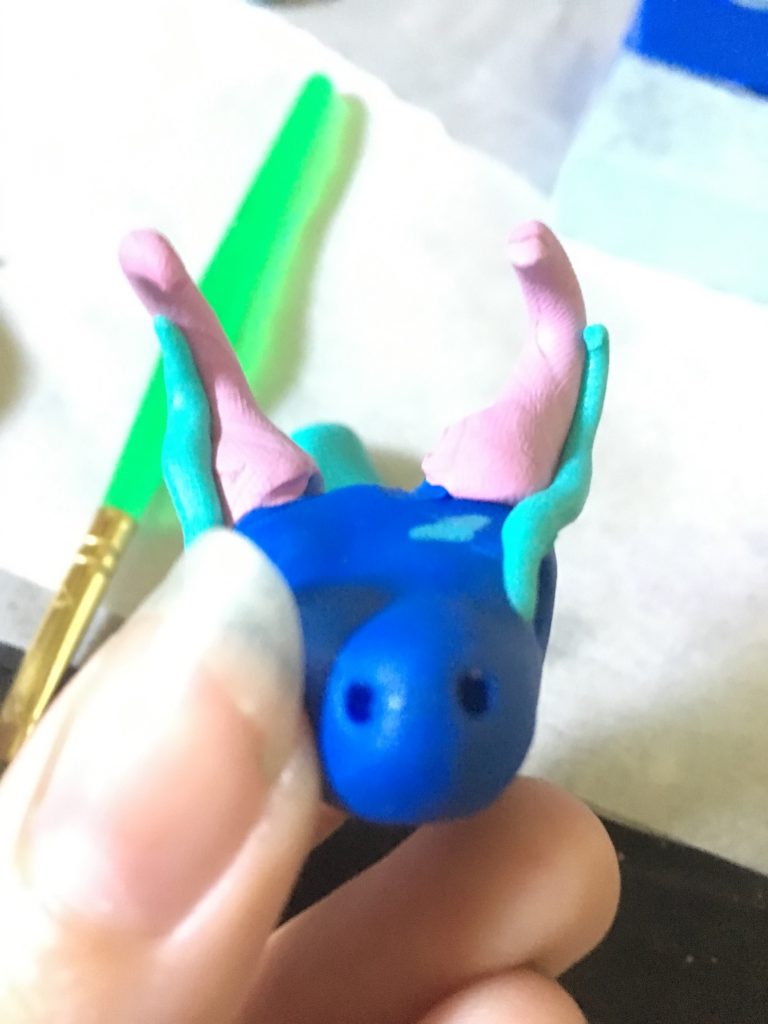
Normally you would do the eyeballs before eyebrows, but I decided “what the heck, I’ll do the eyebrows first”. Roll out a thin piece of clay about in inch and go over the eye and press it gently onto the horn, curling the tip slightly, away from the horn. Use a dotting tool to smooth it out around the eye socket so that you can easily pop the eyes in later.
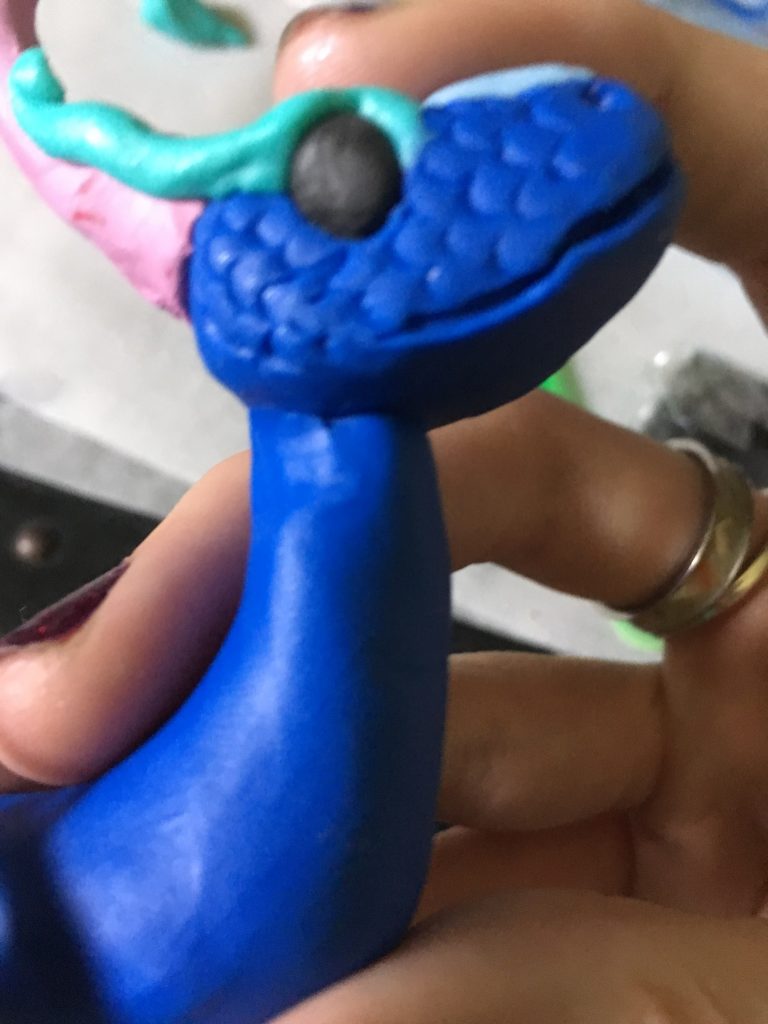
Step 5: Nostrils and Smiles
Using your dotting tool, start poking bits of black clay into the eye socket. With the wood carving tool, turn it upside down so that the bottom jaw is more carved out than the top and carve out a smile, starting in the middle between the nose holes and carving to one side, then doing the same for the other side.
Step 6: The Three Nose Plates of your Polymer Clay Dragon Snake
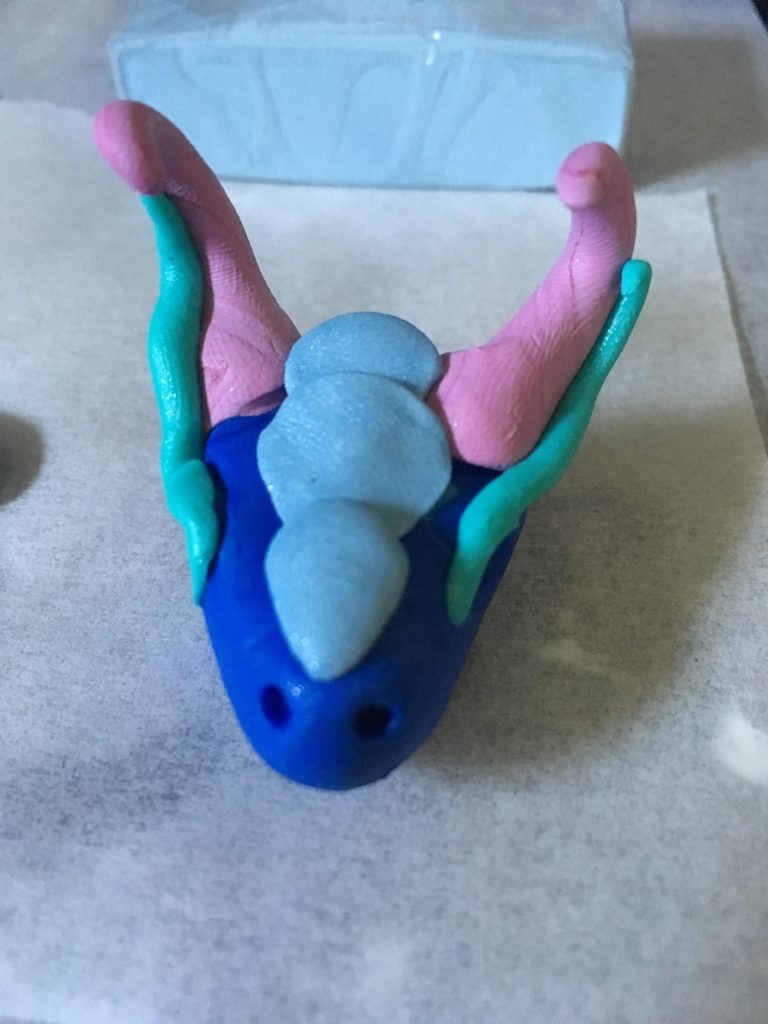
Start by making three little rounded triangles out of light blue metallic clay, one small, medium and large, about an eighth of an inch thick. Ajust the medium one to fit between the horns, the large one to go on the middle layered on the medium one, and the smallest one to go on the tip of the nose on top of the end of the large scale.
Step 7: Scales on the Face
Using a large dotting tool or the rounded end of a paint brush, gently stab the bottom of the head so that it is on the paintbrush or dotting tool very securely. Using the wood carving tool, make scales by pressing it into the flesh of the snake gently at an angle, and do this all over the face except for the eyebrows, horns, eyes, and the light blue scales.
Step 8: Sculpt the Body
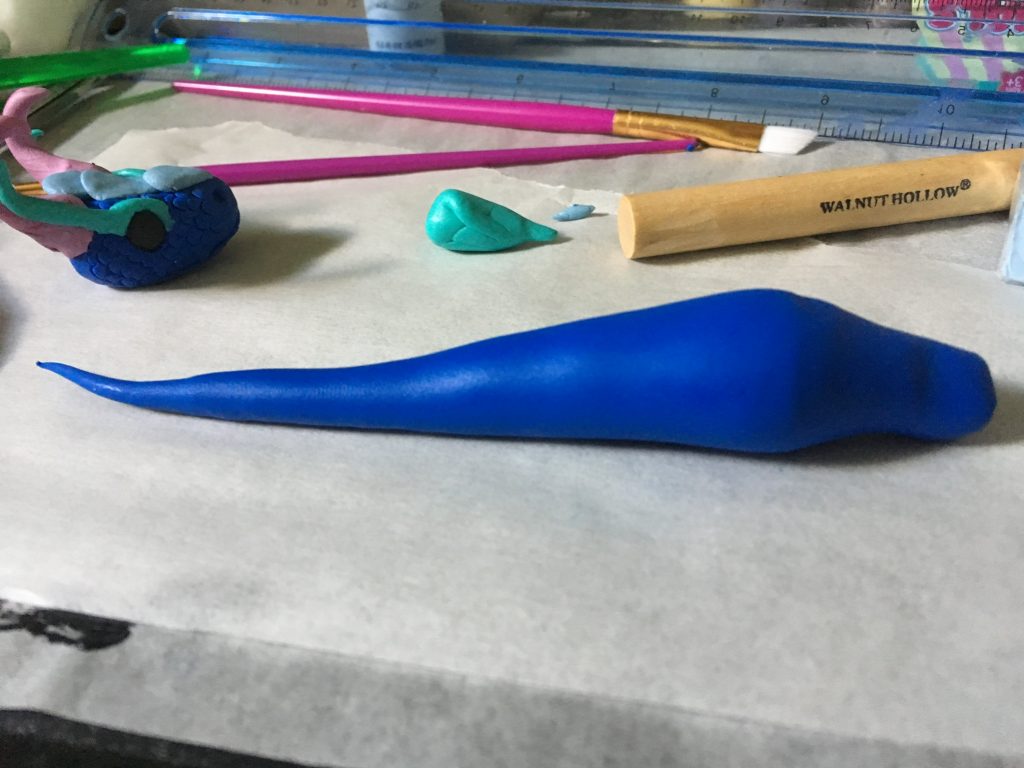
Knead the rest of the dark blue clay, and roll it out so that the tail is long and ends in a point, the belly is the widest part and the neck is thick enough to hold the weight of the head.
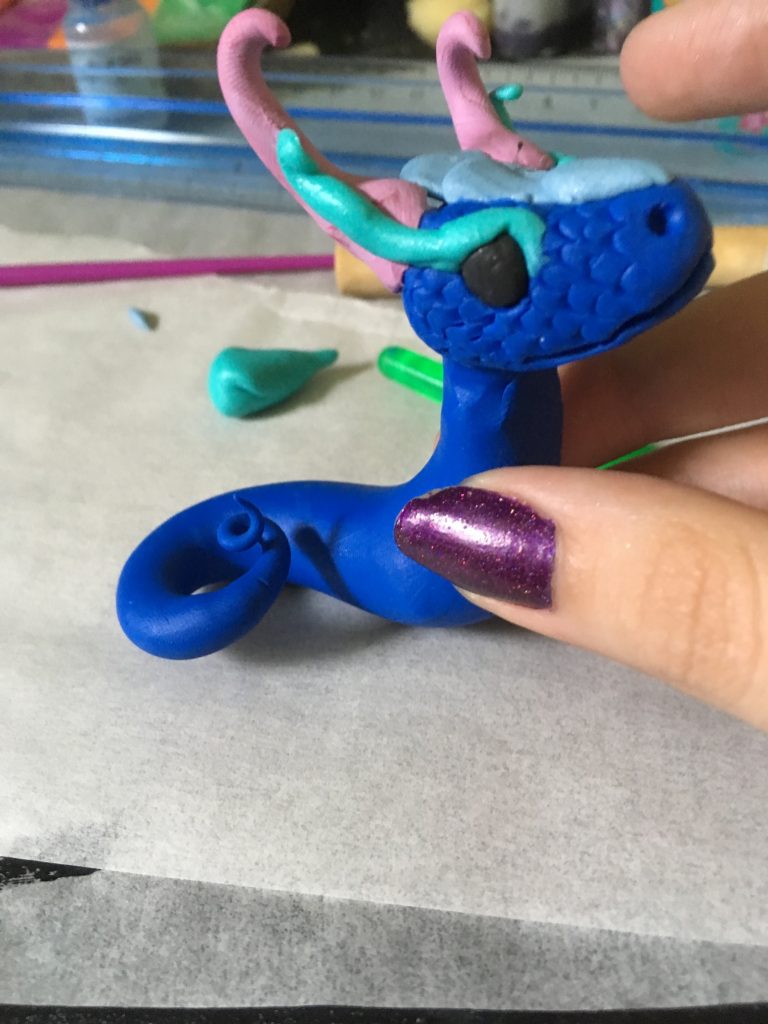
Step 9: Shaping the Body
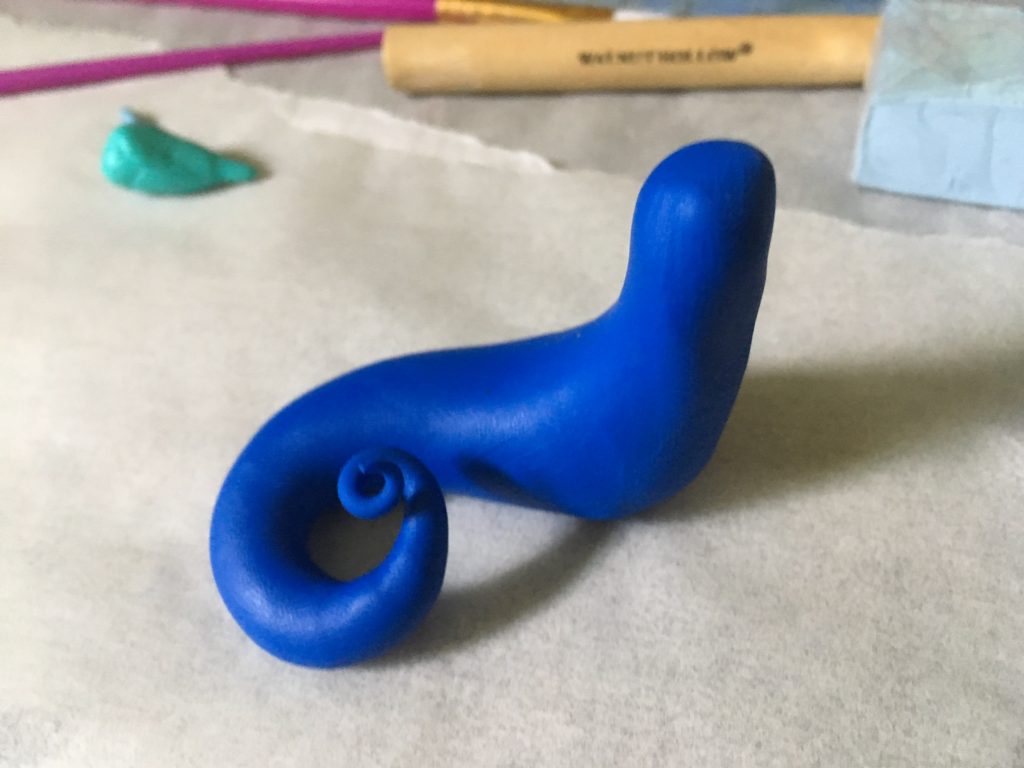
Curl the tail around for support and angle the neck straight up. Make sure the sharp end of the tail makes a cute little swirl, and can hold itself up.
Step 10: Attaching the Head to the Body
Gently take the head off the dotting tool or paint brush and make sure the top of the neck is thin enough to fit inside the head hole. Put the tip of the neck into the head hole and use a dotting tool to securely blend the two pieces together.
Step 11: Making the Belly Scales
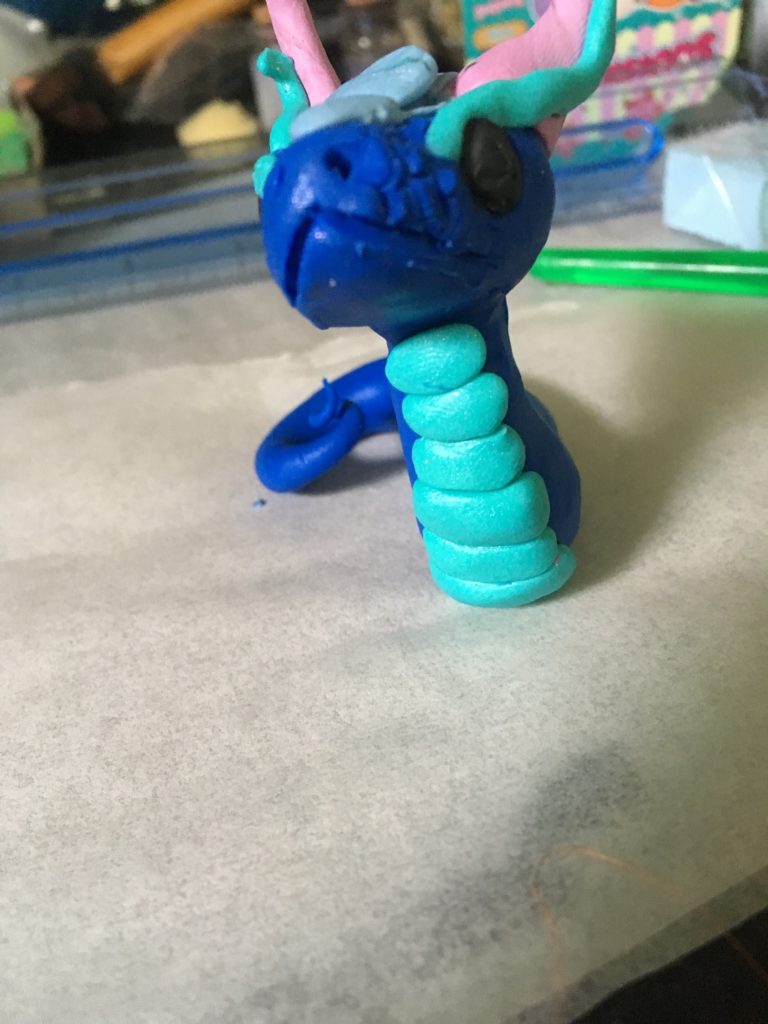
Using the same color used for the eyebrows, roll out thick little ovals of clay and press each one onto the underbelly, being careful to not knock the snake over. He was a little bit top heavy, so do be careful. The underbelly scales will help him stabilize a bit, if one of the scales is very close to the bottom so that it can rely on it for support.
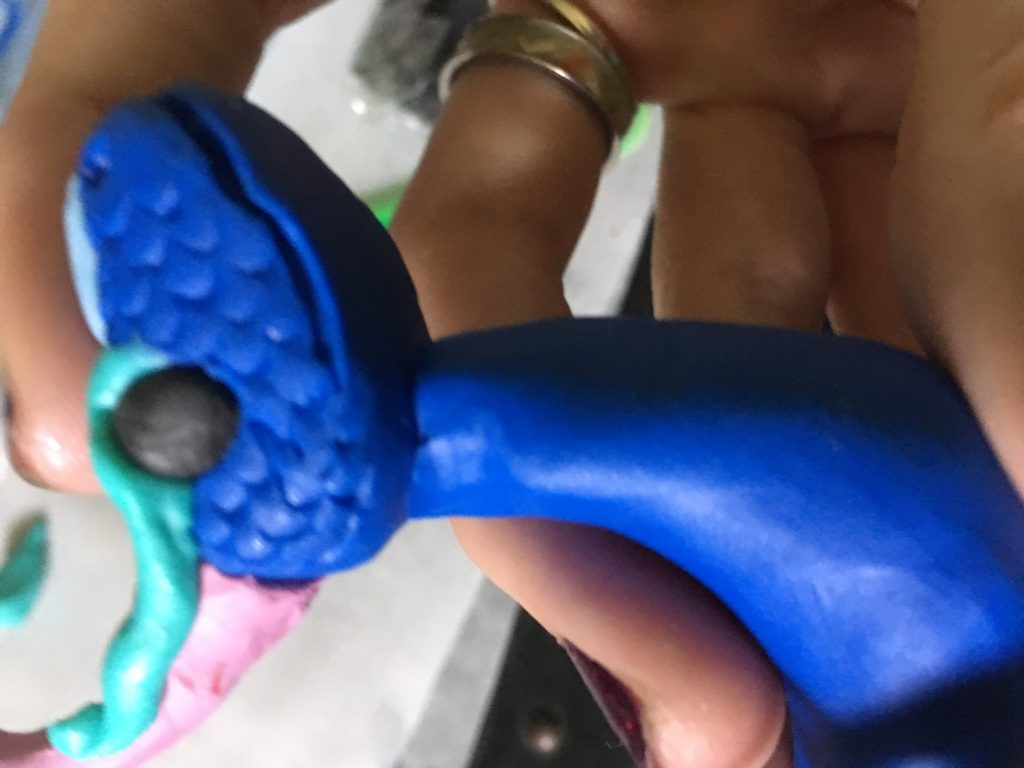
Step 12: Putting Scales on the Entire Polymer Clay Dragon Snake’s Body
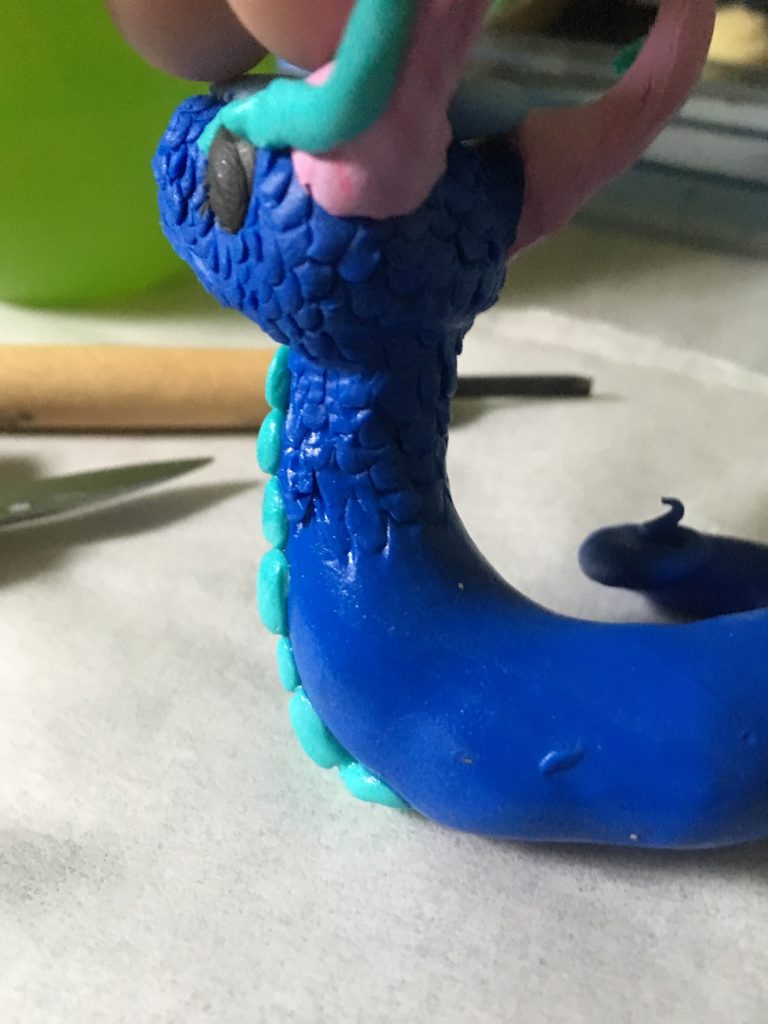
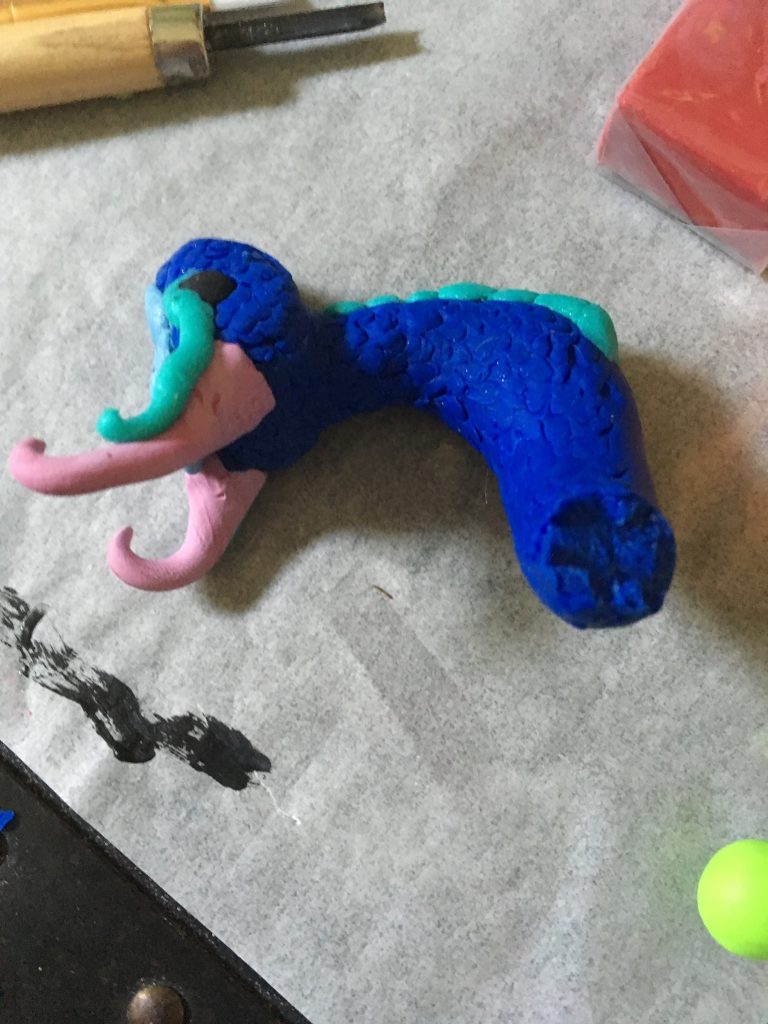
So for this step, take the wood carving tool and starting at the base of the head, gently carve scales into the body, being extremely careful, and-…Oh.
Looks like Someone Wasn’t Careful Enough.
We can fix this. Finish scaling the body and use two pieces of wire, about an inch long, to reattach the head.
Step 13: Act like Nothing Happened
See? Add a few more scales and it all blends right in. Nobody has to ever know what happened.
Step 14: Baking the Polymer Clay Dragon Snake
Pop him in the oven at 275 for about half an hour, being very careful to make sure he does not fall over in the oven.
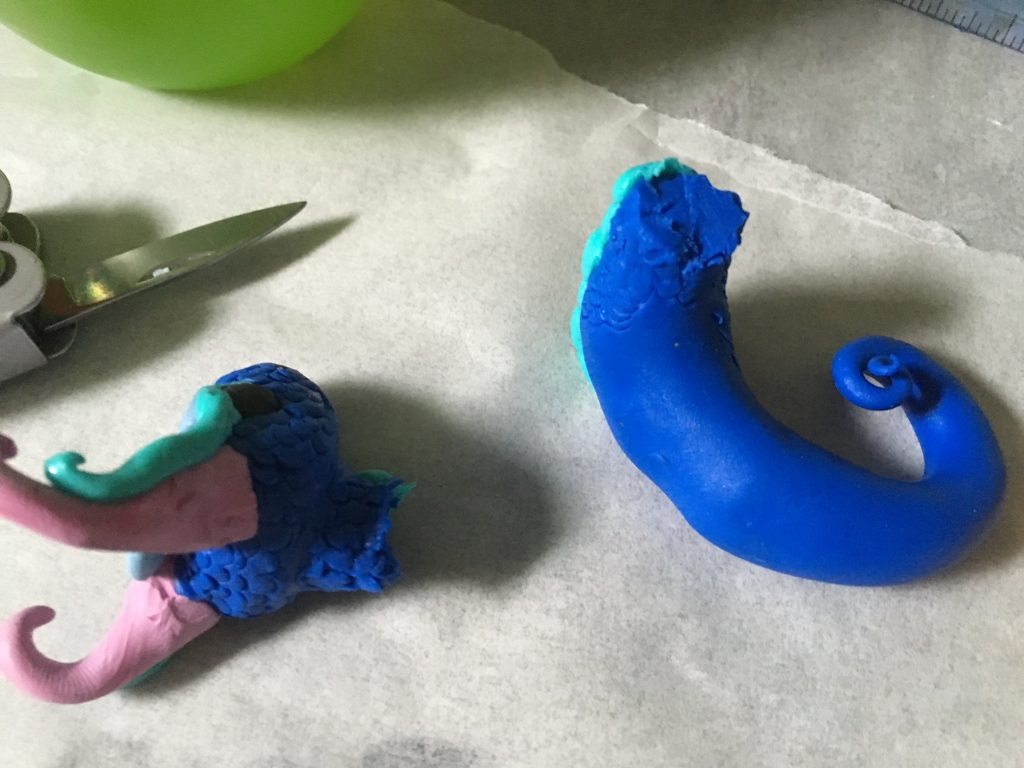
Step 15: And he Fell.
As the creation is pulled out, you realize he fell over when the oven door was shut and nobody noticed. In desperation to fix his posture, his tail breaks off and that two hours of sculpting is seemigly completely useless. But don’t worry, this can be fixed! Part two coming out next.