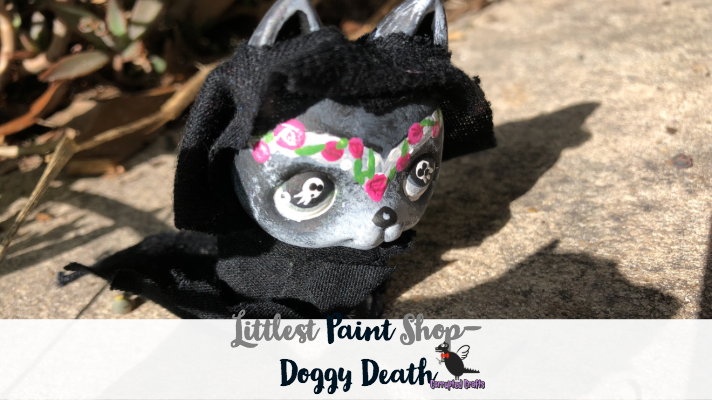
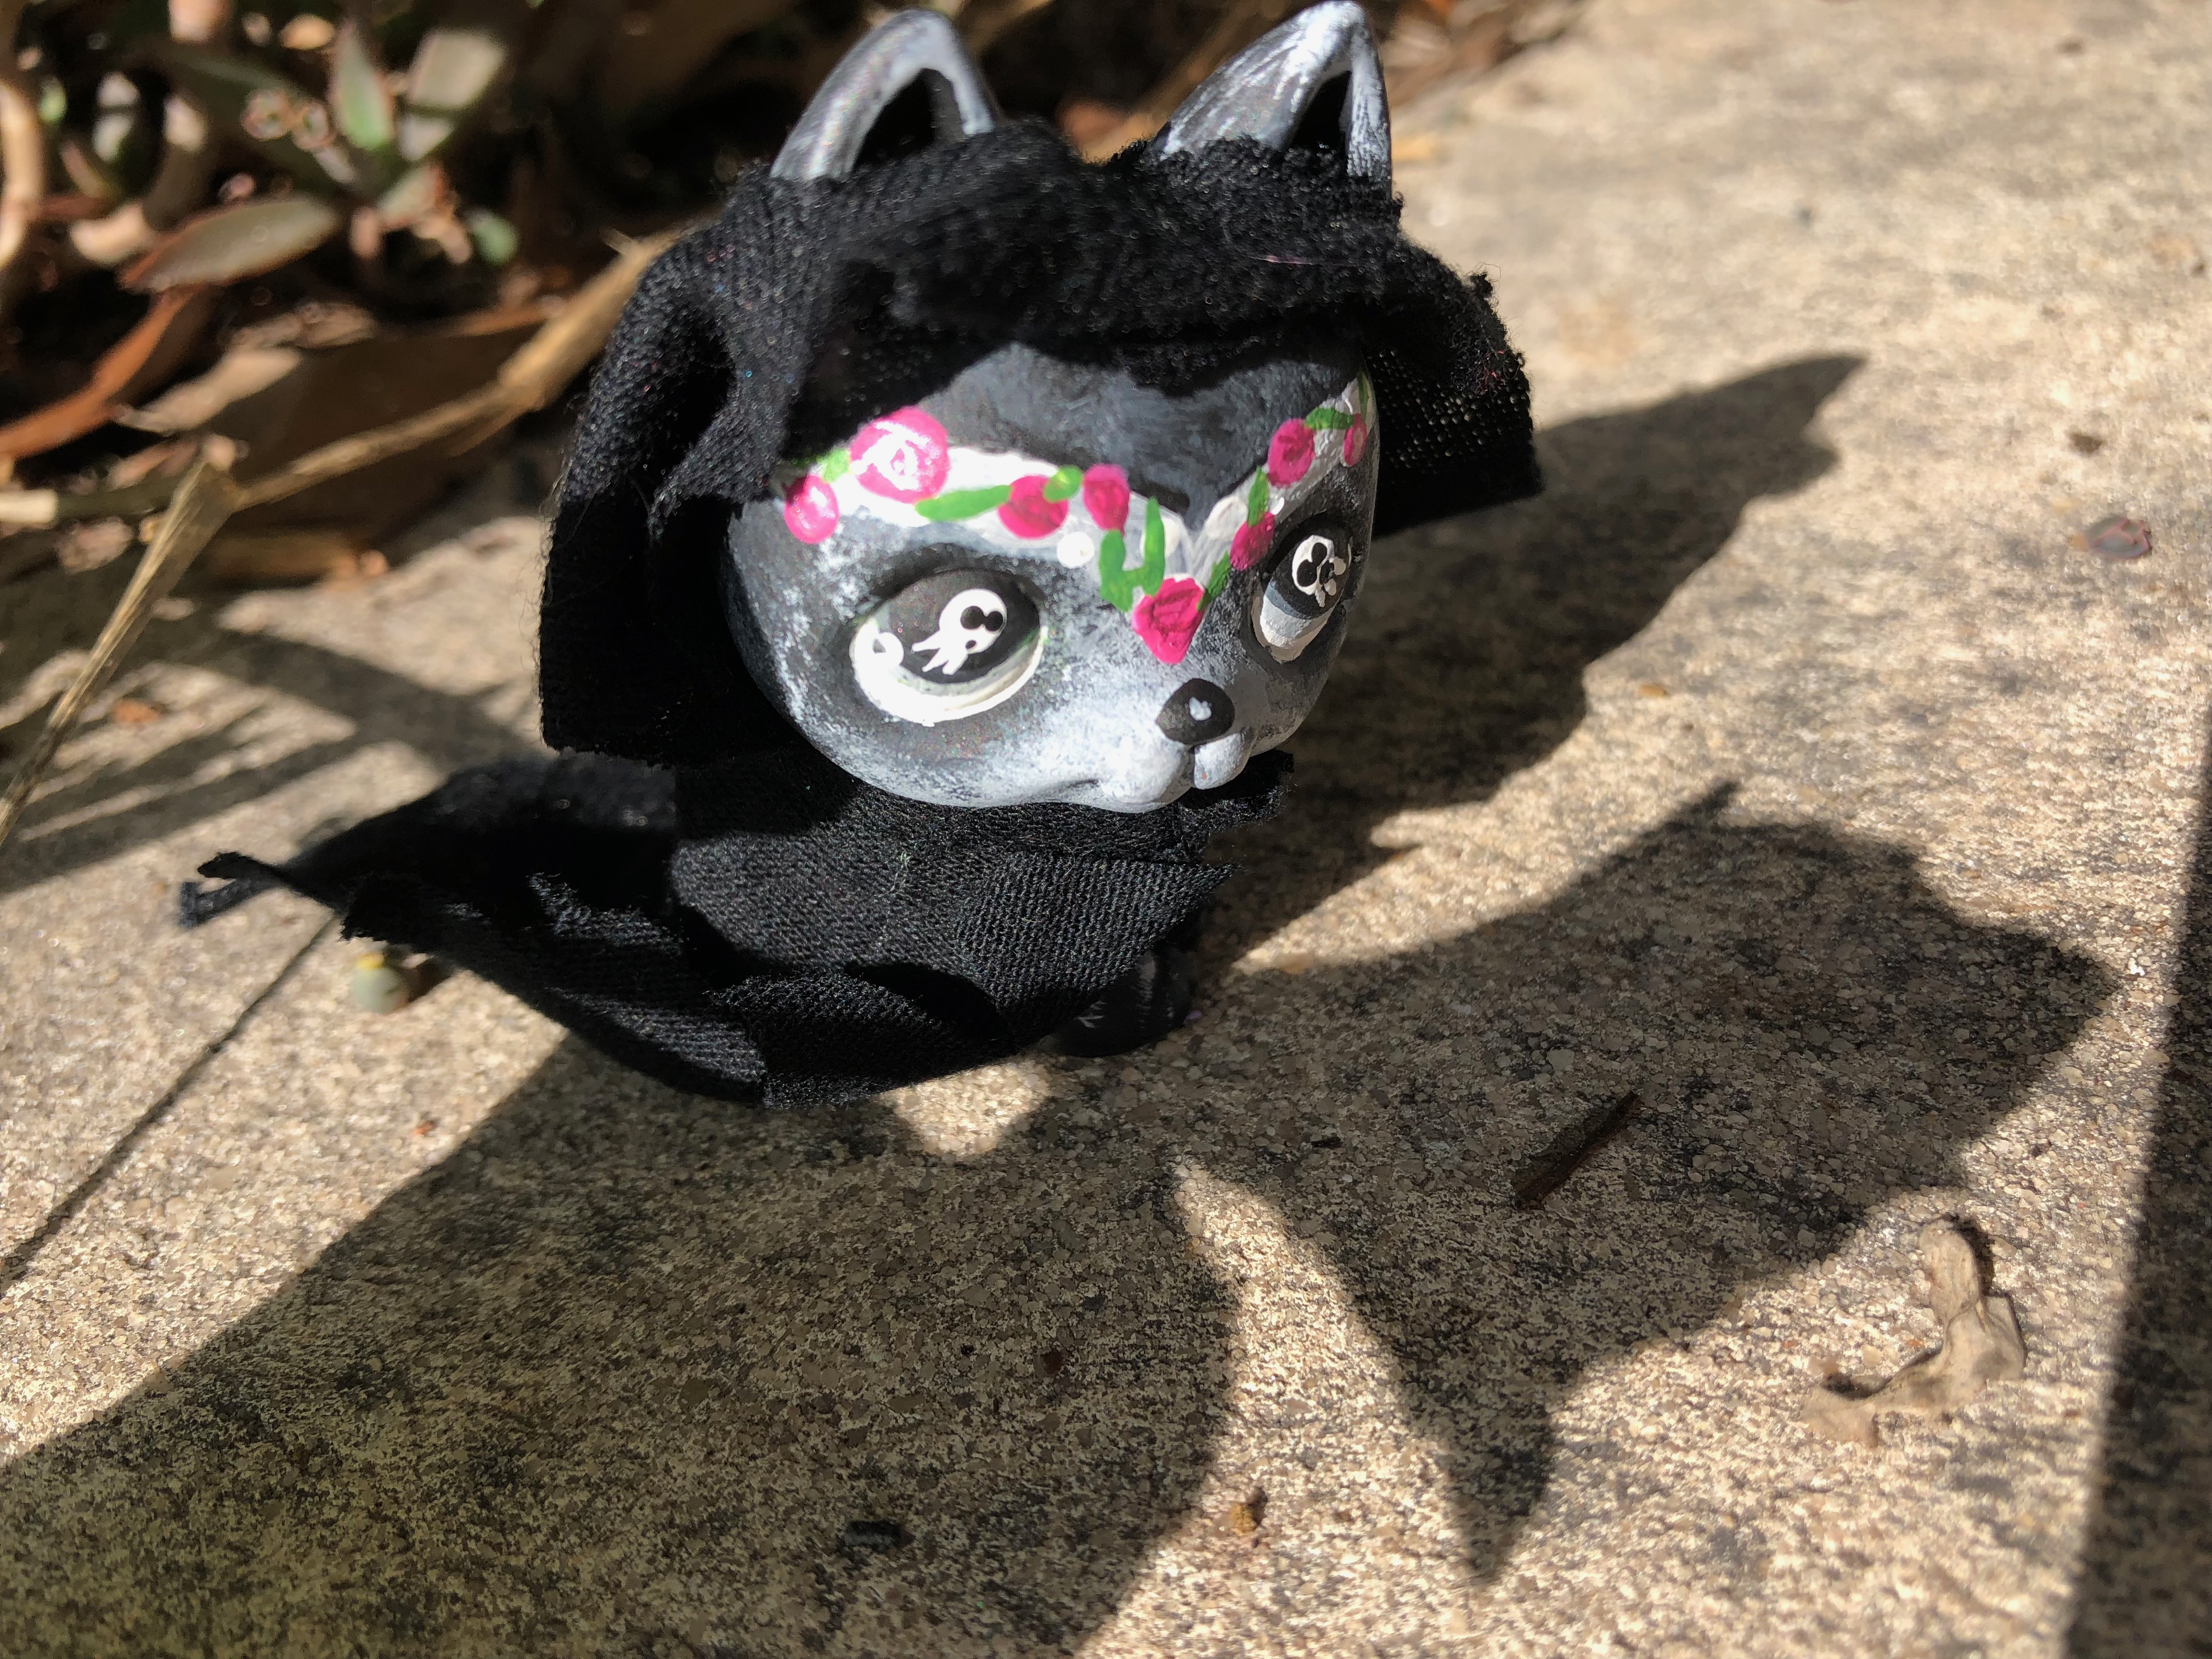
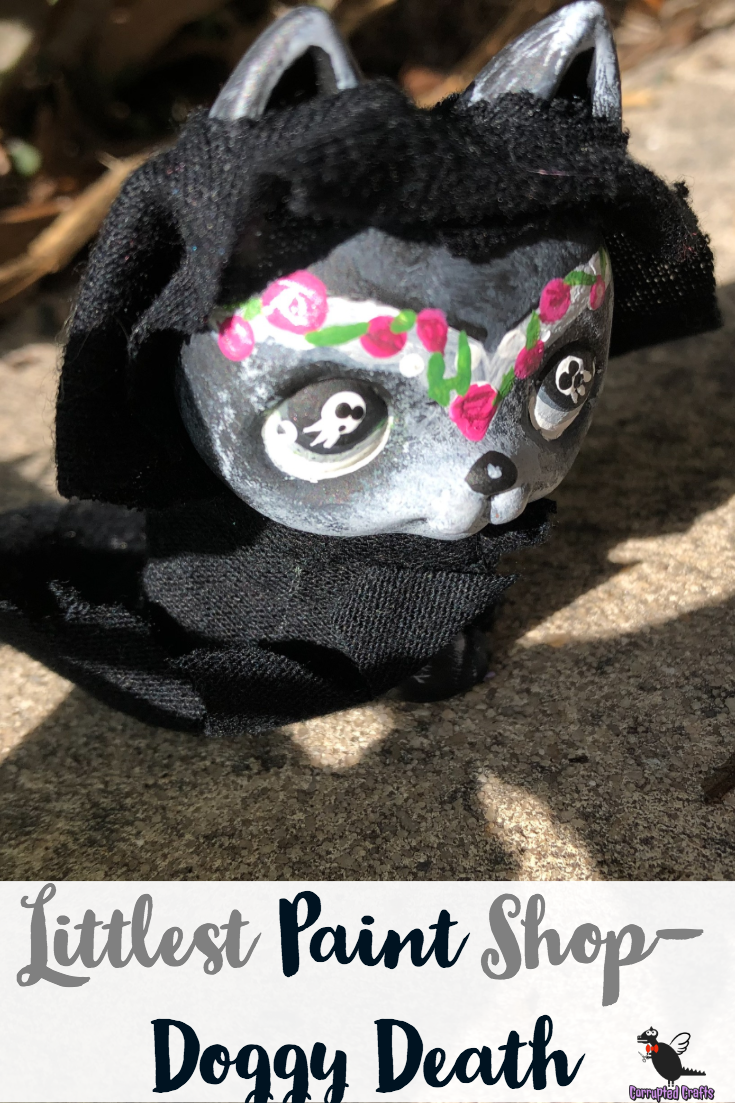
Not all reapers have to be scary skeletal demons. This cute little LPS Customs Cute Doggy Death is absolutely adorable. He started off as a boring German Shepherd and now he is a collector of souls. This custom was very easy with a very limited color pallete.
What you will need
- White paint
- Black paint
- Fine paint brushes
- Pink paint
- Pink metallic acrylic
- Green paint
- Dotting tools
- Scissors
- A little black cloth
- Superglue
Covering your Work Surface
Start by putting down plenty of newspapers and put on clothes you don’t mind getting ruined. No matter how hard you try, there’s always a chance of ruining your clothes and table. If you happen to get paint on your clothes, immediately add water to the spot and try to scrub it out as best as you can. A lot of times, fresh acrylic can be rinsed and squished out of fabric.
Starting the Base of the LPS Customs Cute Doggy
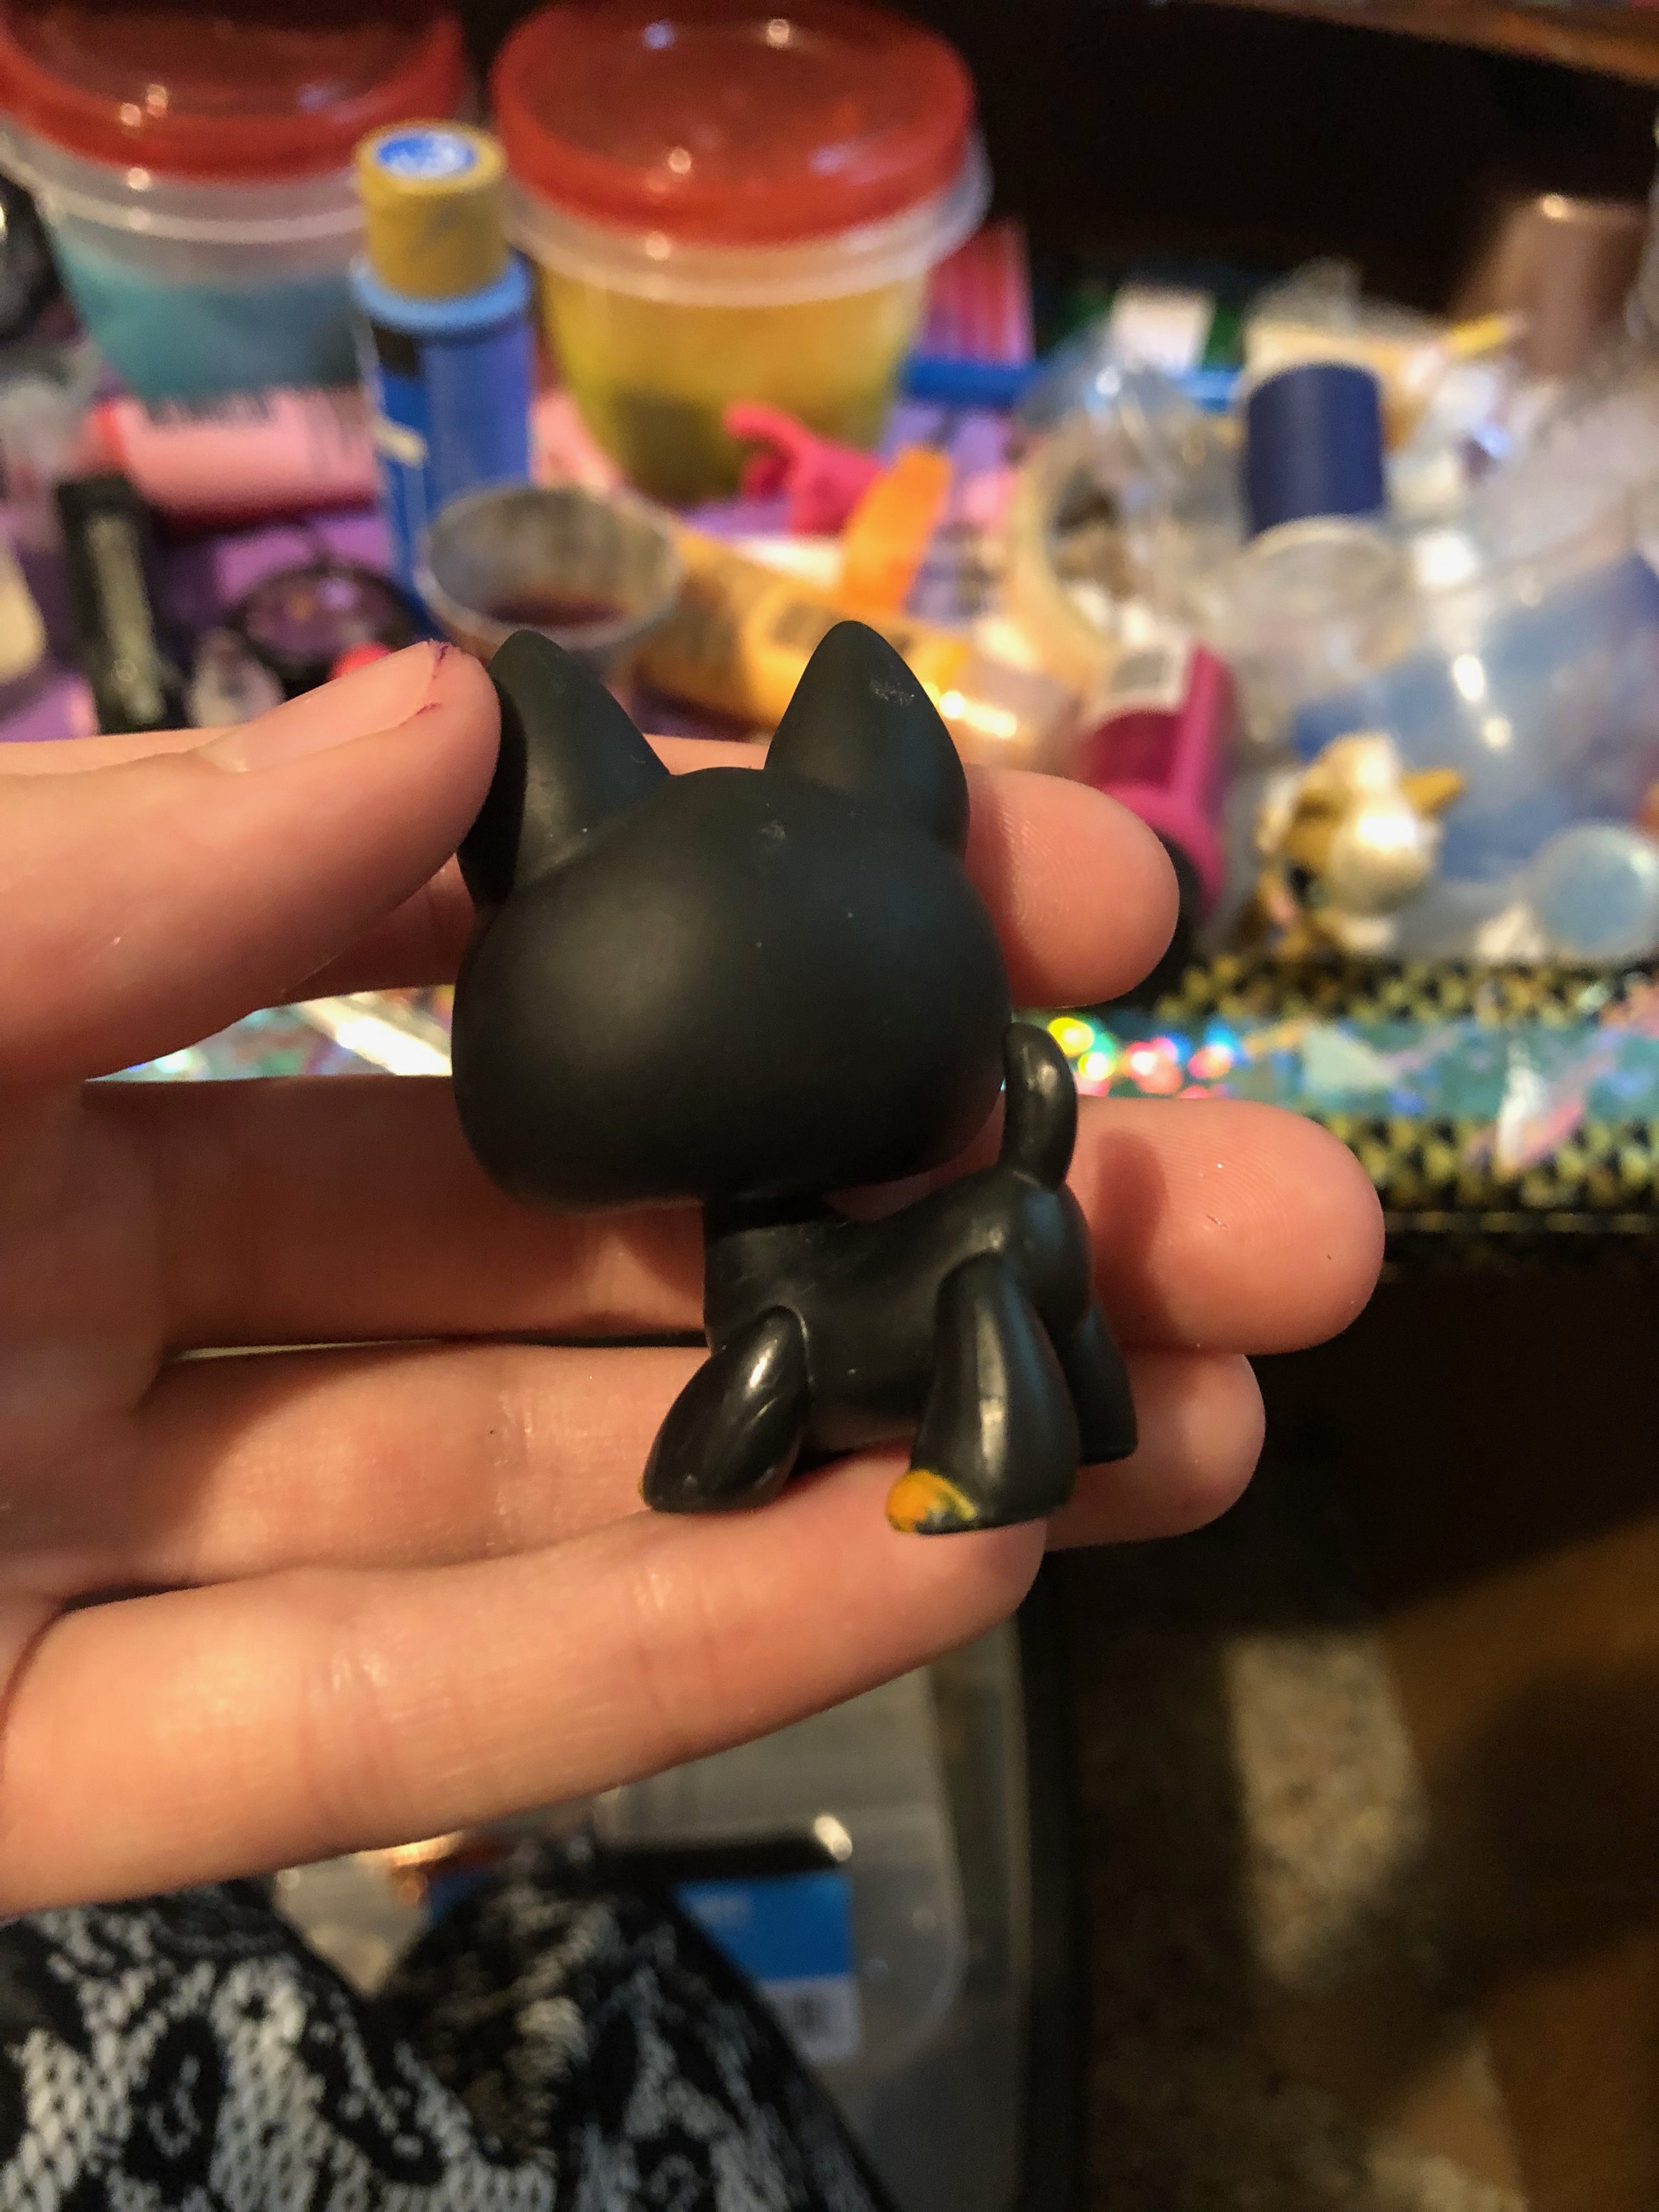
Since the reaper will be pure black when he is done, go ahead and paint him completely in black paint minus the neck ring under his head. My German shepherd was already black, so I covered up the spots and left it at that. Make sure the color is consistent all the way through the pet.
Liquifying the paint for the LPS Customs Cute Reaper
A trick I learned to help make life easier for painting LPS is to water the paint down just a little. This will allow your paint to become thinner, meaning you will be doing a lot more coats but your pet will look cleaner in the long run. This part takes forever, but it is worth it in the end when your pet looks brand new.
Painting the Entire LPS Customs Cute Black
Even if you only did touch ups, go back over the pet one more time with watered down black paint. It’s always a good idea to do an extra coat of paint to ensure if you have to wash paint off later, the pet will still be pure black.
Painting the Whites of the Eyes of Doggy Death
When it comes to white on top of black, you will always struggle quite a bit. In this case, it is perfectly fine to paint on one solid thick coat of white paint and use thin layers to cover up the brush strokes left behind on the pet.
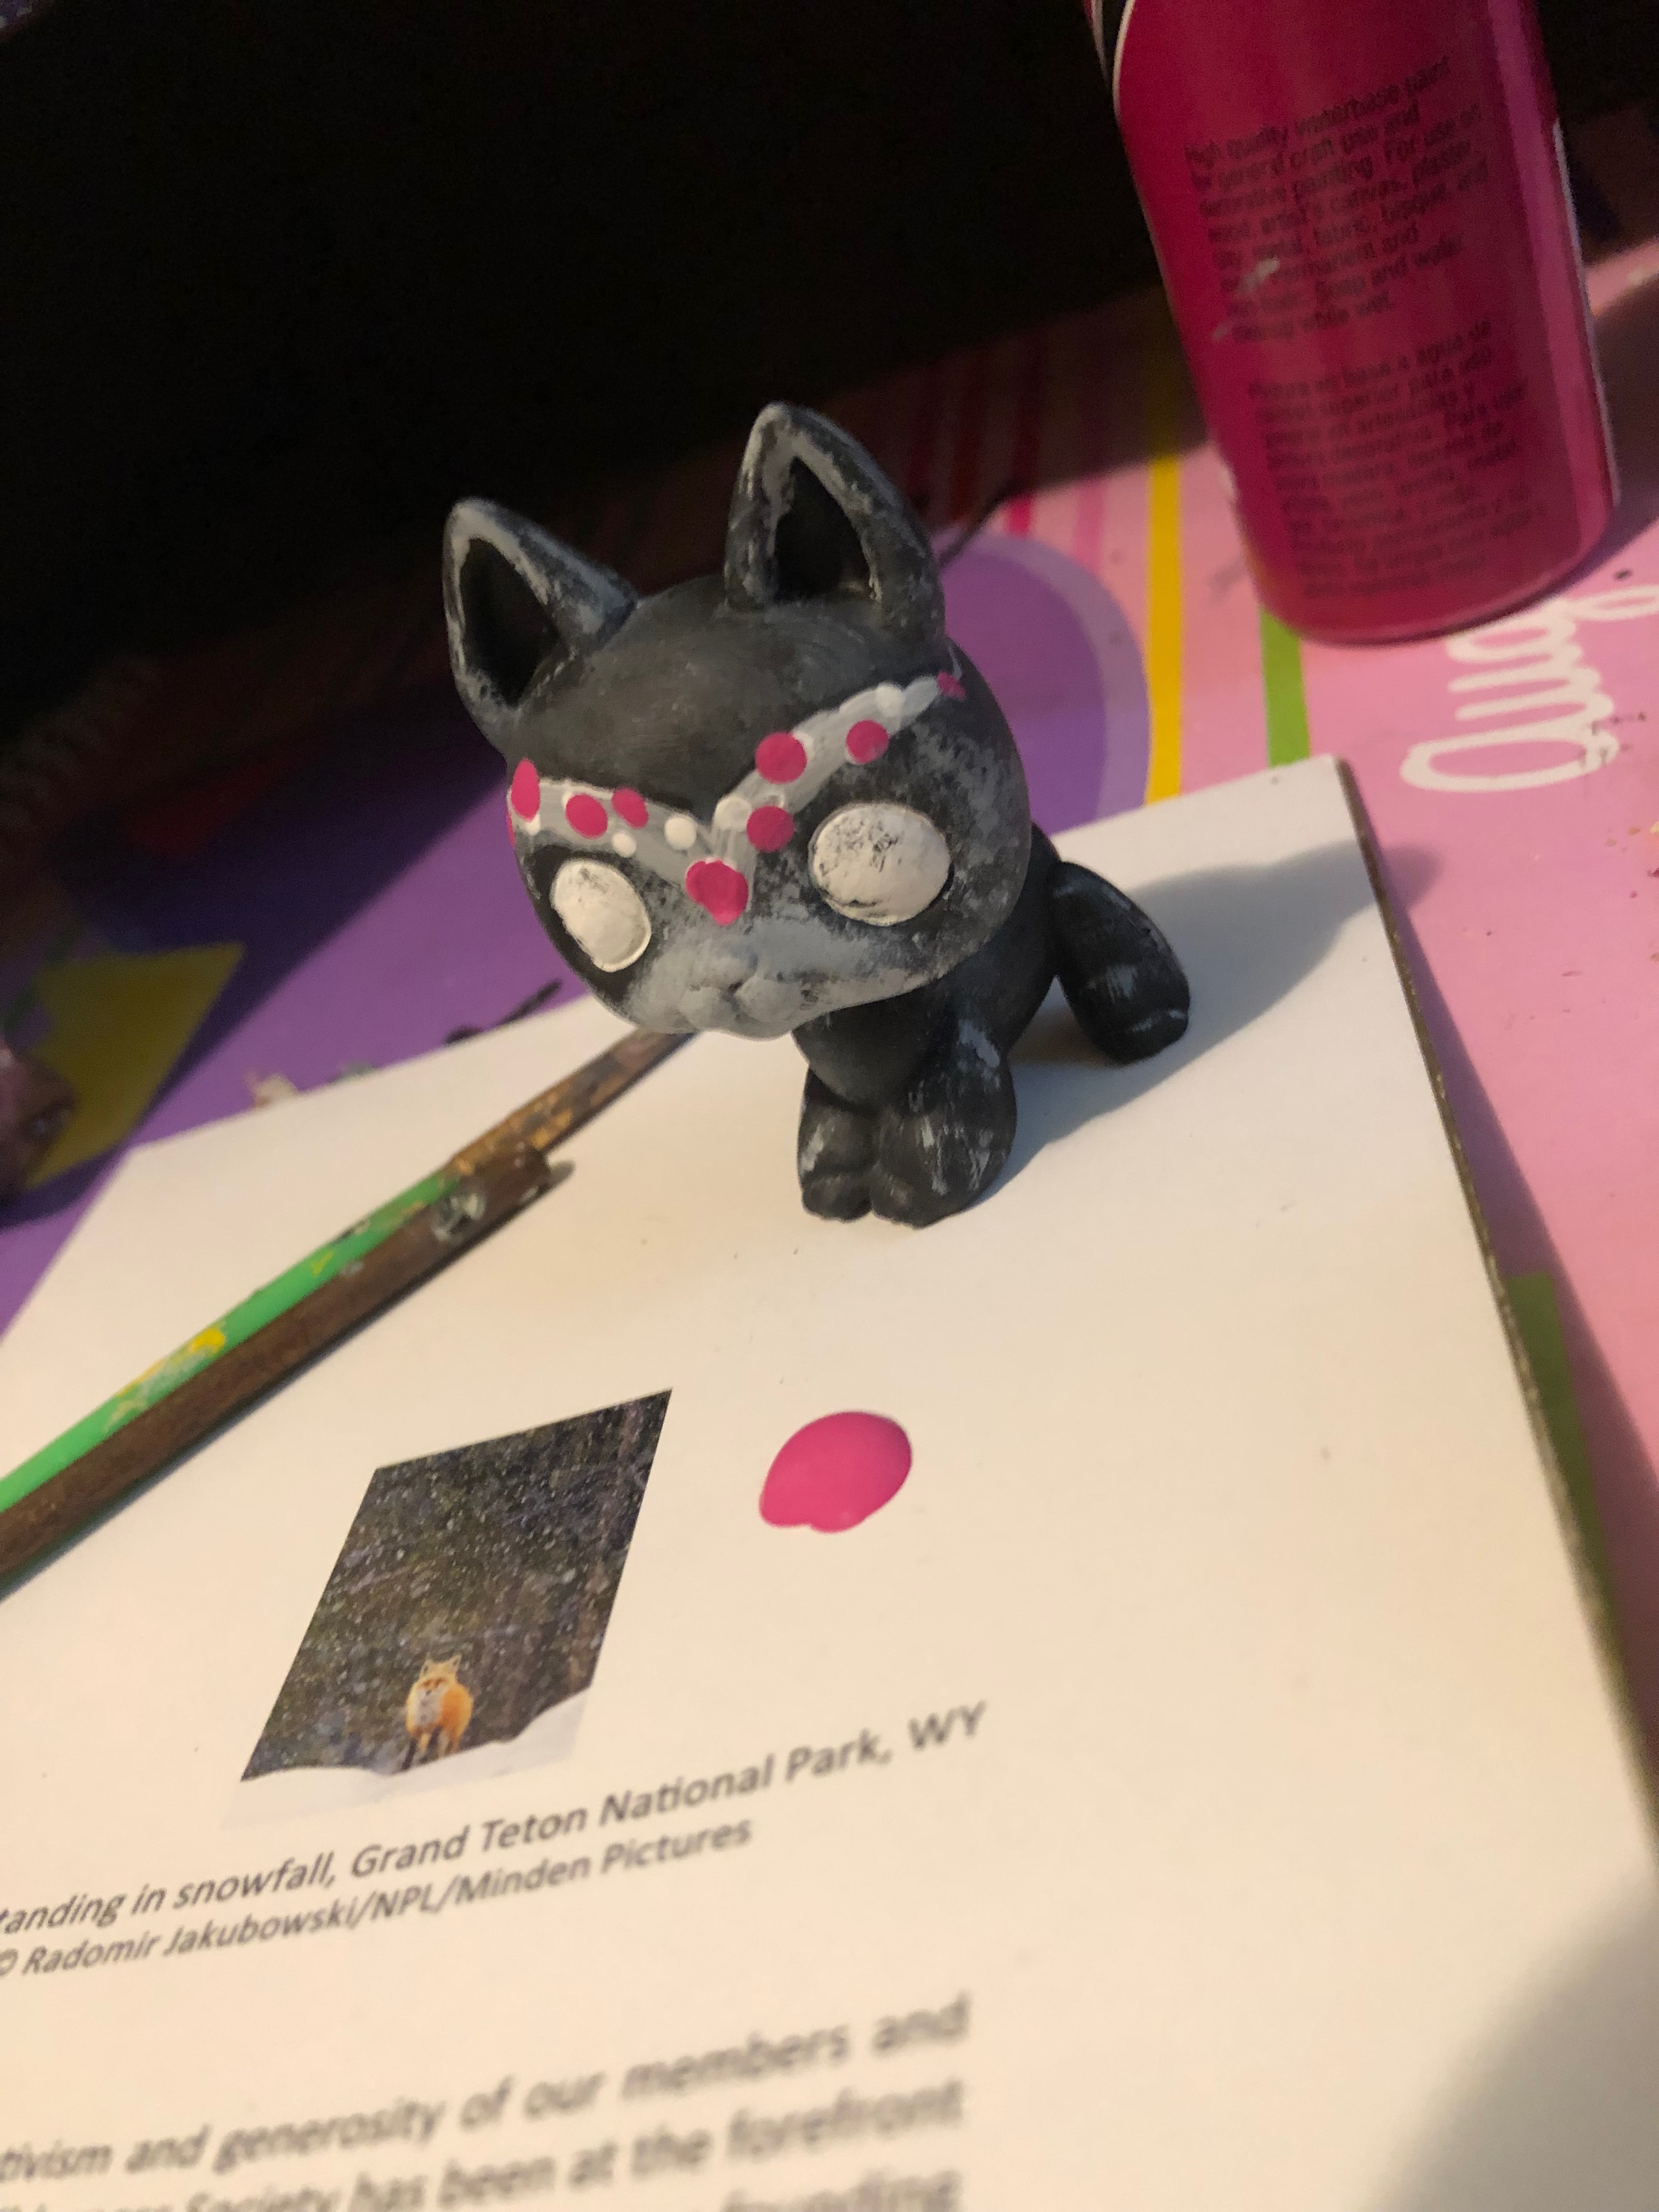
Mixing the Grey Paint
Add the tiniest amount of black paint to a glob of white paint and stir the two together. Grey is super easy to make, just be careful not to add too much black.
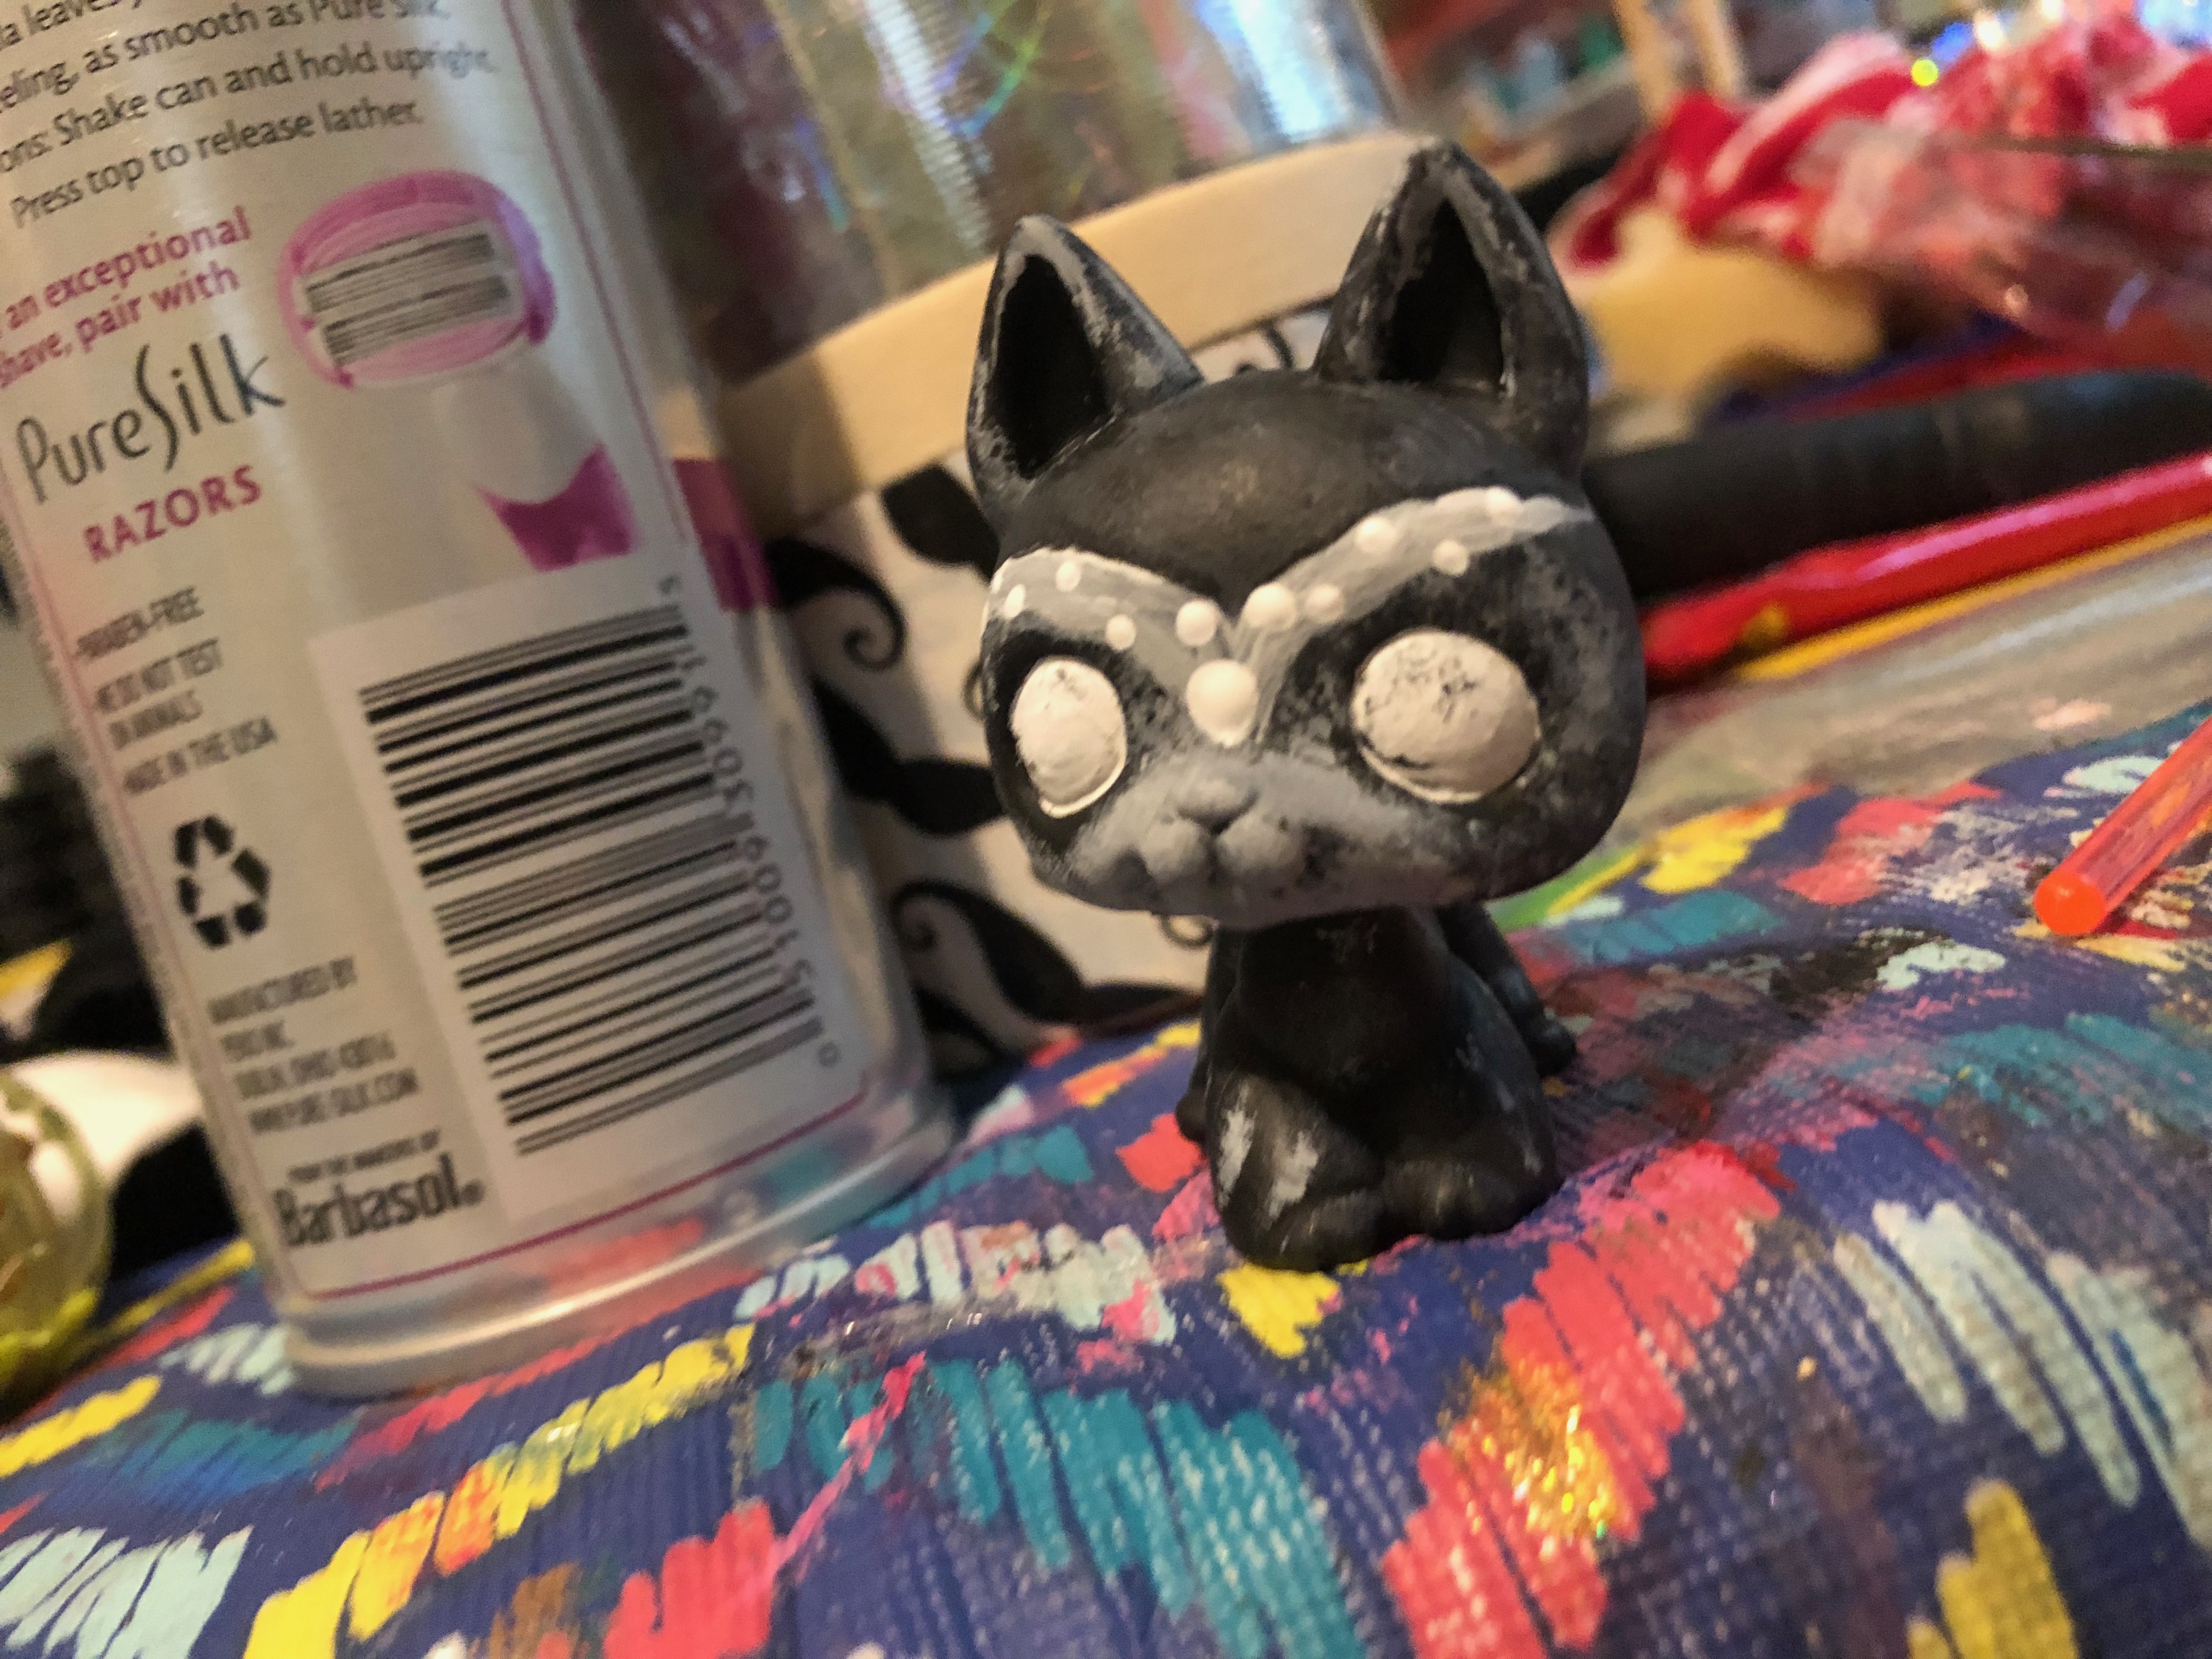
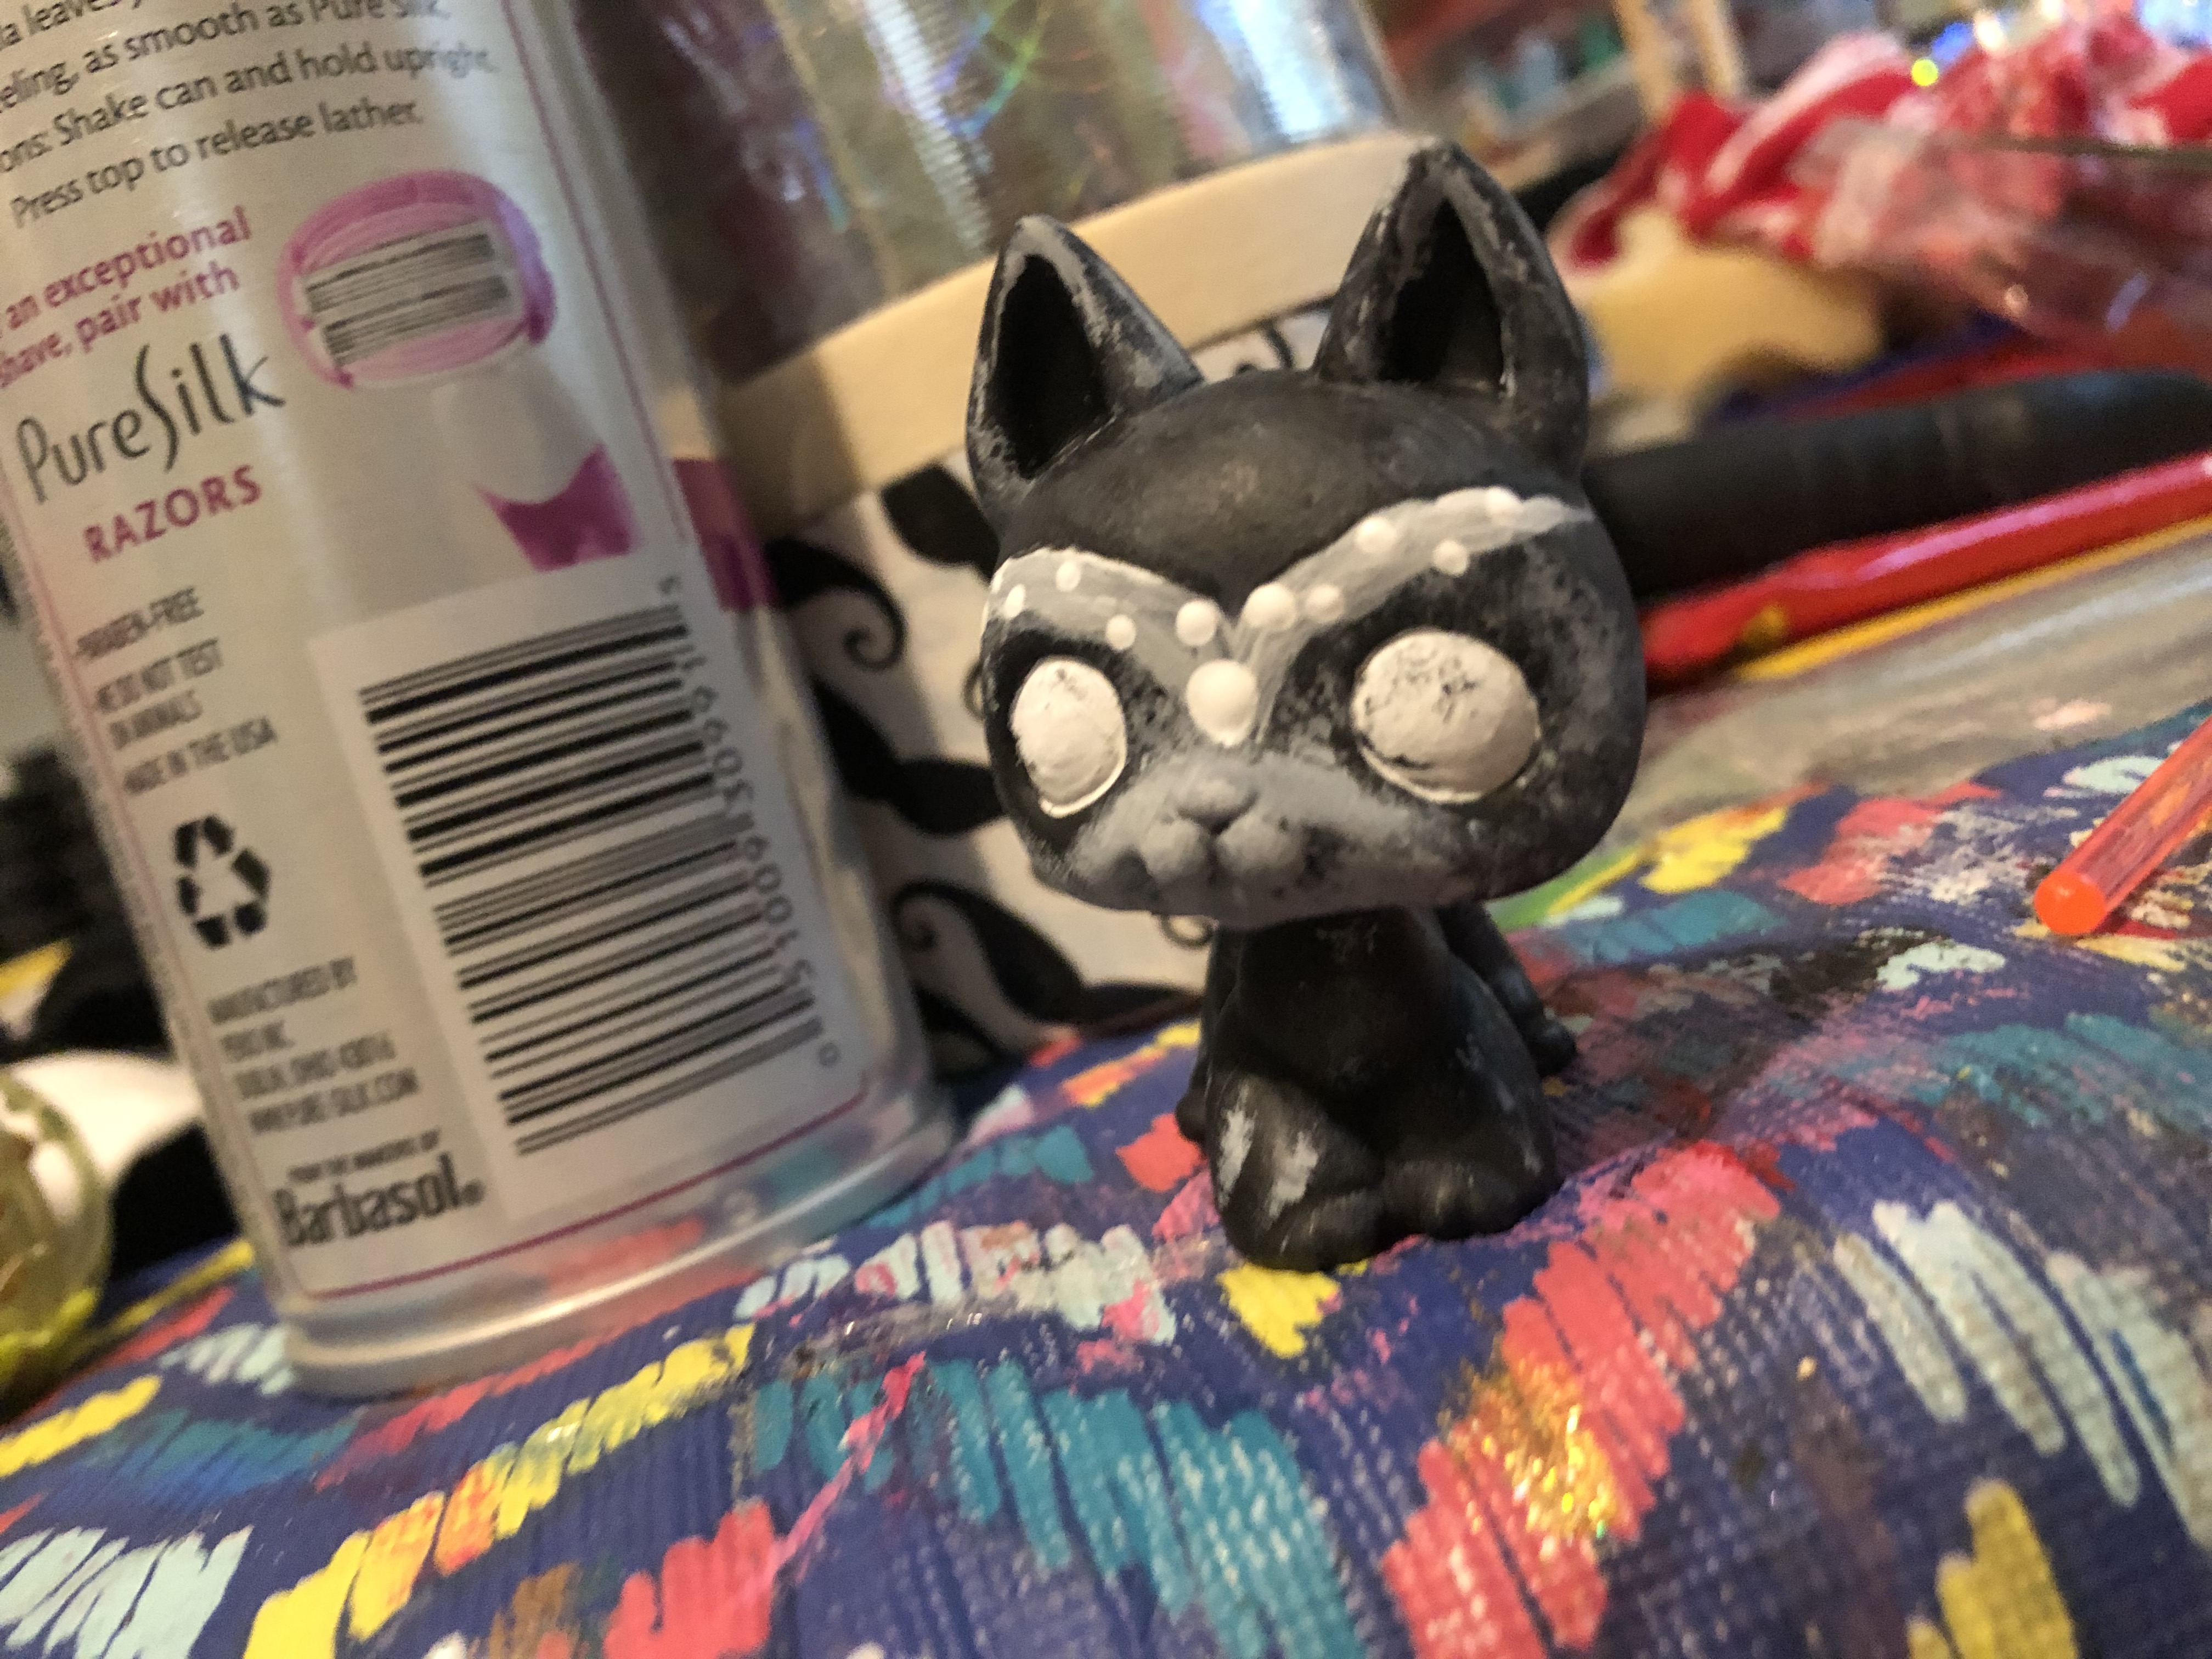
Adding the Grey Streaks to the LPS Customs Cute Death
Using a dry fan brush or thin brush with the very very tips of the paint brush covered in the grey paint, gently apply little gray streaks all over the pet’s head and body. Remember you can go back over with that same brush and method with black paint to touch up any areas that are too grey.
Repainting the Eyes
Add another coat of white to the eyes. Optionally you can add a clear coat of nail polish to the eyes and let it dry. Painting eyes is hard, and if you have a good clear coat down and make a mistake it will be able to wash right off.
Painting the Colors of the LPS Customs Cute Eyes
Add a couple shades of light and dark grey to the eyes. I attempted to use a bright color for the eye, but it really took away from his character and I decided it was not a good look for him. A light, dusty pastel purple might look alright, if you feel adventurous.
Finishing the Eyes
Add the black pupils to both eyes. Dab on a white dot to both eyes using a dotting tool, then use a small brush to add tiny little lines to the bottom of the dot. Paint three small black dots to the middle of both white circles to make little ghosts. Rare LPS often have unique eyes, and what better way to make a reaper LPS’s eyes than with ghosts?
Starting the Base of Doggy Death’s Crown
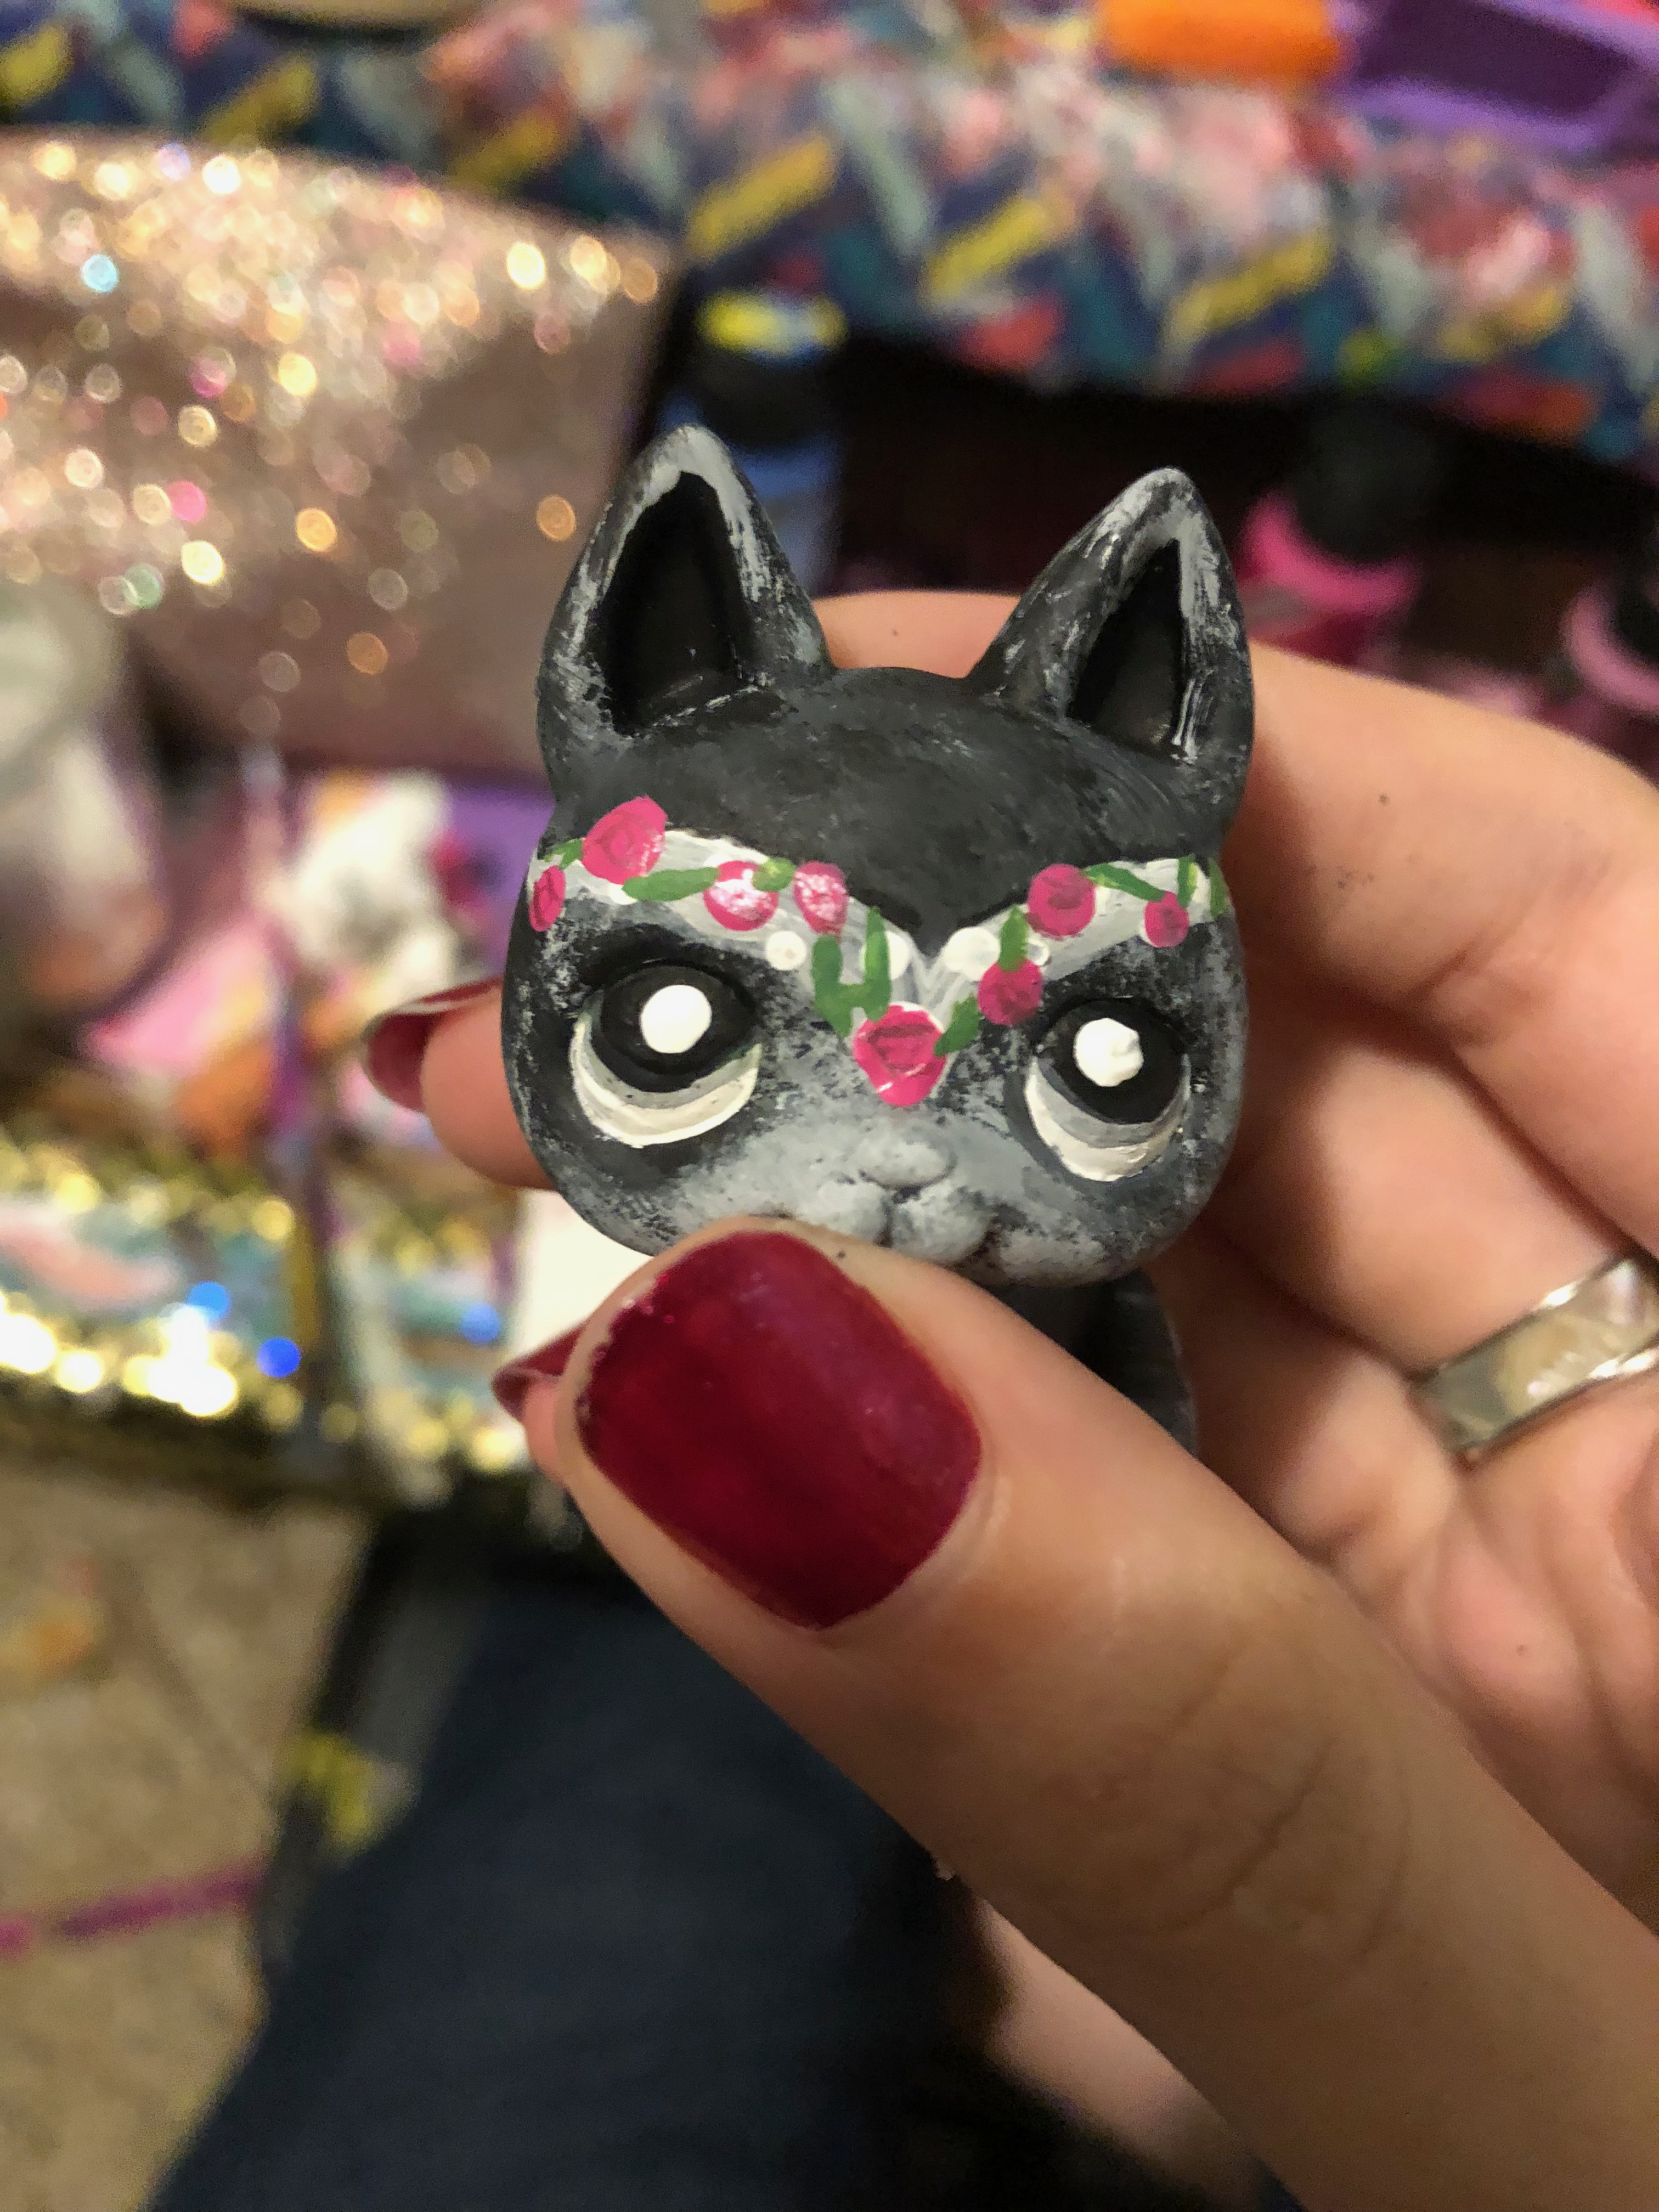
Using the light grey, paint a little crownlike thing over his forehead. I added little white pearls to it using my dotting tool and let the crown completely dry before continuing.
Painting the Roses on Death’s Crown
On each white dot, add pink dots. Gently pull the outside of the pink to make it look imperfect. This will give the effect of a blobby little rose. Use some shimmery pink and a fine brush to draw little lines on the pink to make sort of roses. They don’t need to be perfect, they just need to represent roses.
Making LPS Customs Cute Reaper Hood
Cut a black triangle out of thin black material and ajust it around the LPS’s head. I made the hood with little straps to tie around the lps, and fastened it with superglue under its belly. Don’t overthink the shape of the hood, just put it on the pet, cut ear holes, and gently fold it in where it sticks out oddly.
Making the Custom Cloak
For the cloak, cut another longer triangle with little straps and tie it around the neck of the LPS. Use scissors to make the ends look all tattered, as reapers often have flowy shredded up capes.
Optional Reaper Hook
Using Sculpey in silver and brown, you can sculpt a little reaper’s hook if you so choose. Just make a long triangle, curve the top of the triangle downwards, and attach a long piece of brown sculpey to the back of the triangle like a scythe. Bake the clay at 275 Fahrenheit for around 15 minutes and allow it to completely cool before giving it to the LPS.
Optional Matte Clear Coat
This littlest pet shop looks best as a matte, so I decided to leave my pet unvarnished. However, if you decide you want to protect your pet from wear and tear, you can apply a matte spray on varnish to the pet to give it some extra protection. Make sure you spray it somewhere else first though, as I have found some varnish dries just a little bit sticky and gummy and it’s super gross.
Finish
And your new little reaper is ready to collect the souls of littlest pet shops ready to rest in peace, or in some cases pieces. Happy Crafting!