Last time we saw this little pony, it was about half finished, with painted hooves, fur, and mane. If you missed out on part 1, go check it out before reading this post, as this post will make little sense without reading that one first. If you already read that post, this post will be the finish.
What you will need
Layering the LPS Custom Pony Ears
Using black and pink paint on the tip of a fan brush, lightly apply thin strokes of the paint to the tip of each ear. I recommend doing the pink first, because the pink can be painted over with black easily.
Painting the Stripes on the LPS Custom Pony
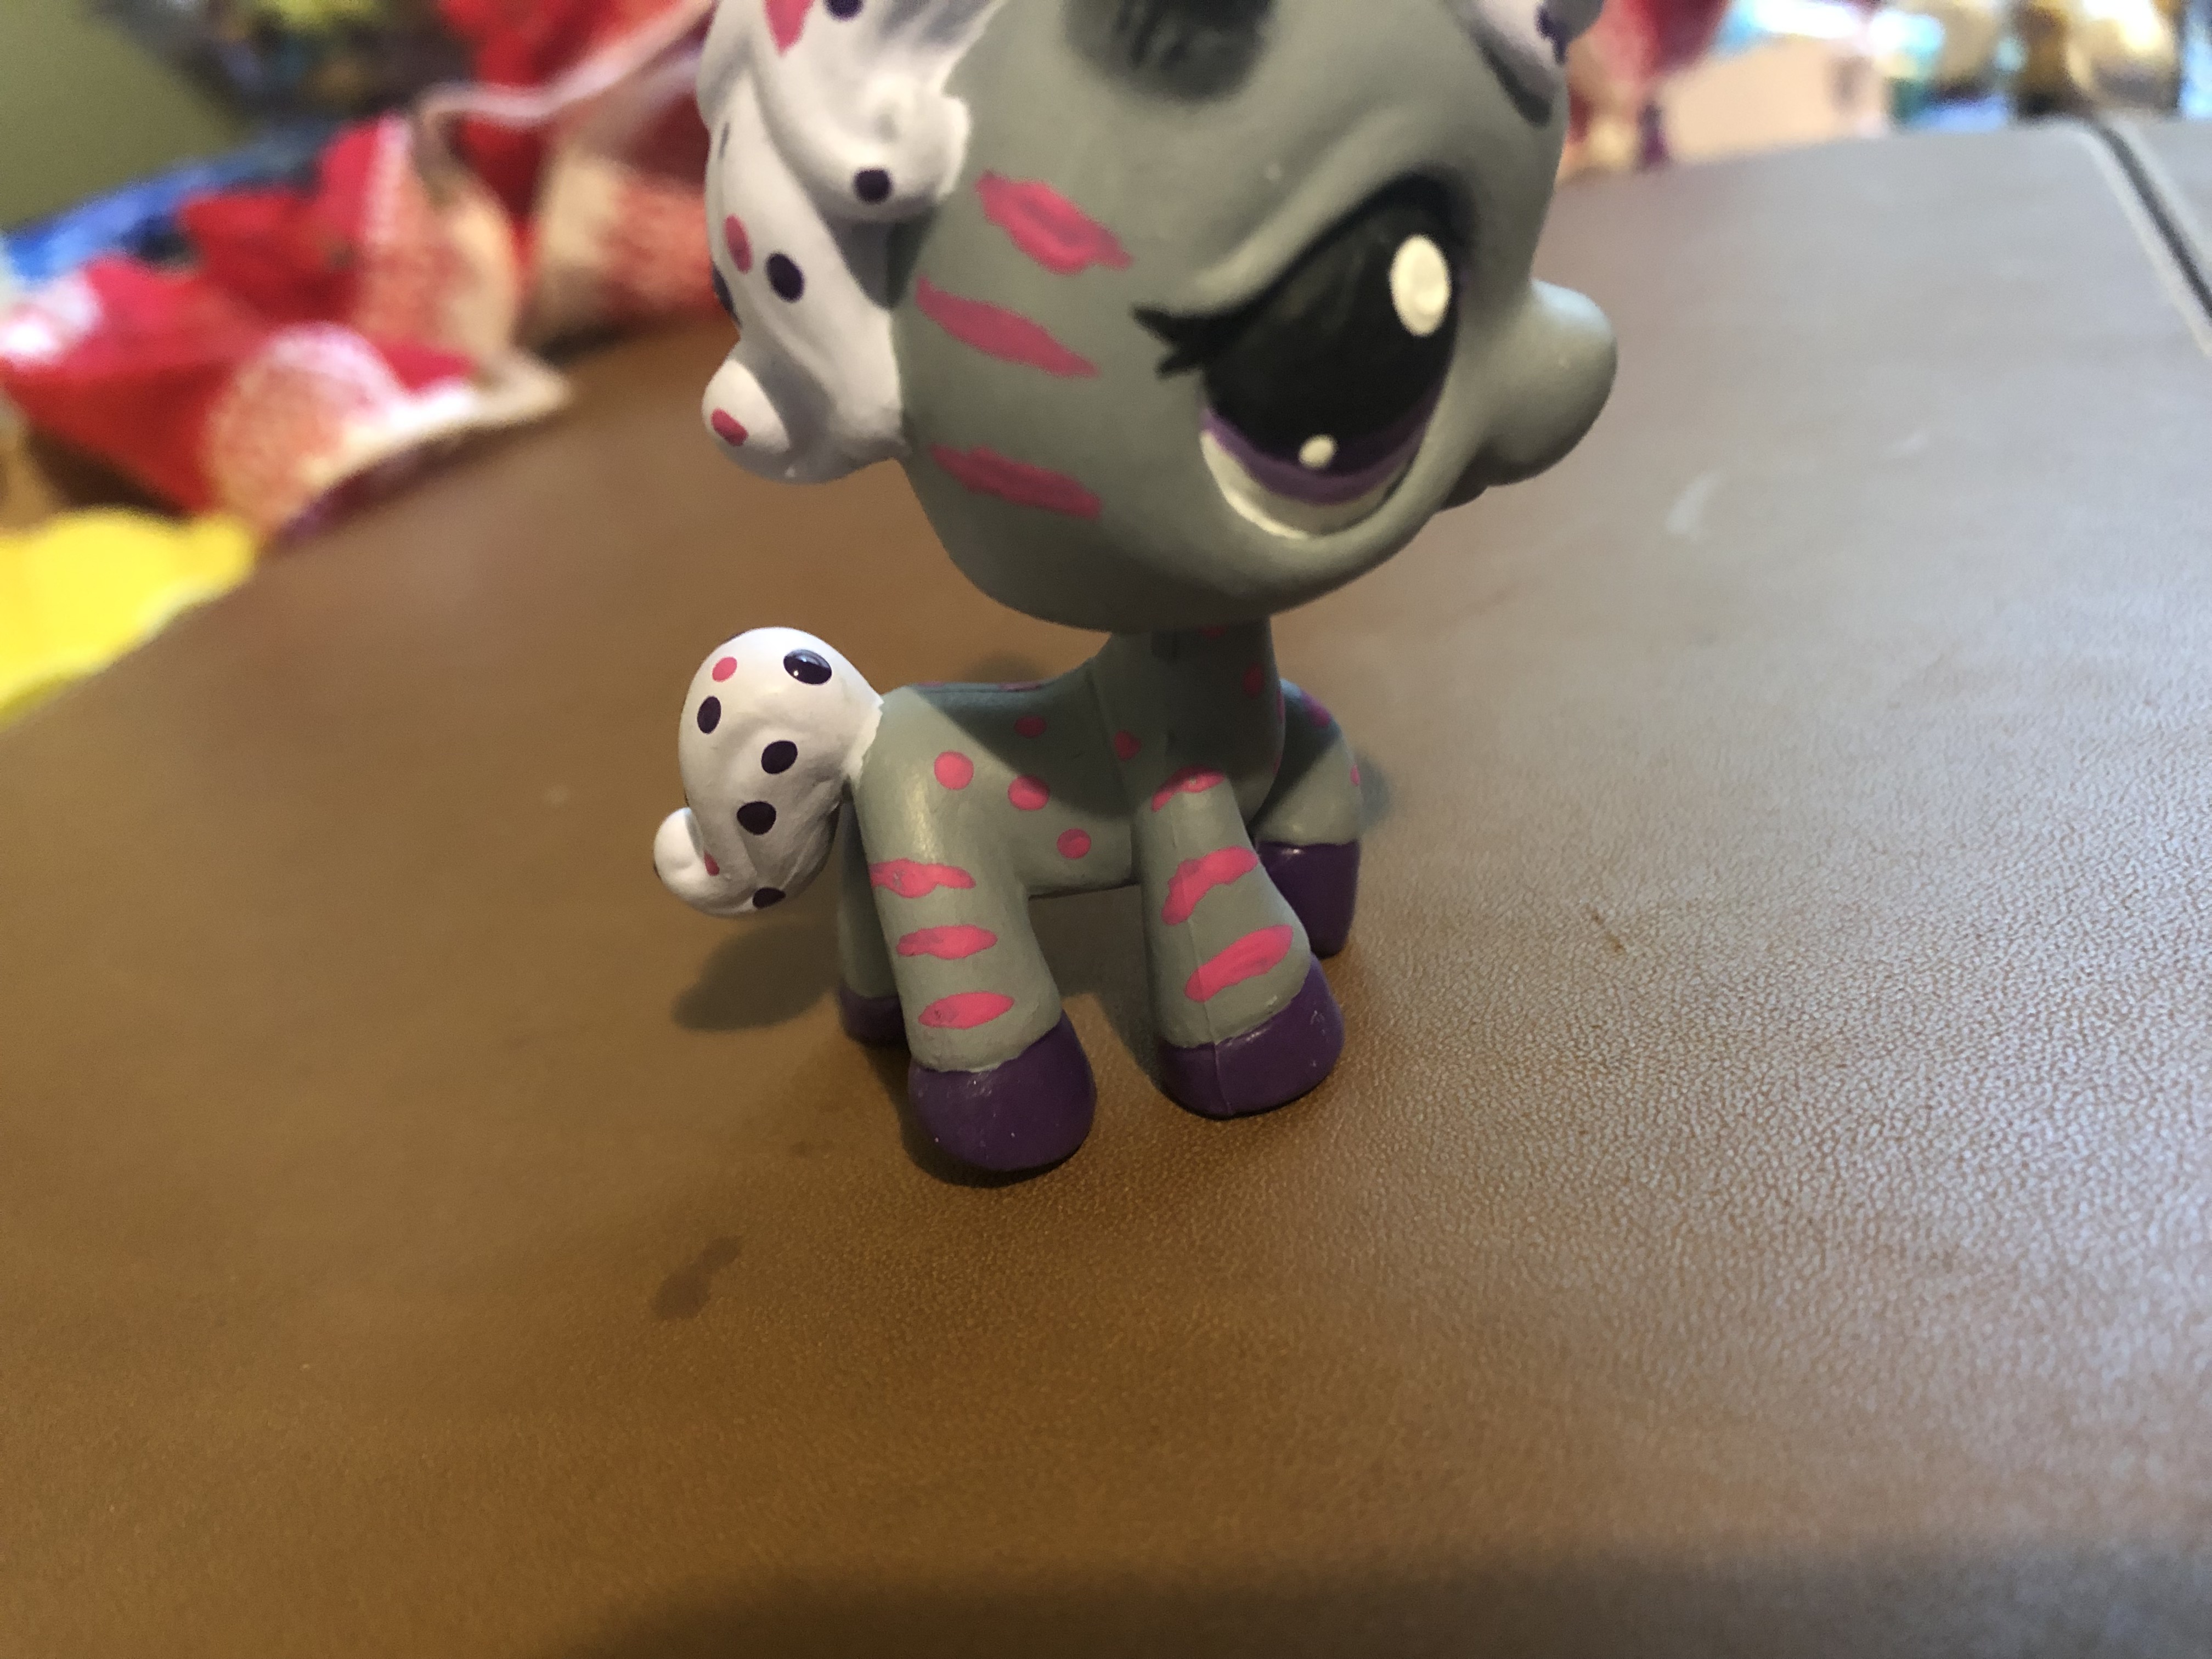
Using a small brush, pick up some pink paint and add tiny little stripes over the legs and the head. Don’t add too many stripes, they are only there as a subtle reminder of what she started out as. Too many stripes will bring that zebra out too far and she will look silly.
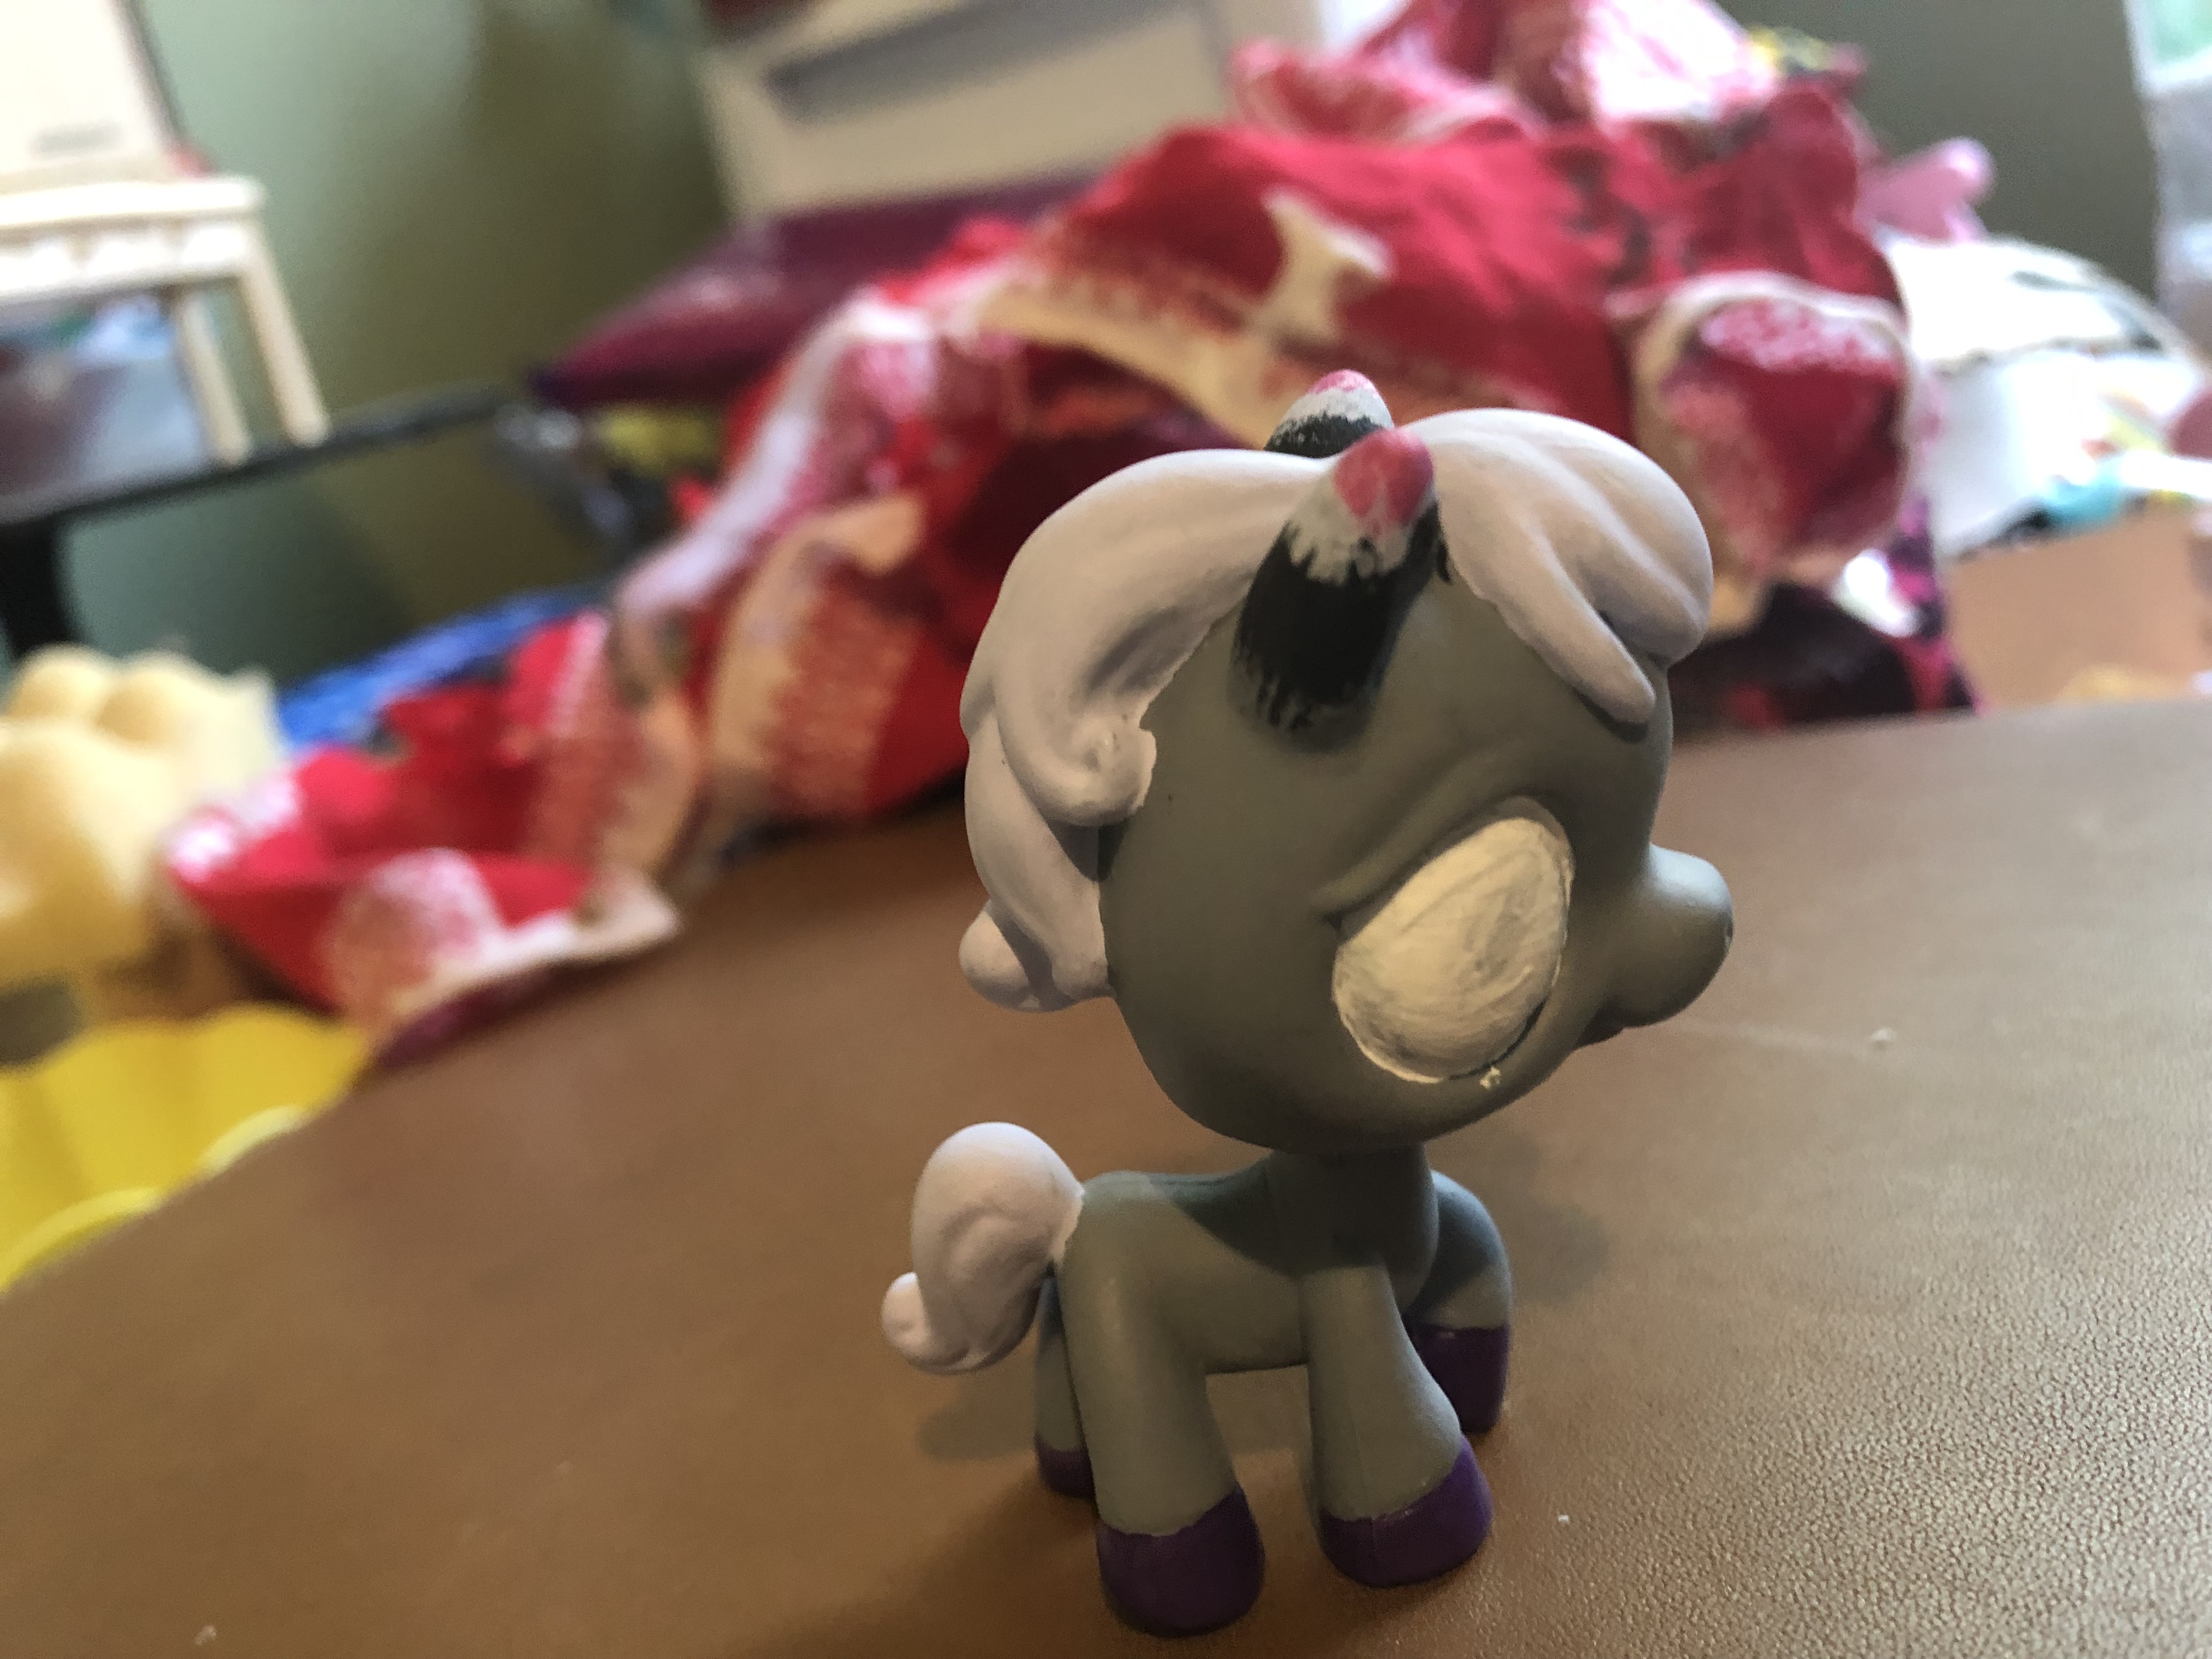
Touching up the Mane and the Tail
Go over the mane and the tail one last time with the grey and purple paint to clean up the lines as much as you can, as sort of final edits.
Adding Dots to the Mane and Tail of the LPS Custom Pony
Using a dotting tool or the back of a paint brush dipped in different colors of paint, add small dots to the mane and tail in a haphazard pattern. Don’t try to line anything up perfectly, the point is to make them look sort of like random candies on the horse’s head. If your dots start looking wonky, refresh the paint on your dotting tool.
Painting the Base Coat of the LPS Custom Pony Eyes
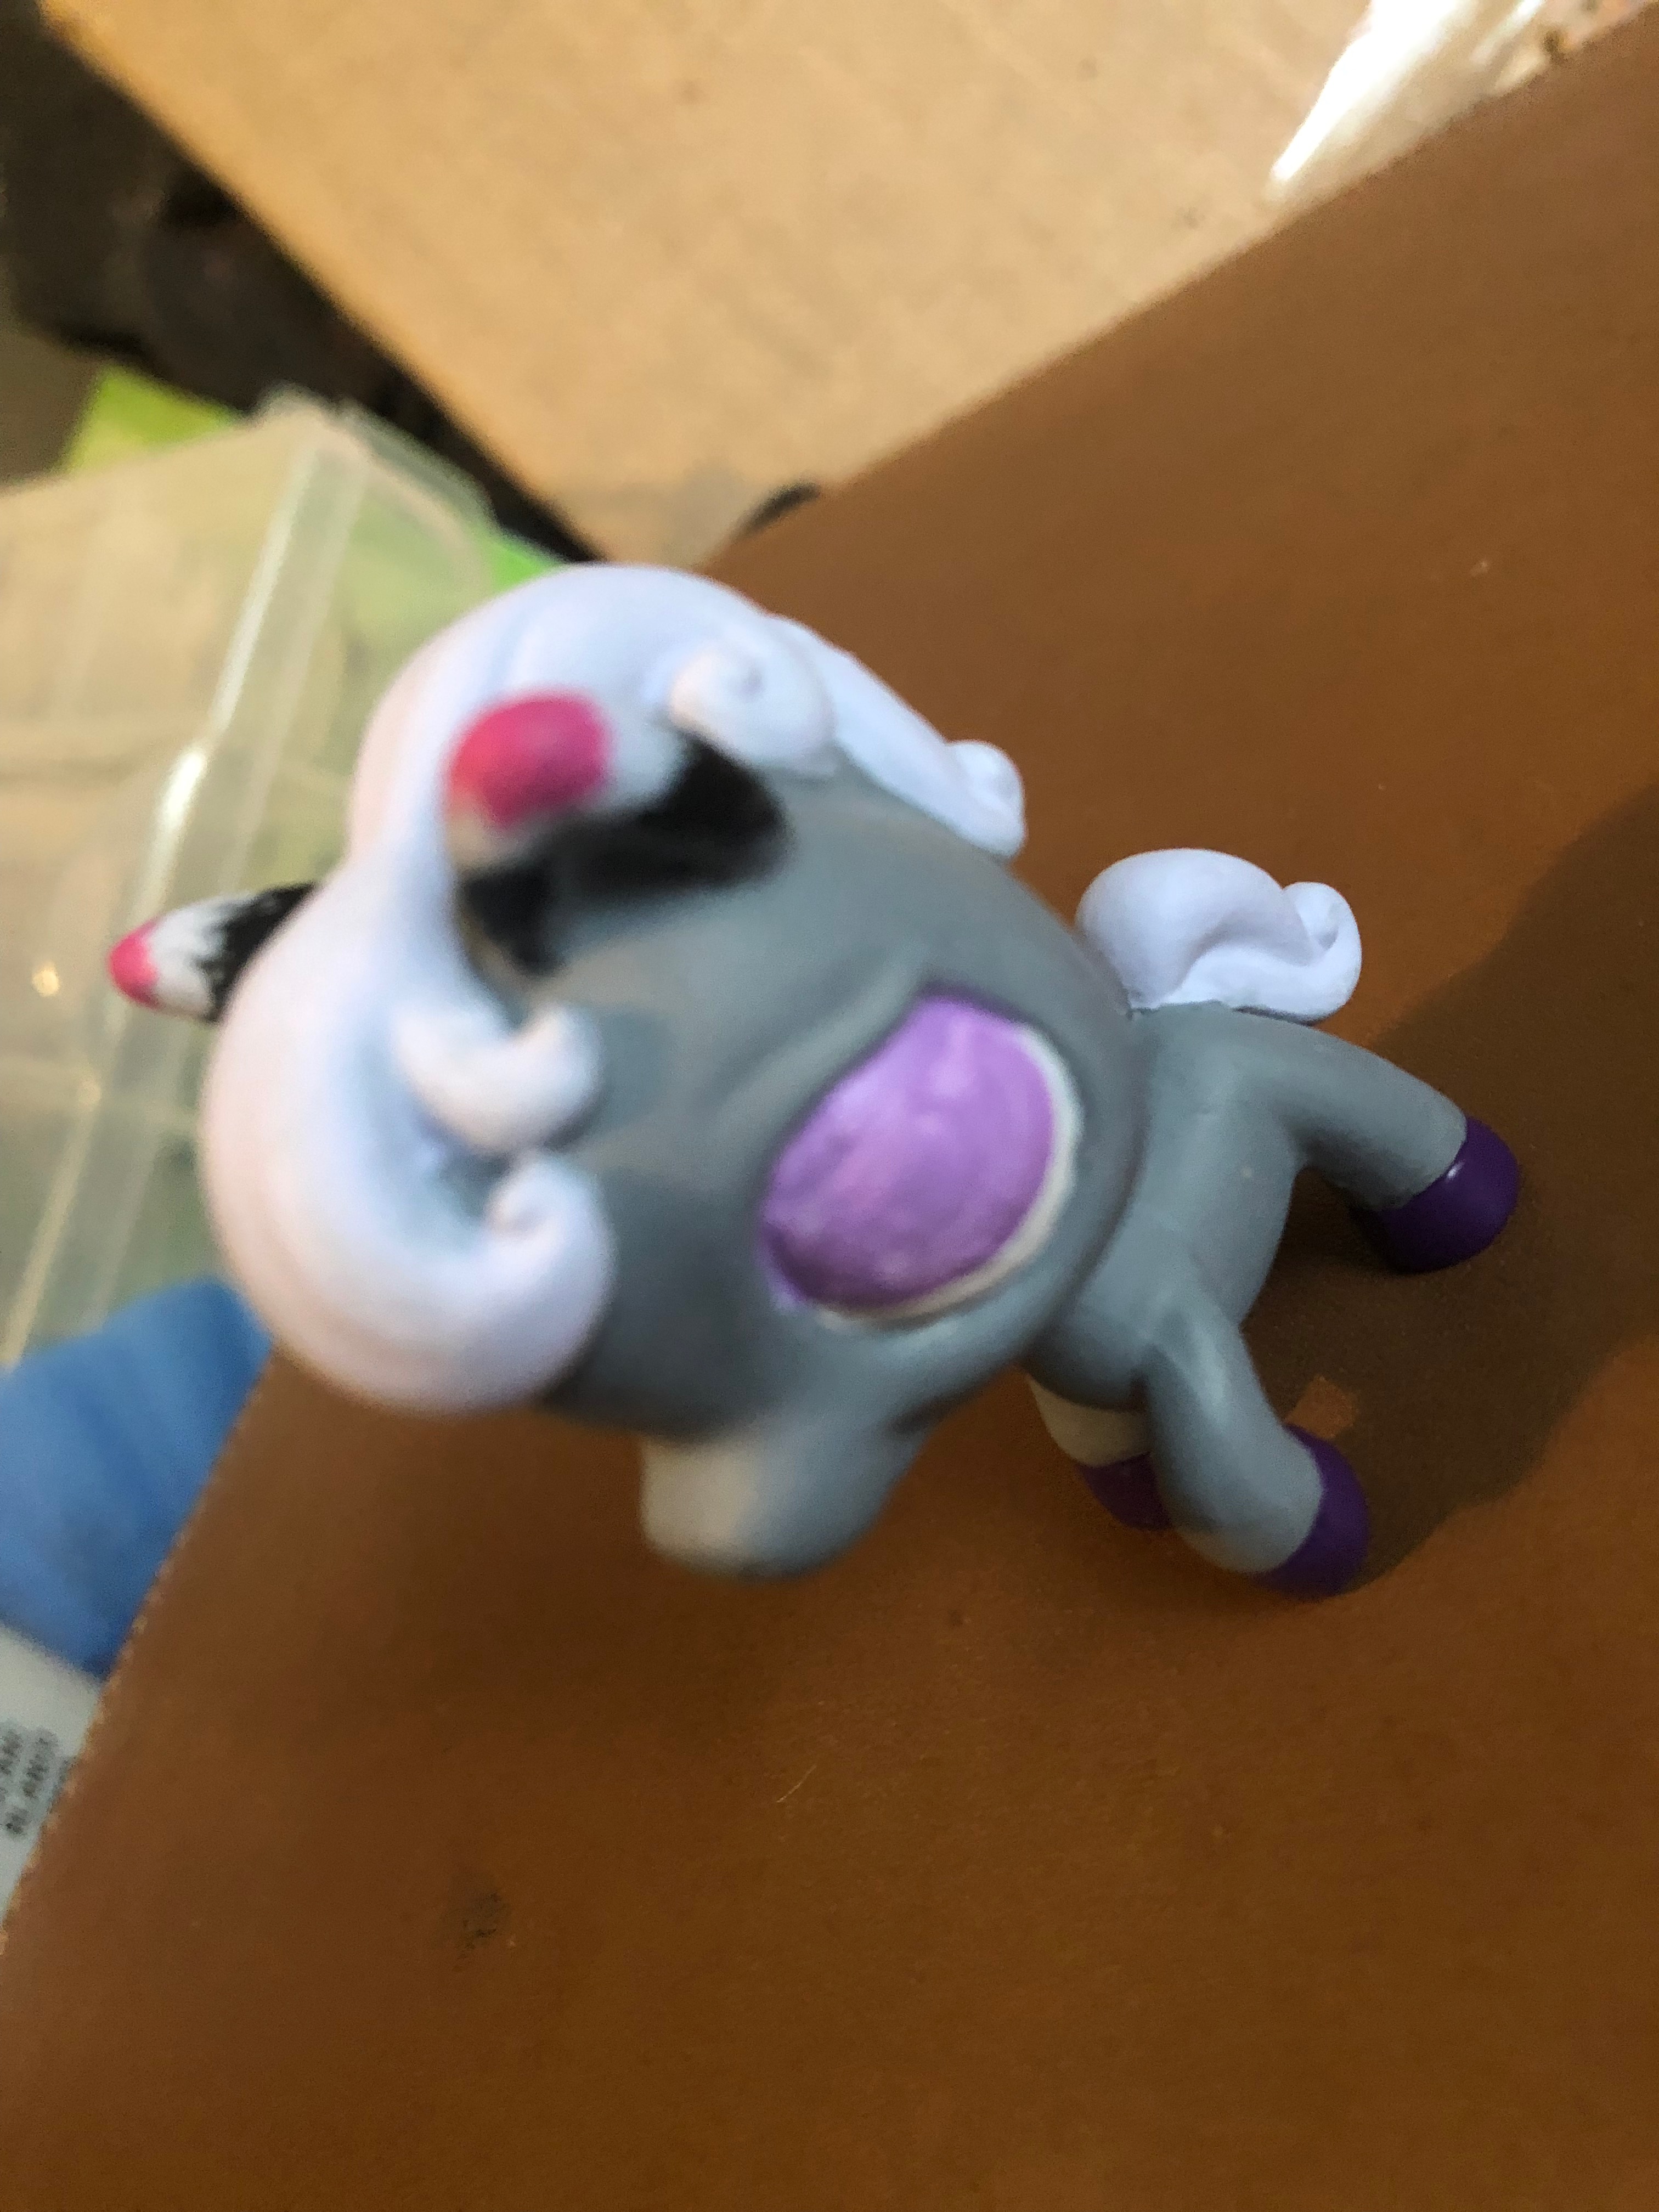
Paint a white base coat on the eyes. I recommend watering down the paint just slightly to avoid texture once your pony is complete. Be careful not to water the paint down too much, or you’ll really regret it after you painted a million coats and can’t get it to full opacity.
Creating the Stripes Strategically
So you have your base pink stripes on, but what about making the stripes make sense? Go back and clean up the stripes to make them sharp, like actual LPS paint.
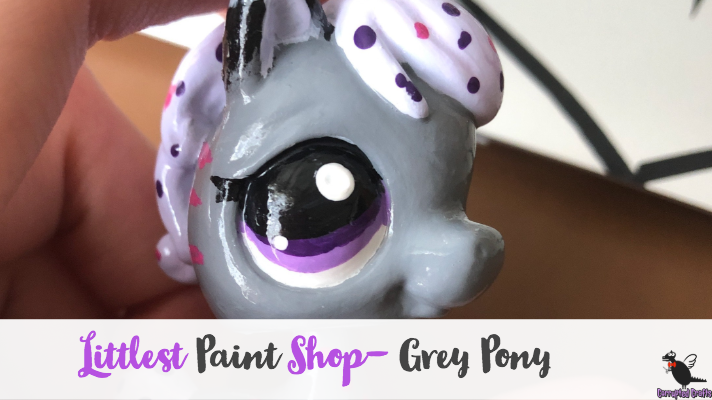
Painting the Color of the Eyes
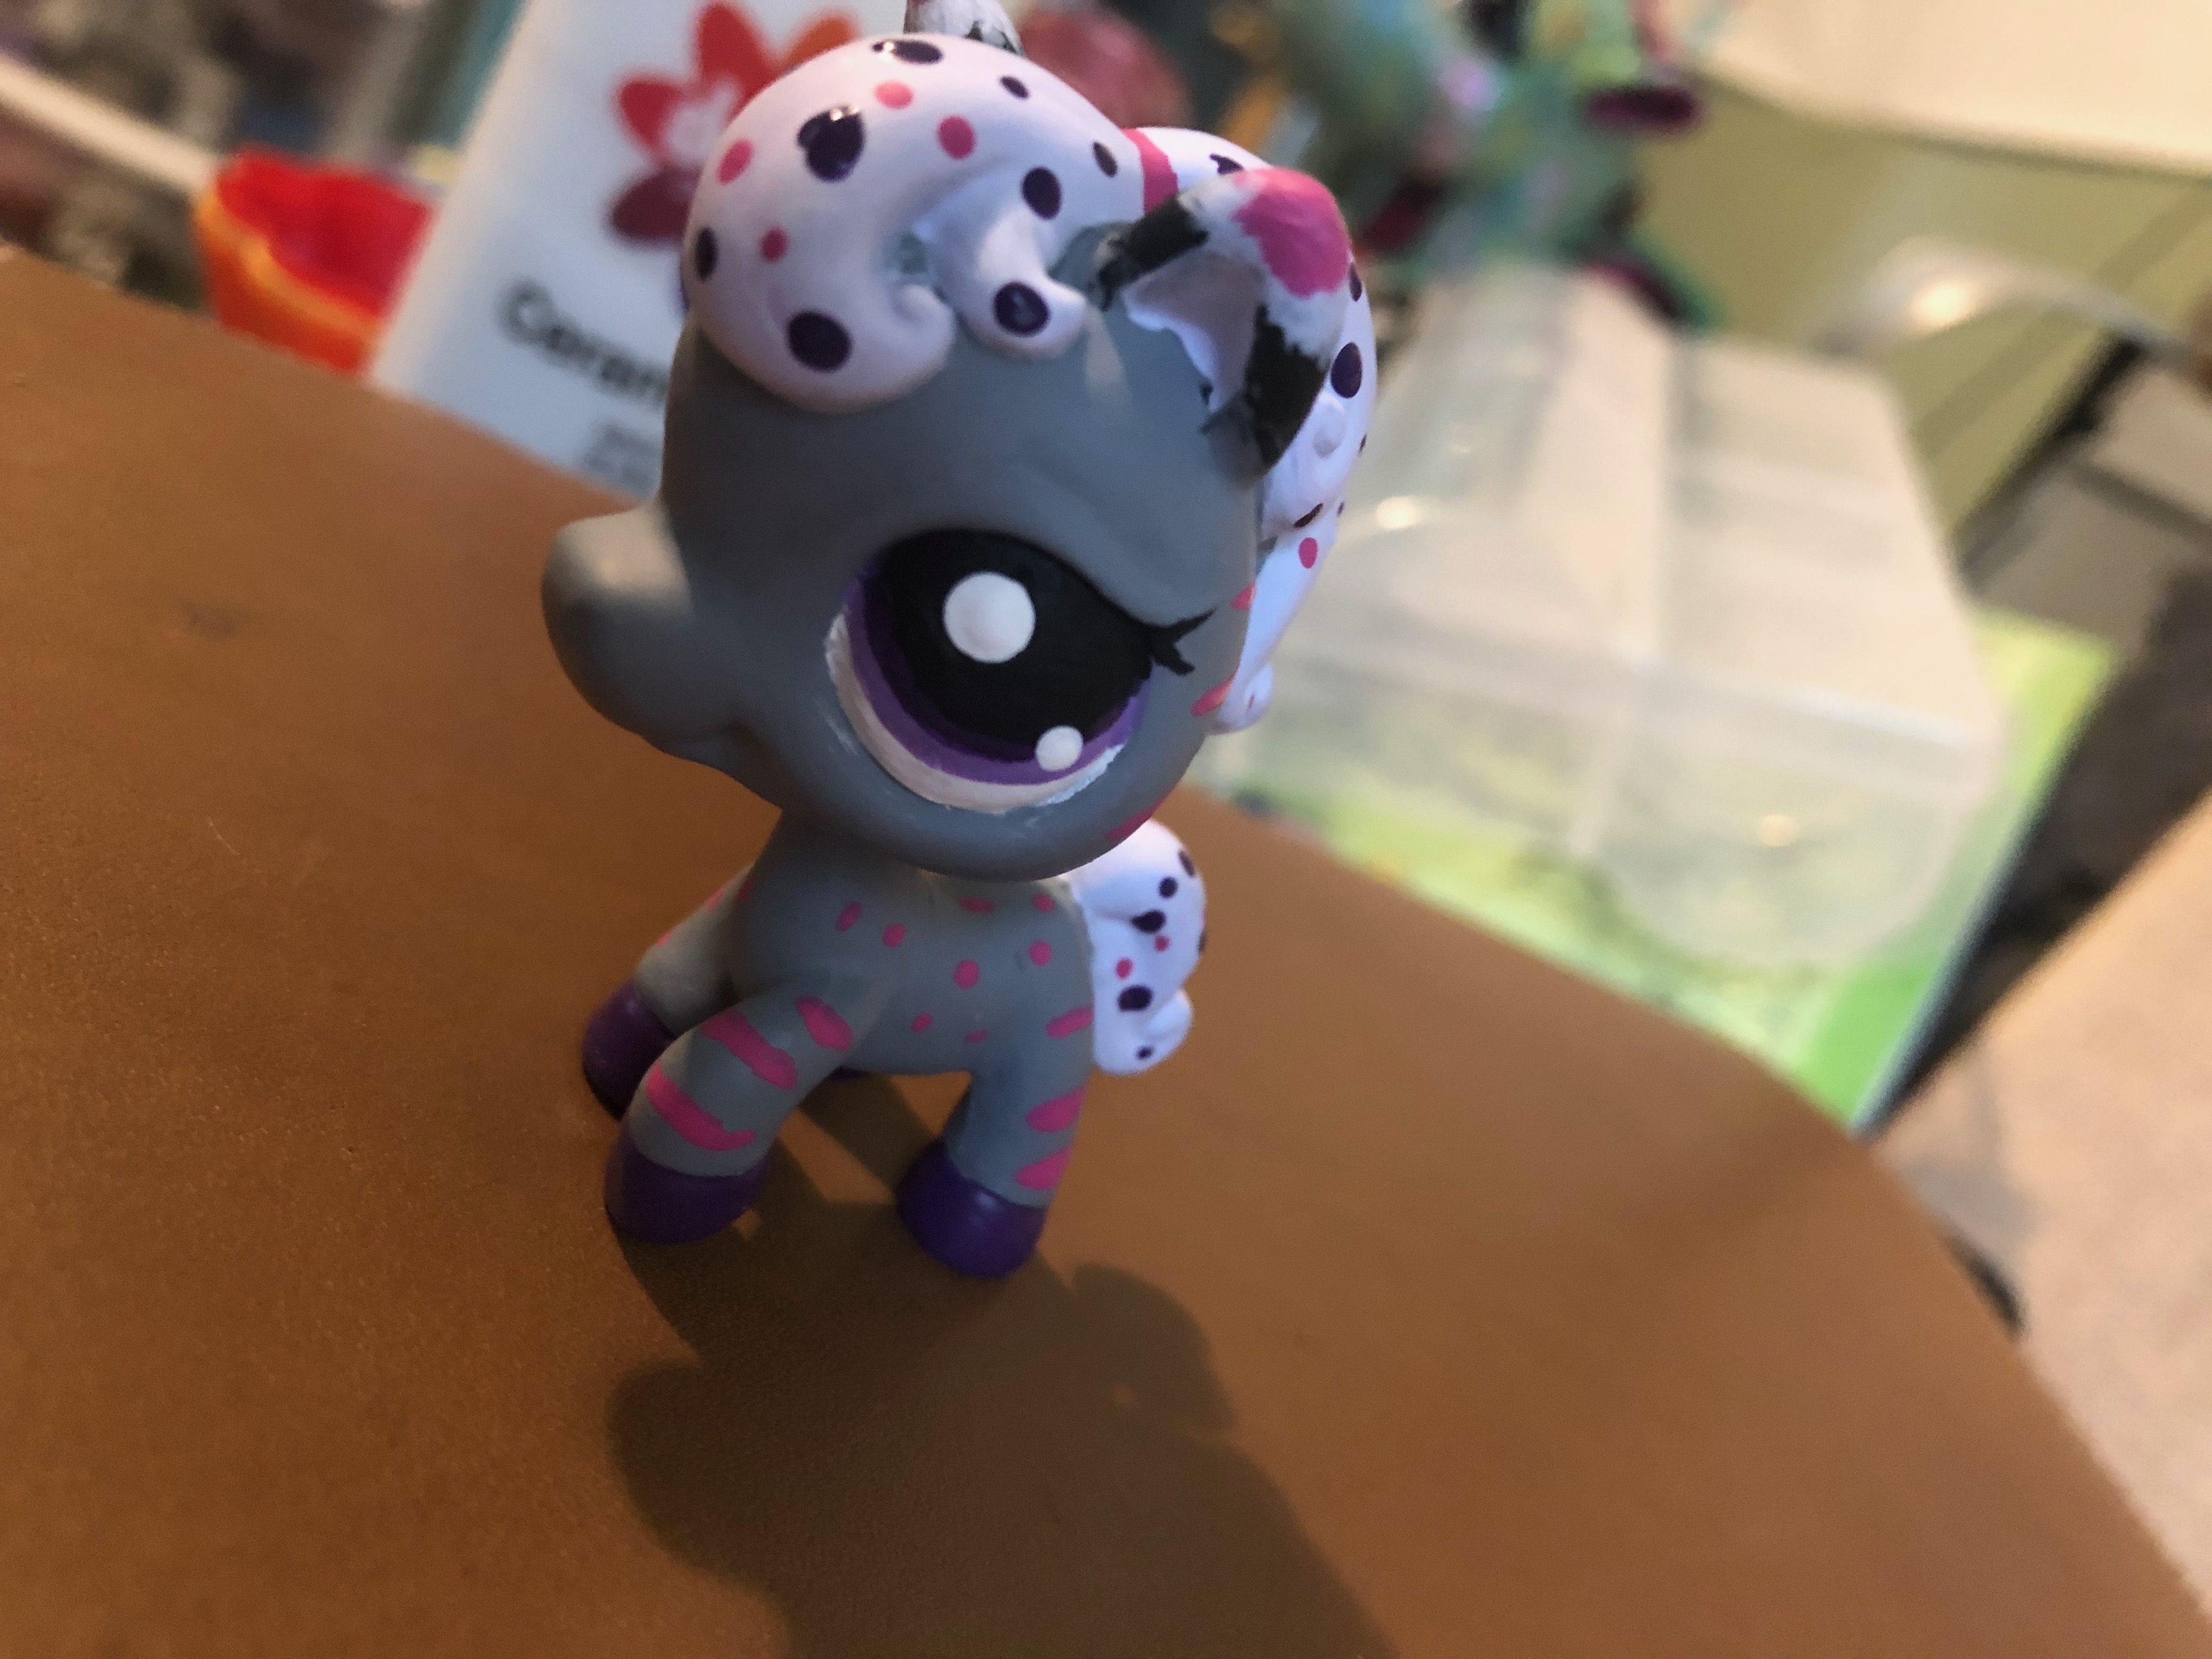
Start with a nice gentle purple, slightly darker than the color of the mane, and make a good thick curving line on the eyes leaving just a little white space at the bottom of the eye. Make sure your line at the bottom is smooth, and paint a ring of dark purple slightly above the edge of the light purple. Add a black coat to the pupils and add little white highlights with the dotting tools.
Sealing the Eyes of the LPS Custom Pony
Using a normal clear nail polish, apply a thin coat to the eyes as a protective layer. Eyes are hard to paint, and without sealing the eyes first there is a risk of the paint running or getting hurt in the sealing process.
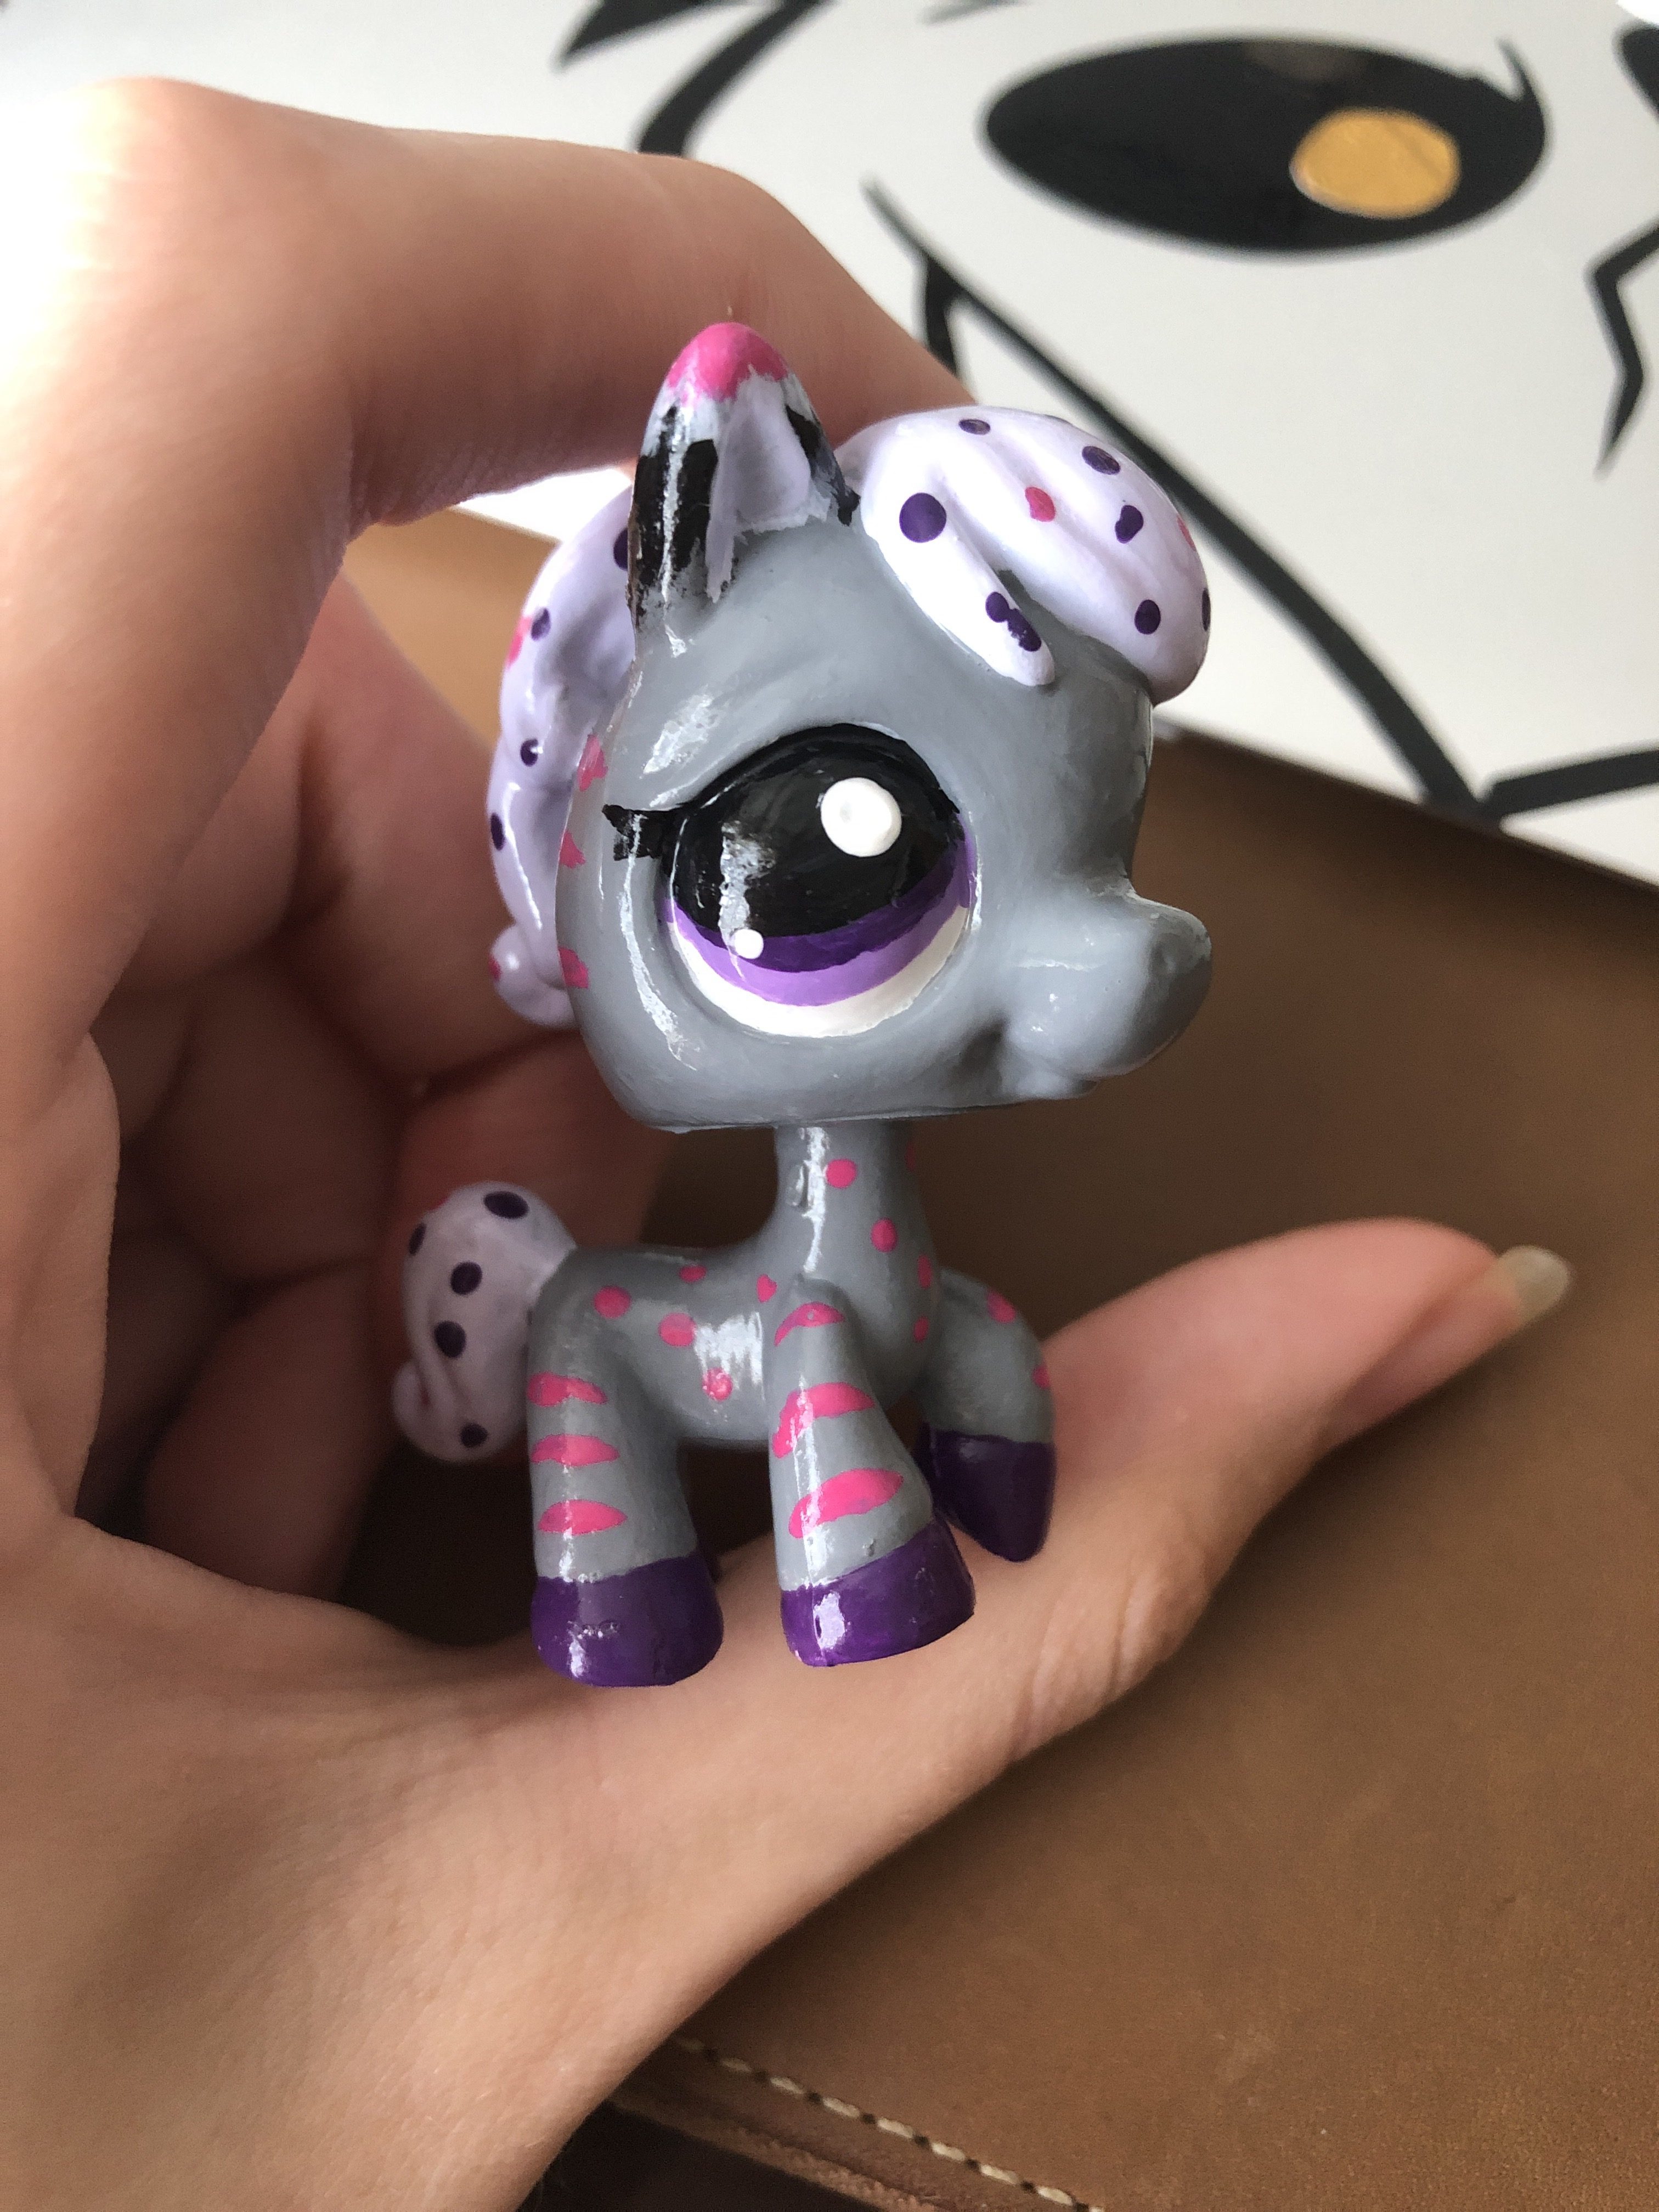
Touching up the Paint
Towards the end, I decided her body needed a few little pink dots for extra pizzazz. She needs to look her absolute best, even if that means hours of going back and forth. Don’t forget to add eyeliner to the outside of the eyes to identify her as a female and not a male.
Final Clear Coat

Take the tiny pony outside and spray her with a clear varnish away from your house. This will seal in your design. Make sure she is completely dry before touching her again, and add little bits of clear nail polish to the hooves where the clear coat might not have been thick enough. Good luck and happy crafting!