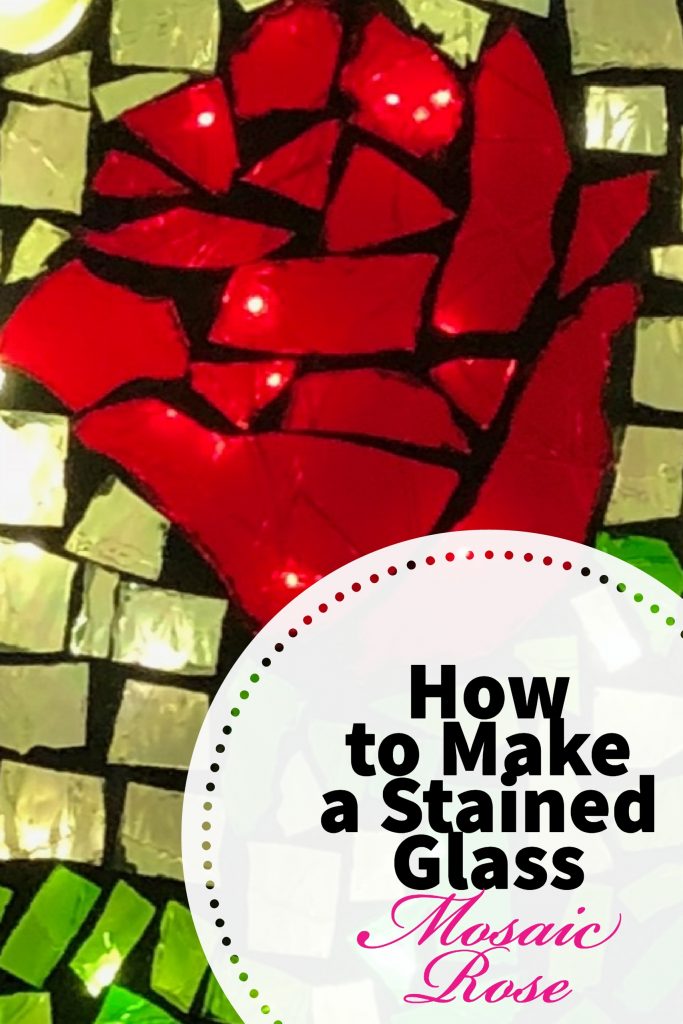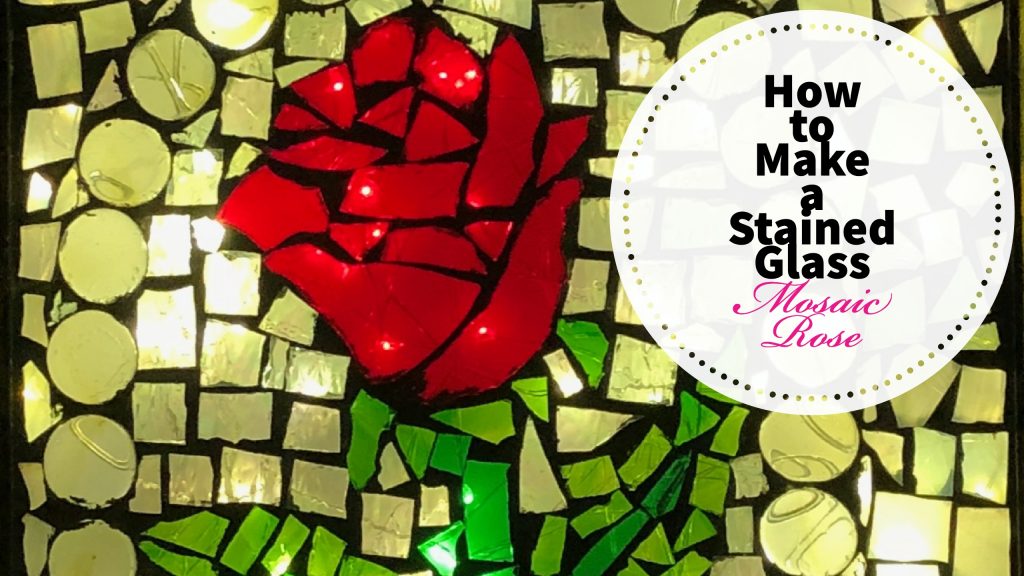
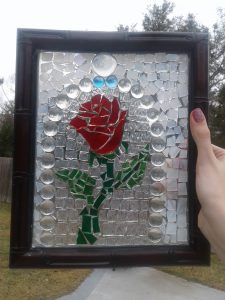
This beautiful stained glass rose mosaic is lit from behind and can be hung anywhere, not just the window! This rose is inspired by the one from Disney’s Beauty and the Beast, and uses five different kinds of glass, as well as glass marbles.
Although the finished piece looks expensive, it’s really not. It’s also not that hard to make. Unlike traditional stained glass, which is made with lead came or copper foil, mosaics are made with glue and grout. If you make your mosaic on top or a picture frame or old window, the sun or a backlight will shine through it just like stained glass.
To make this mosaic, you will need:
- Light green glass
- Dark green glass
- Red glass
- Clear wavy glass or some kind of clear textured glass
- Milky, but almost clear glass
- A picture of the rose. I used this one
- Dark grey powder Grout
- Holographic grout glitter (Optional, but awesome)
- A small bucket with lid
- A putty knife
- Gloves
- Sponge
- Sponge brush
- Silicon glue:(clear and not white!)
- Silicon caulking, again, clear is important!
- Picture frame with glass front and not plastic
- Hooks to hang the frame
- Screwdriver
- Small battery operated lights
- Gold paint, Trust me, this gold is brighter than the regular gold.
- Scissors
- Scotch tape
- Windex
- Nippers
- Scorer
- Breakers, (do not take the rubber ends off)
Prepare Your Picture Frame
Before you can think about making your stained glass piece, you must first prepare the frame. Take the backing off and throw it away. Pull the glass piece out of the front, put some of the silicon glue on the inside of the frame, and press the glass into it to secure it. Let dry, and then you may use the silicon caulking to seal it in and protect it, go around the whole edge of the glass on the inside and outside of the frame and allow to cure for as long as the tube says, typically about one day.
Print and Prepare your Picture
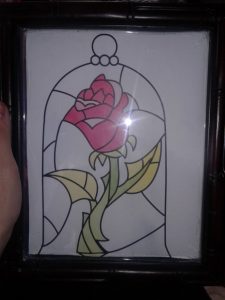
After your caulking is set, print the image and cut it to fit the inside of the frame with the scissors. Then tape it to the inside of the fame with your scotch tape. Never just lay it on top of the glass, because you will have to move it and rearrange your pieces when you wish to glue them down to the glass. Once your image is stuck to the back, wipe off any fingerprints, dirt or dust that have gotten onto the glass surface with Windex and a cloth.
Starting on the glass
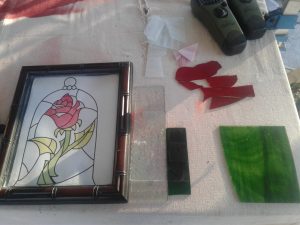
Use your nippers to nip off little bits of dark green glass and lay it out over the stem and the small piece of the rose leaf that has the stem. From my mistakes… glue down the pieces as you go instead of waiting. That way if your piece gets bumped, you wot have to rearrange the pieces. Do the light green glass on the leaves and the red on the rose. For the rose I tried to follow the pattern as best as I could to make it look more realistic and less like a blob.
The glass beads
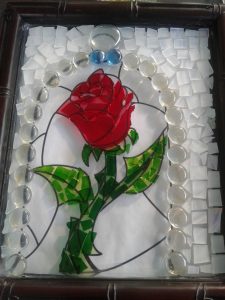
Now it is time to place the glass beads. Set one big bead at the very top of your frame and glue it down, and then make the shape of the dish that contains the rose. Glue them all down and let the glue cure for a few hours.
Background
Then the clear glass needs to be nipped into squares, use your scorer and breakers to score and break some strips of glass and then nip them into squares. Glue them as you go along in neat rows. Do the same for the outside, tucking triangles around the glass beads. Make sure to leave little gaps for grout, as shown in all the pictures. Glue all of your pieces down and let it set for a minimum of 24 hours.
Stay tuned for Part 2!