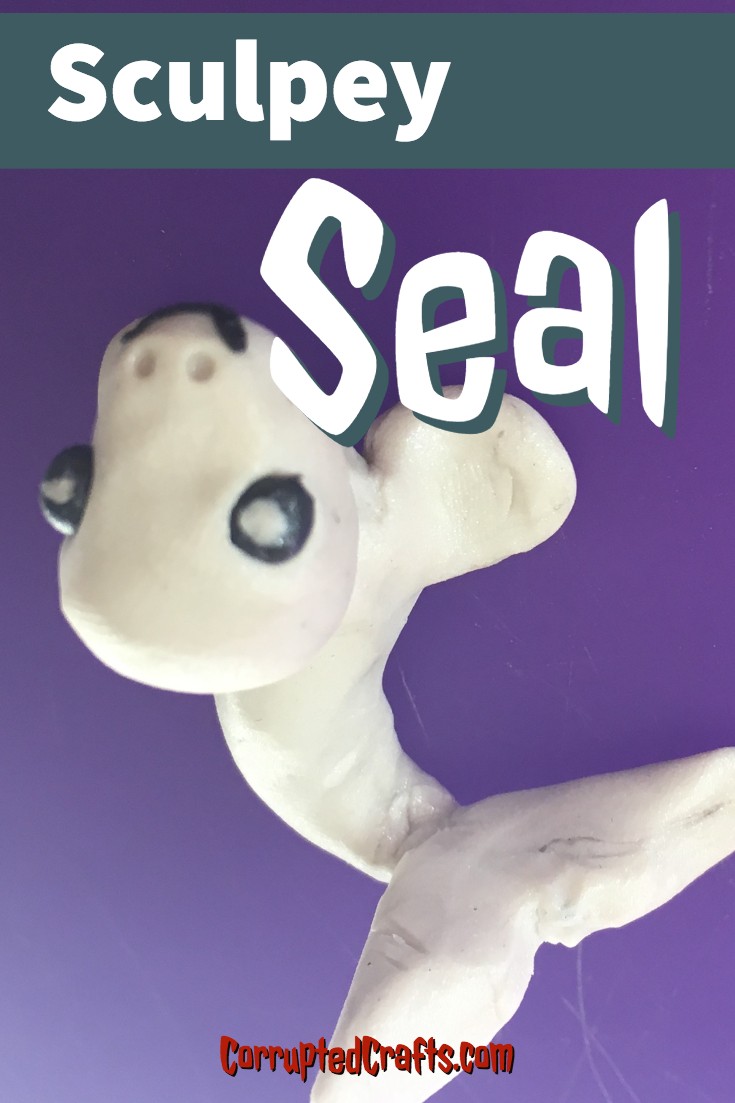
We recently went to an aquarium and I noticed there were no seals in Disney World, so I decided to sculpt one out of polymer clay. This little friend would be great as a doll’s pet or as a cute little collectible to sit on your shelf.
What you will need:
- Sculpey in sparkly white and black
- Wire
- Patience
- Oven
- Pliers
- Dotting tools
Start on a clean flat workspace and grab everything on the list above. The best place to work is at a kitchen table or desk.
Cutting the Polymer Clay for the Polymer Clay Seal
Using a piece of wire or a sharp blade, cut off a small piece of white polymer clay. This will be the clay for the head.
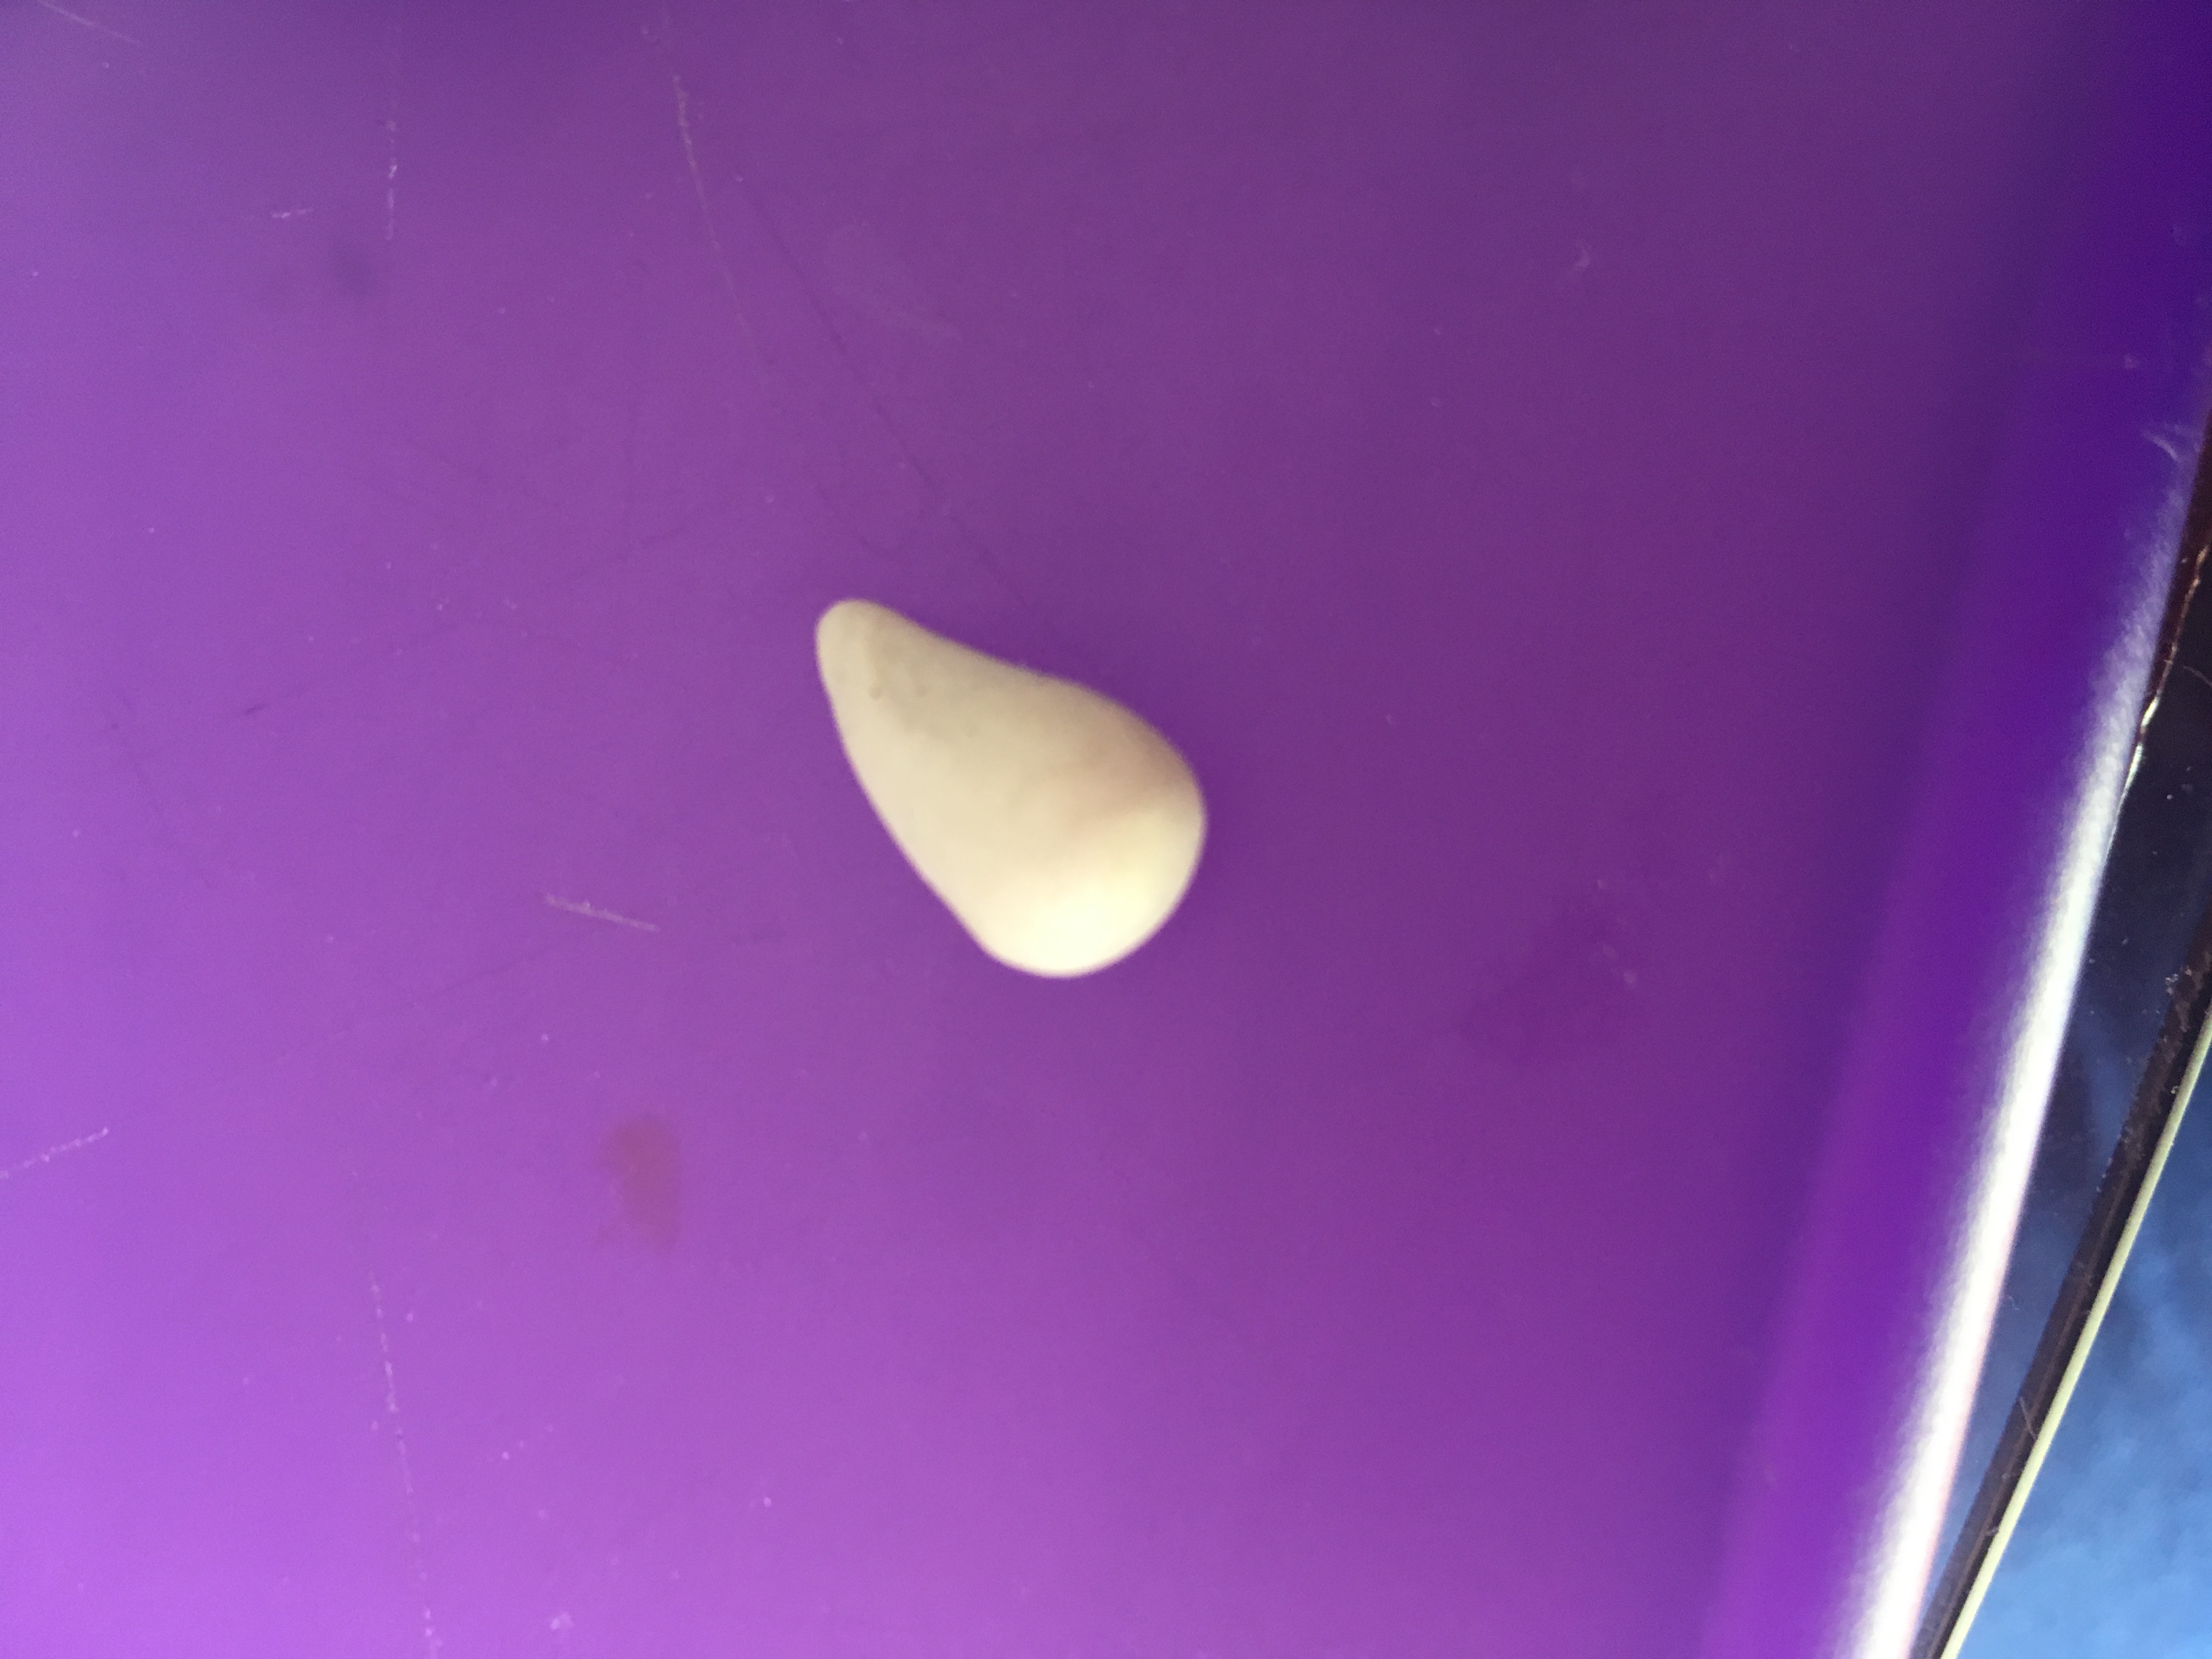
Shaping the head
Make a small teardrop shape out of polymer clay and repeatedly poke the end to flatten the sharp point of the head to a rounded muzzle instead.
Shaping the Body of the Polymer Clay Seal
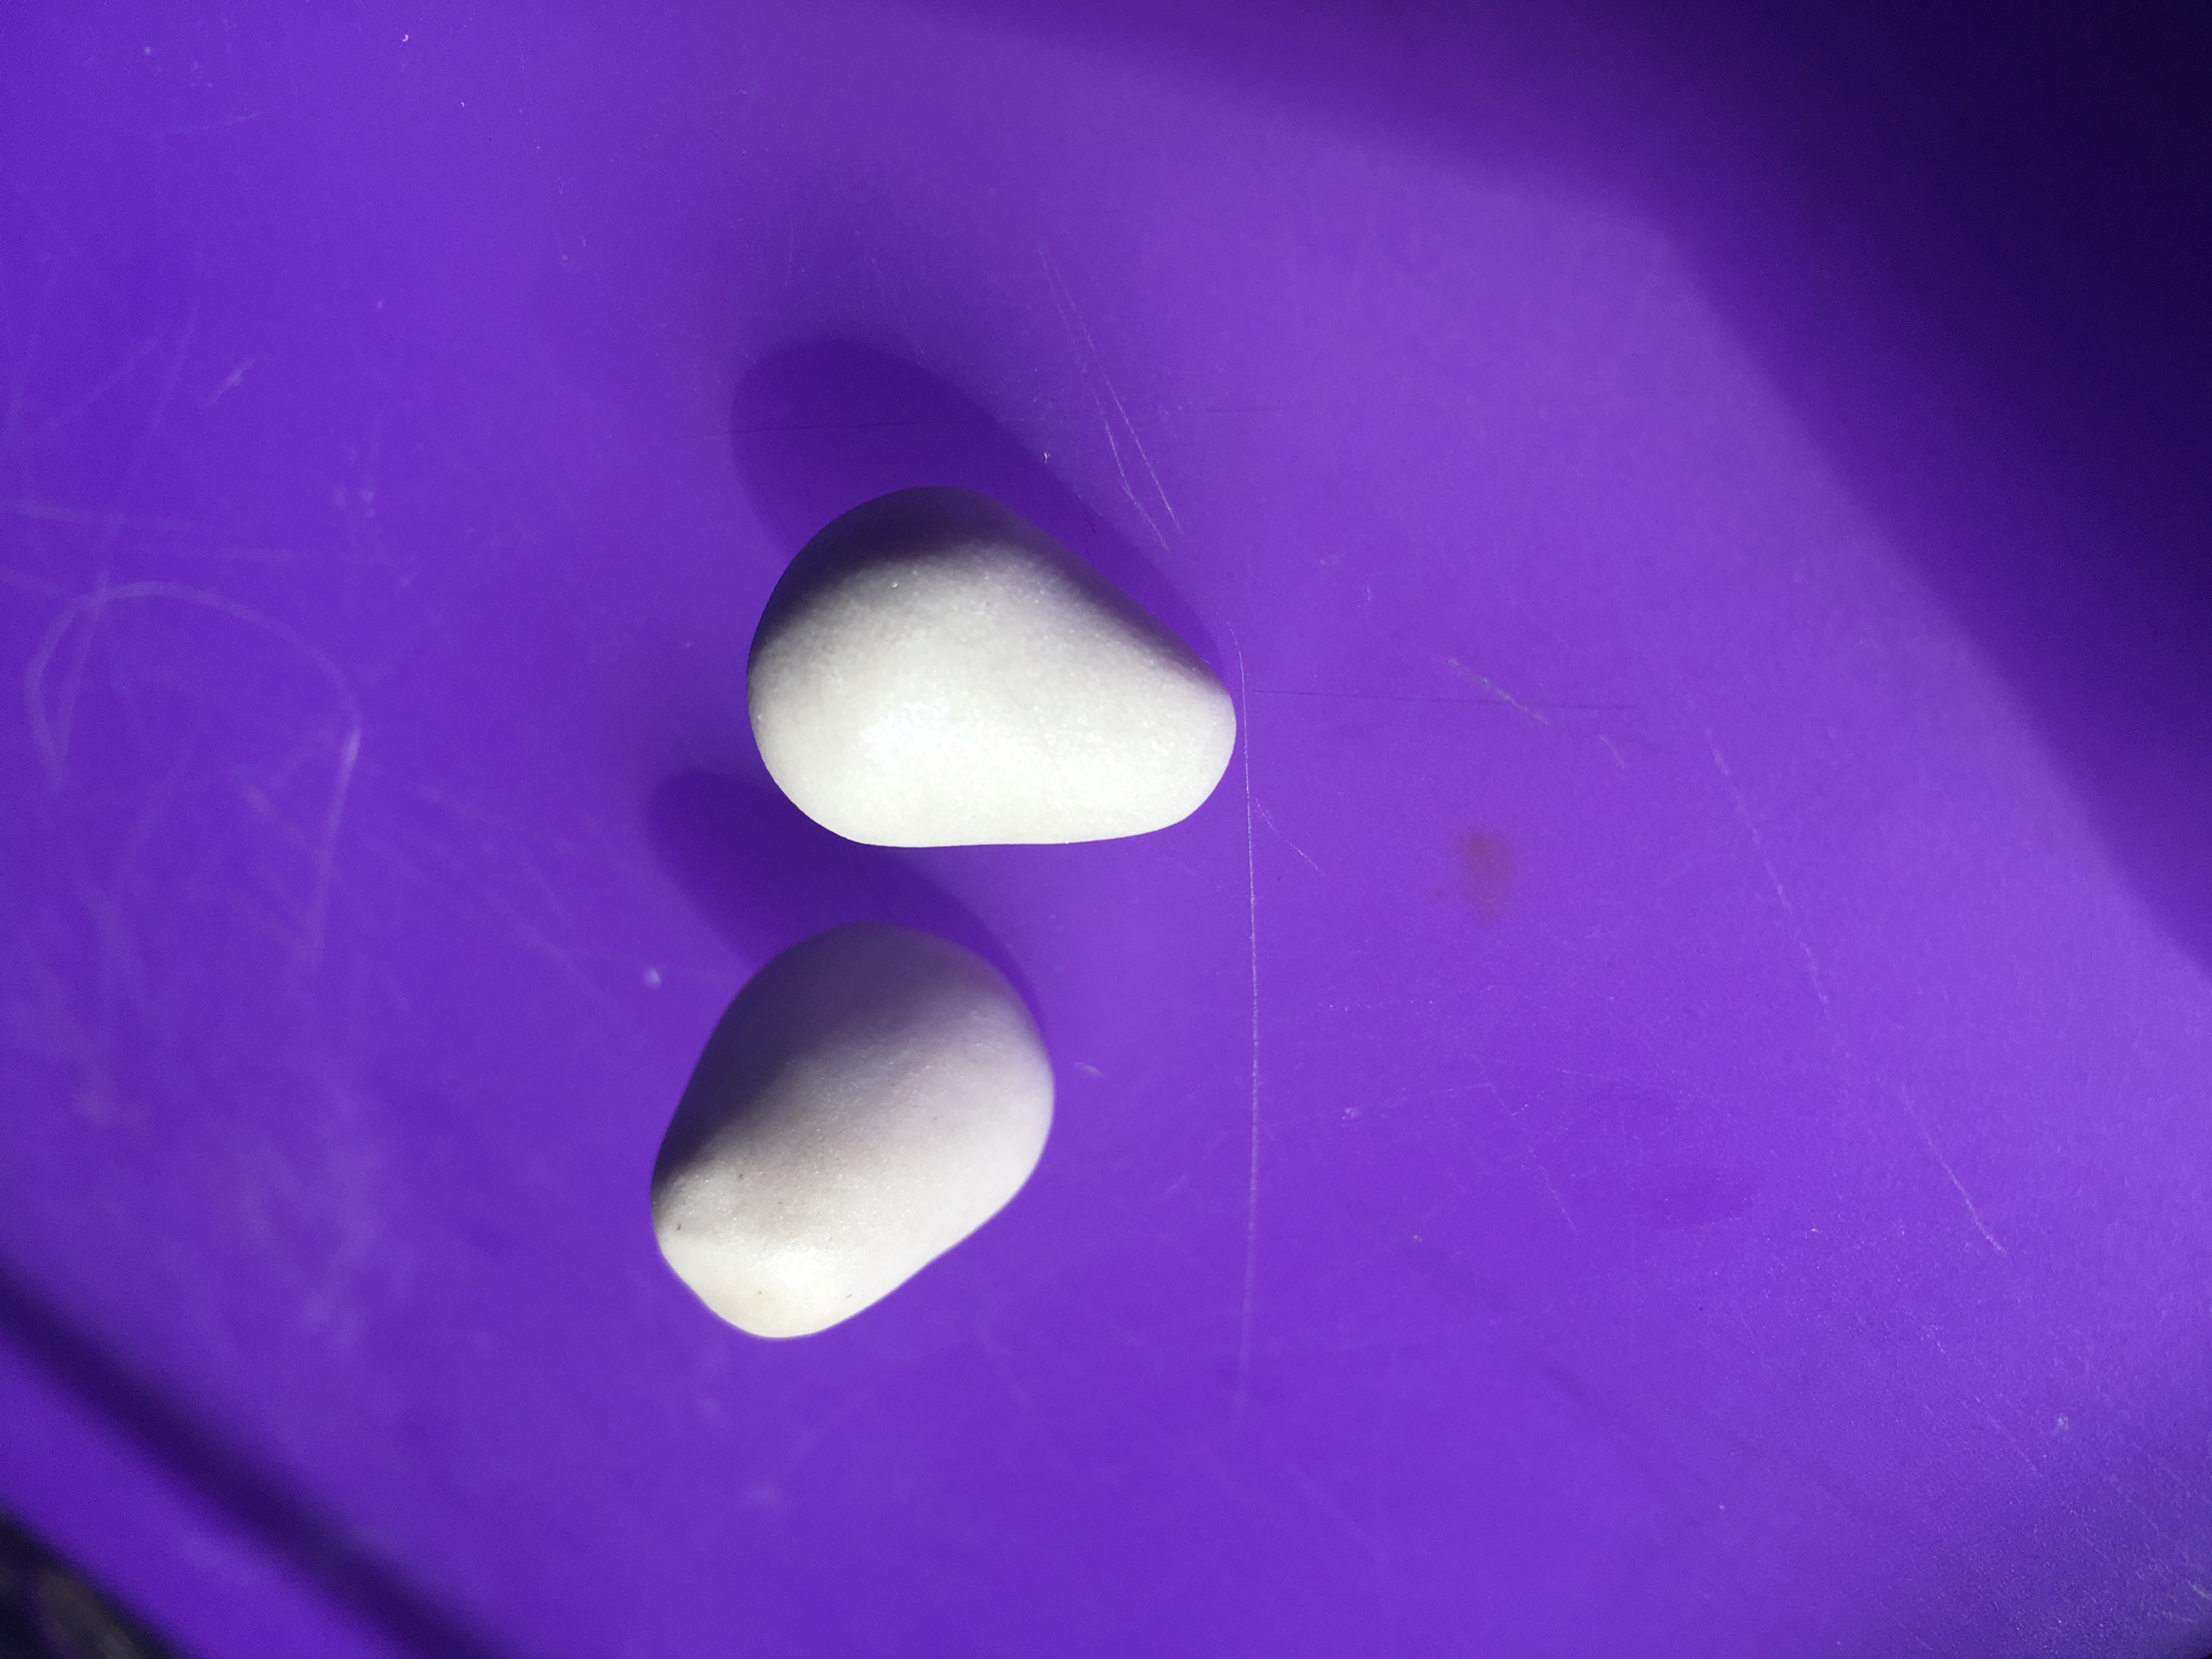
The body of the seal is done similar to the head, out of a slightly larger piece of clay. Make the end flatter so it can stand up independently.
Attaching Head to Body
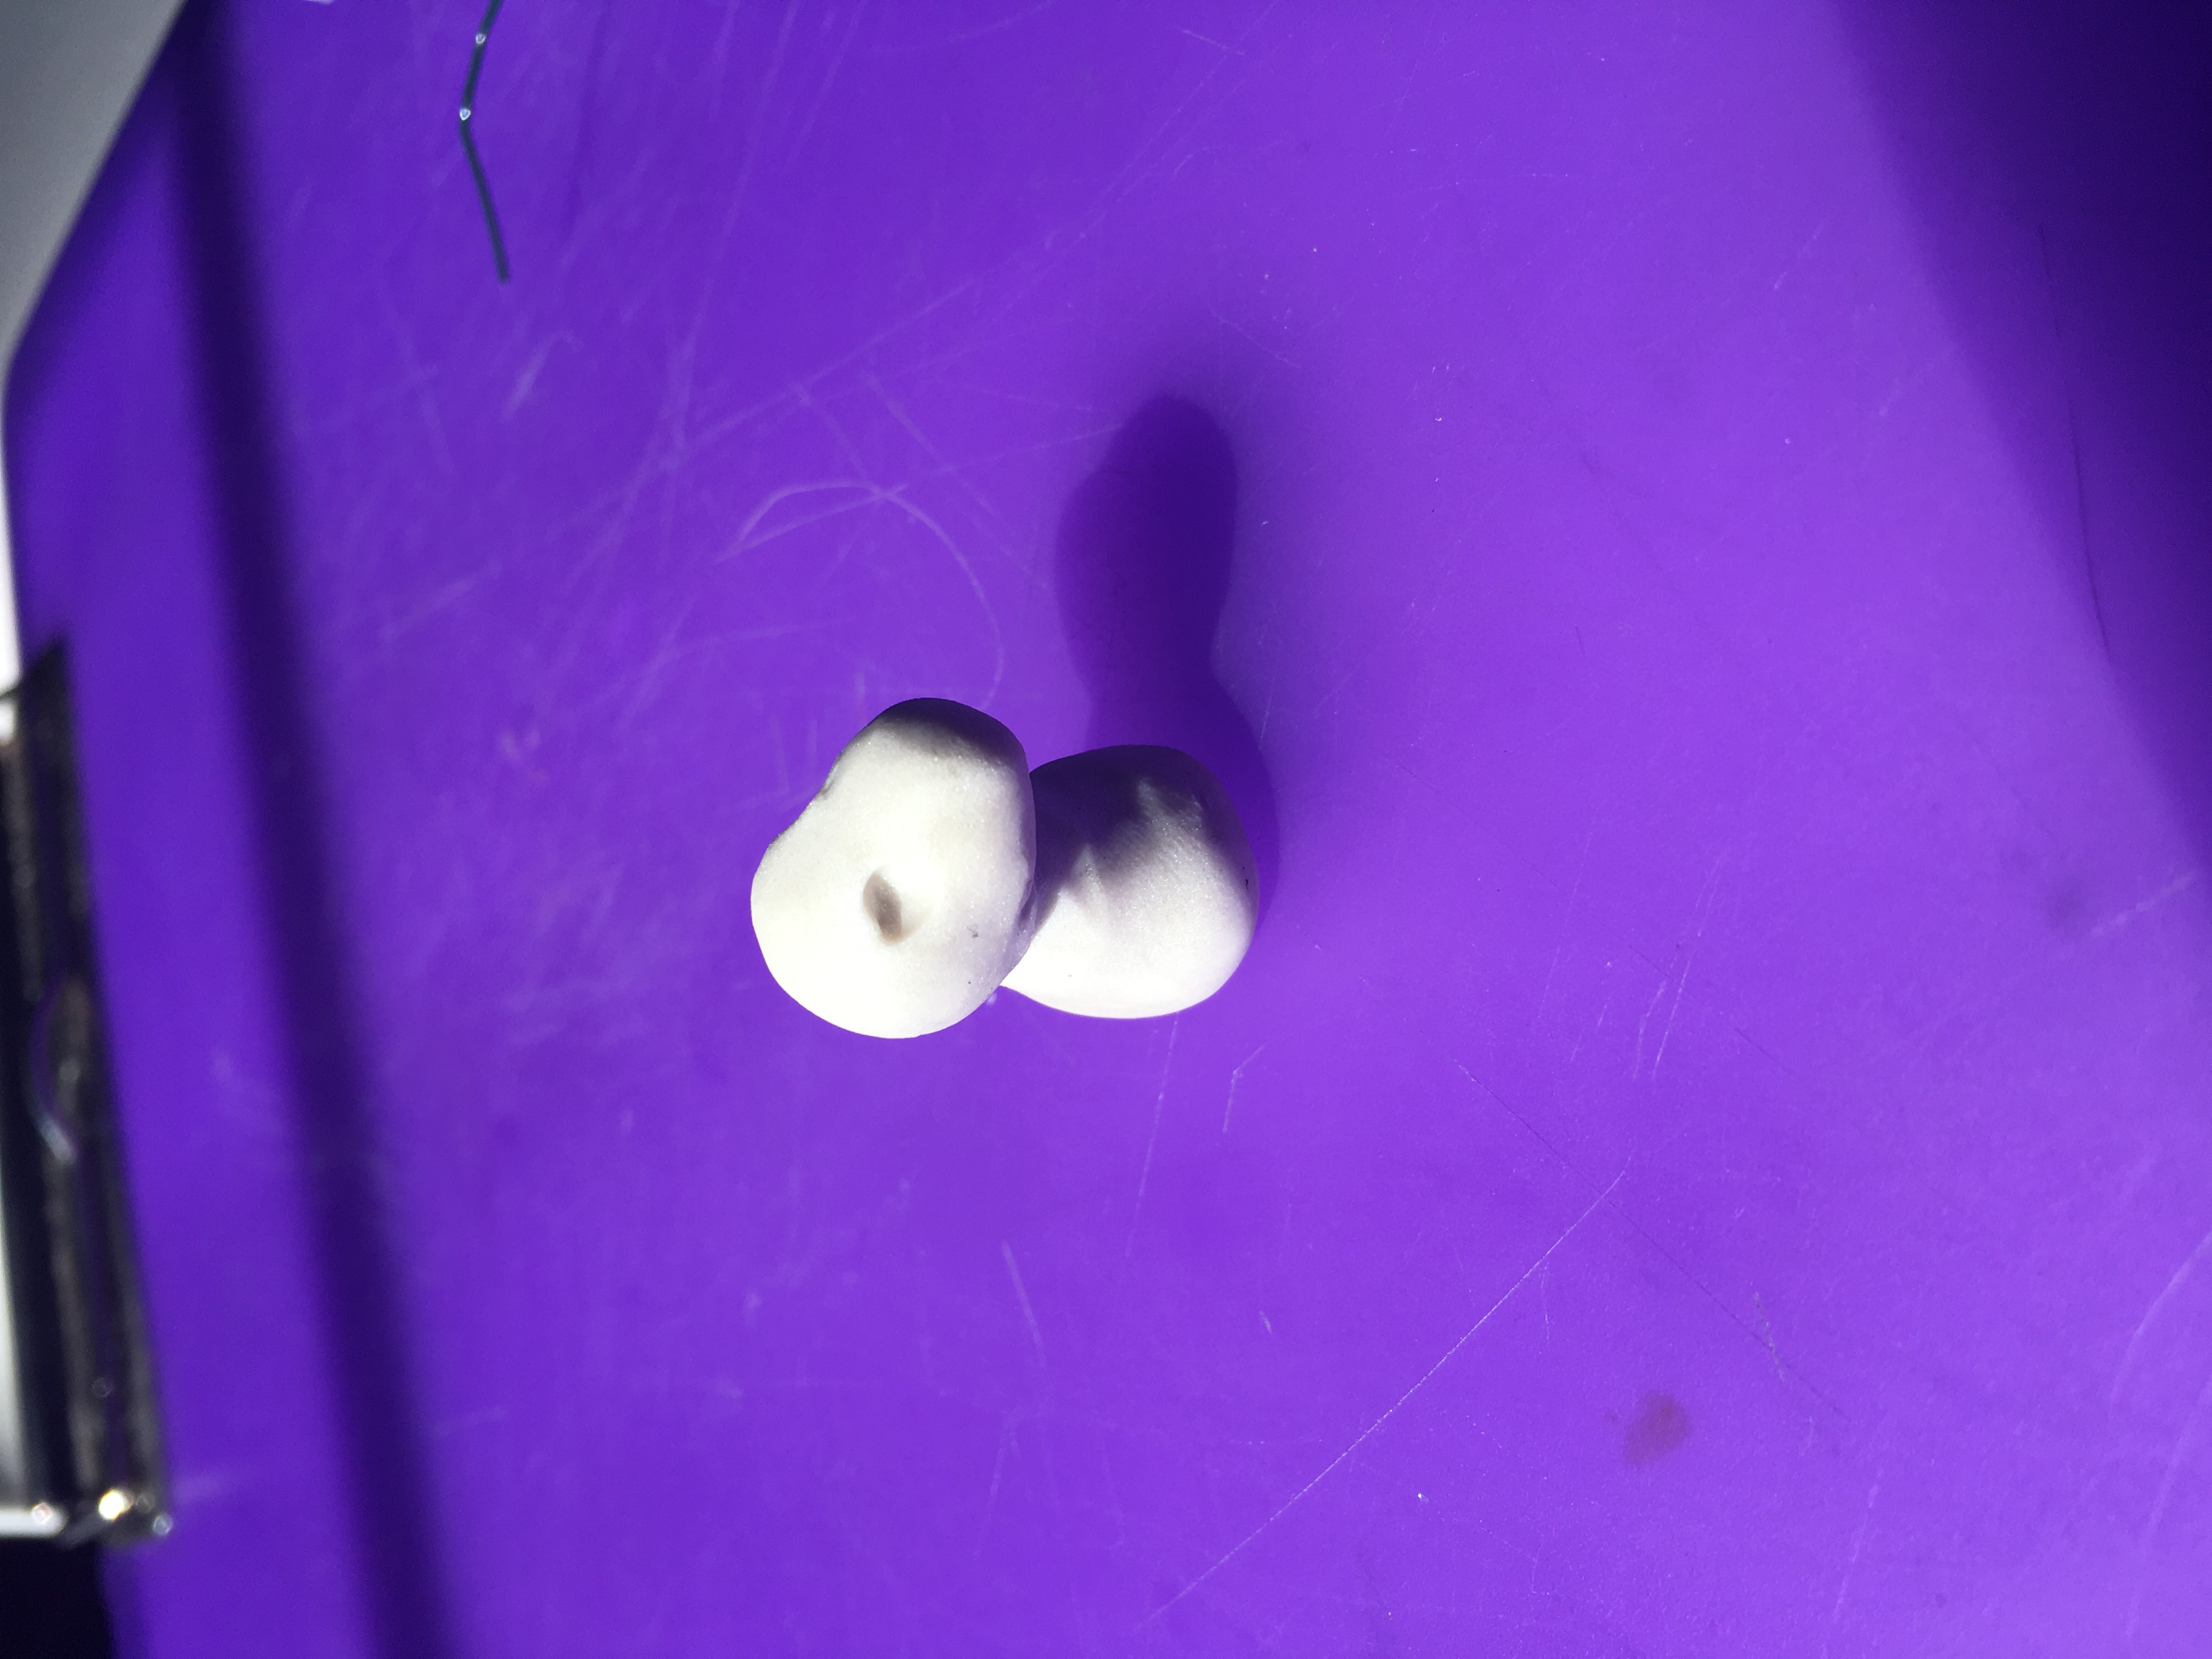
Gently press the two pieces together and blend using a dotting tool. Make sure the blob can still stand.
Adding Eye Sockets to the Sculpey Seal
Using the largest dotting tool, gently press in eye sockets on either side of the head. Look down from the top of the seal’s head to make sure they are lined up correctly.
Making the Front Flippers
For the front flippers, make two small chunky teardrops, making sure they are not too big or too small for the seal.
Making the Body Shape to work with Flippers
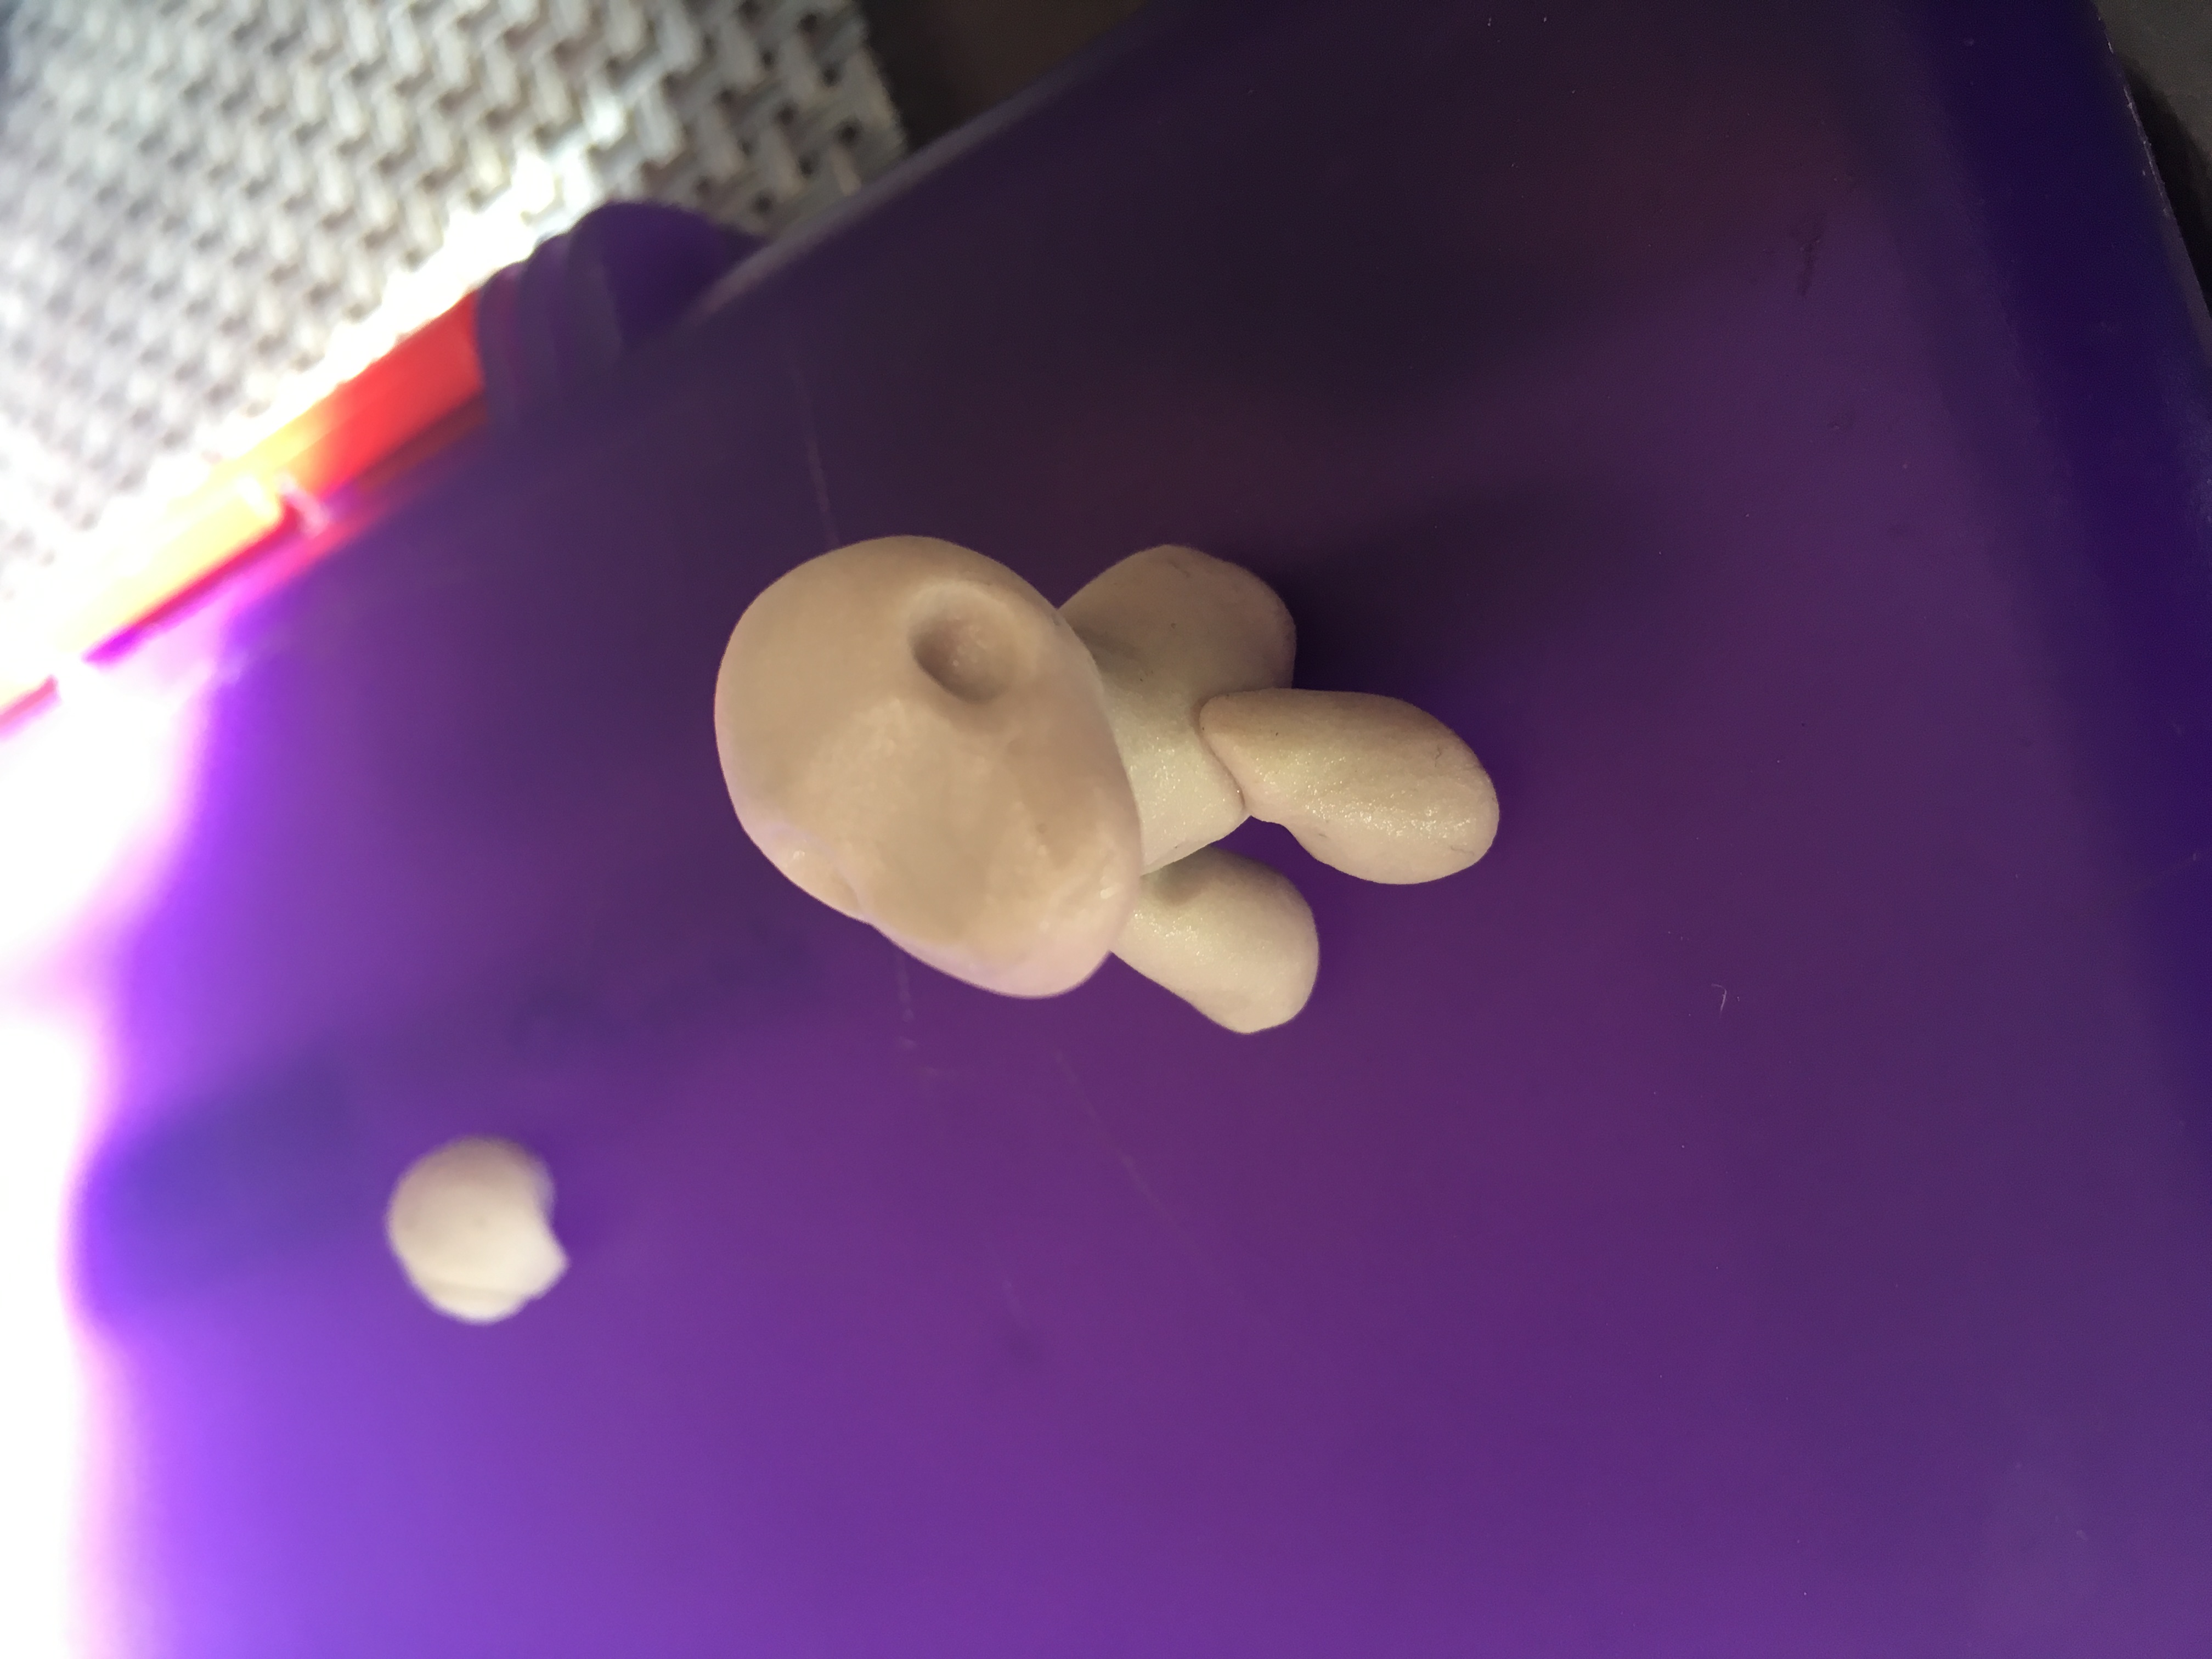
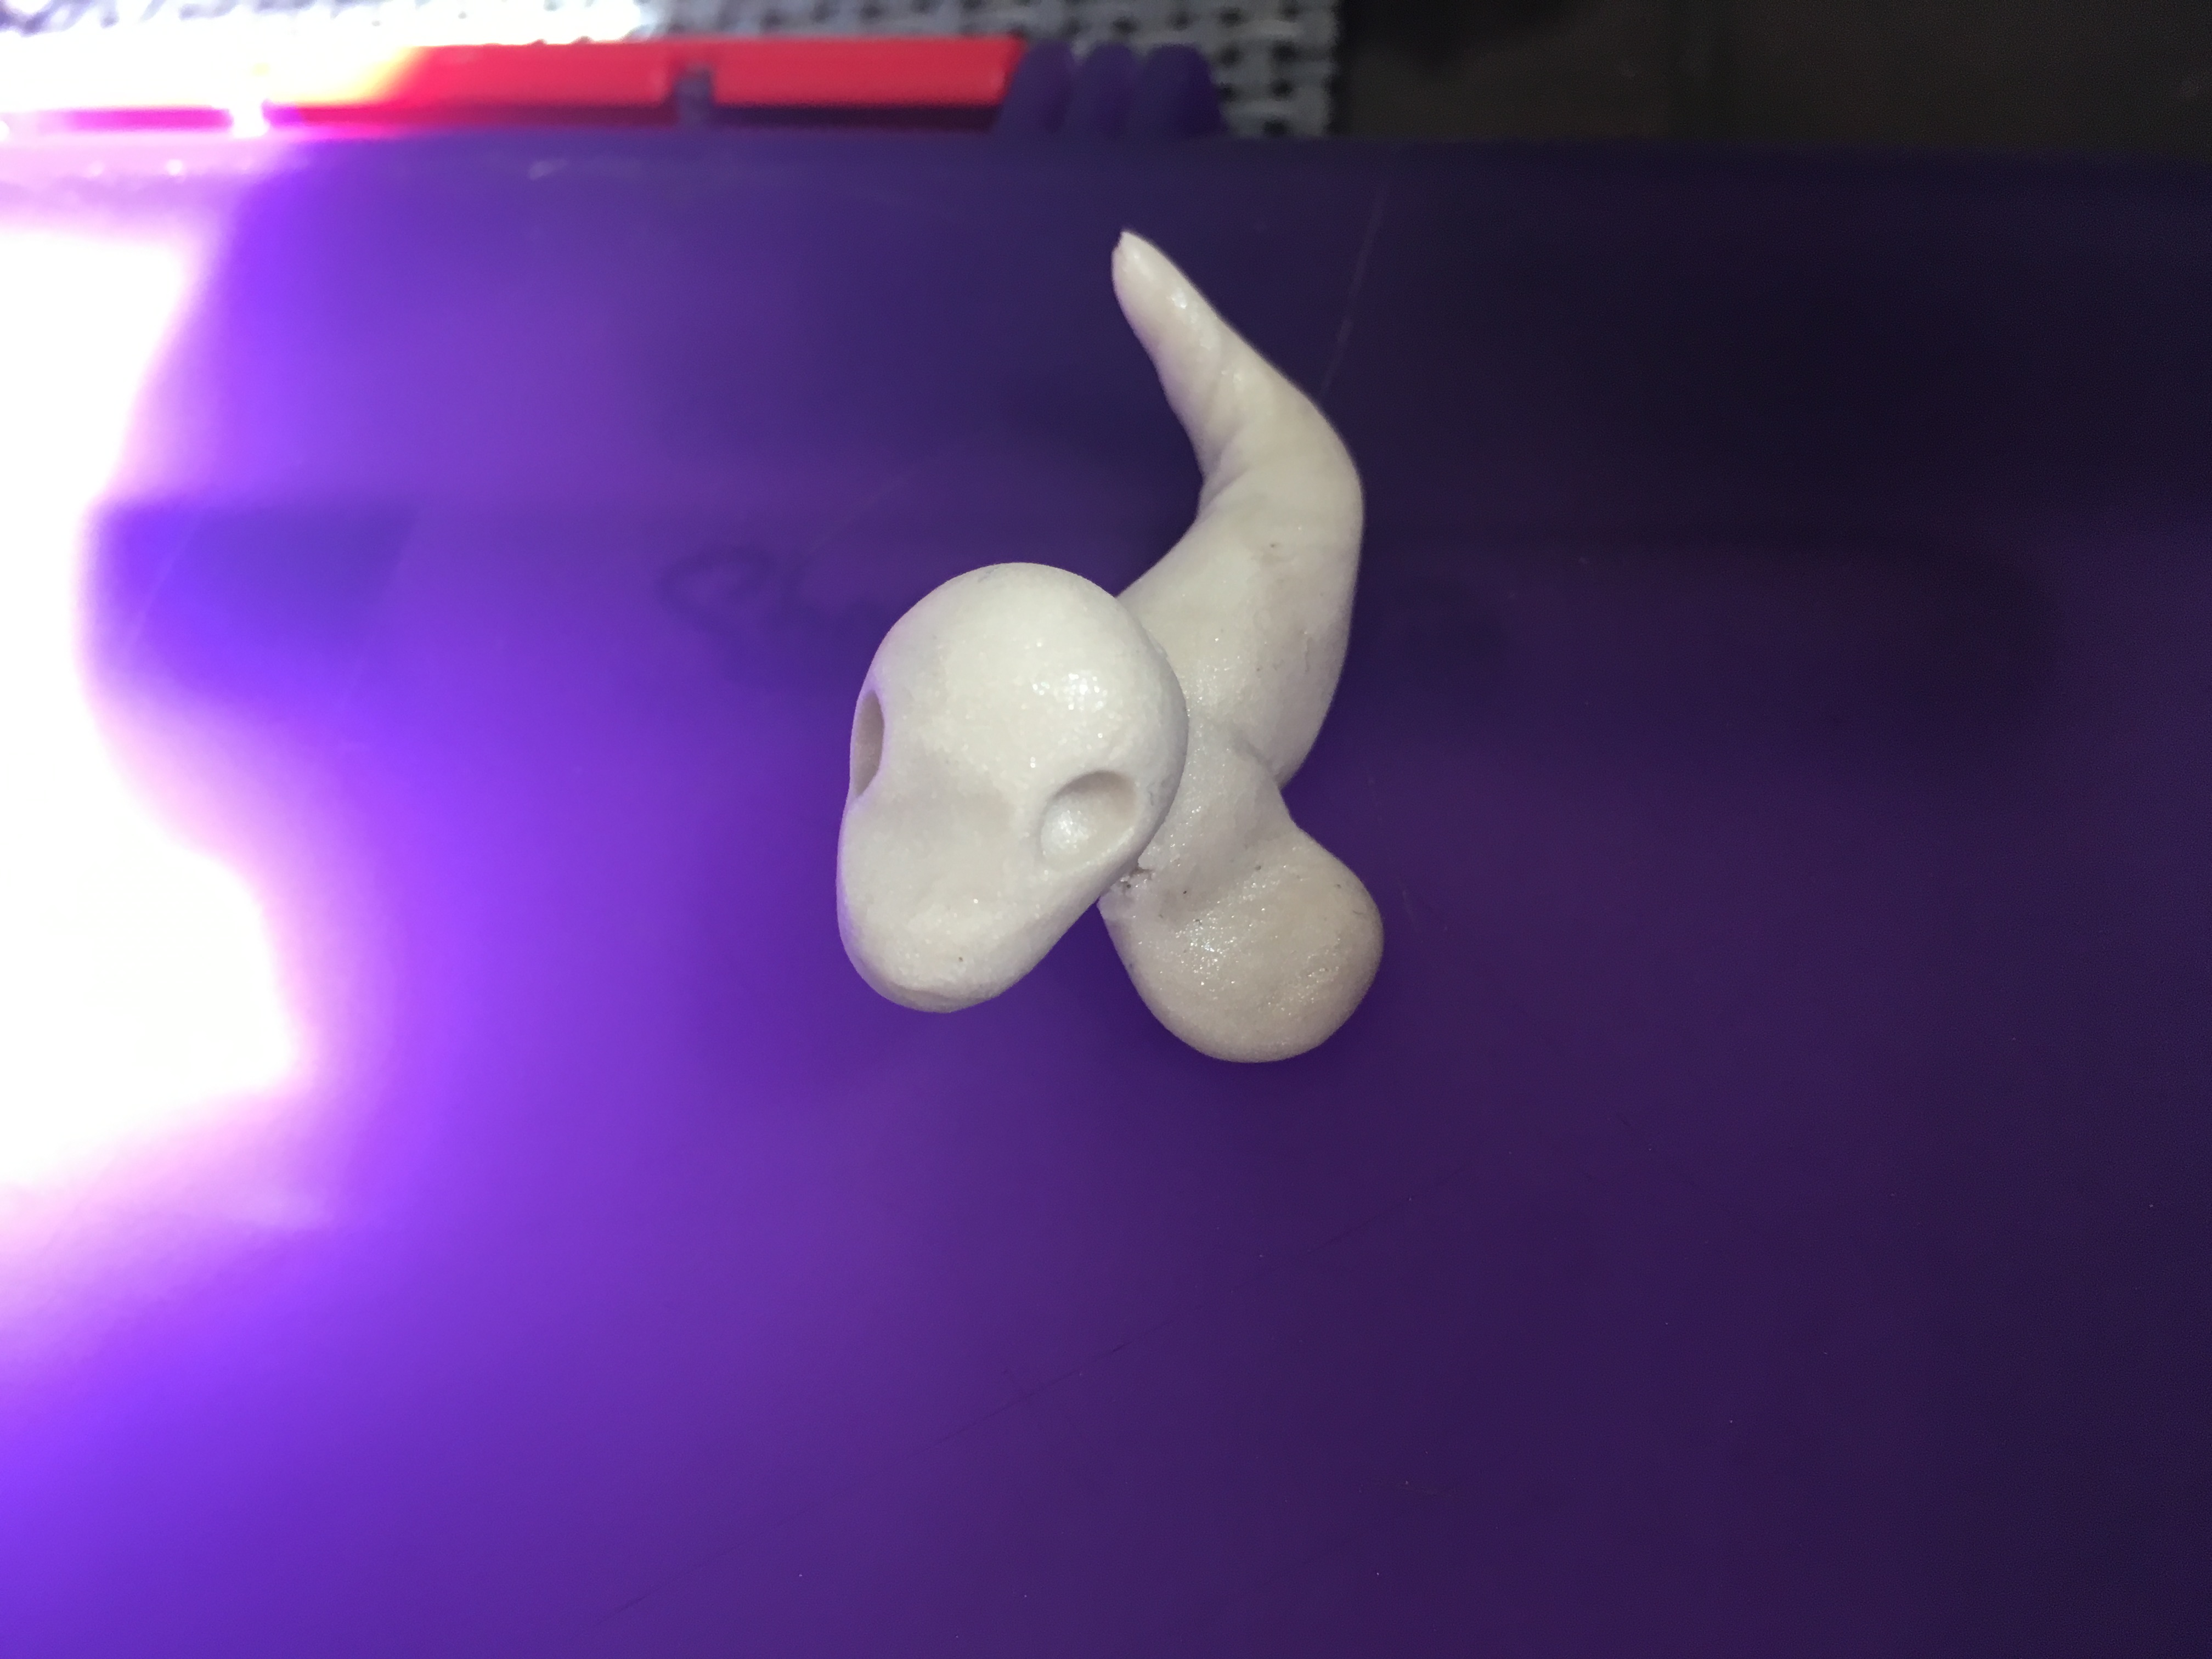
Add the flippers to the body and mash the ends gently, to make the flippers and the body rest on them. Squish and reshape the body to rest on the flippers reliably.
Making the Tail of the Sculpey Seal

For the tail, make another teardrop shape and attach the wider end to the body of the seal. Blend well with rubbing alcohol and a dotting tool.
Making Facial Details of the Polymer Clay Seal
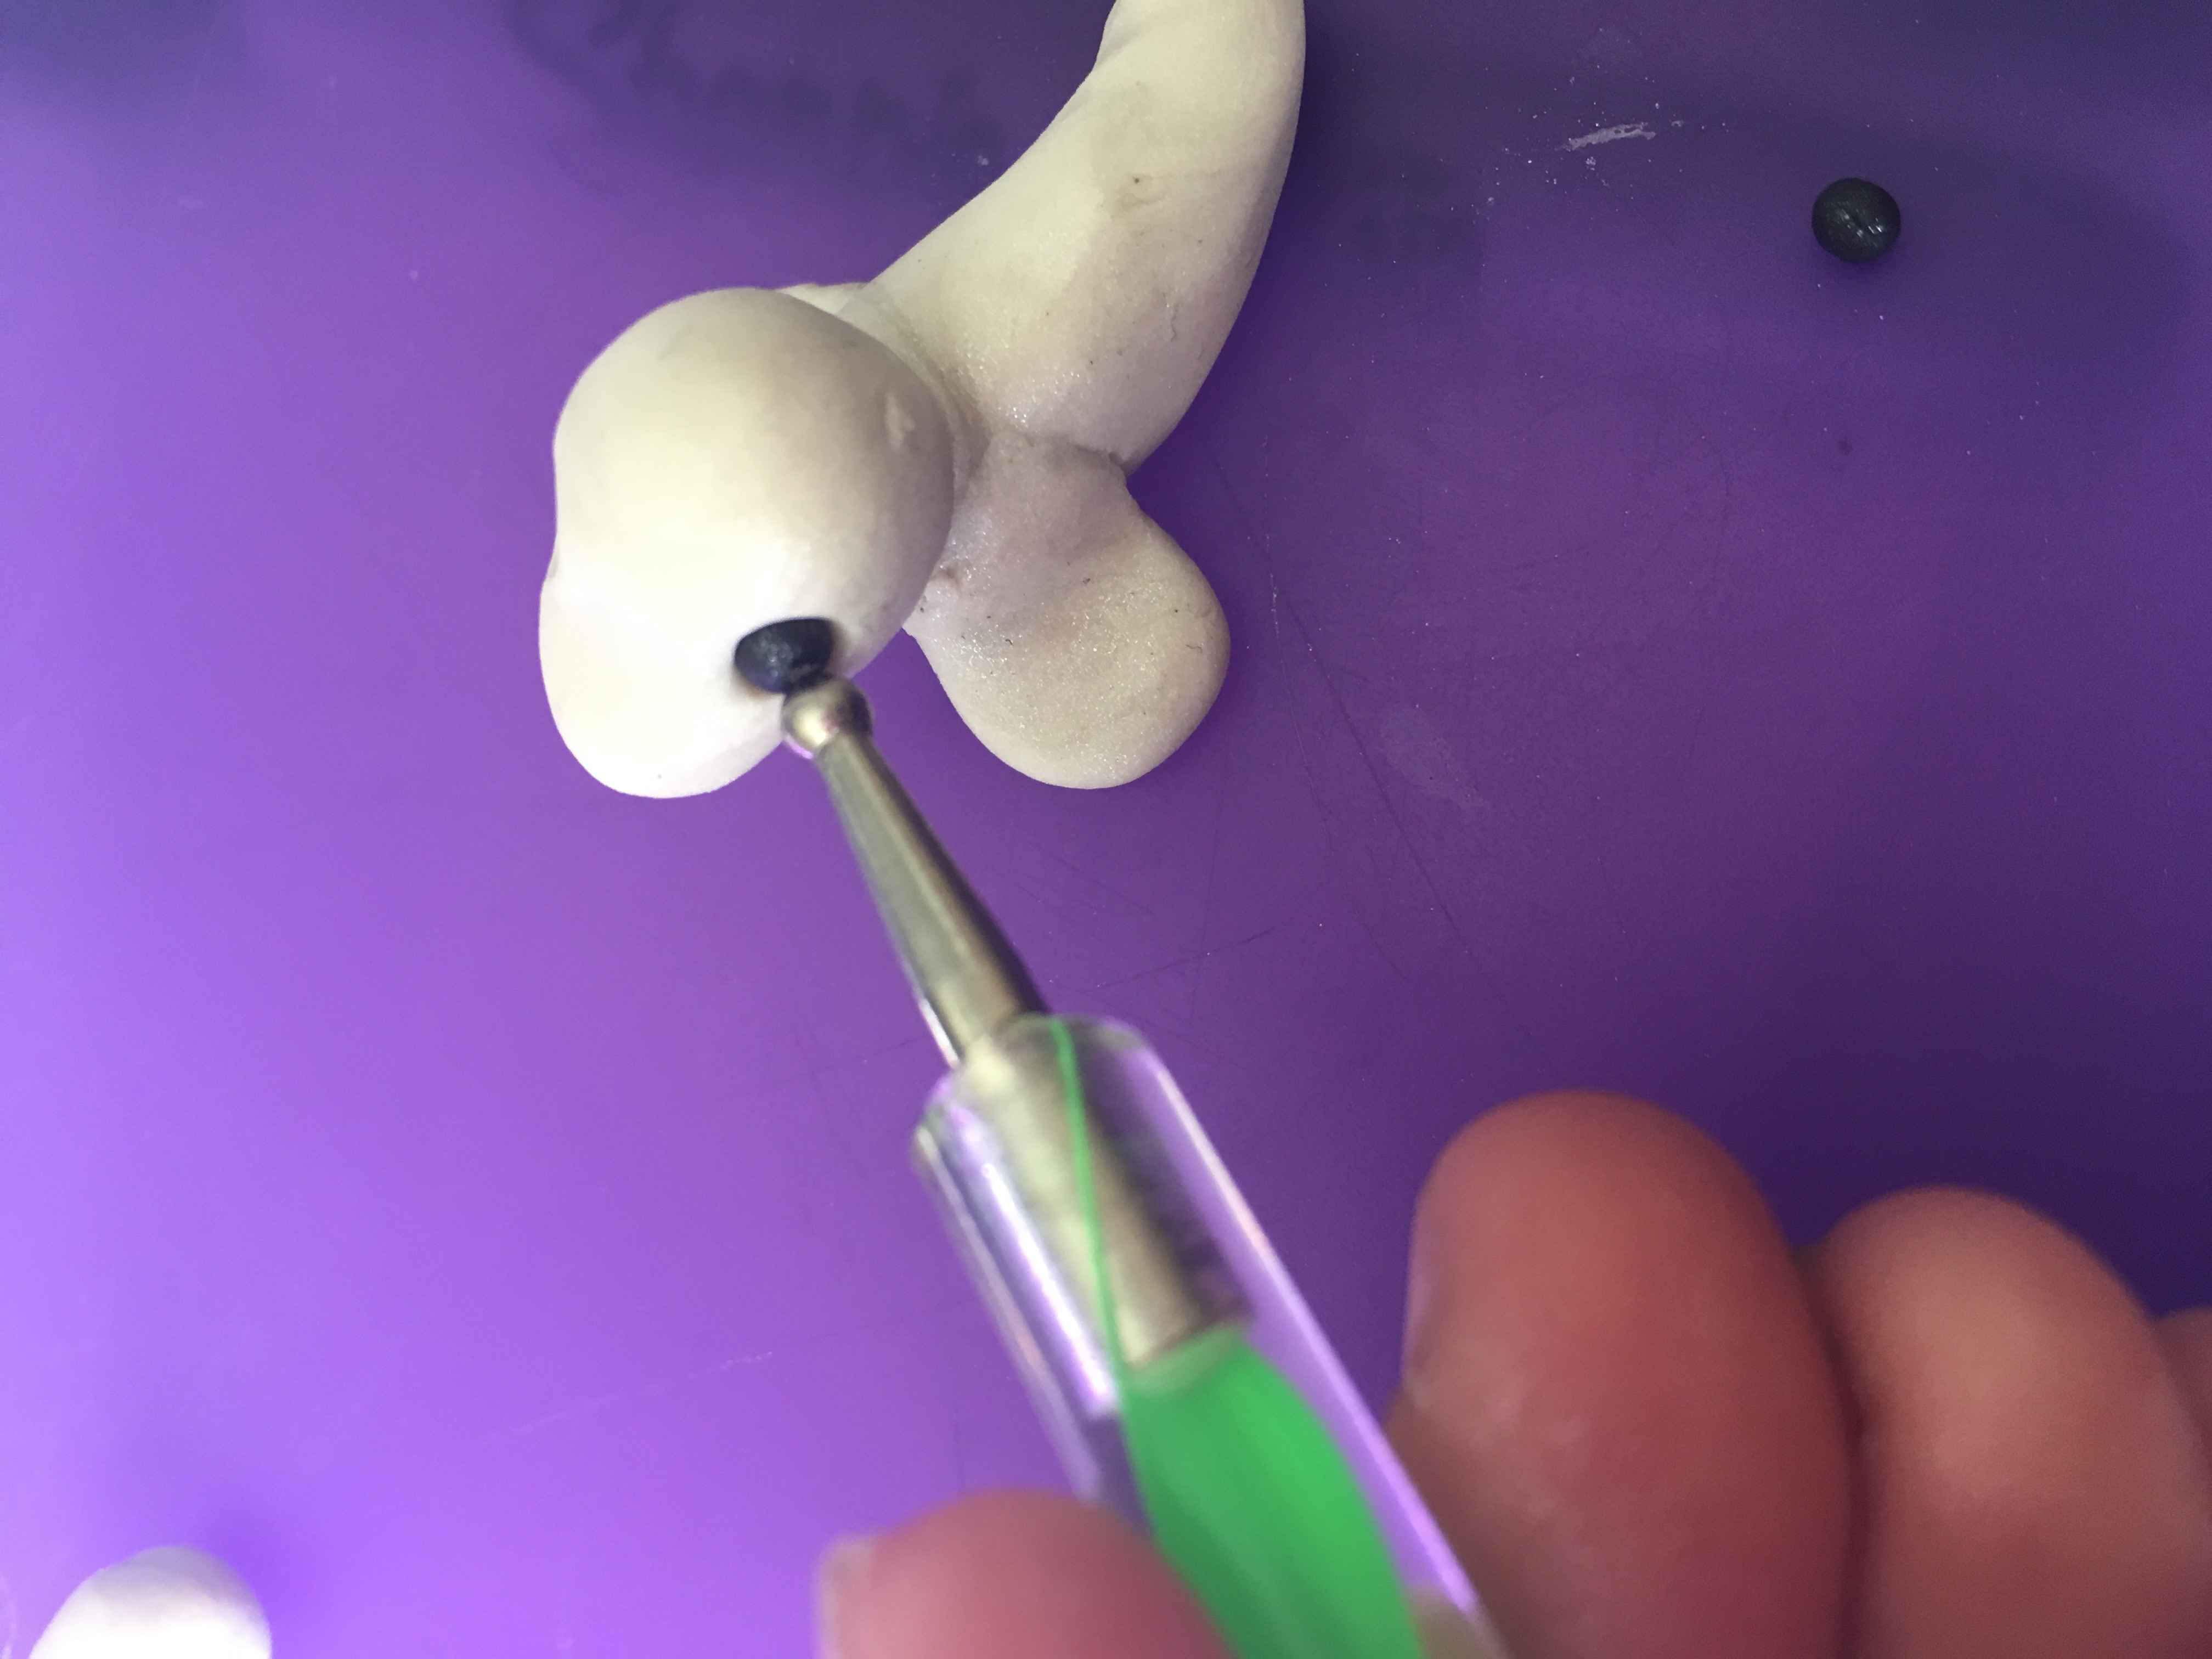
Using the doting tool used to carve out the eye sockets for reference, make two tiny black balls and use the dotting tool to press them into each eye socket. Add a small fleck of white for a touch of life. Use a tiny dotting tool to make nose holes.
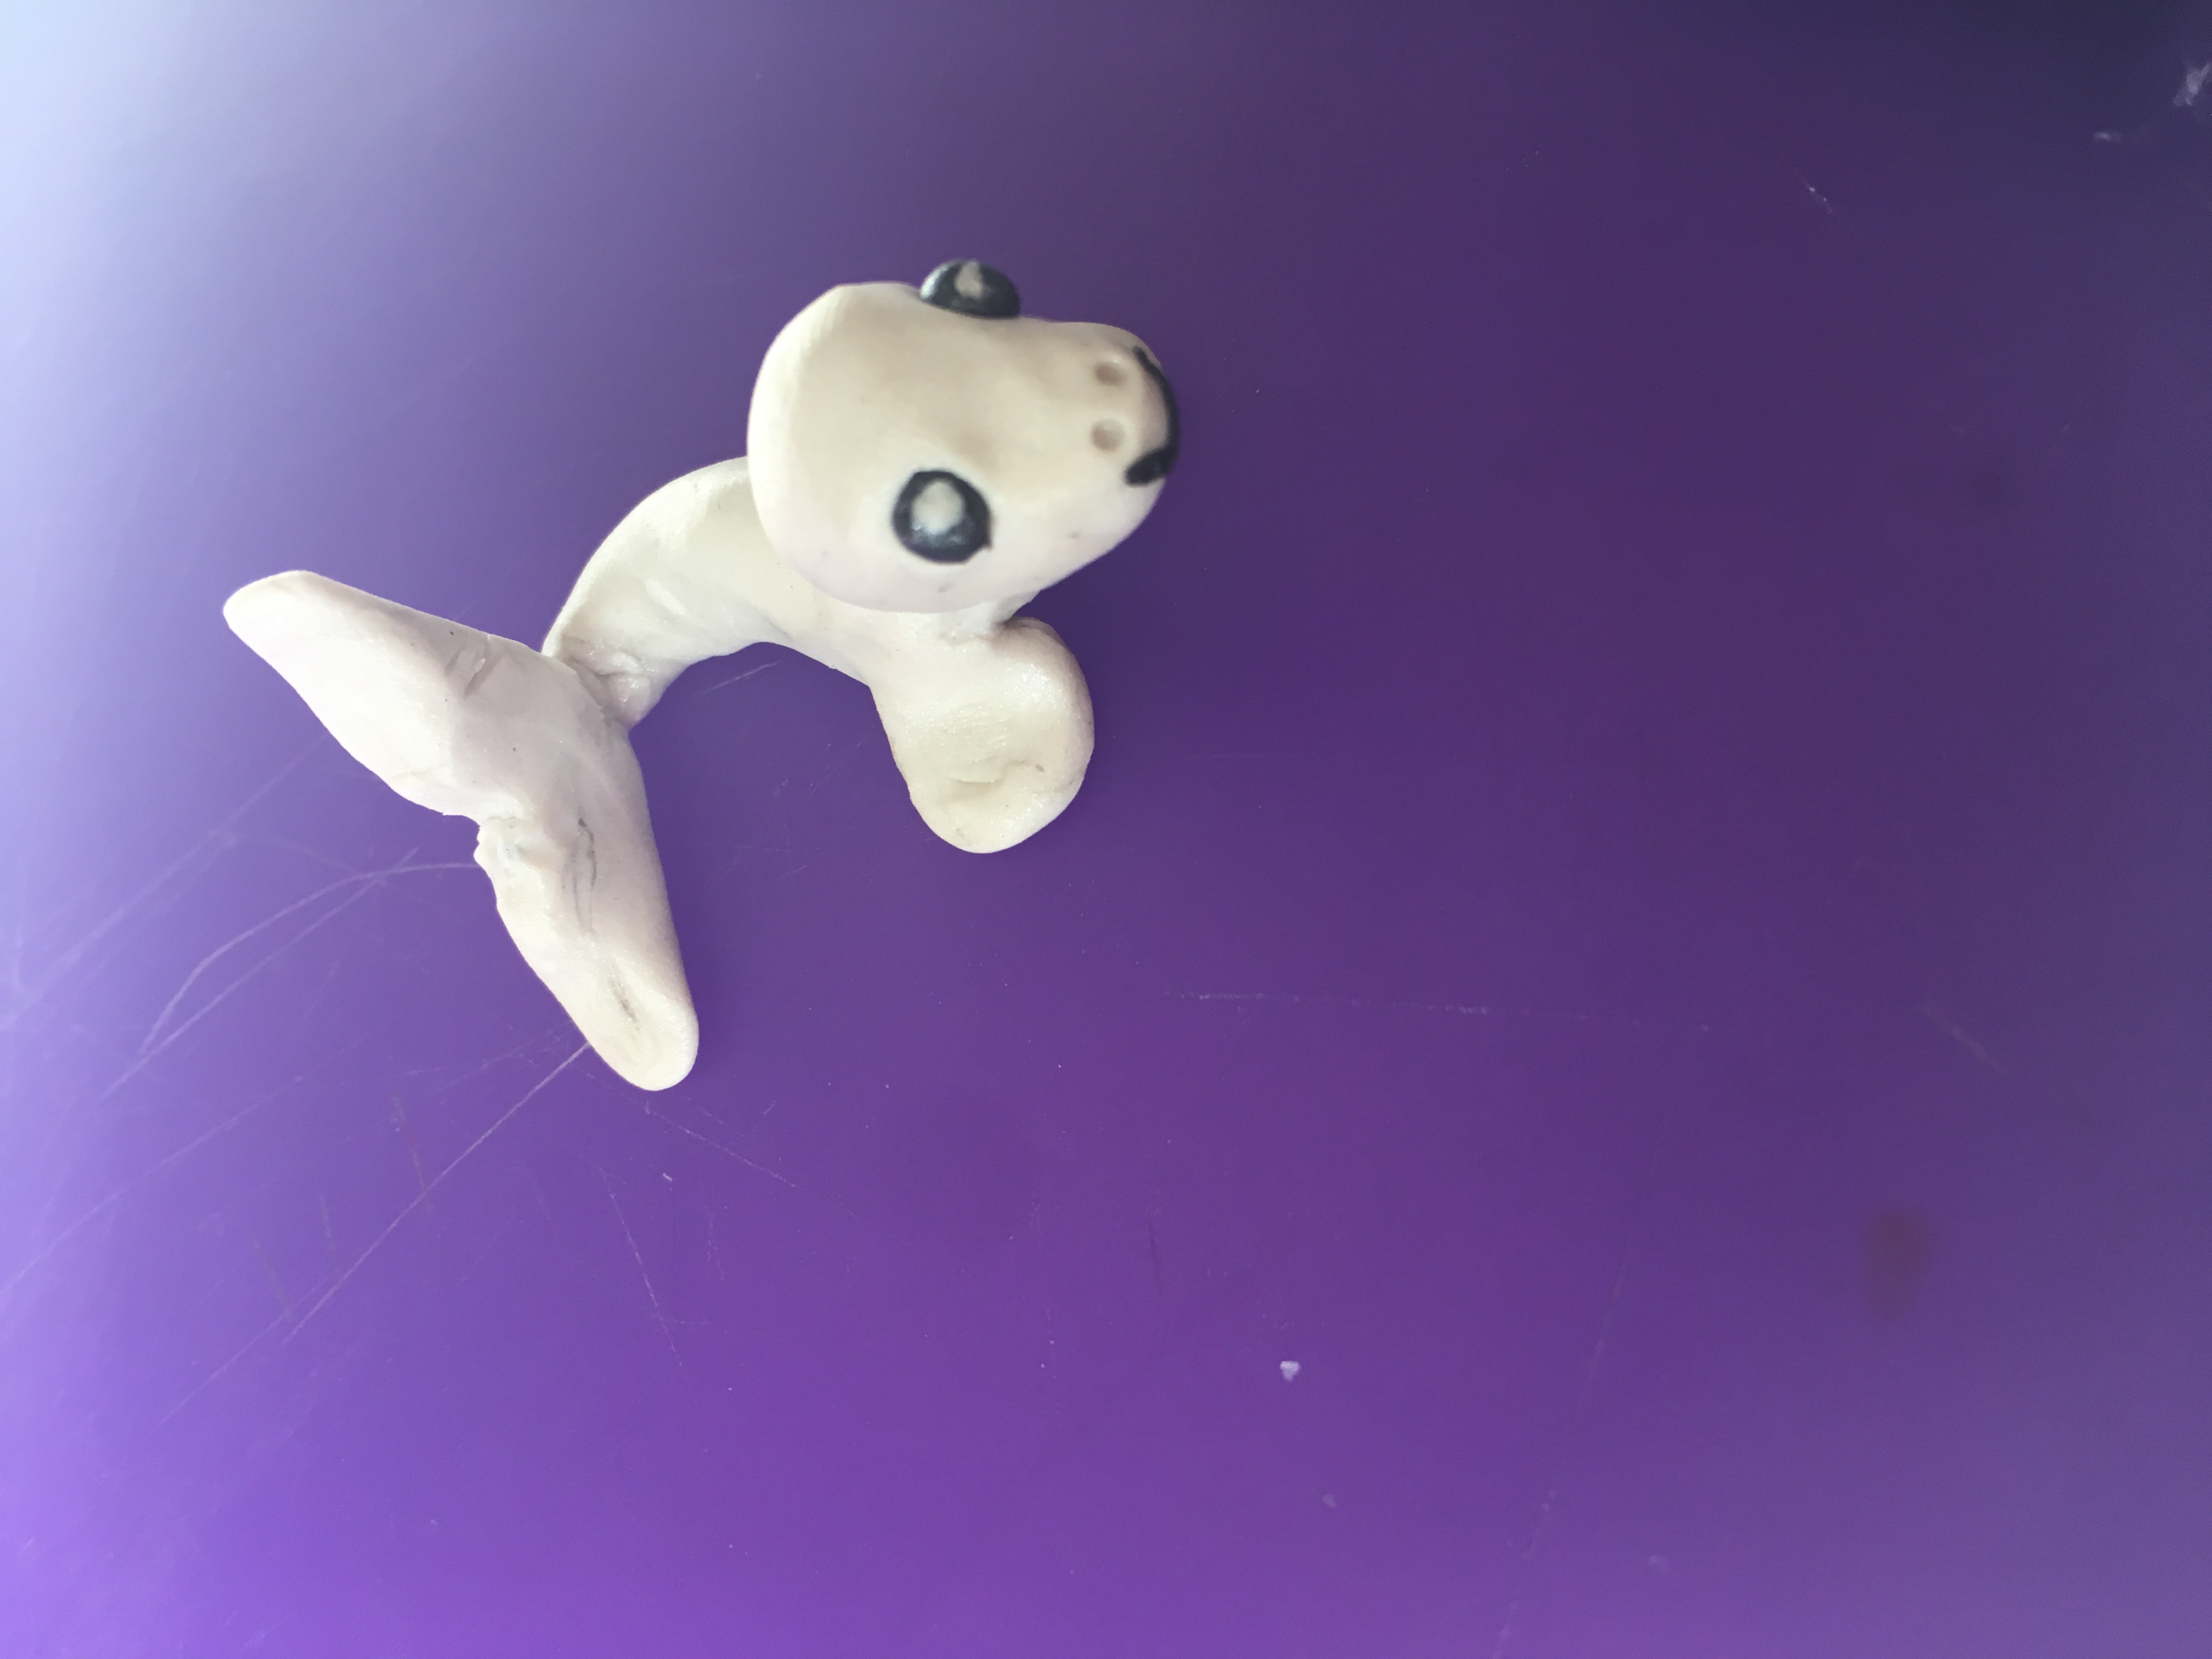
Sculpting the Tail fin of the Seal
The tail fin is shaped similar to a mermaid tail fin, starting with a simple thick triangle shape and forming the end of the tail to make the shape desired. Attach to the body with a small piece of wire for support.
Bake
Bake for about 15 minutes at 275 Fahrenheit on aluminum foil and wait for it to cool for at least 10 minutes before touching.
Finish
For the finishing touch, add a clear glaze or Sally Hansen’s Hard As Nails to make your seal look glossy and pretty, and the project is done. Happy crafting!