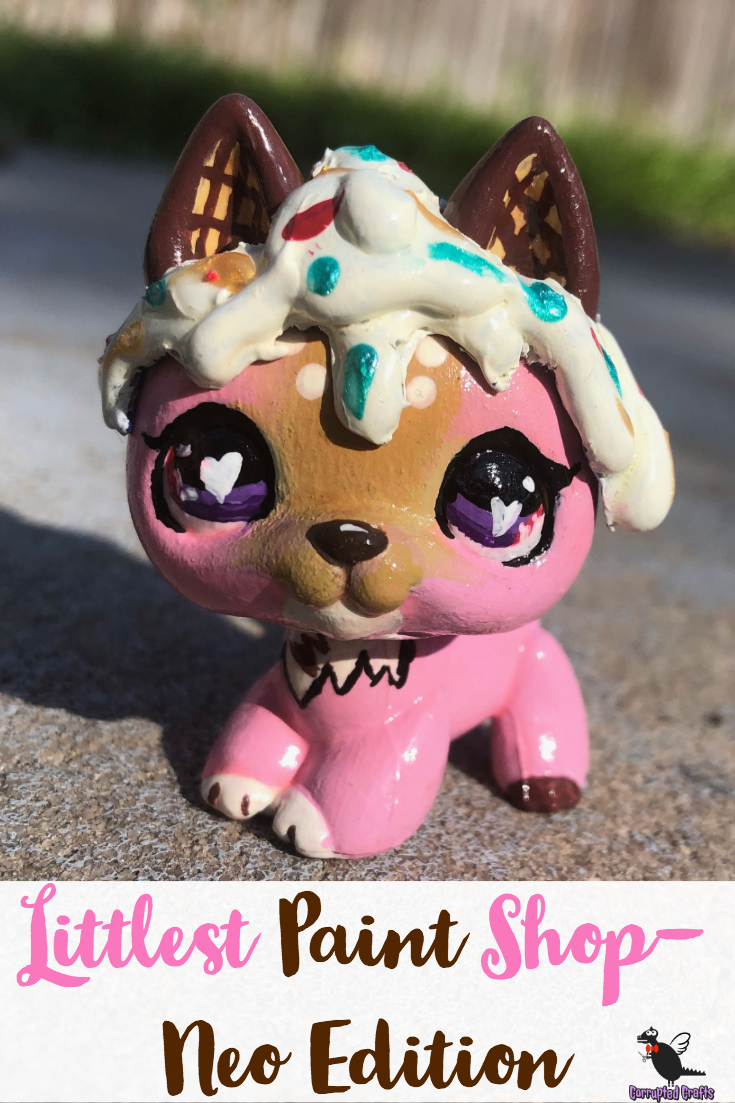
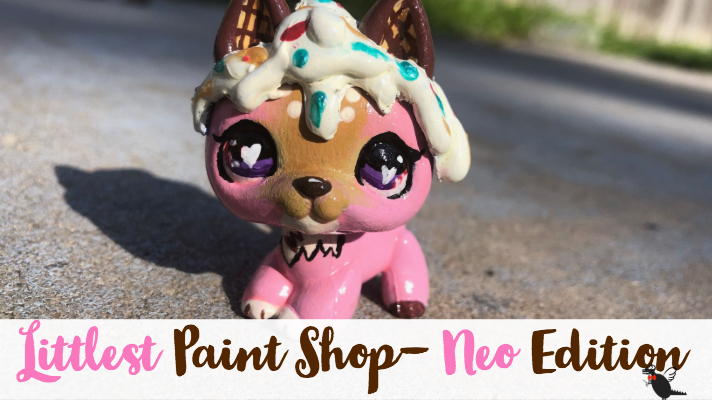
Finally little Neo gets to be brought to an LPS Custom. This little puppy is one of my first and favorite original characters, and he is made of ice cream. Neo is named after Neapolitan ice cream, which he so happens to be made of. He’s mostly pink with little waffle cone ears. Feel free to take this tutorial and make a character of your own based on his paint work.
What you will need
- Fine paint brush set
- Brown paint
- White paint
- Yellow paint
- Acrylic in black
- Acrylic in red and purple
- Pink paint
- Hot Glue
- Puffy paint in several colors or polymer clay sprinkles
- Acetone
- Q Tips
- Dotting tools
Protecting your Work Surface for LPS Custom Neo
Before you start painting your custom, put down a dropcloth or newspapers to protect yourself and your work surfaces. Remember that even if your canvas is a tiny pet, your paint could still spill on you or your table.
Removing the old Paint from the LPS Custom

This is optional, but if you don’t want to paint the pet completely white, use acetone on a Q-tip to scrub off all the paint and gradients off the face of the LPS. This will also clean the surface of the LPS. If you want to leave the original paint, I recommend wiping the pet off with rubbing alcohol and a paper towel to clean the surface before painting.
Painting a Base Coat of White

Depending on the color of your german shepherd lps, you may want to put on a few coats of paint as a sort of primer to cover up the old colors, especially if your pet was originally a dark color. I usually try to coat the entire pet completely until I can’t see the base color anymore.
Preparing the Paints
Mix a tiny bit of red, even less yellow, and a lot of white to make a nice pinkish coral shade. This will be the main part of his body. Mix the purple of his eyes by adding a little white and a little more blue than red paint to make it vibrant. The tan and the brown paint I used from a different brand called “Kid Made Modern”, it is the off brand of paint you can get from target.
Painting Neo’s Base Coat
Using the coral pink color, completely coat the LPS in paint from his head to his tail and feet. Make sure to get under his head, around his neck, and under his paws.
Adding the Gradient on the LPS Custom Neo’s Face

Neo has a sort of ice cream cone brown splotch across his face, similar to the original paint job that used to be on this LPS. Using a makeup sponge and some watered down waffle cone colored paint, gently dab on the gradient and let it dry in layers. If you go too far outside where you want it to go, remember not to wipe it off. Let the paint dry, and go back later with your sponge brush with the coral pink paint to touch up.
Starting the LPS Custom Neo’s Eyes

Paint the eyes white first, for a good base color. Then, to paint the iris, put the purplish pink at one end of the iris area and blend it into blue at the other corner. Make sure your irises are about the same on both sides. Remember this may take a few coats to blend, and that is okay.
Finishing the LPS Custom Neo’s Eyes

Paint the black or dark grey pupil in the middle of the iris, and use a dotting tool or a toothpick dipped in white paint to draw little hearts in his eyes, along with a white spot in the iris. Don’t forget to make both eyes look about the same, and in the same direction.
Painting the Base of the LPS Custom’s Ears

Take that tan paint again and carefully paint the inside of Neo’s ears using a fine brush. Try not to get the paint all over the head, as this can be hard to clean up later.
Painting the Waffle Cone in the Ears
Using a toothpick, draw little chocolate brown lines inside the ear in a sort of crossing shape, to make the ear look like a waffle cone. It’s okay to go back and touch up your lines once the paint dries.
Touching up the LPS Custom Ears
Paint the back of the ears that chocolatey brown, so it looks like his ears were dipped in chocolate. I chose not to paint drippings, but you can if you so choose.
Painting the Ice Cream Dots

Using a proper dotting tool, add dots of varying sizes on the top of his head. Remember he will have a head piece soon that will cover these spots most of the time, but when he isn’t wearing his hat he should have details that make him look super cute too. Paint a little white tuft of fur around his neck and outline it sloppily in black like fur.
Painting the Tail
Paint the tail chocolate brown with white fluff on the end. To make the tail look fluffy, you can use a fan brush or you can gently use a fine brush to add small details. Part two of Neo will be coming out this Wednesday. Happy Crafting!


