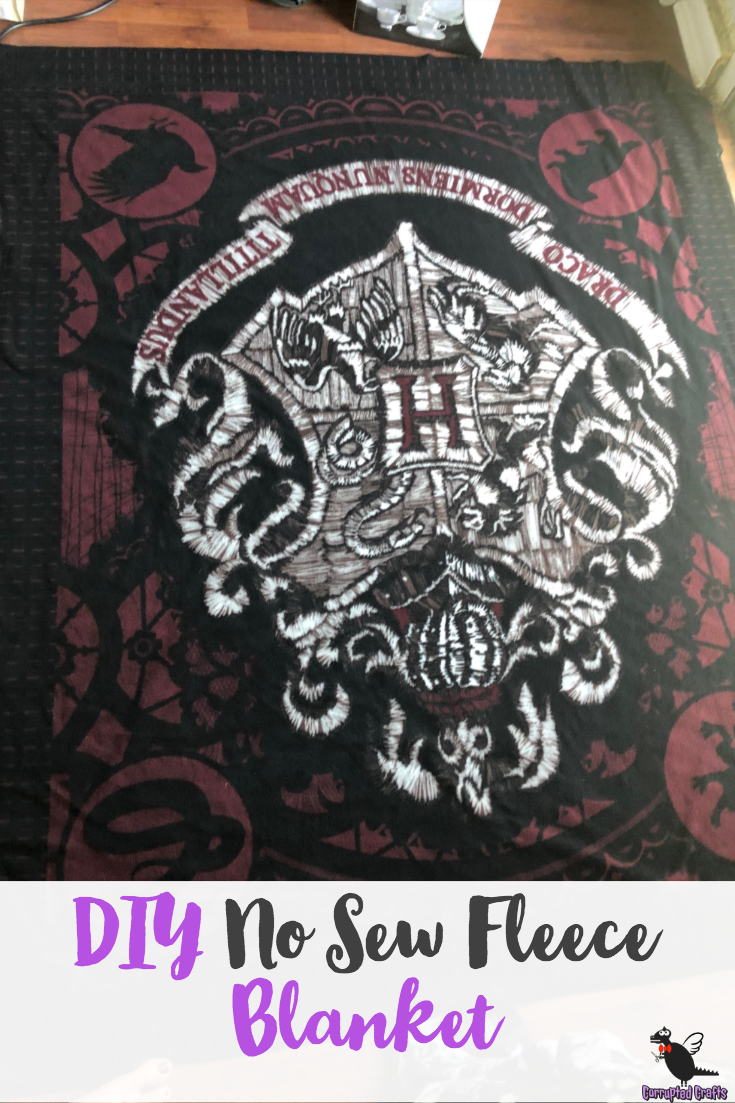
Fleece blankets are so cuddly and easy to make. This is a great starter project to teach kids how to make blankets and can even turn into a basic sewing lesson on a machine. The kit I chose was a Harry Potter set I found outside Joanne Fabrics, however of course you could just as easily buy the fabrics separately and make this blanket completely your own.
What you will need
- A blanket kit or two pieces of soft fleece that is four inches longer and wider than you want the blanket to be
- Scissors
Optional
- Thread
- Sewing Machine
Making space to make your No Sew Fleece Blanket
Start by clearing a fairly large floorspace. Your blanket will mostly need to be worked on on the floor, so make sure to vaccume and move anything you might accidentally cut out of the way. This project requires a lot of cutting with scissors.
Cutting the Selvage off the No Sew Fleece Blanket
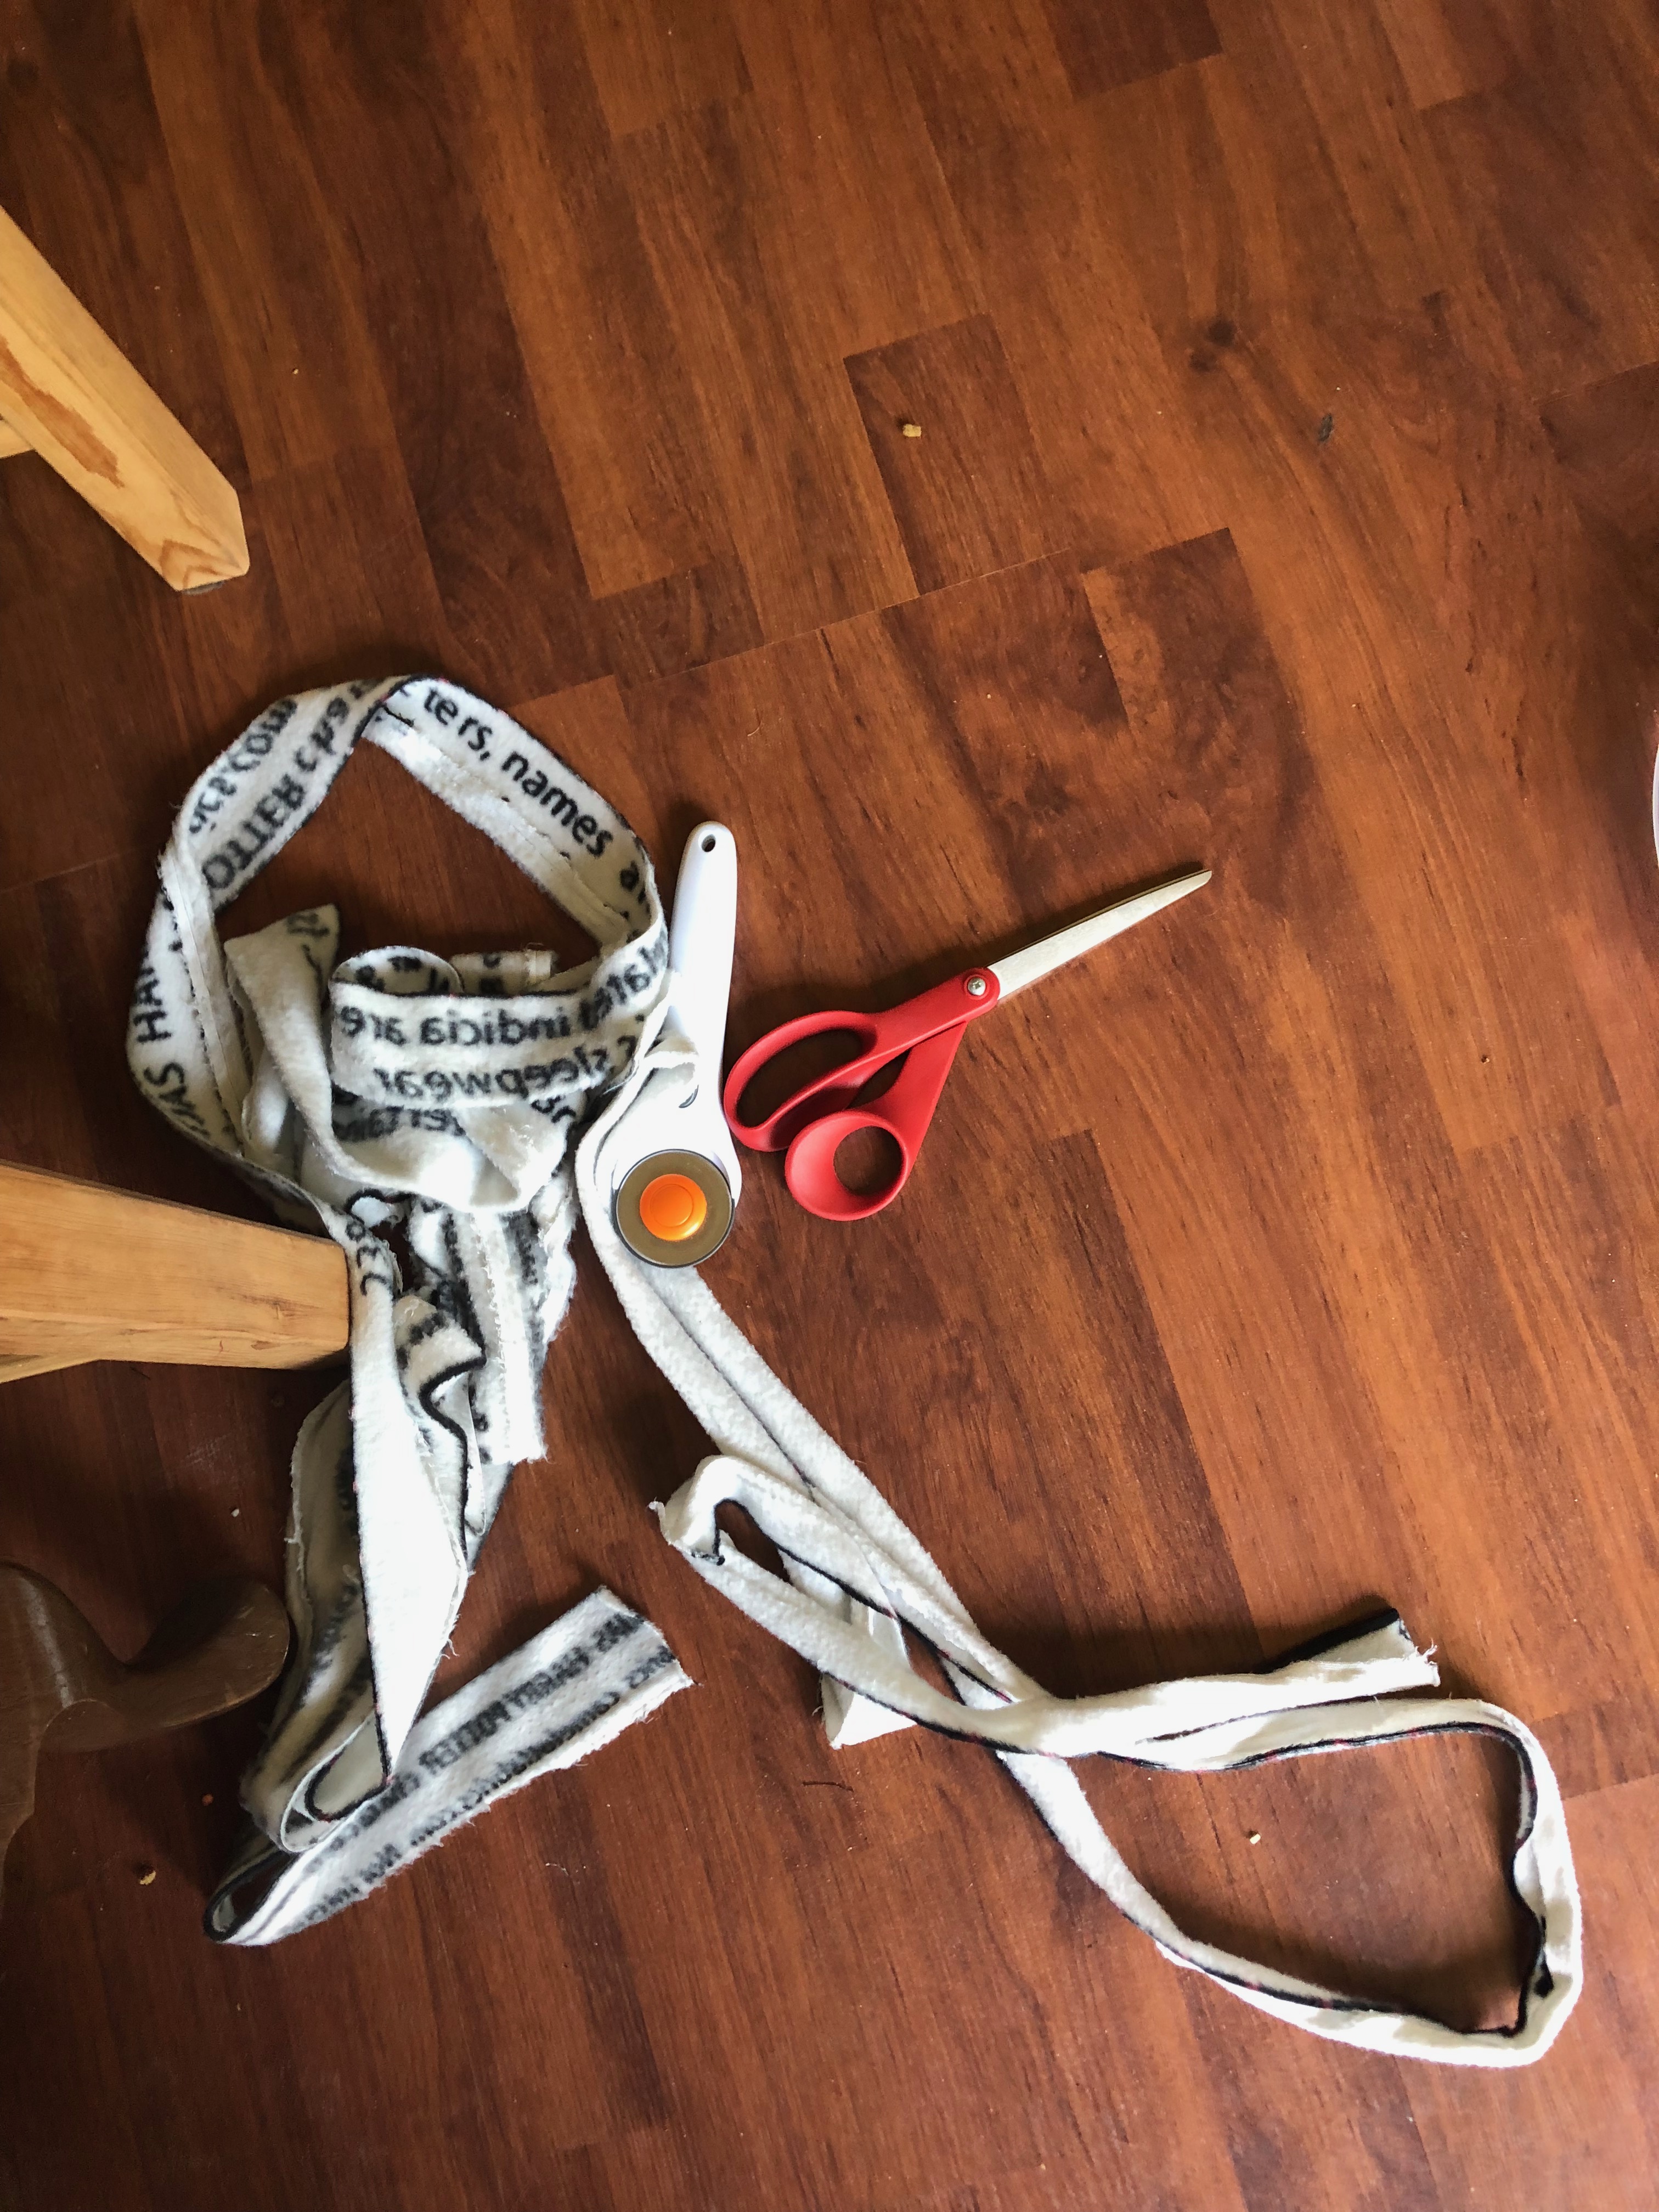
The first thing you will want to do is go over the edges of both pieces of cloth and cut that awkward white bit off. This extra bit is called the selvage, and usually is about an inch or two long on fleece fabrics. This piece exists because the fabric is woven in a specific manner on a loom that winds up with excess fabric to hold on to the prongs of the loom. Cut the selvage off as evenly as you can to prevent the edges from looking wonky.
Putting the Pieces Together
Put the pieces as evenly on top of each other as you can and smooth the blanket completely flat. The two pieces likely will not be exactly the same size, and that is okay. Optionally you can run pins all the way around the blanket about four inches from the edges of the blankets. This is recommended highly if you don’t want to sit on the floor to make this blanket all the way through.
Squaring up the No Sew Fleece Blanket
Optionally, if your fleece is completely wrong sizes, you can use scissors and even out both pieces of fabric to be exactly the same. If your blanket is a little off, that is alright and won’t matter at the end of this craft.
Cutting the Corners of the No Sew Fleece Blanket
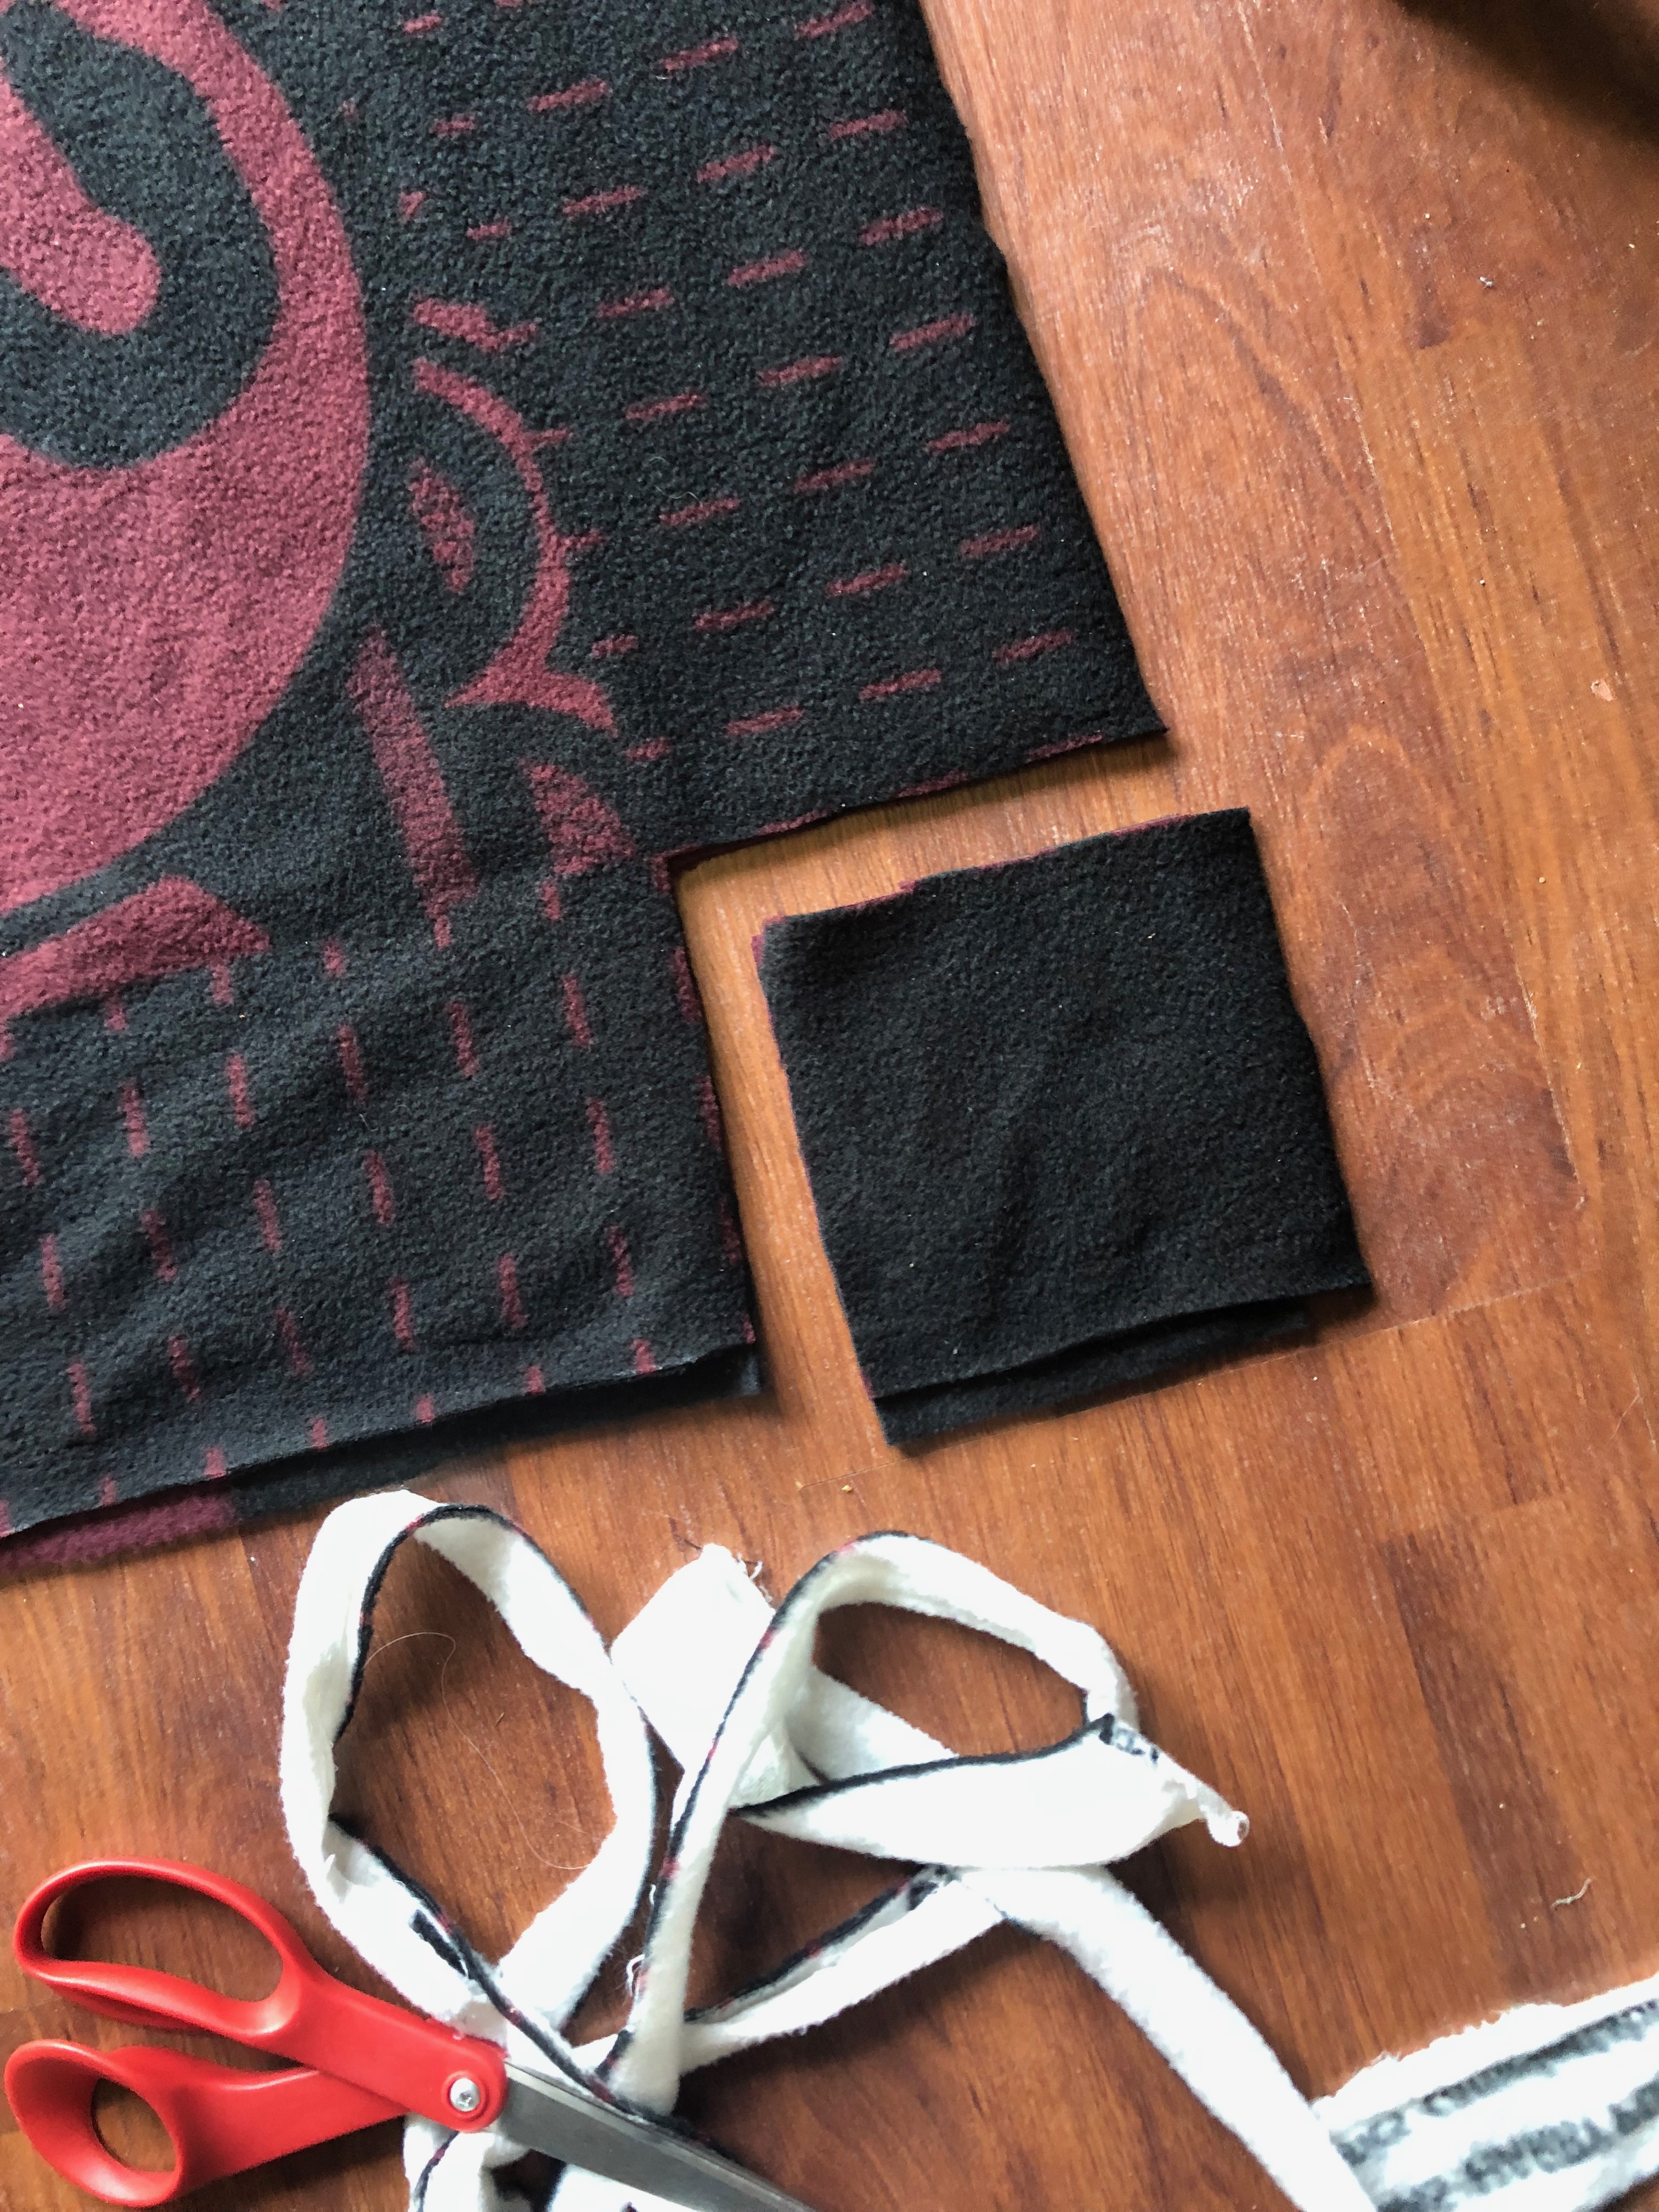
Cut a small square out of the corner of all four corners through both layers. This square should be about four inches by four inches and as straight as possible. Put the squares of fabric aside for the time being, maybe they will be useful later down the road.
Optional Sewing Step
If you want to sew just a little, you can run a straight stitch just behind all of the pins in the rectangle to keep the blanket from separating later. This is entirely optional, but good for small children who may untie the blanket.
Making the Ties
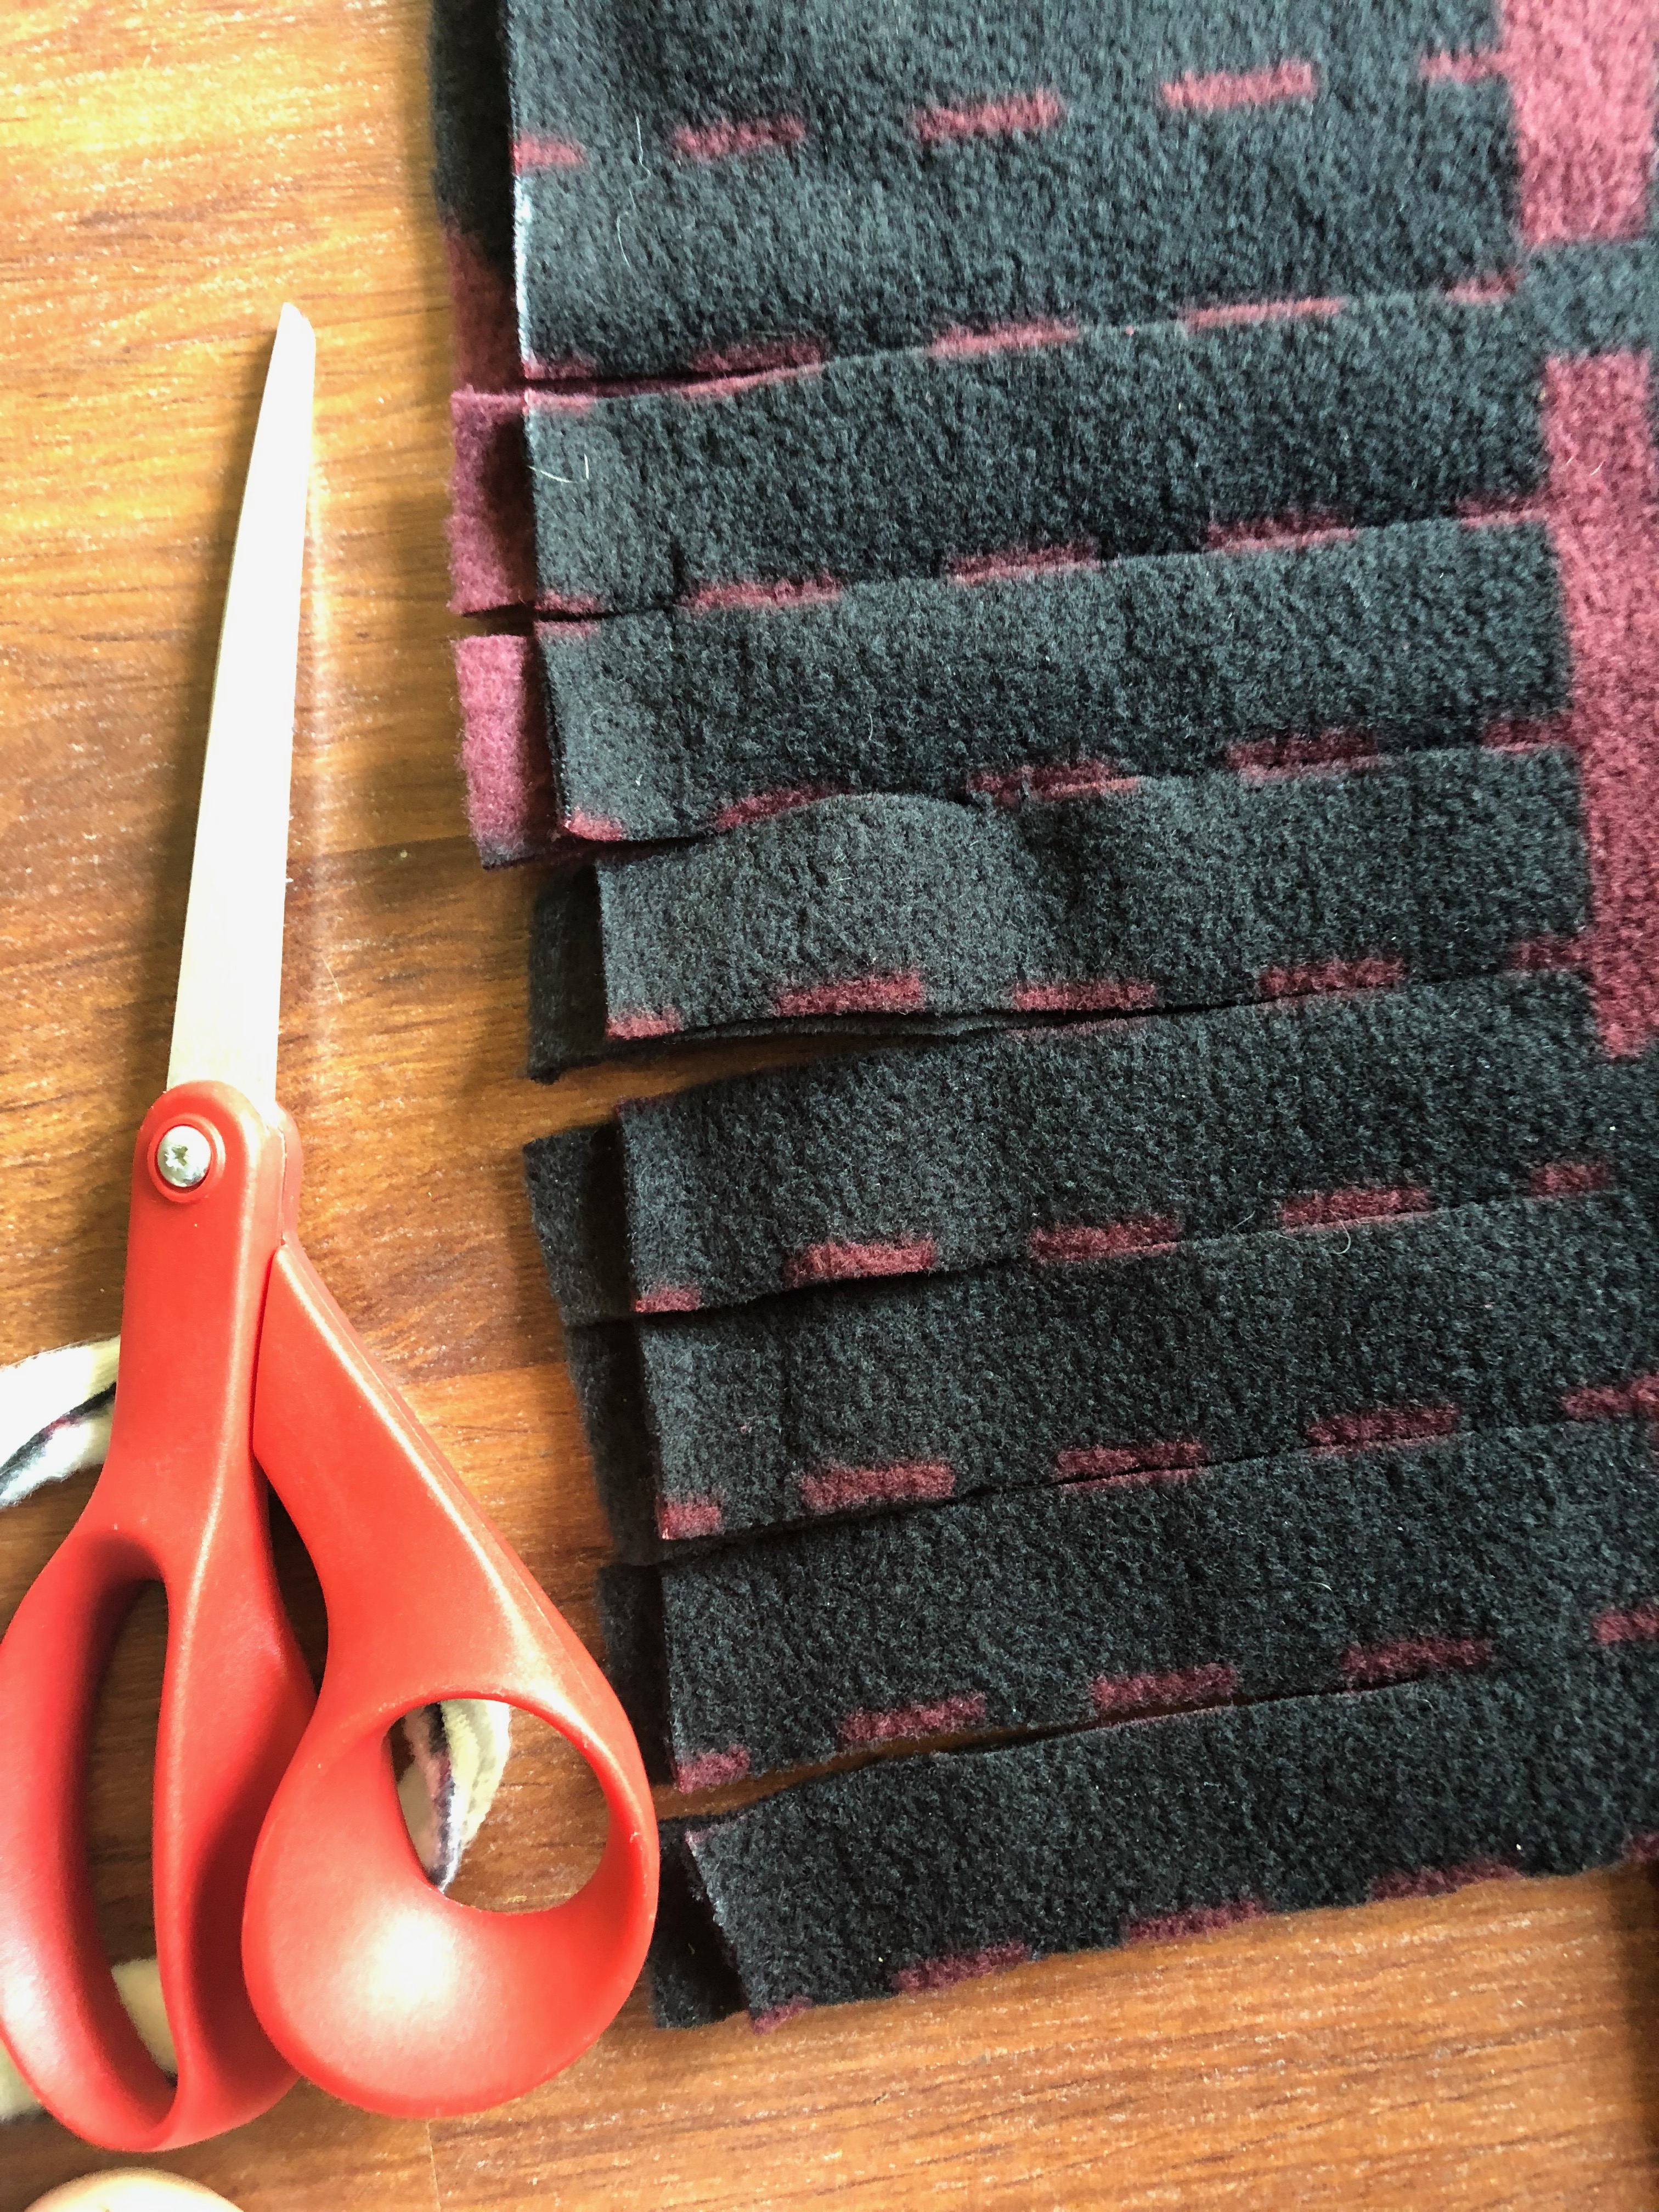
Using your scissors, cut your edges up to the pins (or around four inches) in strips of about one inch thick. It’s very important to cut through both layers of fabric, so that both sides have their own fabric strip that matches up. If you did a small seam, make sure it won’t be cut with scissors.
Tying the Ties of the No Sew Fleece Blanket Once
Go all the way around the blanket and tie them once, meaning a loose little knot like you use under the bow when tying your shoes. Pull the fabric strings tight but not too tight. The fleece will bunch up as you continue to tie it, wait until you get down a little ways and gently pull on the fabric to release it from the bunched up state.
Reinforcing the Ties
This is super important if you didn’t run stitches around your blanket. Go around again and tie every other tie with a double knot, making sure to reinforce the corners. I learned the hard way if I did not reinforce my knots, I would wind up with two raggedy looking pieces of cloth again.
Finish
You should now have a super soft and cuddly blanket that can go through the wash and dryer with no problems and should hold up for a pretty long time. If more ties start to untie, just tie them back while you watch TV later on. Good luck and Happy Crafting!