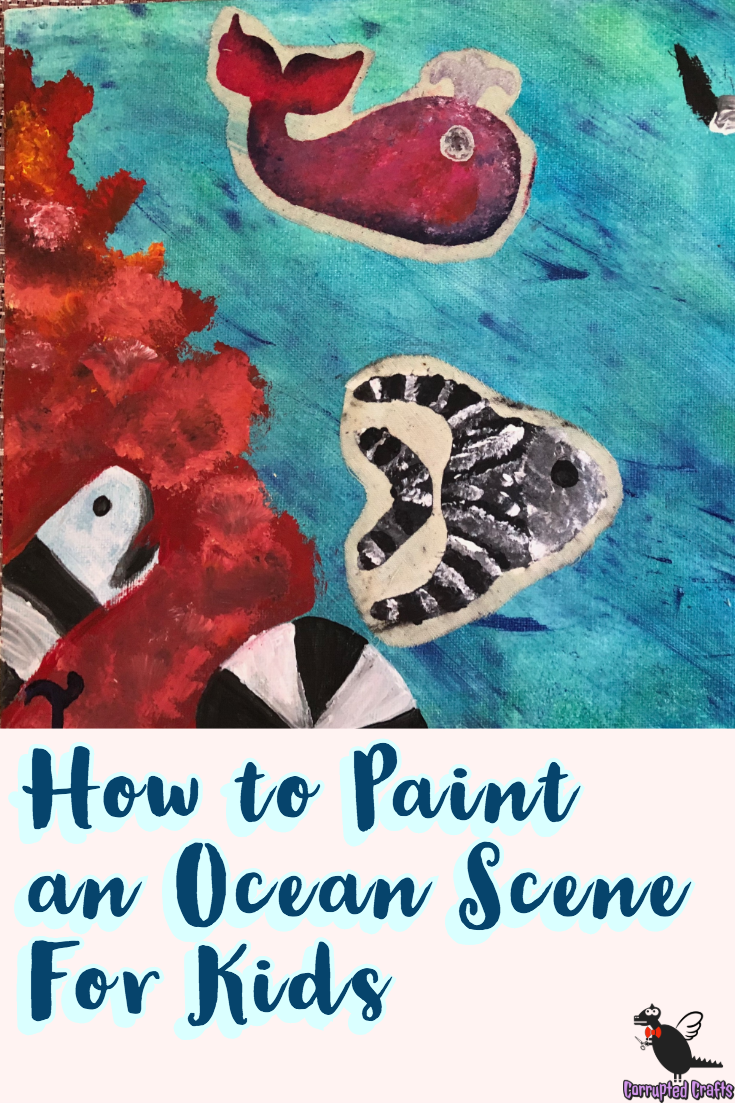
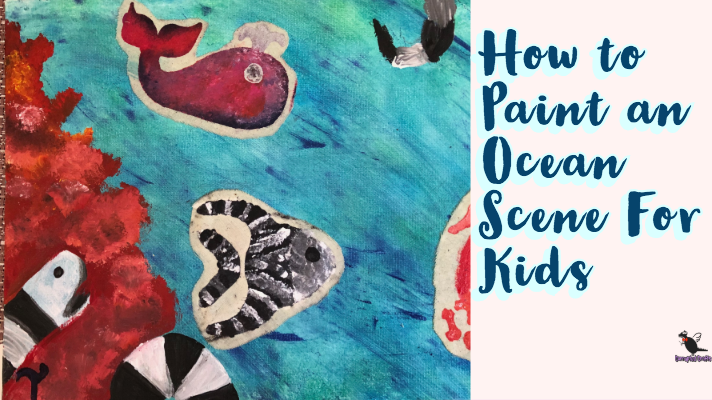
This craft I did in my weekly art class, and I thought I would write about it to maybe be a fun kid’s project to teach about marine life. This craft will get really messy, so it’s a good idea to do this outside or somewhere with lots of table protectors. Always make sure your paint is nontoxic if you are dealing with small children that may try to eat it.
What you will need
- Nontoxic paint in every color you can imagine
- Brushes, primarily sponge brushes
- Fabric
- Stencils of sea animals
- Canvas of a medium size
- Drop cloths everywhere
- Stuff to make the paint stick to fabric
- Small cups for paint
Protecting your Surfaces
Start by putting trash bags or tarps down wherever you are painting and about a foot around the size of the canvas, for a place to set down your brushes. Make sure you are wearing clothes for getting messy and you have rags on standby for cleanup. If you get paint on your clothing, rinse it immediately with water and gently scrub it out or scrape it with your fingernail.
Painting the Background for the Kid’s Painting Activity

Start with a good blob of green, blue, and white paint on a palette. Scoop it up on a sponge brush and bounce the brush to blend the colors onto the canvas. Completely cover the canvas in the blue and green paint until it is thoroughly covered.
How to Paint Pretty Coral Scenes

Pour out red, orange, and yellow paint straight onto the canvas. Use a clean sponge brush and dab the paint on, being very careful not to overblend. Add white highlights and blend it in somewhat into the misshapen blob. I actually added the coral last, but it’s better to add it before the other things.
Painting the Eel of the Kid’s Painting Activity
Eels are super fun and interesting creatures, though simple in design. Paint black and white squares into a snakelike shape and add a derpy head with its mouth open. Did you know Eels breathe through their mouth? They look menacing but in all reality, they’re just trying to breathe.
Picking out Stencils

Since we have a sea theme going on, I chose a whale, a fish, and a seahorse. Other options to look for can be starfish, frogs, sand dollars, a squid, or all sorts of fish shapes. Get creative with your design.
Preparing the Paints
Acrylic paint won’t just simply stick to the surface you want it to. Acrylic paint needs to be mixed with fabric medium, so use a sponge brush and scoop up some paint and a little of the fabric medium before you get started. Make sure to have water on standby to wash your brushes in.
Coloring the Sea Animals for the Kid’s Painting Project

Start applying the paint to the fabric after placing the stencil down on top. You may wish to pin the stencil down with tape or something to keep it from sliding around and ruining your art. Be careful not to use too much of the fabric medium, as this can just as easily destroy your art as not using it at all.
Letting the Paint Dry
After doing several stencils onto the fabric, leave it alone for about 24 hours to fully dry. After it is completely dry, pull up the stencil and cut a bubble of space around the animals at about a quarter of an inch to give the animal some room.
Optional Gluing of Fabric
If you want to play with the animals, leave them unglued to play with, or attach them to cardboard to make them stiffer. If you want to make them a part of your scene, use a little Mod Podge on the back of the cloth and attach it to the canvas well.
Finish

This derpy underwater scene is weird to look at, but it was pretty fun to work on. You can also use extra gradients and blend your colors to make weird funky creatures, like the odd seahorses. Happy Crafting!

