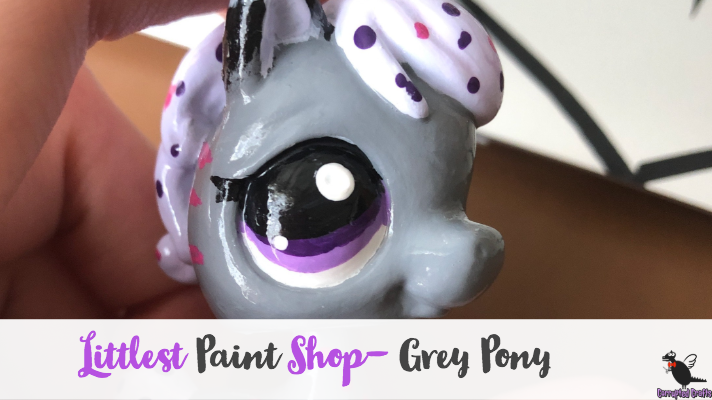
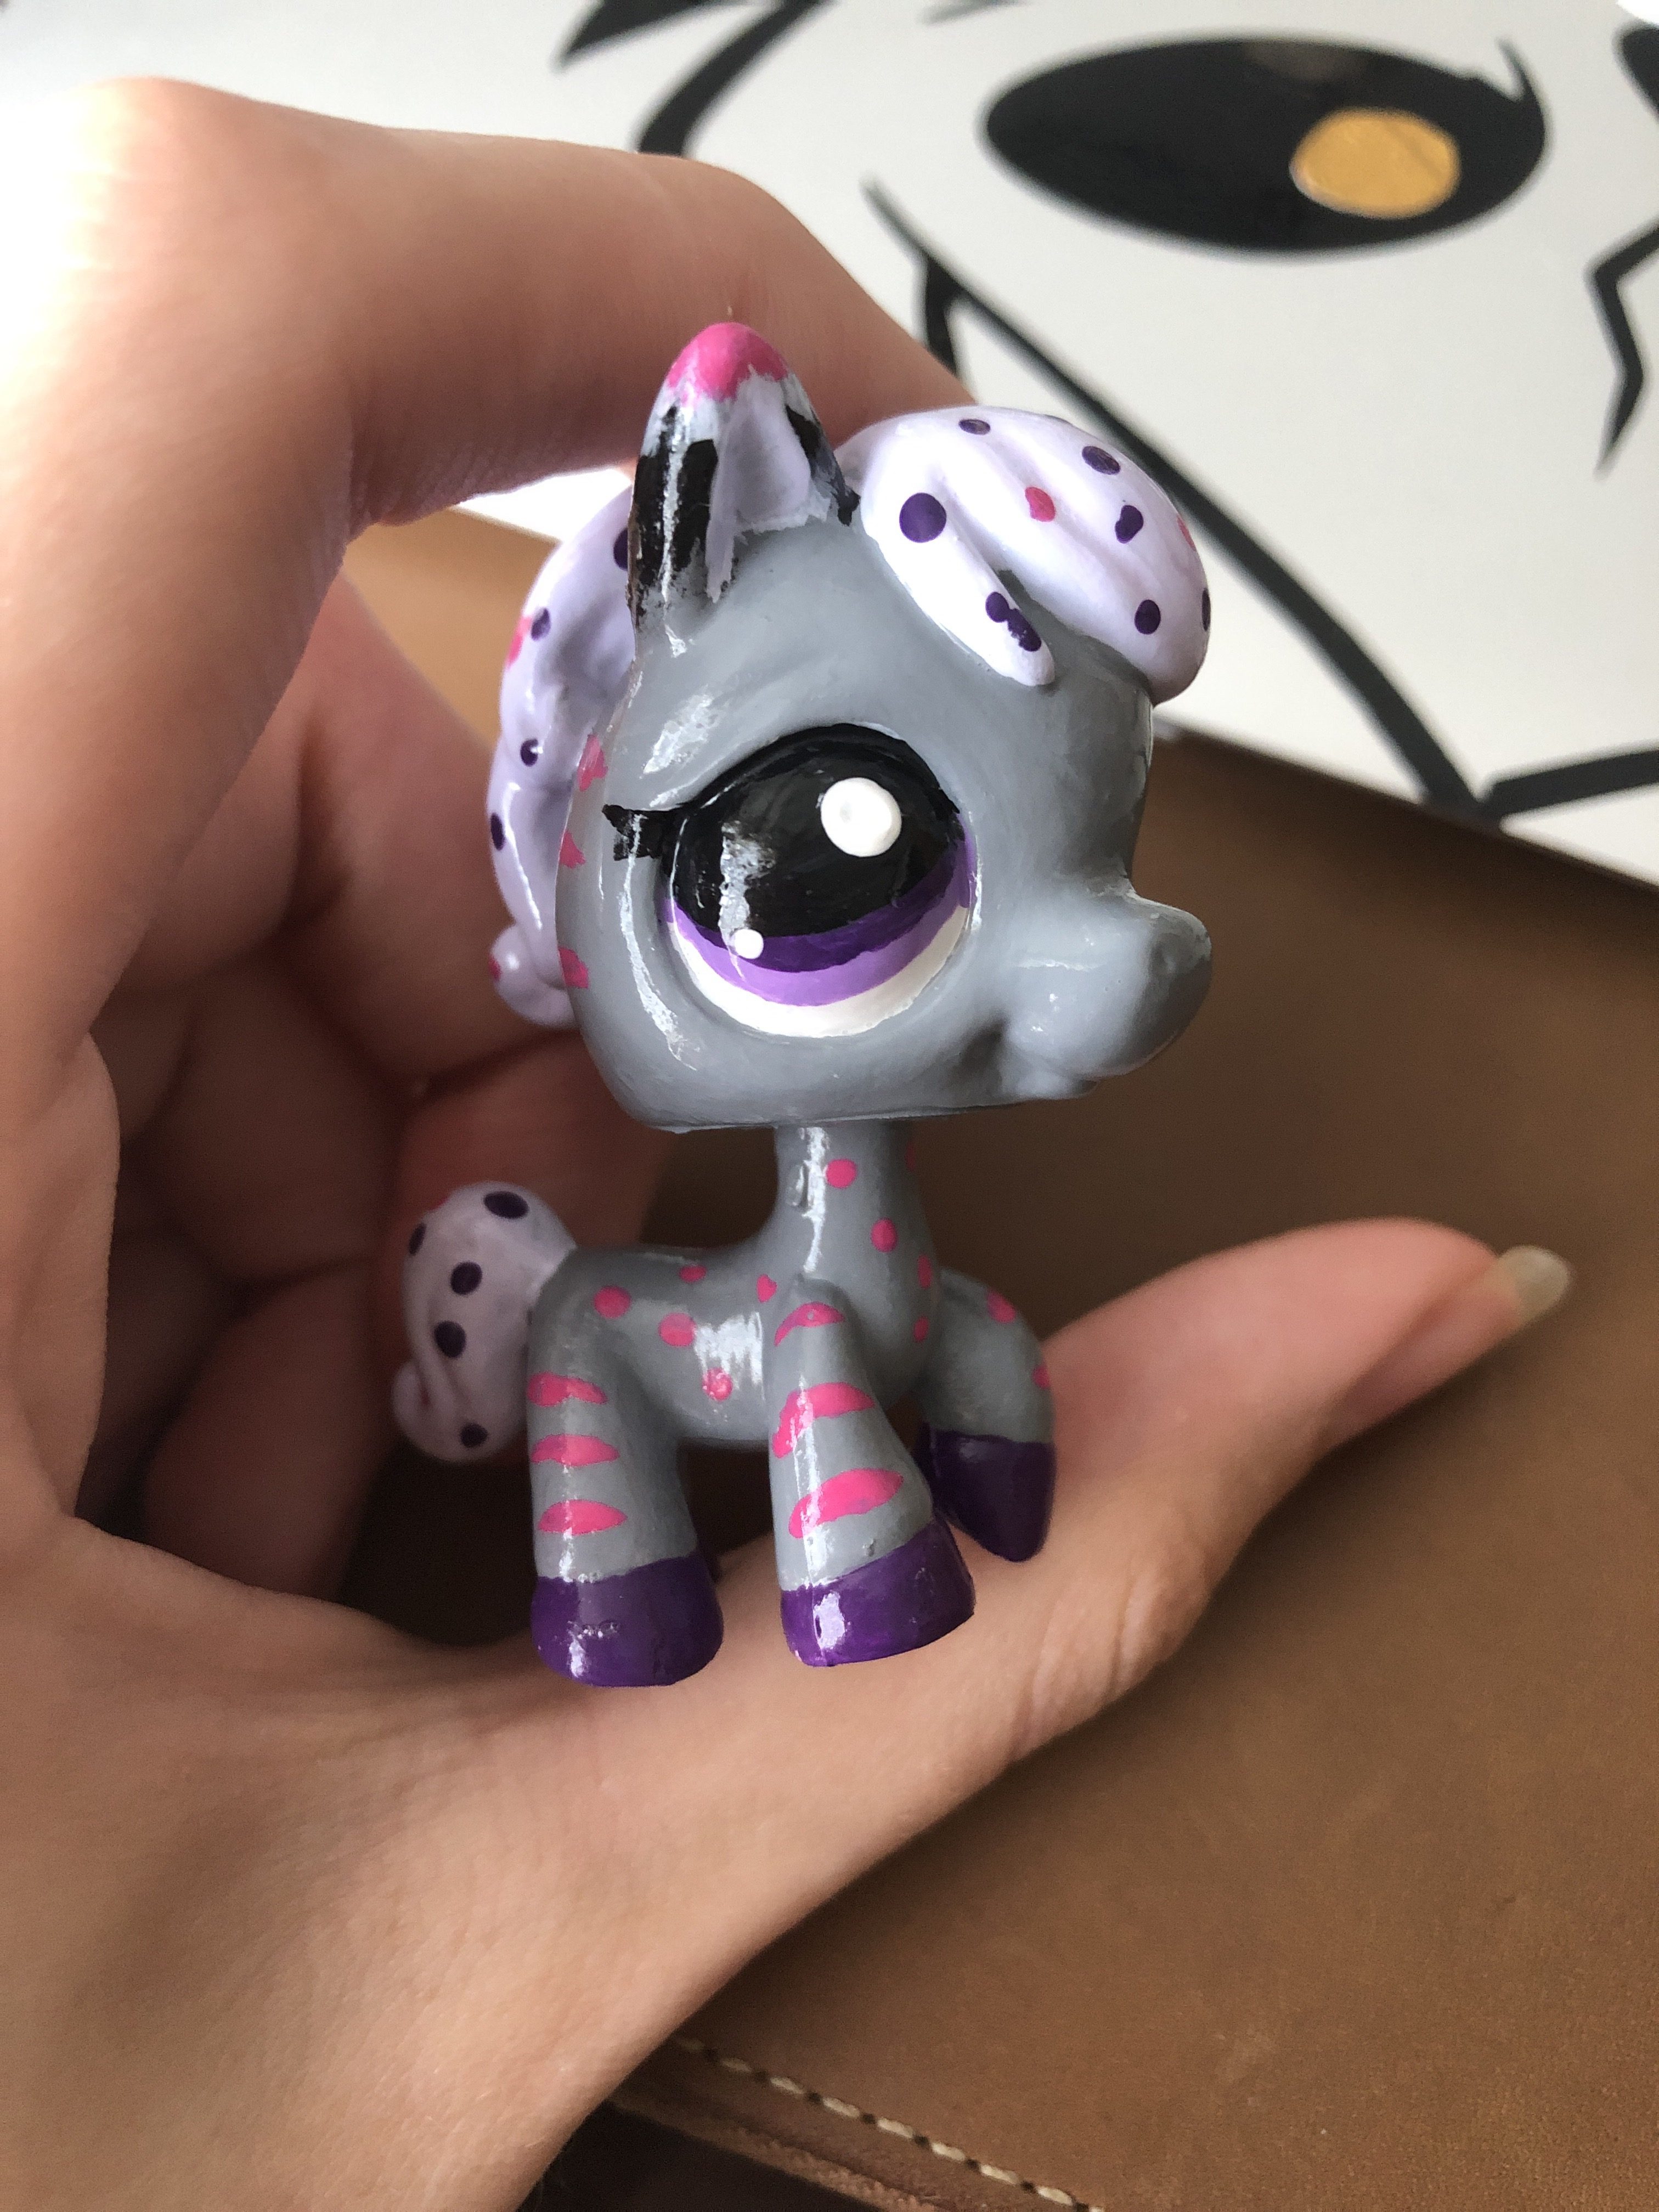
This cute little grey pony was painted to be simple and to test a few theories. She looks much different compared to my much brighter customs, but I think she looks pretty cute. Her markings are striped since she used to be a zebra, and I wanted to represent that on her new form.
What you will need
Setting up a Clean Workspace
Always start by putting down newspapers to cover your table and work surface. This will help keep you from ruining your clothing and table. I usually wear a smock to paint as well, but house clothes you don’t mind getting ruined can work just as well.
Stripping the Old Paint off the LPS Custom Pony
Optionally, you can use acetone and a q tip to pull the paint off the LPS. This will give you a nice and clean work surface to start on. For this specific horse, I recommend removing the ink from the mane to save you time and pain painting the mane.
Painting the LPS Custom Pony White
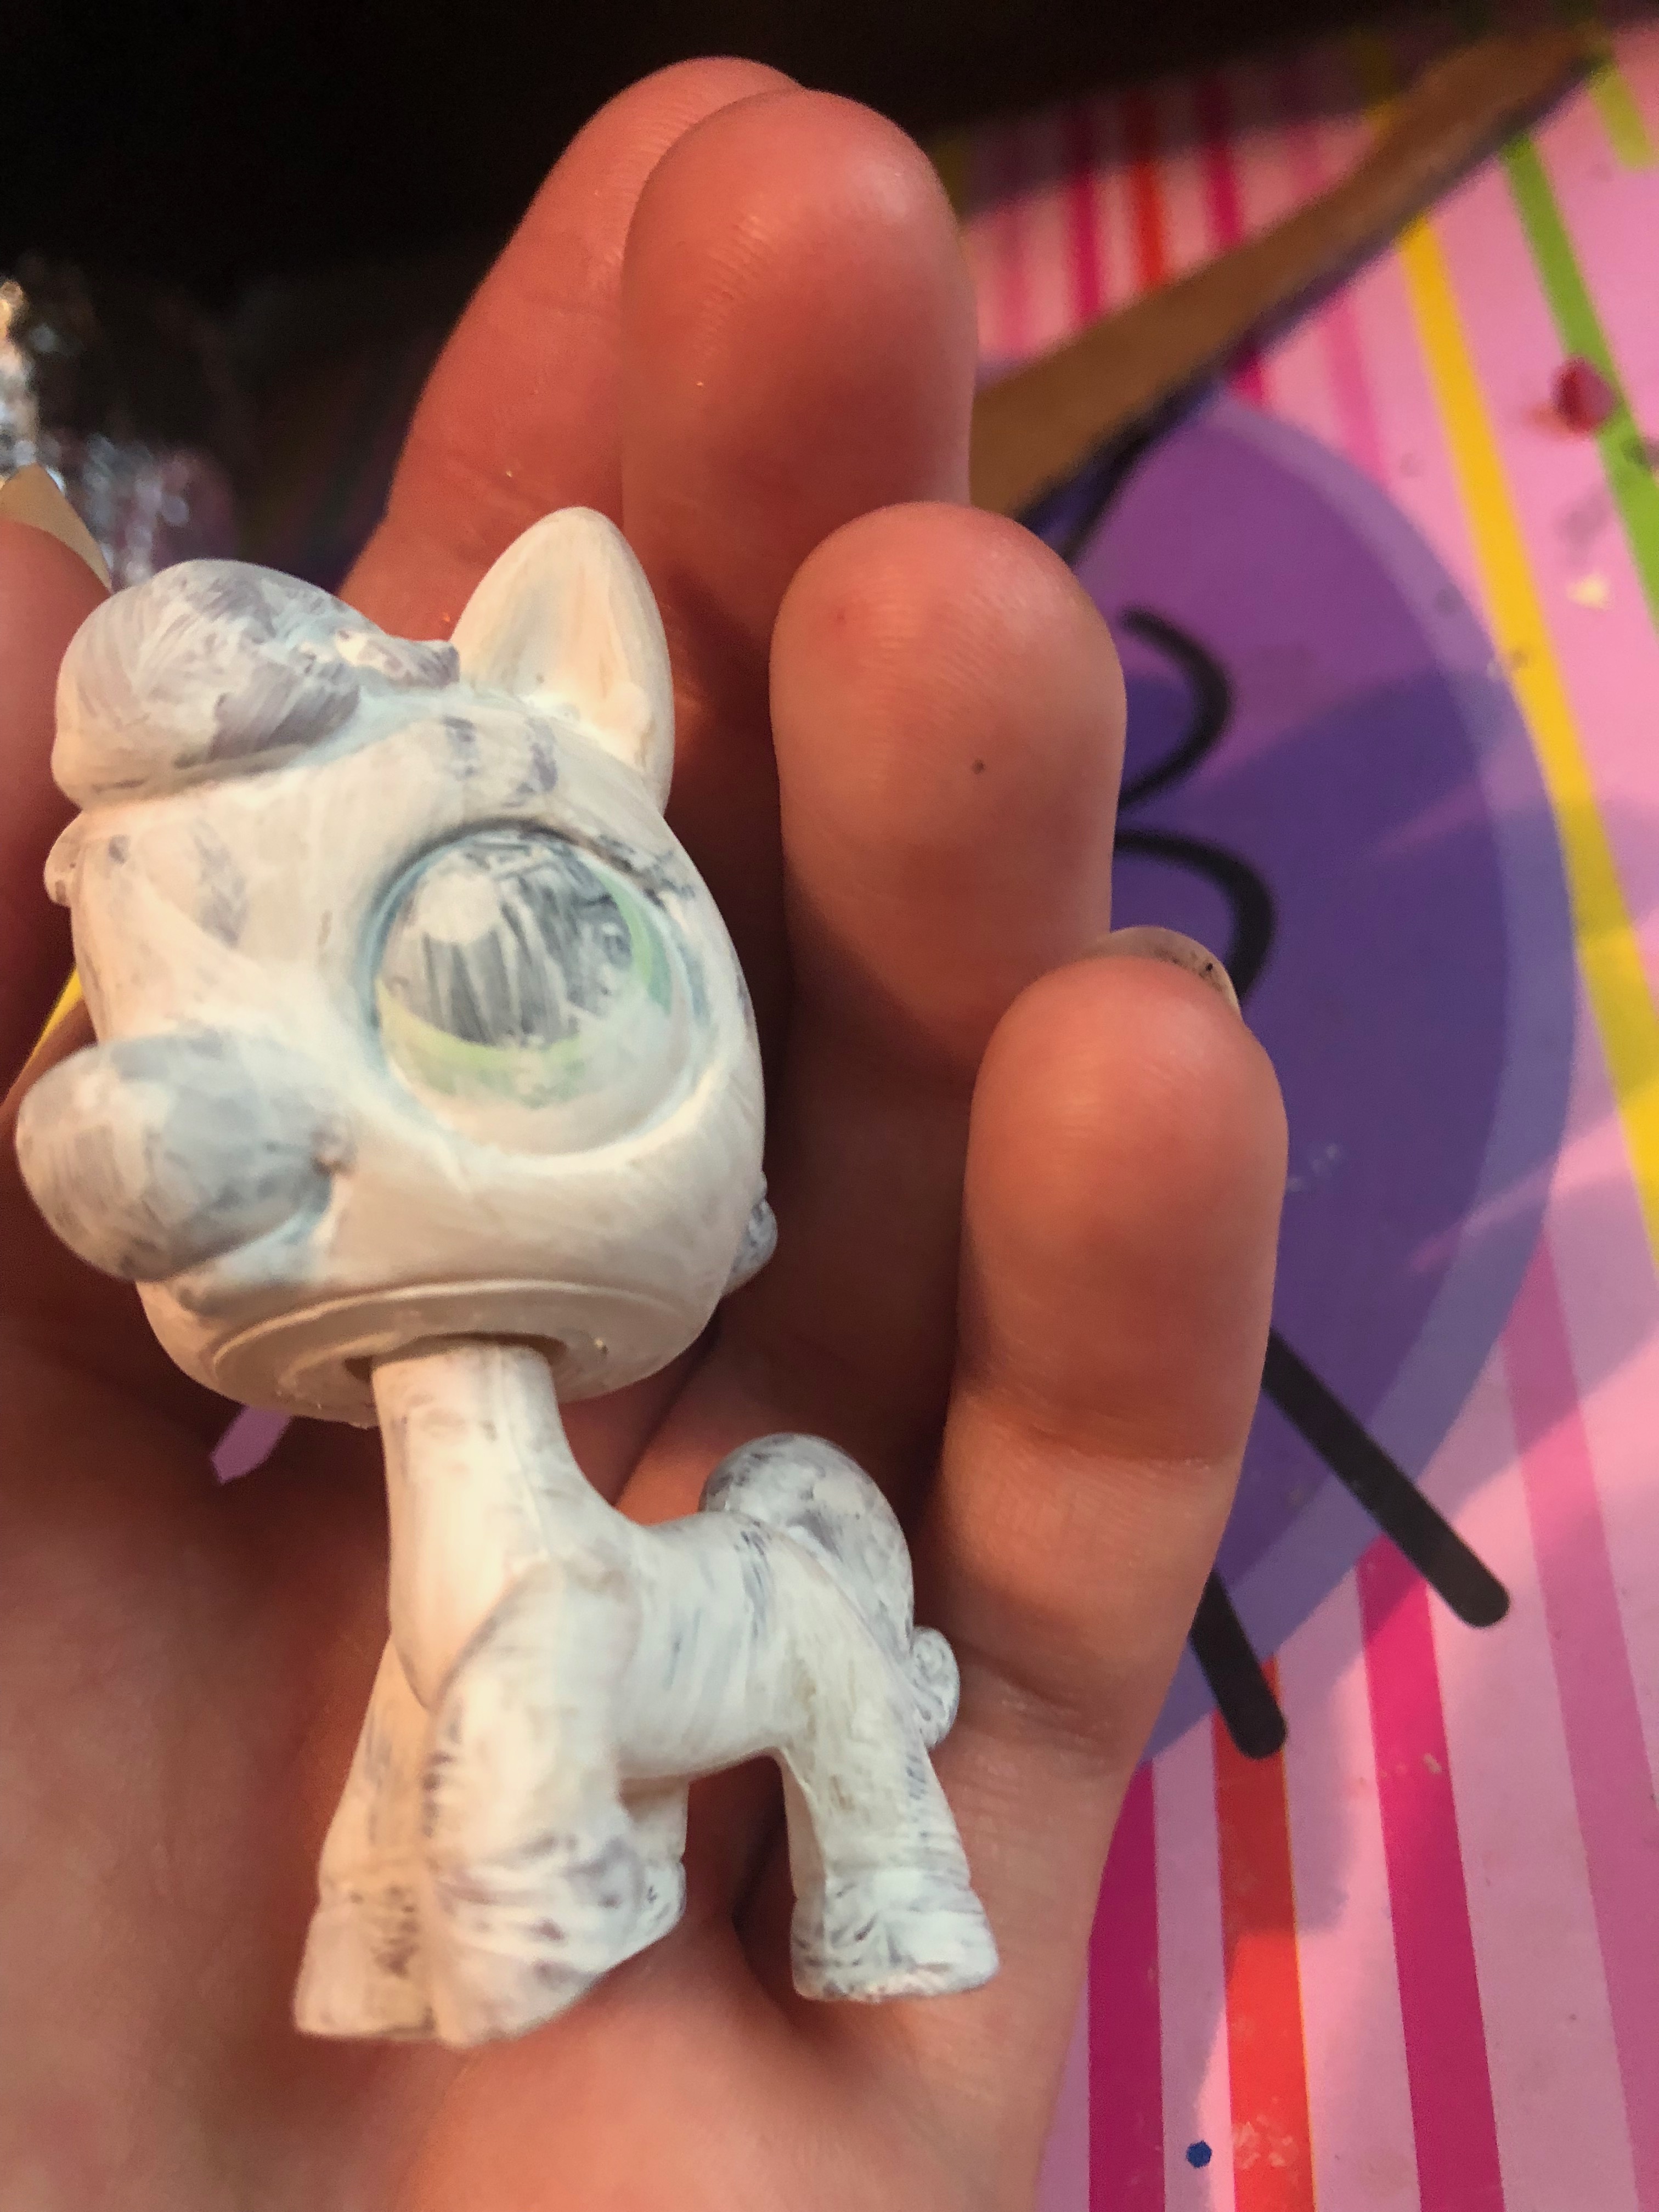
Cover the entire LPS in a coat of white paint. This is optional as well, but without a good base coat your LPS will be harder to paint and not look as nice later on. It acts as a sort of primer and gives the other thinner coats of paint something to stick to, making it easier to get your pony painted.
Mixing the Light Grey
Add a very small drop of black to a good amount of white in a container. You will want it to seem light and chalky from a distance. If you want your pony to be darker, simply add black to your preference.
Adding Water to the Grey Paint
Poke a hole in the top of a water bottle. Drip a few drops of water into the grey paint to thin it out, but do not put more than about three drops in the paint. If the paint is too thin, it will apply very poorly. Adding a little water makes it leave less brush strokes in the paint, but it also means you will be painting quite a lot of coats to get the paint to be opaque. Worth it in the end though!
Painting the LPS Custom Pony
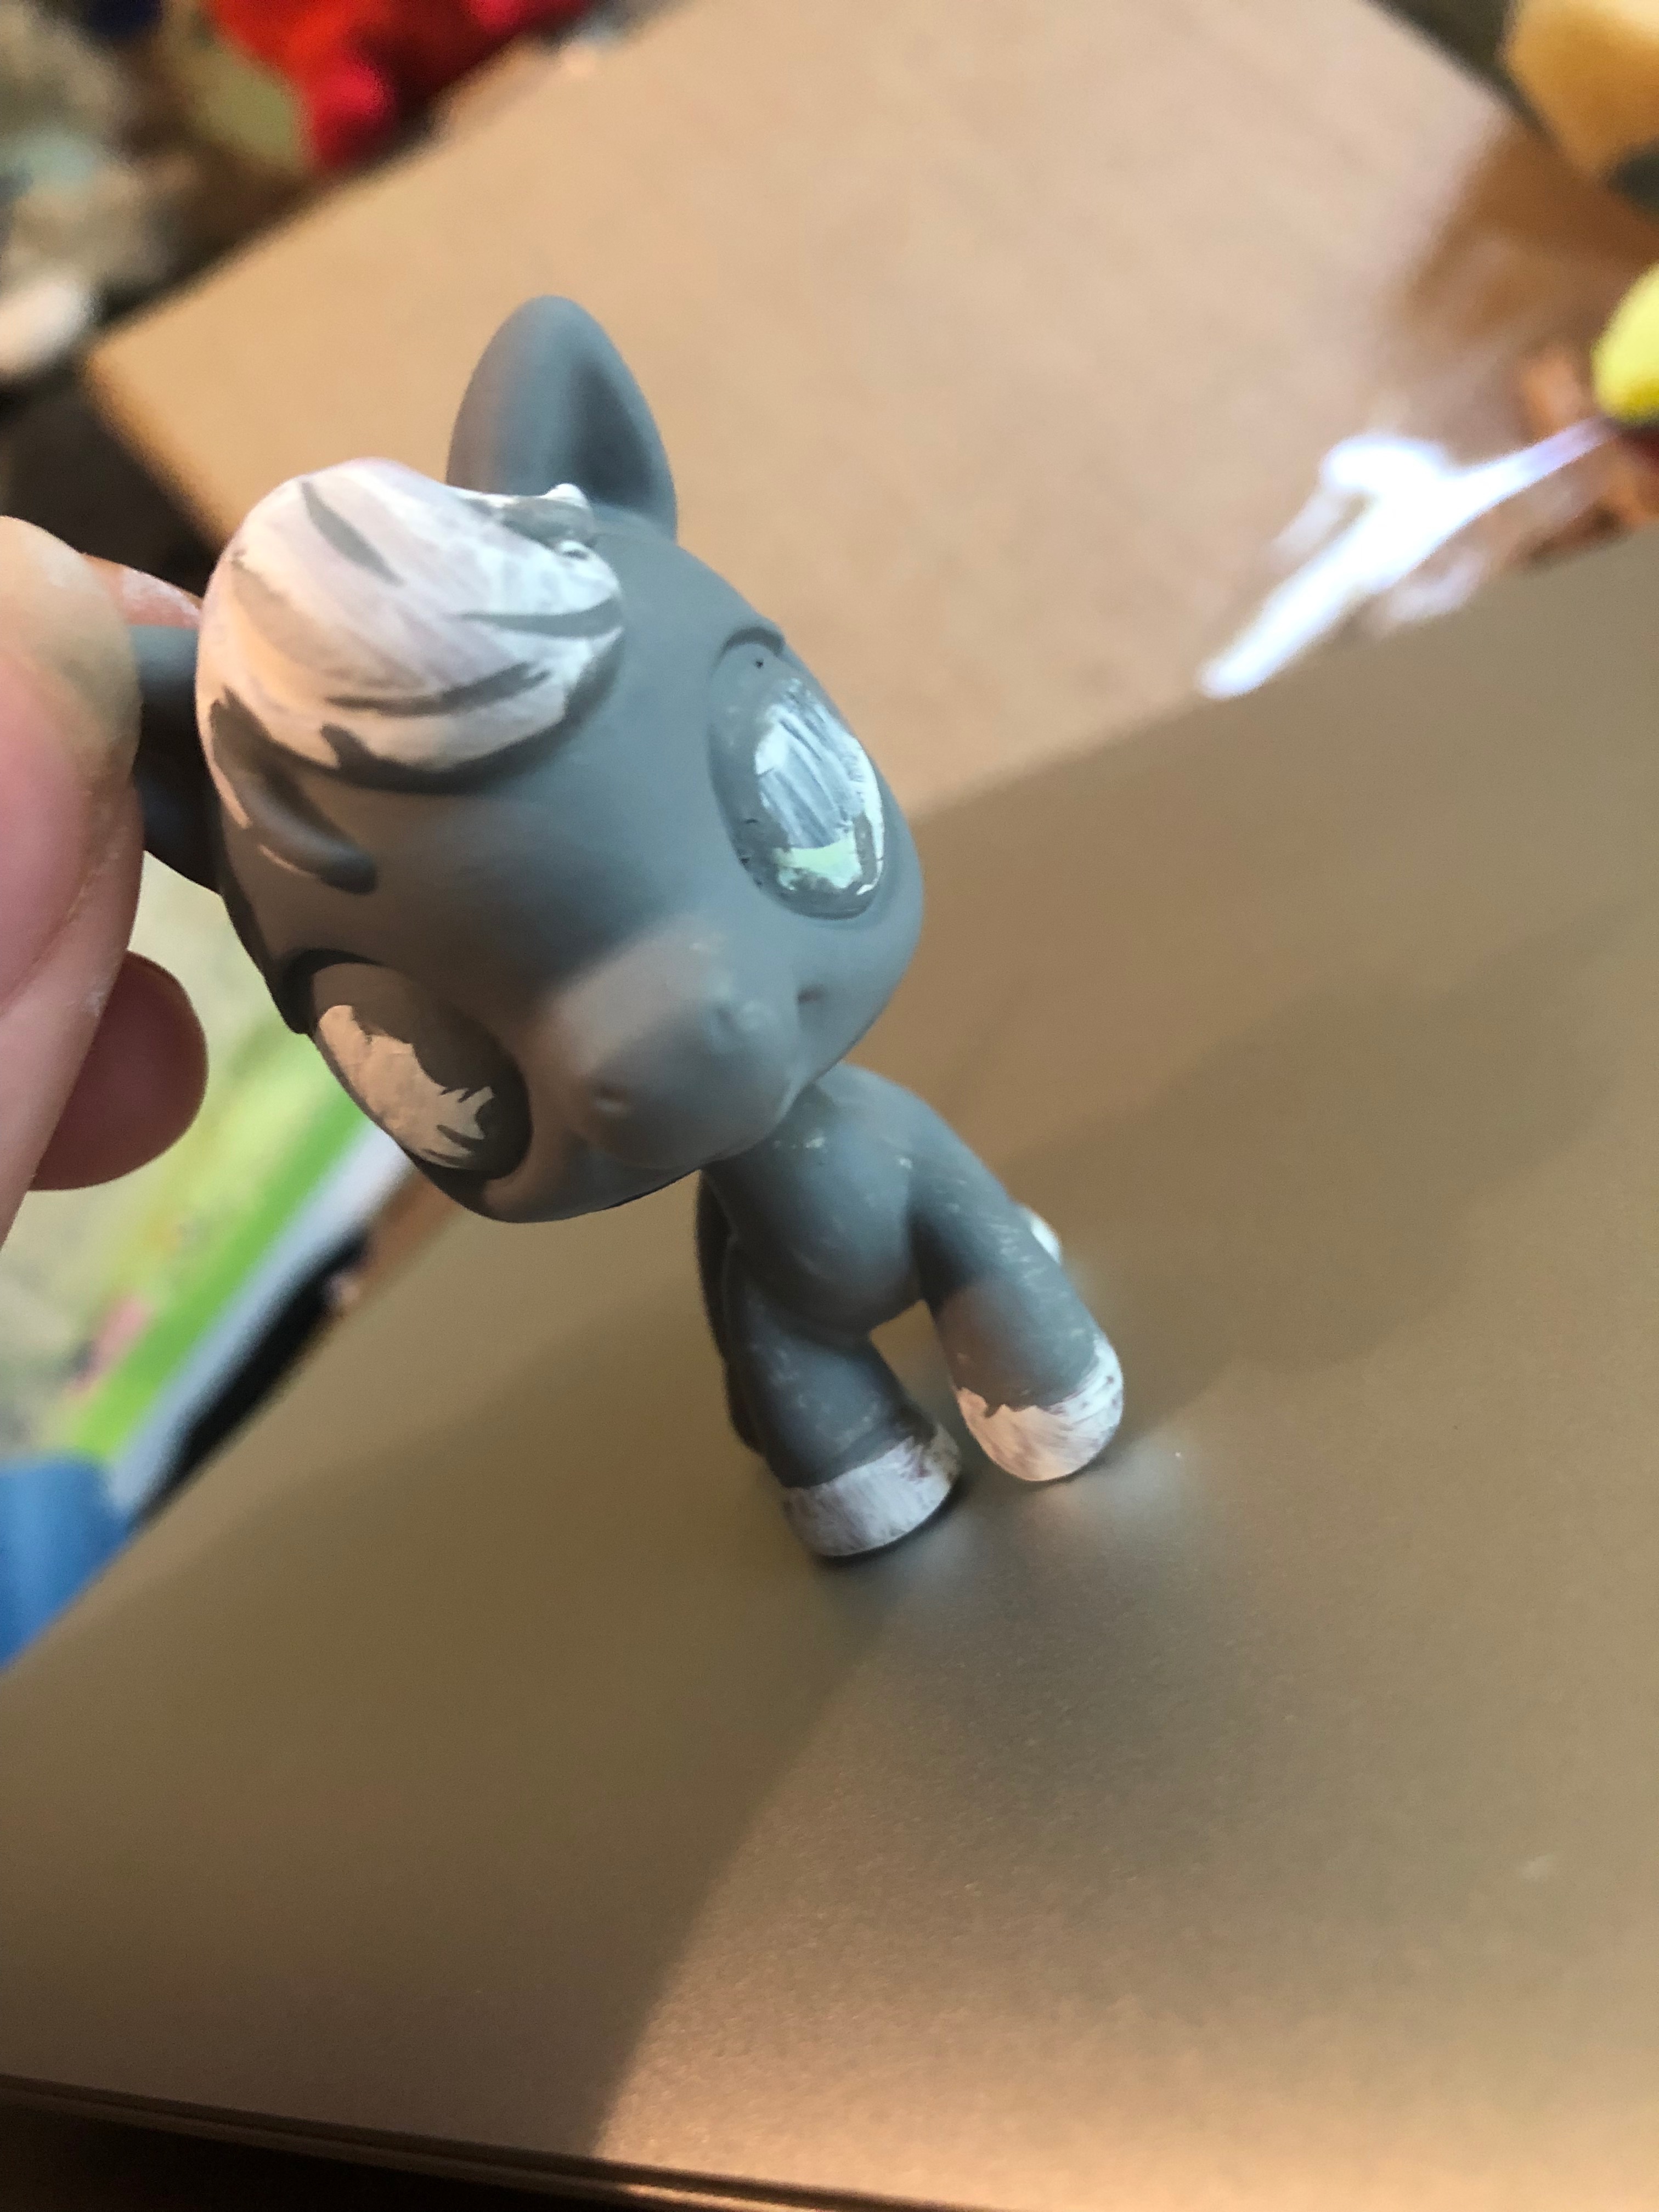
Alright, this part takes the longest. Start painting watery coats of paint over the pony, and let it dry well before adding another coat. Keep adding layer after layer after layer until it’s completely opaque.
Painting the LPS Custom Pony Mane
Water down some light purple paint and cover the mane of the LPS. Since this is a very light purple, it will take about five coats to cover the mane. Touch up the grey as needed, if you paint over the edge of the mane and onto the head.
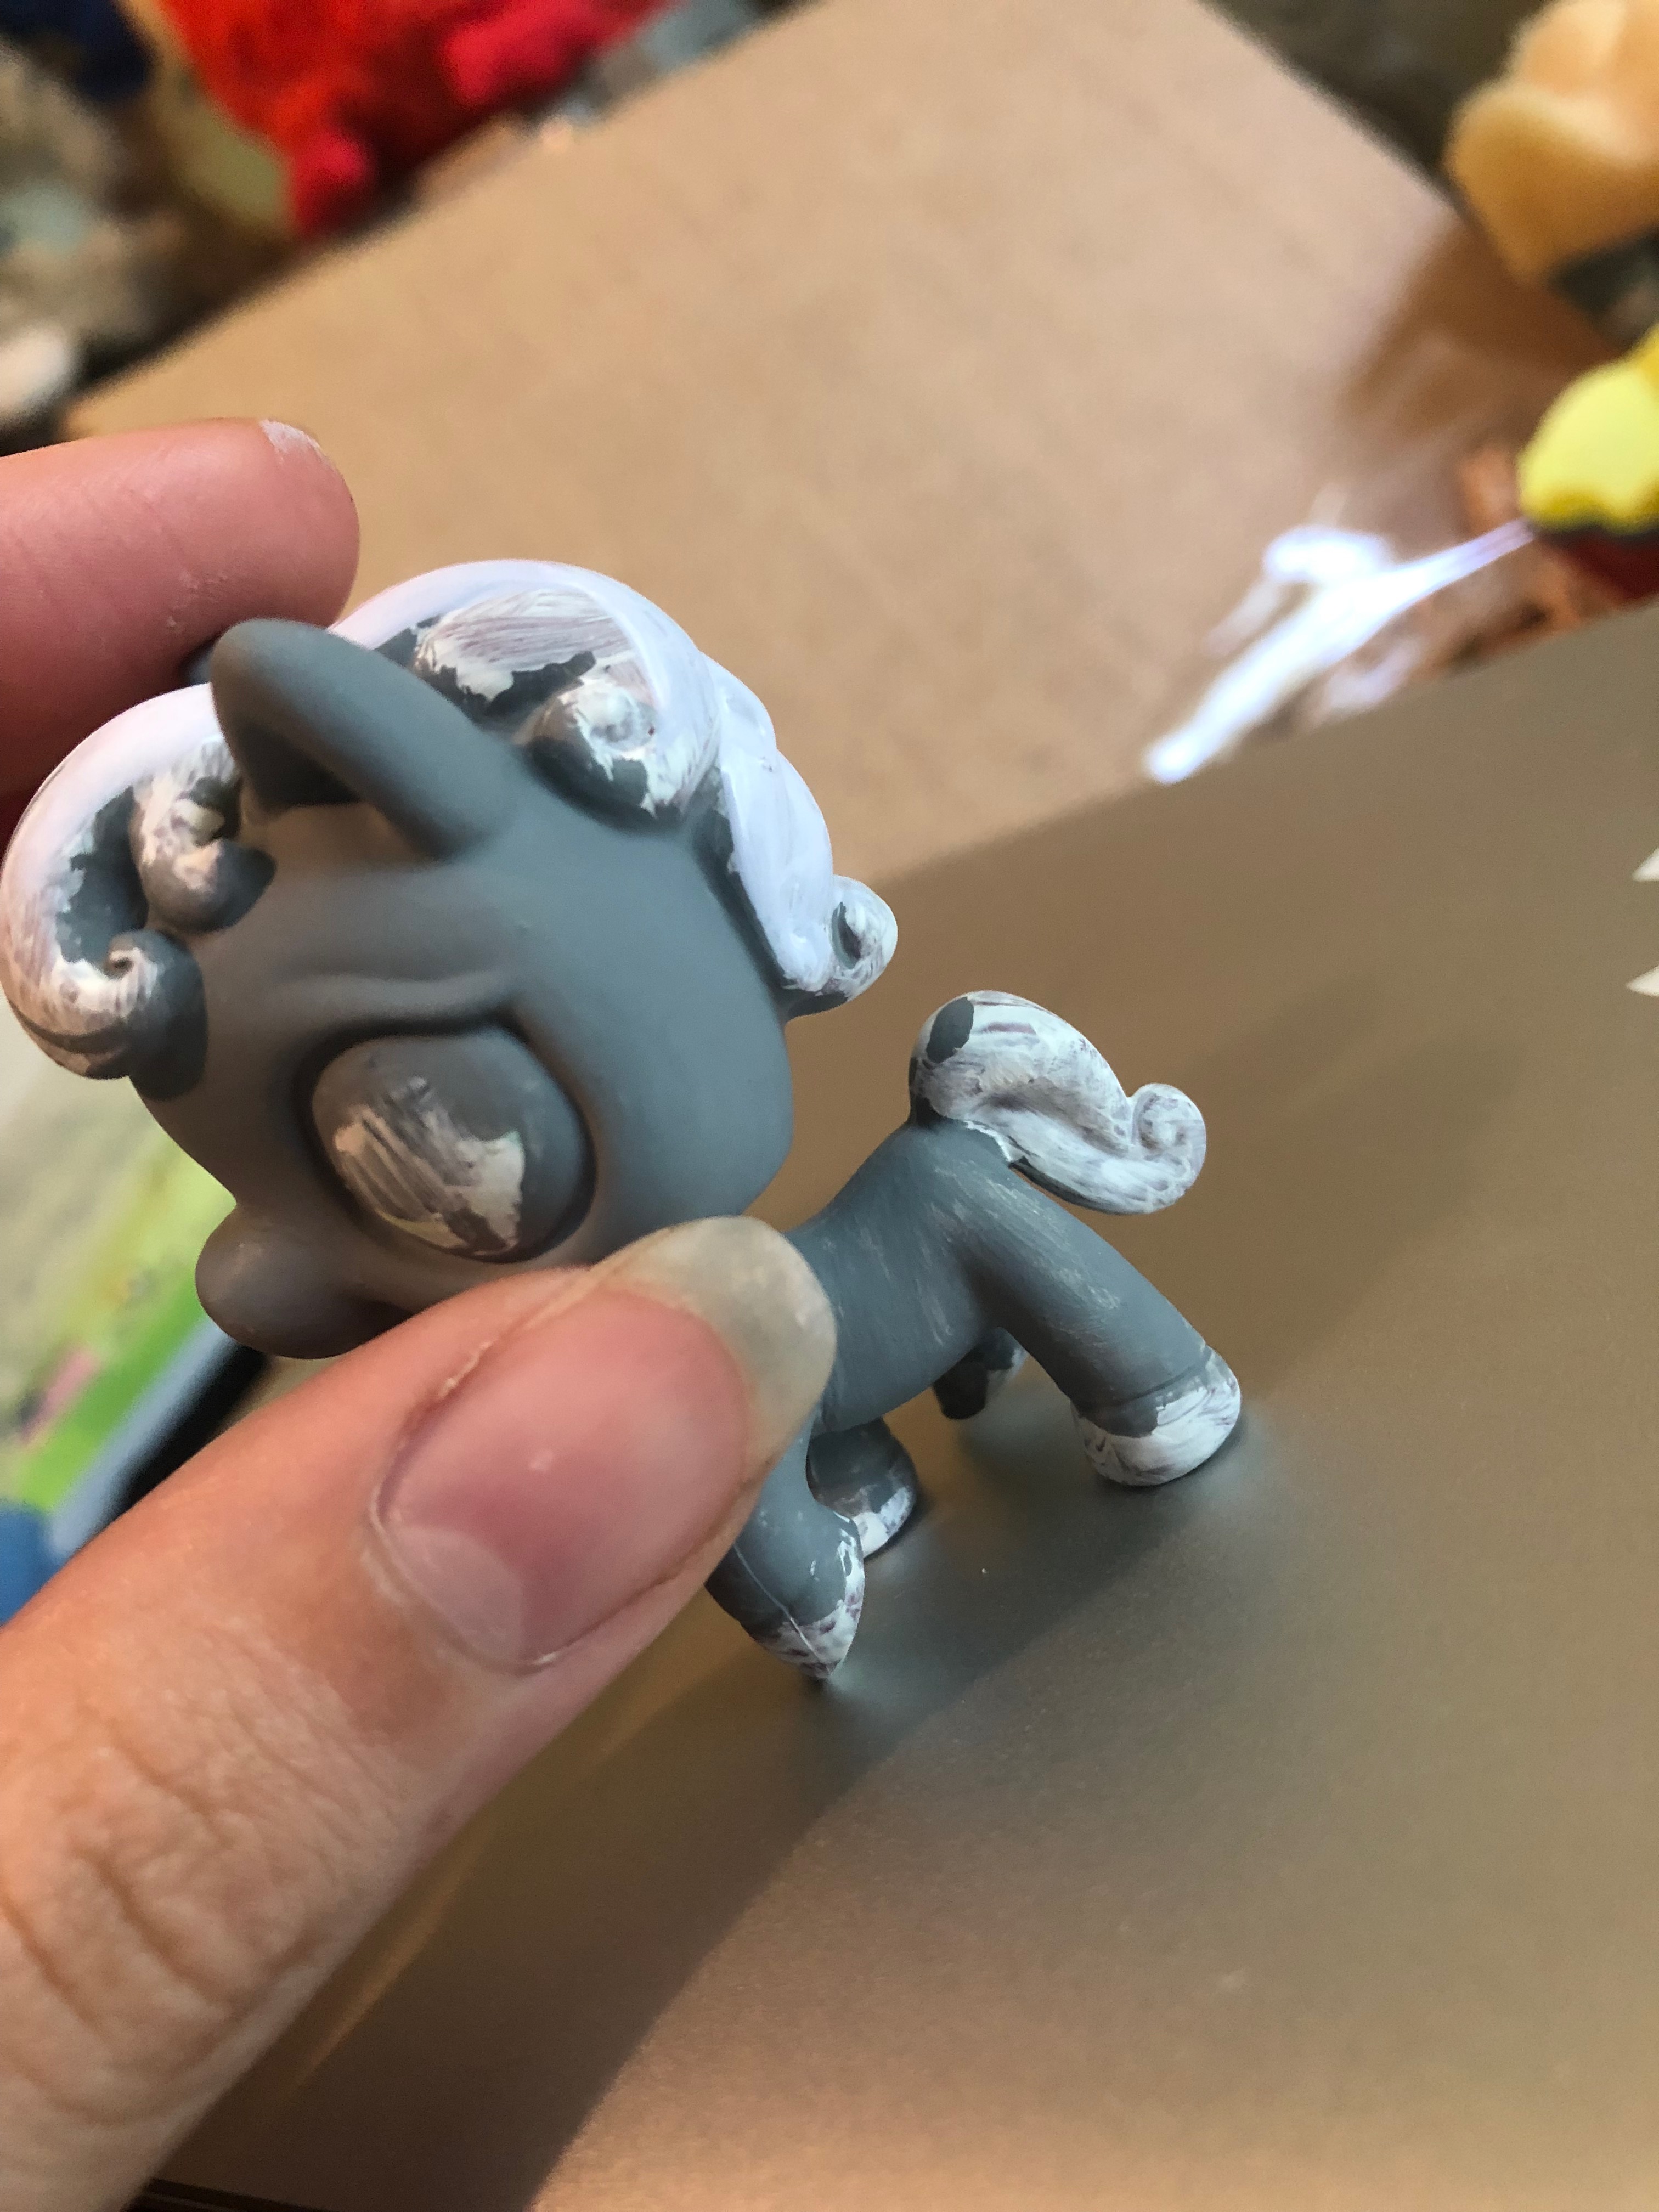
Painting the Hooves of the LPS Custom Pony
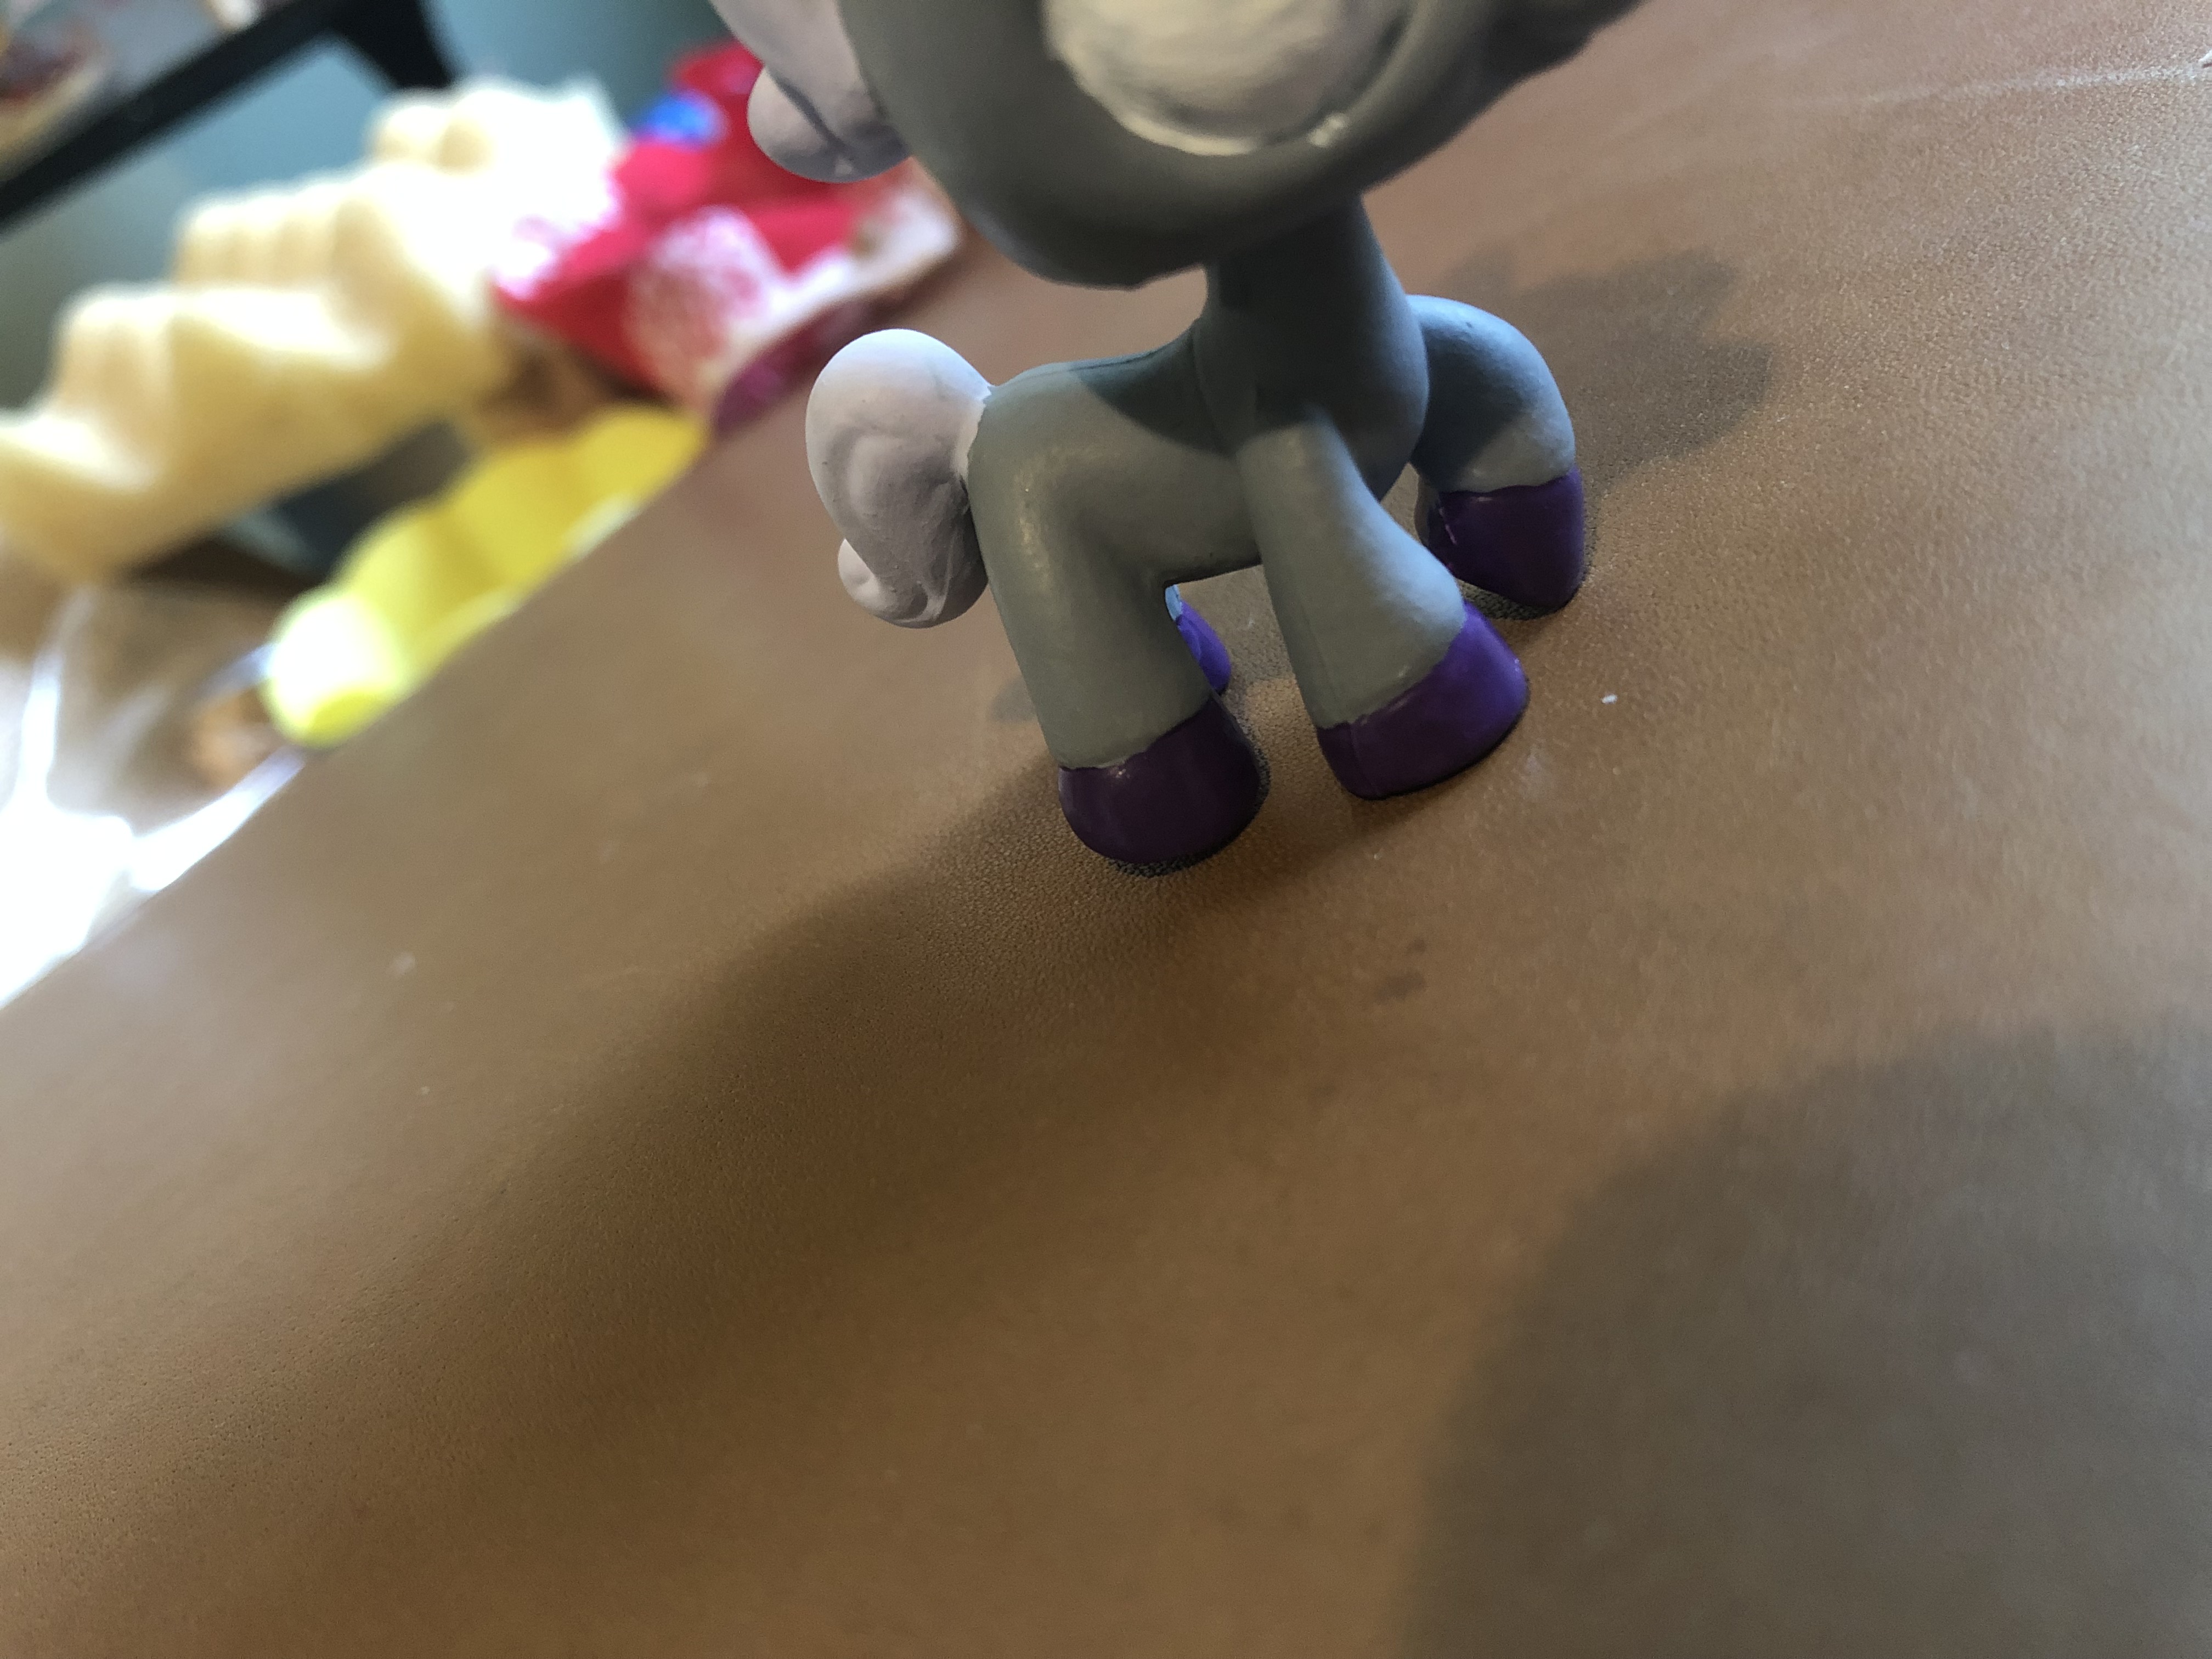
I used a super duper dark purple and dipped the hooves in the purple paint, then flipped the pet upside down overnight to dry. Make sure the purple does not drip down the hooves and onto the main part of the body when you flip it.
Painting the Tail of the Pony
Use that same light lavender to add the color to the tail. Be careful not to get paint on the back of the back feet and hooves, or you’ll be repainting yet again.
Optional Clear Coat
After you have painted the base of the pet, this may be a good time to do a clear coat over the whole thing. Next will be detailed things, and if there is no clear coat down, there is a possibility for errors you cannot erase. Good luck and Happy Crafting!
