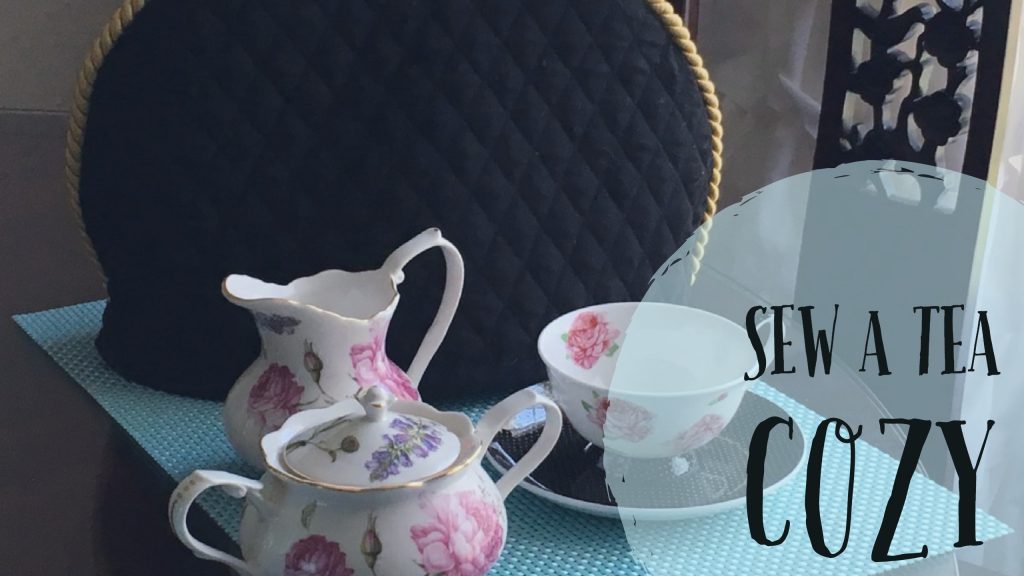
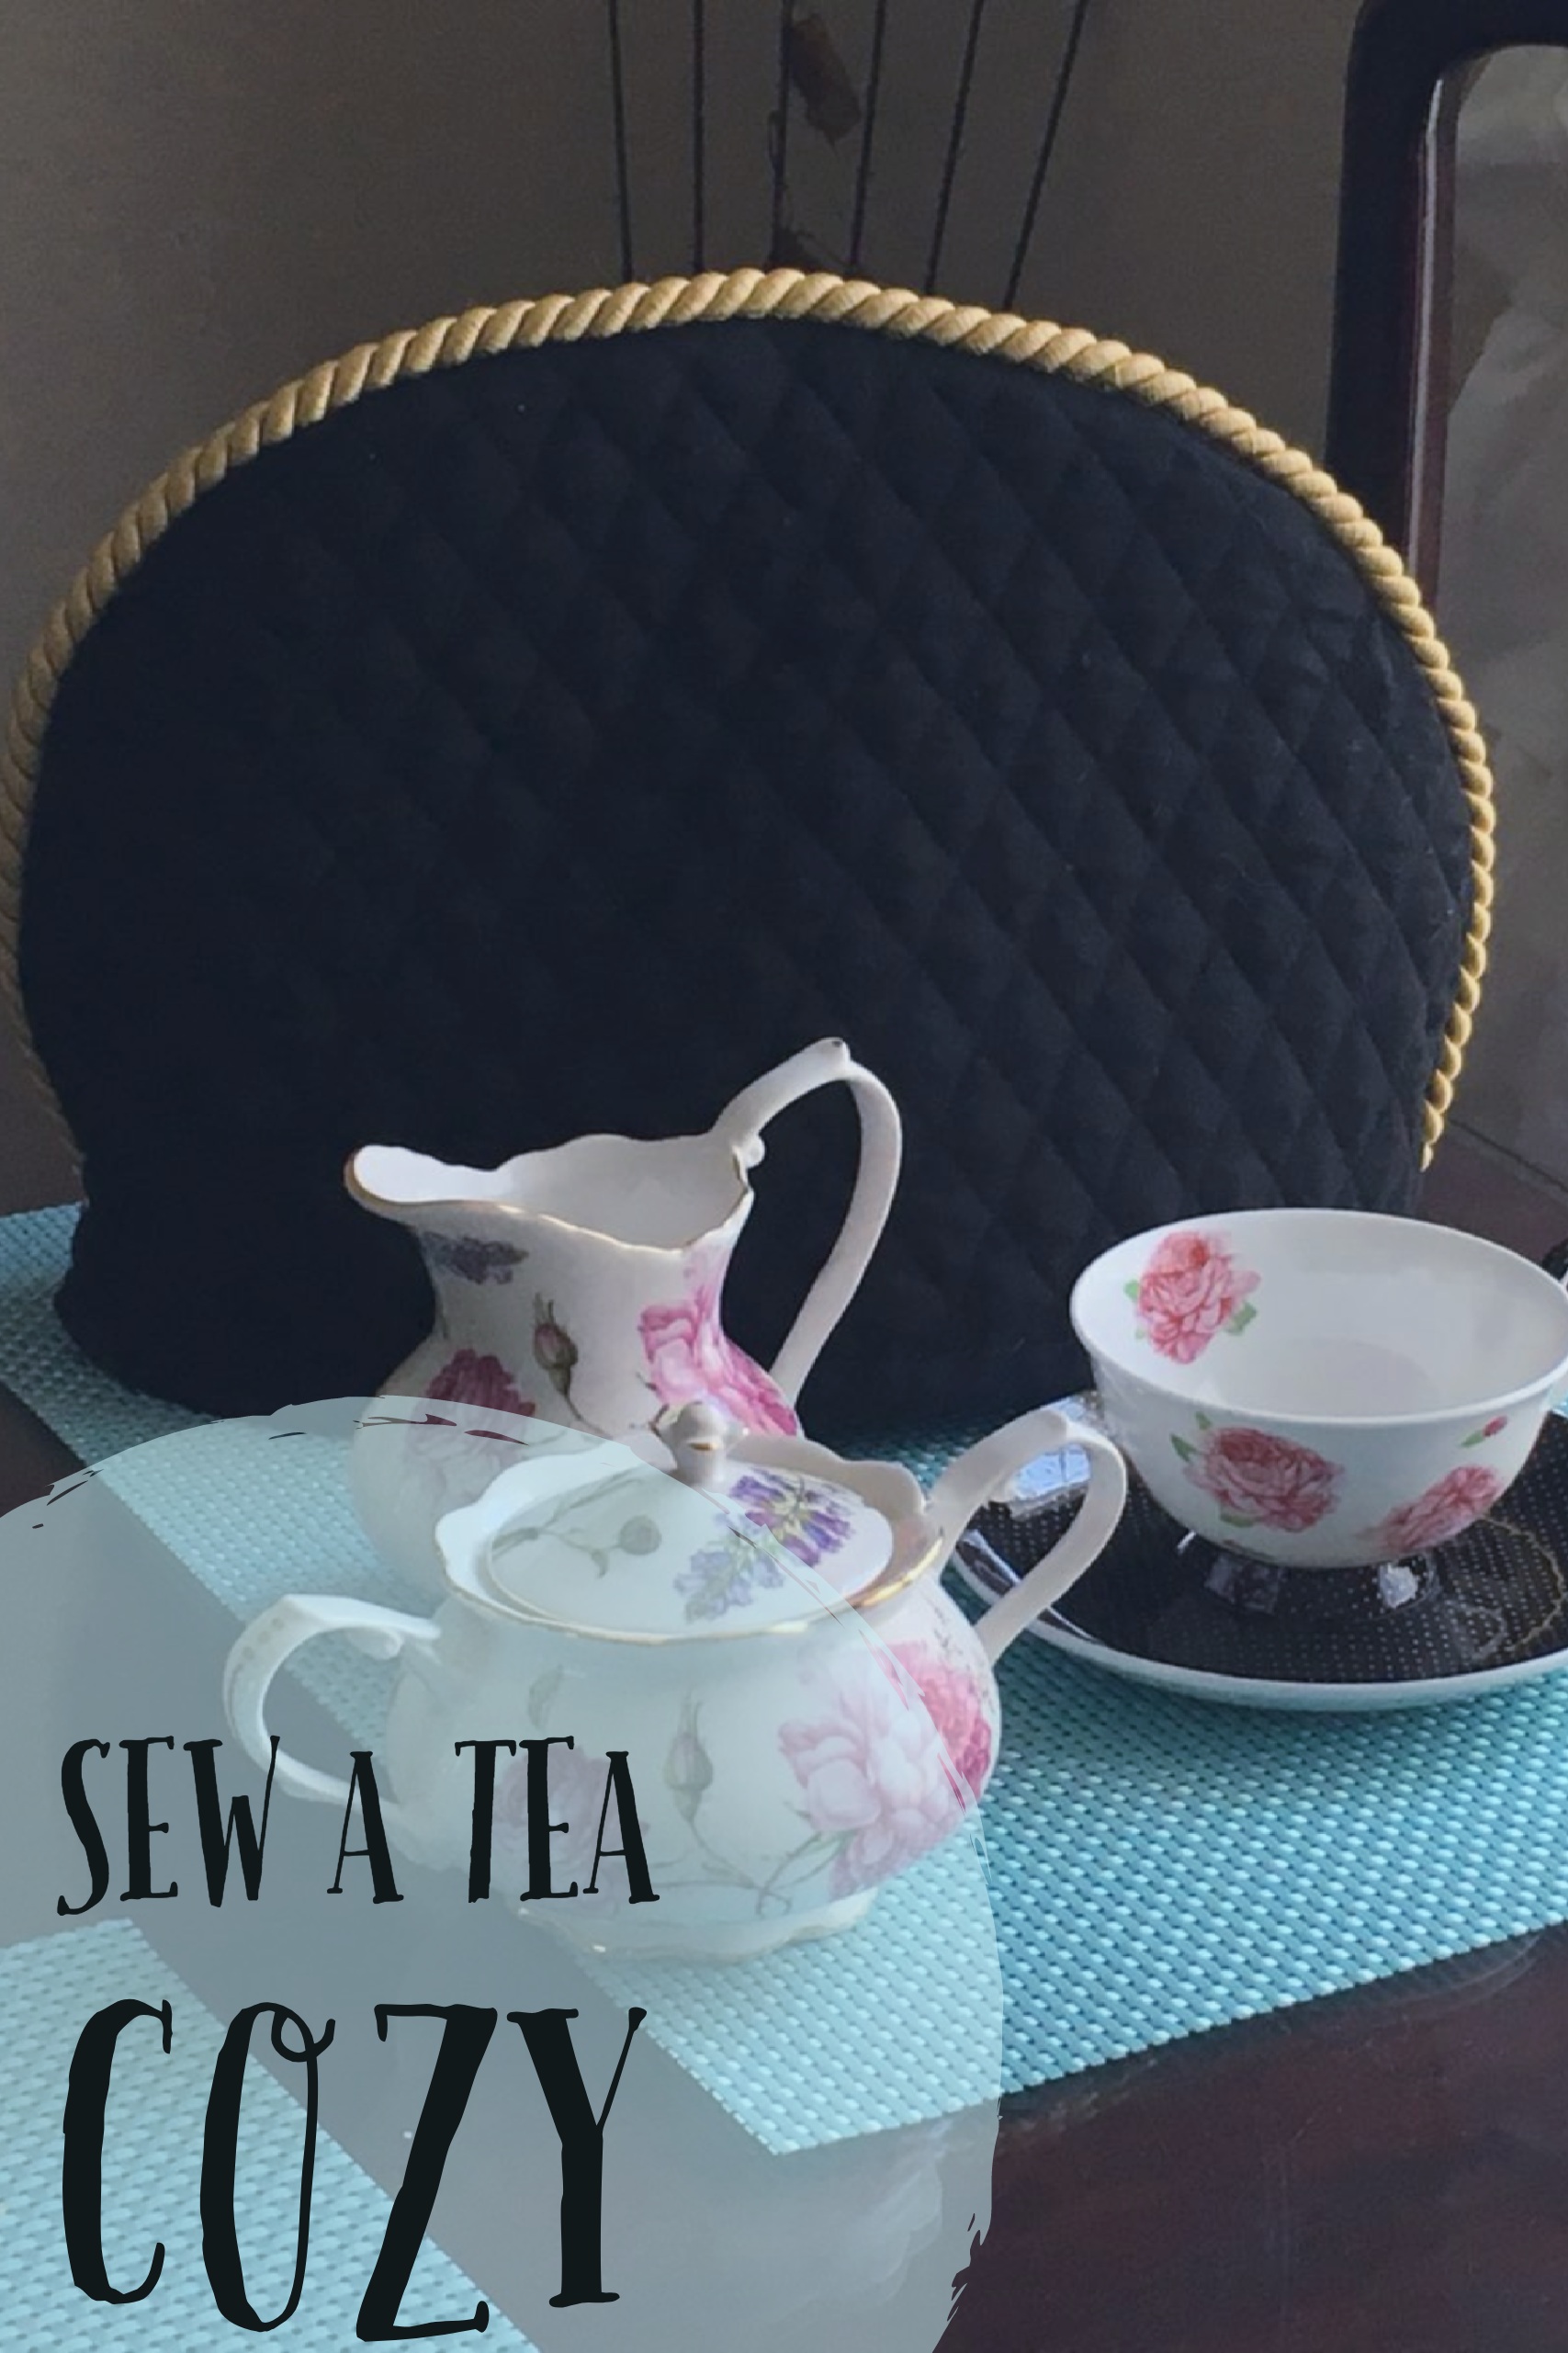
I learned a very simple way to make a tea cozy for any teapot, and thought I would share it. With a machine this simple and easy project should not take longer than an hour, by hand it will take significantly longer to sew the tea cozy.
What you will need
- Butcher paper
- Pencil or fabric chalk
- Pattern weights
- Muslin
- Quilted fabric
- This special rope for sewing
- Black bias tape
- Tea pot
- Tape
- Quilting clips
- Sewing scissors
Make your Tea Cozy Pattern
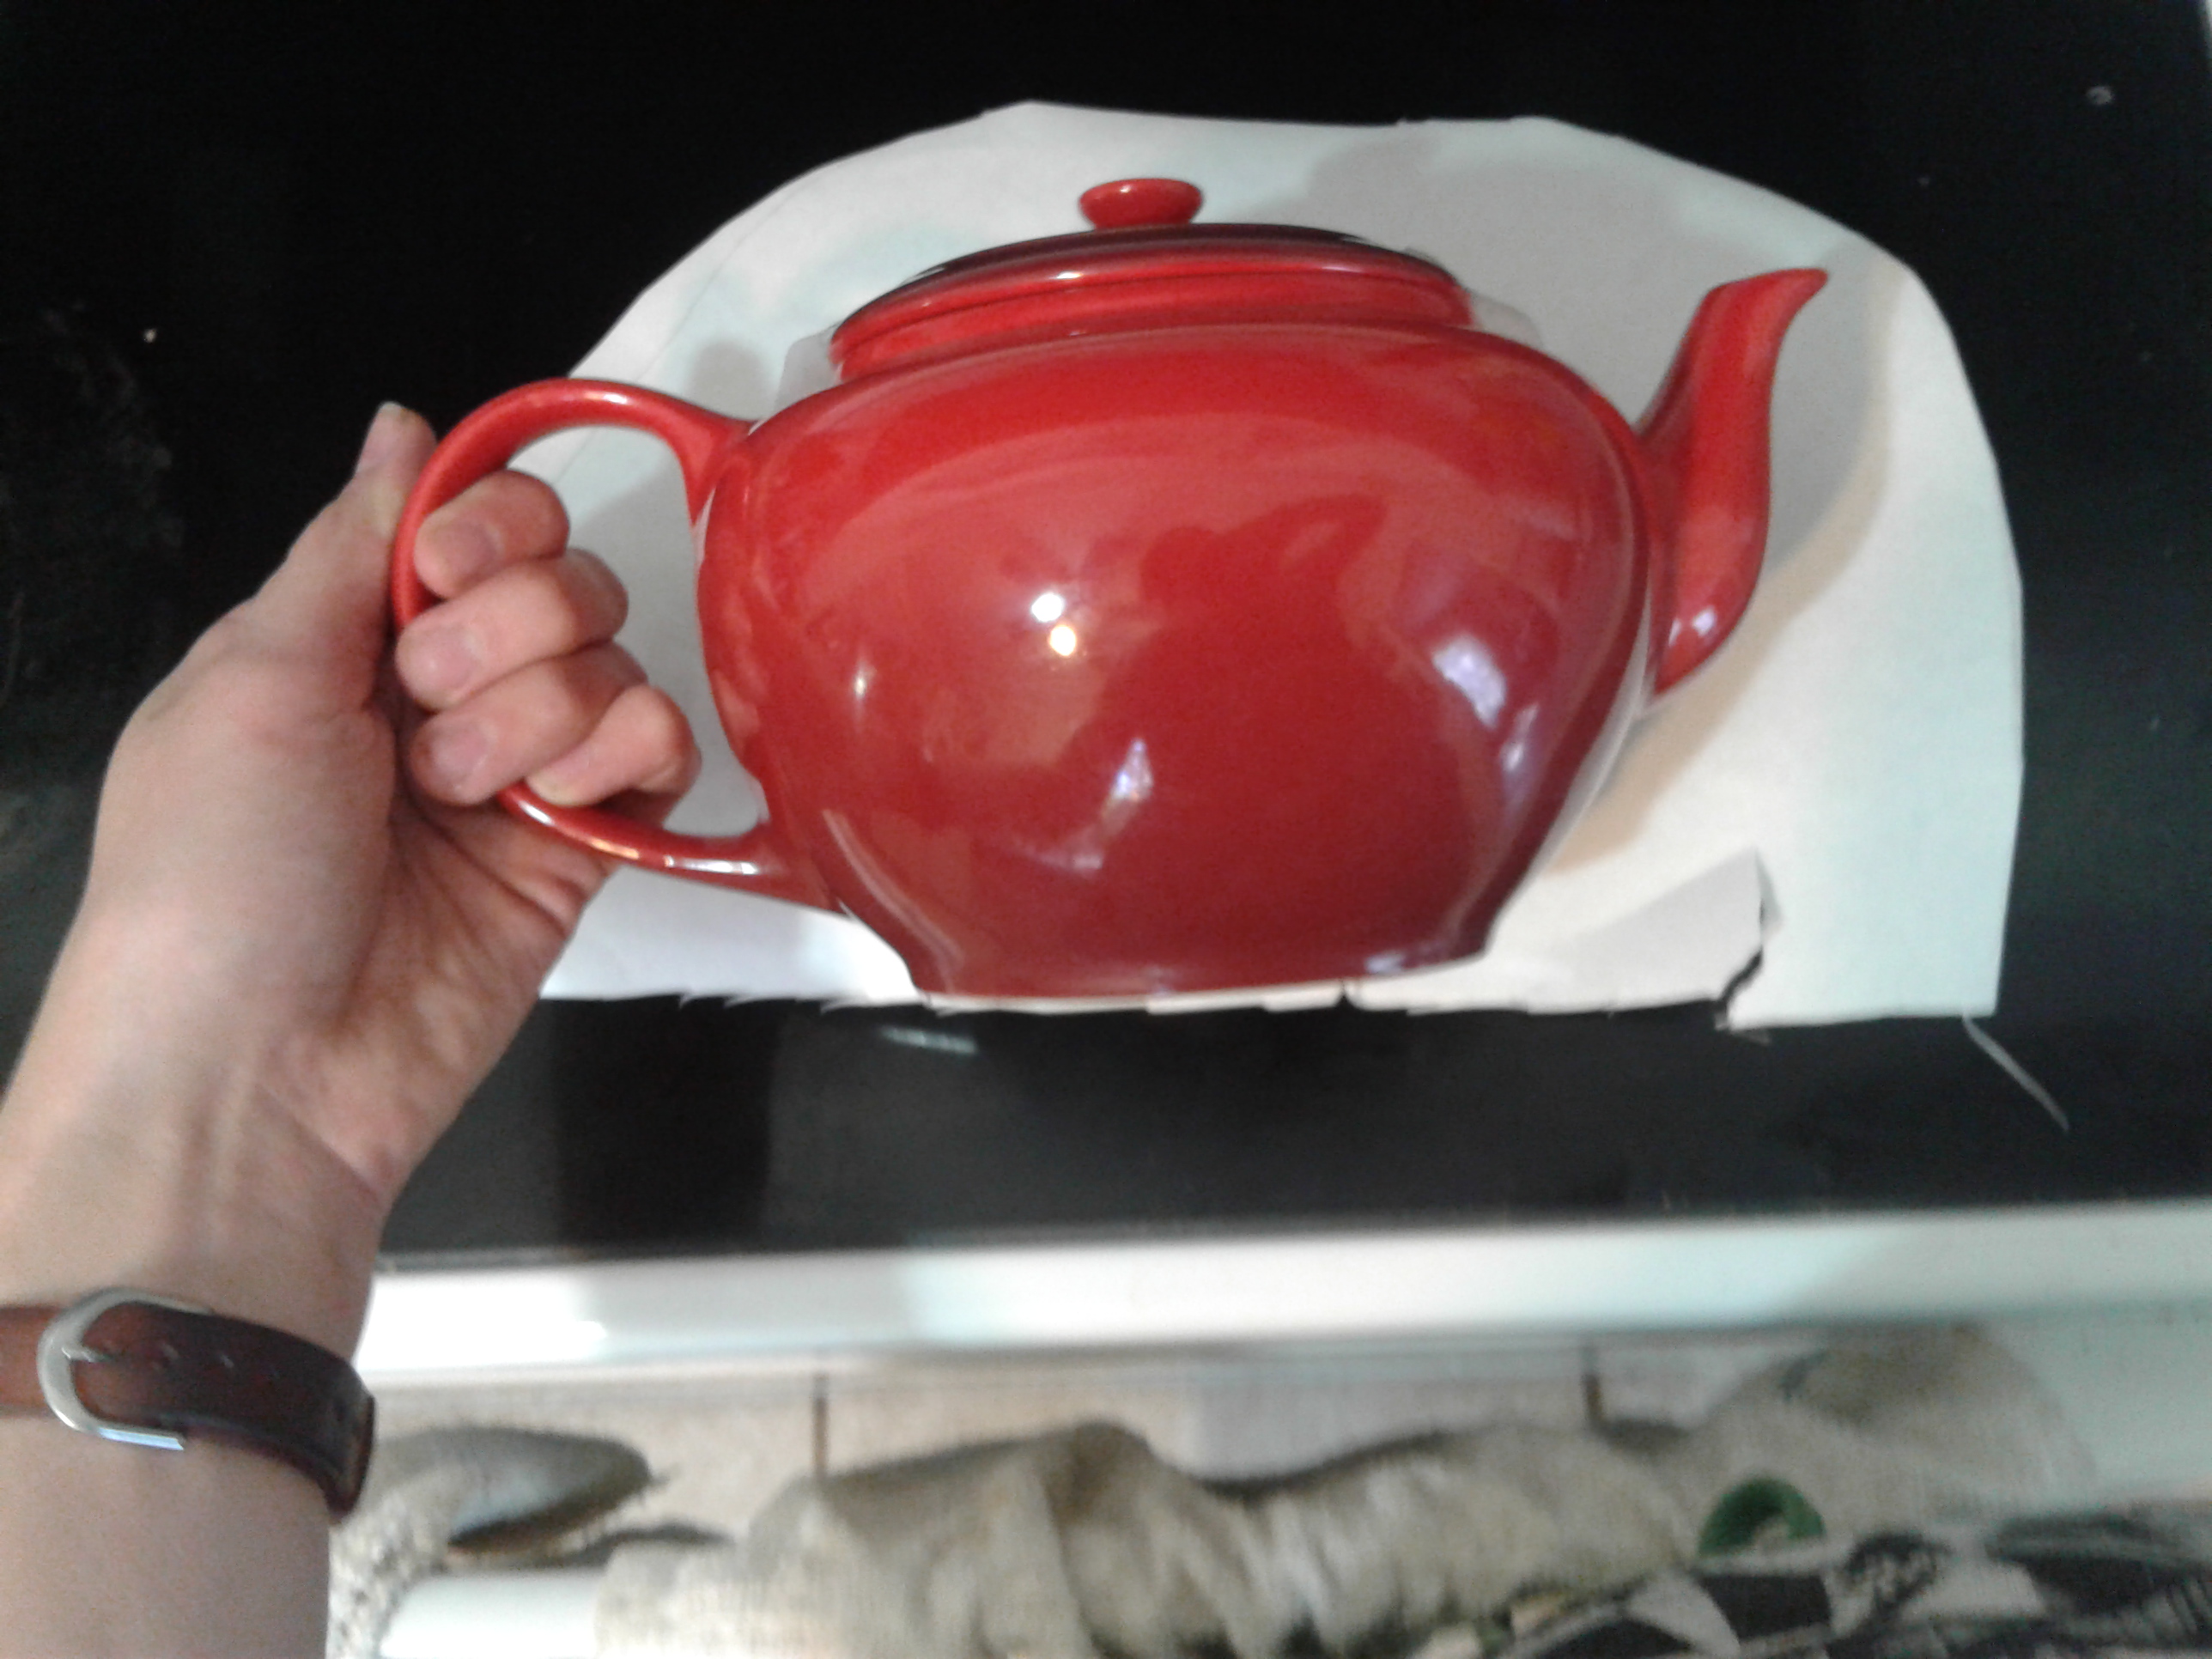
Start by taping the lid on the teapot so it does not slip off. Roll out your butcher paper on the floor and lay the teapot on its side on the paper. Trace around the teapot, leaving about a 2 to 3 inch extra on the sides and top. The extra room will help the cozy slip on and off easily as well as keep the tea warm in the pot. After you have your pattern traced, cut it out.
Making a Second Pattern out of Muslin: Do Not Skip this Step
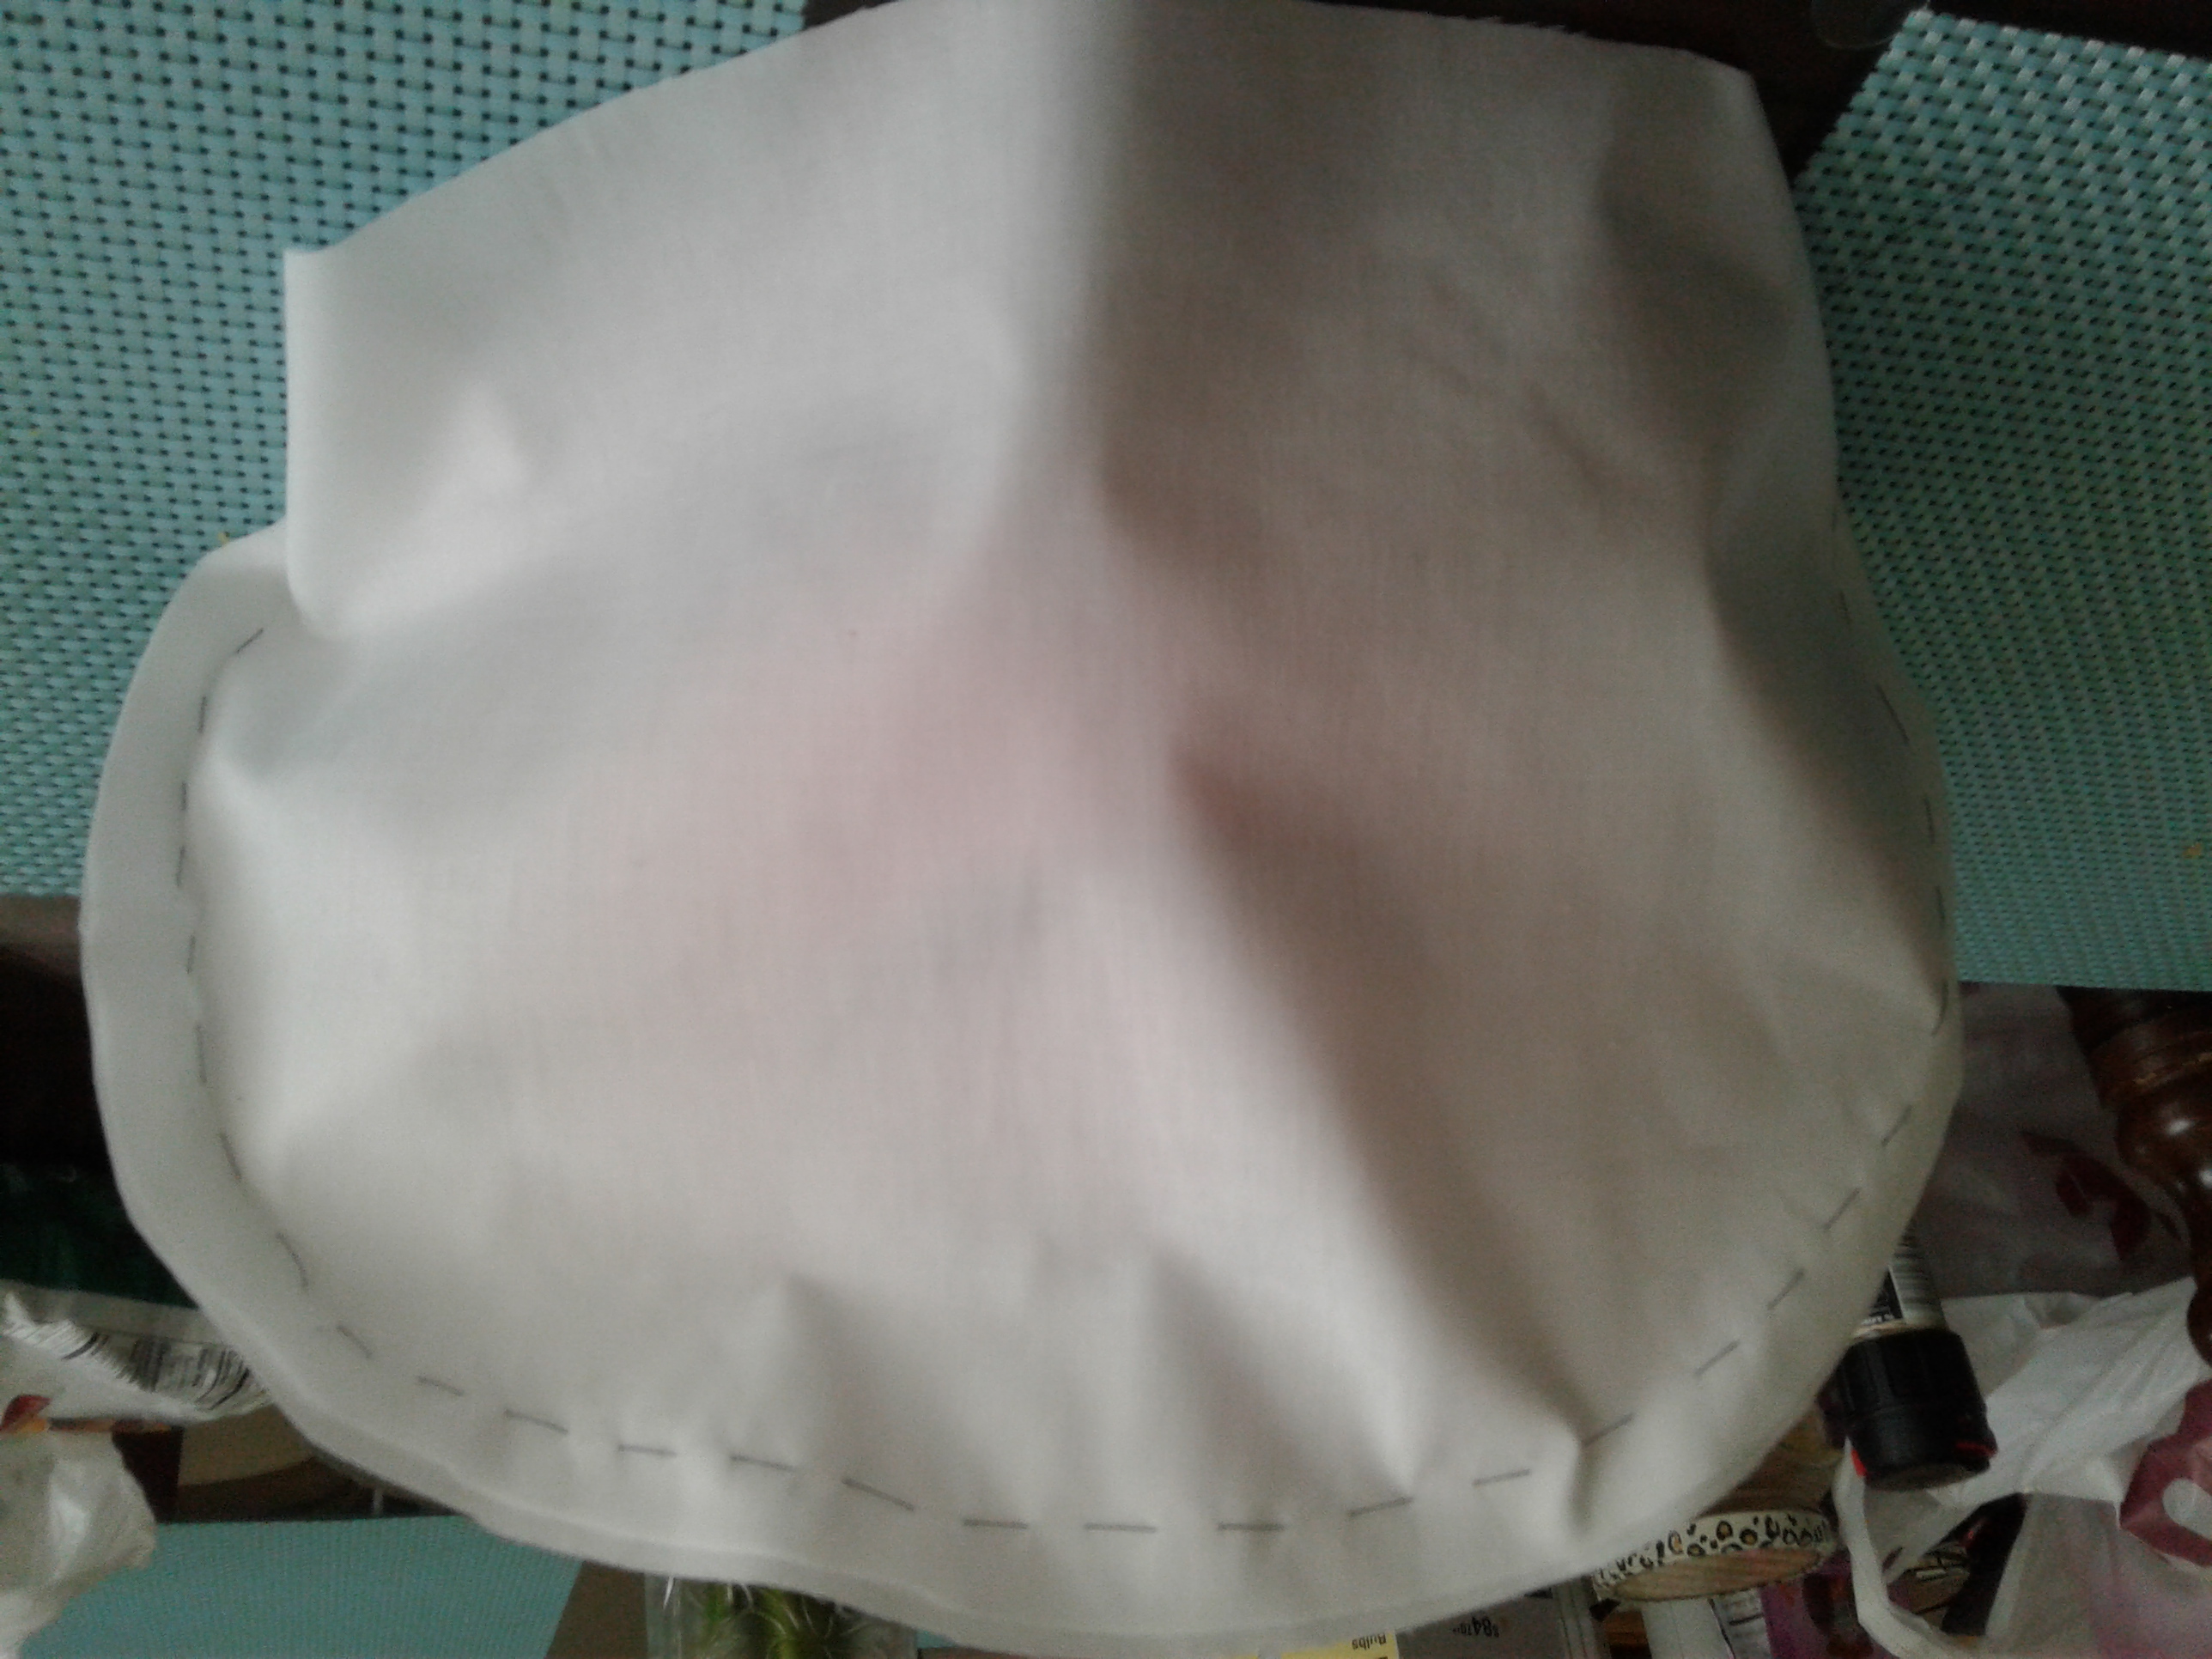
After you make your pattern out of paper, make a prototype tea cozy out of muslin. Weight down the paper onto the muslin with some fabric weights and trace it. Your muslin should be doubled so you have two halves to sew. Cut it out with scissors and do a basting stitch around the top of the tea cozy with a one inch seam allowance. Put the prototype over the teapot to make sure it works, and edit as needed.
Cut and Create your Tea Cozy
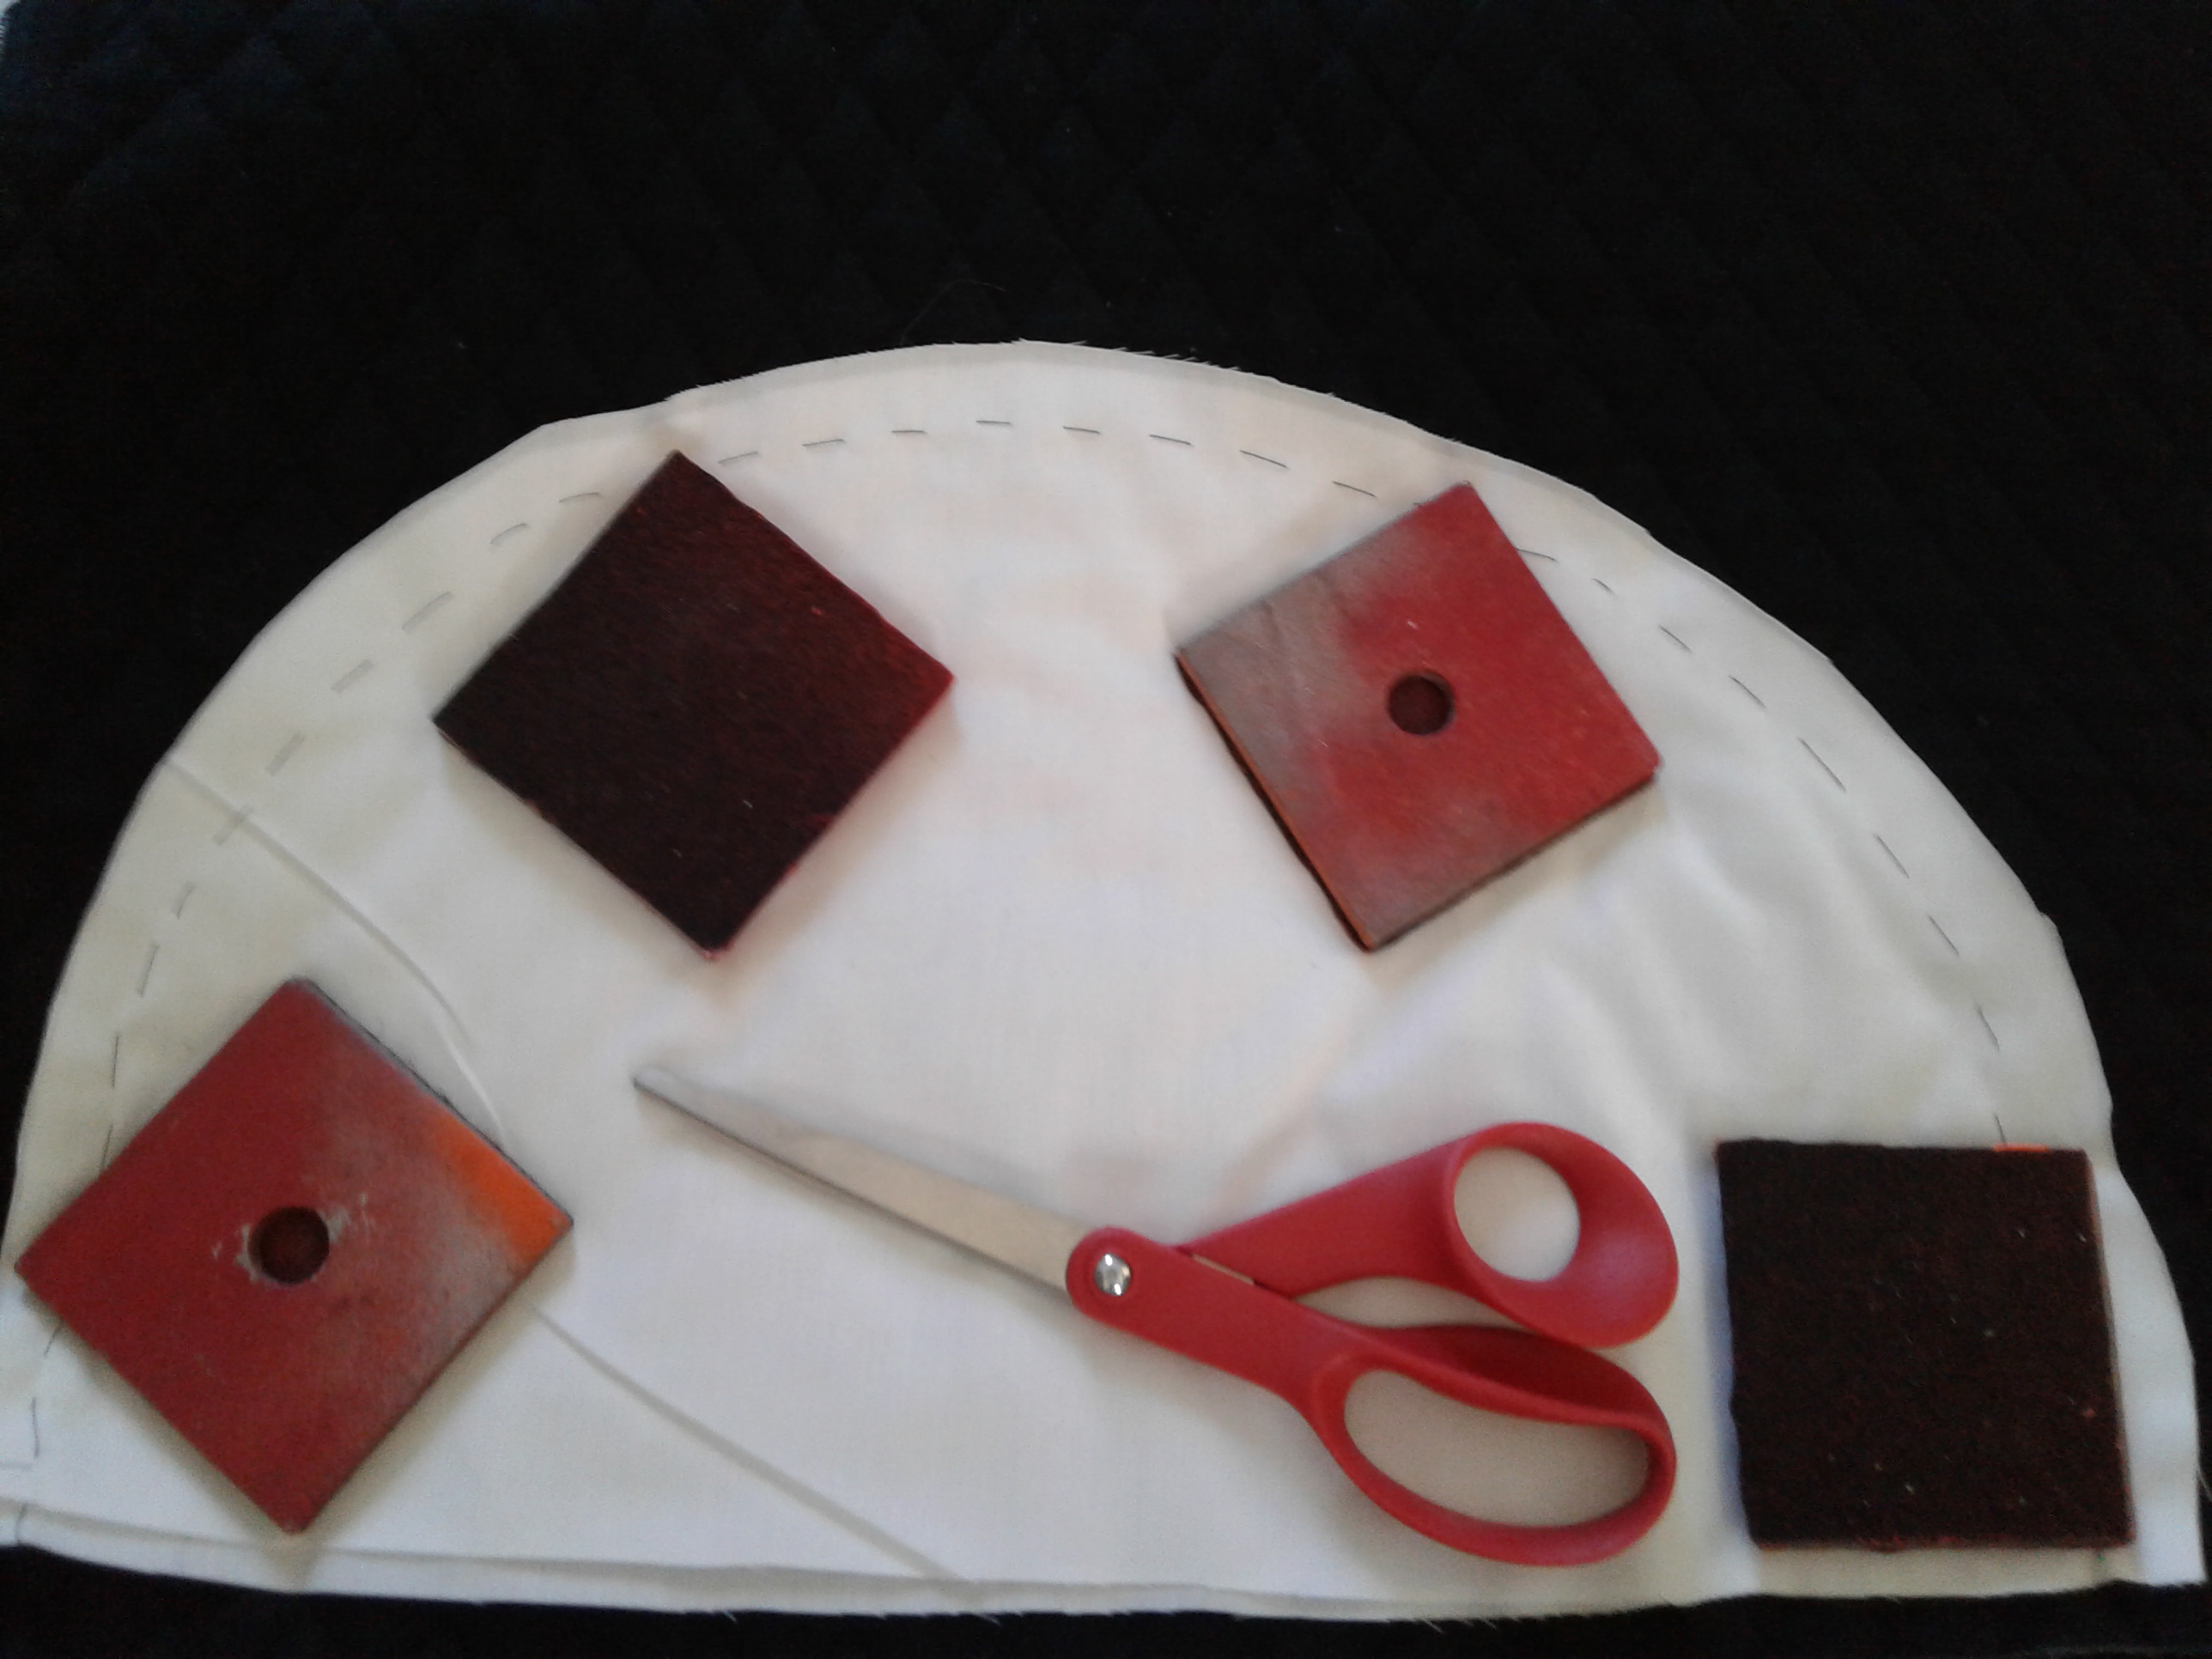
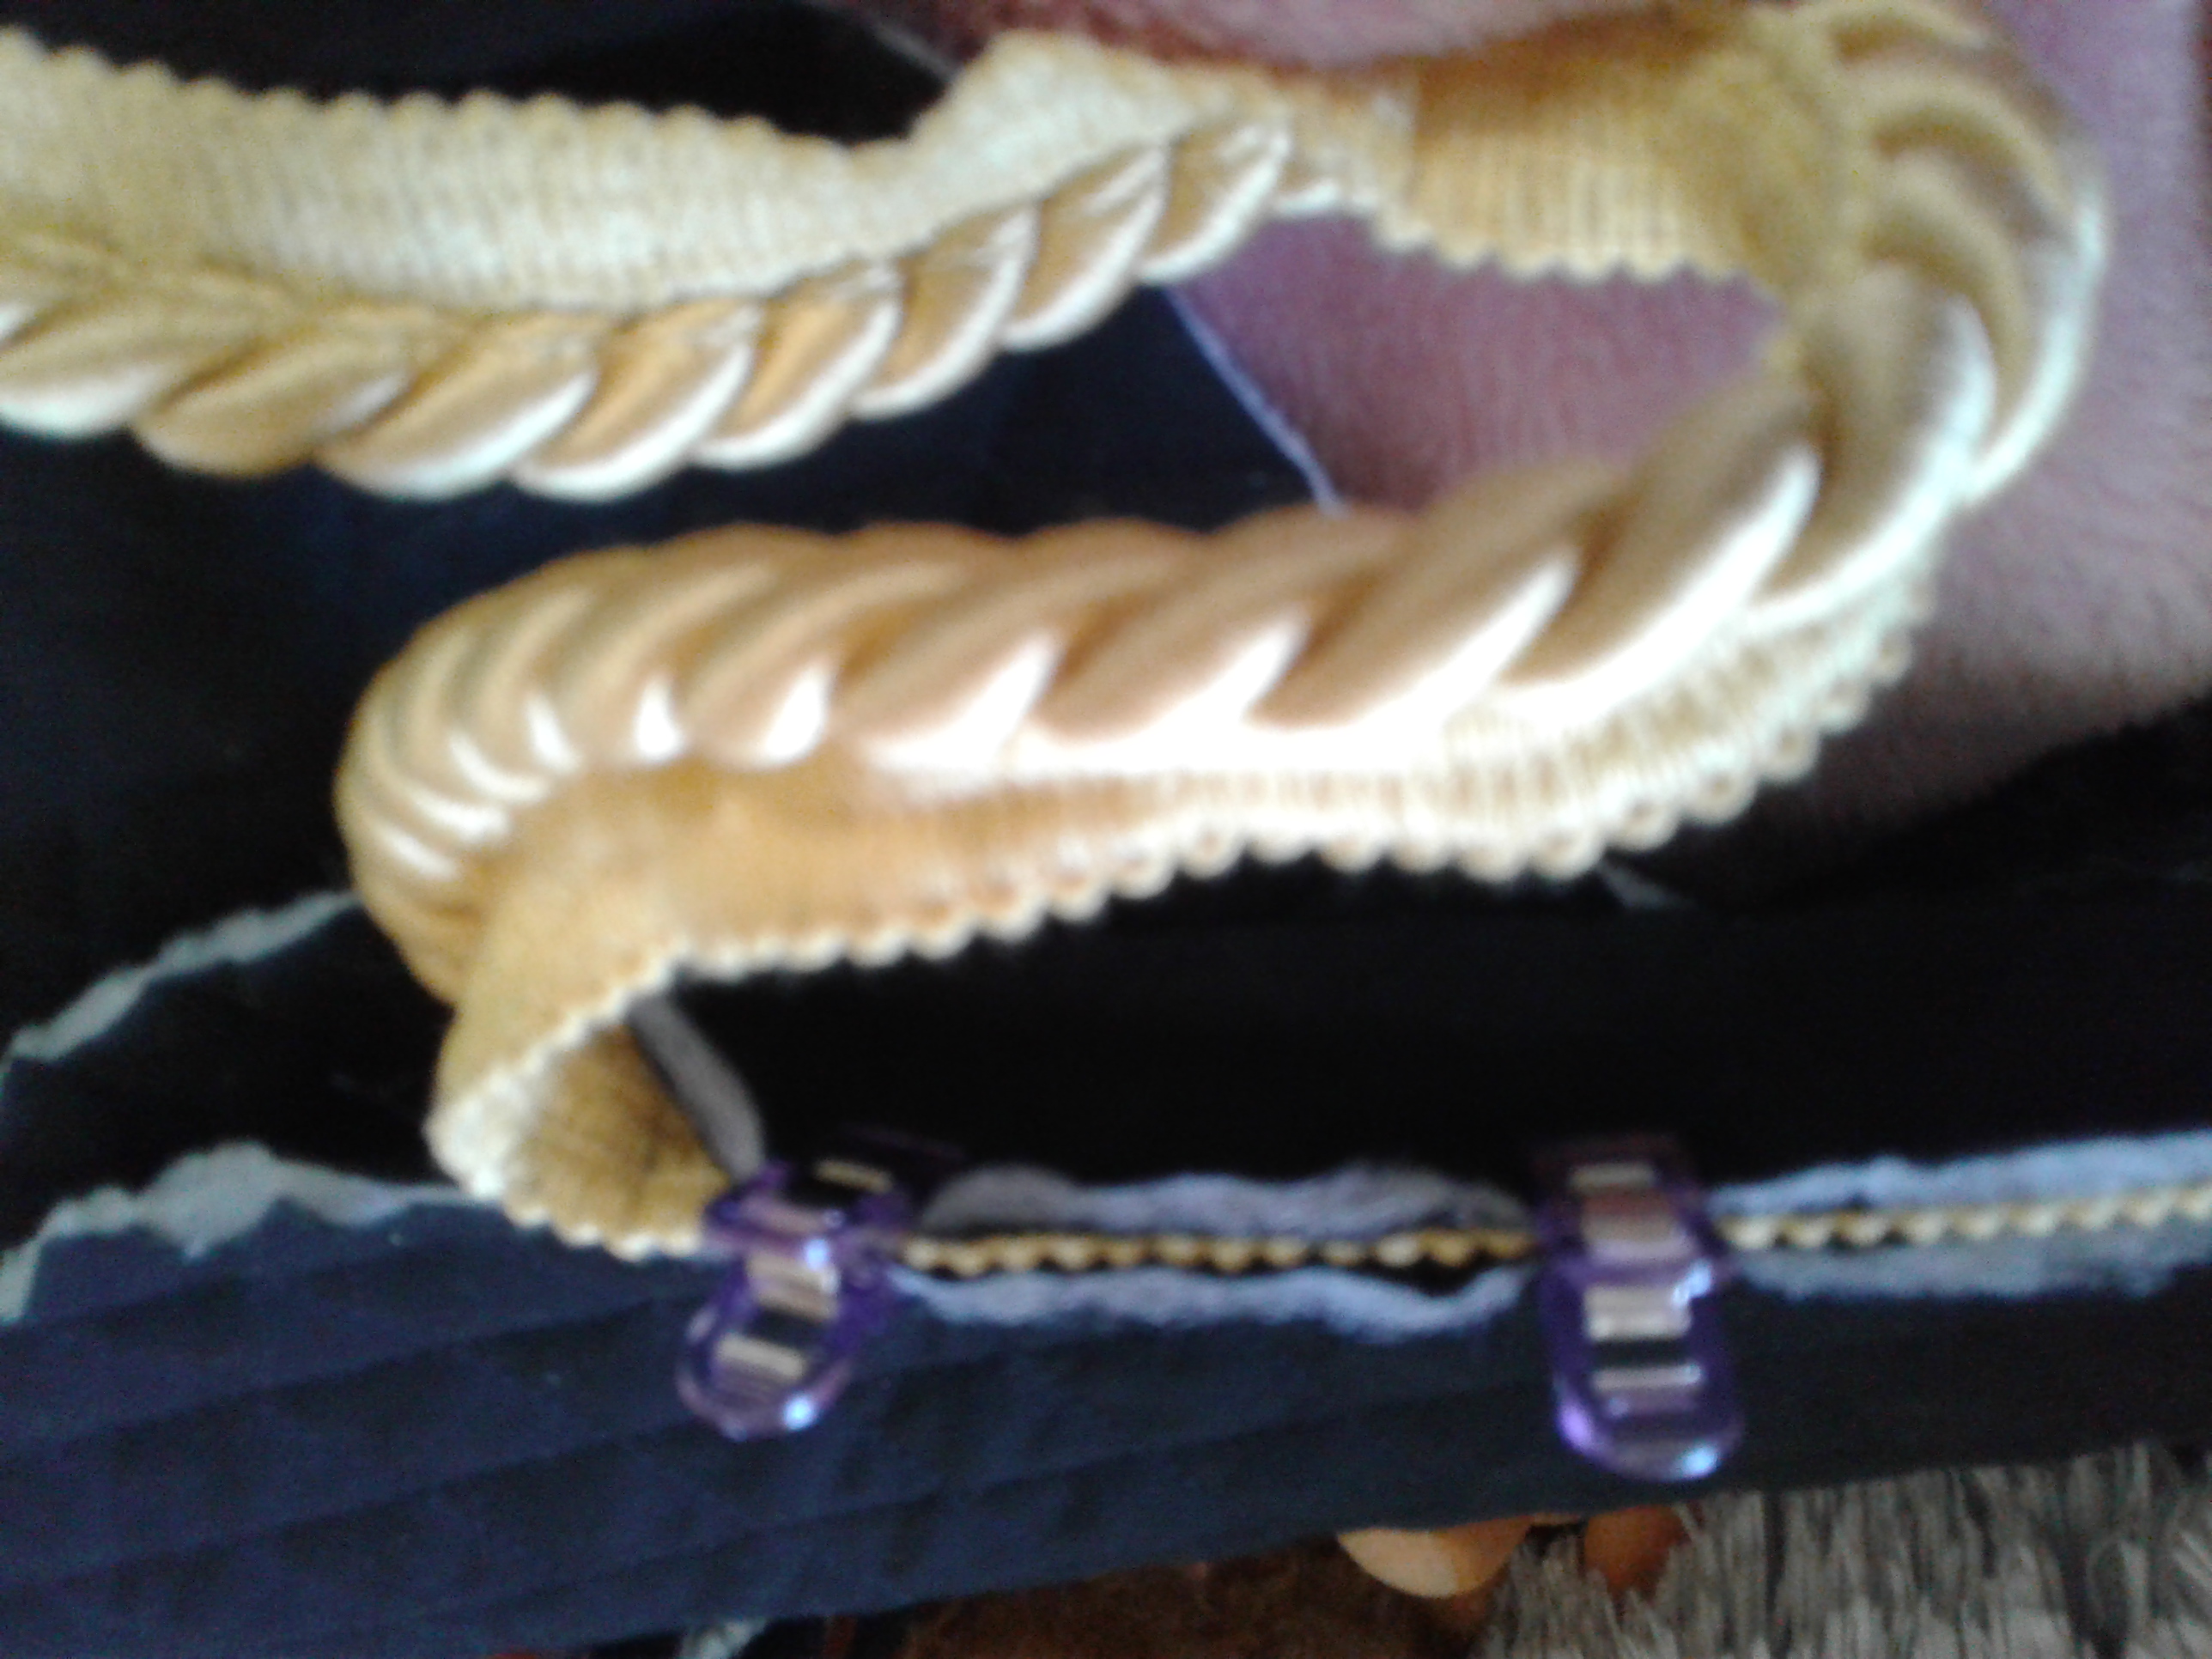
After your muslin pattern is correct, you can pin it down to the quilted fabric with your weights and cut it out. Your quilted fabric should be doubled up, and your muslin pattern should be just laying flat over your fabric. Take your rope and clip it between the two layers inside out, so that the rope part is facing inwards and the other ribbon-like part is facing outward. Clip all the way around the curve, leaving the bottom open and about a inch on each side unclipped and unsewn. Sew the rope and two halves together using a backwards stitch. Be careful to sew as close to that rope as you can, so that the ribbonlike part does not show.
The Tricky part: Bias Tape
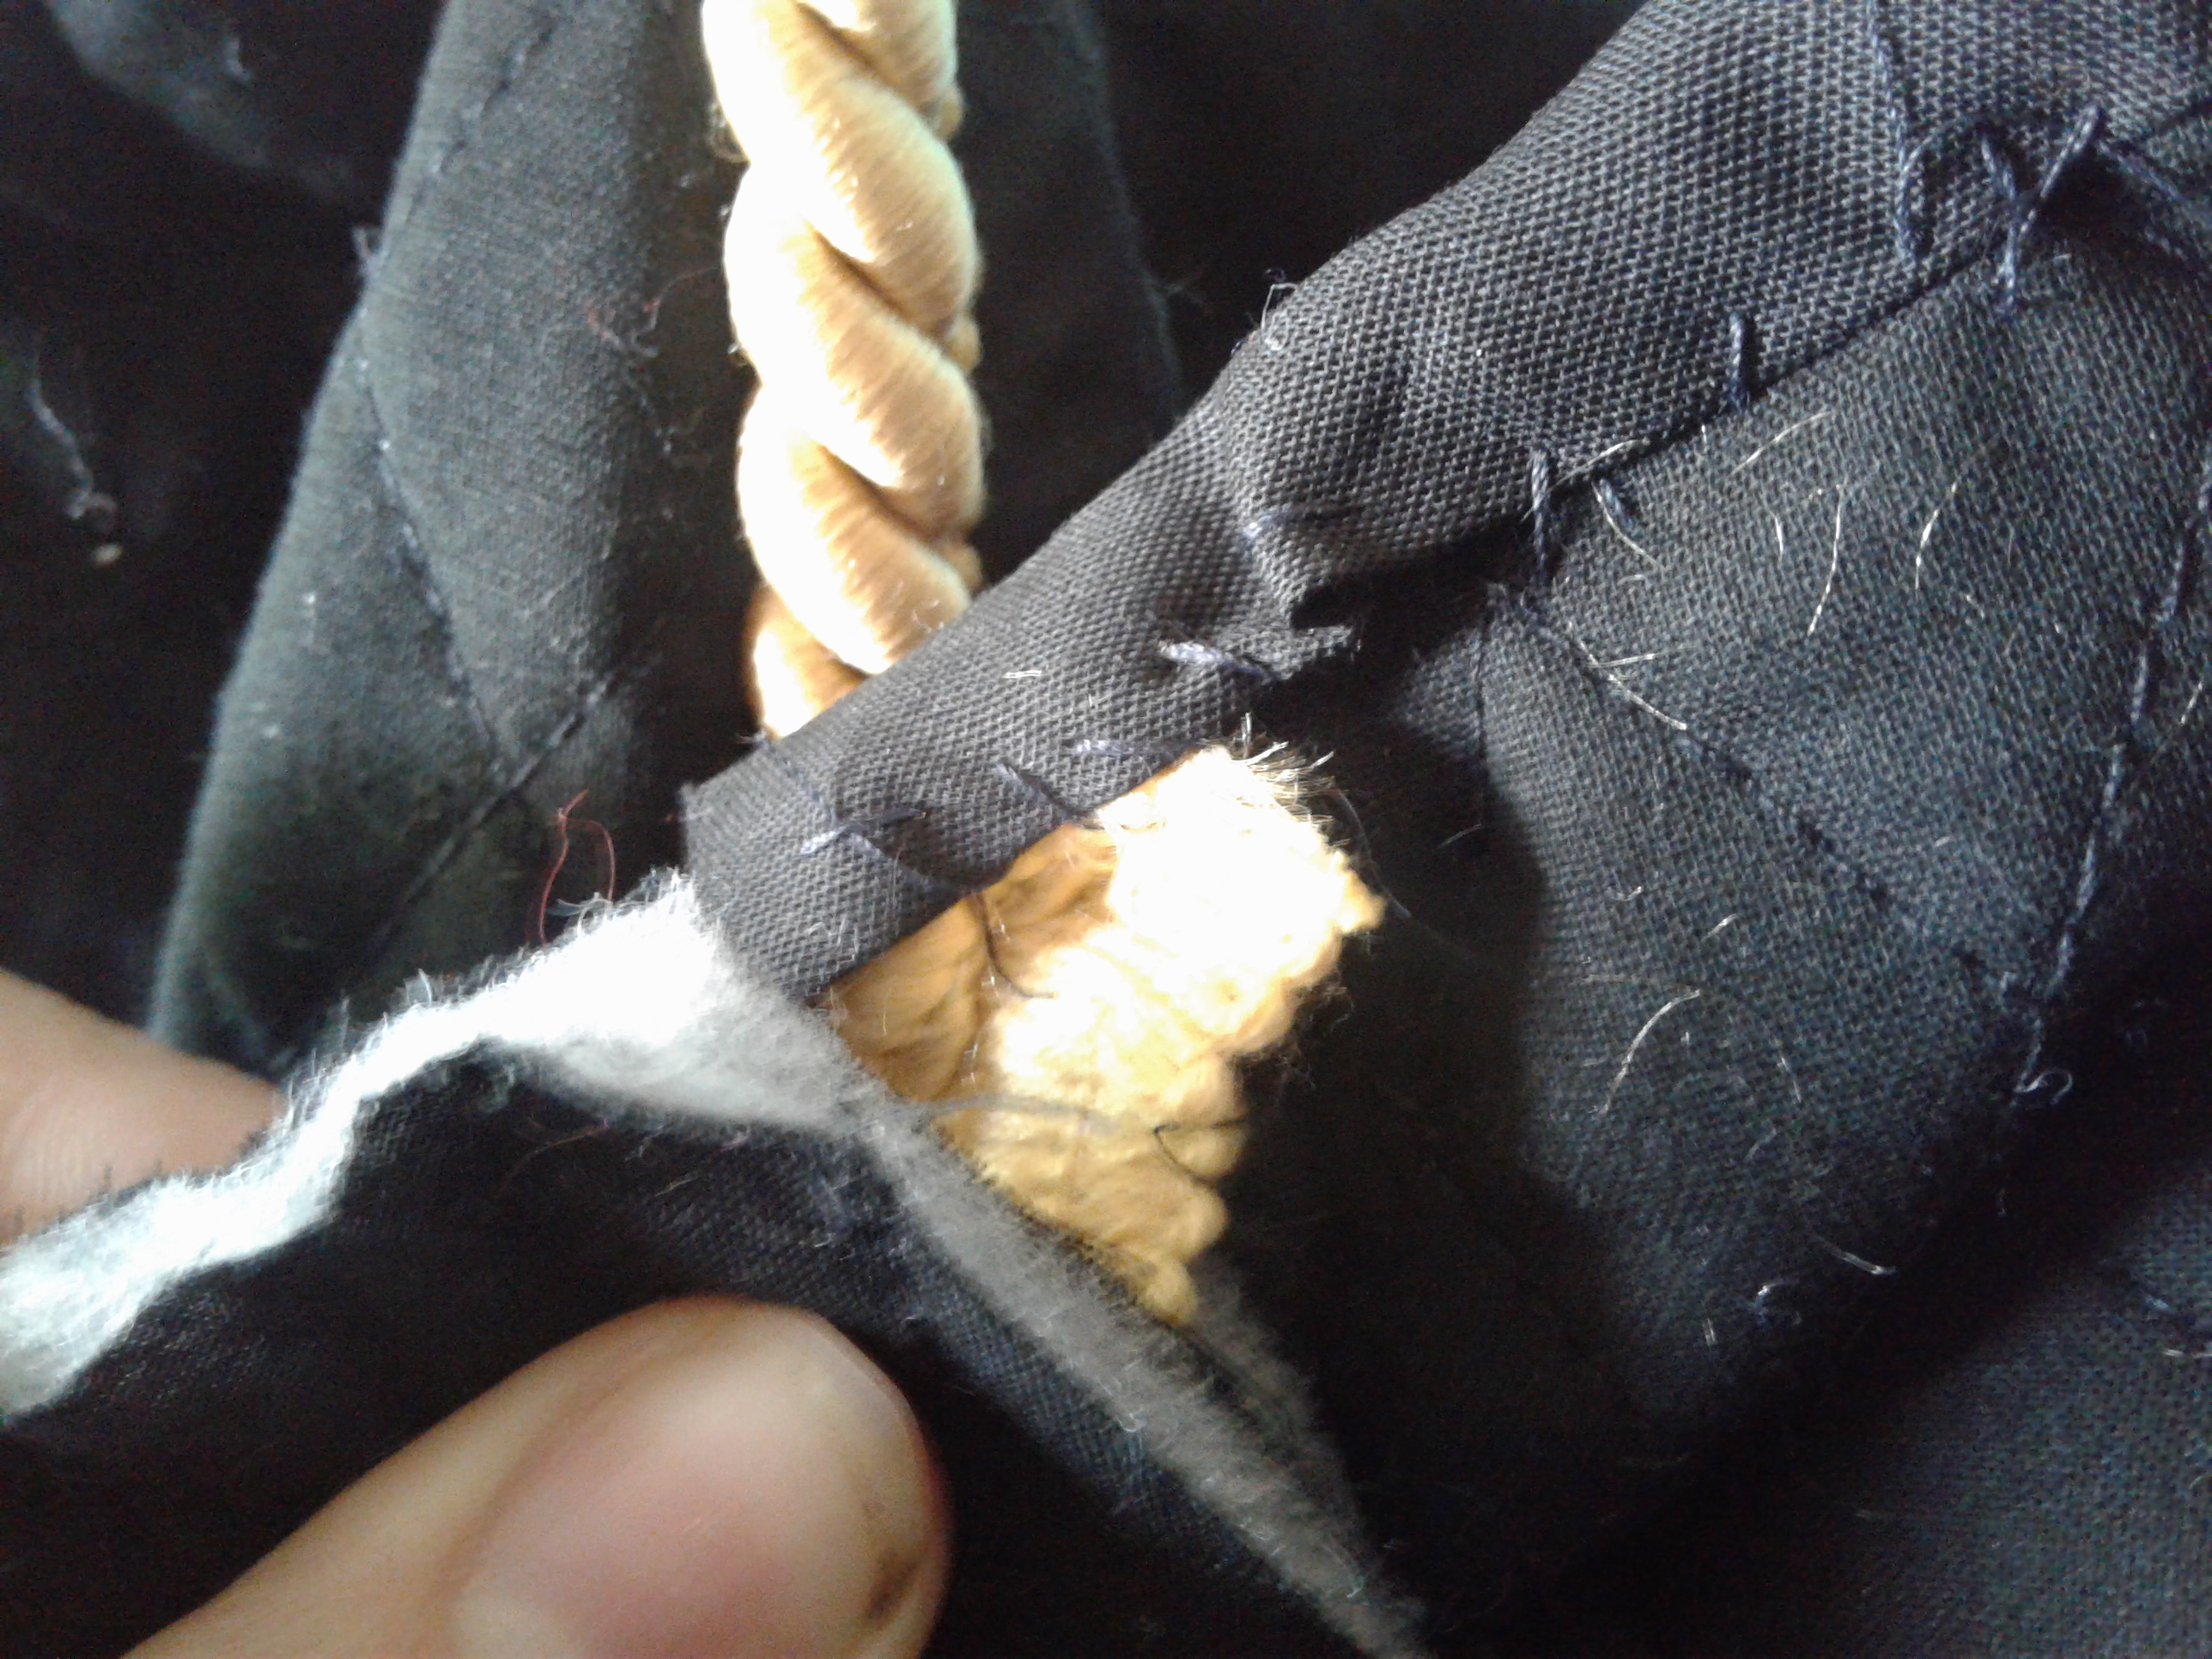
When you have your ribbon sewn in securely, flip the tea cozy inside out and start using your bias tape. Bias tape should be whip stitched onto the edges of your tea cozy. You will need two pieces, one for each side of the tea cozy. First stitch your rope down and cover the end that will fray with the bias tape on the inside of the tea cozy. Whipstitch all the way down, leaving the inch gap on either side open. Sew the same way to the rope on the other side. Then flip it inside out and whipstitch the inch gap closed on both sides, and you are done. Your tea cozy may be washed on delicate and hung out to dry when needed.

