This polymer clay shrimp sushi makes a great addition to any dollhouse, charm bracelet, or backpack. Very easy to make, and cute too.
What you will need:
- Sculpey sample kit
- Dotting tools
- Exacto
- Patience
- Hard as nails by Sally Hansen
Making the Shrimp Sushi Plate

To make the plate of the polymer clay shrimp sushi, start off with a ball of Sculpey translucent clay and flatten it out, cutting it into a rectangle. Pinch the sides up to get the pointed corners and pull the sides of the plate up. Poke a hole in the plate if you wish to wear this as a necklace.
Mixing clay for Rice
Using translucent Sculpey and just a little bit of plain white Sculpey, mix until it is almost marbled. Arrange into three small blobs that will fit on the plate together.
Shaping the Rice

Form the rice into little rectangle shapes with rounded edges. Use a toothbrush or a nail brush to add little bits of texture, or use the tip of an Exacto to cut little boops of clay out.
Making the Polymer Clay Shrimp Sushi

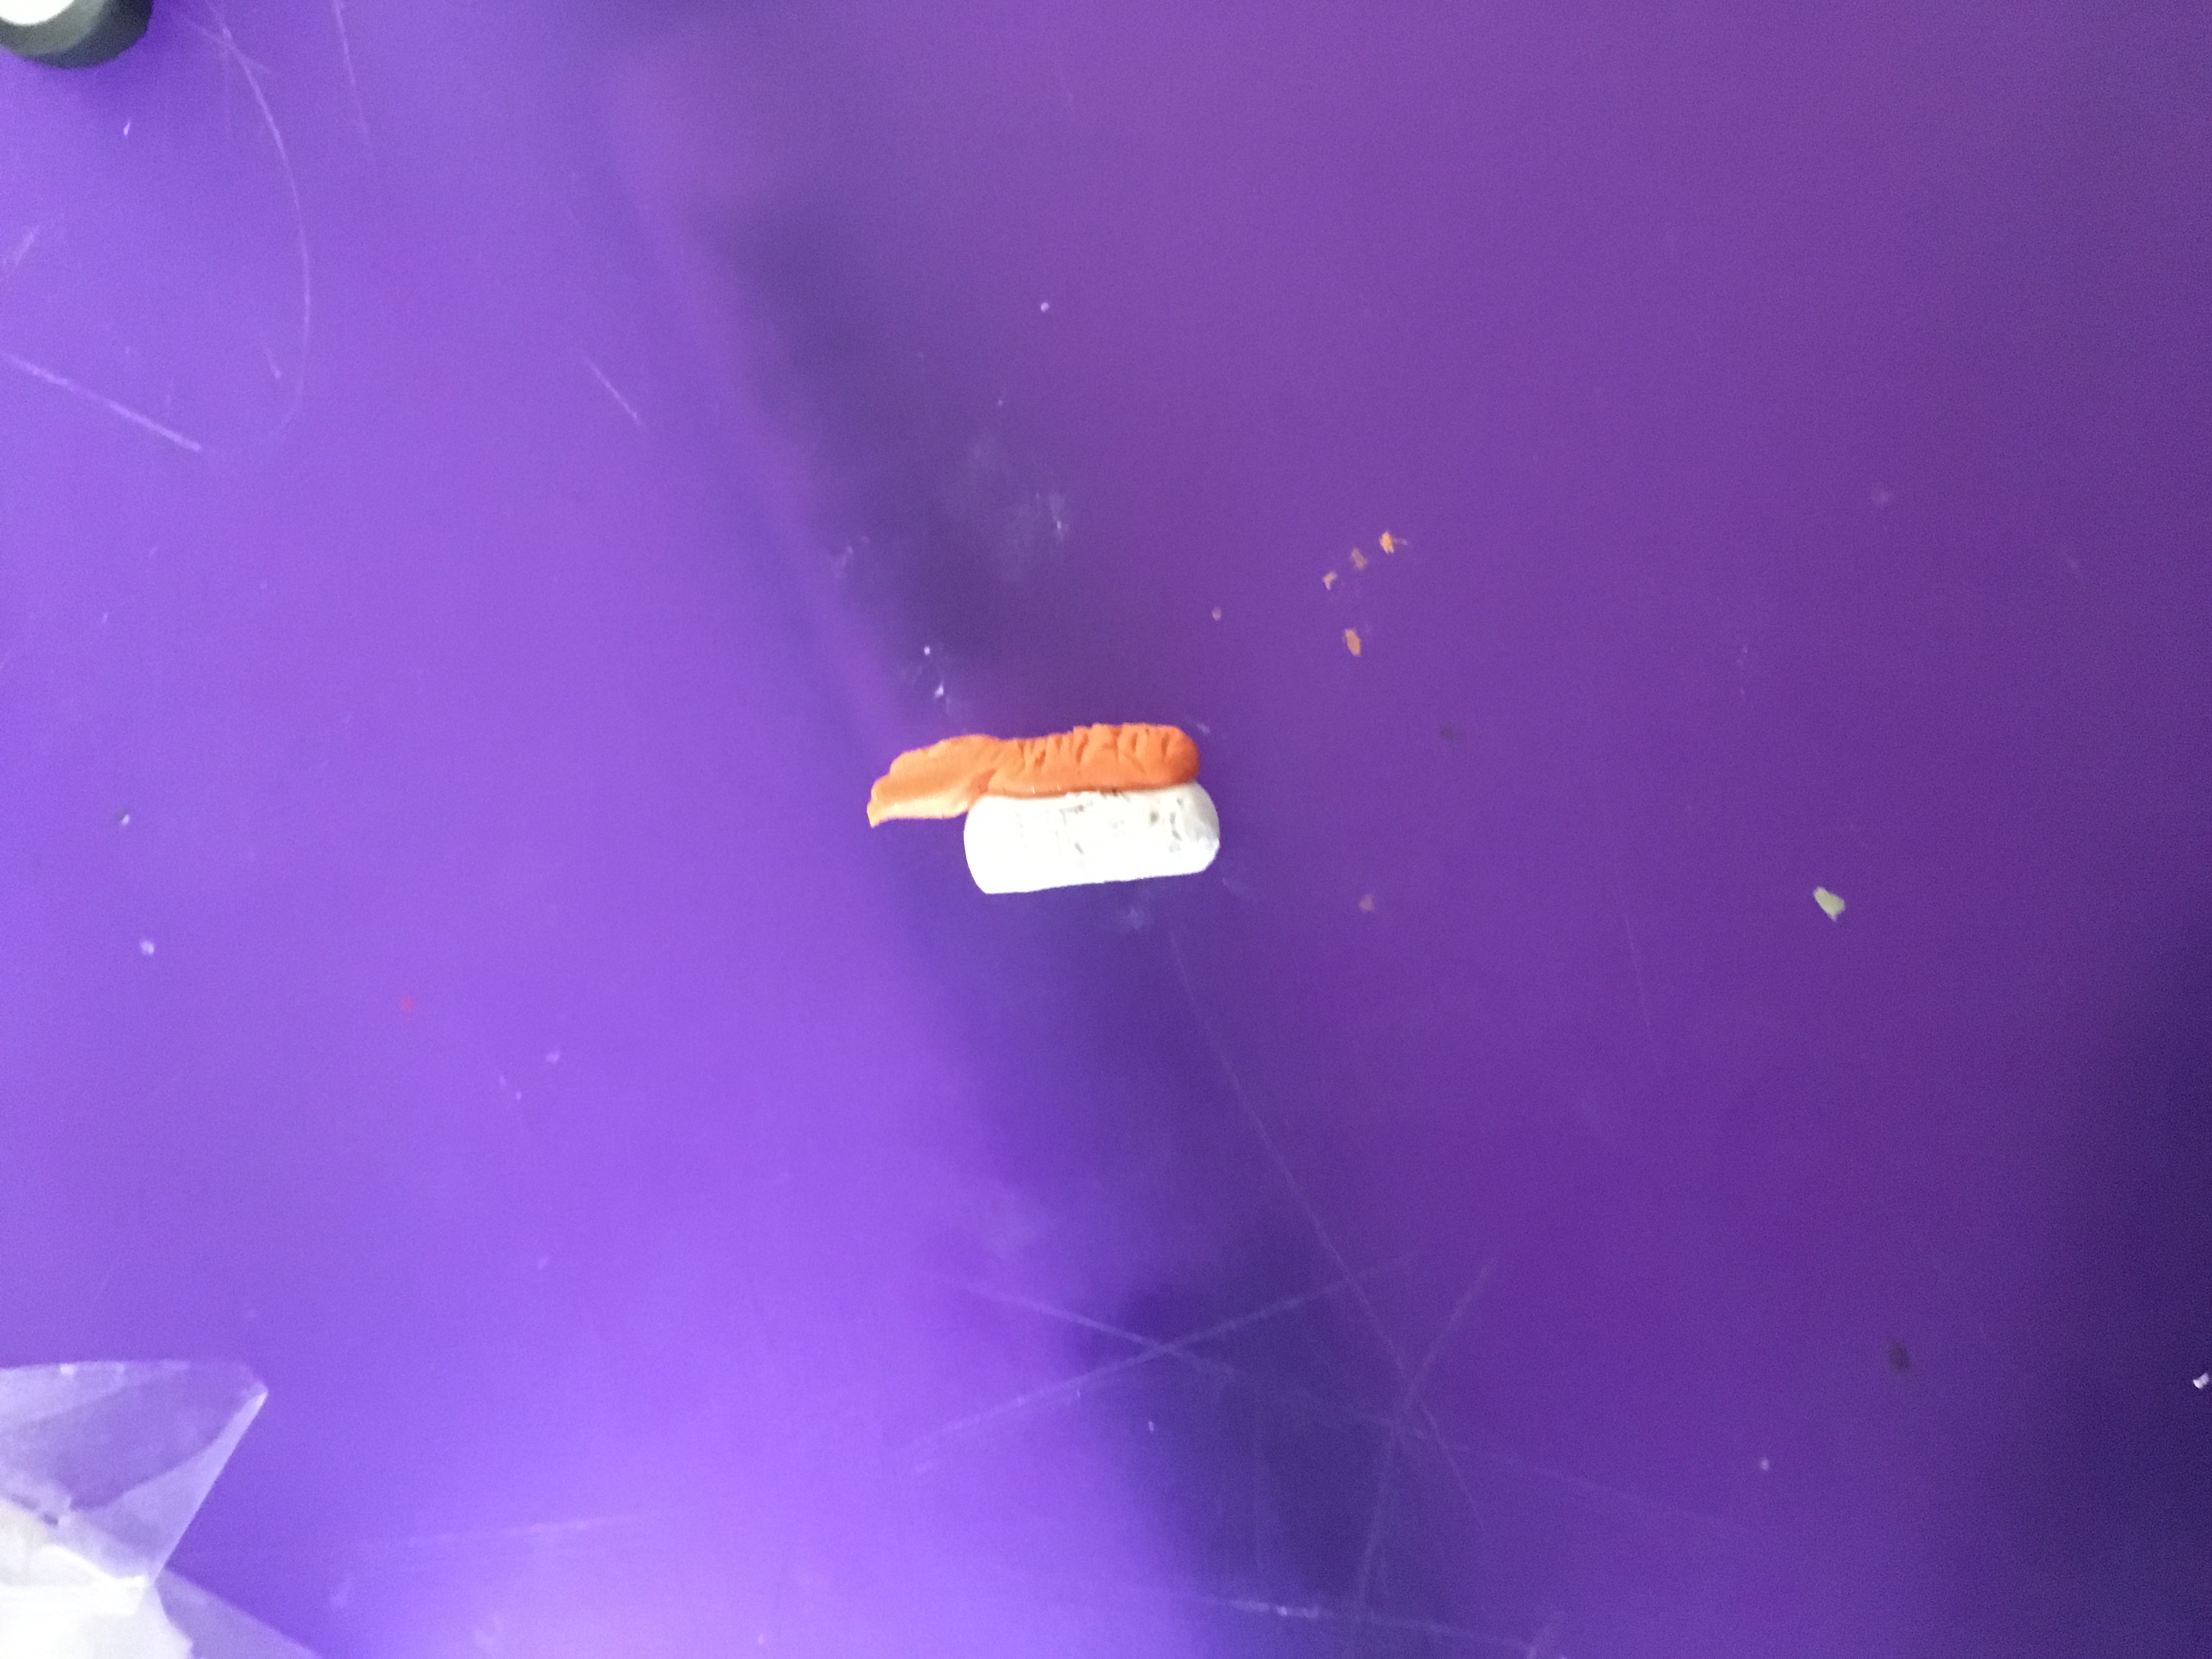
Mix some metallic bronze clay and some orange clay together to make a darker and shinier orange shade. Make three little blobs of orange clay that will fit on the rice patties.
Shaping the Sushi

Roll the balls of orange clay out into little chubby cylinders. Using the Exacto, flatten the end and cut a small triangle out of it, to make a forked tail. Edit the tail to your preference and use the Exacto to lightly add lines and texture to the back of the fish.
Adding the Shrimp on the Rice

Gently pick it up on a dotting tool or with the exacto and lay it flat side down on the rice. Lightly press it on, making it look like it actually belongs there. Do not blend it into the rice and leave the tail detached so that it hangs off the edge of the rice patty.
Bake

Preheat the oven to bake at 275. Once the oven hits temperature, place the sushi on a pan covered in aluminum foil and carefully set it in the oven. You may wish to have an adult help you.
Glaze
Using Sally Hansen’s Hard as Nails, coat the fish in a thick coat of nail strengthener. This will help protect your piece as well as make it all shiny and pretty.

Finish
Add a jump ring or leave it as is for a dollhouse miniature, and it is complete. Happy crafting!

