This cute little moon dragon is gorgeous, with its little rose and moon curled around its tail and its pretty purple color looks complicated, but it’s not at all. In this tutorial, you will learn how to marble clay and make a dragon that looks like he just landed down from space.
What you will need
- Several shades of purple polymer clay
- Red clay
- White clay
- Yellow clay
- Metallic dust
- Wire
- Green clay
- Dotting Tools
- Exacto
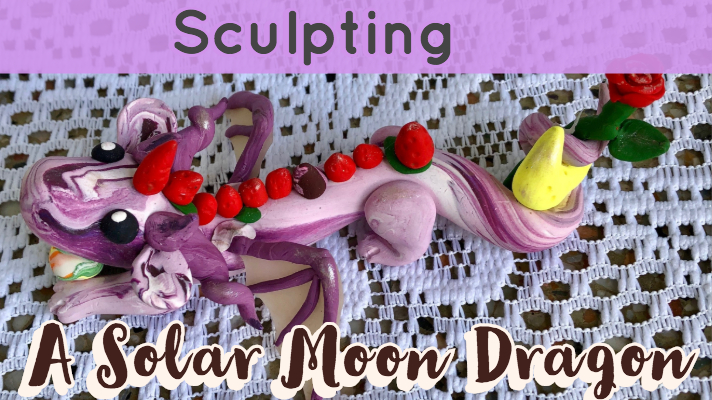
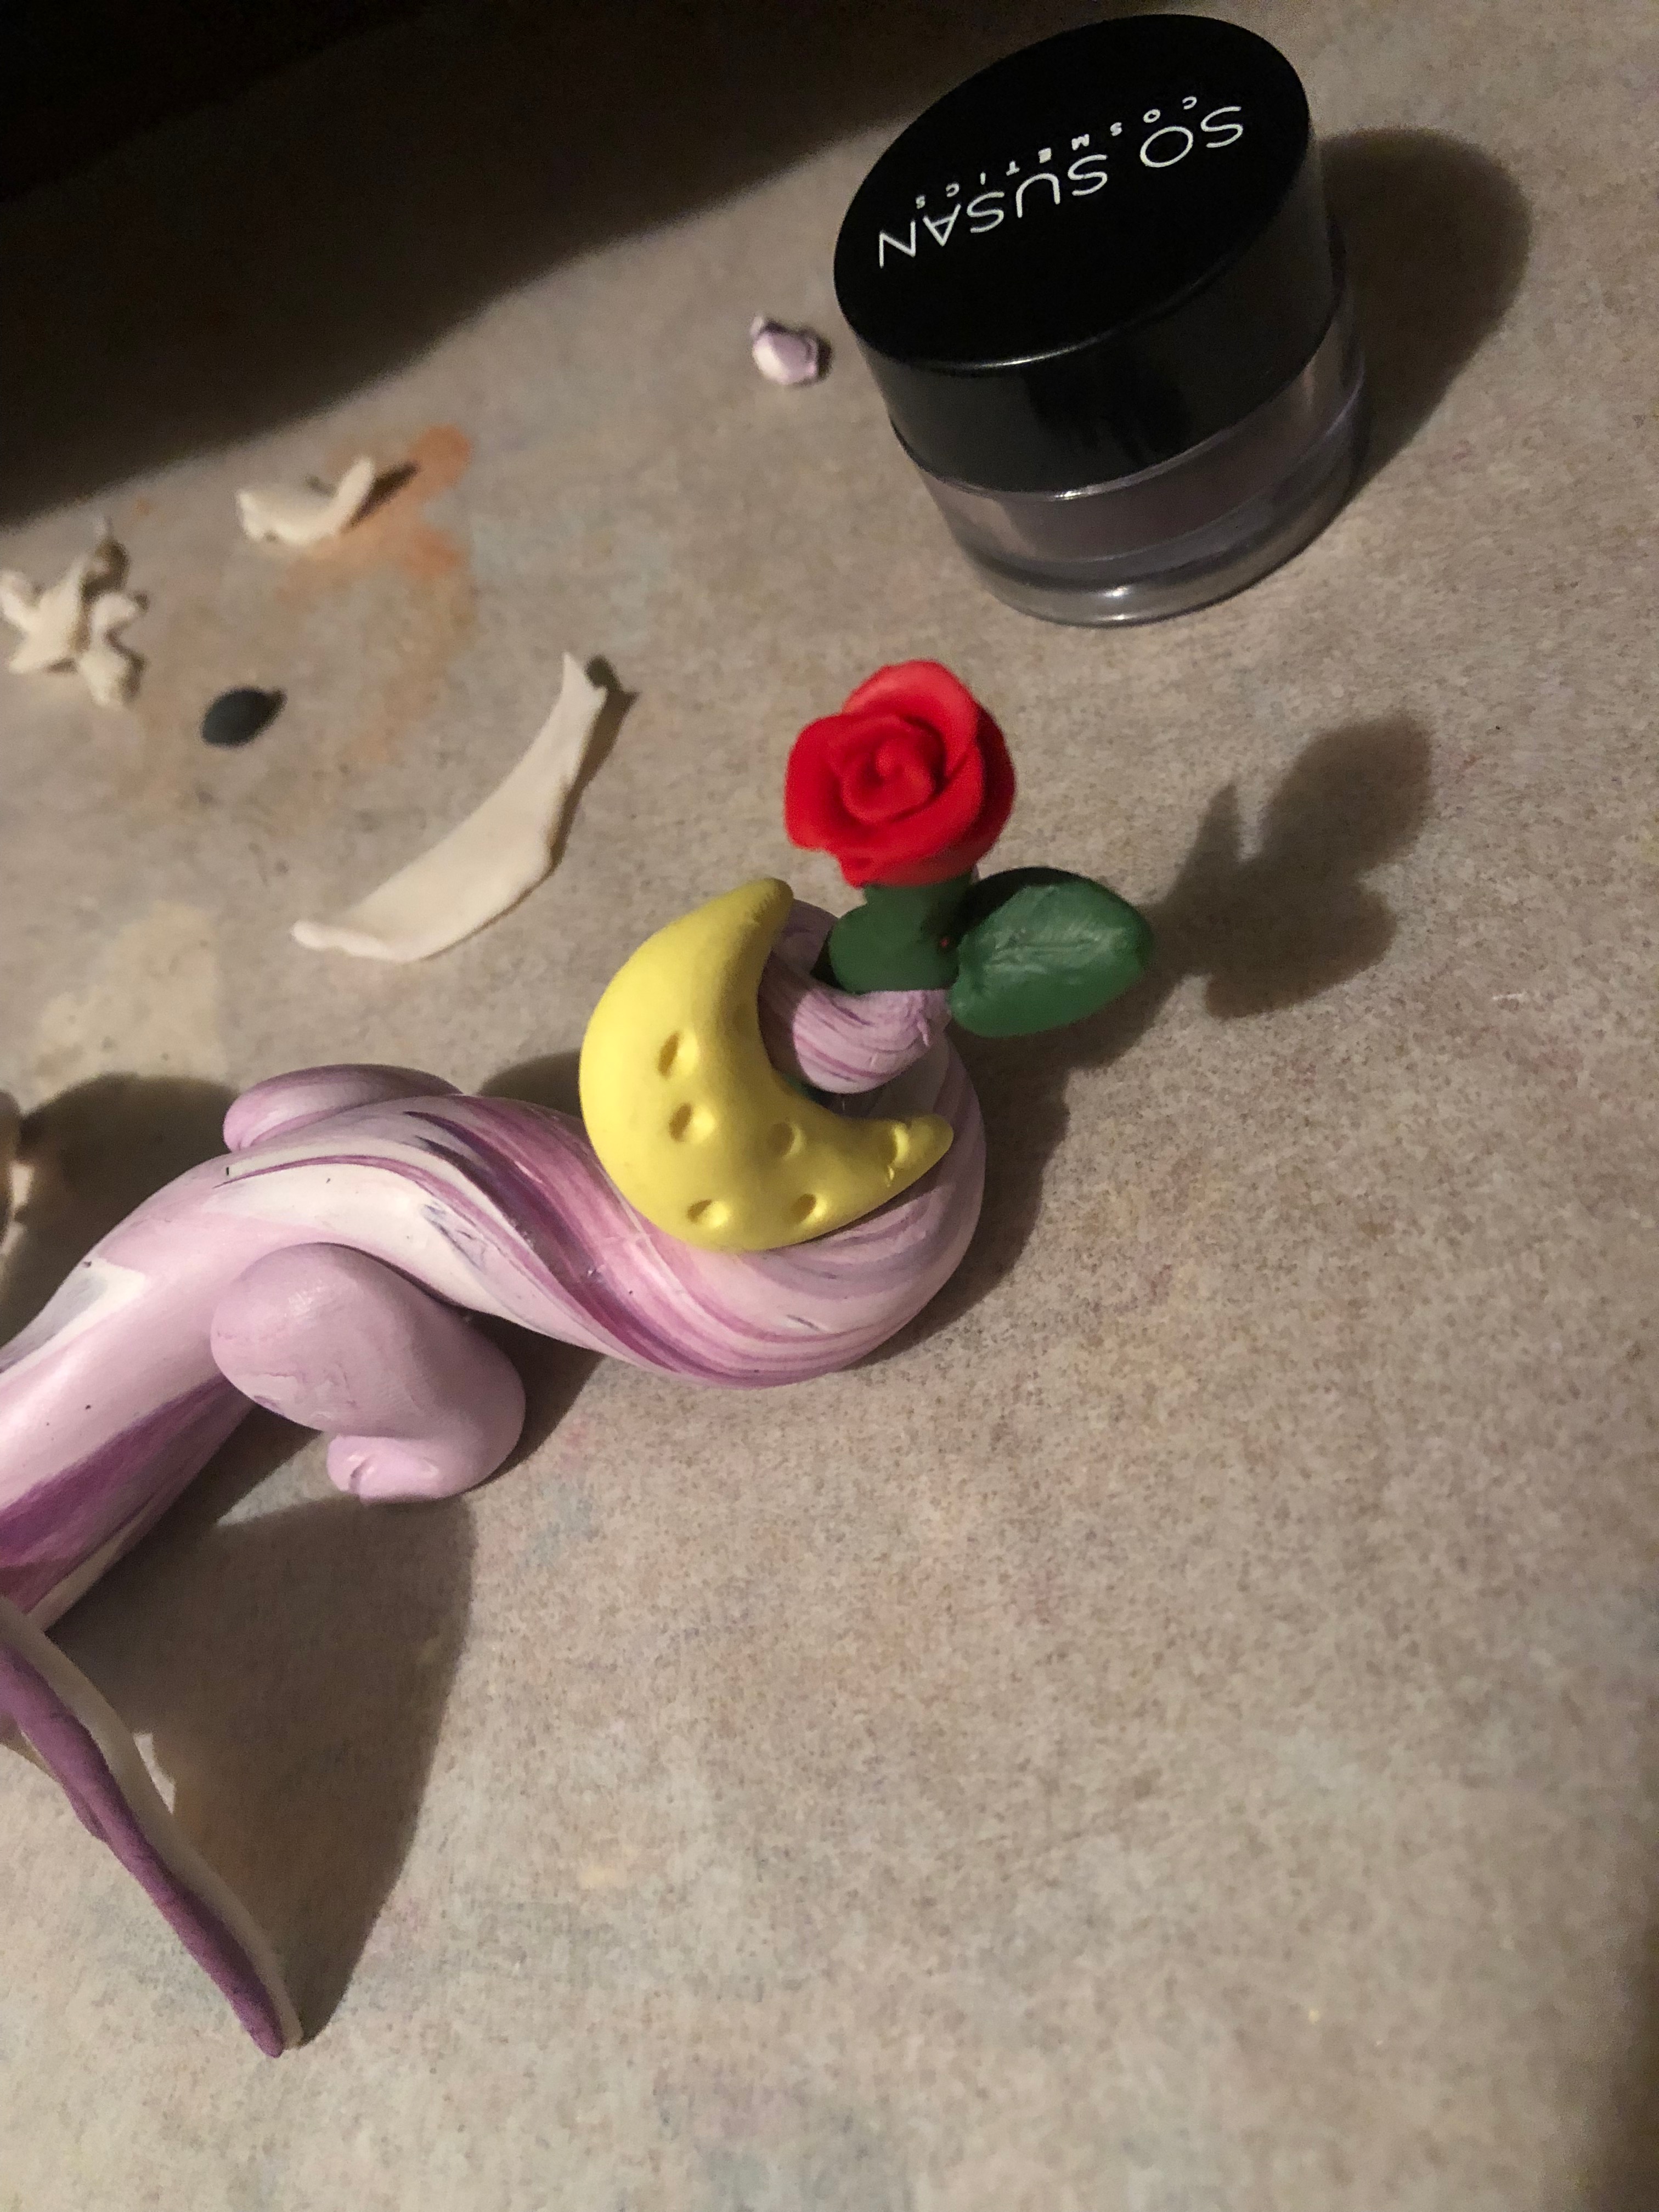
Sculpting the Rose
Roses can be difficult to sculpt, but with a little practice you will be making bundles of them. This is different from my usual method, but still a good one to use. Start with a little bit of wire for the stem. Cover it in medium green clay, and shape some teardrop leaves to add on either side. Using red clay, make a 3D tear drop and attach it to the top of the rose. Make petals by flattening small pieces of clay into oval and circle shapes, and attaching them to the base of the rose until it looks pretty and fluffy. Remember to make smaller petals for the inside and larger petals for the outside. You can add texture to the ends of the petals with dotting tools and a sharp exacto blade.
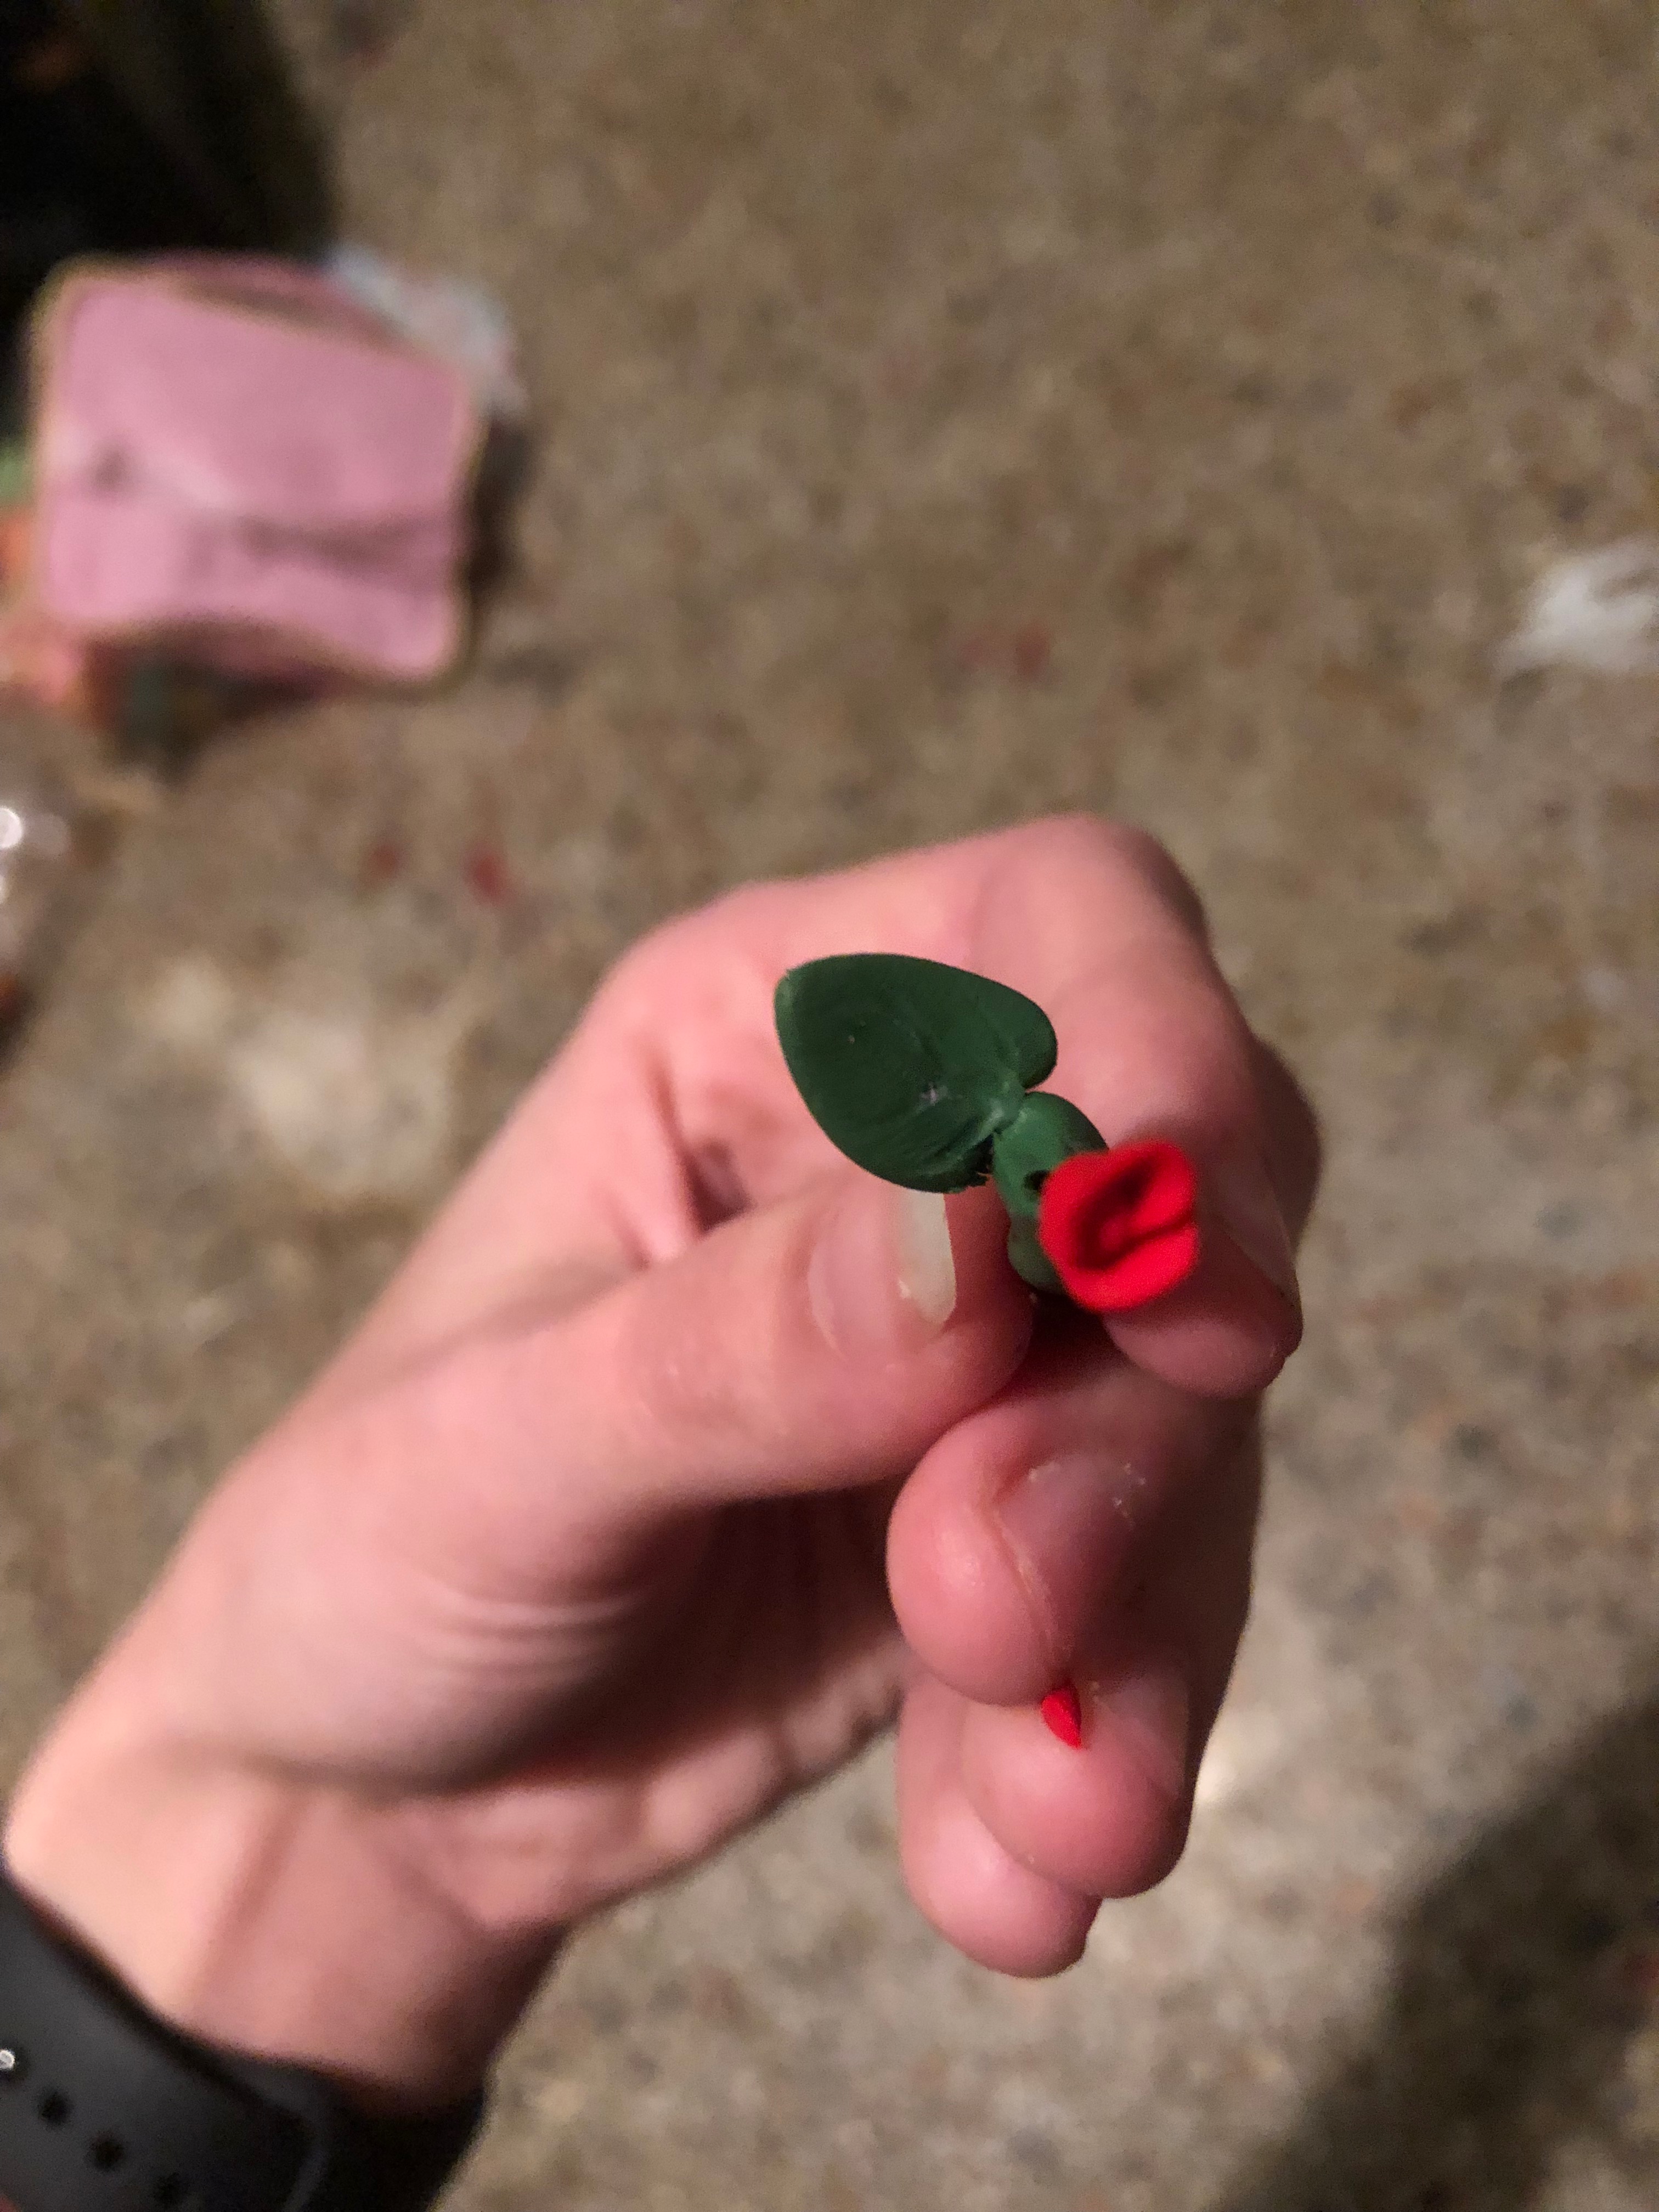
Sculpting the Moon
Take some cheesy lemony yellow in a decent sized blob and roll it into a ball. Roll either end to a dull point, so that you have almost a croissant shape. Curve the two ends inwards, and adjust the shape to be more smooth and clean. Use a dotting tool to add the indentations on the moon. Be sure to use different sized dotting tools and press very gently. Use a white shimmery eyeshadow to make it look like it is covered in star dust.
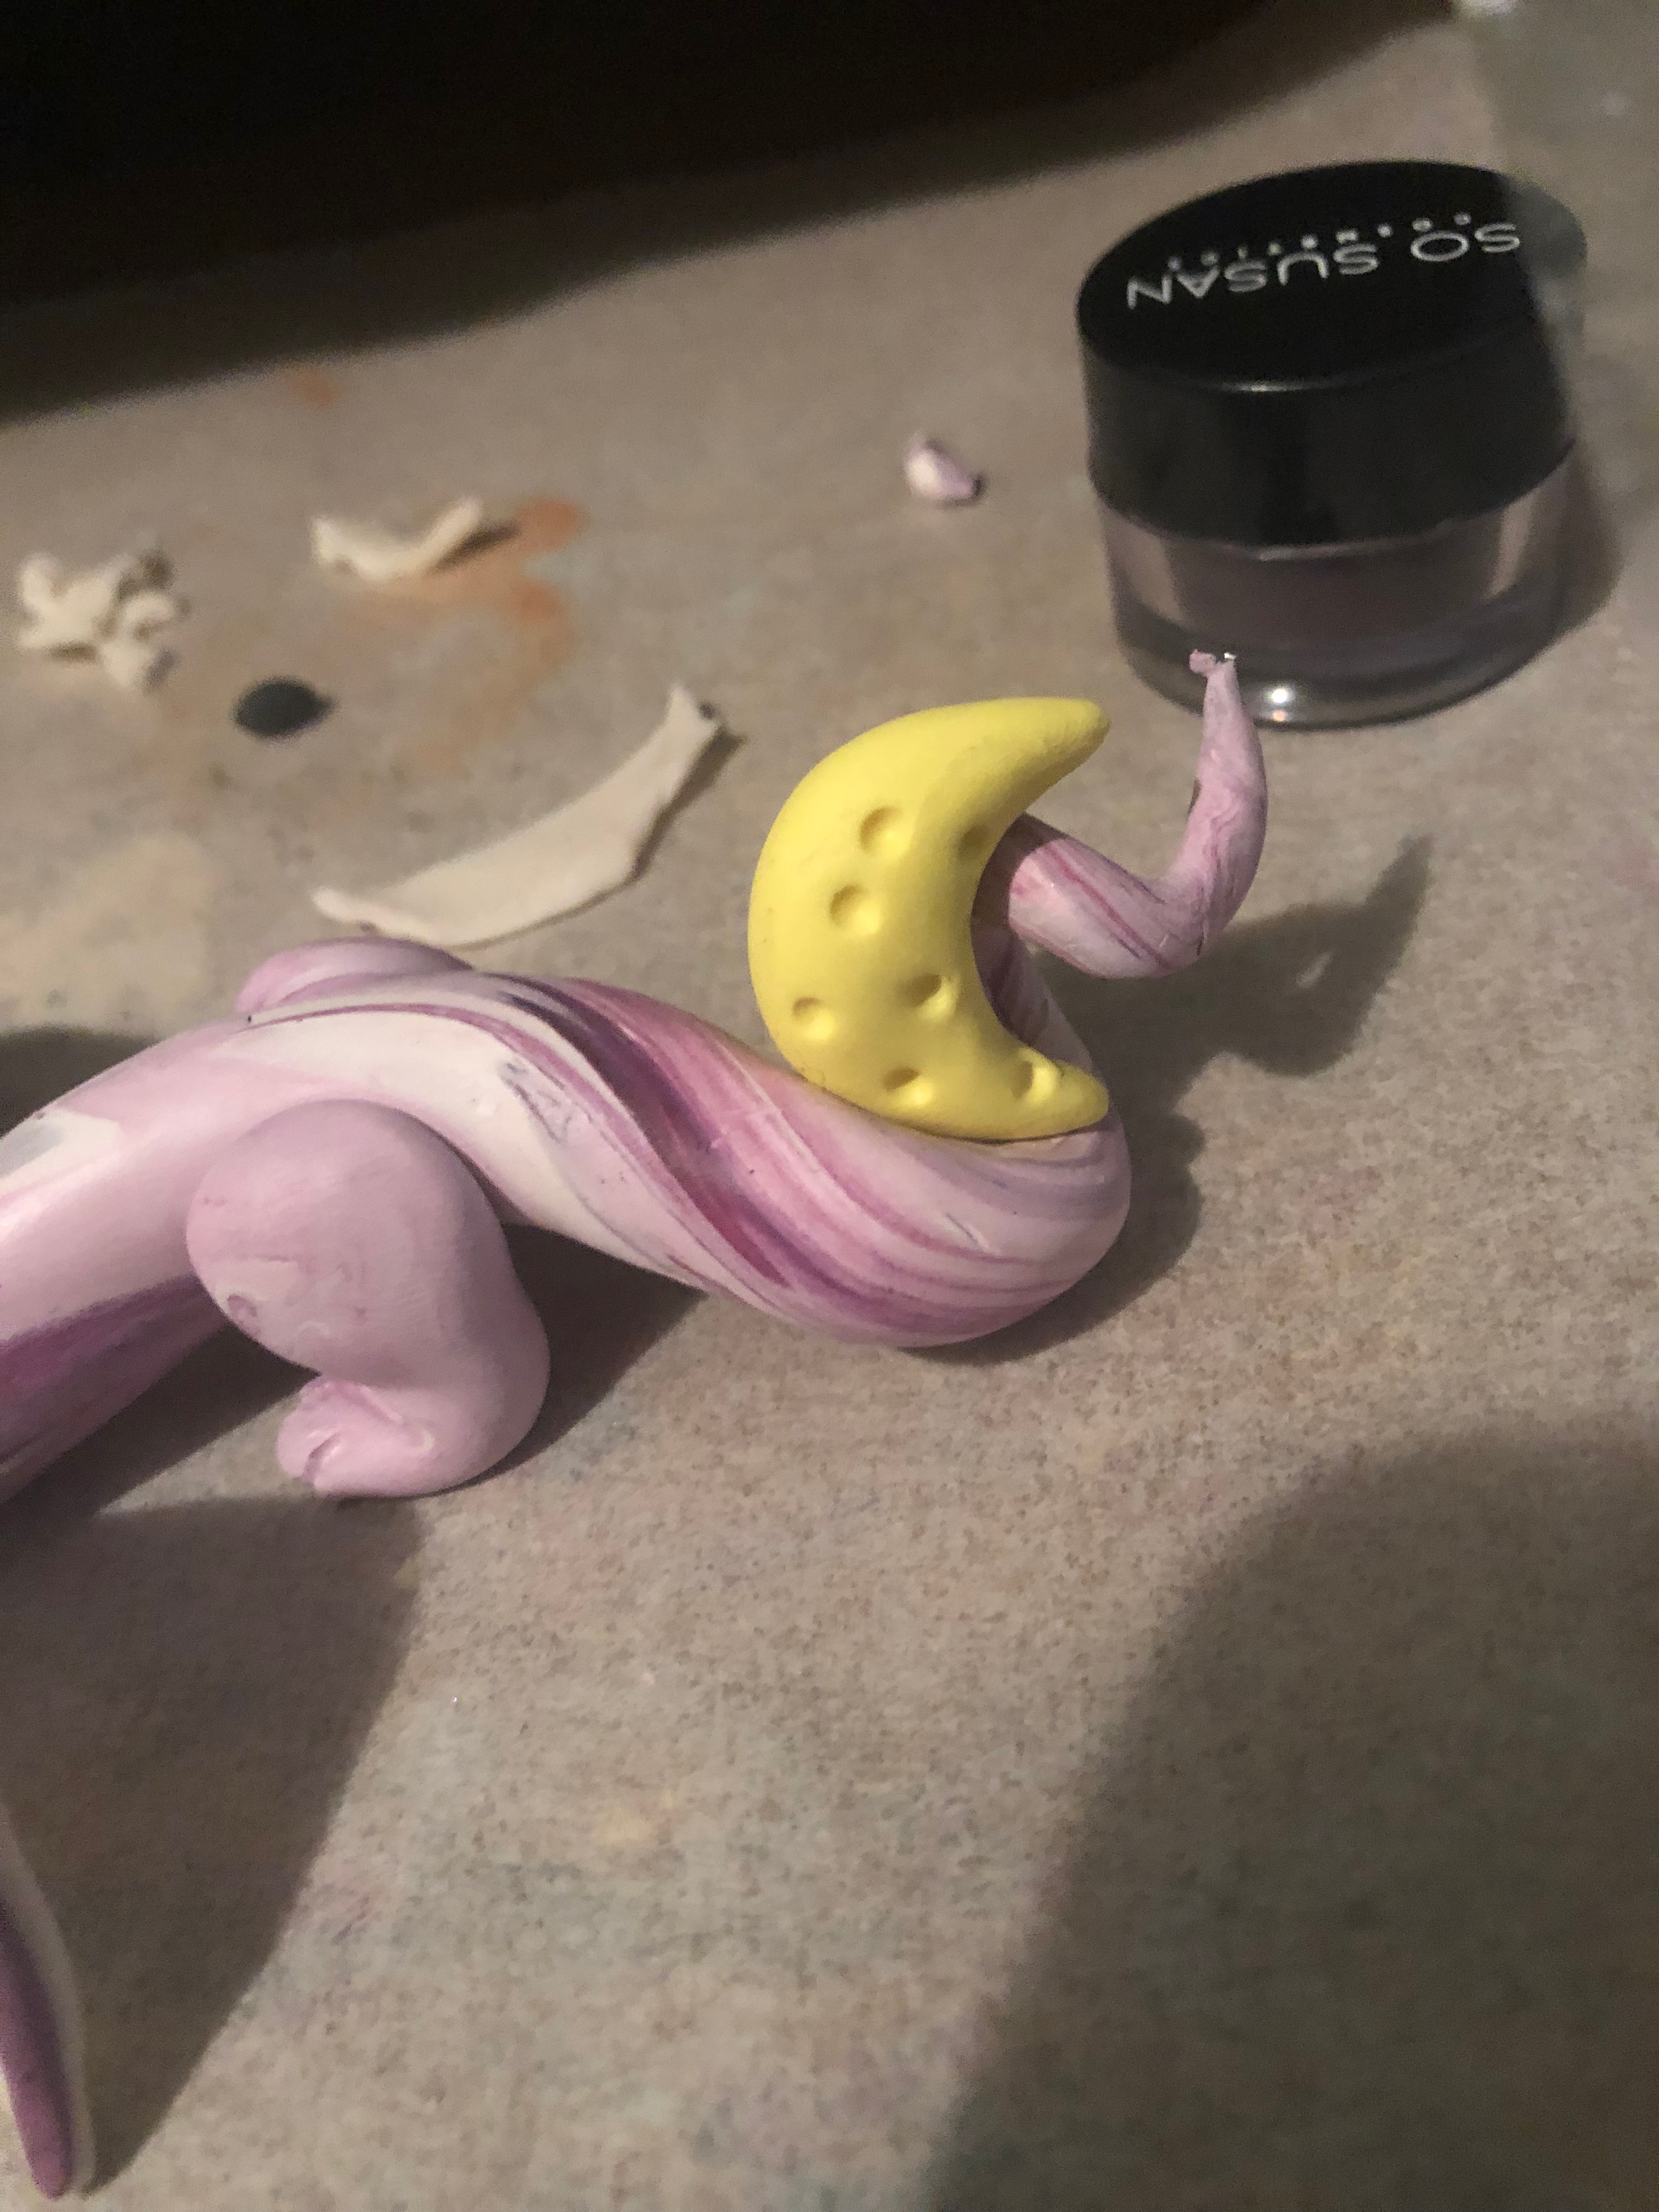
Marbling the Clay
Take some white, light purple, and dark purple and marble it together into a huge ball. By marbling, I mean take the colors and mix them together but leave them still vibrantly shining in their colors, to make a swirly pretty color.
Rolling out the Clay for the Moon Dragon
After sectioning a chunk off for the head, roll the clay out into a very long snake. Make it at least seven to eight inches long, because this is a Chinese style dragon who will be holding the accessories with its tail.
Sculpting the face of the Moon Dragon
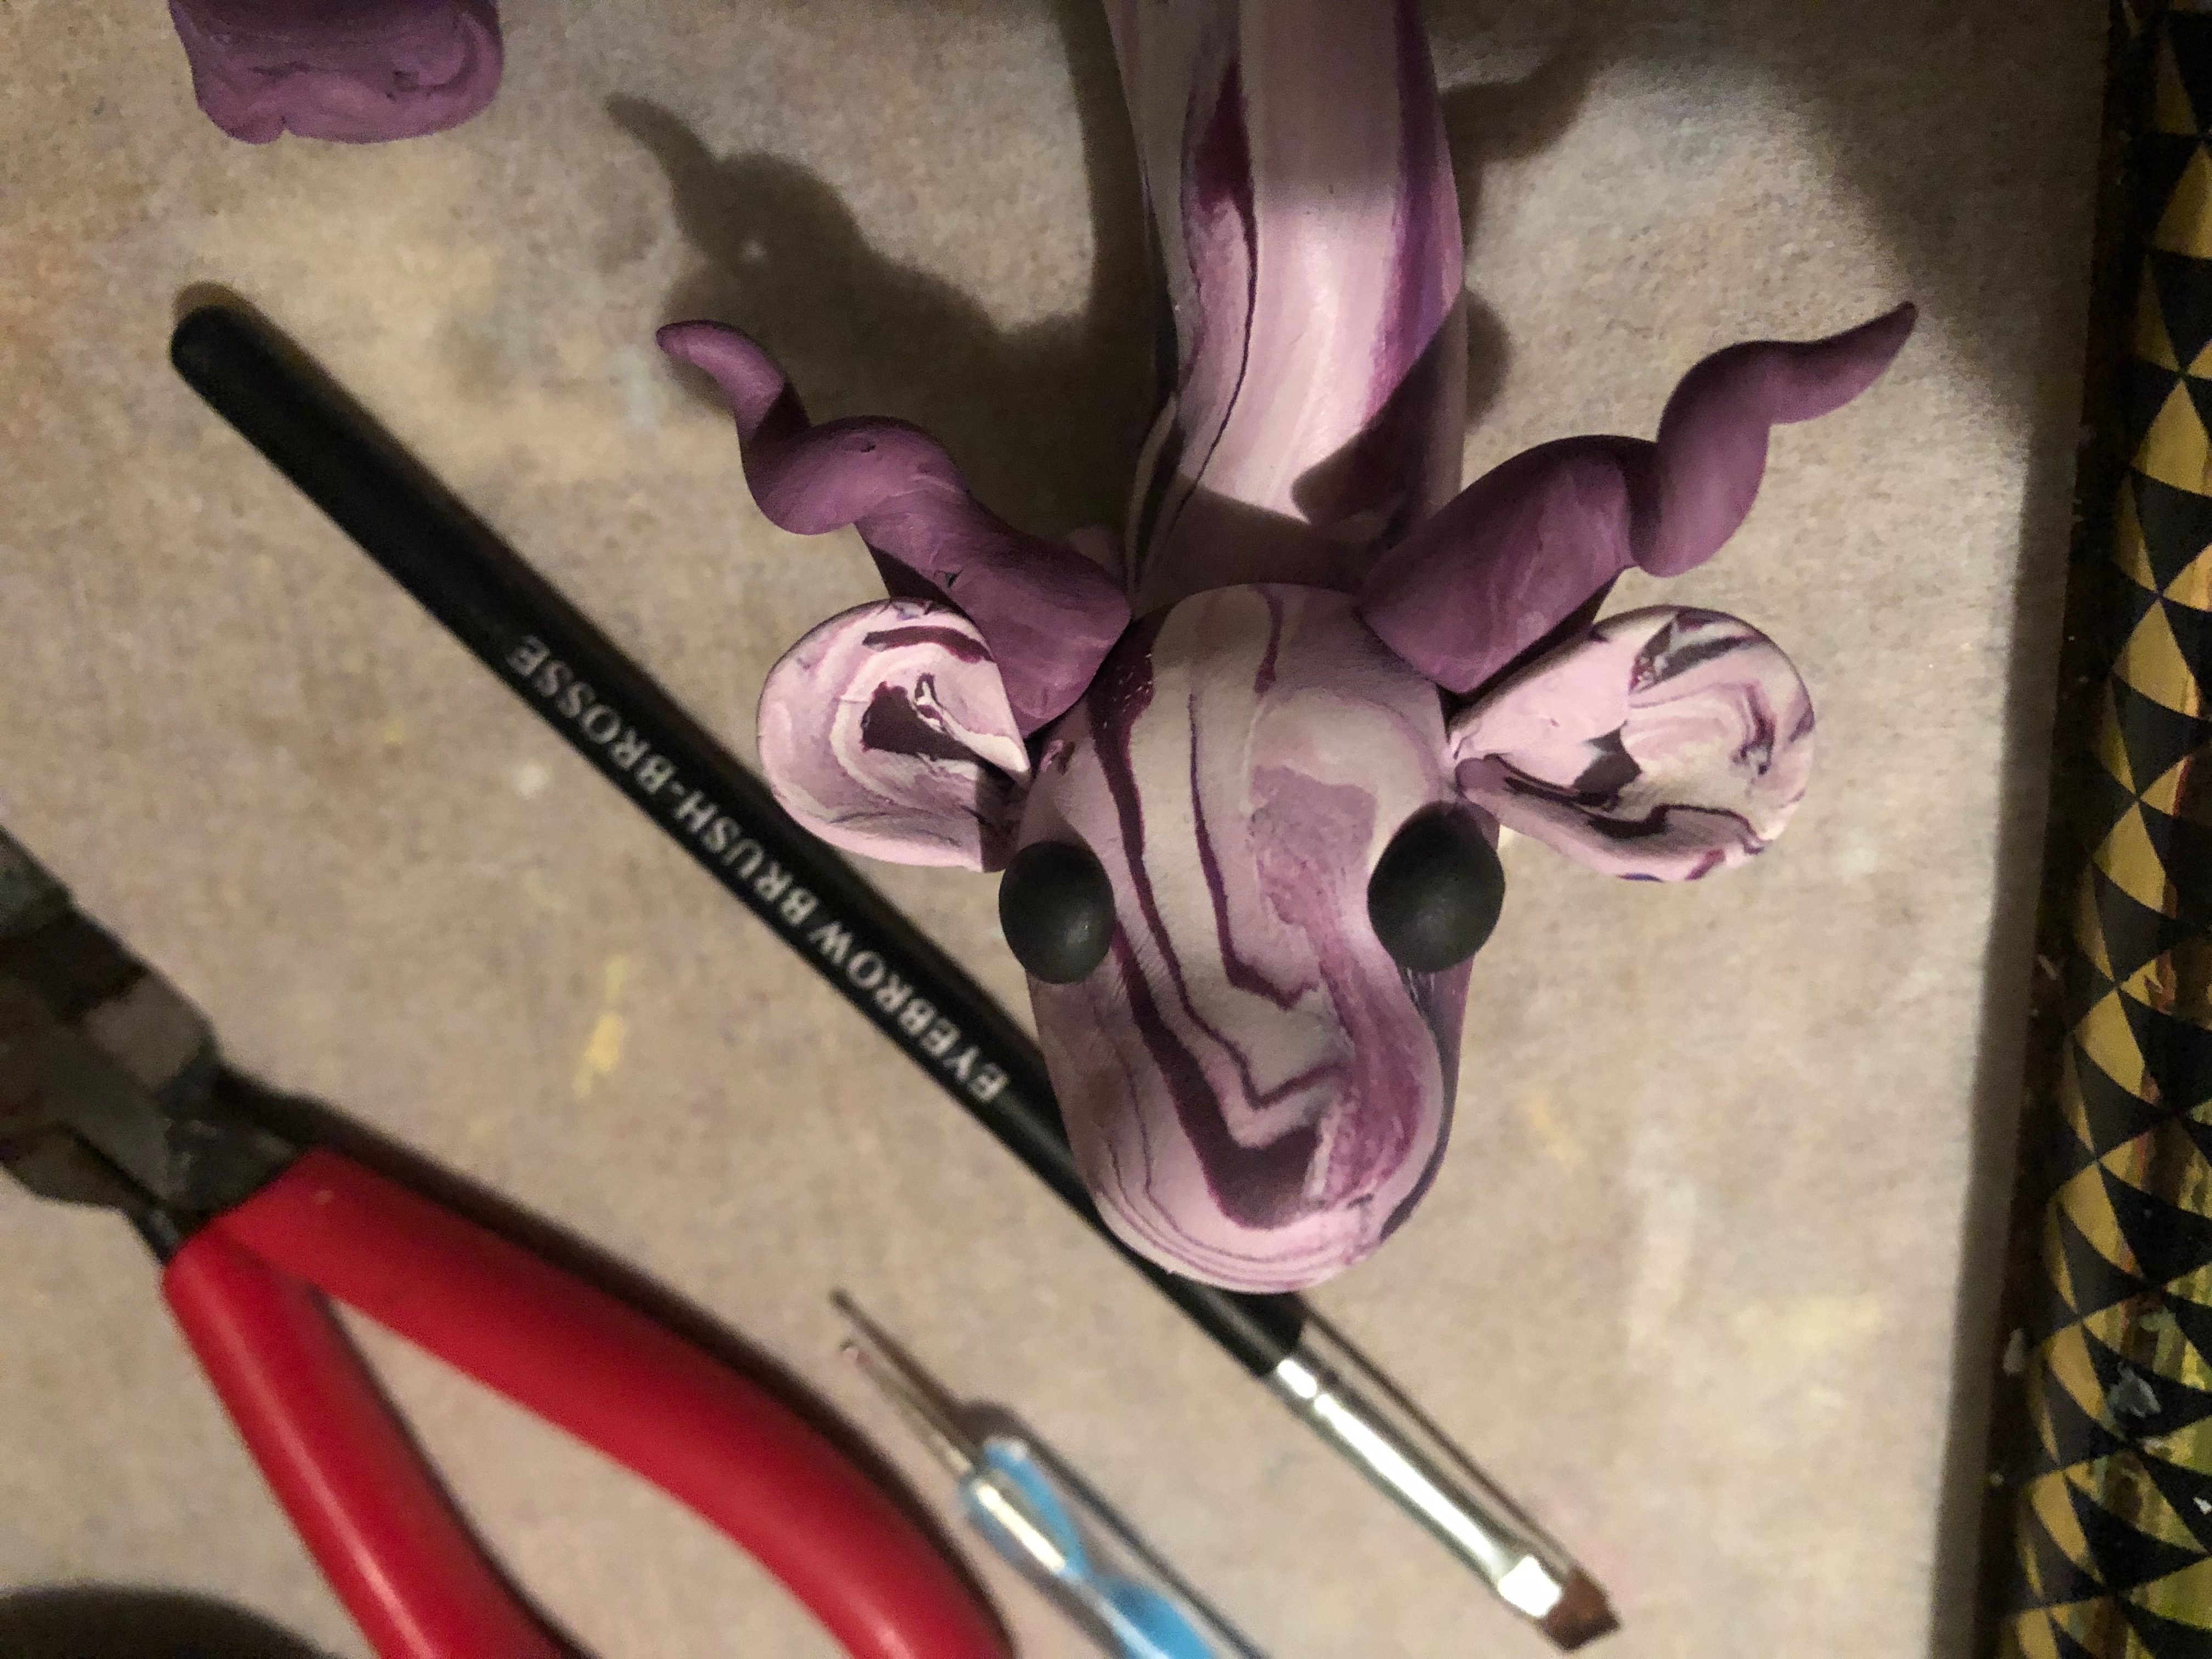
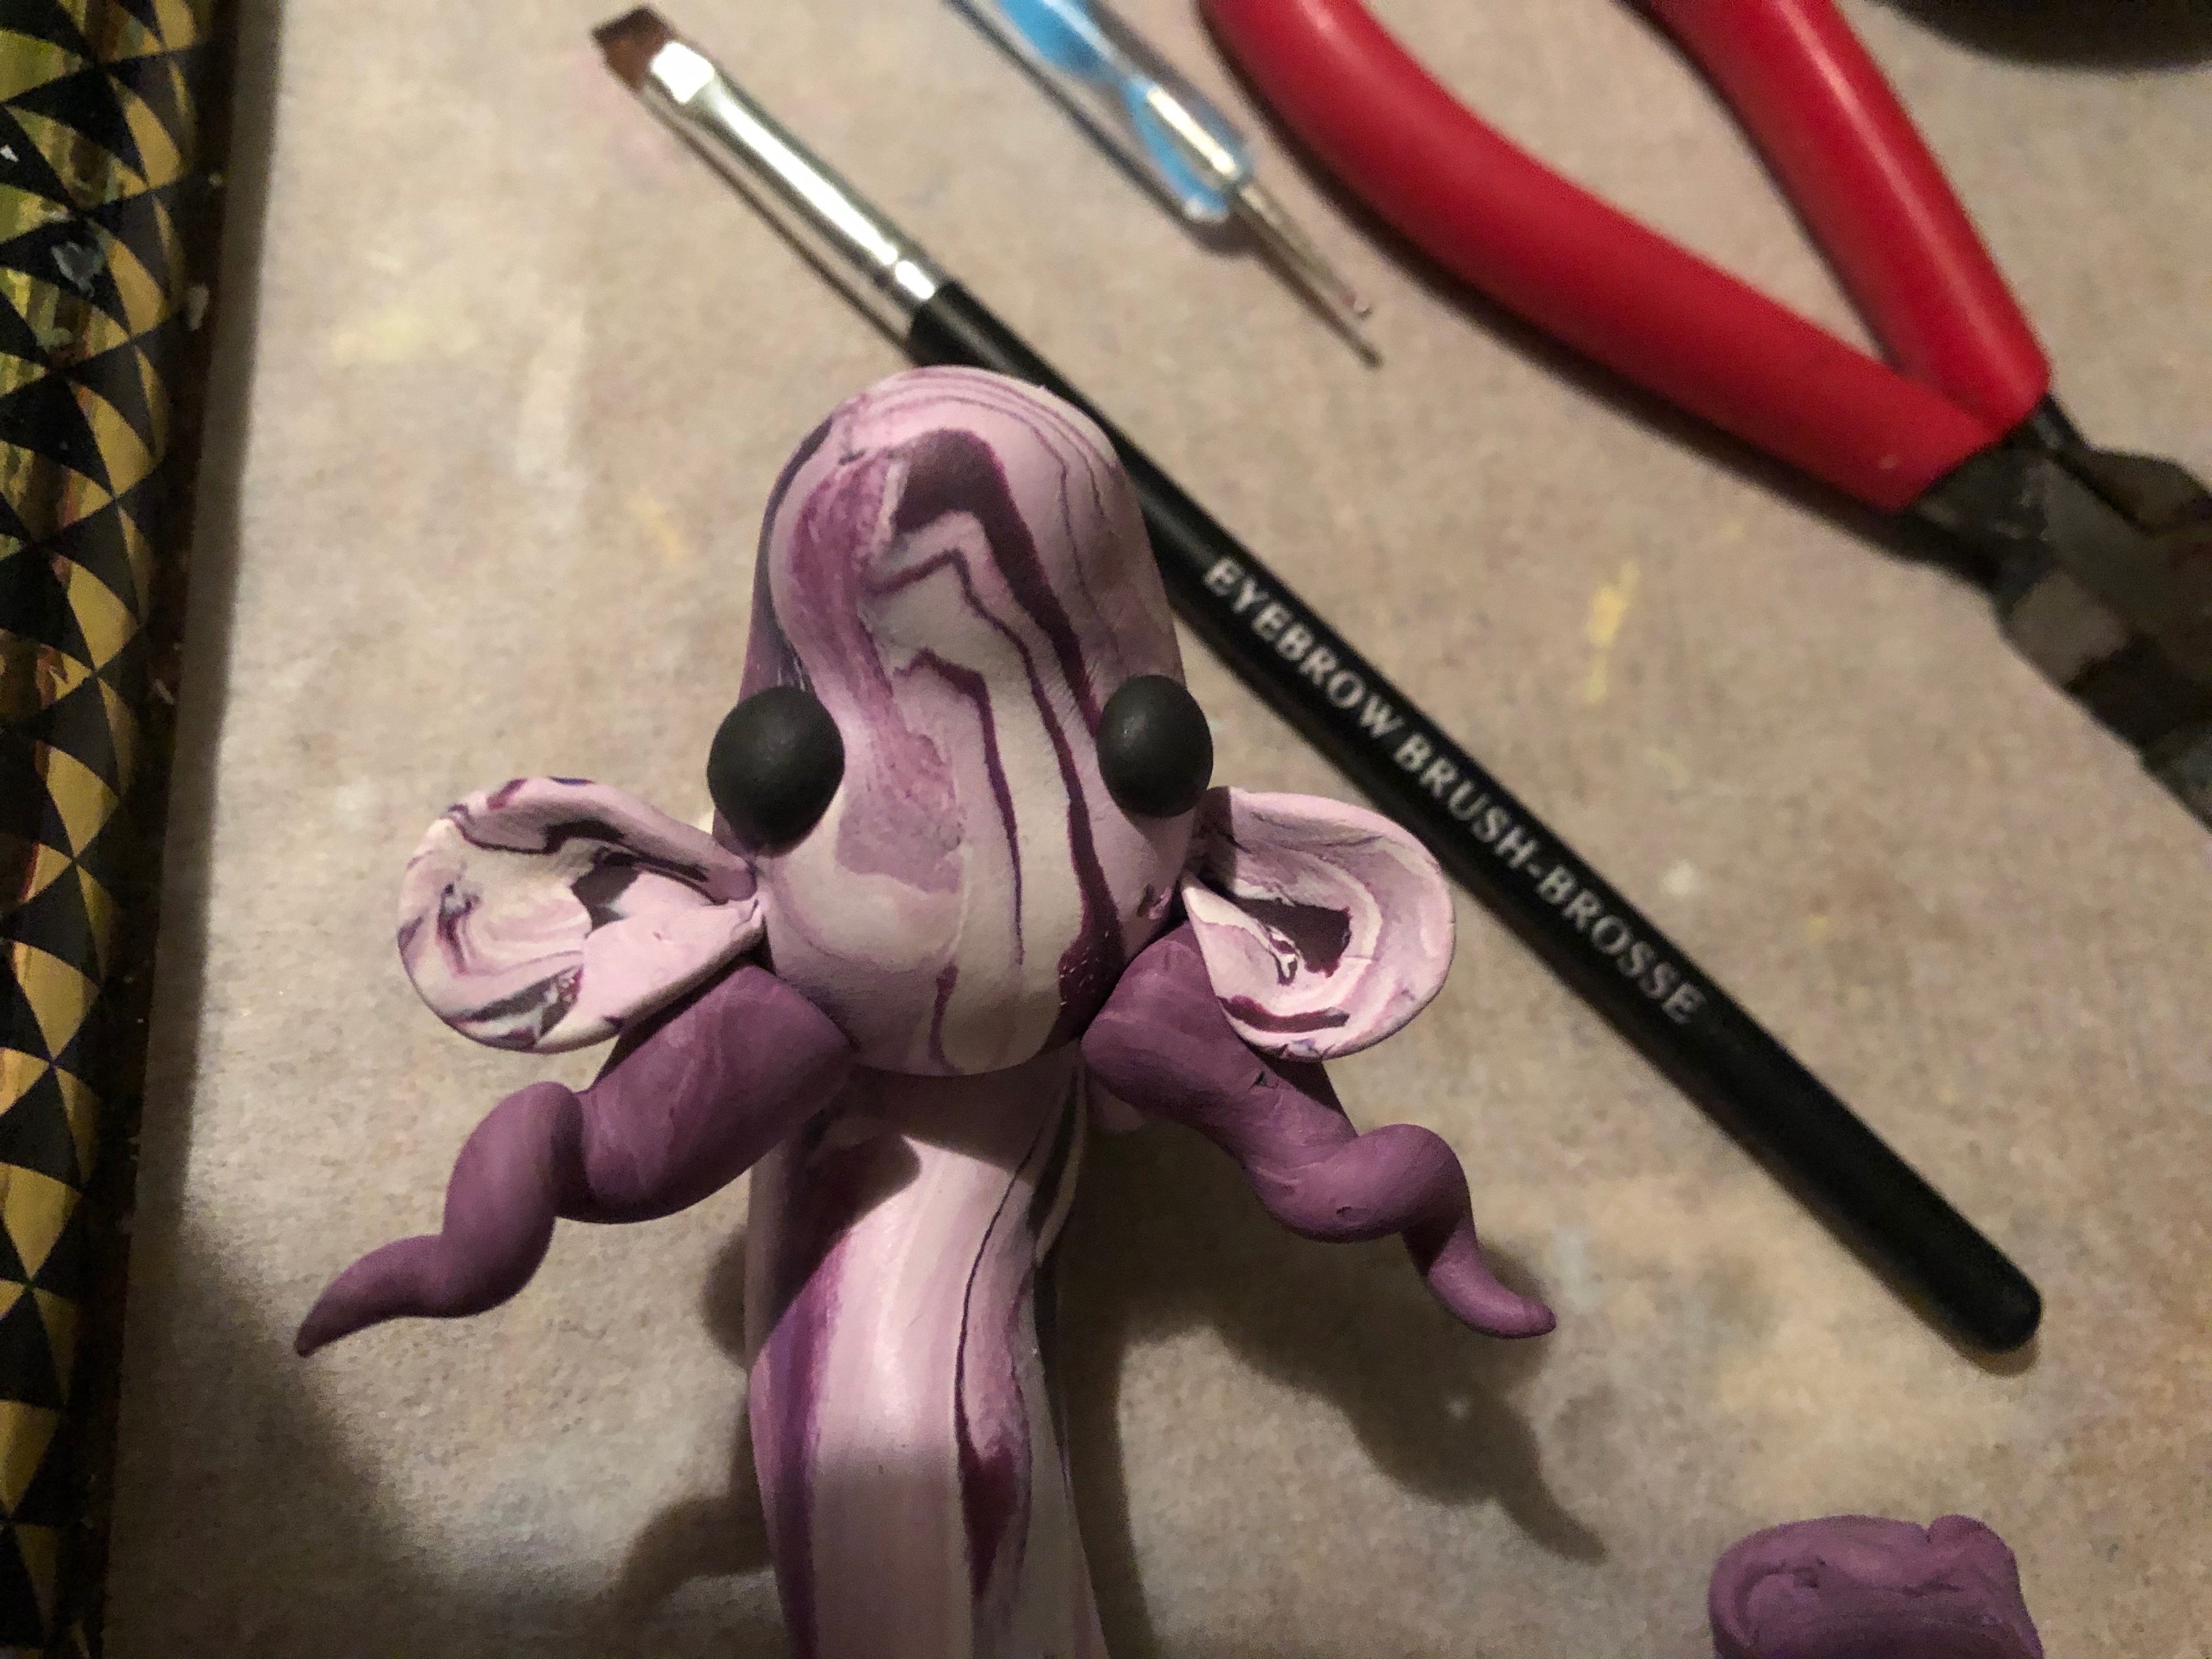
Take the ball of clay you set aside for the head and shape it to make it sort of like a squarish, lumpy dragon head. Please use the picture for reference, and make sure to smooth out the clay
As much as you can. Add black clay to the face for eyes, and make little twisty horns out of dark purple or translucent clay.
Adding Ears to the Moon Dragon
Take your dark purple clay and make a teardrop shape. Flatten the teardrop, and pinch the pointed end to look like a very simple ear. Attach it to the sides of the dragon’s head, and add the horns just above them.
Sculpting Front and Back Paws
For the front paws, roll out some of that purply marble or dark purple clay and leave one end with a little more clay than the rest of the arm. Use a dotting tool to smush the rounded end and make the toe dividers. Do the same to another piece of clay, to make a second paw. Make two hind legs the same way, but make it longer and the other end should have another lump of clay, because these will be supporting the dragon’s body up off the ground.
Bending the Wire for the Moon Dragon Wings
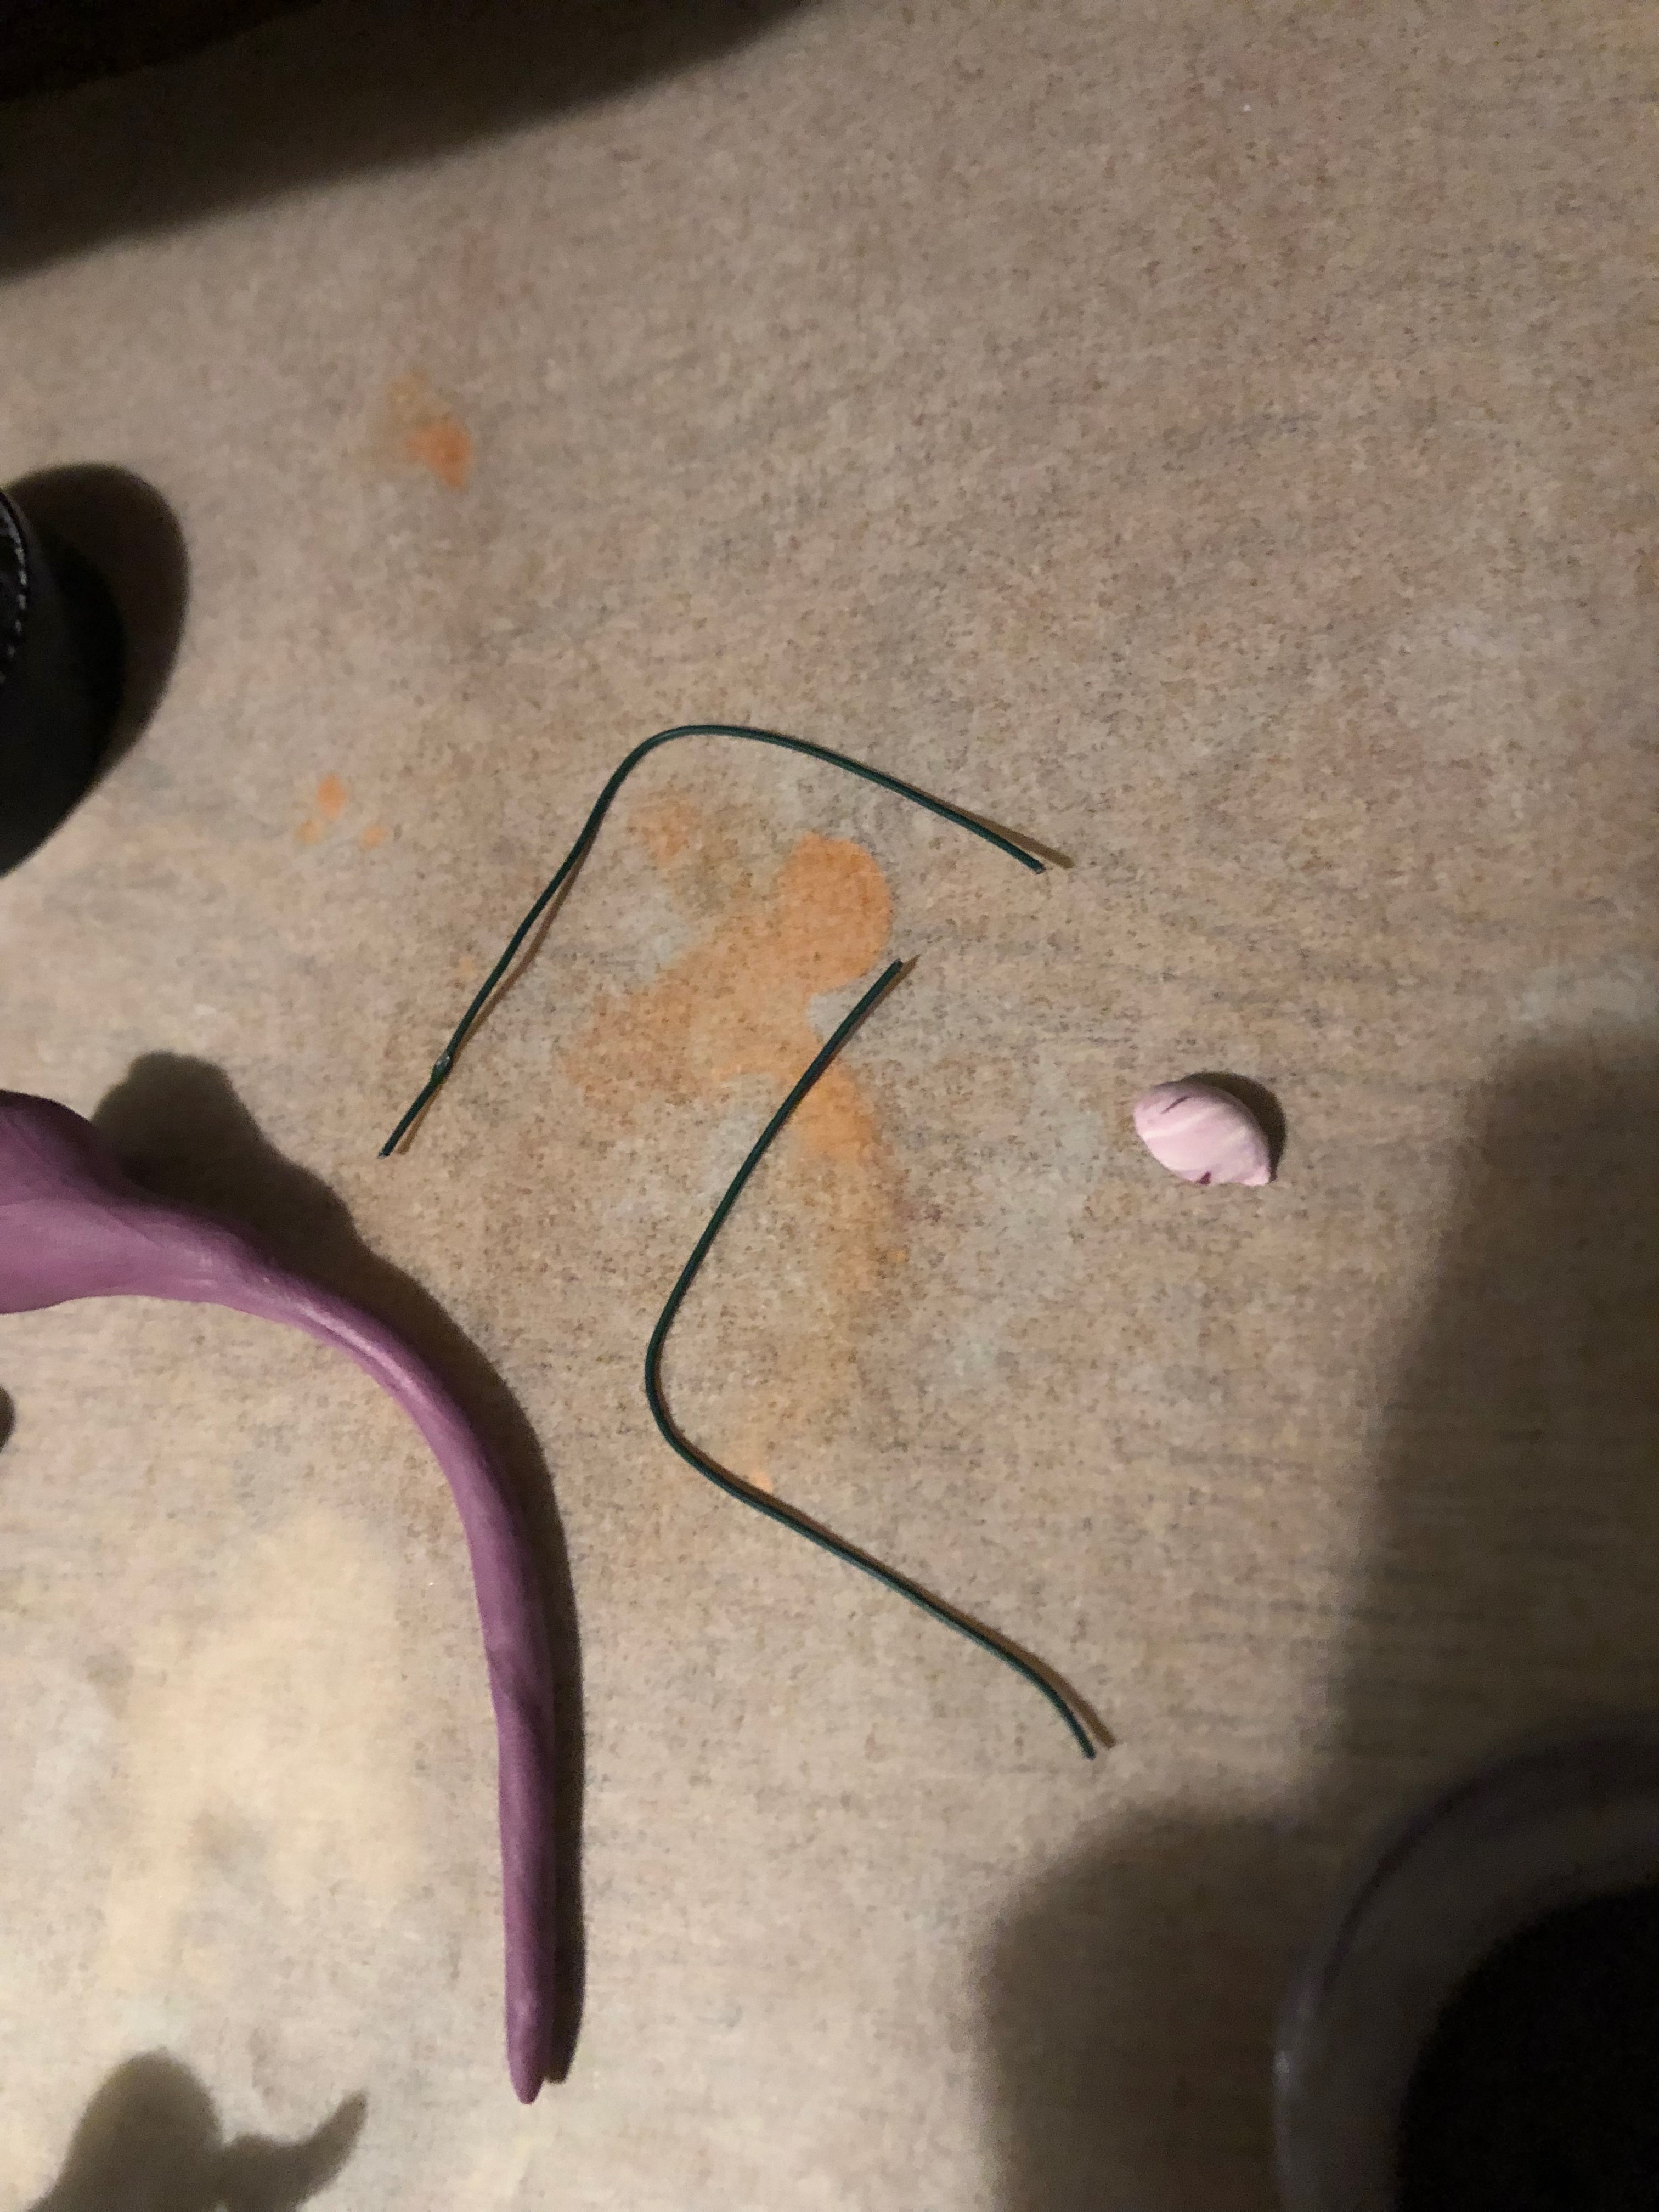
Make two check marks out of wire, in a reasonably small size to fit the dragon and stay upright during baking. One side should be slightly longer, to stick into the back of the dragon without taking away from the wing length.
Adding Clay to the Moon Dragon Wings
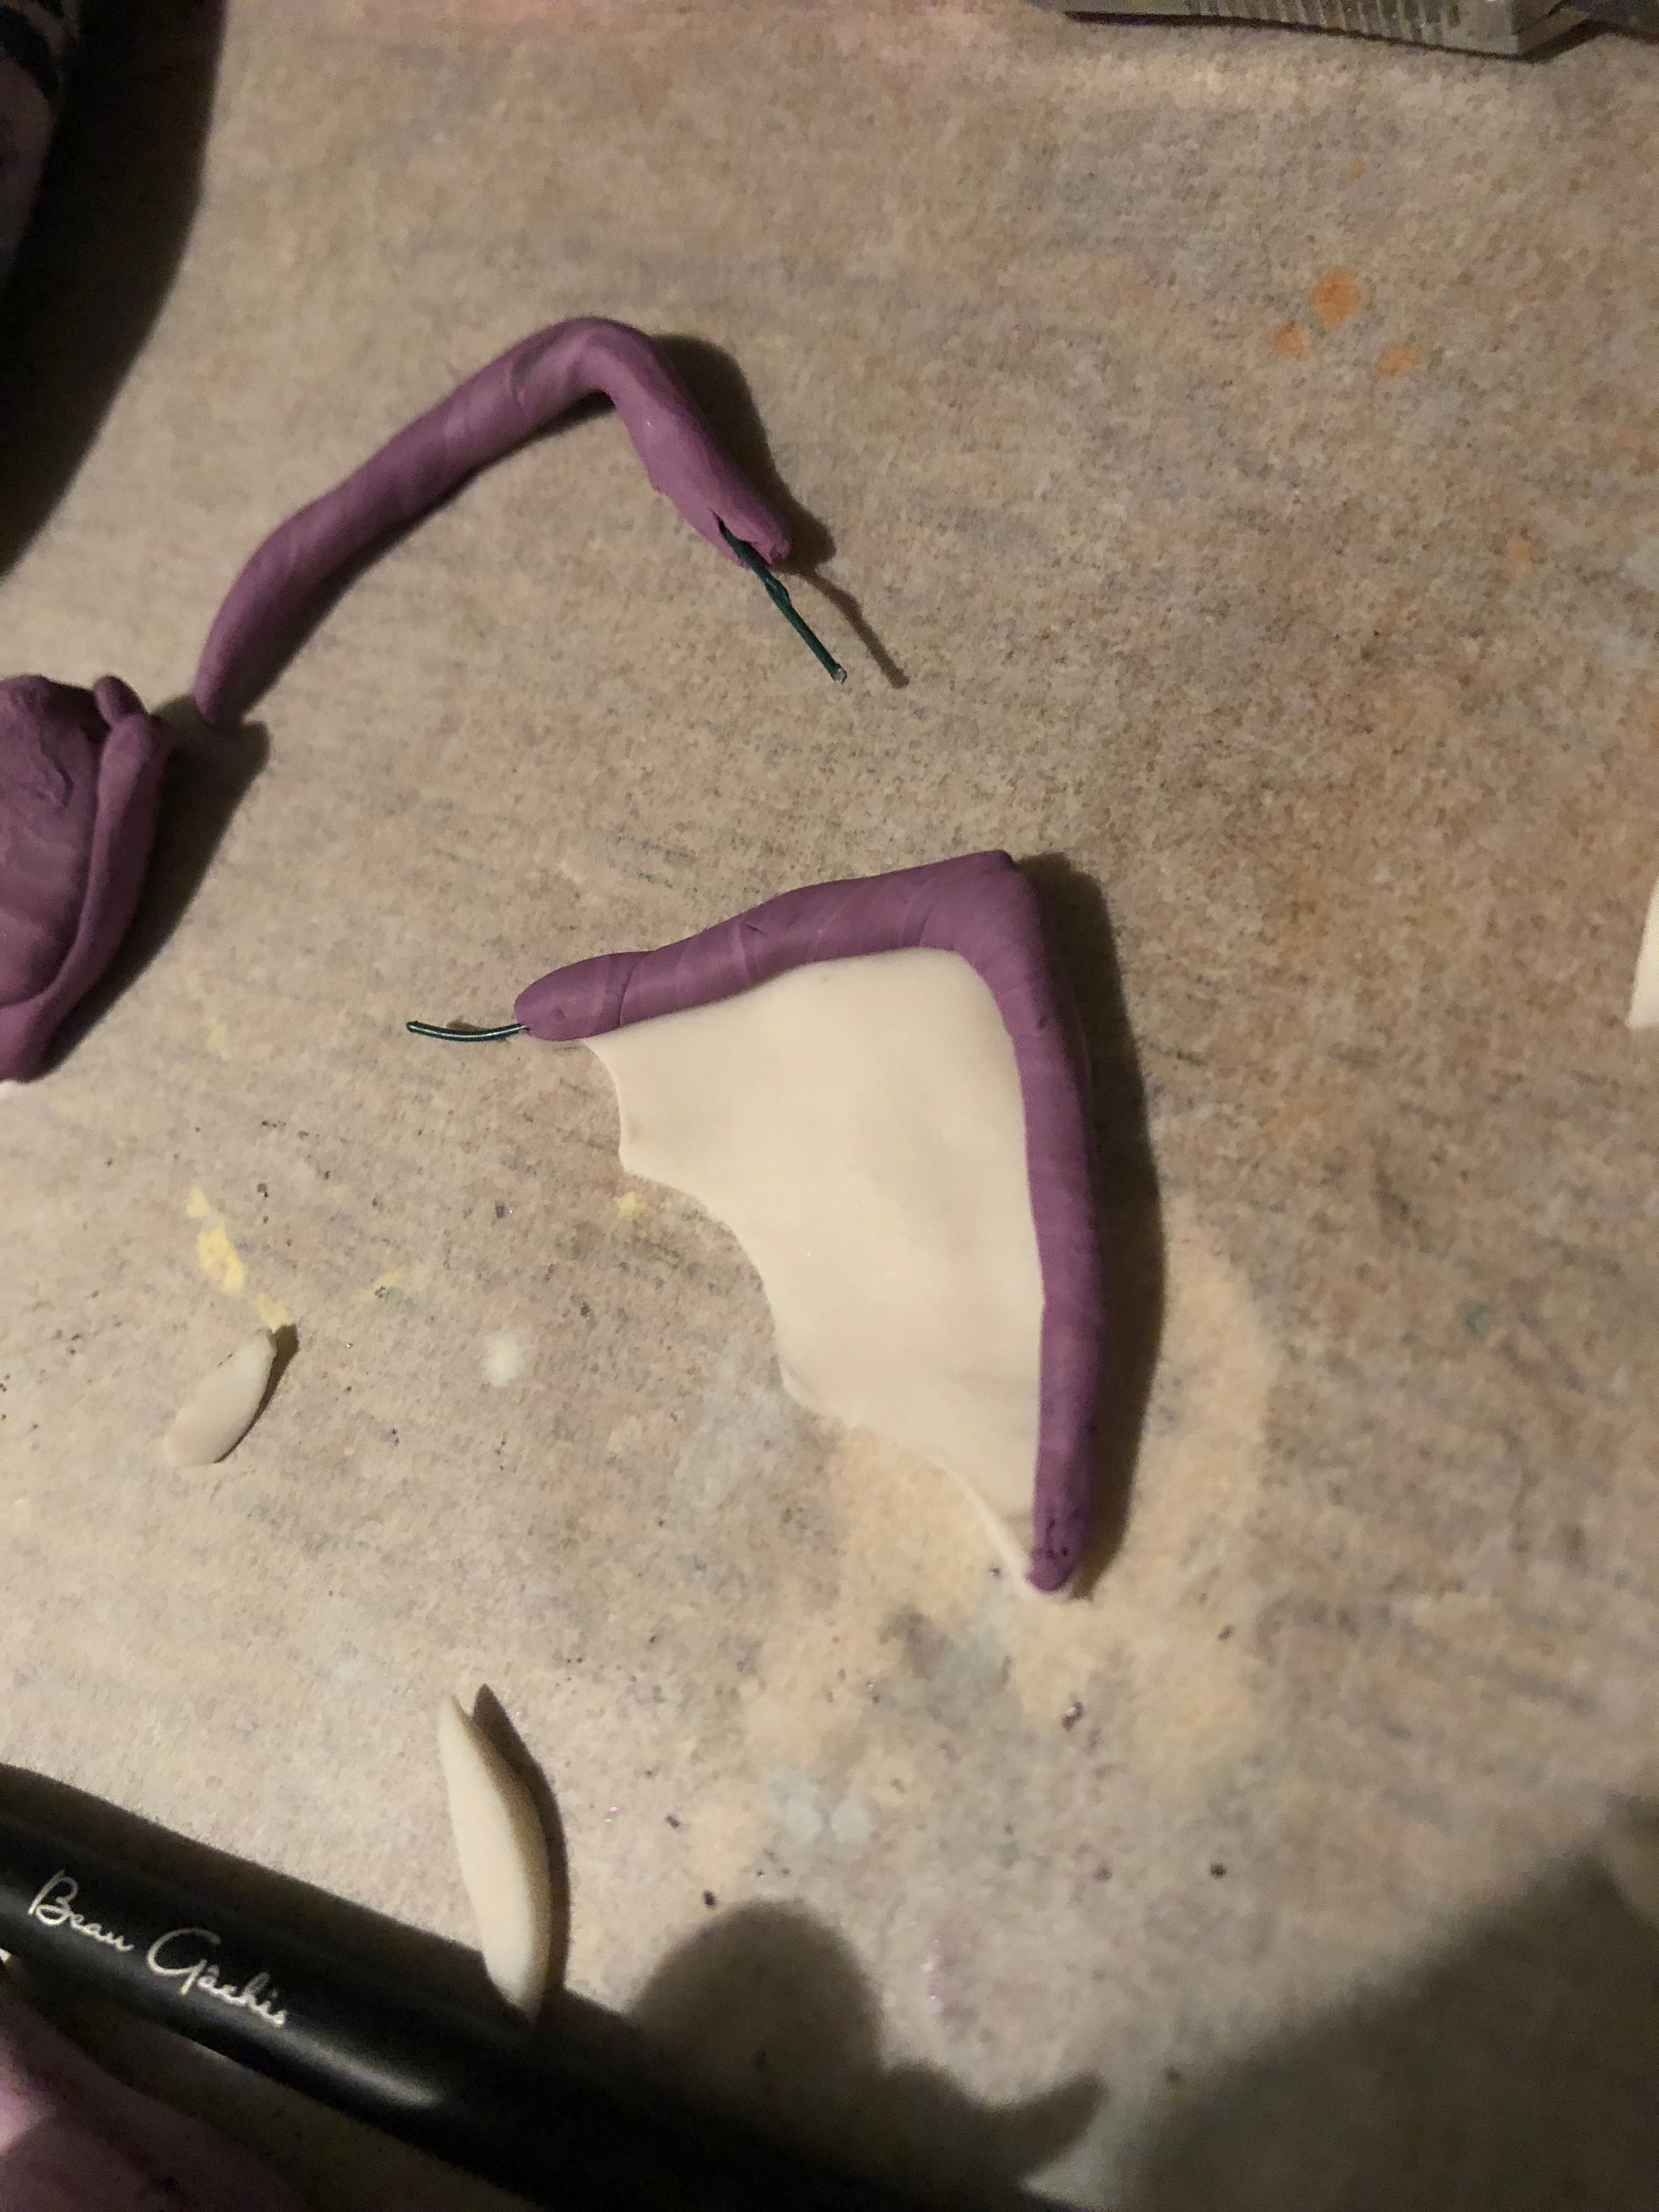
Cover the wire in darker purple clay. Add a middle piece if desired, for the middle bone thingy. Flatten out translucent Sculpey on a very clean surface and cut around the wire base. Gently stick the wing to the translucent Sculpey, and stick the wire onto the back of the dragon. Do the same for the other side.
Shaping the Tail of the Moon Dragon
The body of this dragon is long and curved. Twist the tail up, to be able to hold the rose and moon, bend part of it facing up because the dragon needs to be able to hold its head up, and attach the back feet to it to help hold that part of its body off the table.
Adding the Bits and Pieces
Now add the front paws to the dragon, gently pressing them onto the dragon’s sides, and put the rose in the dragon’s tail. Add the moon to support the end of the tail as well. This will almost complete your dragon, and make it look mystical. I chose to add a rainbow heart between its front paws, but this is completely optional.
Adding the Strawberry Back Spines
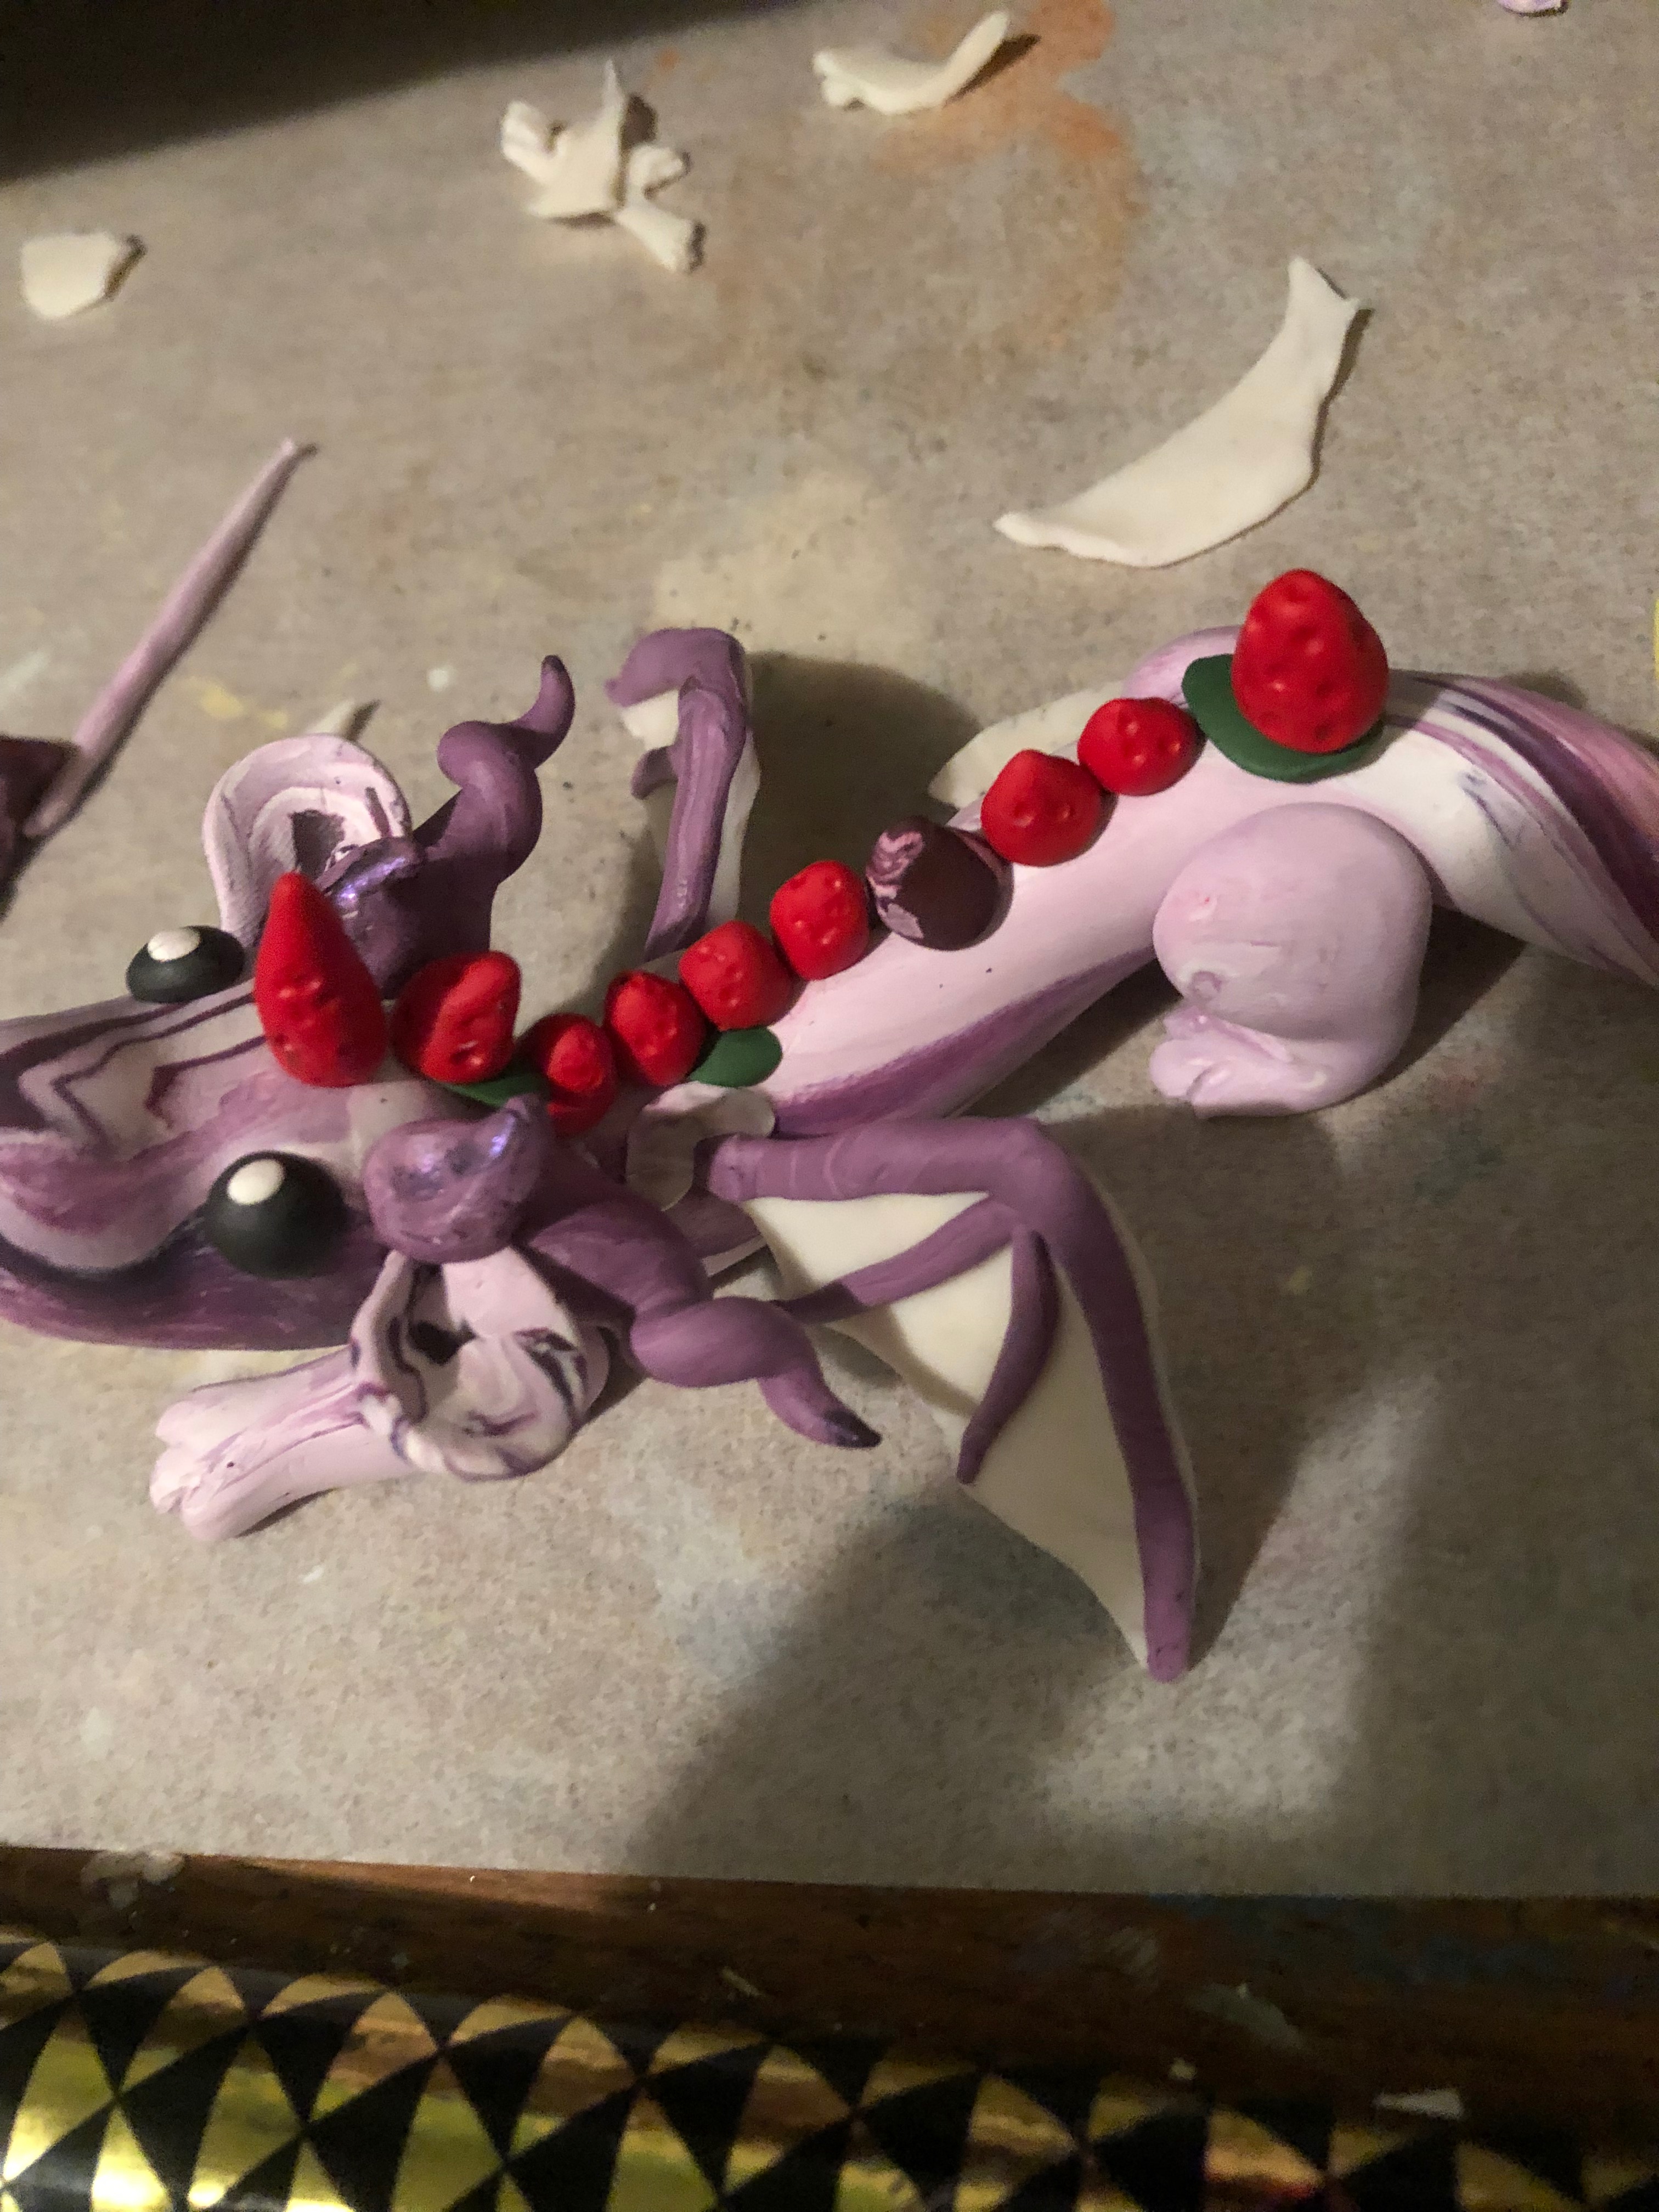
Shape red clay into little teardrop shapes and put wires into the back of the dragon where you want the clay to go. Slide the red clay onto the wires, and use a dotting tool to create texture. Dust the entire sculpture with a little shimmery powder for a finishing touch.
Baking the Moon Dragon
Shove the dragon into the oven at 275 F for about 20 minutes. Make sure your oven is preheated before baking.
Finish
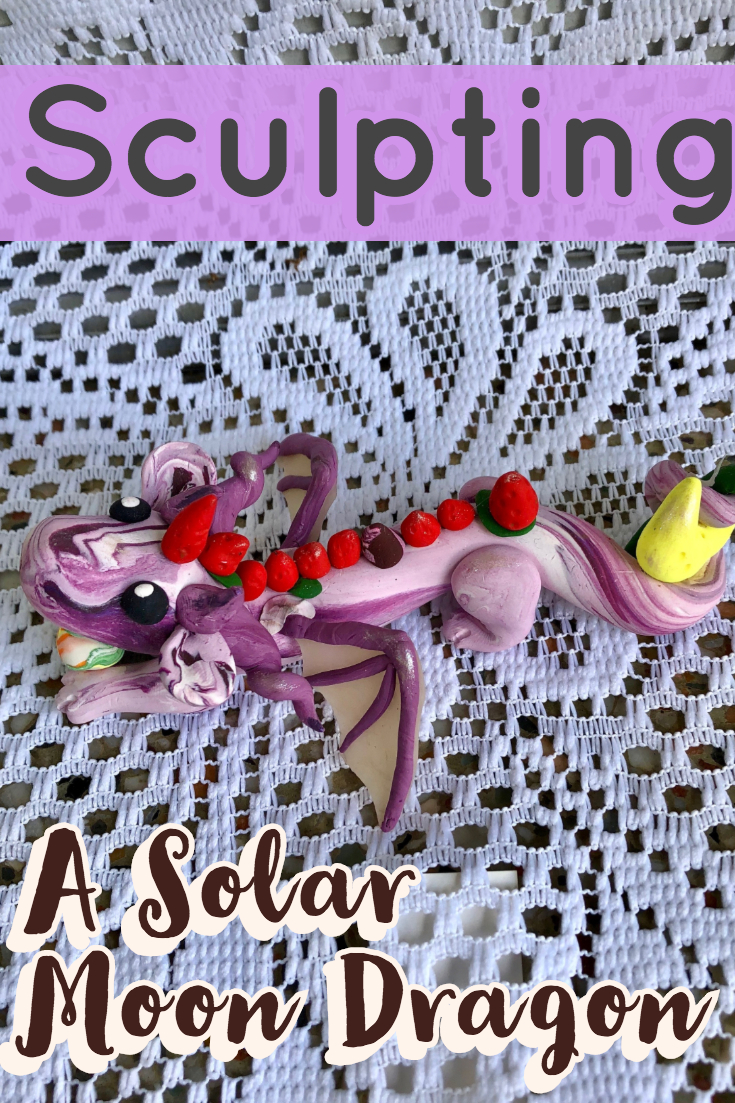
Once again you can add a clear coat to make her super glossy, but otherwise she is done. Happy Crafting! If you liked this dragon post, you might like my Gamer Dragon or my Nature Wyvern.