
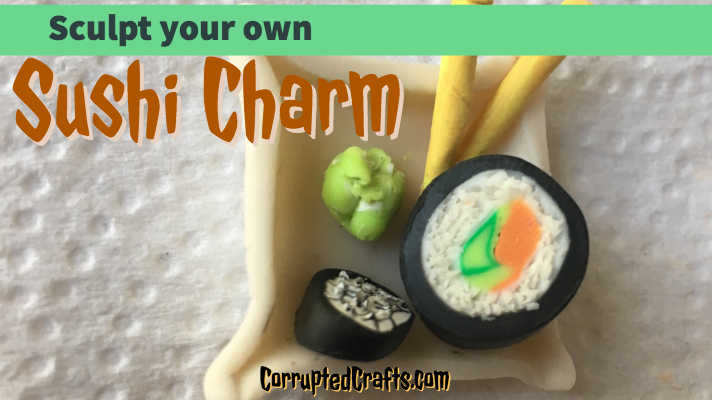
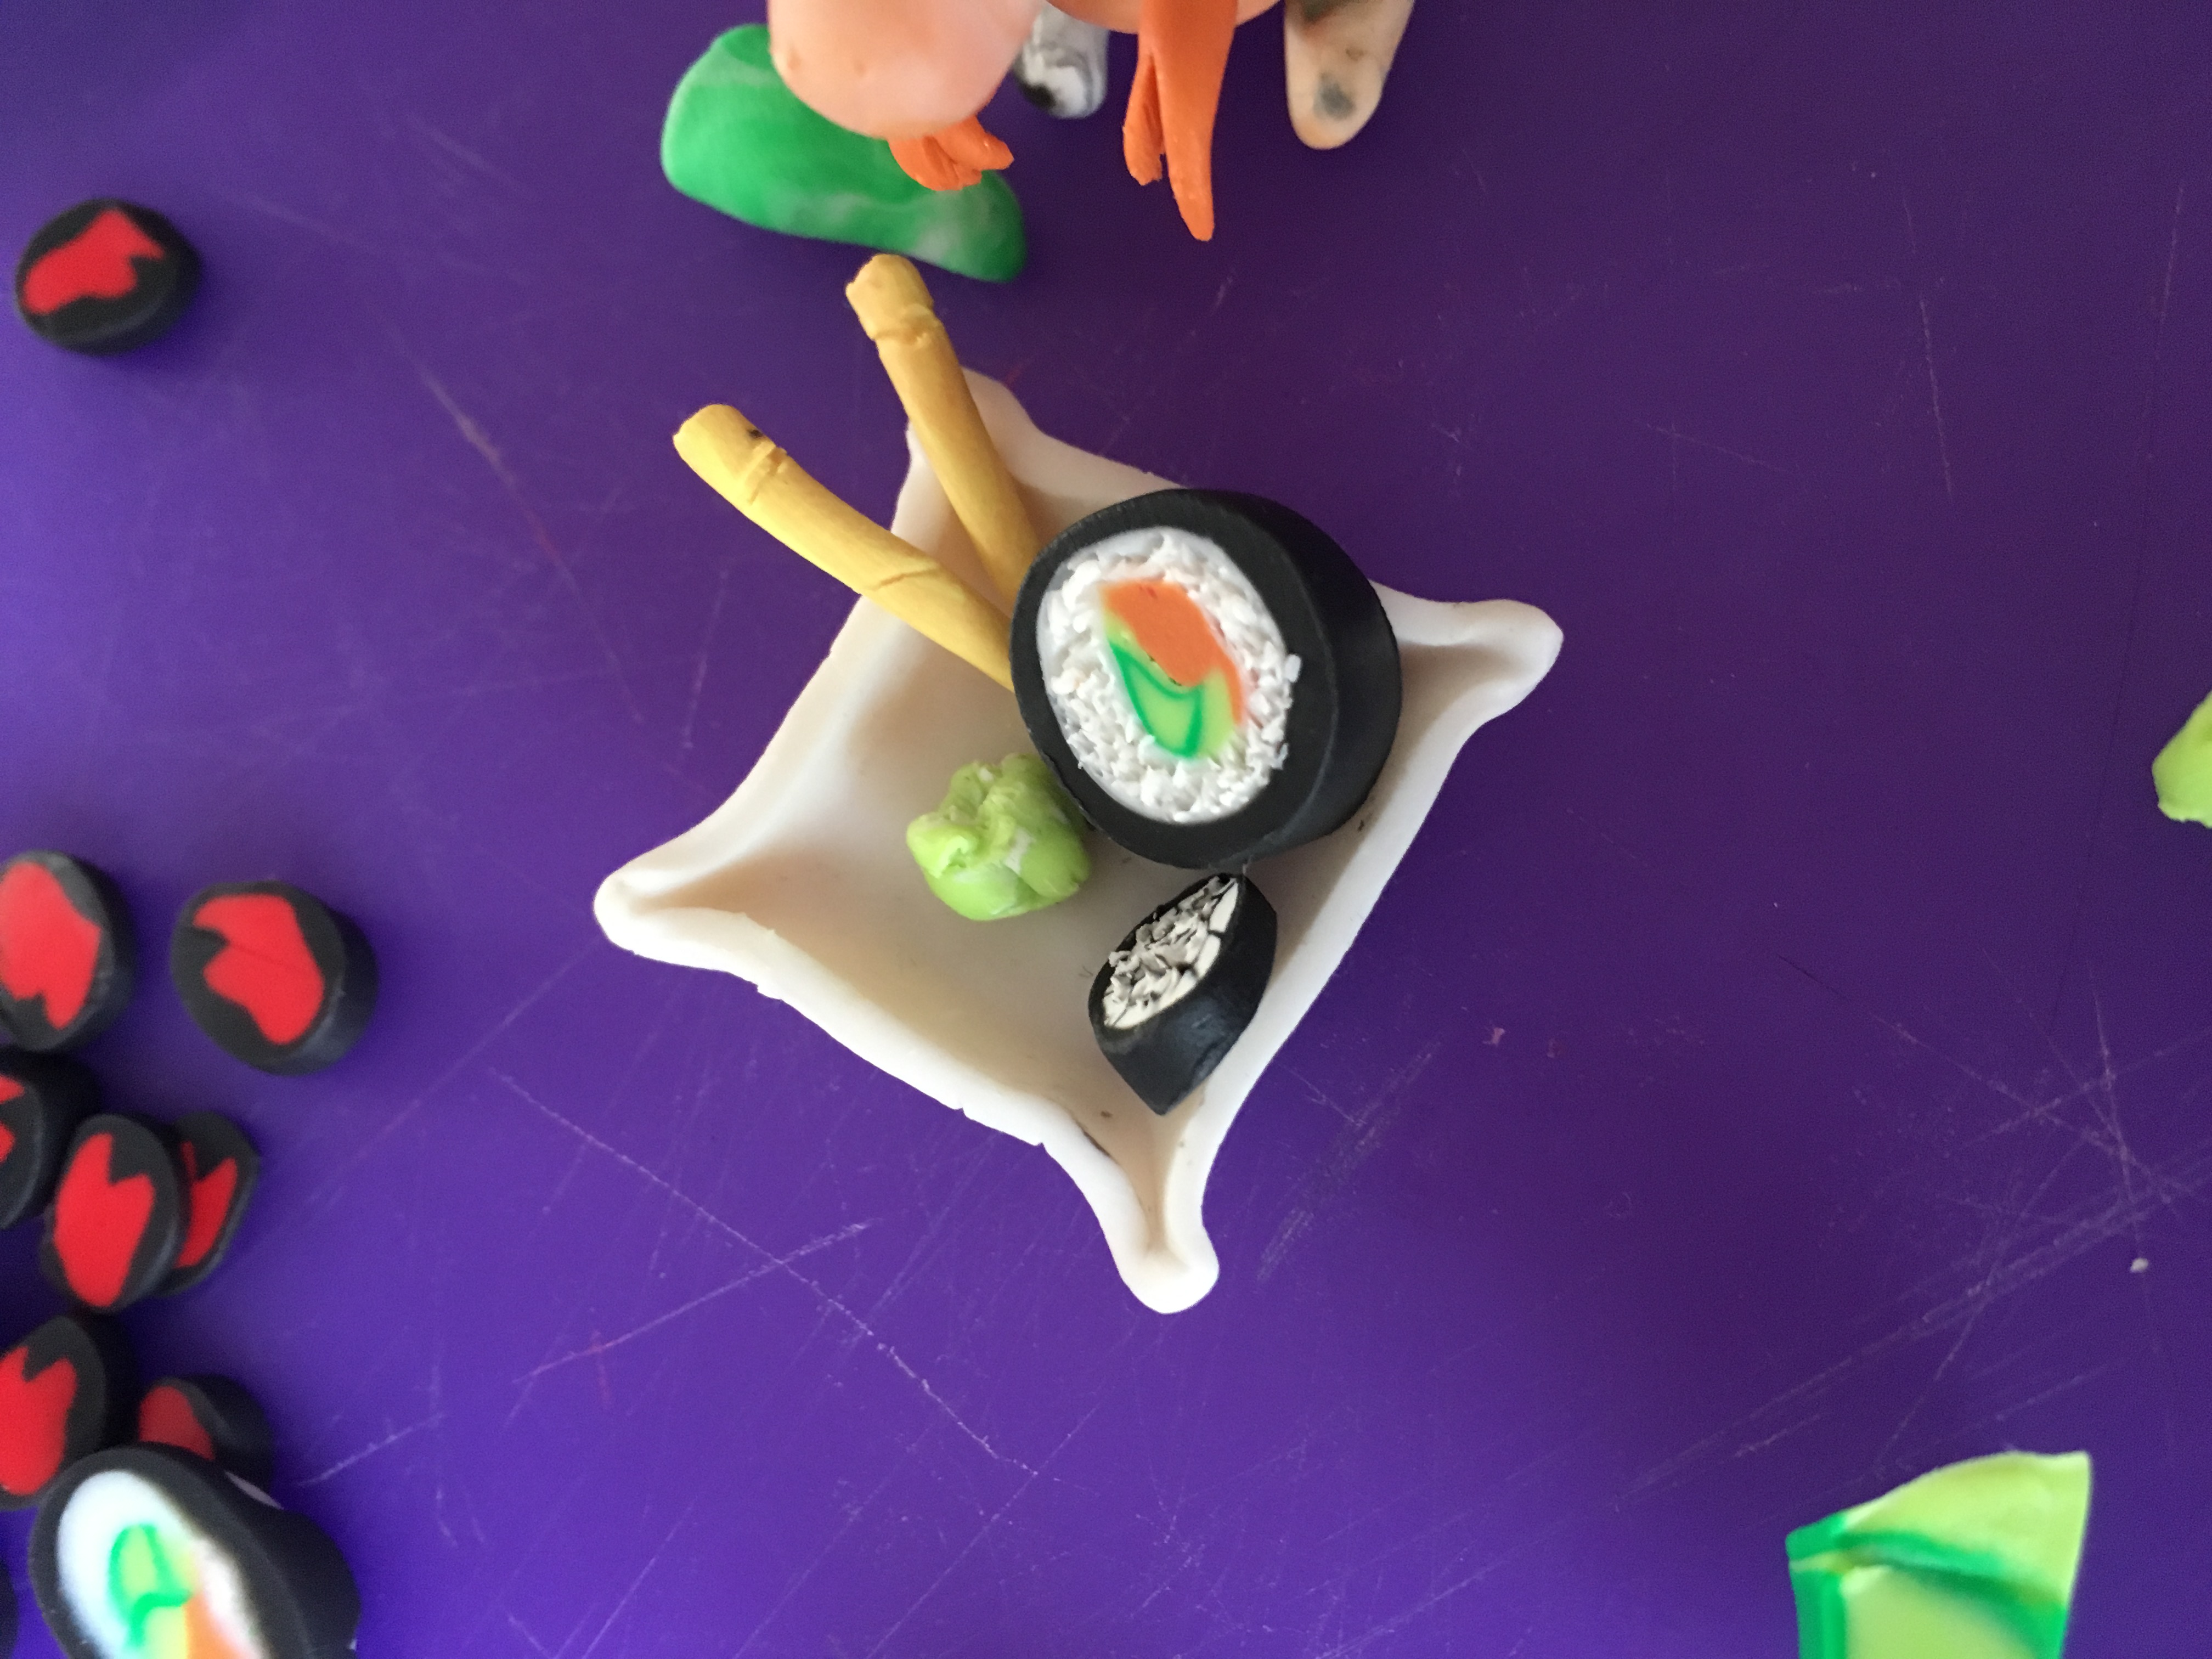
HWhat is better than real sushi? The kind you can wear. This little Polymer Clay Sushi Plate even has tiny chopsticks to go with it and is totally perfect for a pendant or phone charm.
What you will need
Making the Cucumbers
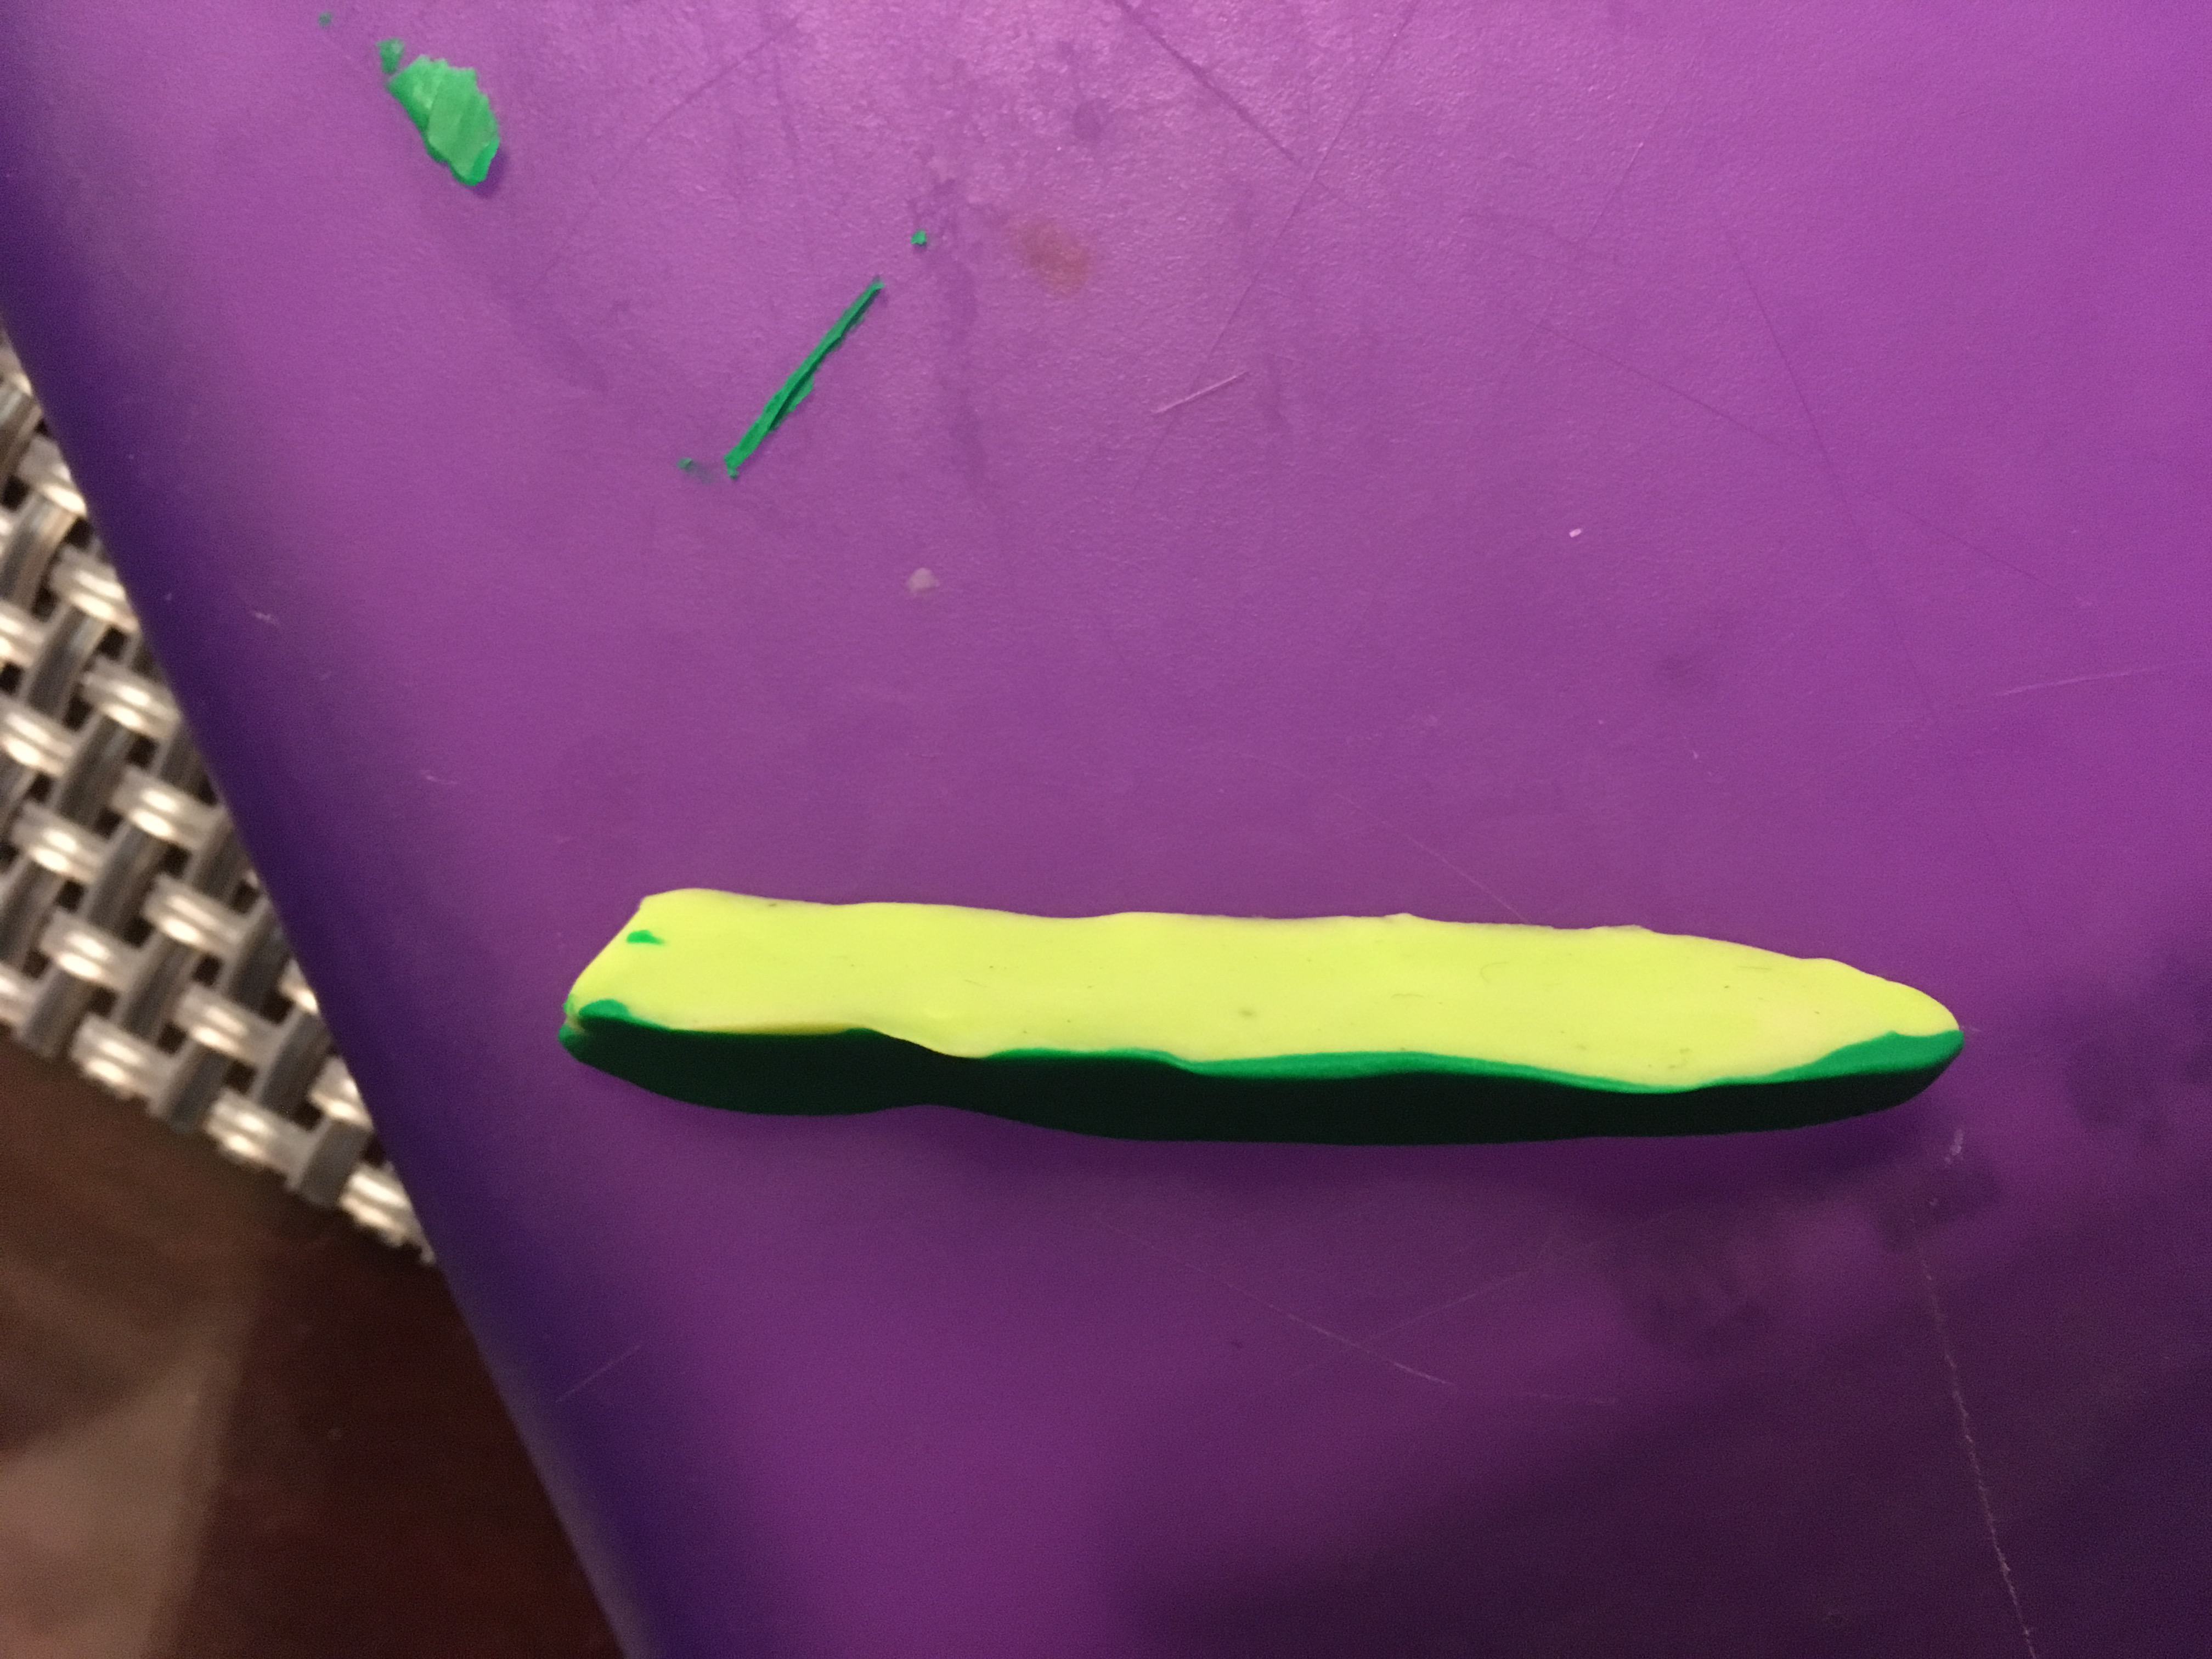
For the cucumbers in the middle of the sushi roll, mix a little lime green with translucent Sculpey. Mix well. Roll and flatten the green clay into a stretched out triangle and add a very thin bit of dark green onto one of the sides of the cucumber, pressing down firmly to get rid of air bubbles.
Cutting the Cucumbers in Thirds
Next, using a very sharp box cutter blade, cut the triangular log into thirds. Be careful not to smush the two colors into each other.
Reassembling the Cucumbers
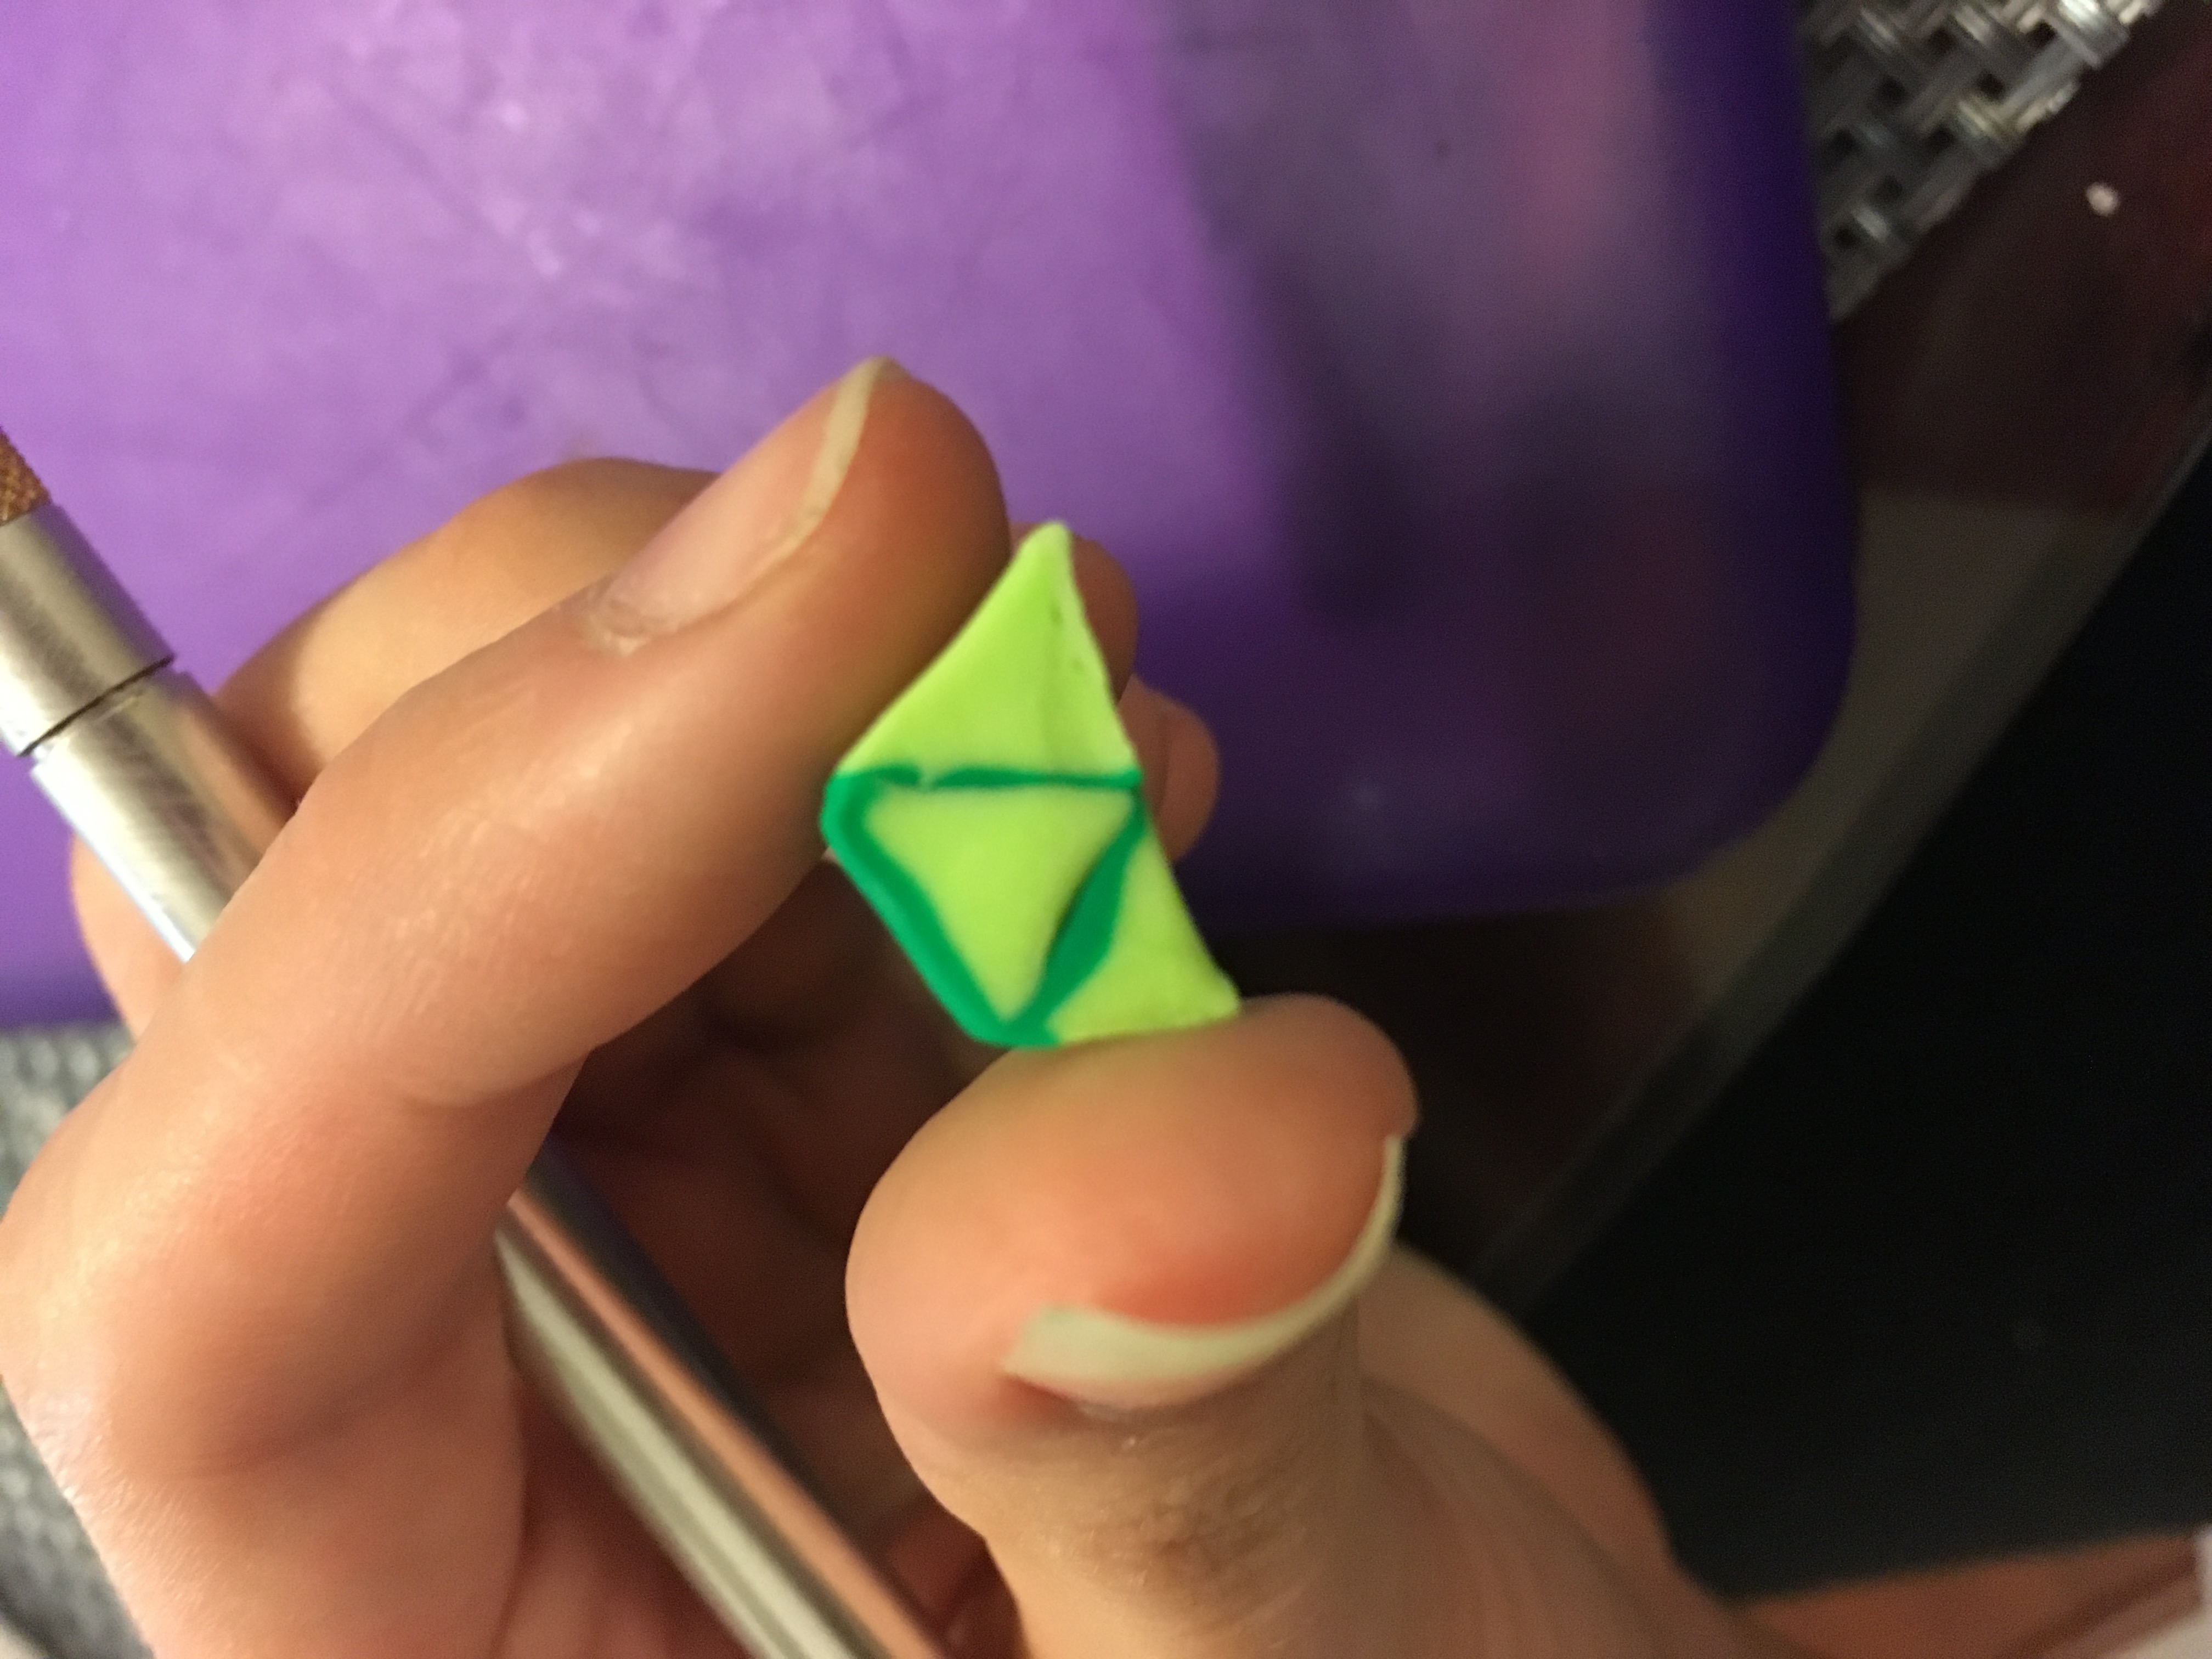
Put all three pieces side by side and press them all together to make a weird little cucumber log, as seen in the sushi roll.
Making the Fish Part
The fish was easy, simply take some sparkly bronze Sculpey and some orange Sculpey and mix together well.
Sticking the Fish to the Cucumbers
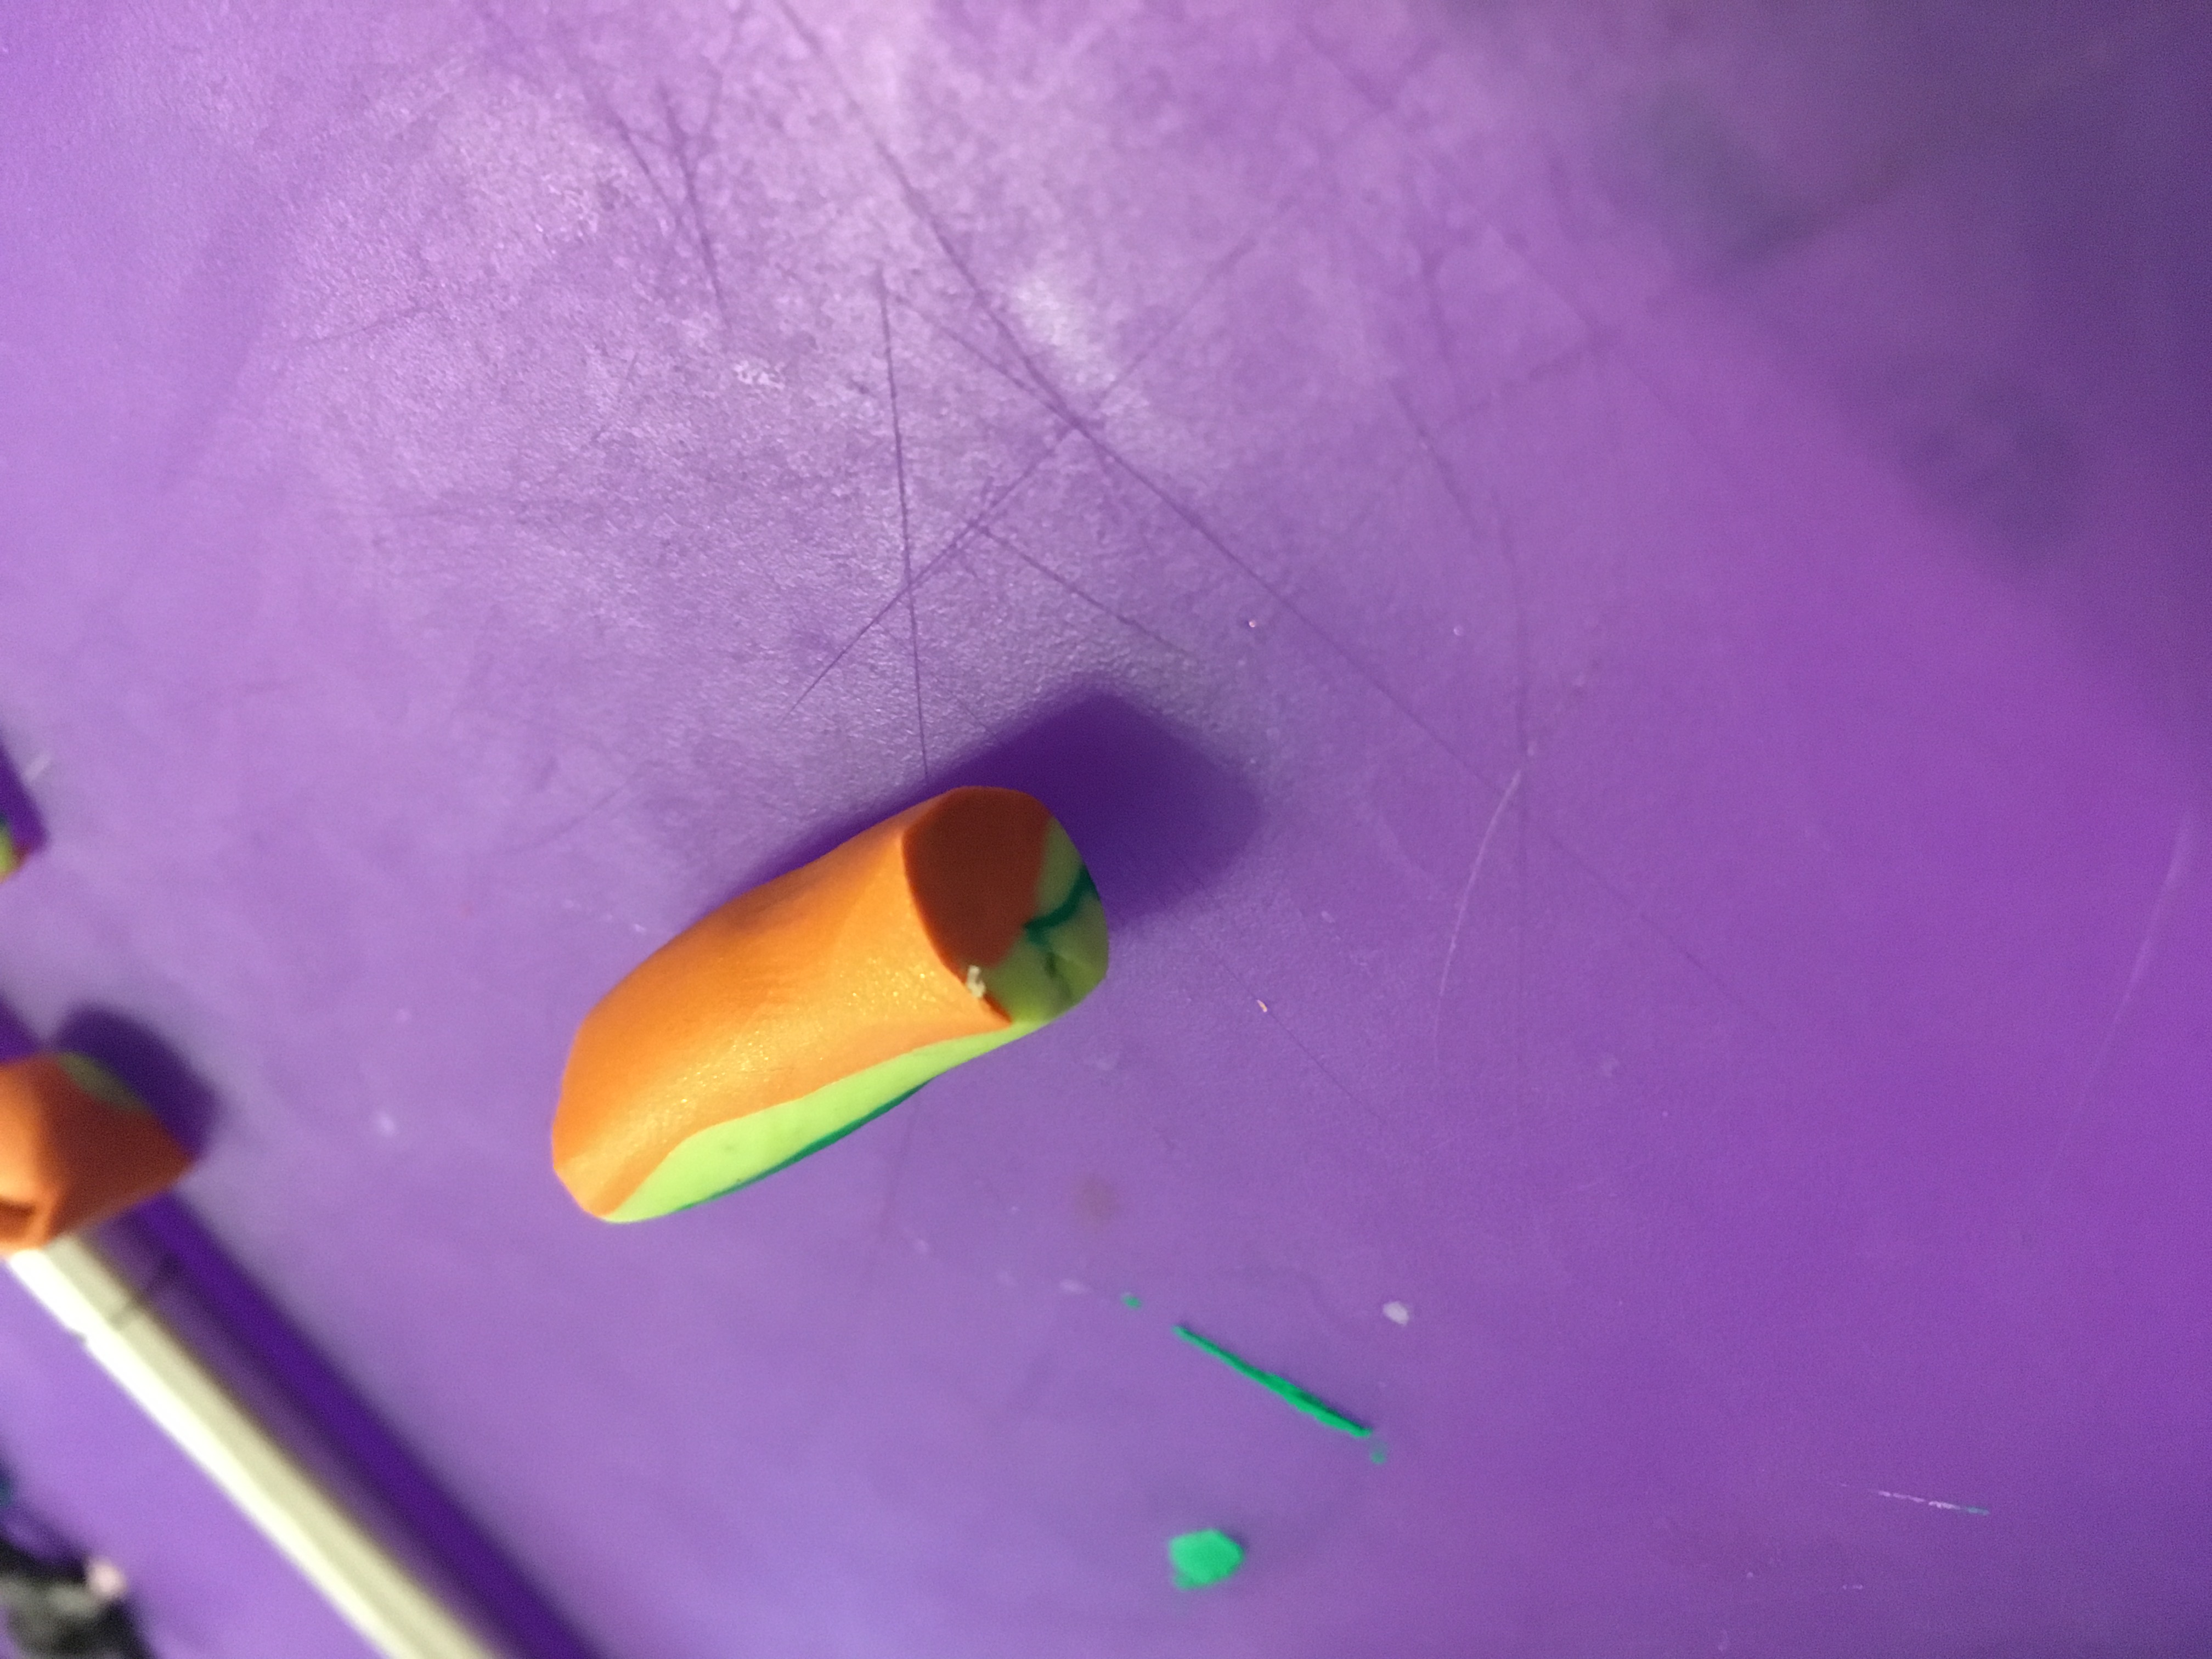
Add the fish to the sushi, making the roll look more round. This will make adding the rice and the black part easier.
Making the Rice part of the Roll for the Polymer Clay Sushi Plate
The rice takes a lot more clay, as a lot of rice is in the sushi rolls. Mix a big chunk of translucent with about 1/7th normal white polymer clay and do not fully mix, so the rice has some different swirls going on once baked. Flatten it out to the length of the sushi roll made of fish and cucumbers.
Rolling it on
Lightly roll and cut the rice to fit, blending it with a dotting tool and gently rolling it to blend all three layers together.
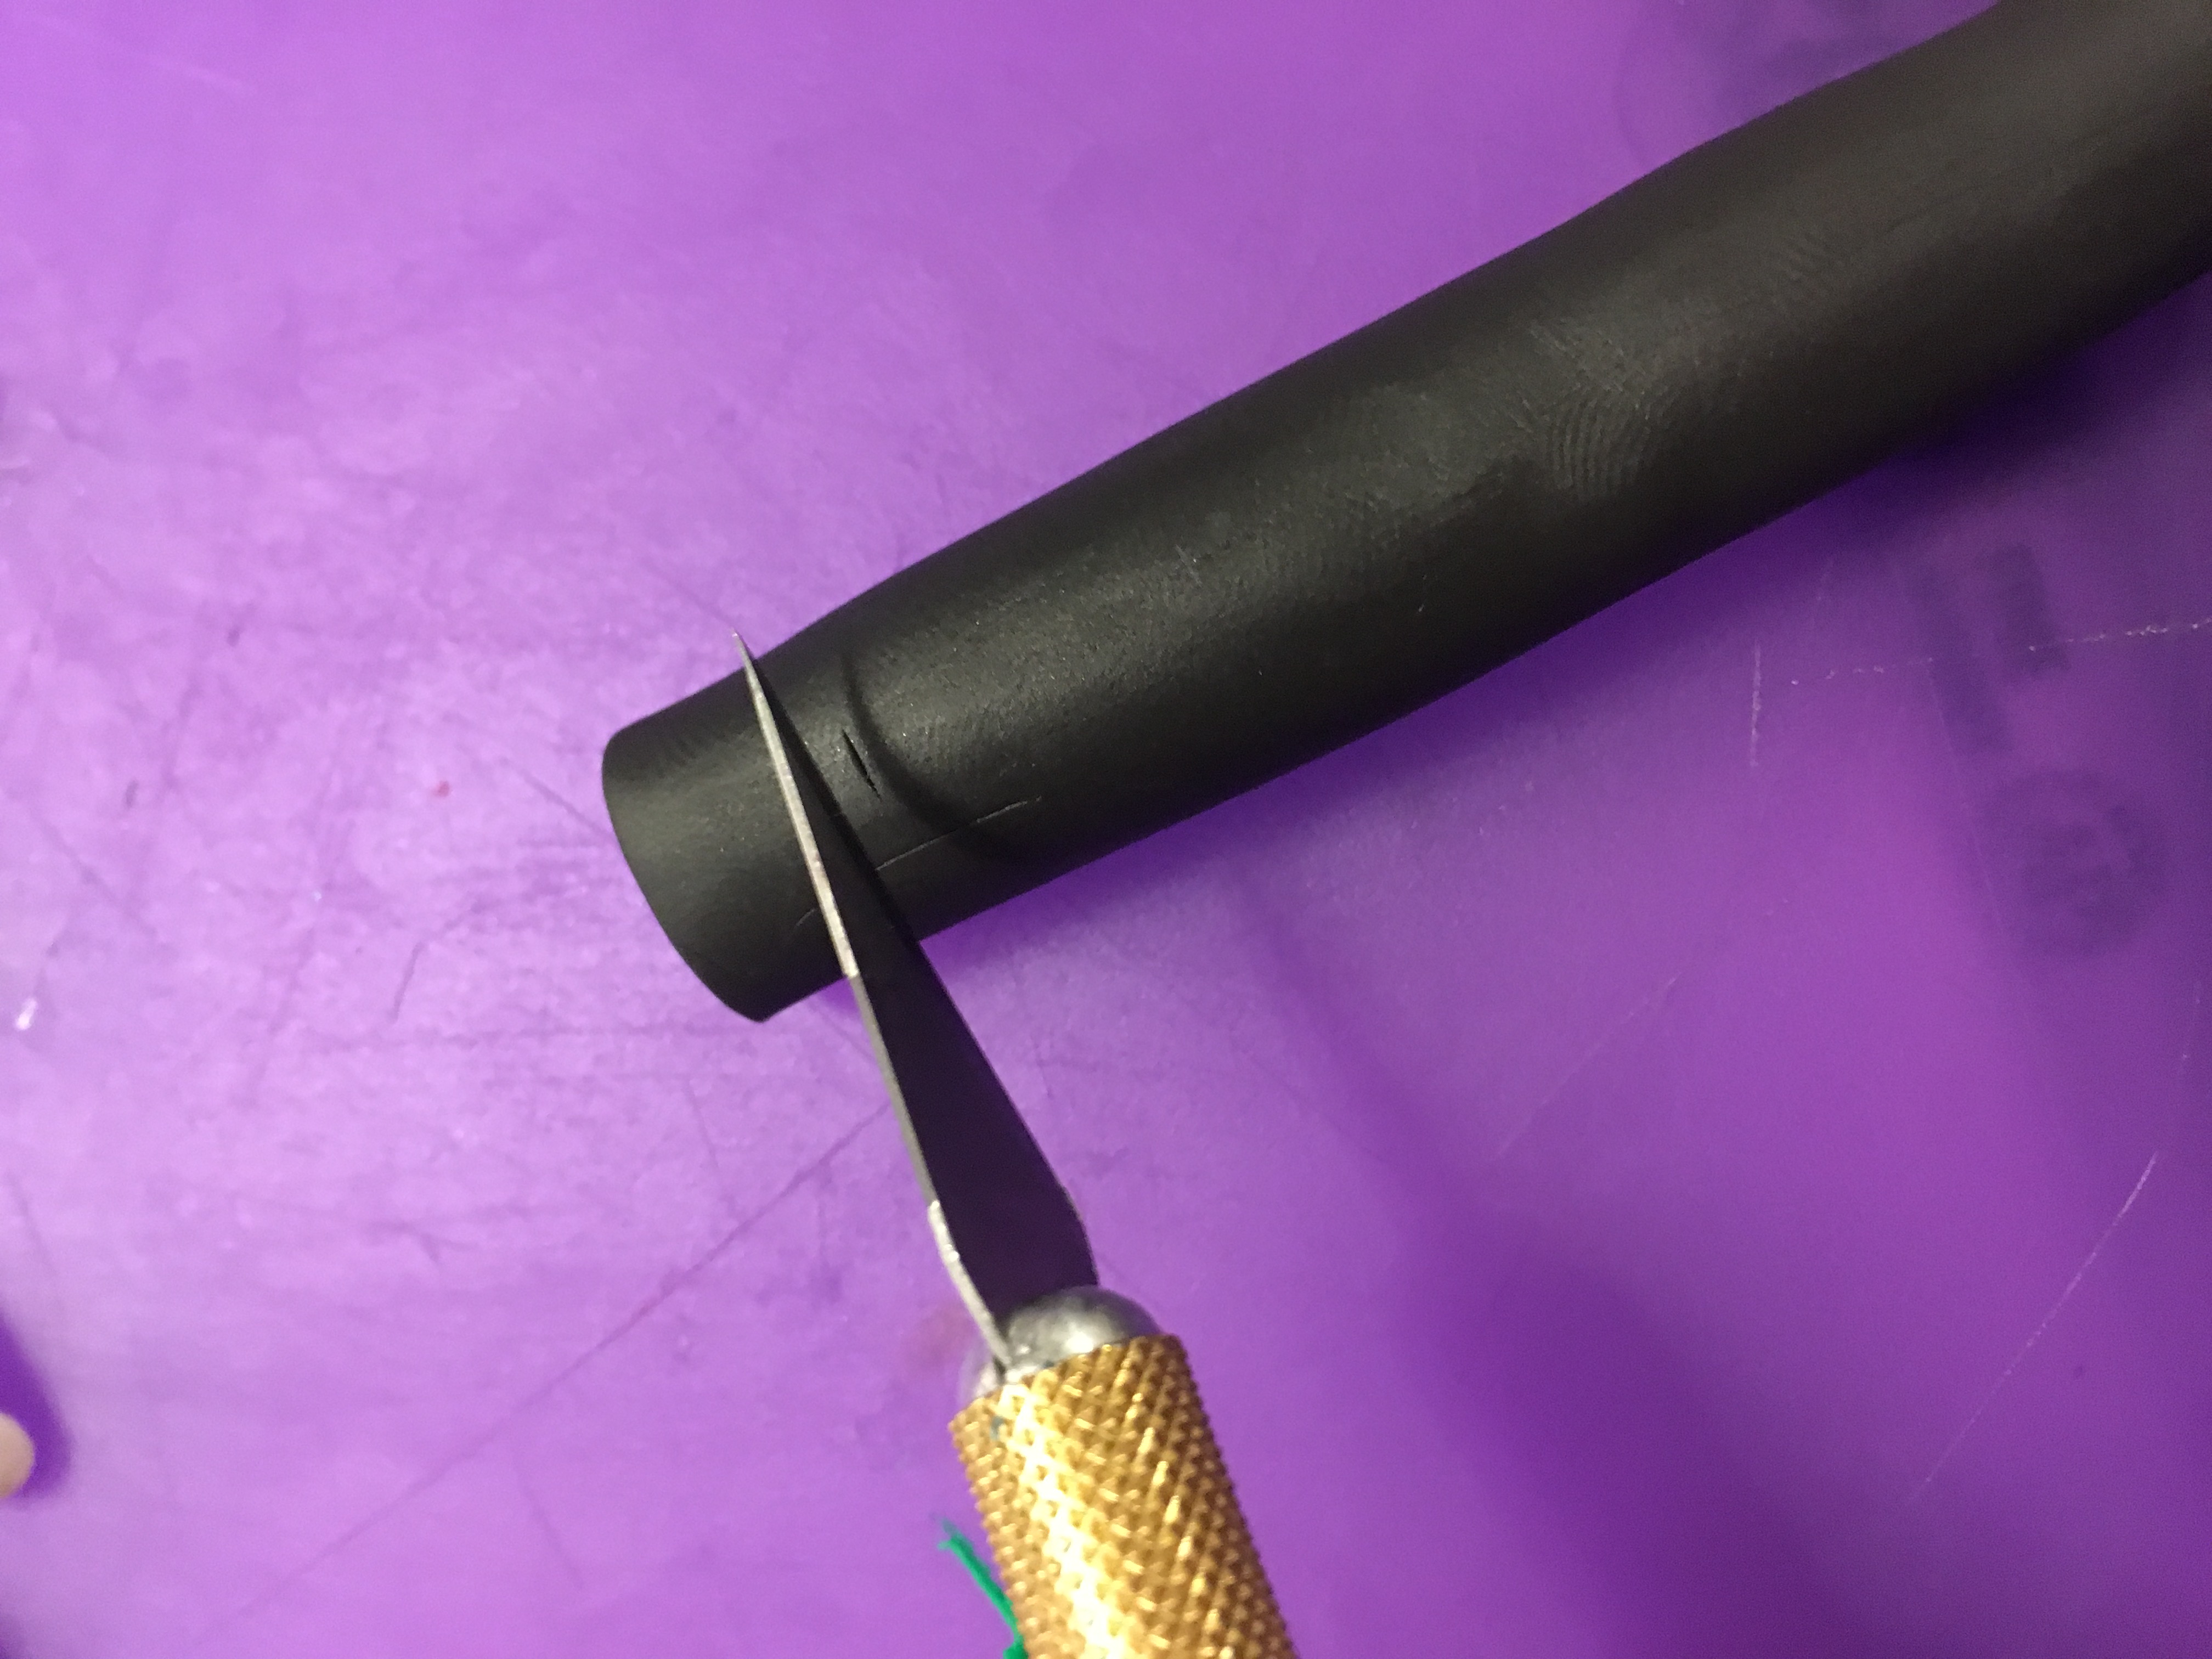
Making the Outer Sushi Part
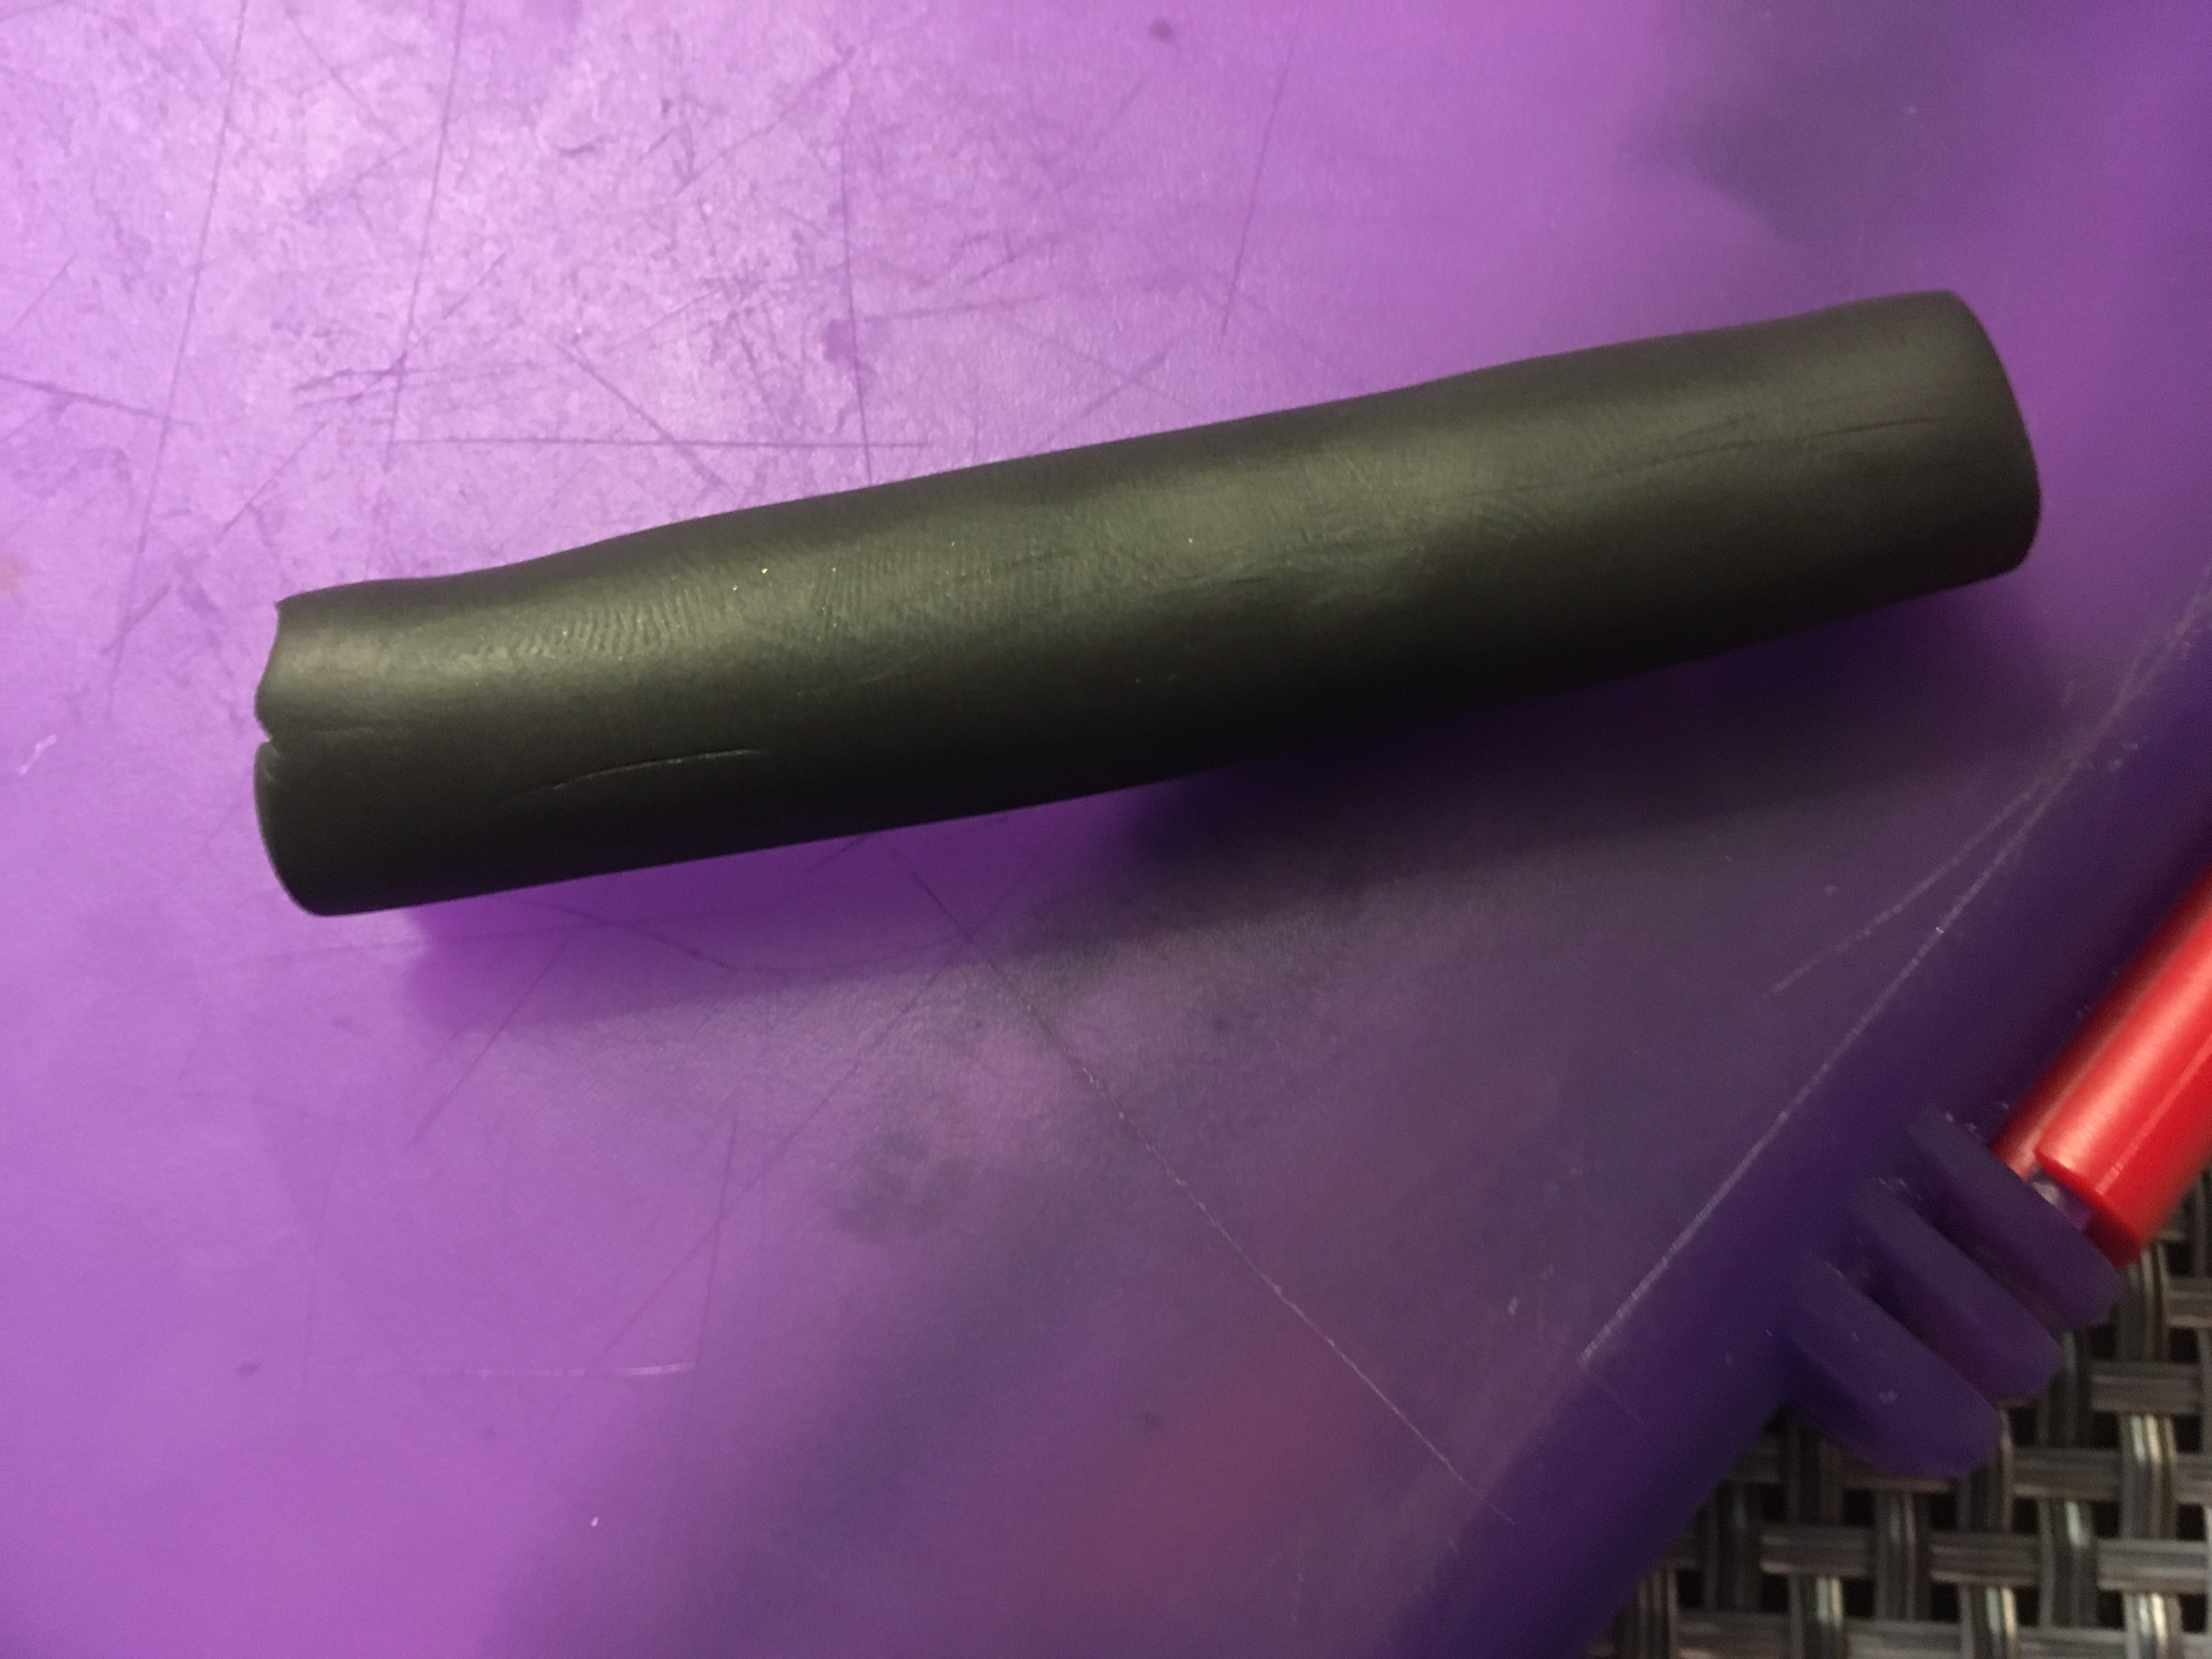
Roll out some black clay as thin as possible. Unstick and cut it to the size of the clay sushi roll.
Rolling it out
Roll it as thin as you would like your sushi roll to be and let the clay sit overnight or for at least 2-3 hours in a cool area to allow the clay to sort of set. This will allow your cuts to be much cleaner, as the clay is cool and not as soft.
Making the Plate
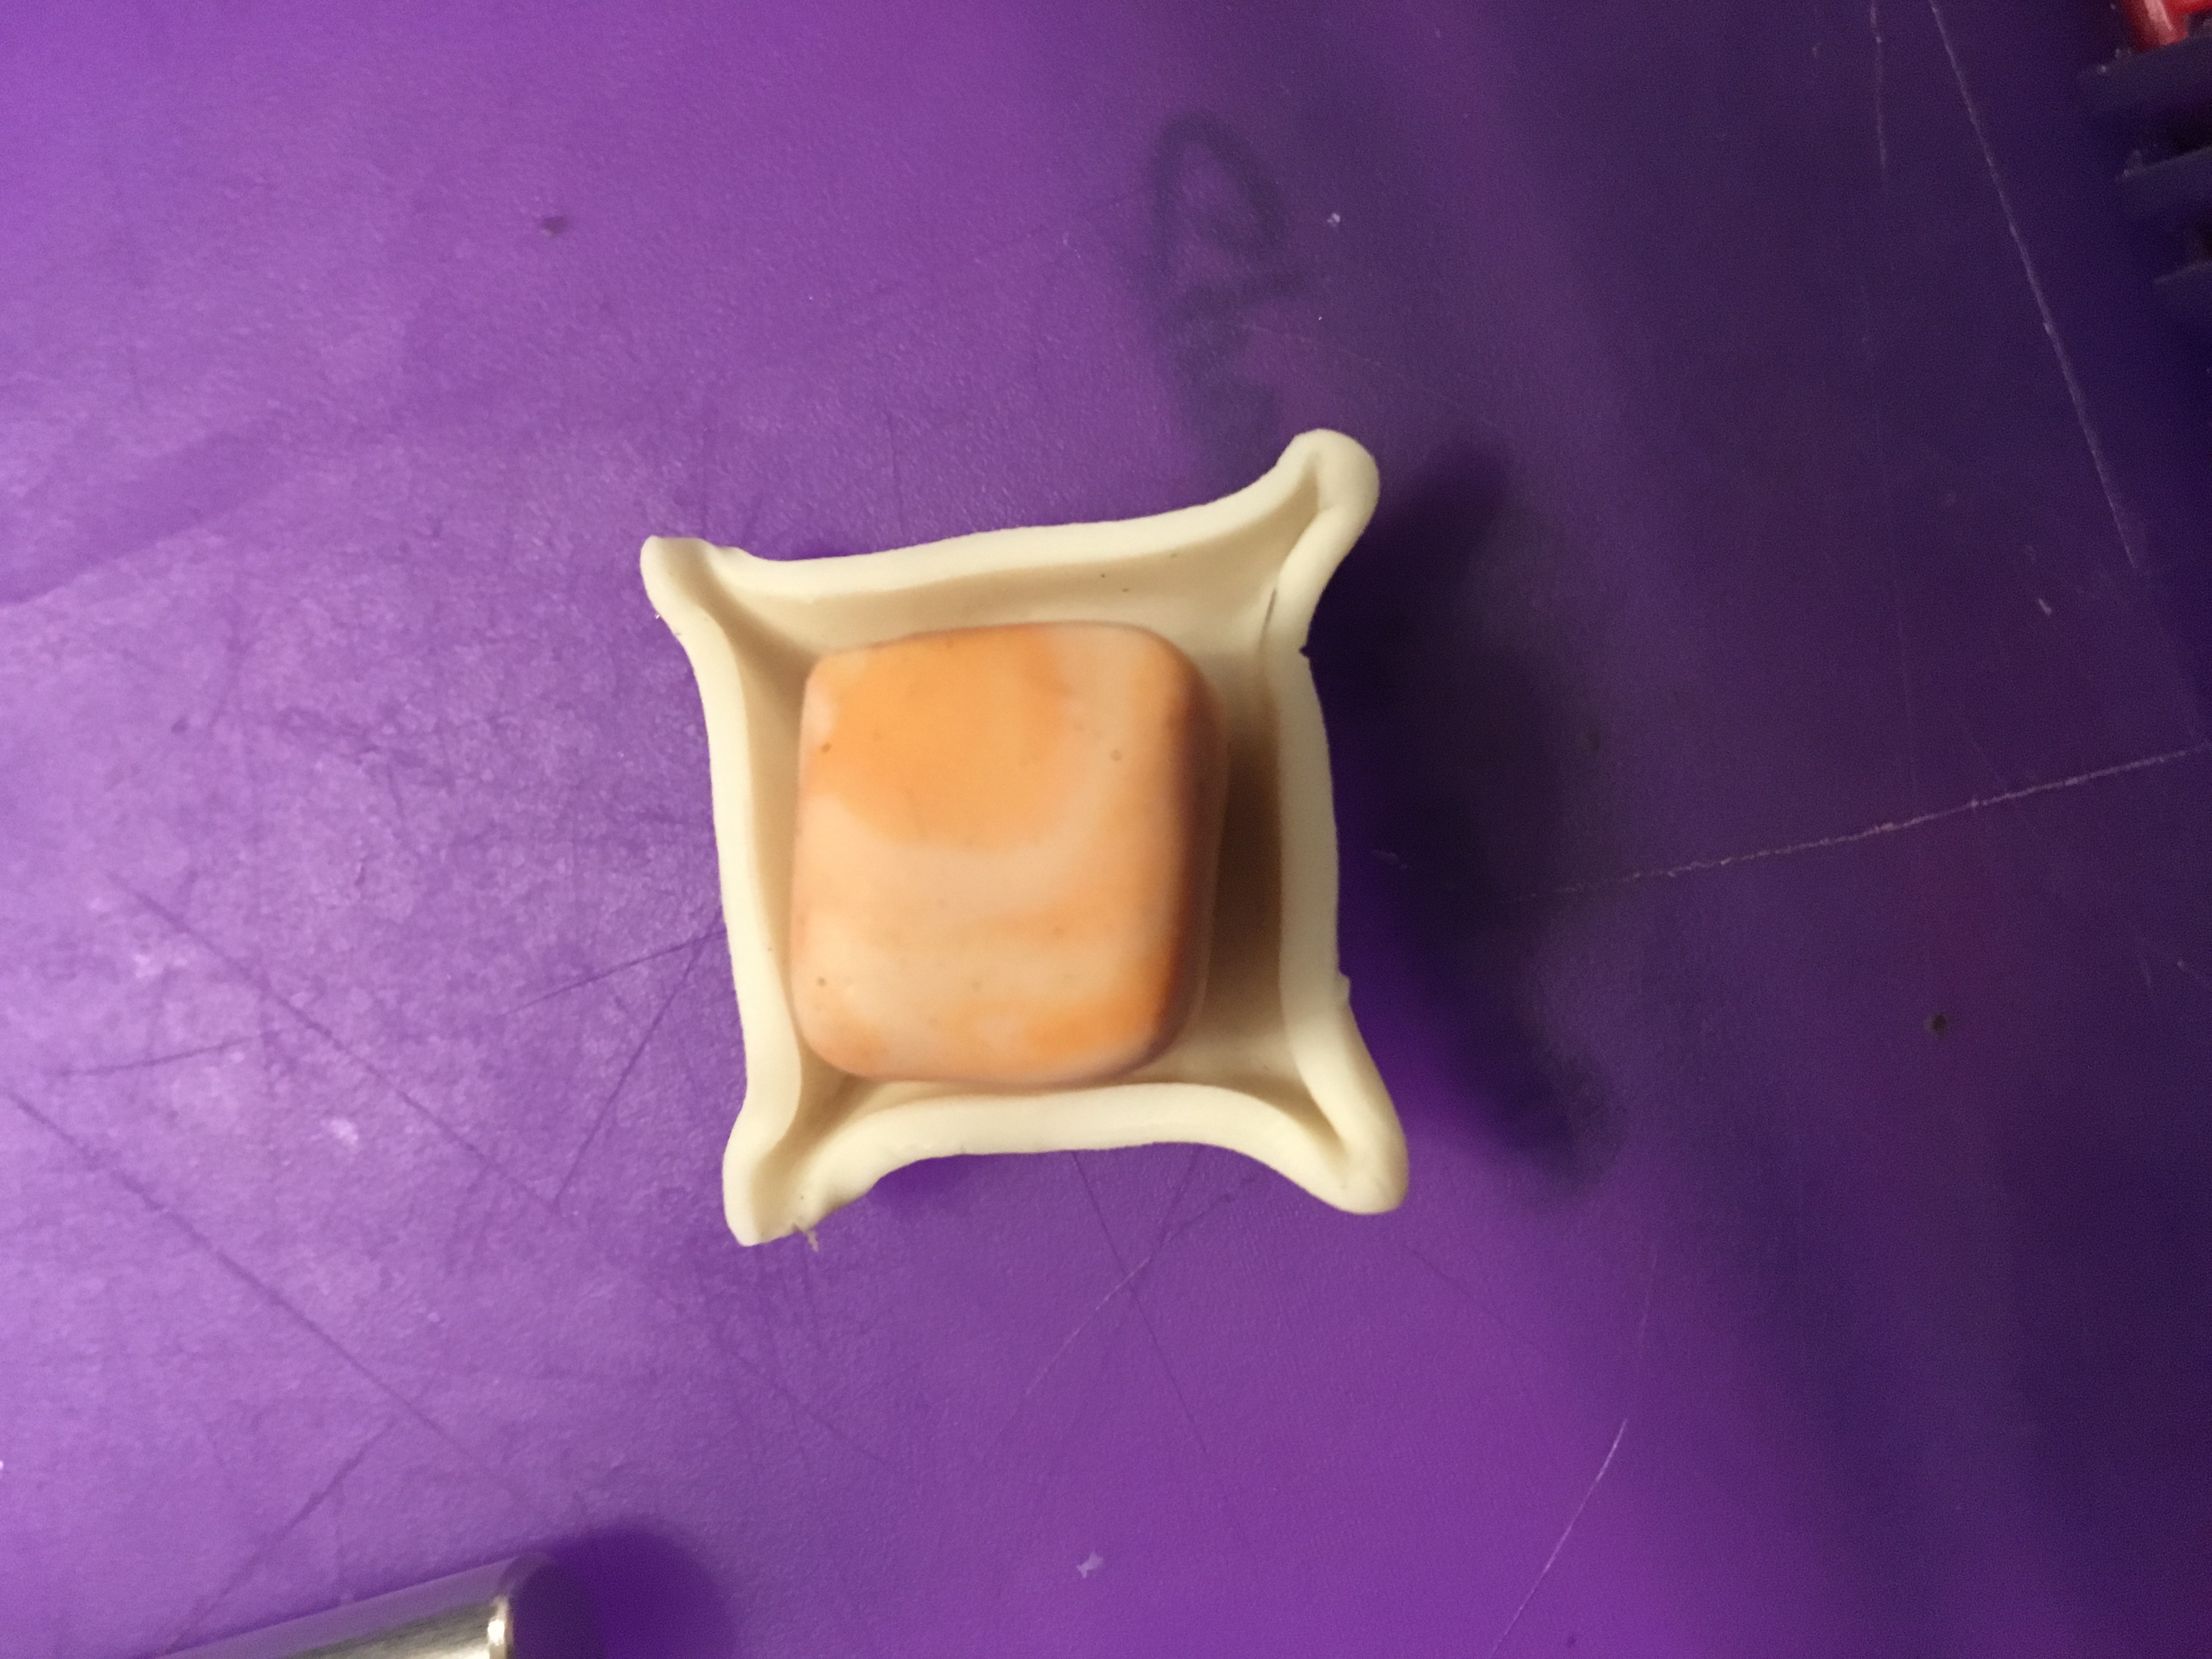
Make a small square out of polymer clay that is slightly smaller than you want the dish to be. Bake the square for 15 minutes, and once it is properly cooled, roll out some translucent Sculpey about 1/8th of an inch thick. Set the cube on the rolled out Sculpey, and cut out a square around it, about ¼ th of an inch out from the cube. Gently pinch the corners of the plate, to make it an actual dish, with the cube still in the middle for structure. Take the cube out once finished and poke a hole in the plate to make the piece wearable.
Making the Chopsticks
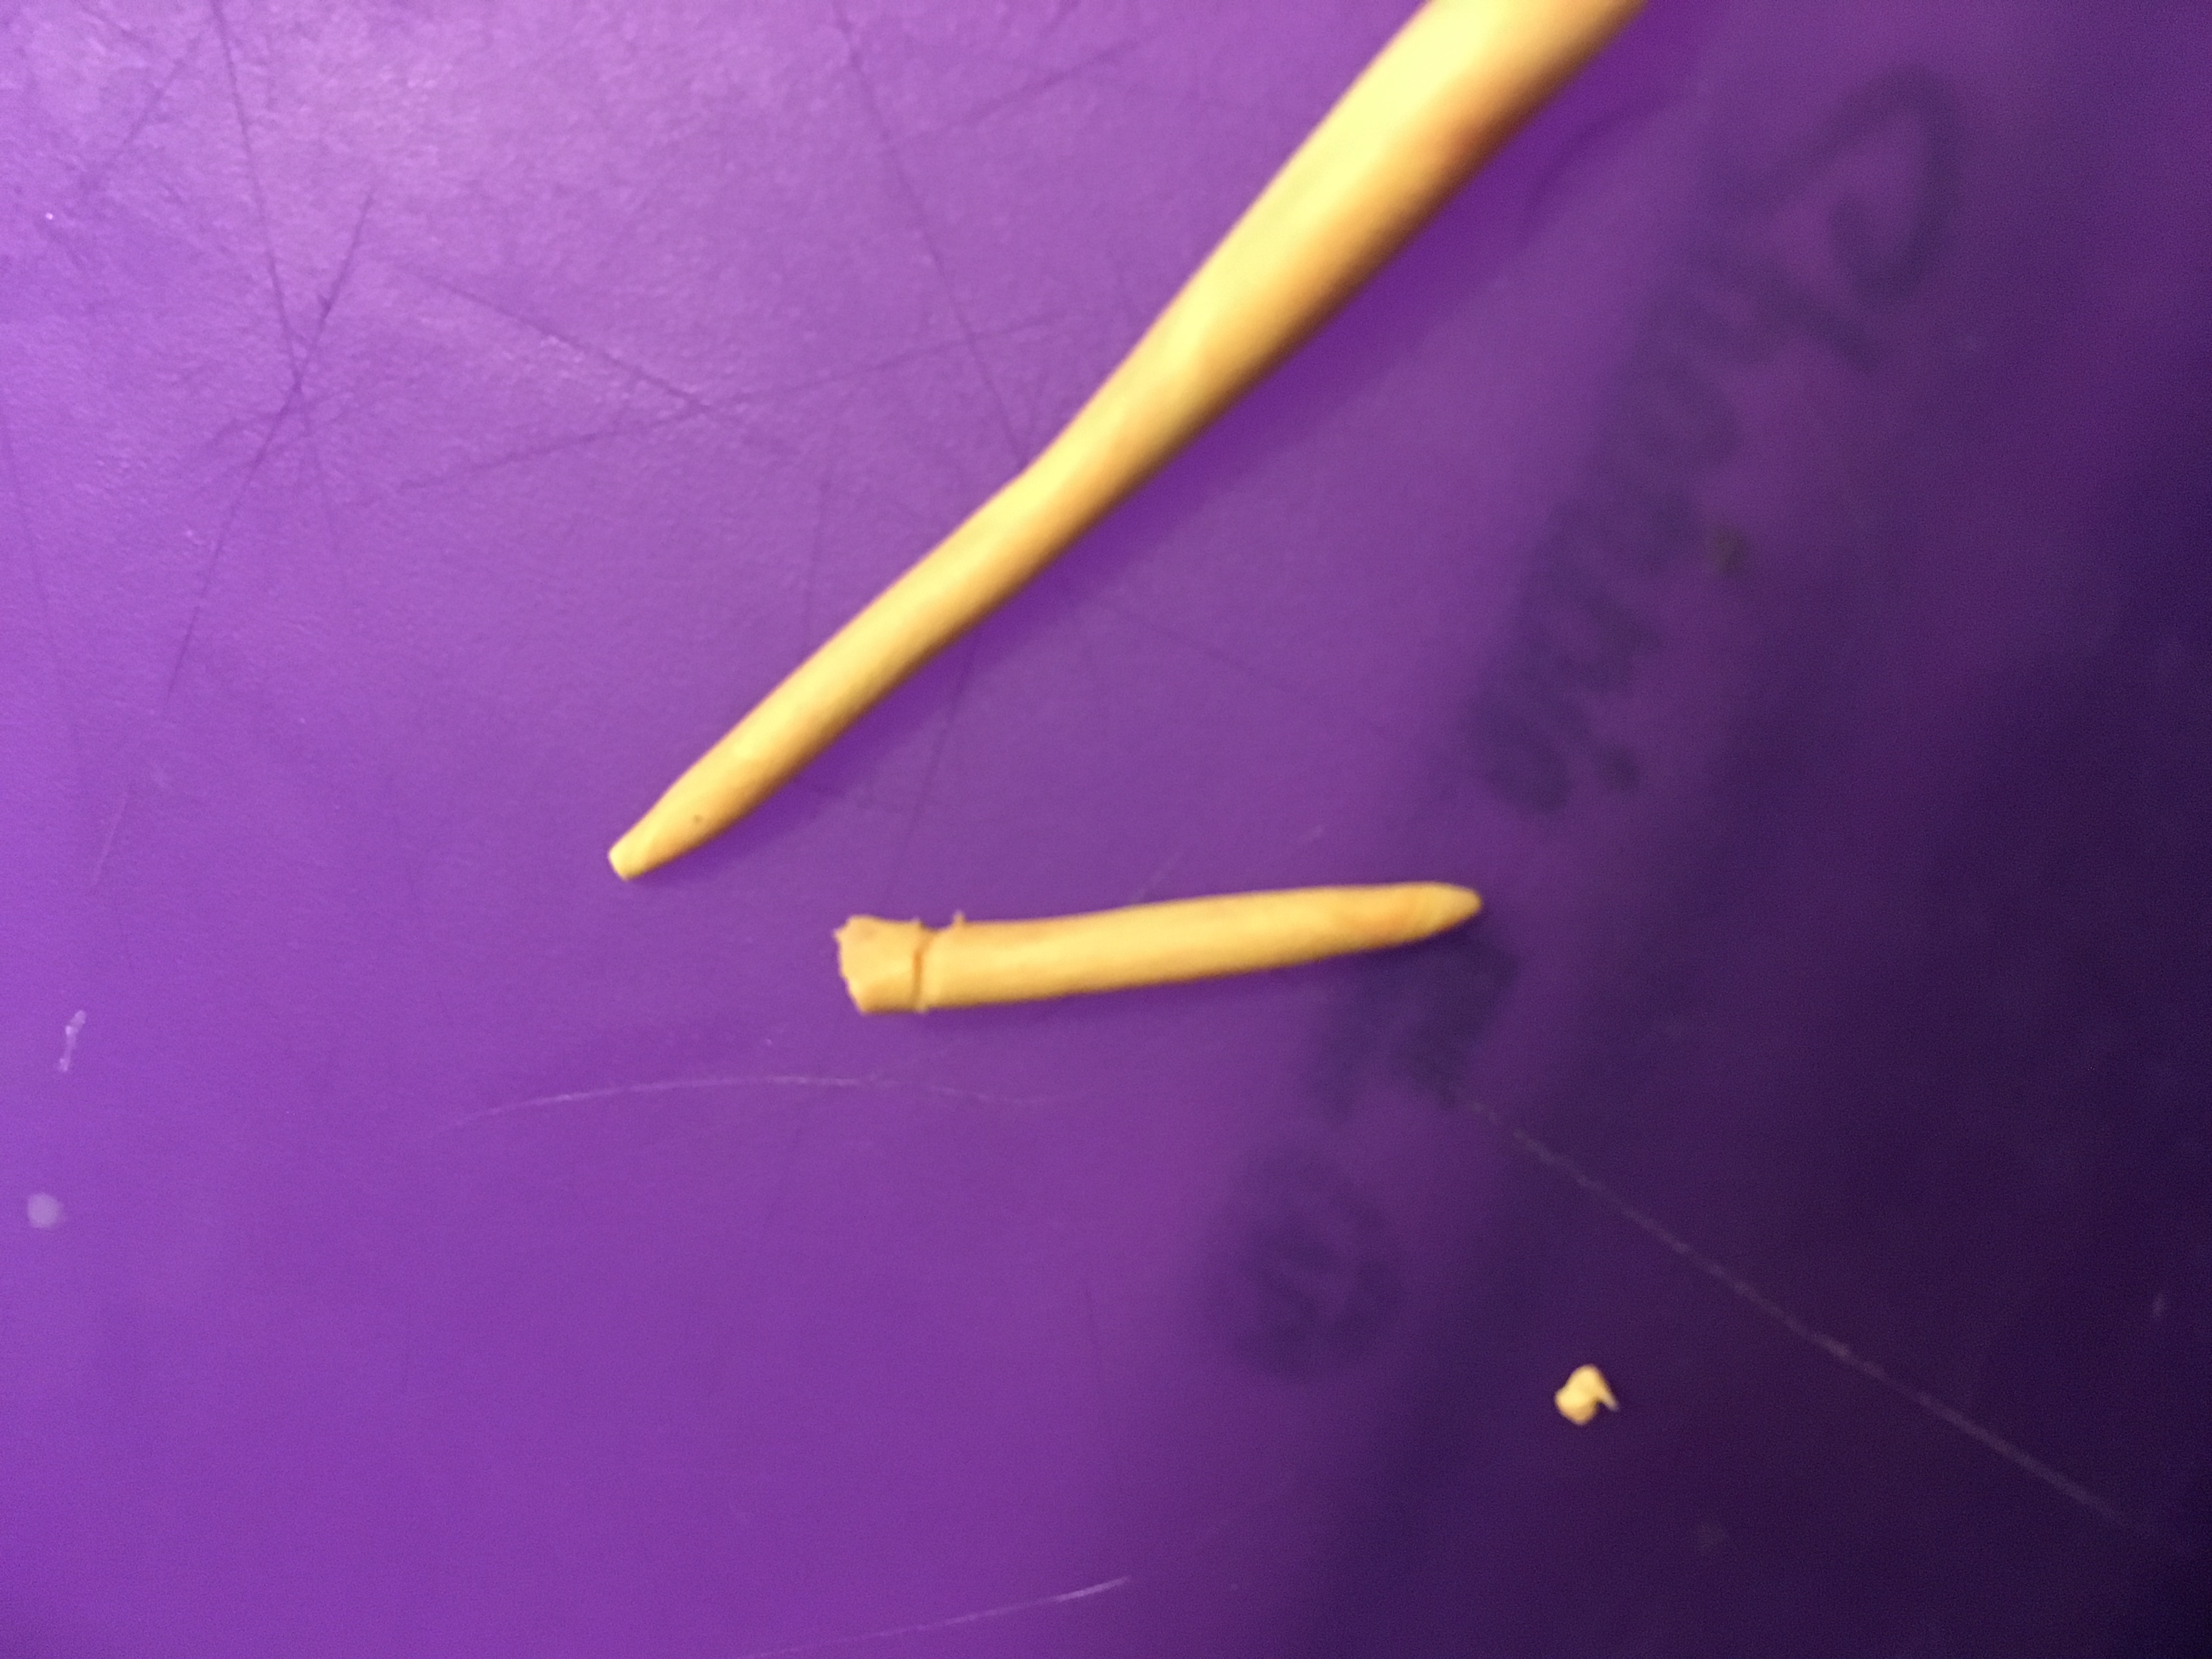 For the chopsticks, mix a pastel yellow polymer clay with a teeny amount of orange, leaving it not fully mixed, and roll it out thinly. Cut two small chopsticks out of it and make one end of each pointy.
Wasabi time
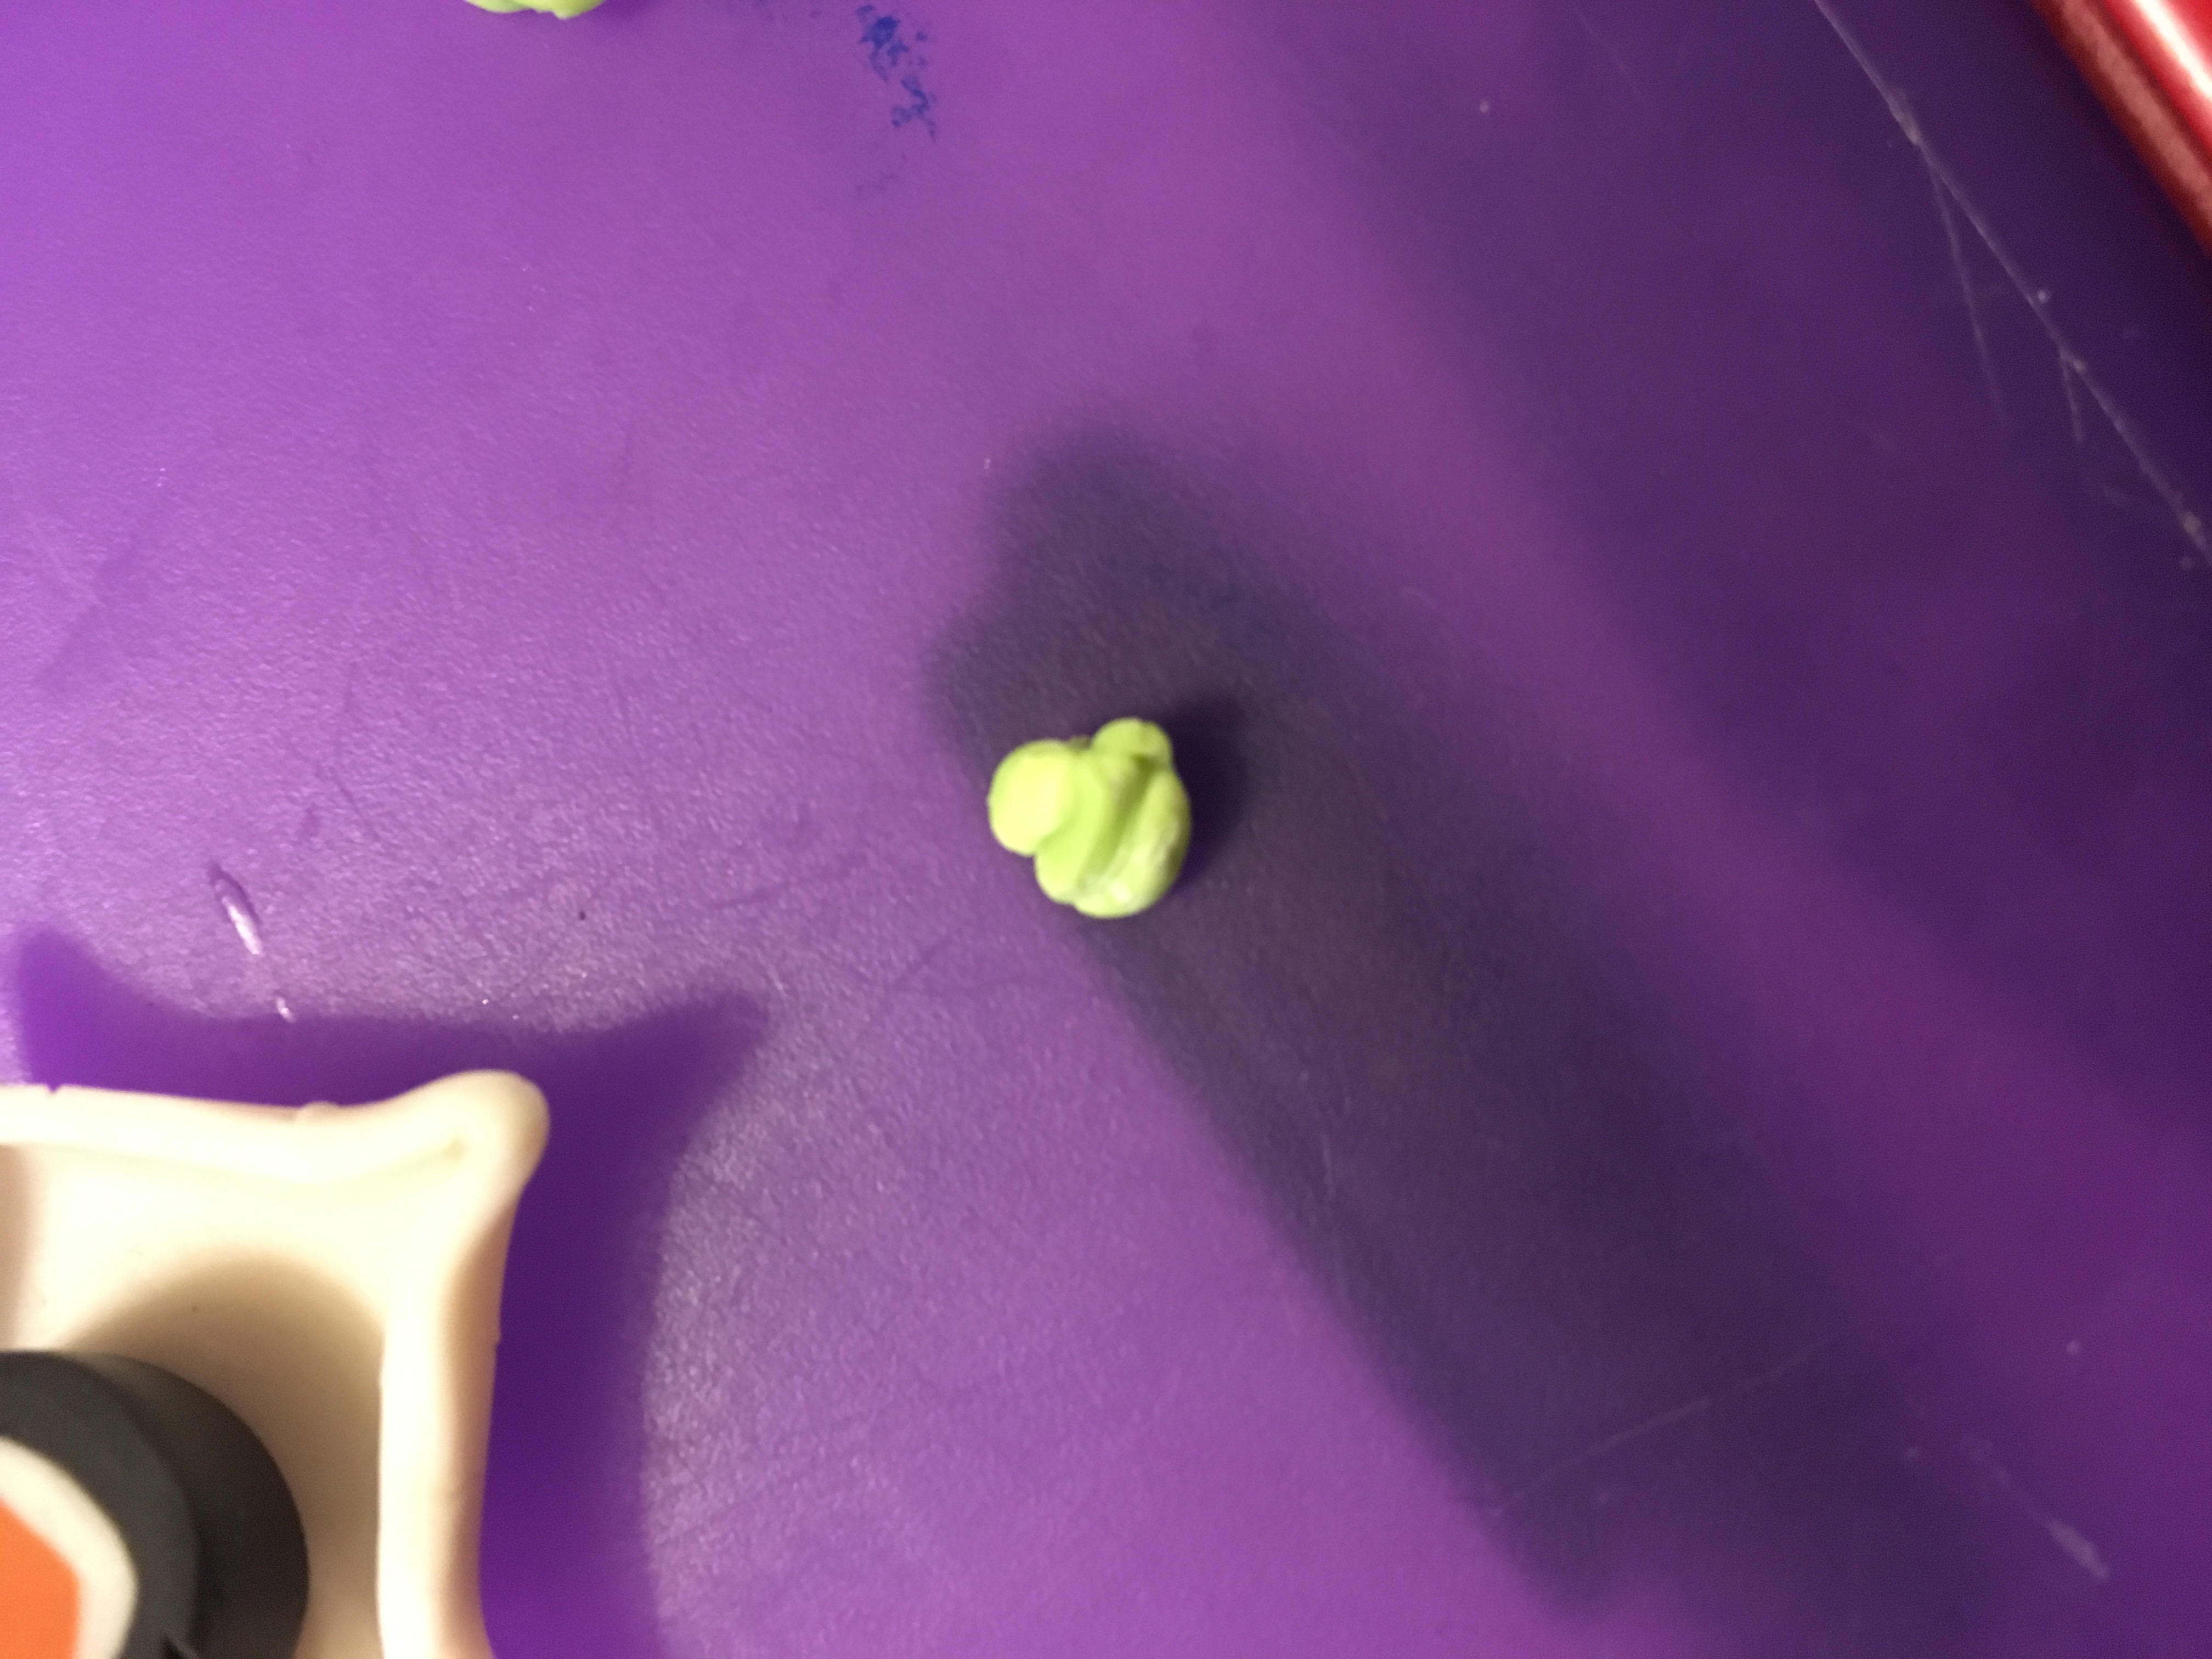
Mix even less light green polymer clay with more translucent Sculpey and use a dotting tool or sharp blade to texture the Wasabi. Add the small blob to one corner of the plate.
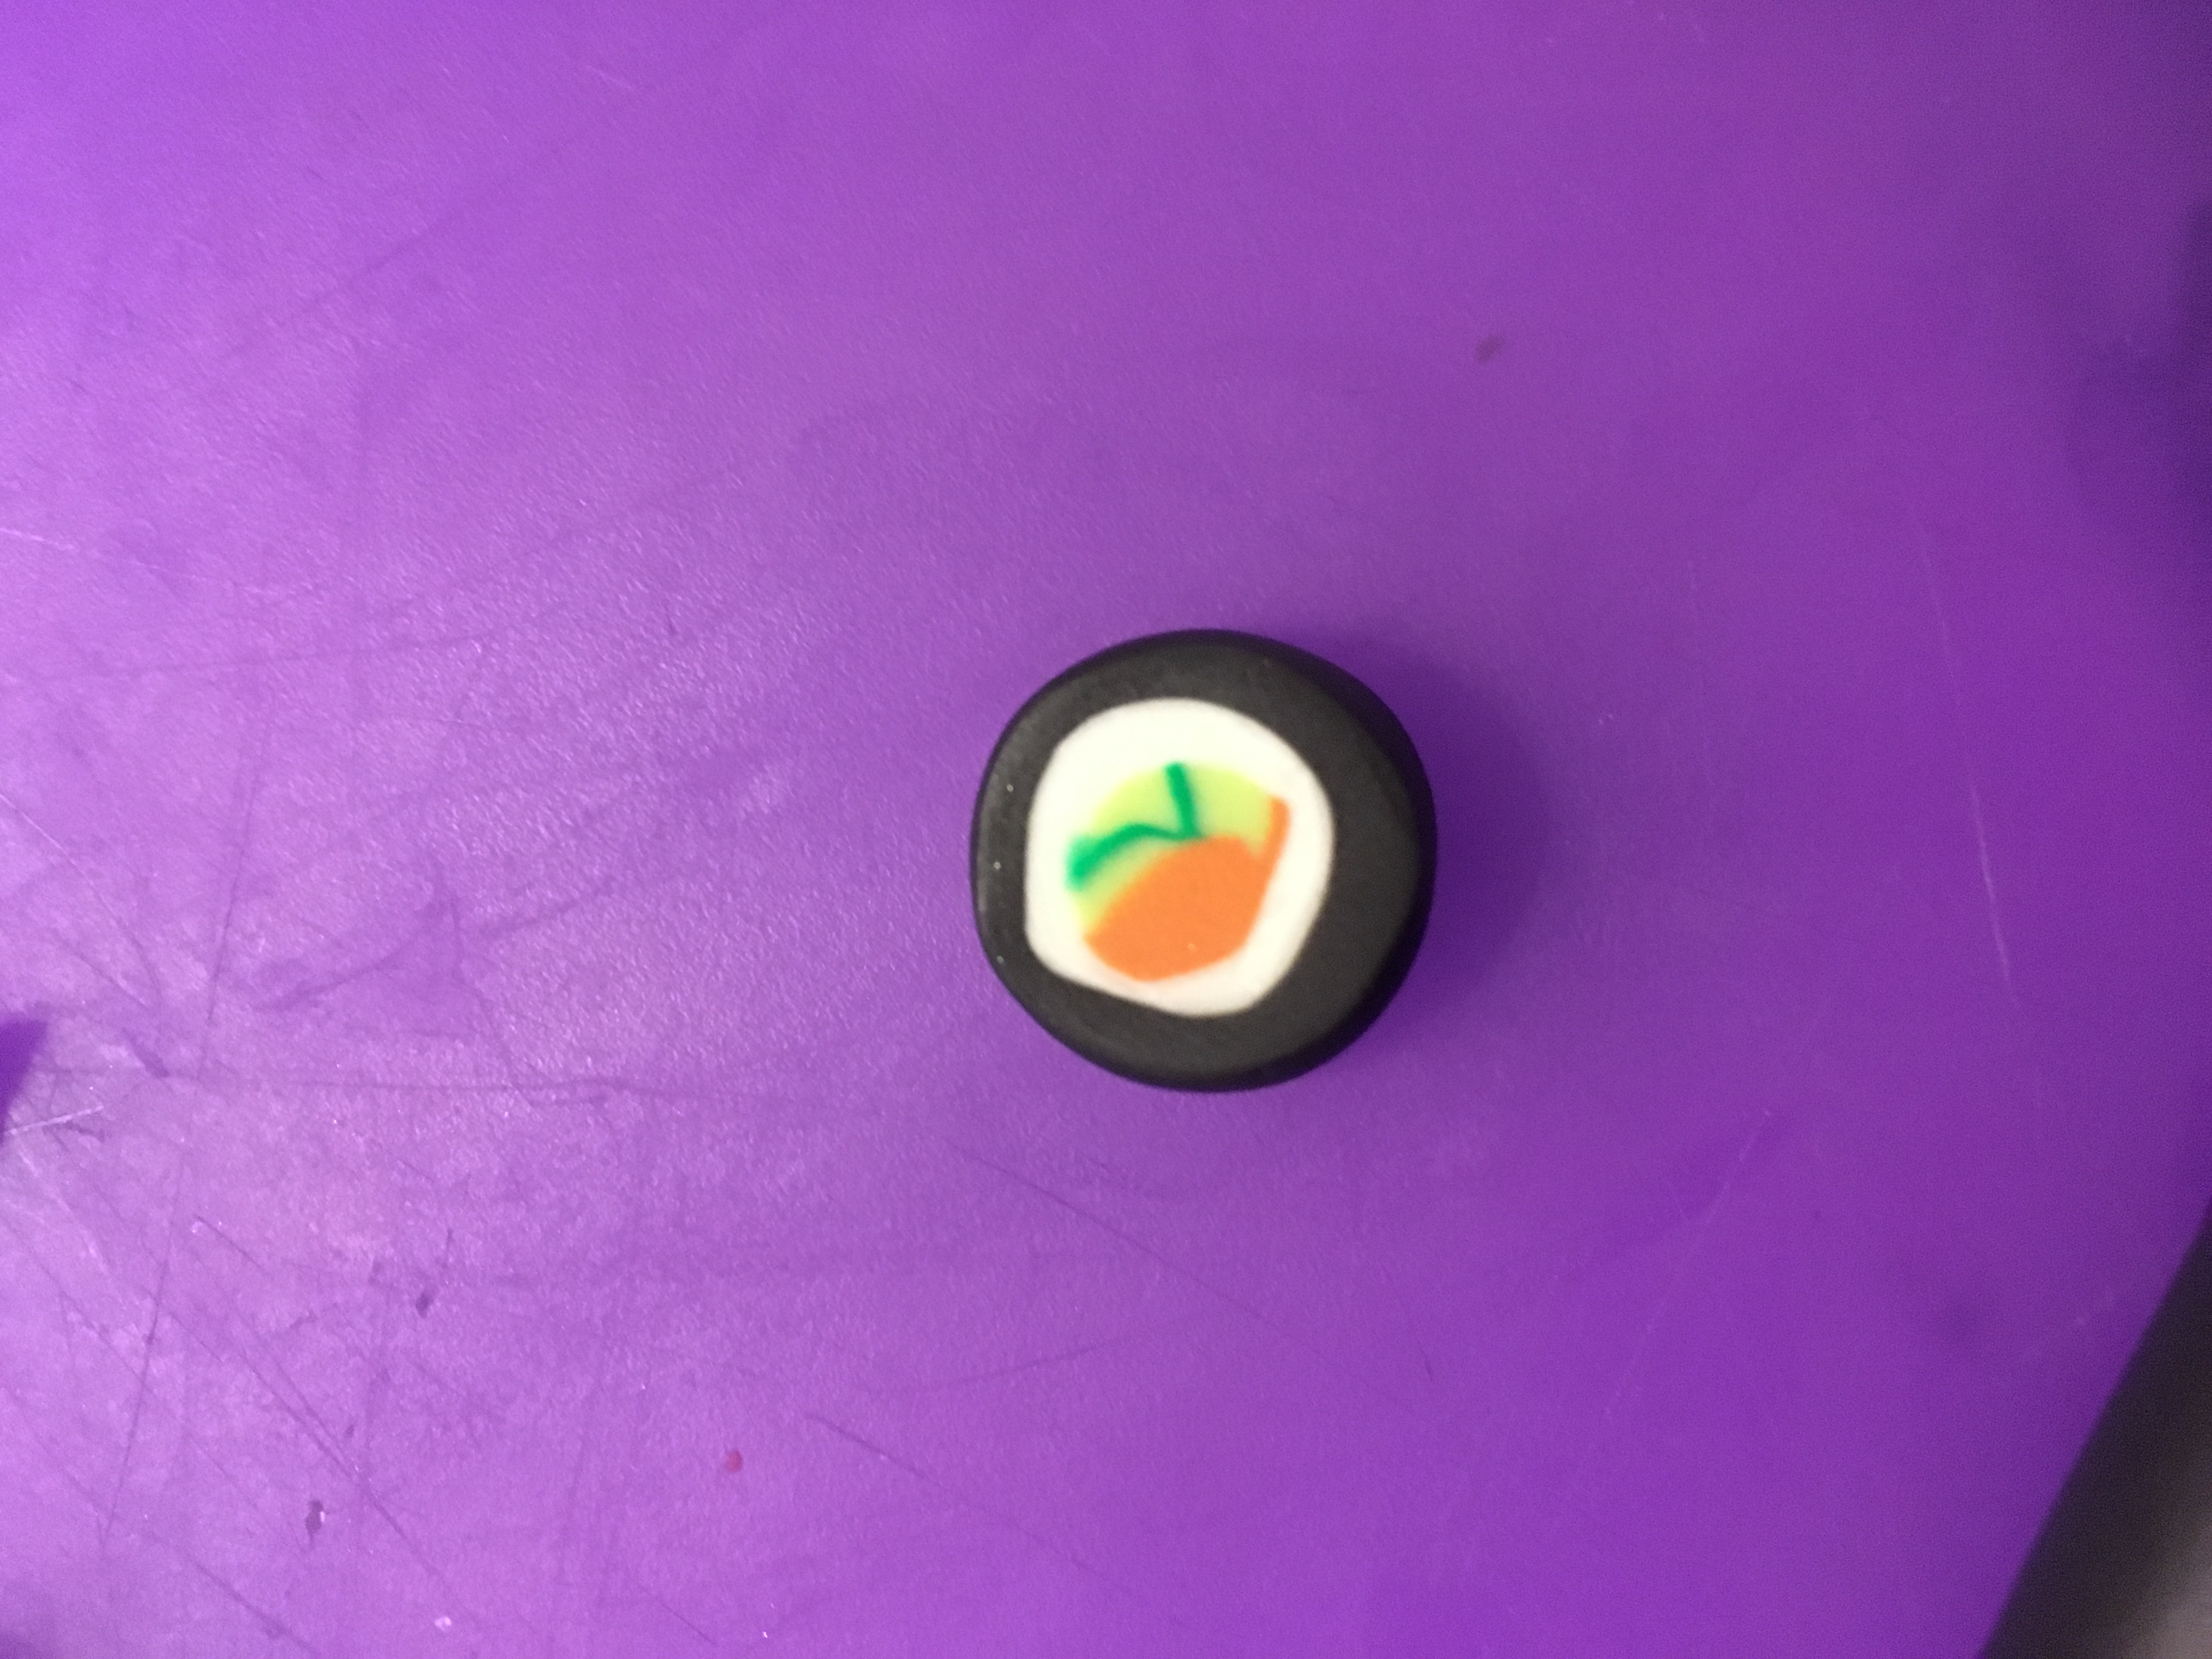
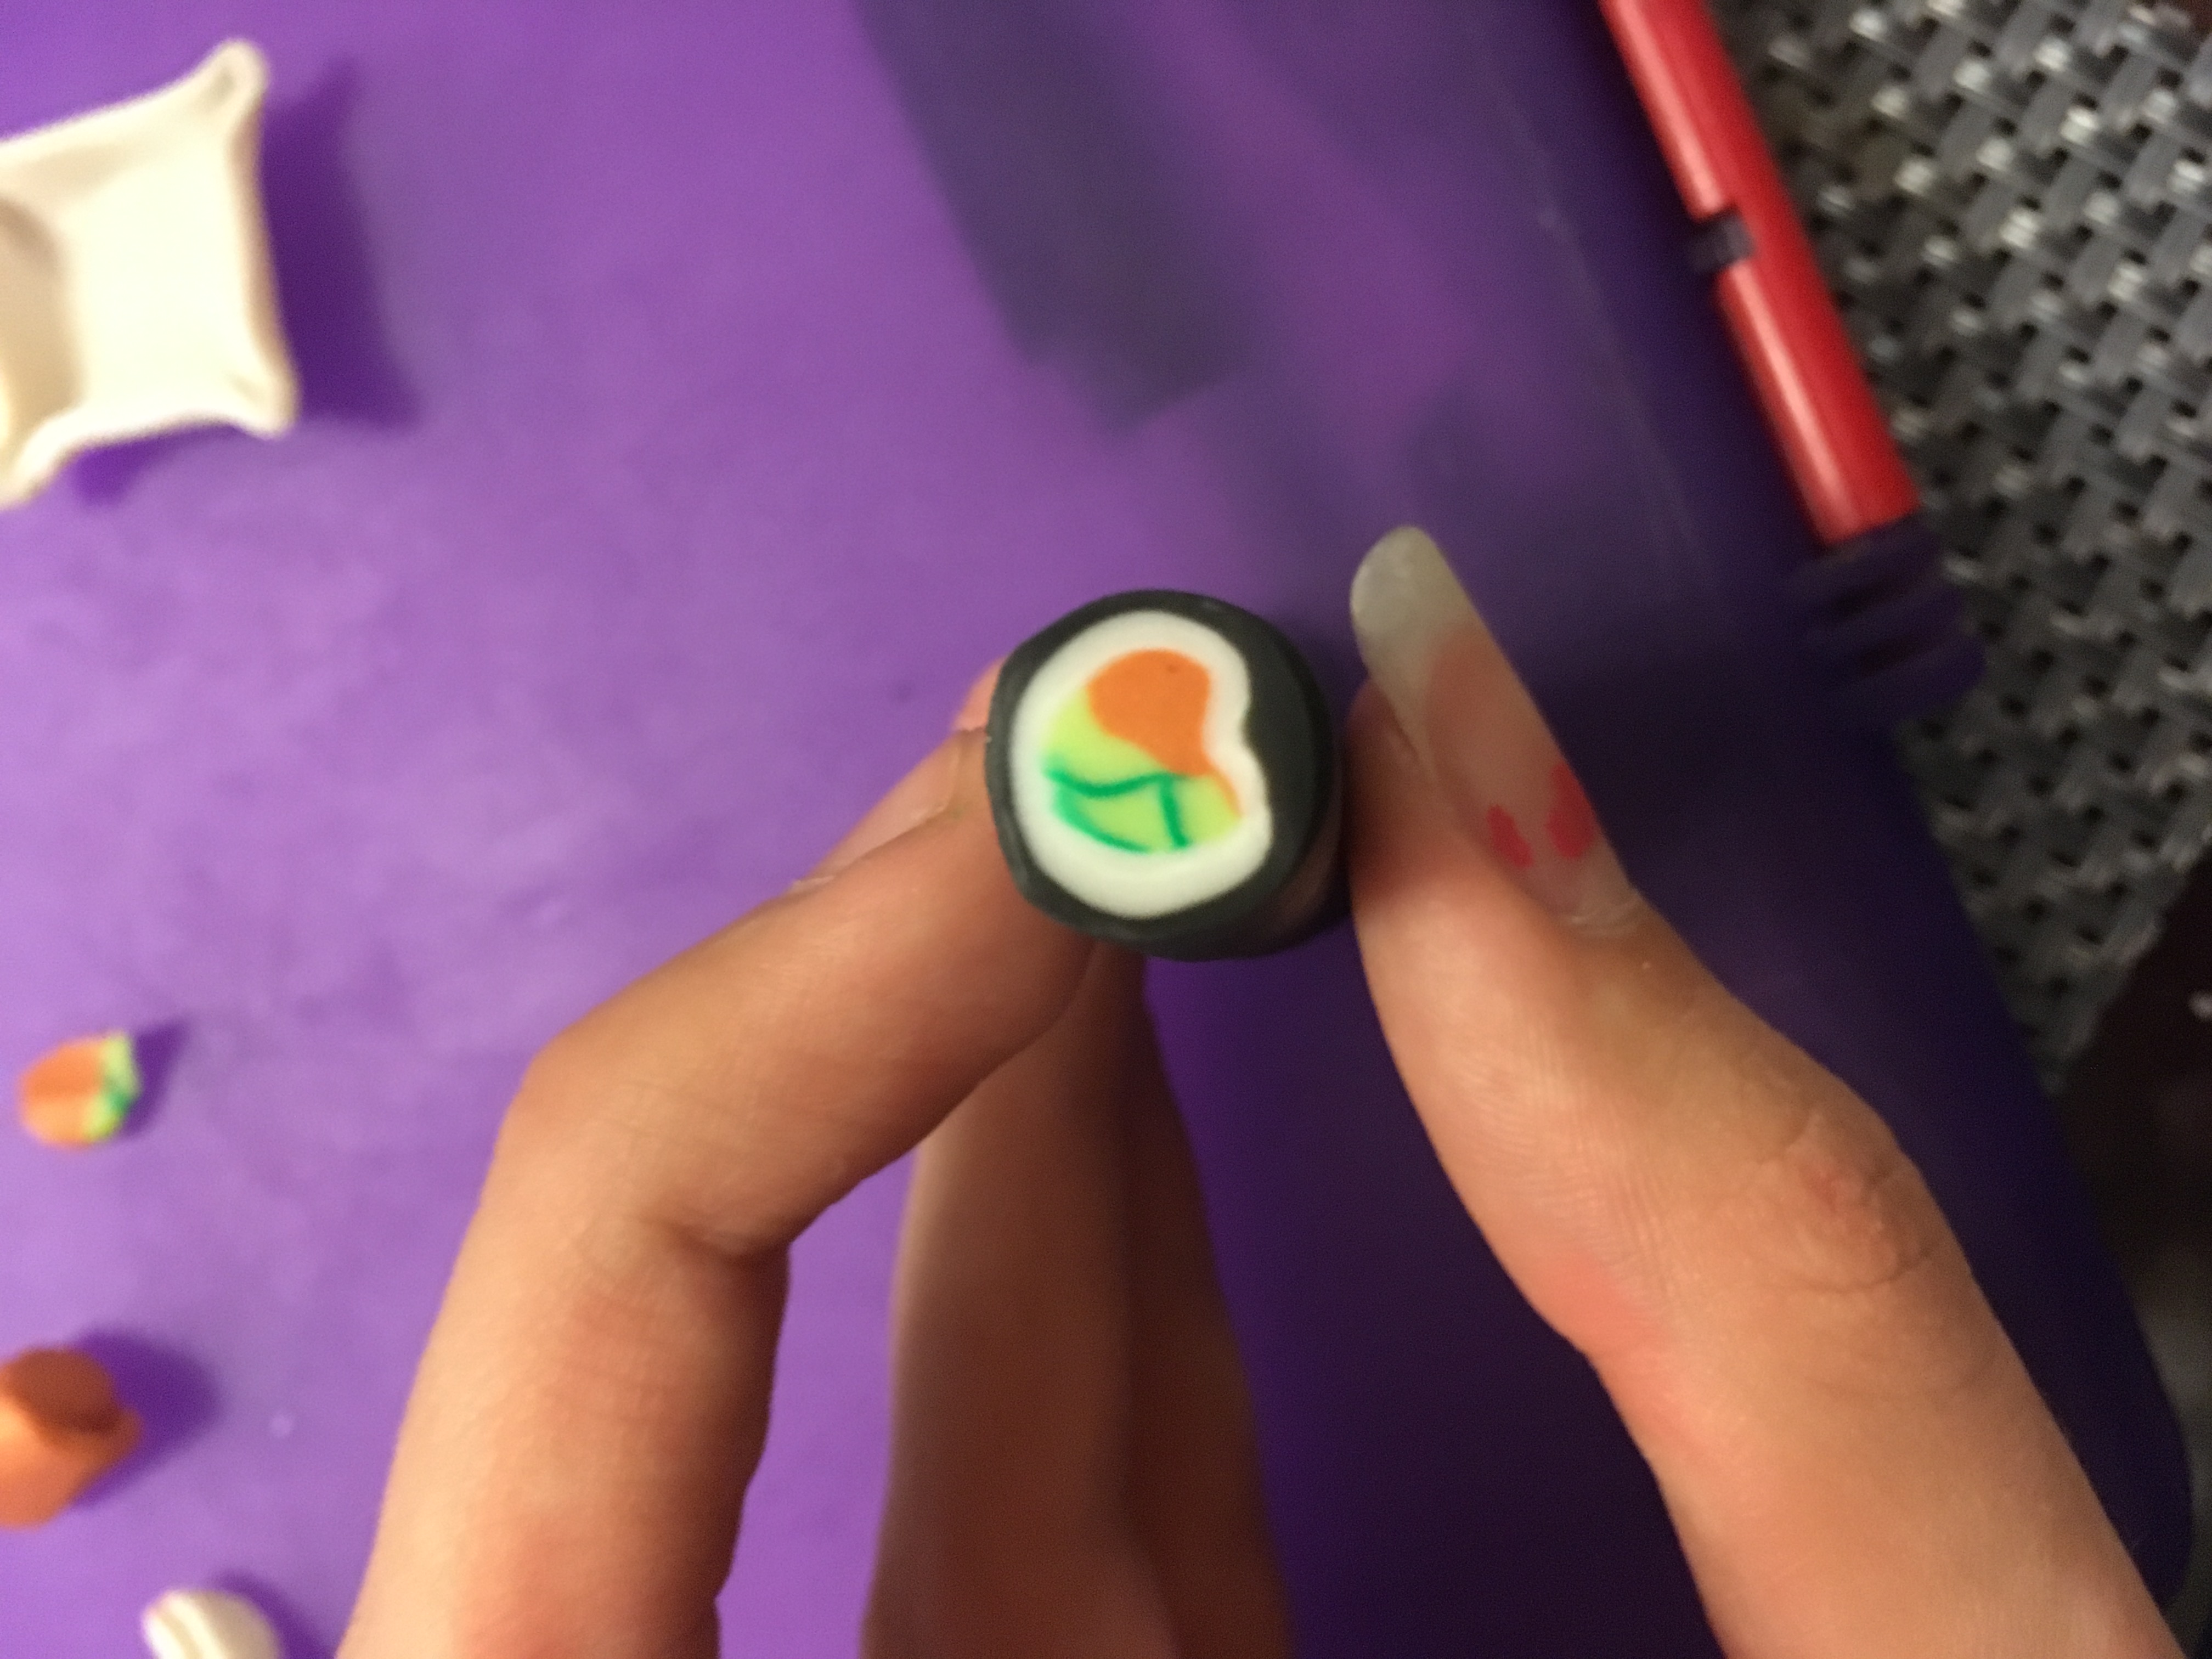
Slice the Sushi
After the sushi roll has cooled, slice it gently with the sharp blade into about ¼ inch slices. Add one slice to the plate along with the chopsticks, texturing the rice with the sharp blade.
Bake
Bake the little creation for about 15 minutes at 275. The pieces may not be secure once baked, if it is not secure simply use nail glue or super glue to attach the pieces back to the plate.
Glaze

Once the pieces are secure and ready to go, use either a glaze or Sally Hansen’s Hard As Nails to varnish and protect your piece.
Finish
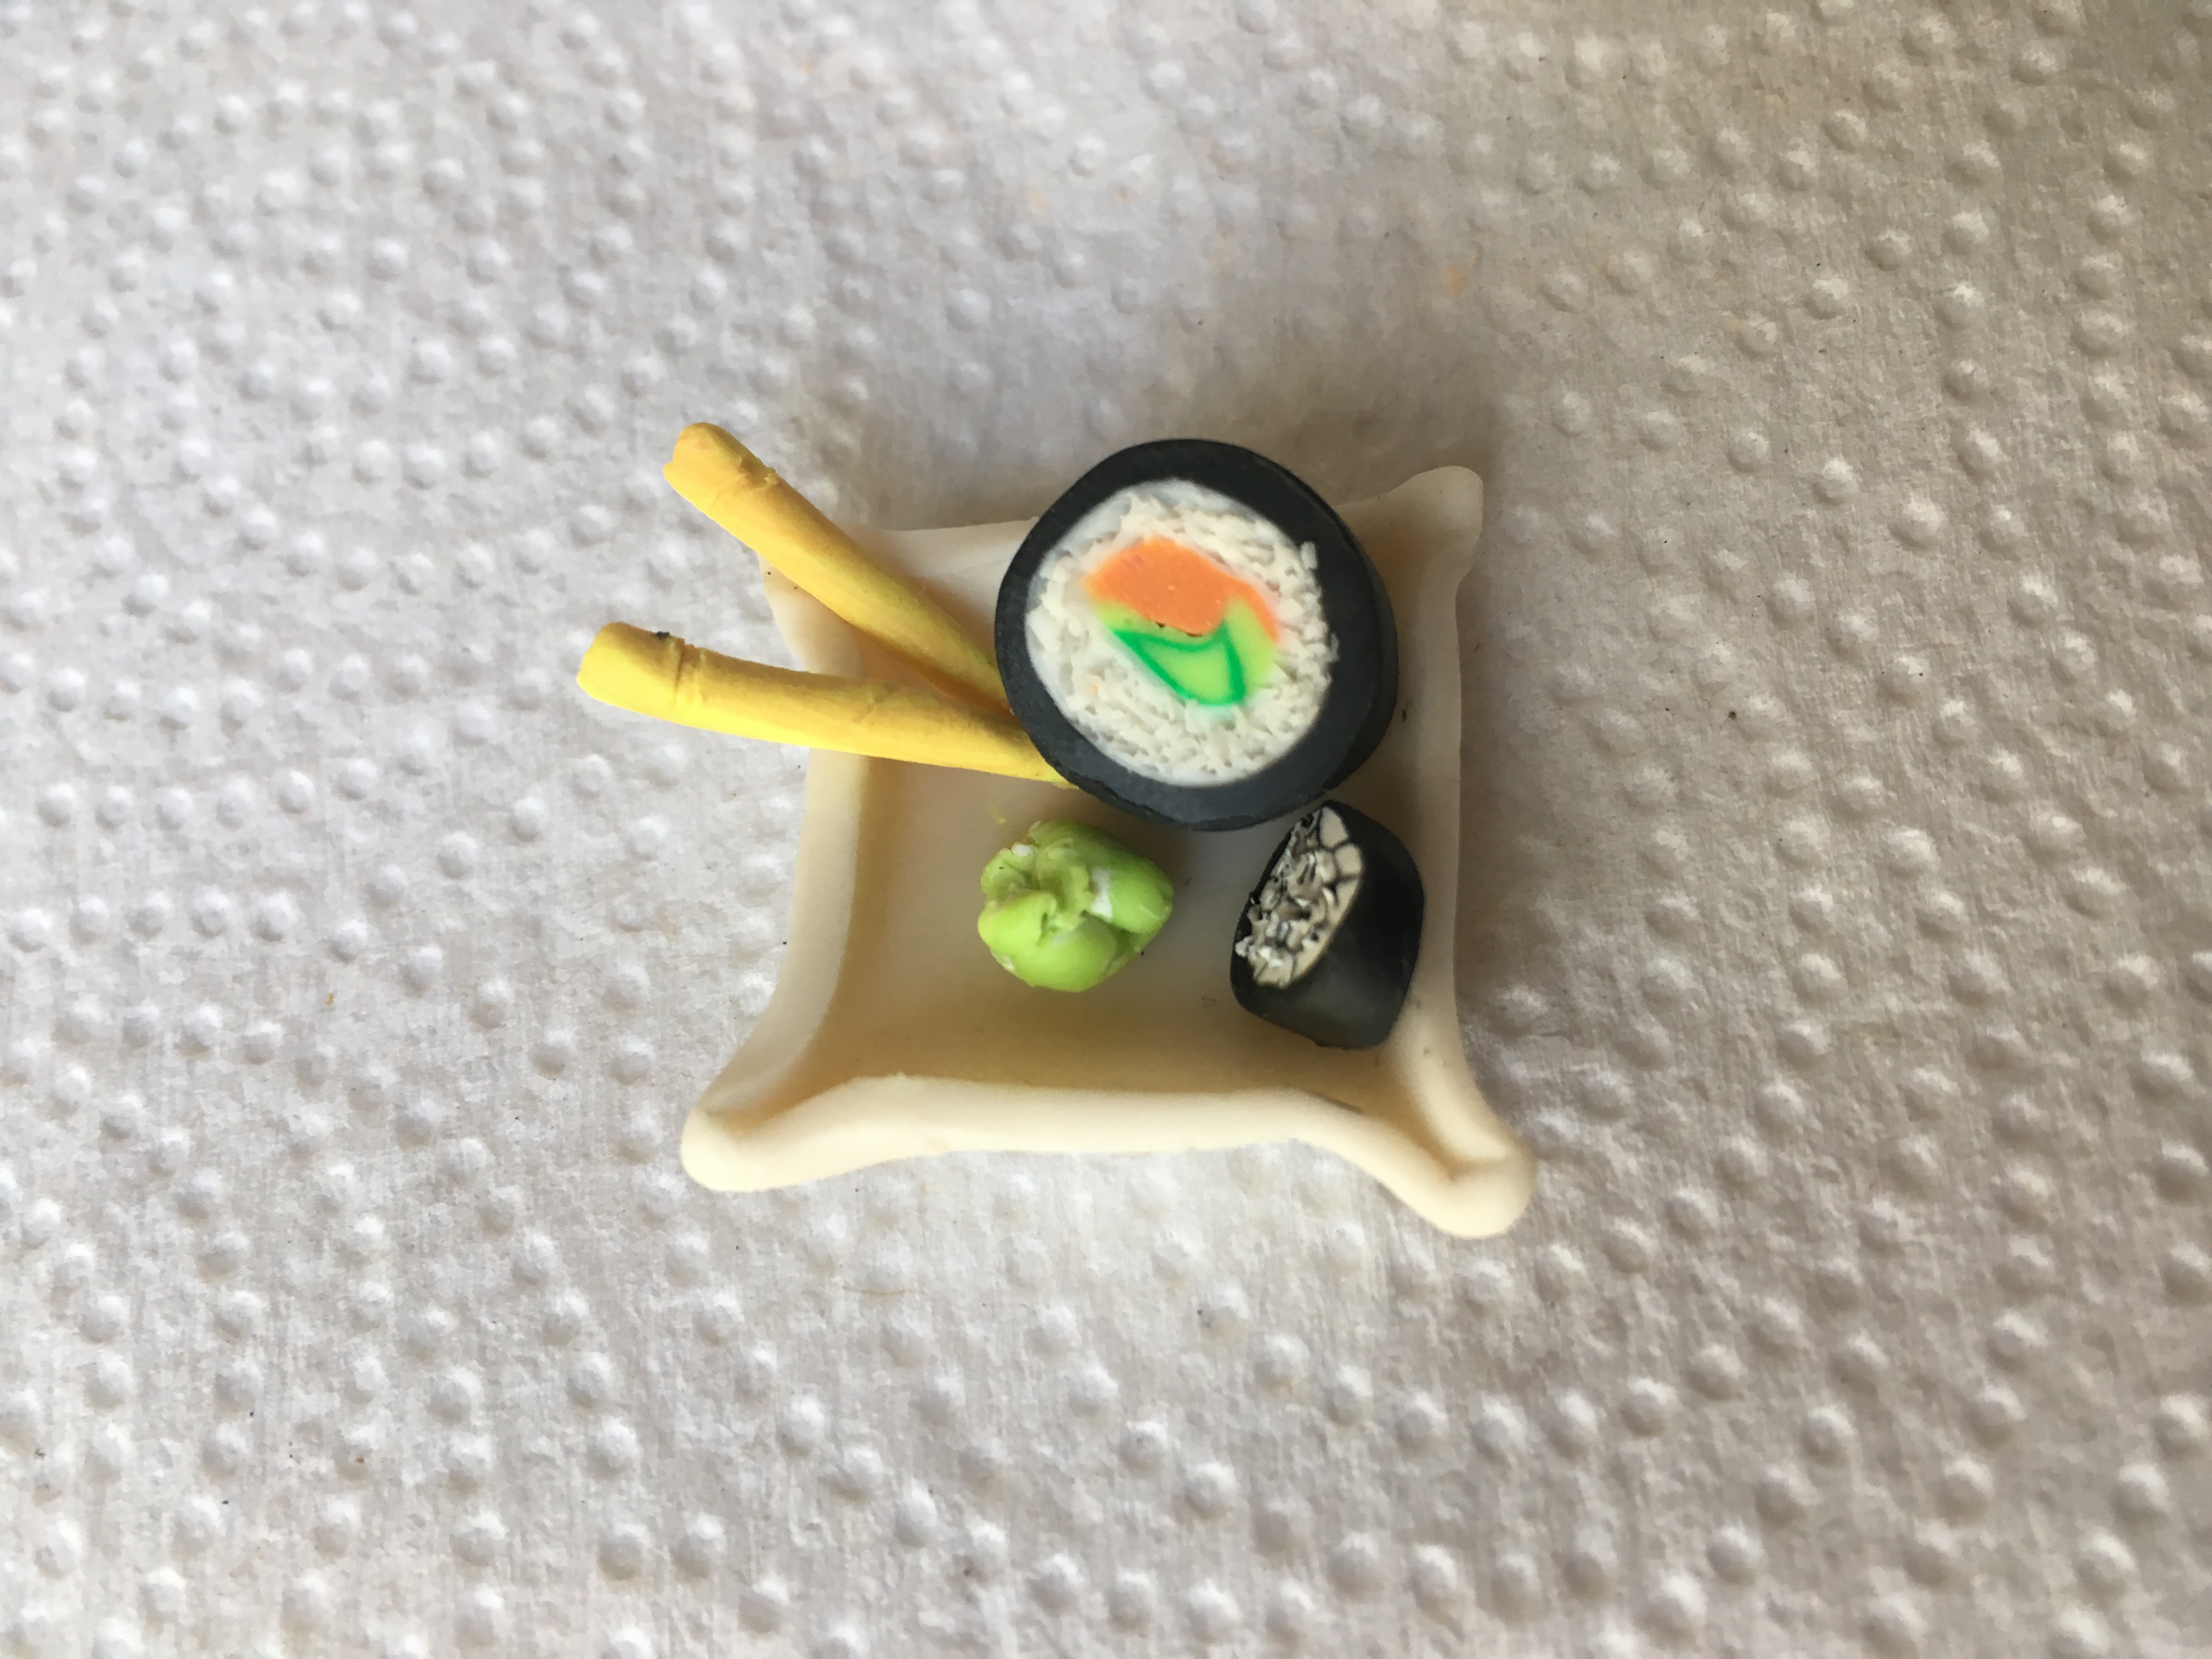
And you are done. Your new little sushi charm looks good enough to eat. Happy crafting!