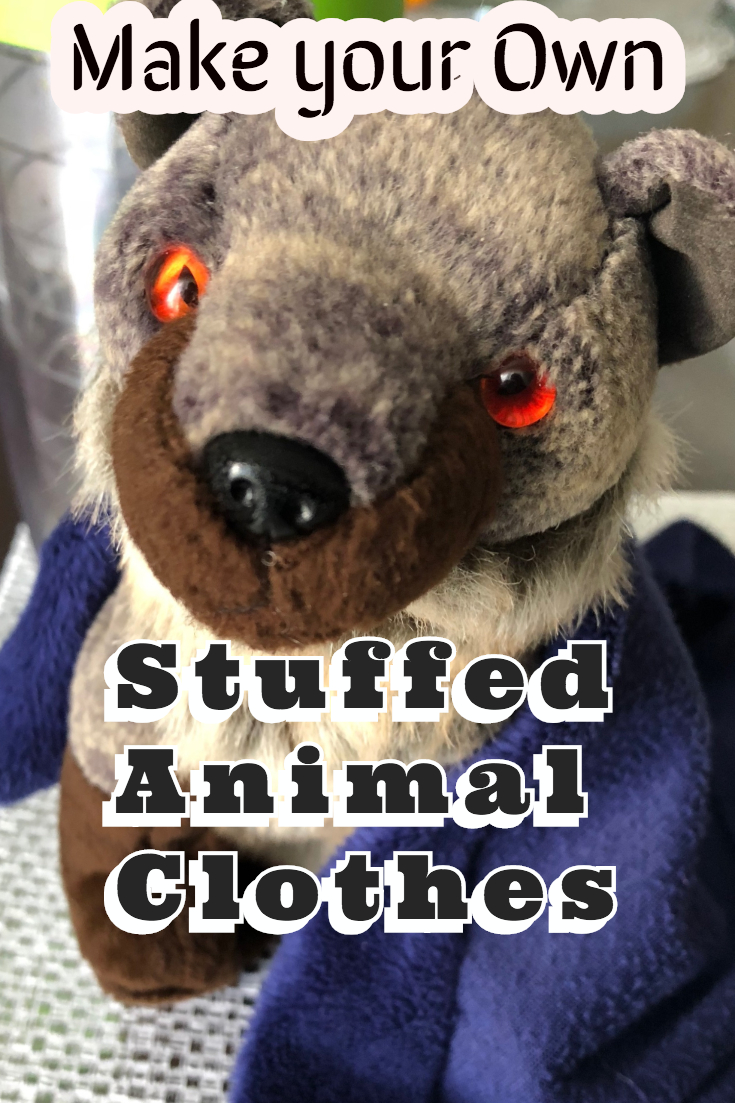
All over the internet is how to make any kind of doll clothes from anything you could ever want. But what about stuffed animals? Here are three awesome DIY stuffed animal clothing pieces that are easy to make and look super cute.
Stuffed animal Jacket

This is possibly the easiest on the list, and is primarily for small stuffed animals, such as beanie babies and webkinz.
What you will need
Lay the hoodie down on a flat surface, and flatten the sleeve you want to turn into a jacket. Lay the stuffed animal on the sleeve and make a small mark or mental note on the cloth of where to cut, about halfway down the body of the stuffed animal. Be careful not to hurt your plush friend. Cut that line as straight as possible, and slip it over the head of the stuffed animal.
Make a mark on either side of the plush on the cloth where the arms are, and take it off to cut the arm holes. Slip it back on to make sure it fits, and ajust the holes as needed. Fold the small coat in half, with the arm holes lined up on either side, and cut a slant on the cuffed part, so that when you open the cloth back up to put on the stuffed animal it becomes a v neck.
Stuffed animal Dress and skirt

This one isn’t as good, but it’s still pretty awesome. This very easy hack can have your plush stylin’ along with barbie.
What you will need
- Yarn or ribbon
- Piece of pretty cloth
- Stuffed animal
- Big needle
Start by making sure your cloth is a rectangle with no awkward edges, and that you can lay the stuffed animal on it and have the cloth be the same length as the stuffed animal. The cloth should be four times as wide as the stuffed animal, the easiest way to check this is to fold the cloth in half and make sure it is roughly double the size of the small plushie friend. Once your cloth is good to go, thread the big needle with your yarn, and fold the cloth about a half an inch down on whichever side is the top, making the fold face inwards so the seam isn’t seen. Do a big basting stitch along the middle of this folded down piece, keeping a good foot of yarn on the side you started. Keep stitching until you reach the end, and pull the needle off.
Put the stuffed animal in front of you and wrap the cloth under her arms, pulling both ends of the yarn to make it bunch up. Arrange the fabric to cover her, then loop the yarn behind her back like straps. Hook the straps to the big stitches behind her, and then tie it in a bow in back. Trim the string down a bit so it isn’t in the way. To make it a skirt, wrap it around her waist and arrange, then tie it in a bow on the side.
Stuffed animal hoodie

This craft only works for small stuffed animals. Be careful, as this craft is all cutting, and one cut can ruin the whole thing.
What you will need
Lay the stuffed animal on the sock and cut it to the entire length of the stuffed animal, with the toe part of the sock lined up with his head. Cut the toe of the sock halfway off, so it is still attached to the back part of the sock which faces up on your foot. Cut the same side of the sock that you cut the slot out of, and cut it from the bottom to the hood to make the front open.
Put the hoodie on the stuffed animal, with the toe part of the sock on the stuffed animal’s head, and cut ear holes. Cut arm holes on either side carefully, with your finger on the other side of the cloth to keep the plush from getting cut. You can attach little strings for hoodie ties if you would like for a finishing touch.
Extra Stuffed animal collar, tag and chain hack

For stuffed animals, getting lost can be a death sentence. Using a very small cat or dog collar with a tag with your name or number can help you get it back safely. If you are paranoid about leaving him somewhere, use a small dog leash or a chain with a clip to keep him safe. A charm bracelet chain works really well as a chain option instead of a collar, and making a tag is near impossible. Use a machine at almost any pet store or Walmart to engrave your info into a small tag to put on him with a little jump ring. I hope these crafts helped you get some ideas, and happy crafting!

