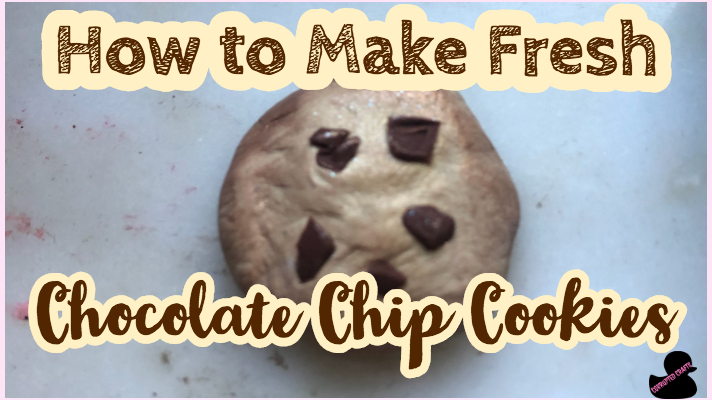
Cookies are awesome, but so hard to make from polymer clay. In this tutorial, I will show you how to easily and quickly make a whole batch of polymer clay cookies in under 30 minutes. The secret to the most perfectly crispy and yummy looking cookie charms is eye shadow.
What you will need
- Yellow polymer clay
- White polymer clay
- Brown polymer clay
- Makeup brush set
- Yellow pigment
- Brown pigment
- Glittery eyeshadow stuff
- Baking pan
- Oven
- Translucent powder
- Wire
- Multifunction tool
Making the Cookie Dough Base for the Cookie Charm
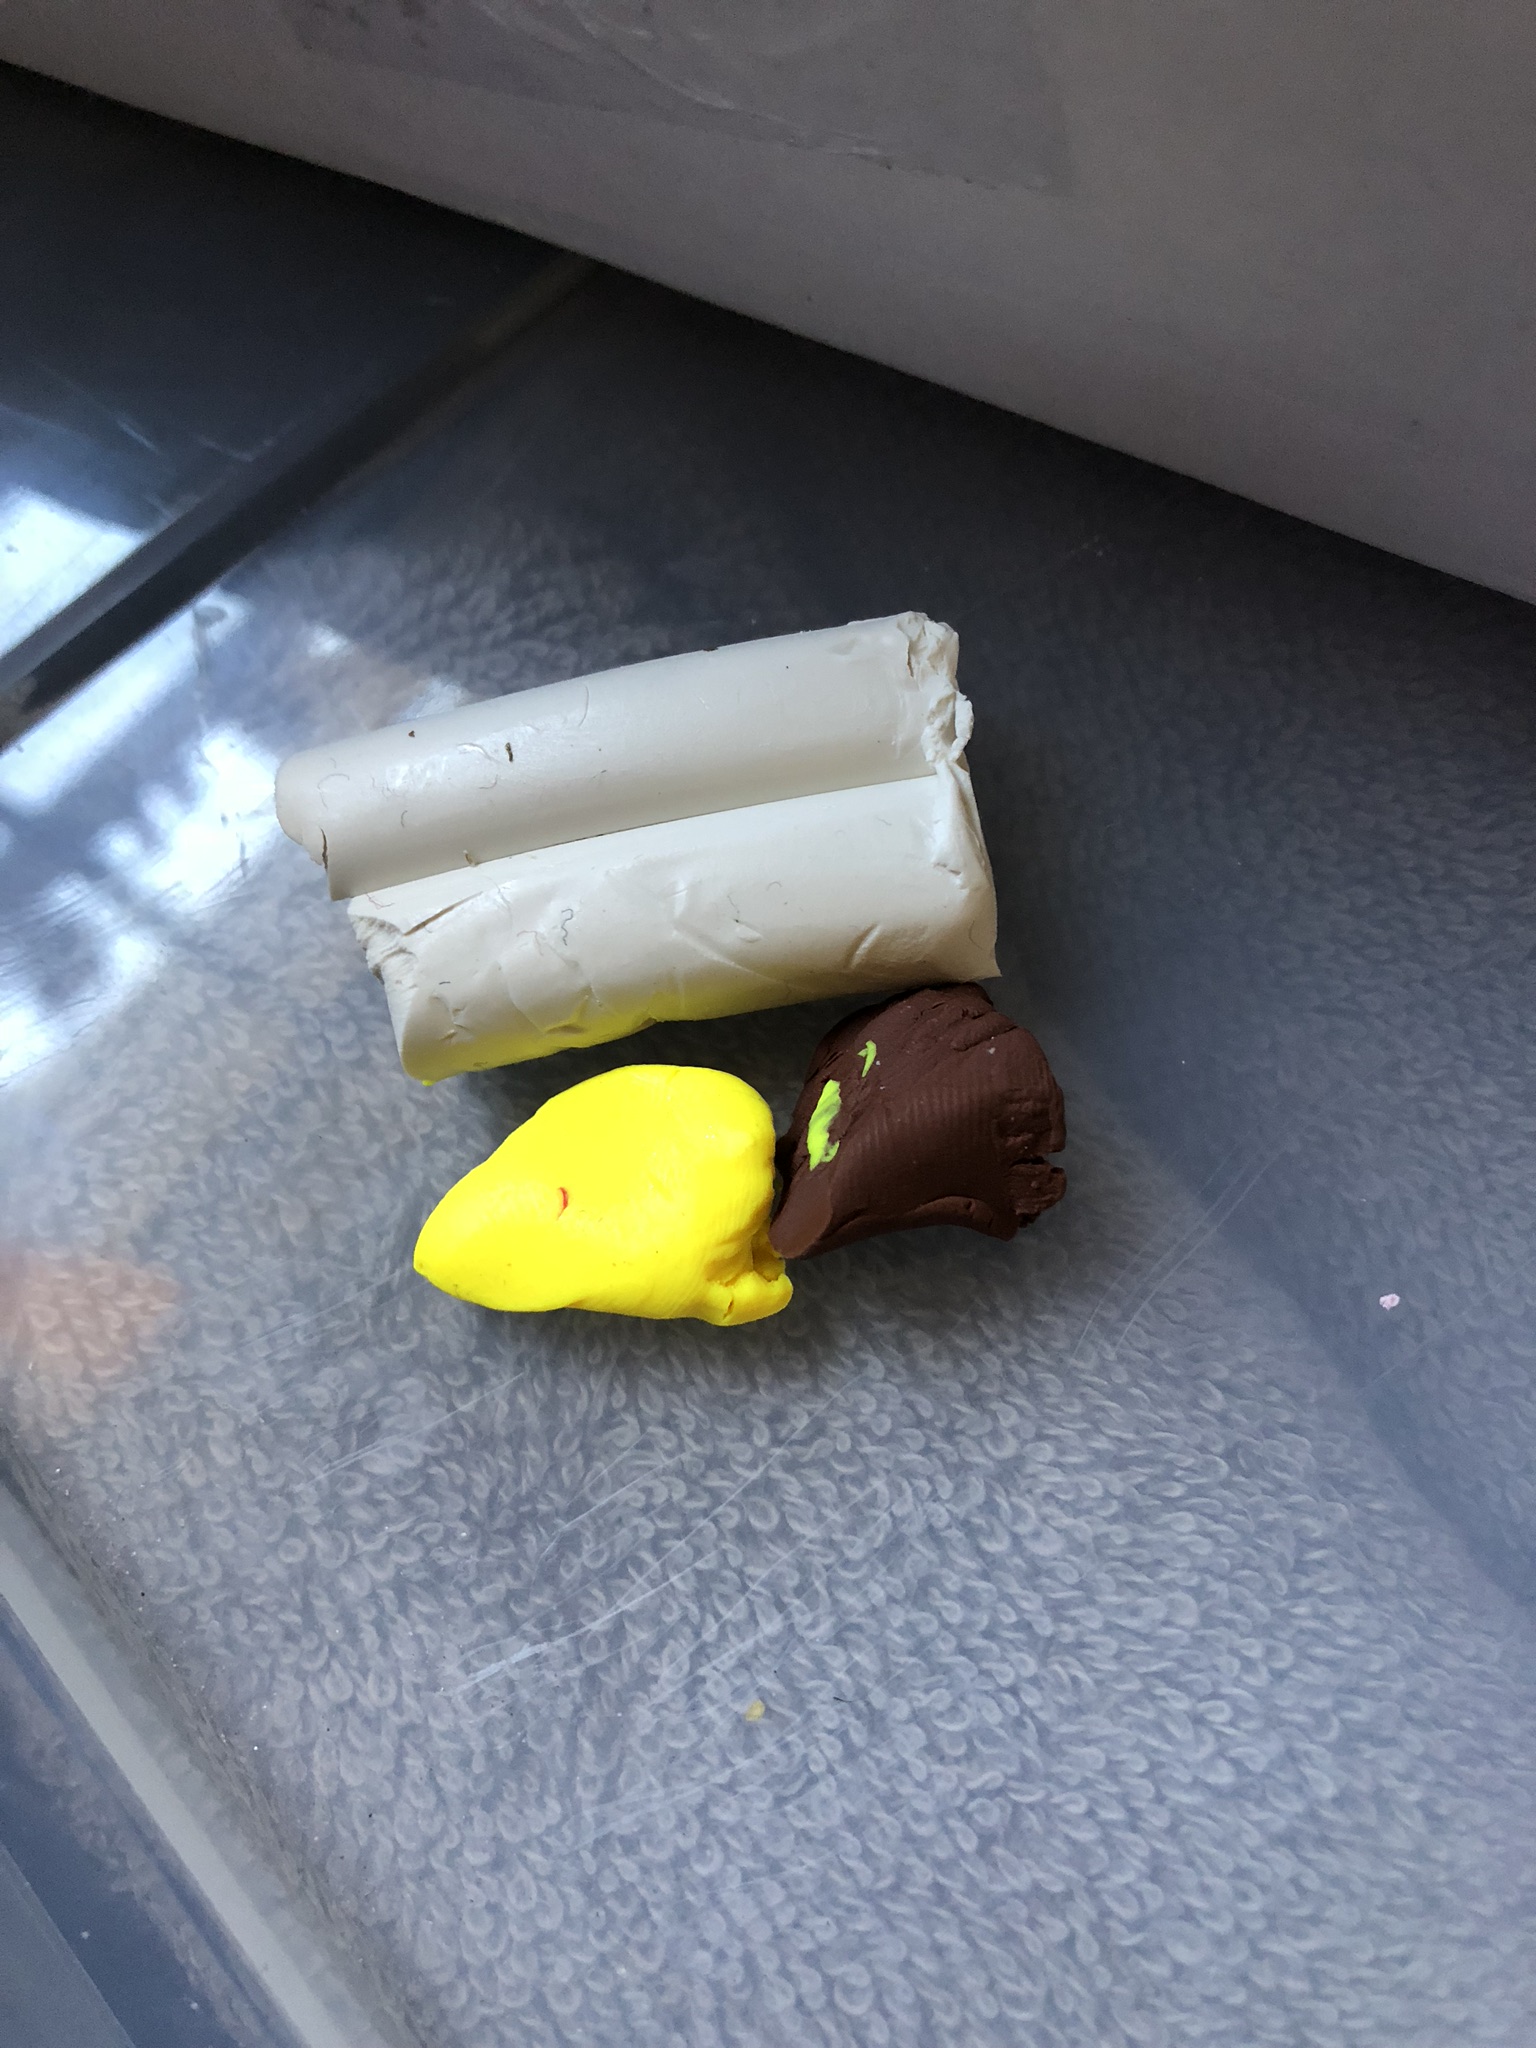
Start on a clean surface with no dirt and wash your hands. Mix a lot of white with a little brown and yellow, adding bits of each color as needed to make the clay more dark or pale or yellowish.
Rolling out the Cookie Dough
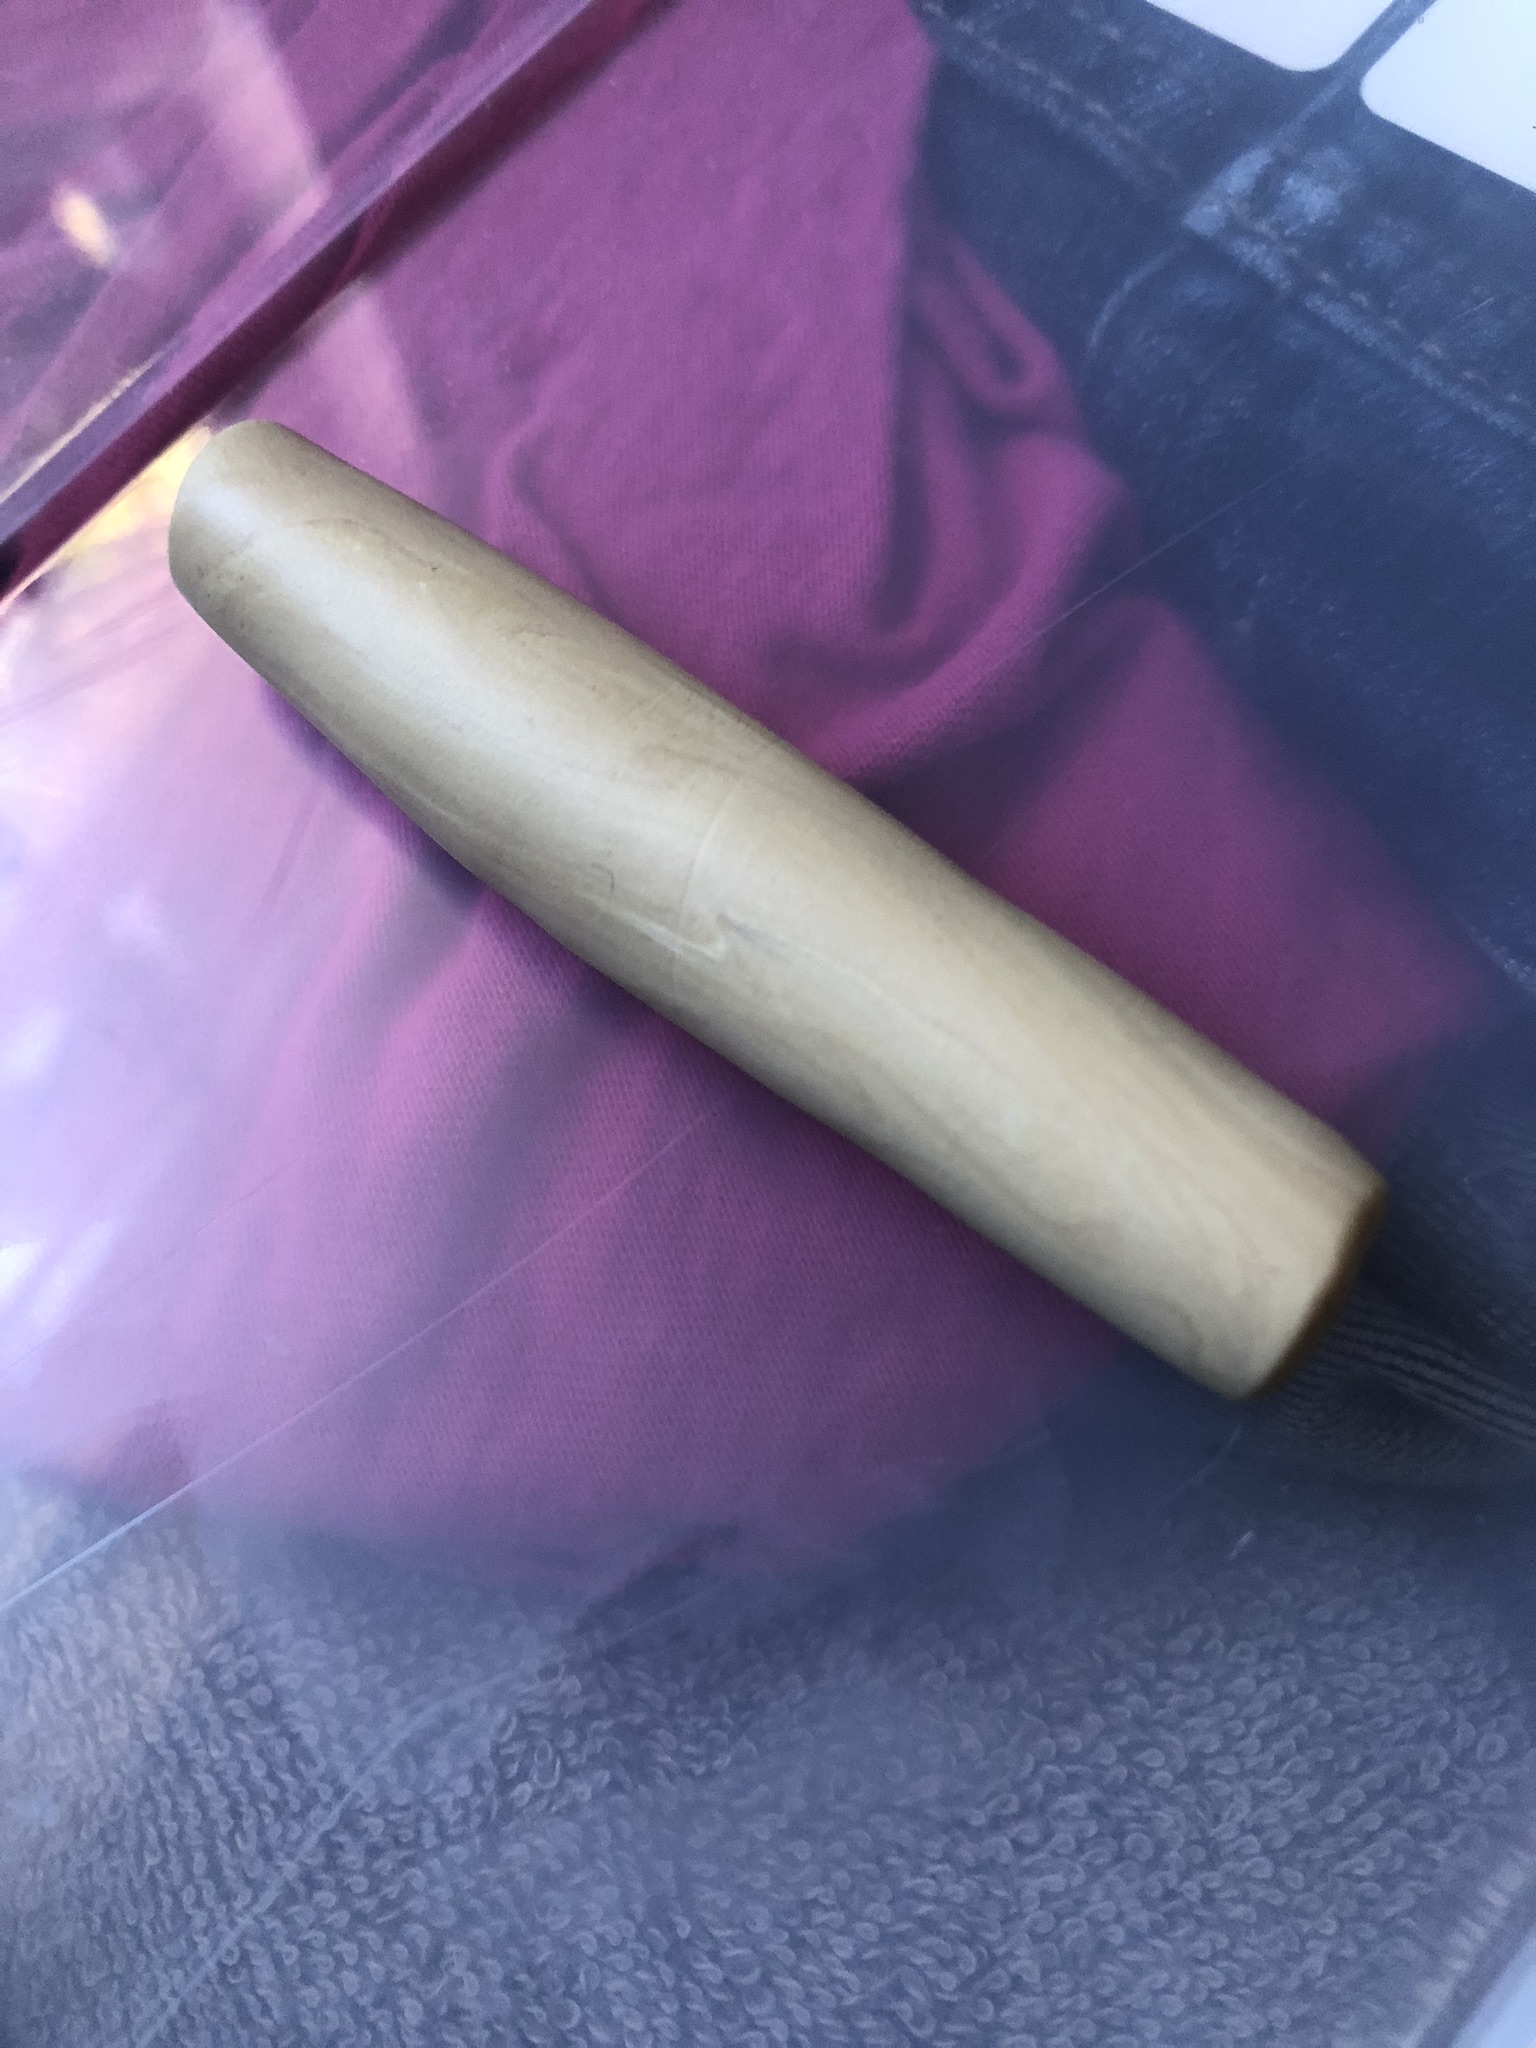
Once the clay is well mixed, roll it into a thick log. Make the log of polymer clay as thick as you want your cookies to be.
Slicing the Polymer Clay Cookie Charms
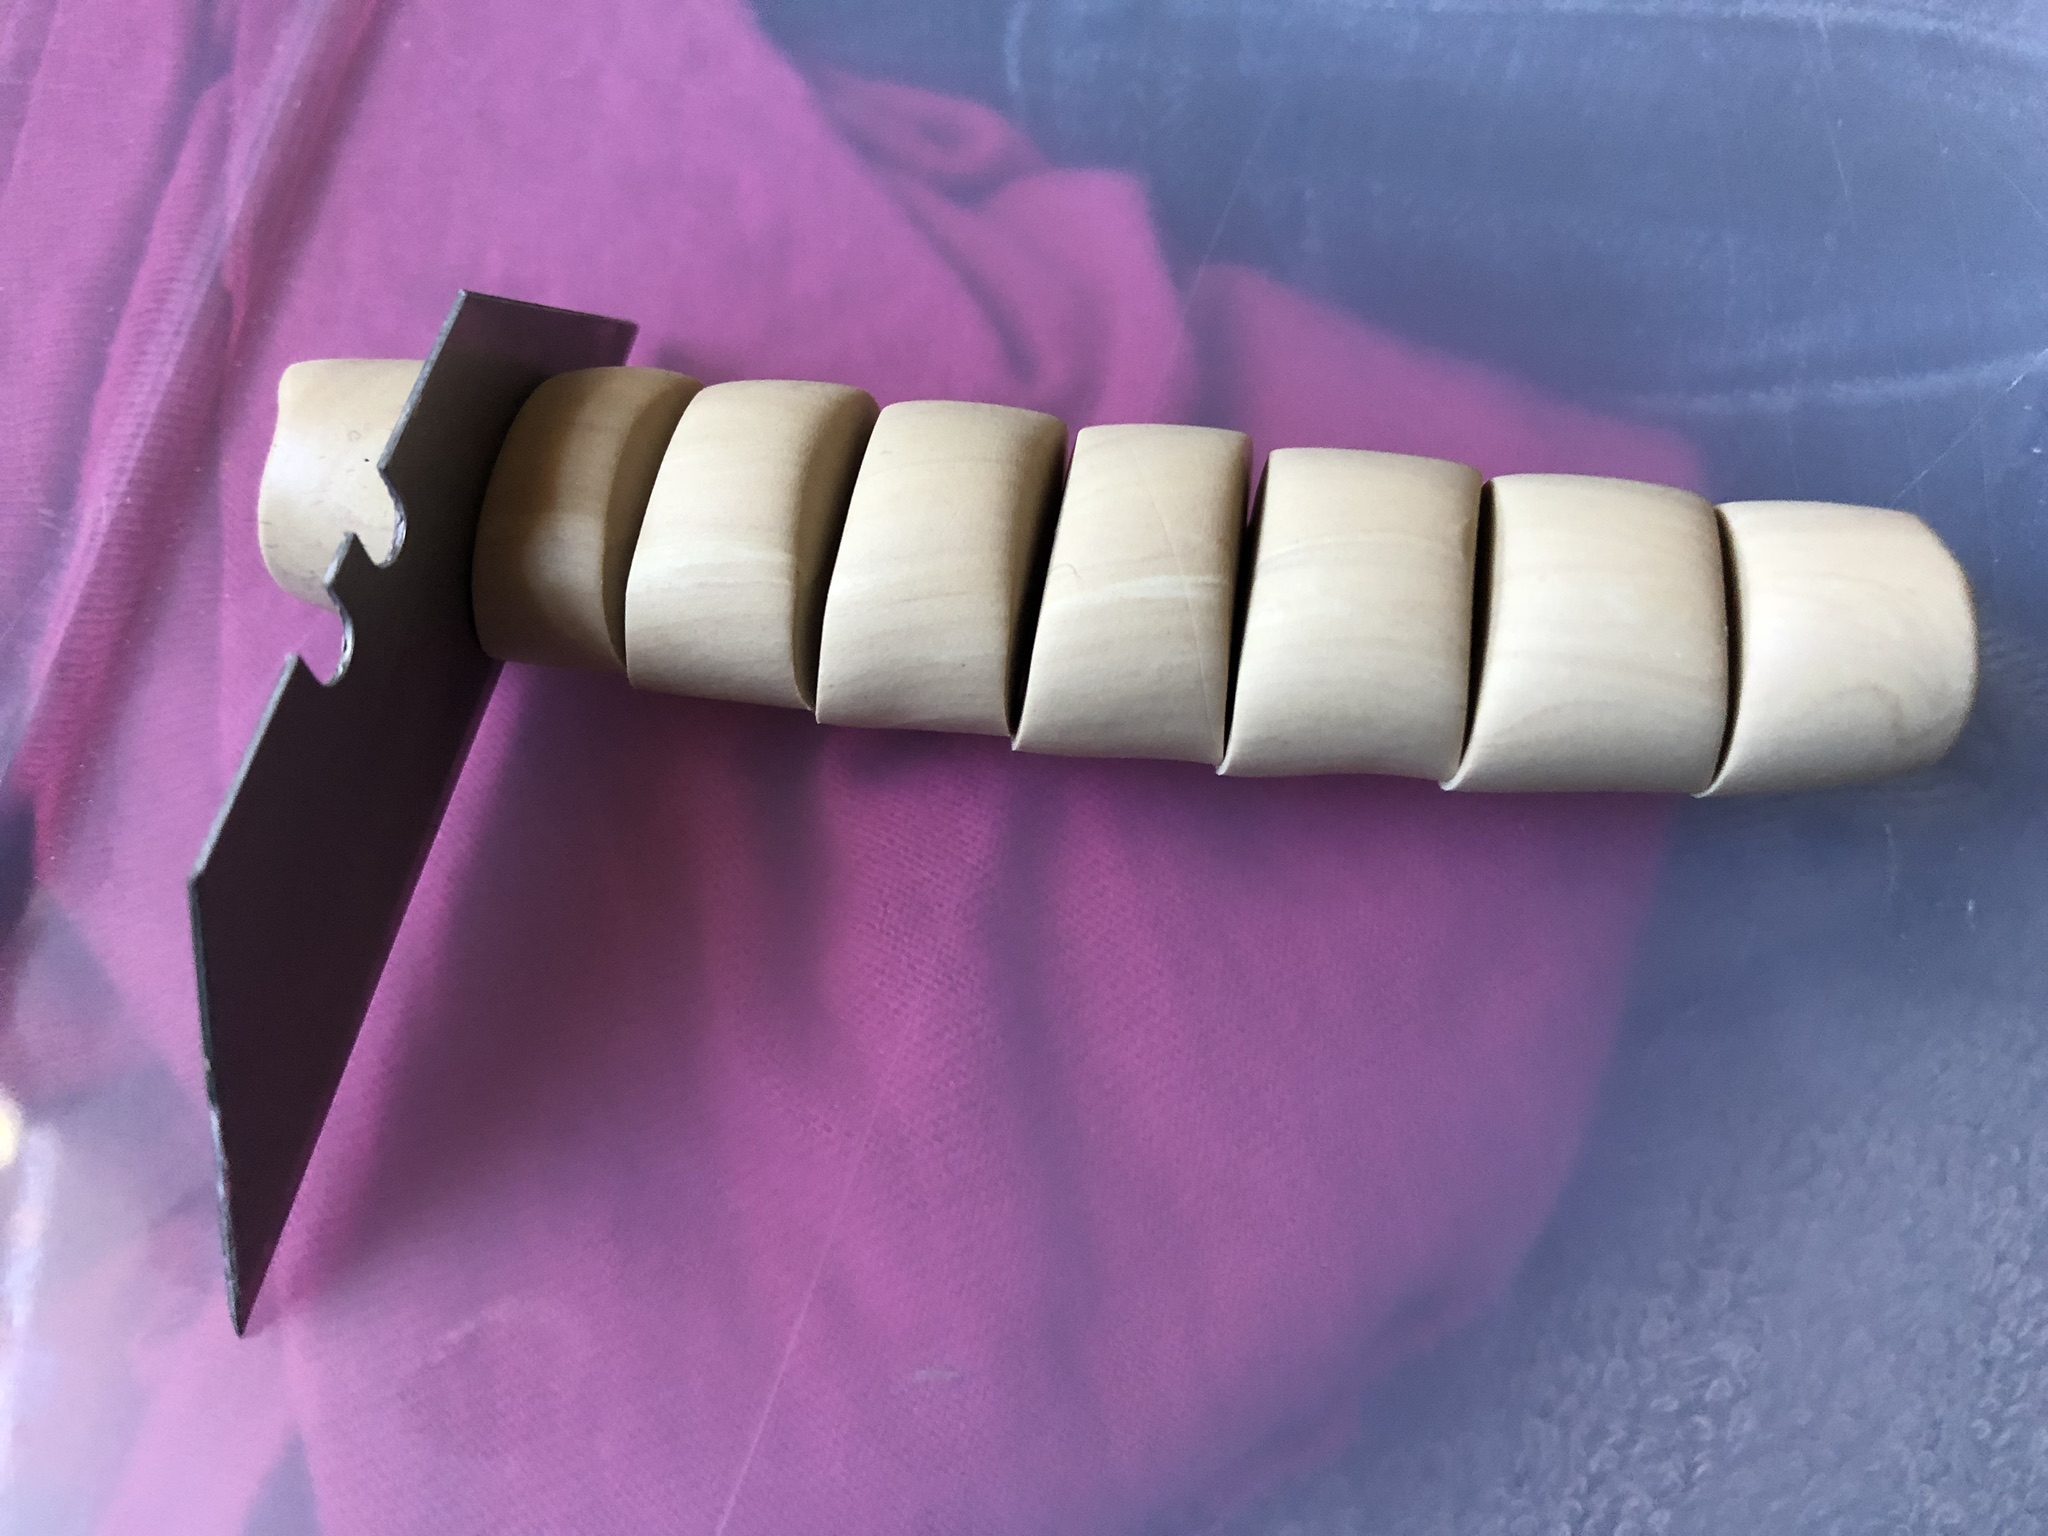
Cut out the clay at about half an inch per cookie at most. This will make sure your cookies are good and big, perfect for charms.
Rolling the Polymer Clay into Balls
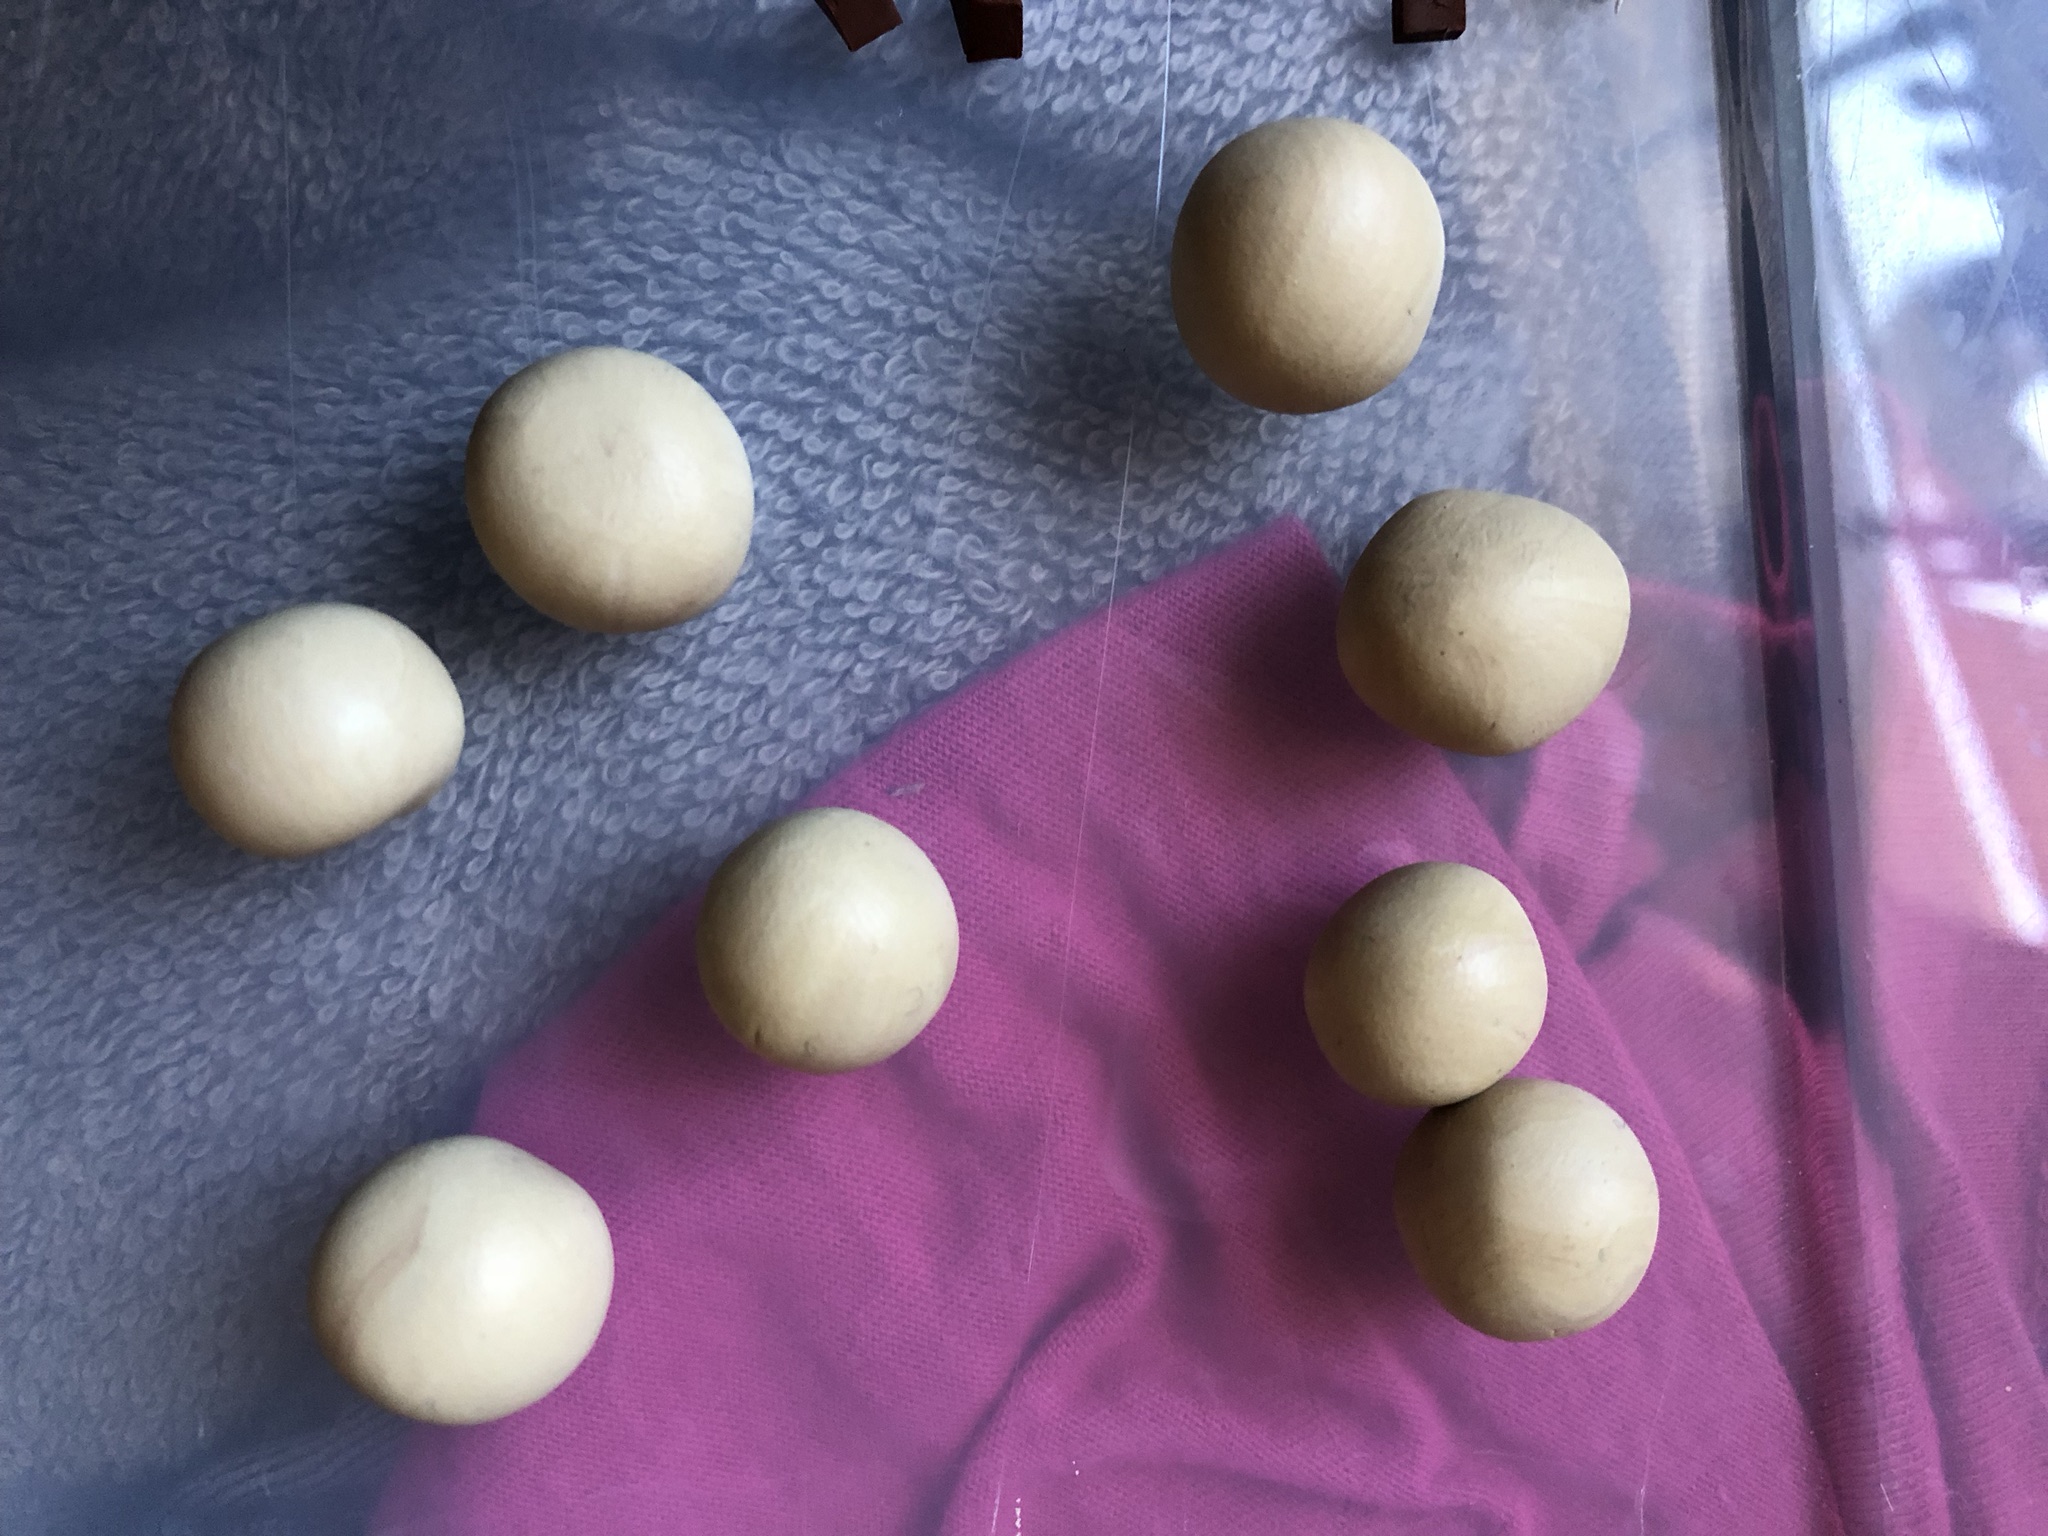
Roll the clay into as many balls as there are chunks of clay. Make them as round as possible, to make life easier in the next few steps.
Making Hooks for the Polymer Clay Cookie Charm
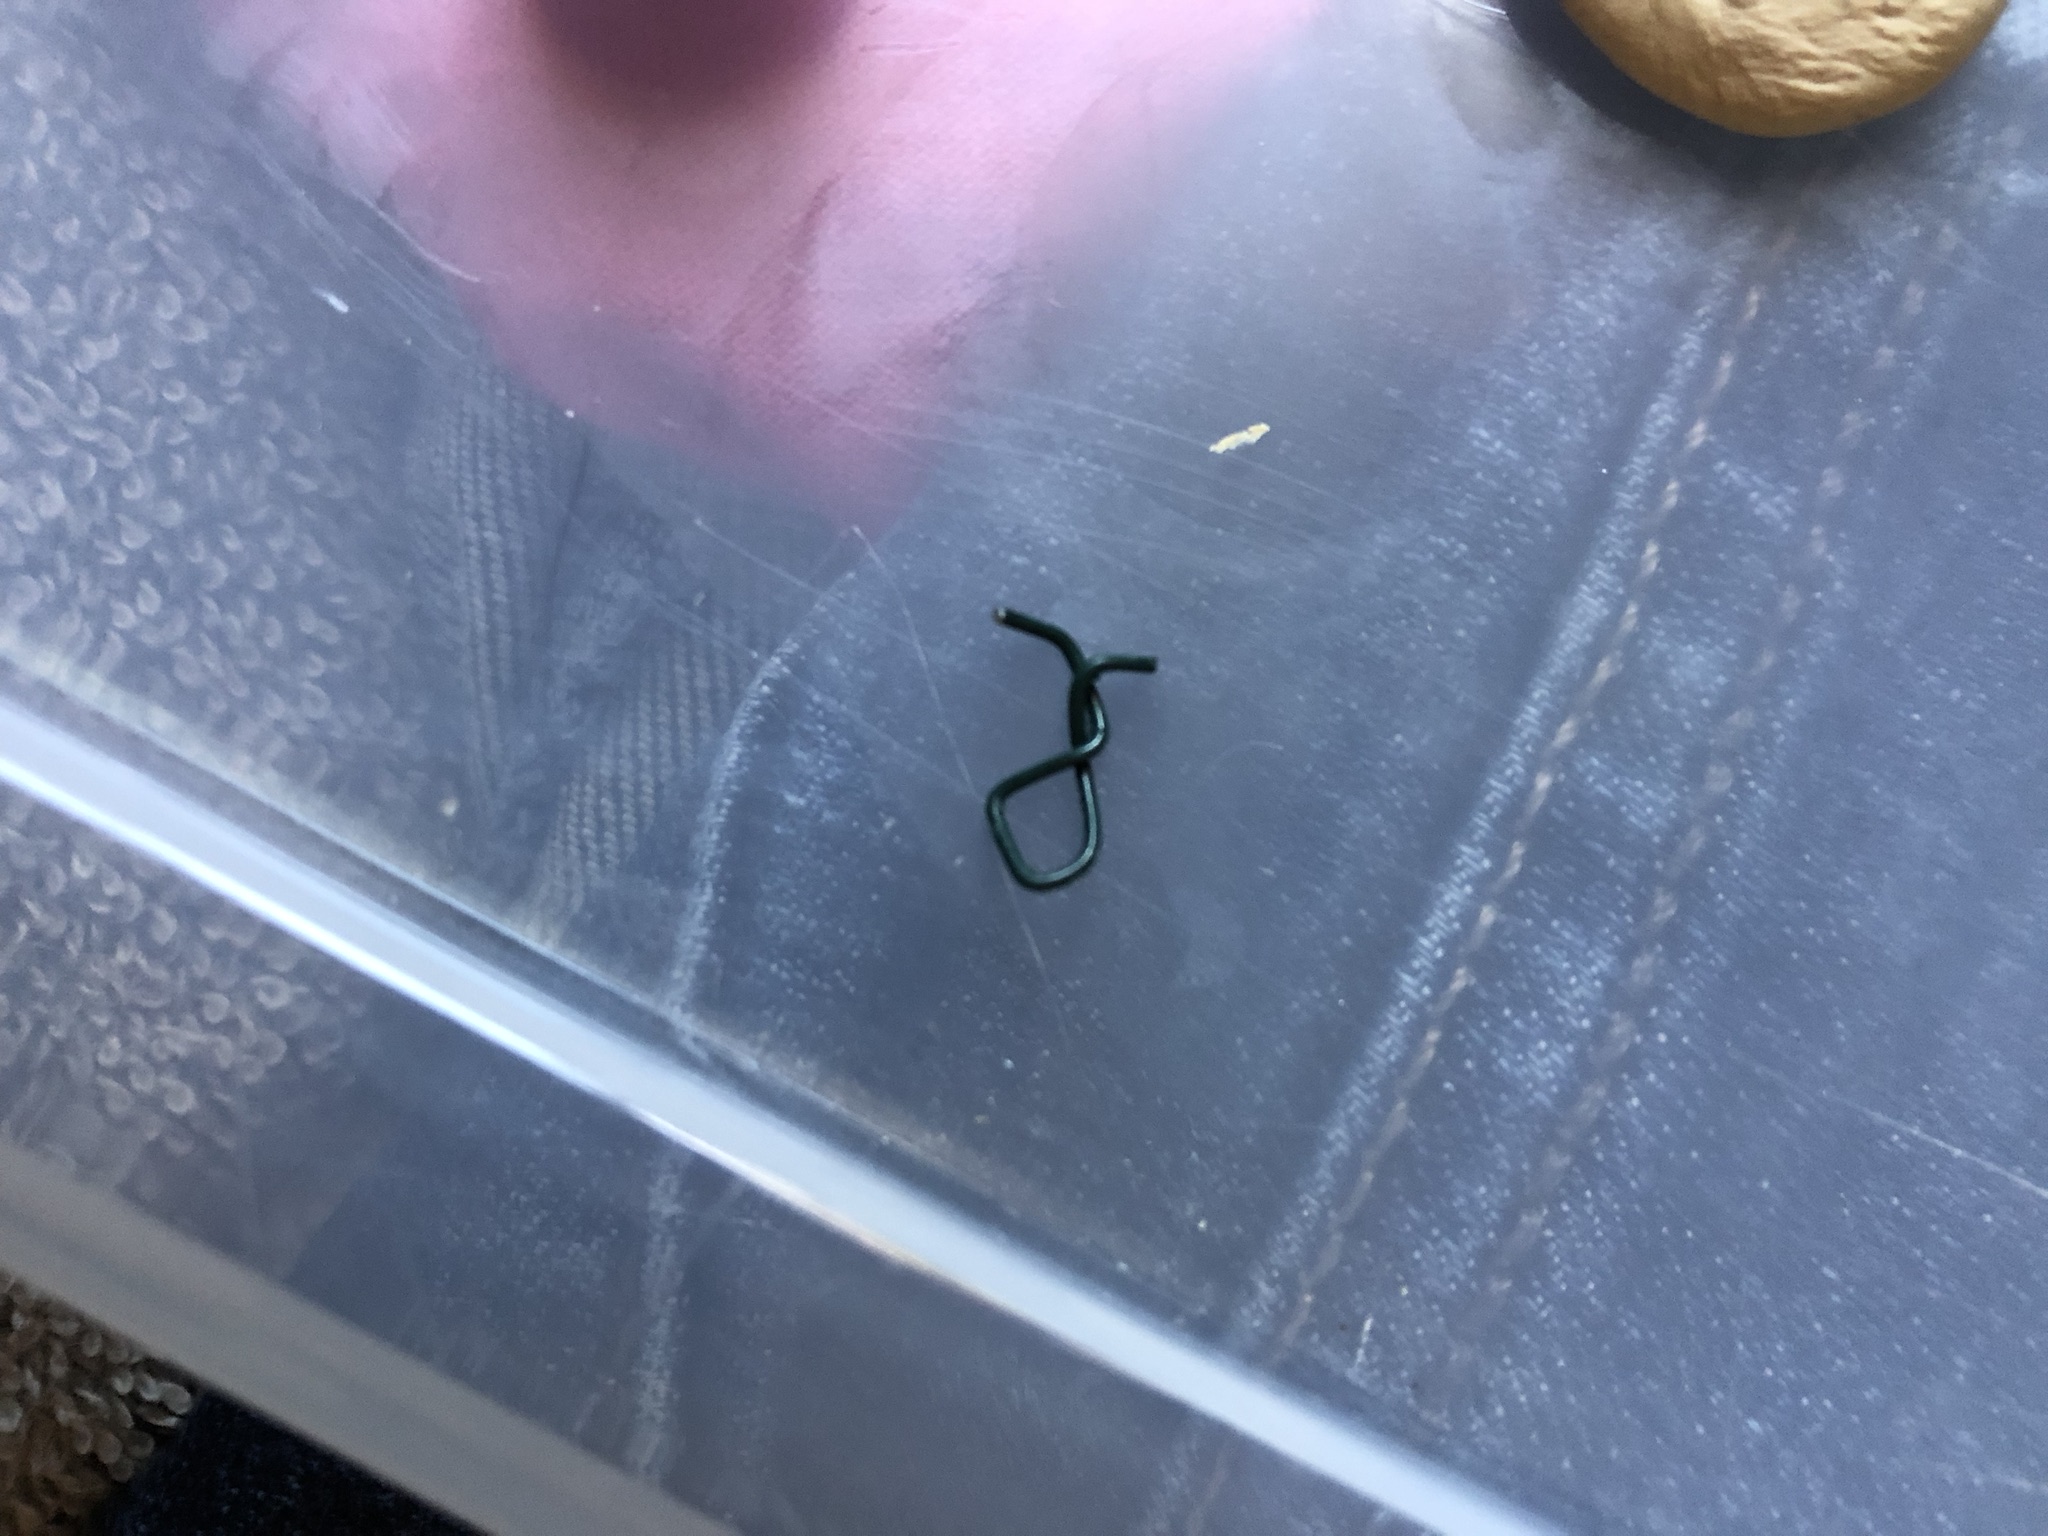
Using metal wire and a multifunction tool, cut off small pieces of wire and bend them into loops. Twist the two ends together and have them poking out on either side, like an anchor.
Putting the hooks in the Cookie Dough Balls
Shove the hooks into the cookie dough ball. Make sure to close the clay around the hook by gently rolling it in your hands.
Flattening the Polymer Clay Cookies
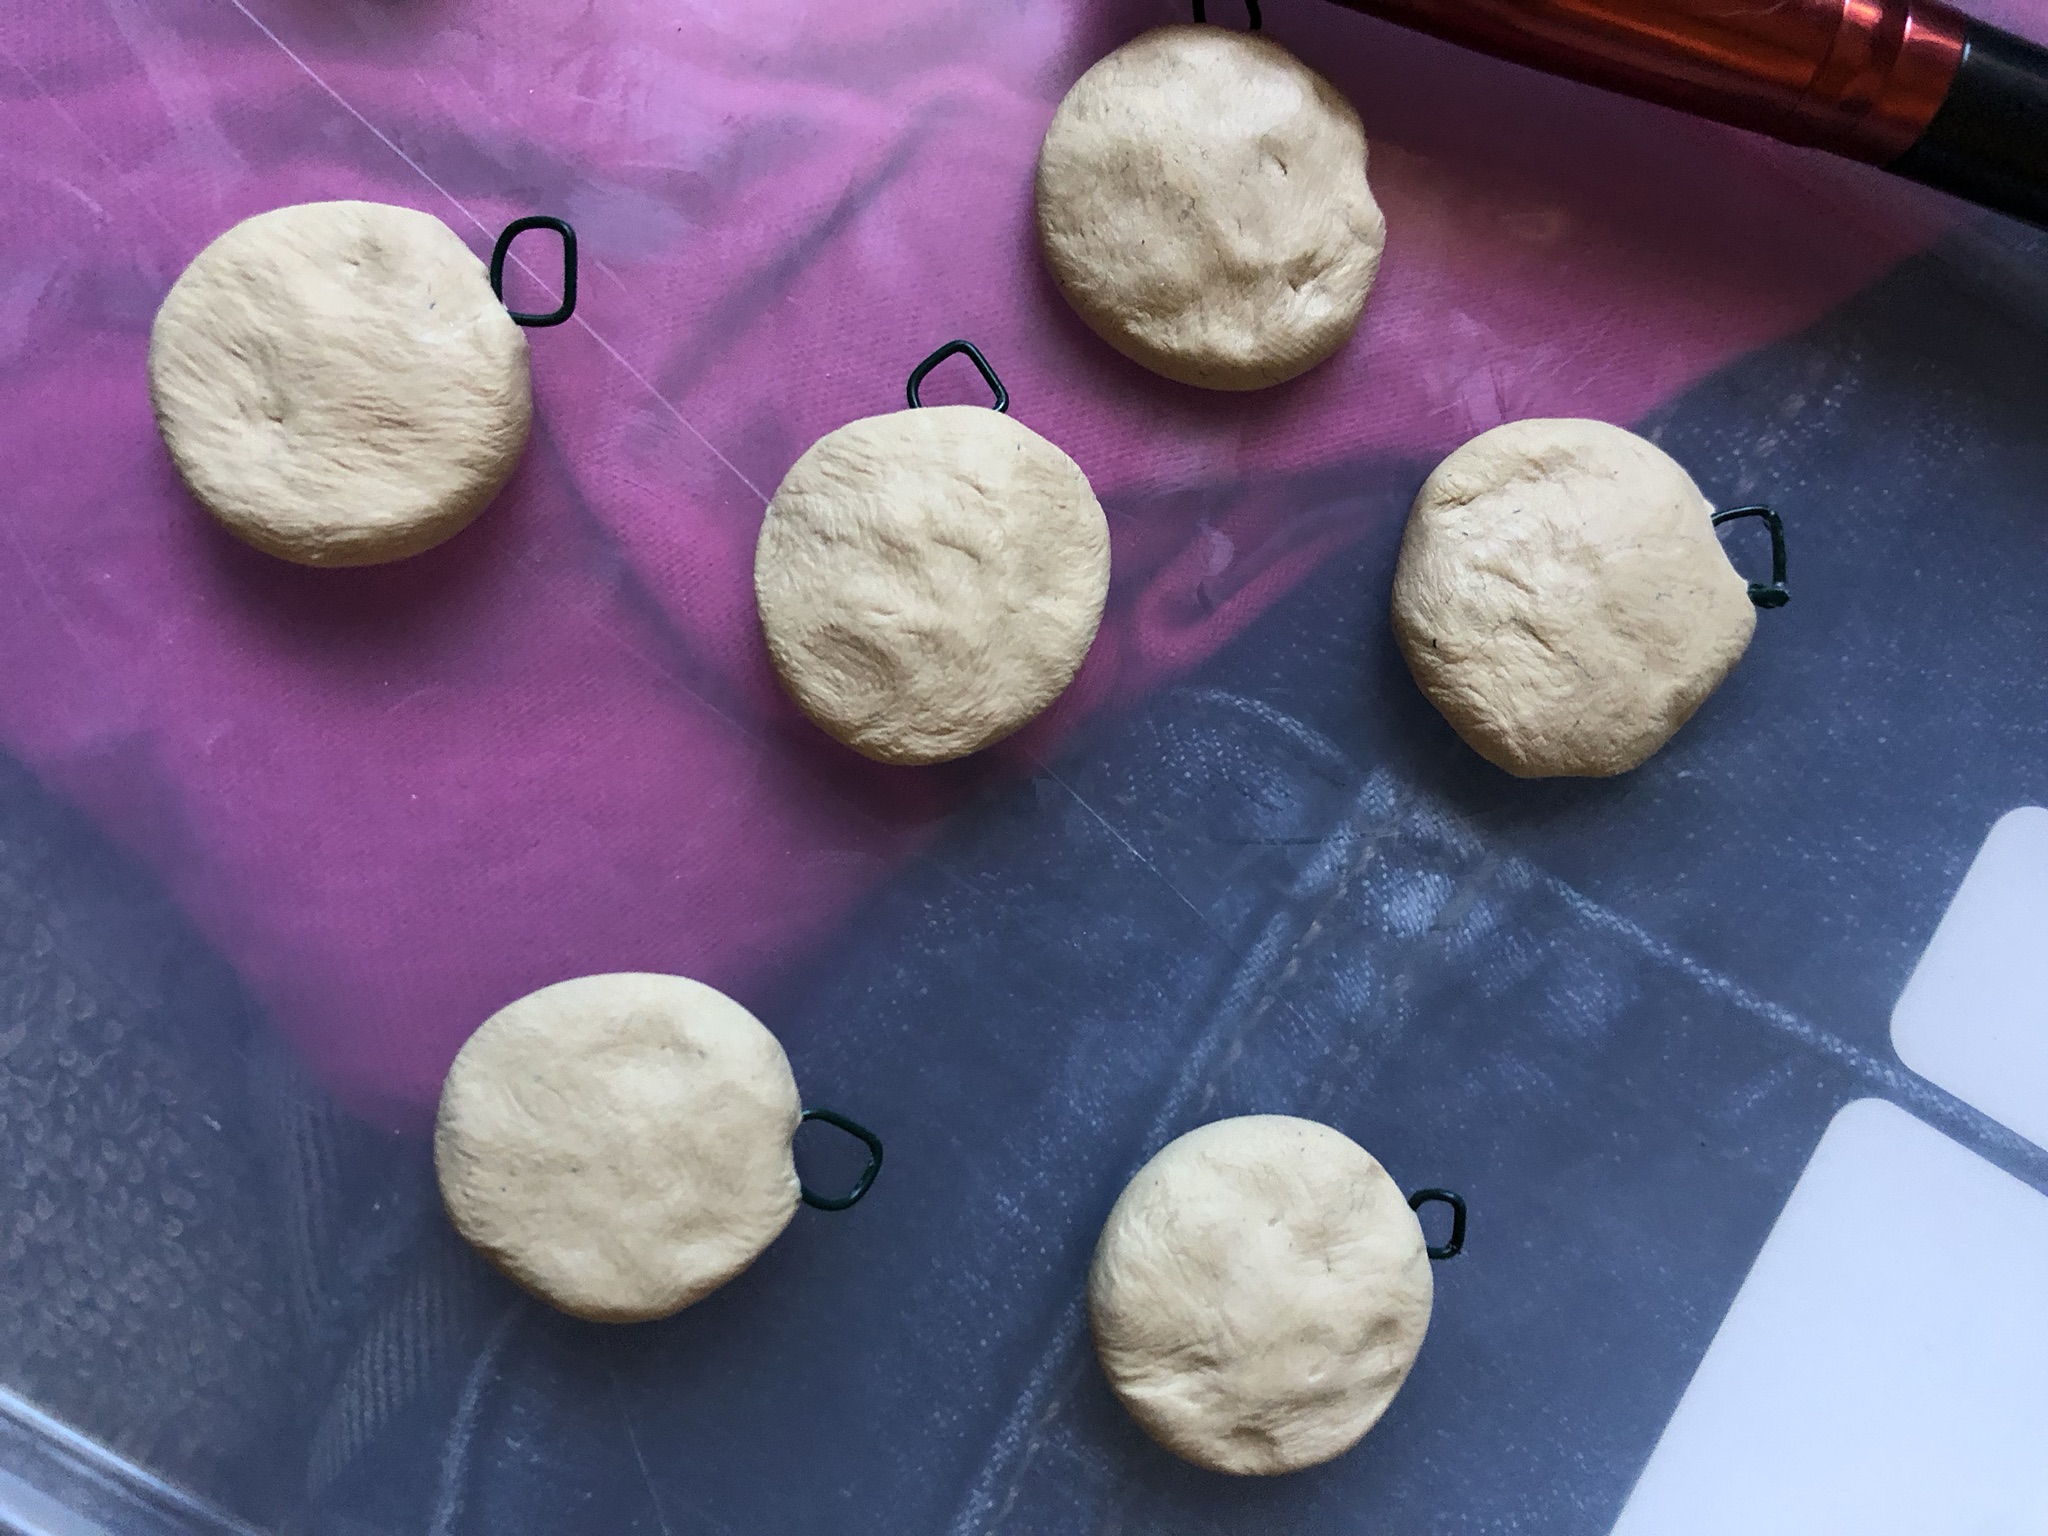
Next, while the clay is still warm, press down to make a round little cookie shape that is thick on the sides. Do not push too hard and completely mush the clay, that is bad.
Texturing the Polymer Clay Cookie Charm
Using a stiff makeup brush or toothpick, add texture to the cookies. Press the handle of the brush into the clay to make indents and proceed to beat each cookie charm until it is well covered in marks.
Making Chocolate Chips
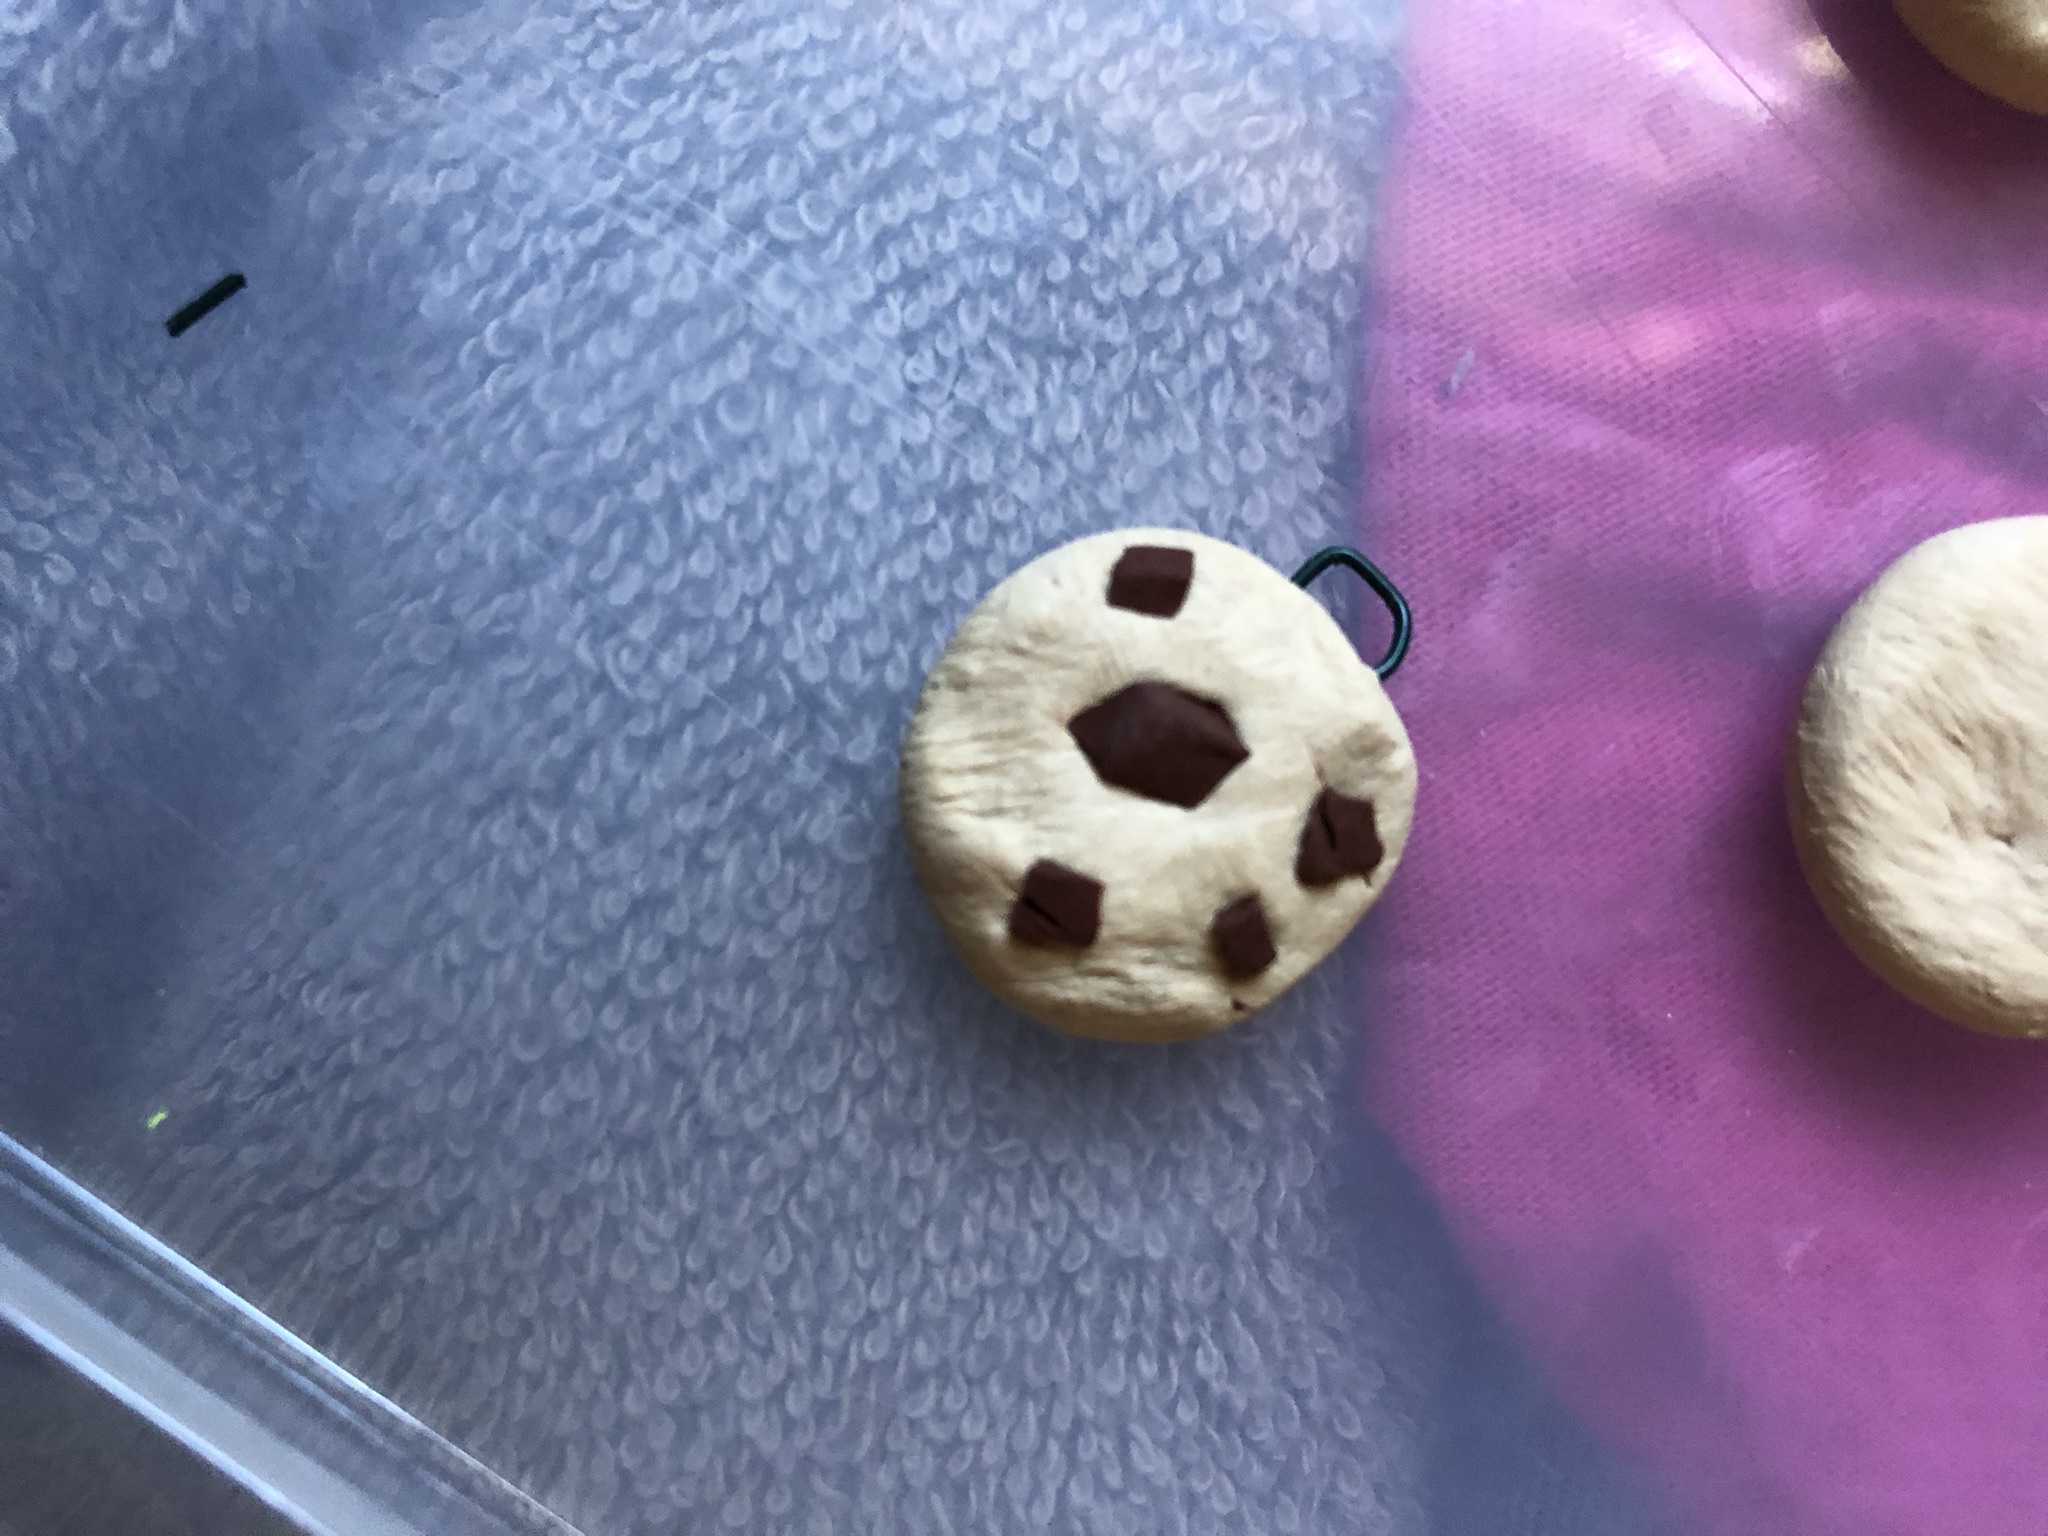
For chocolate chips, slice off pieces of the block of brown clay and cut the clay into tiny bits. Make sure the bits are tiny and separated for the best results.
Adding Chocolate Chips
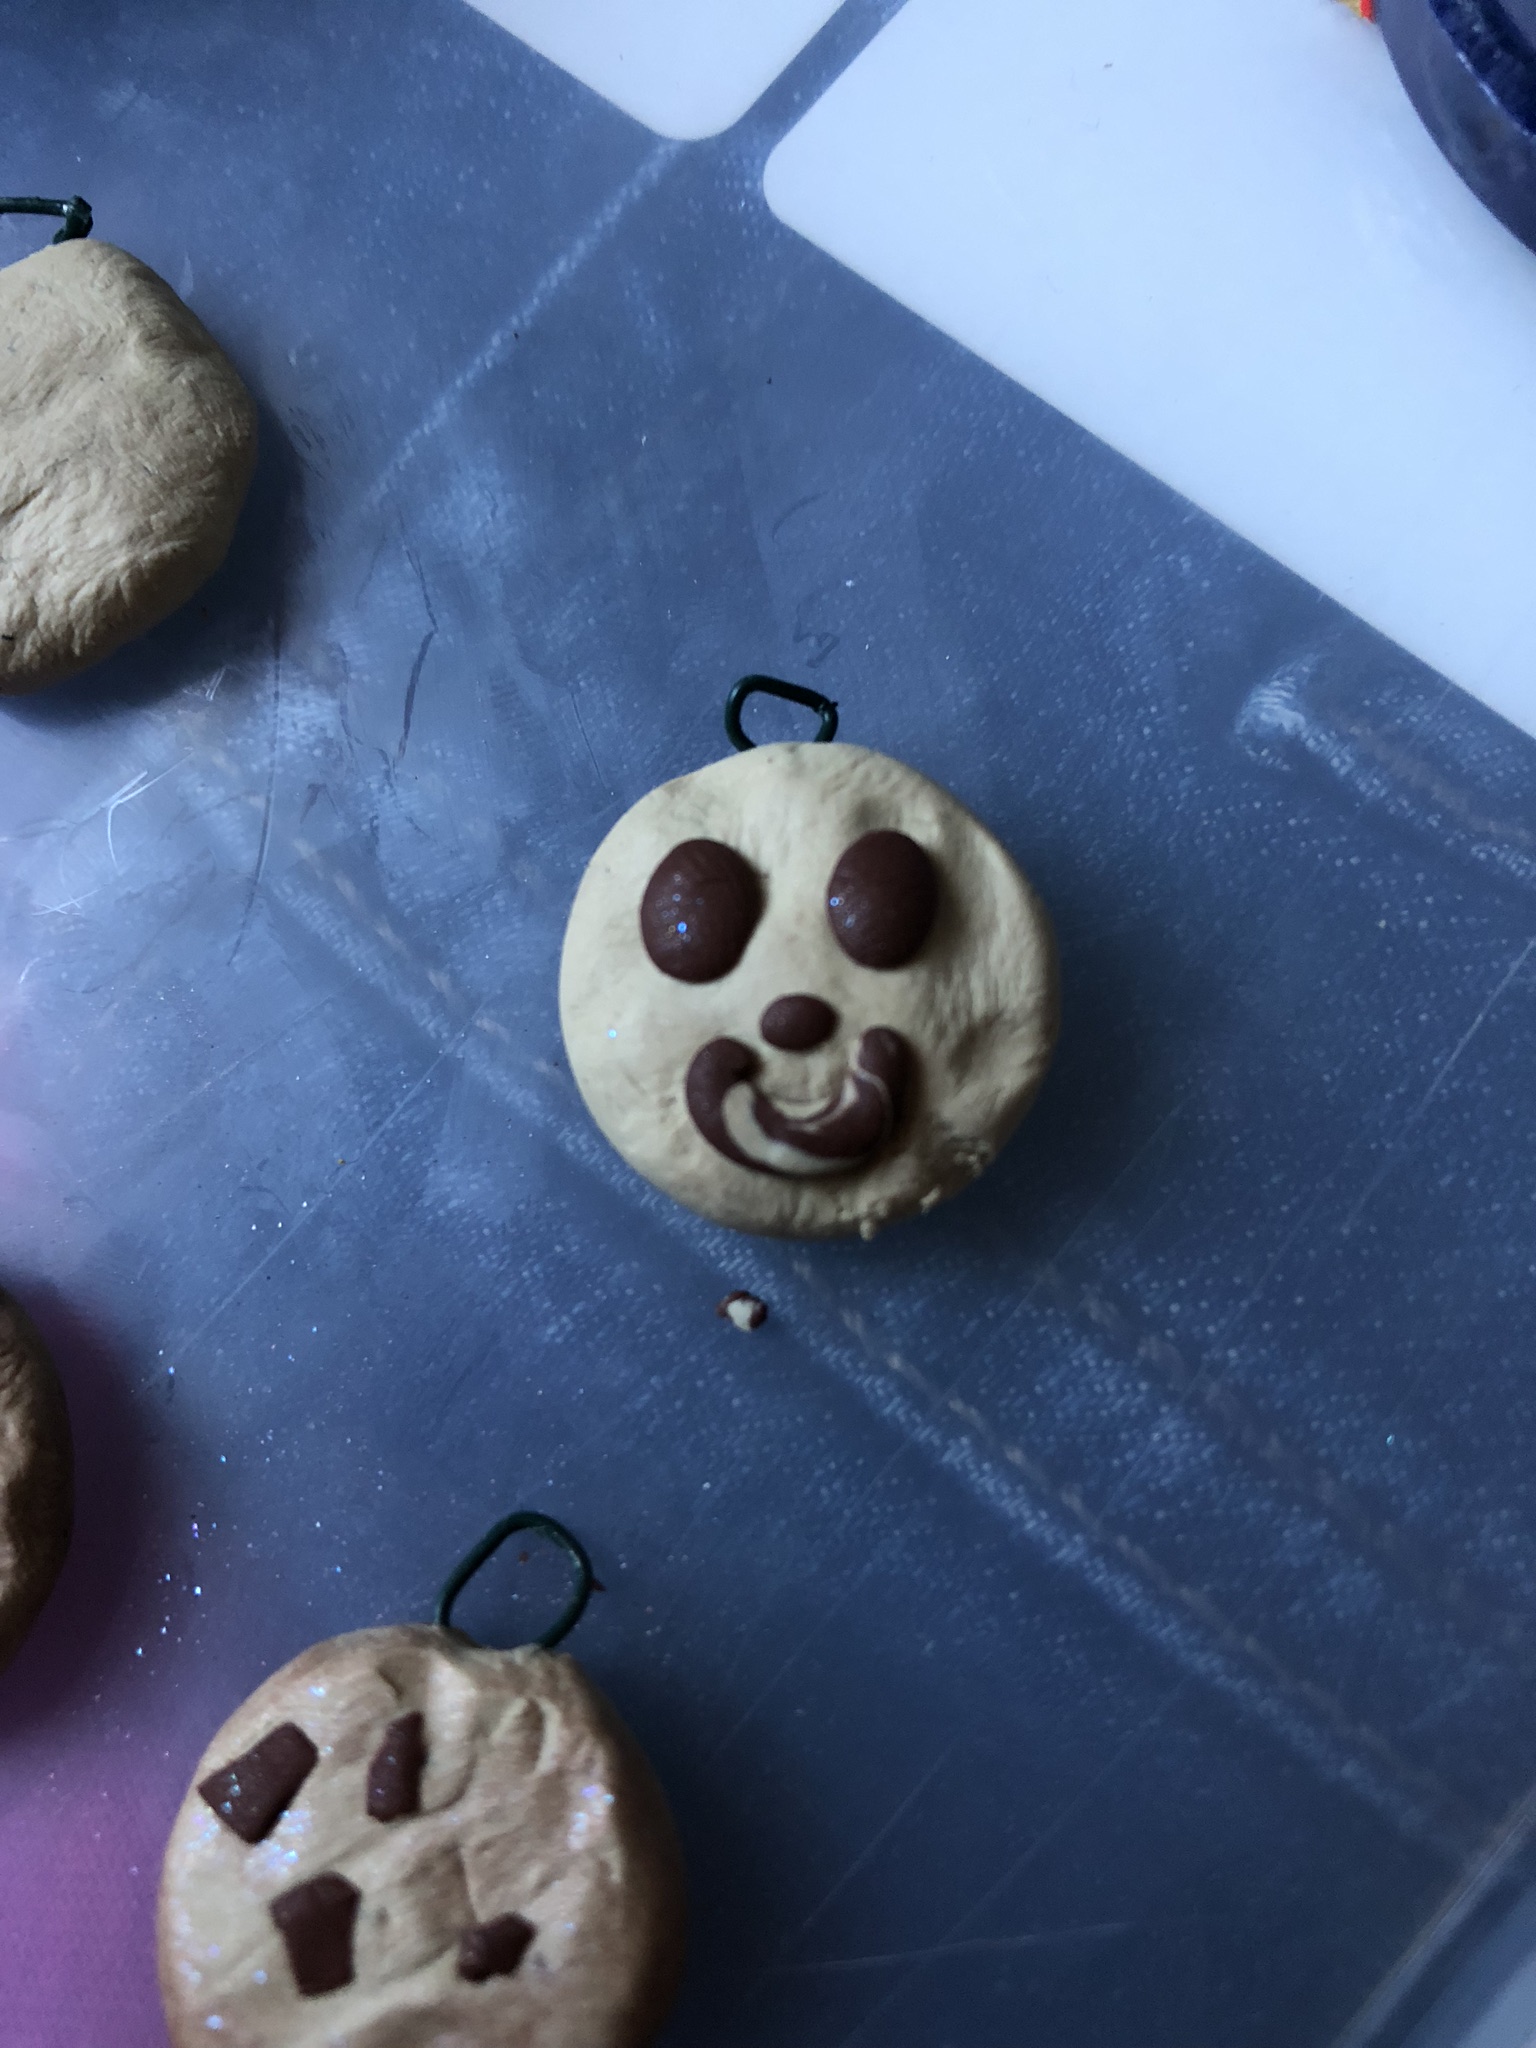
Plop the chocolate chips all over each cookie and press down to embed the cookie in the dough. Use the end of the makeup brush to press down the chocolate chip further and break its will.
Retexturing
By enforcing the chocolate chips to obey, your cookie is now slightly mushed. Use a fine brush to continue beating the clay half to death around the chocolate chips.
Putting on the Final Touches
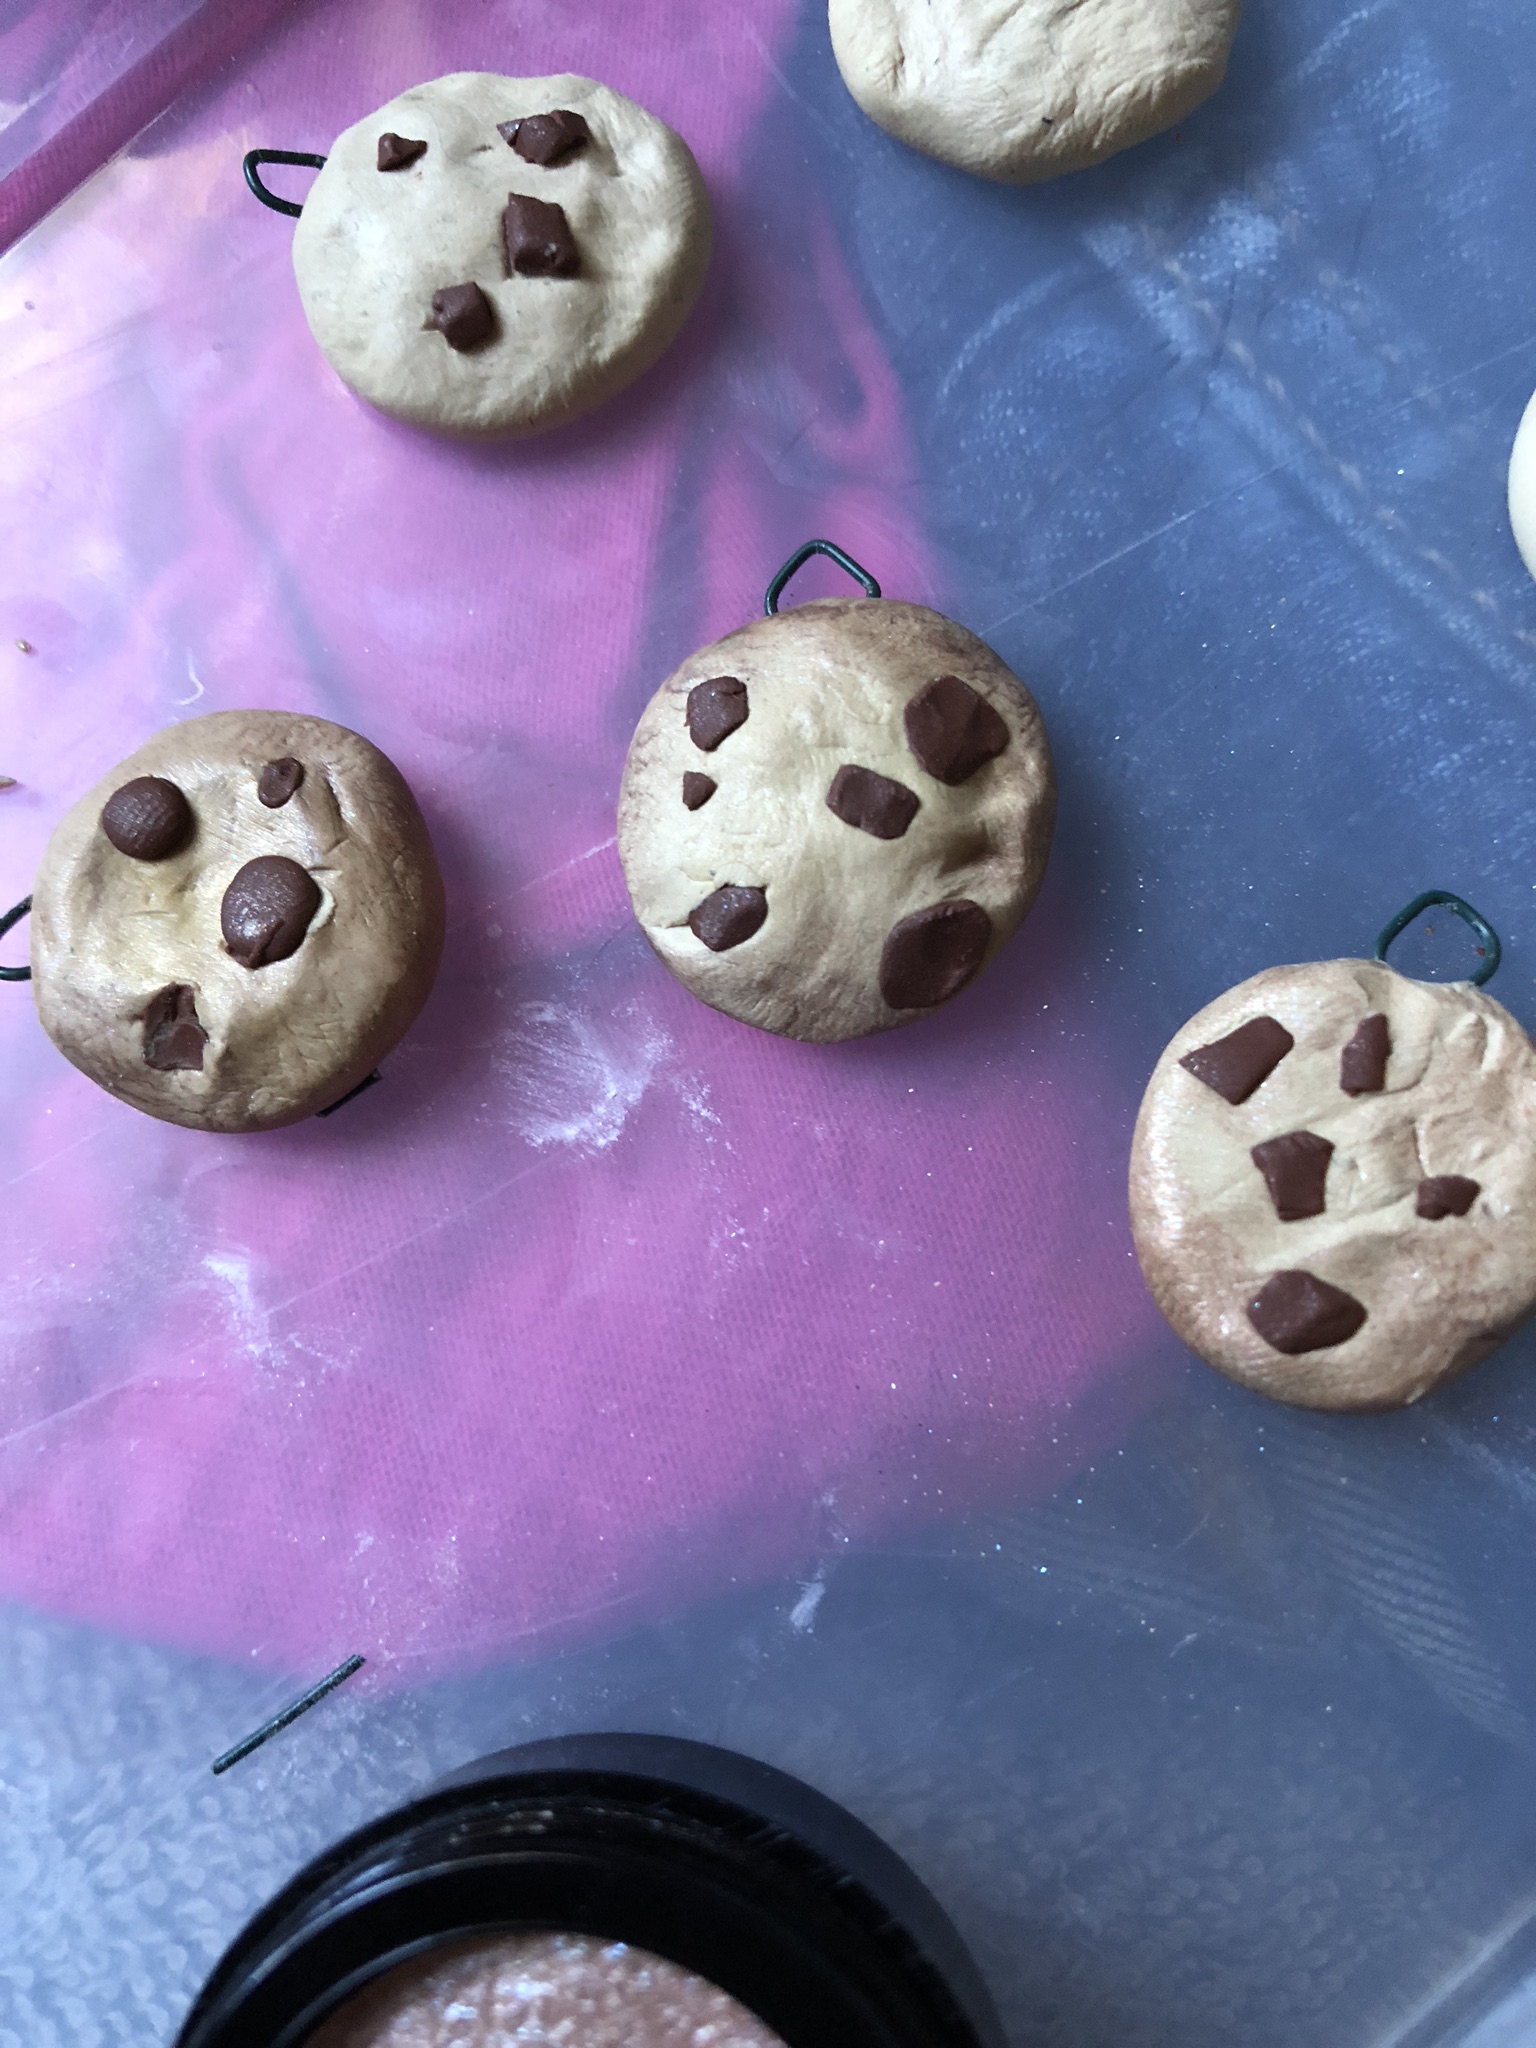
For the powdery part, grab an eyebrow brush and scoop up a little tiny bit of brown eyeshadow. Gently pat it all around the edge of the cookie and blend in on top. Add yellow in the middle of the cookie to help the powders blend, and put a light coating of the translucent powder over it to take the shine away. Dust on a bit of glittery eyeshadow to make the chocolate chips stand out more against the cookie.
Baking the Cookie Charm
Time to bake the cookies. Preheat the oven to 275 Fahrenheit and stick the cookies in for about fifteen minutes.
Finish

Remember the cookies are really hot and not to burn yourself taking them out of the oven like I did. You can glaze the cookie for a more finished effect, or leave the cookie matte. Happy crafting!

