After many failed attempts, I found a cheap and successful way to make a small cage that is perfect for stuffed animals and Halloween decorations. This diy birdcage is made from simple things most people have around their homes, except for maybe the bundle of chop sticks, which can be substituted with wooden dowels or skewers. This cage even locks, in case you have a special doll you want to protect or imprison.
What you will need
- Hot glue gun skills
- A big and small Plastic plate, not Styrofoam or paper
- About 10 chopsticks
- Small wooden sticks
- A little lock and key off a diary
- Old wall clock with the face removed so the rim is all that is left
- Hook and nut for hanging
Setting up the Hot Glue Gun
The hot glue gun is the star of the show, so plug it in and let it heat up in a safe place away from things that can melt. A glass bowl or a plate are both good things for hot glue guns to rest on.
Figuring out how to Make the diy Birdcage
Open the chopsticks and break them apart. The clock I worked with had spots from the mold it came out of and for stability, so I put a chopstick at each opening and in between to create bars that are decently spaced without too much gap.
Hot Gluing the Plastic Plate to the Rim

The small plastic plate fits perfectly in the bottom of the cage, so carefully glue it in as best as you can. Remember the hot glue can be moved around once it has hardened. Use the tip of the hot glue gun to melt the glue and move it as needed.
Gluing the Bars to the Bird Cage Base
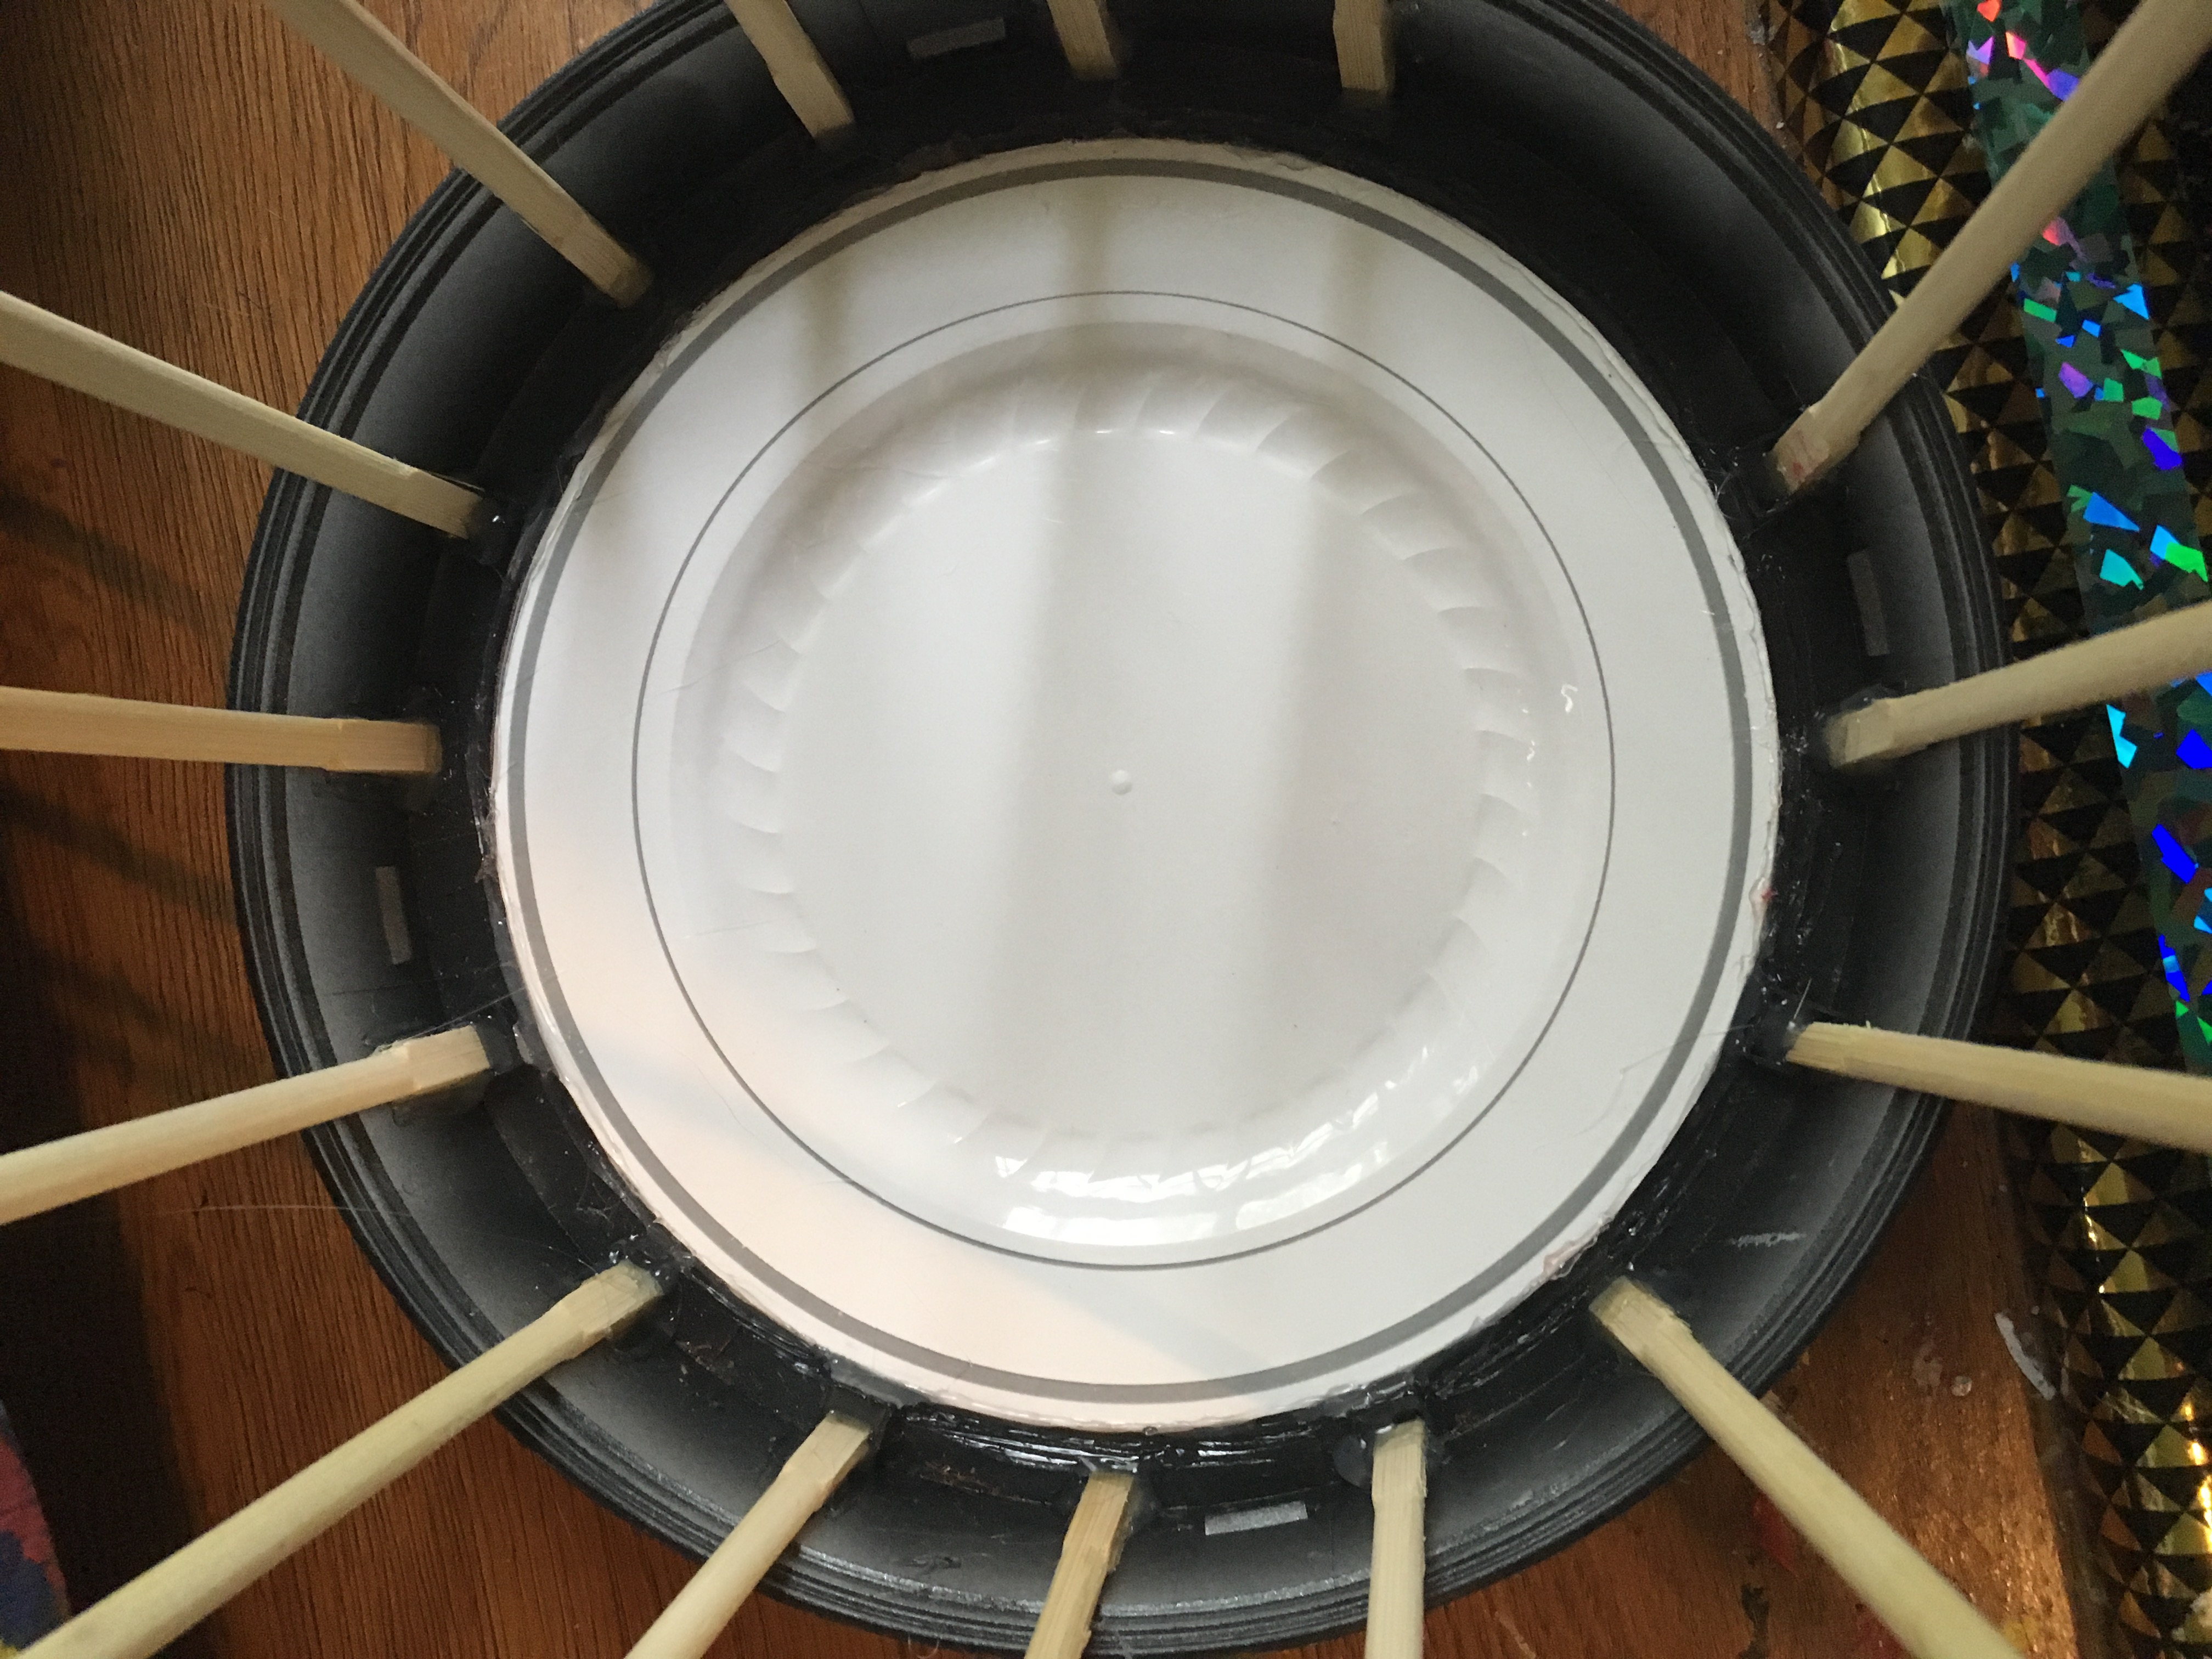
Glue each chopstick well and securely to the bottom of the diy birdcage. Hold the chopstick straight until the glue dries fully.
Making sure the big Plate is big Enough
Plop the top plate on top of the cage and make sure it will fit. The chopsticks will look a little off, that is completely fine and we are about to take care of that.
Gluing the Sticks to the Lid
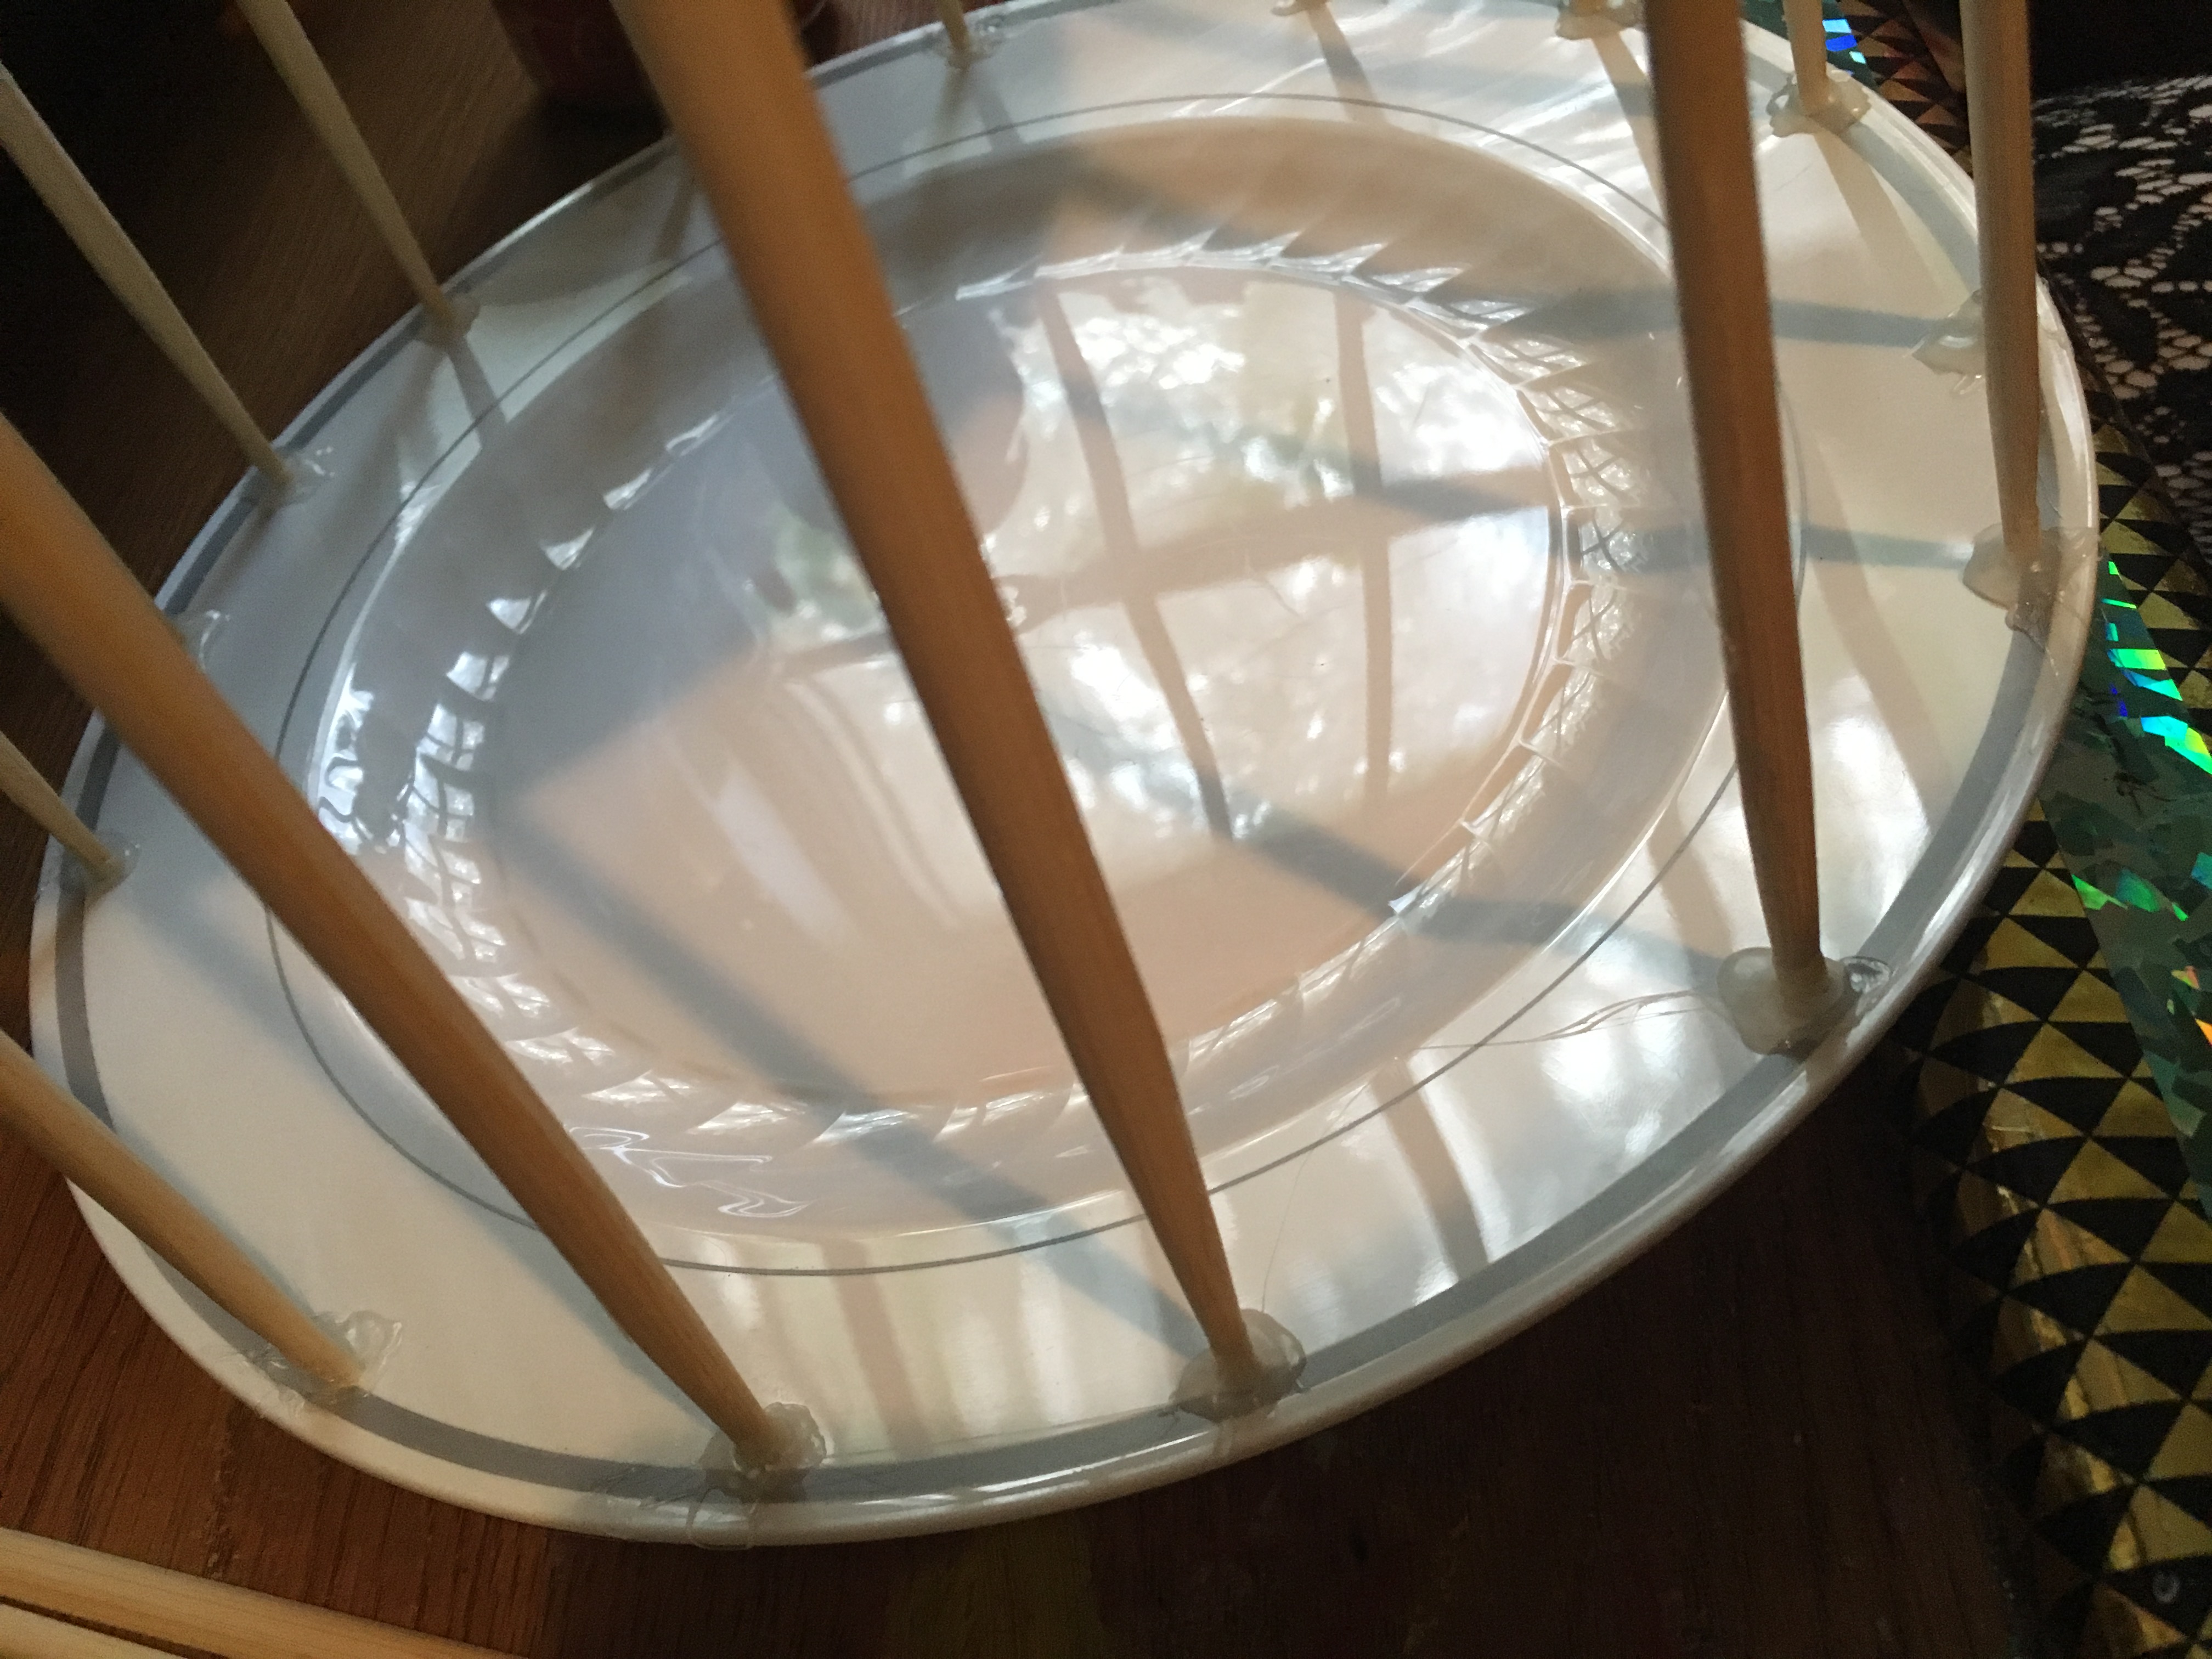
When gluing the sticks to the top of the diy birdcage, make sure to adjust the sticks and hold them in place while the glue cools. This will ensure the sticks are straight.
Making the Door
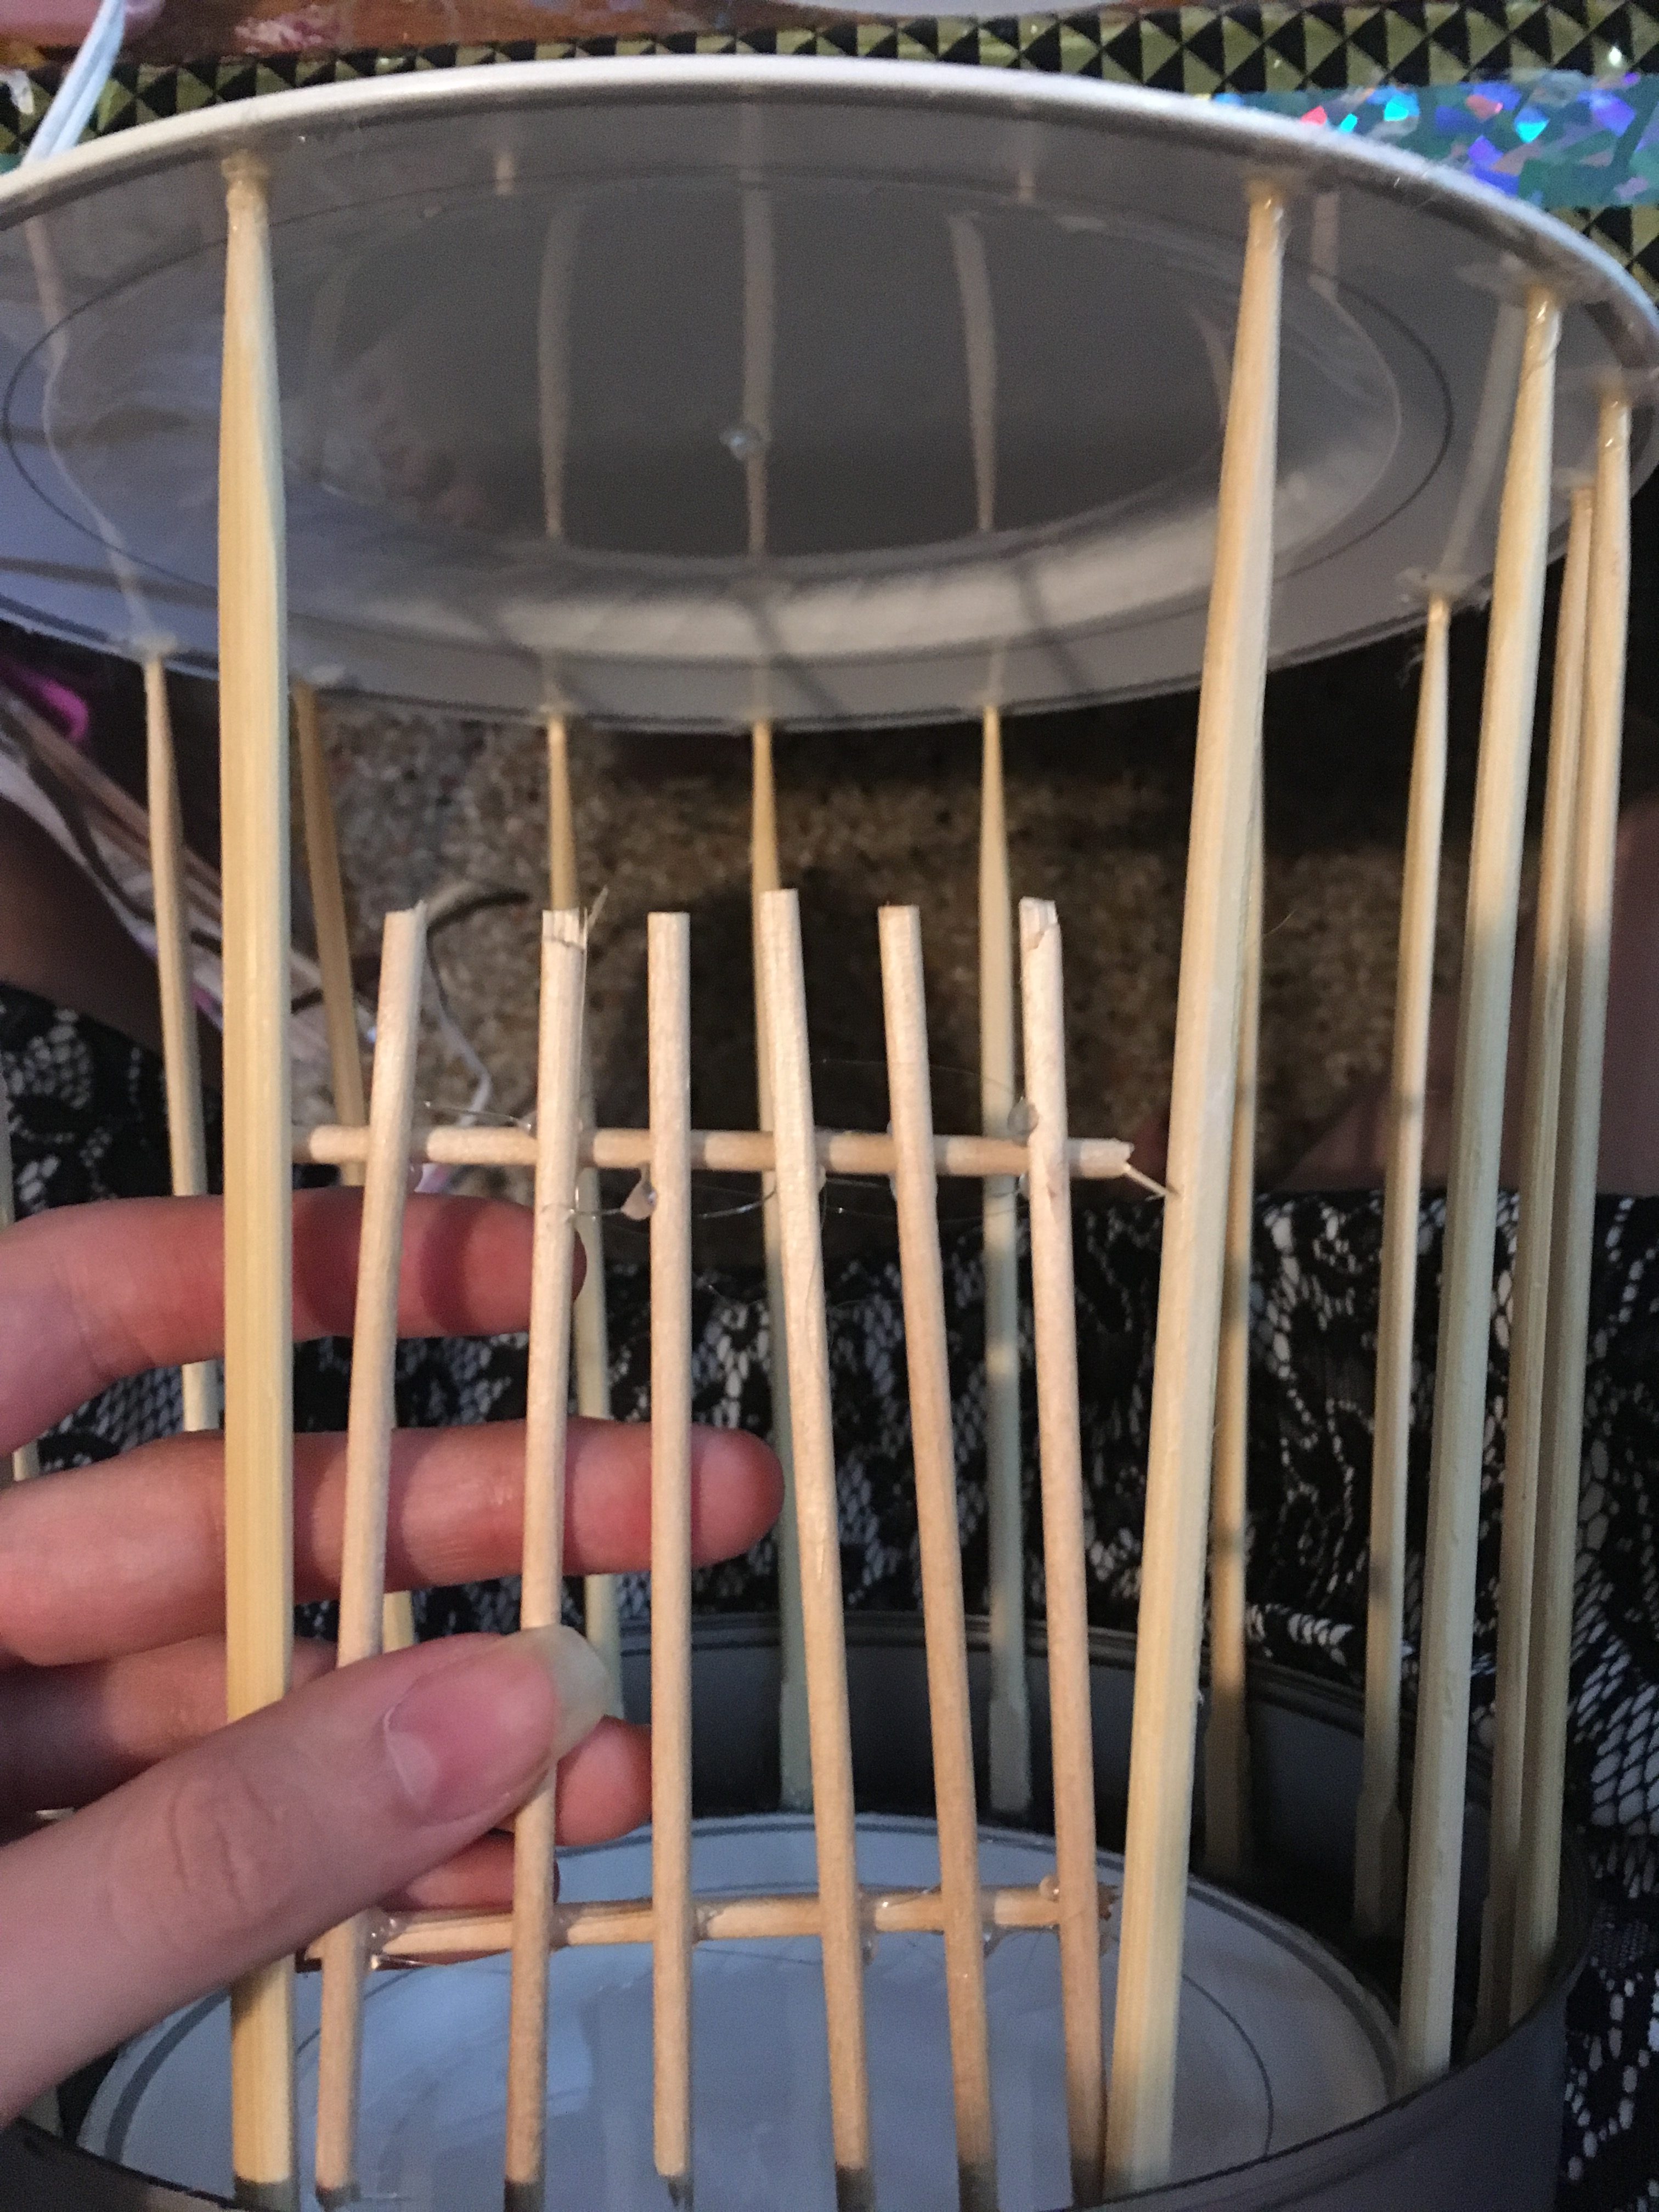
The door I made by assembling a bunch of little sticks into a shape that fit in the gap in front, and gluing them together like the bars of the diy birdcage. Be careful not to burn yourself with the glue gun.
Attaching the Door to the Decor Bird Cage
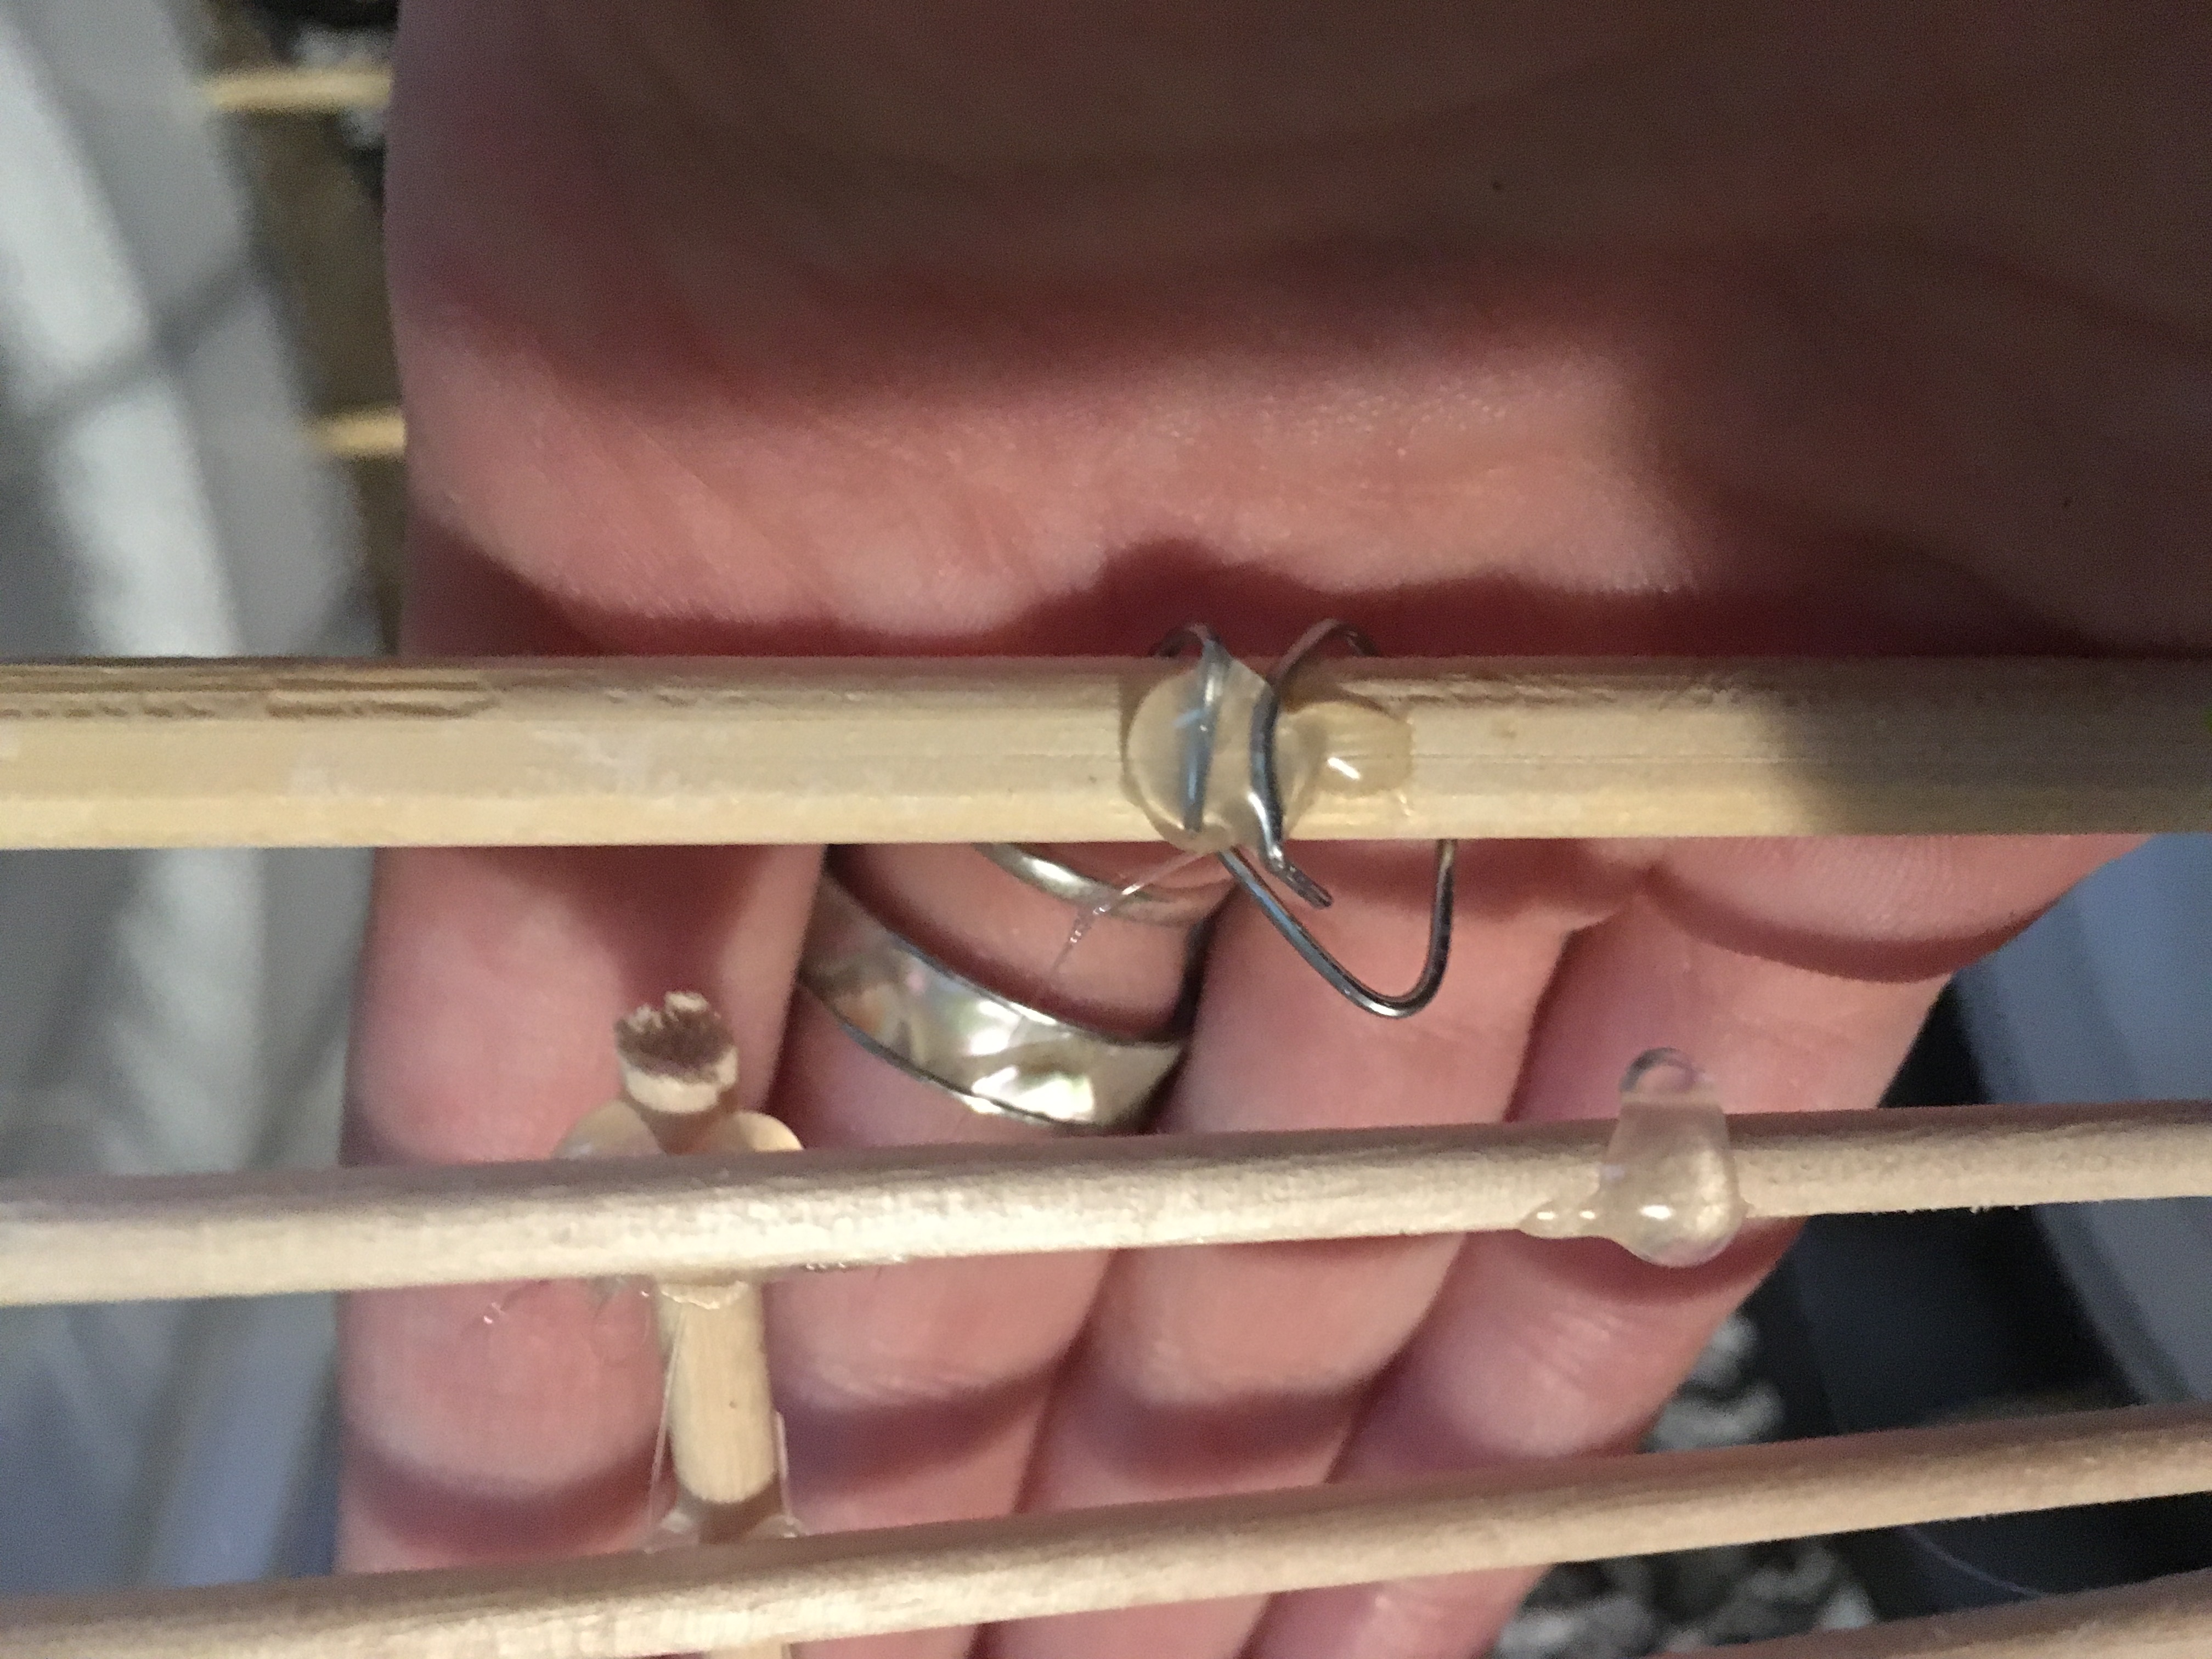
Using paper clips, wind half of the metal on the door and half on the bar of the cage to make a makeshift hinge. Do the same on the bottom of the door too, for double hinges like a real door.
Melting a Hole for a Hook
For the hook, don’t bother using a drill or a hammer and nail to put a hole in the top. Use the tip of the hot glue gun in the middle of the top and slowly melt a hole. Let the plastic cool before putting the hook in place.
Attaching the Hook to the diy Birdcage
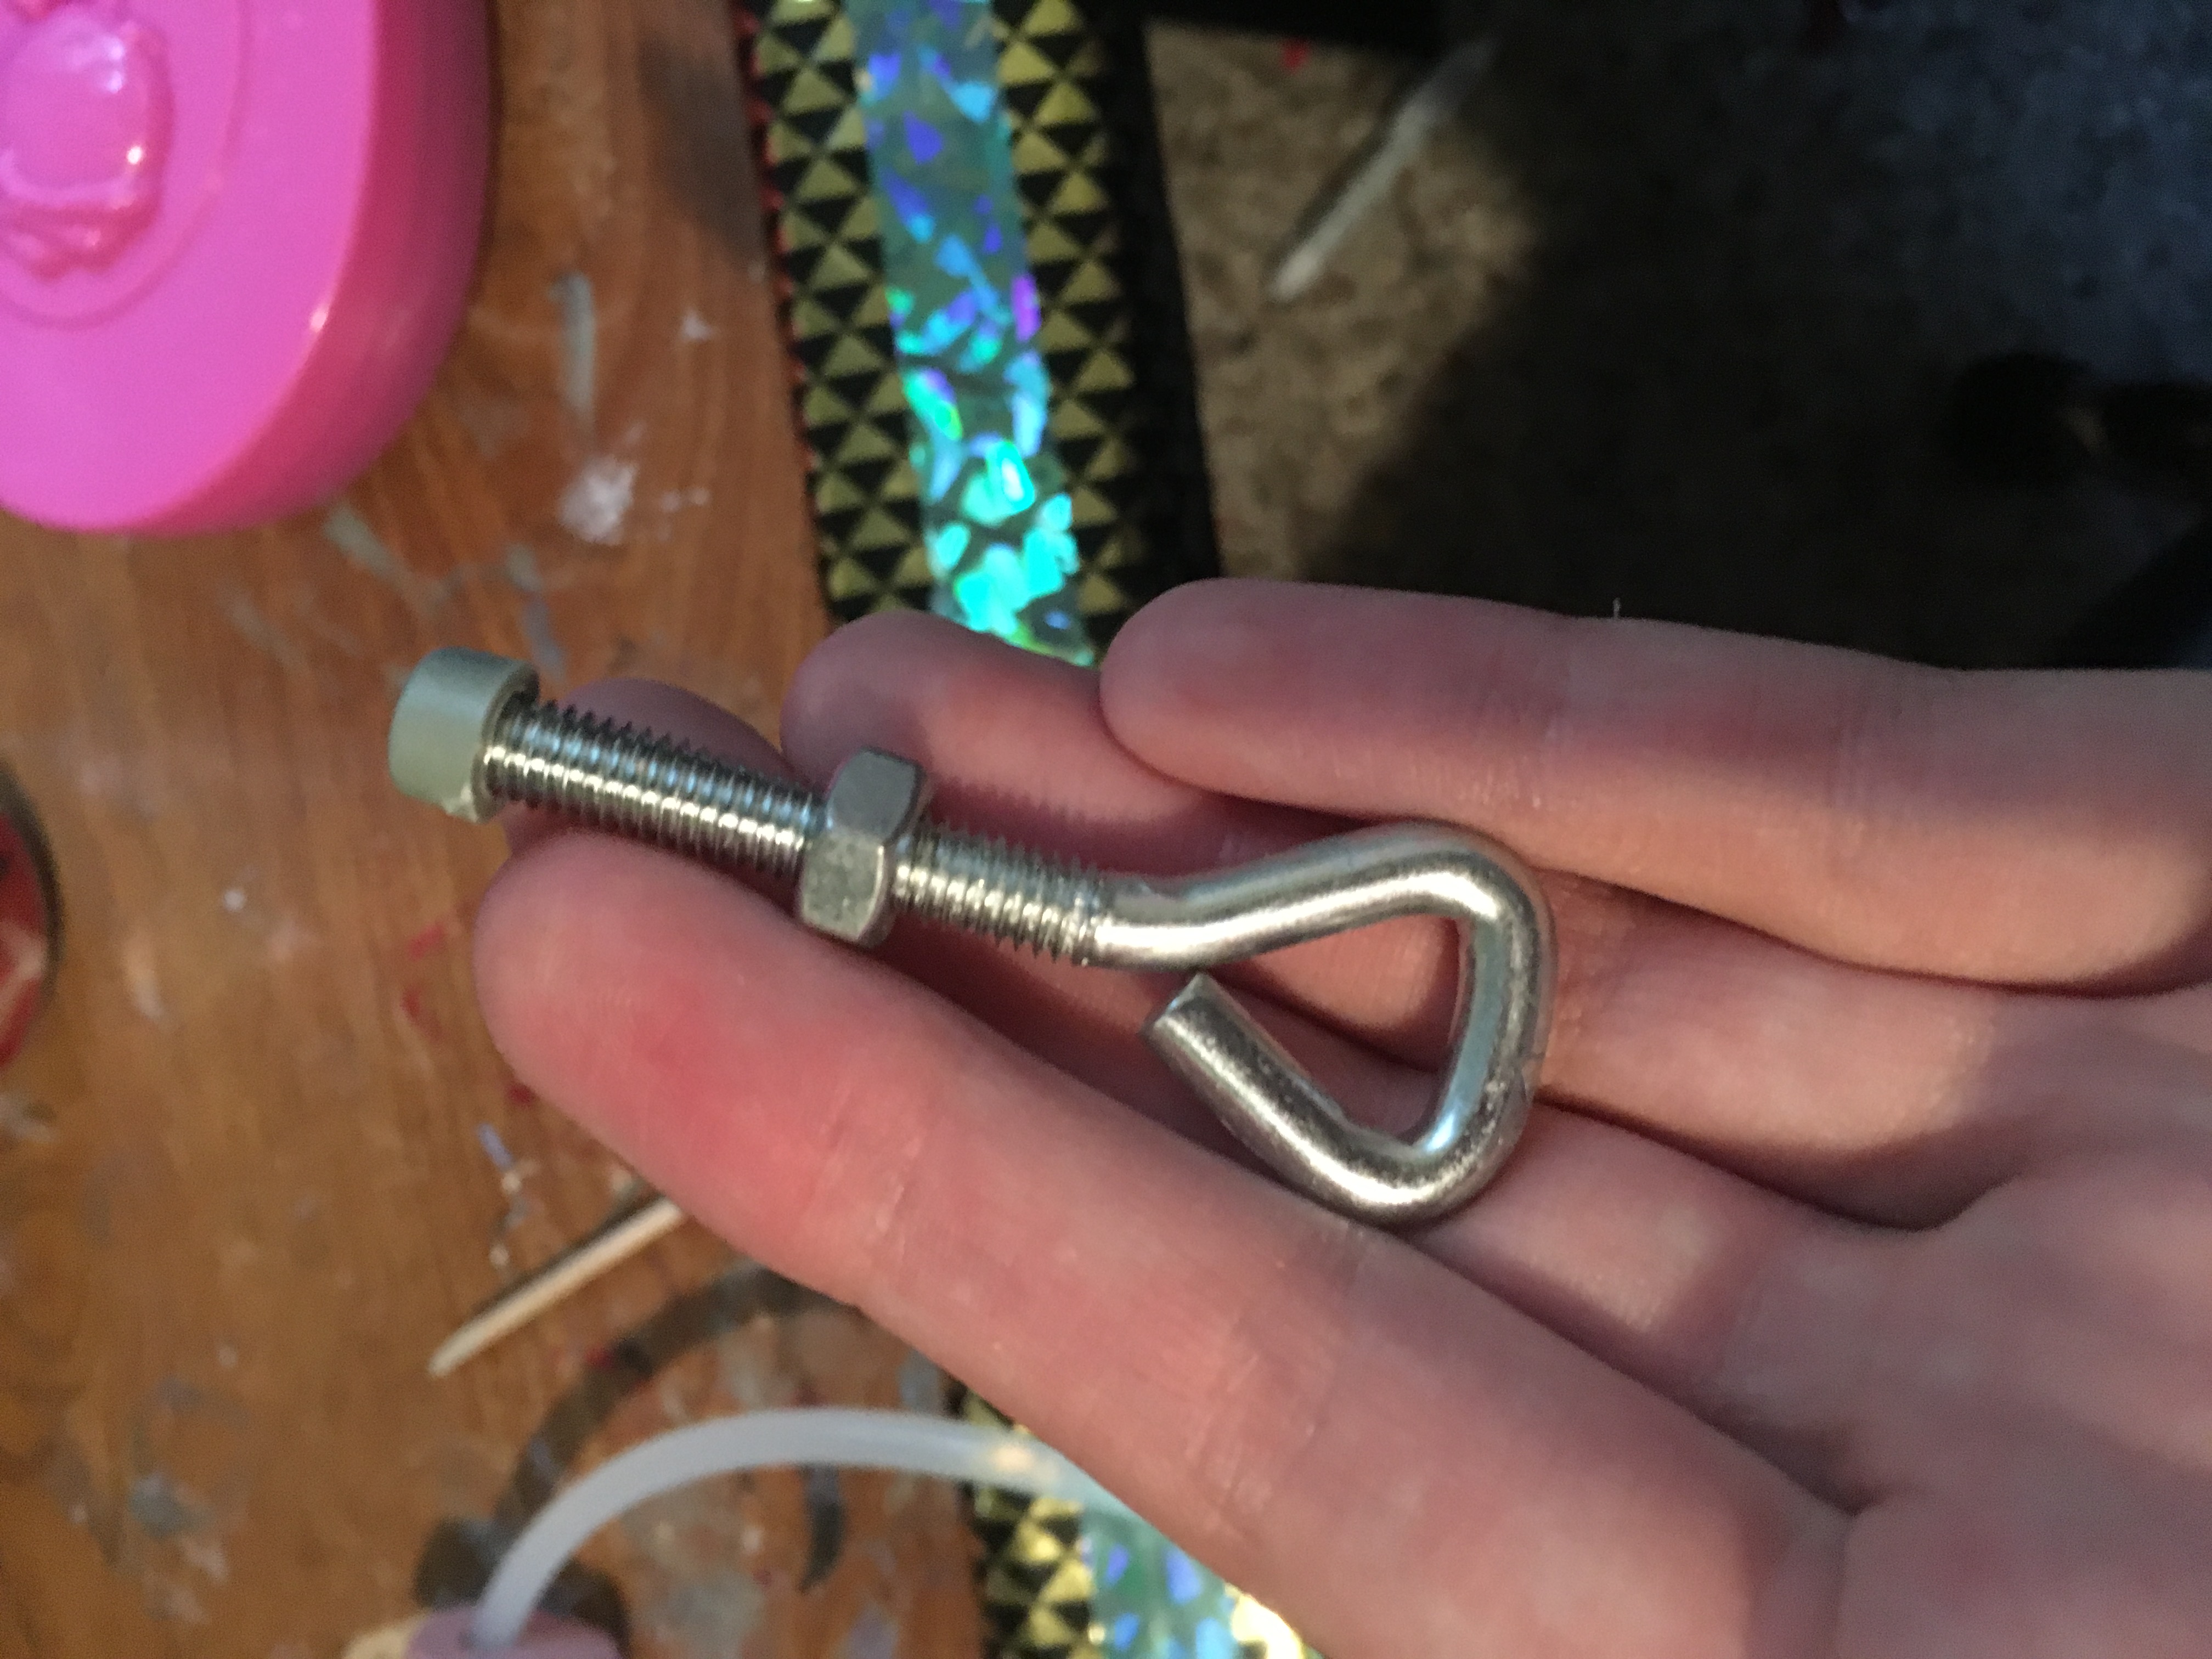 Shove the base of the metal into the hole and use the nut to keep the hook secure. If the hook does not want to fit, use the glue gun to melt it some more. Don’t let that pesky hook get the better of you.
Optional Soft Stuff
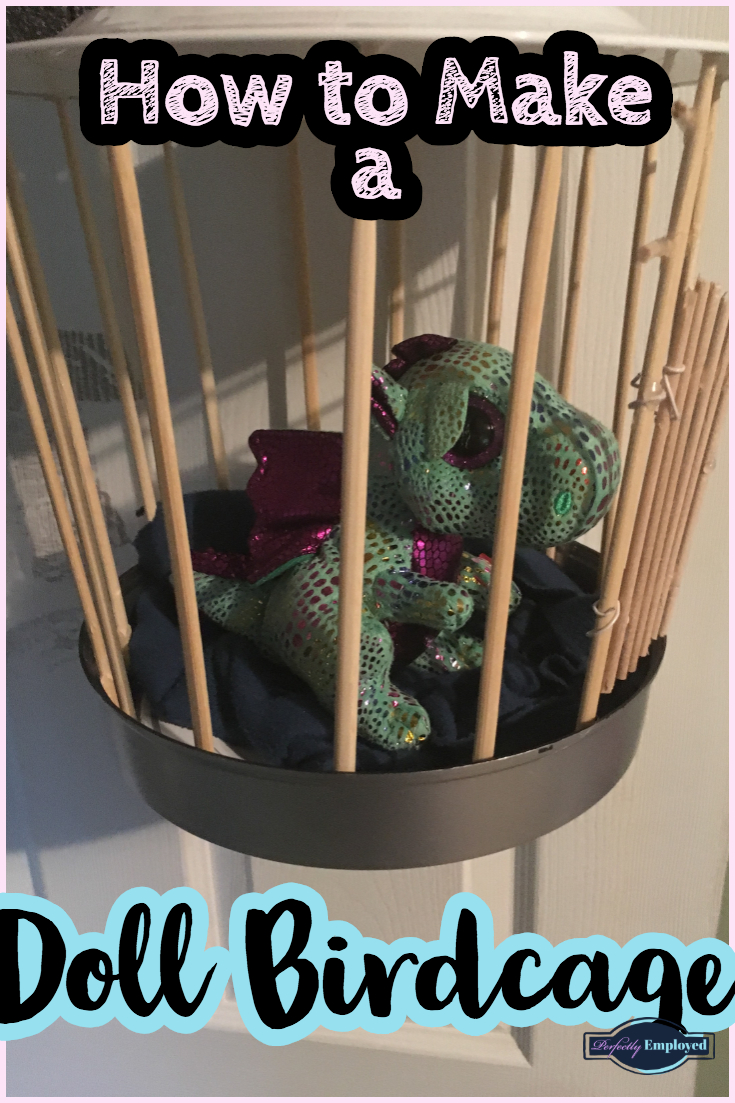
If you care about your inmates, you can throw a few scraps into the bottom of the cage to make it soft. If you don’t, then use cardboard to cover up all the spots with glue.
Finish
This cage is the best cage I have made so far and is perfect for Barbie or any of your plush friends. Happy crafting!

