Recently we have been struggling to make bows. Bows can be challenging to make in a pretty way without making huge mistakes. Luckily, the Bow Maker is here to save us all. The Bow maker allows you to easily make bows, and once the first bow is mastered, the other bows are just variations of the same bow.
What you will need
- Bow maker
- Rubber mallet
- Ribbon in white and silver, three 25 ft rolls of each
- Glittery flat snowflake ornaments
- Hot glue gun and sticks
- Fake gems
- Patience
Setting up the Bow Maker
Start by opening the box, dumping the pieces out, and looking at the instructions. Take the base and the four sticks and assemble them with a mallet as said in the booklet.
Why I Chose a Rubber Mallet over a Hammer
Rubber mallets are more gentle on the wood and won’t mark up the wood or make it look like Hulk tried to smash your bowmaker.
Making the End Piece
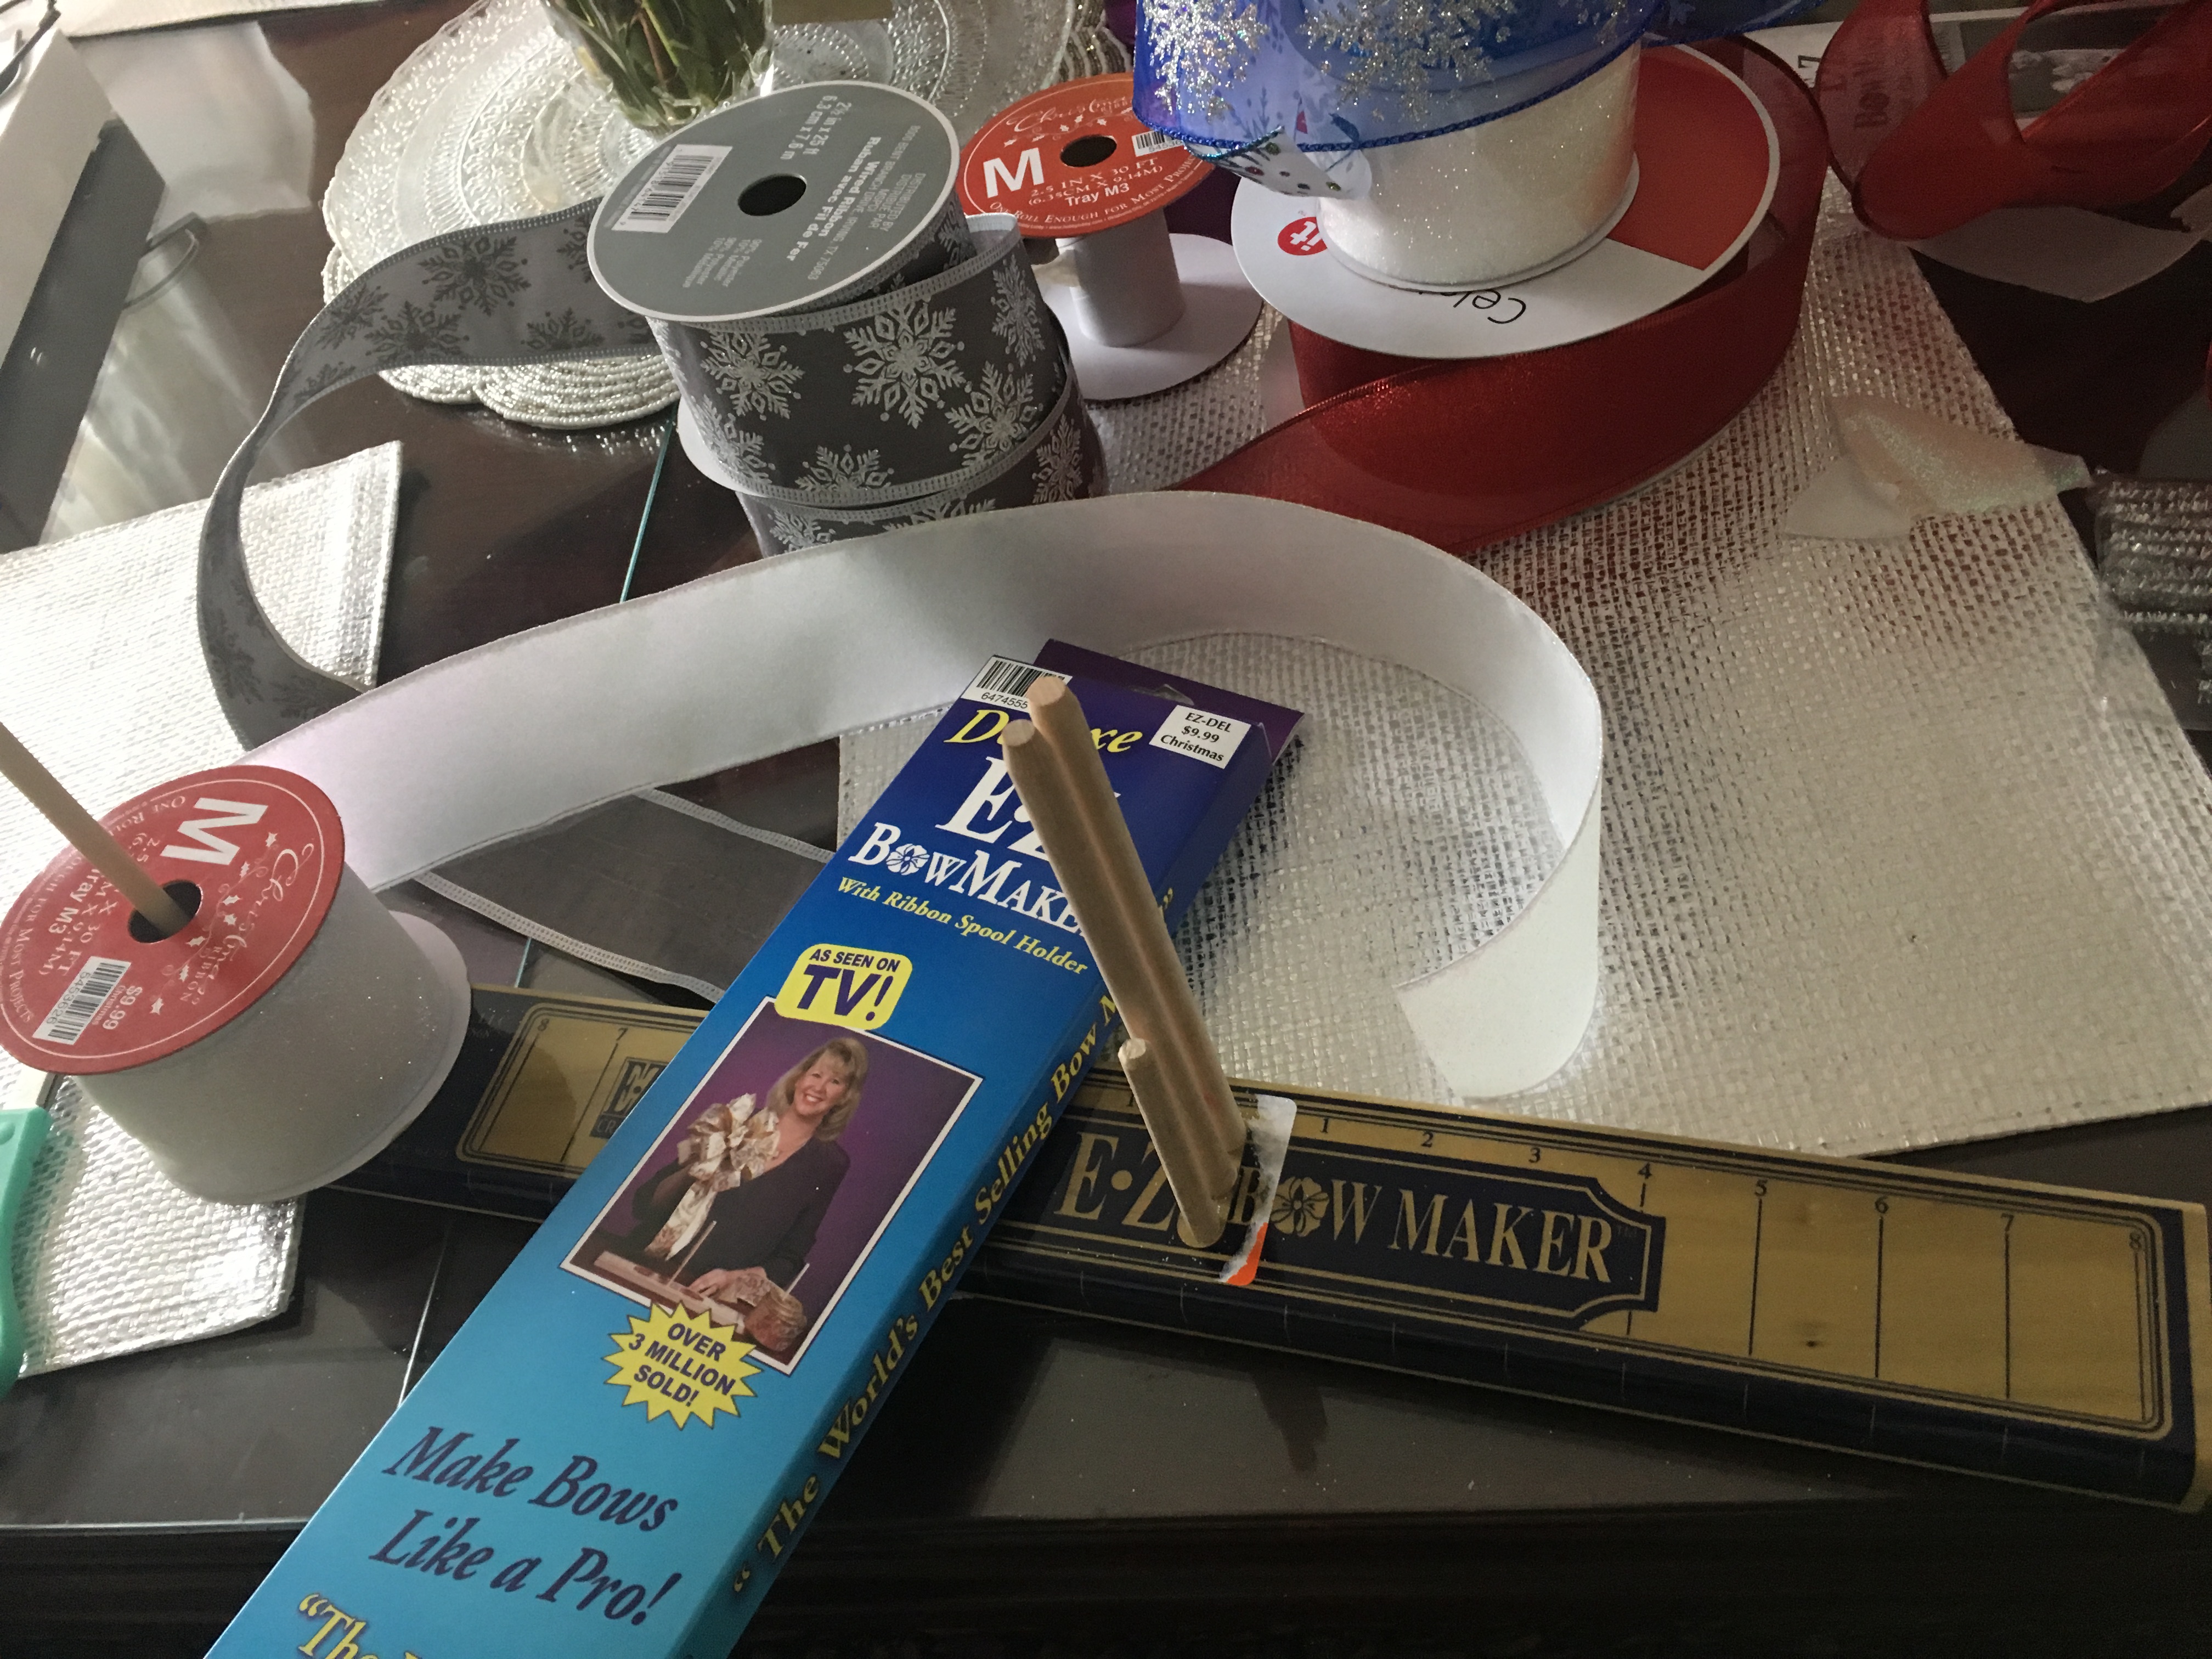
Once your bowmaker is assembled, make a floral bow. The first step is to put the ribbon on the spool and measure out eight inches of ribbon, twisting it where the bowmaker goes and gently sliding it between the two sticks, being careful not to ruin the ribbon.
Folding the Loops

The loops can be tricky. The instructions say to do four loops on each side, but I prefer to do five loops on each side. Flop over the ribbon, making the loop reach the five inch mark, fold it over, and do the same on the other side until you have five loops in a giant pile of ribbon on the bowmaker, and are questioning if this is real or all lies.
Making the Middle Piece of the White Christmas Bows
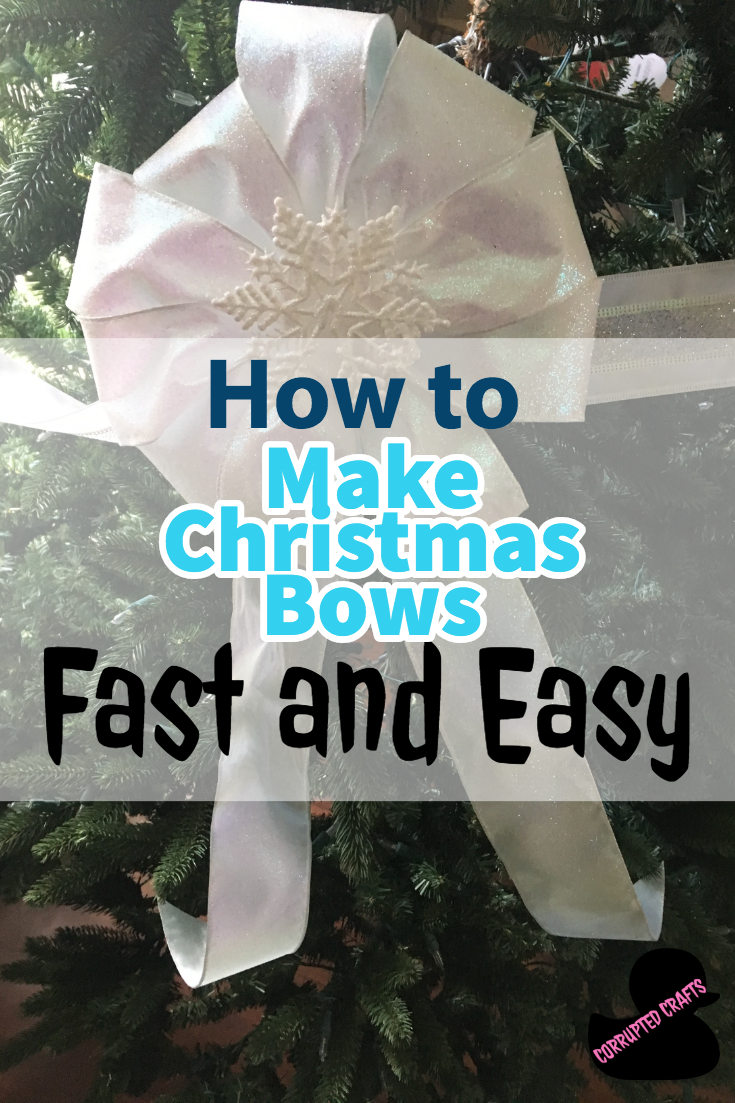
The middle piece is done in the middle of course, and is just a smaller loop on the side you started on. Squish it around until it sorta makes sense like in the picture above.
Making the other End Piece of the Snowflake Christmas Bows
The end piece should be facing the other tail of the ribbon, and cut about as long. This will make a pretty little bow that you are ready to tie with a pipe cleaner. Pull the bow off carefully, wrapping the wire around the middle, and fluff and squish the bow until it is round and pretty. If your bow looks sad or depressed, you probably didn’t do it right and should try again until you get the ideal bow.
Preparing the Hot Glue Gun
Hot glue guns don’t need much preparation, just stick a glue stick in it and plug it in for about five minutes to heat up.
How to Make the Big Snowflake Centerpiece of the Christmas Bows
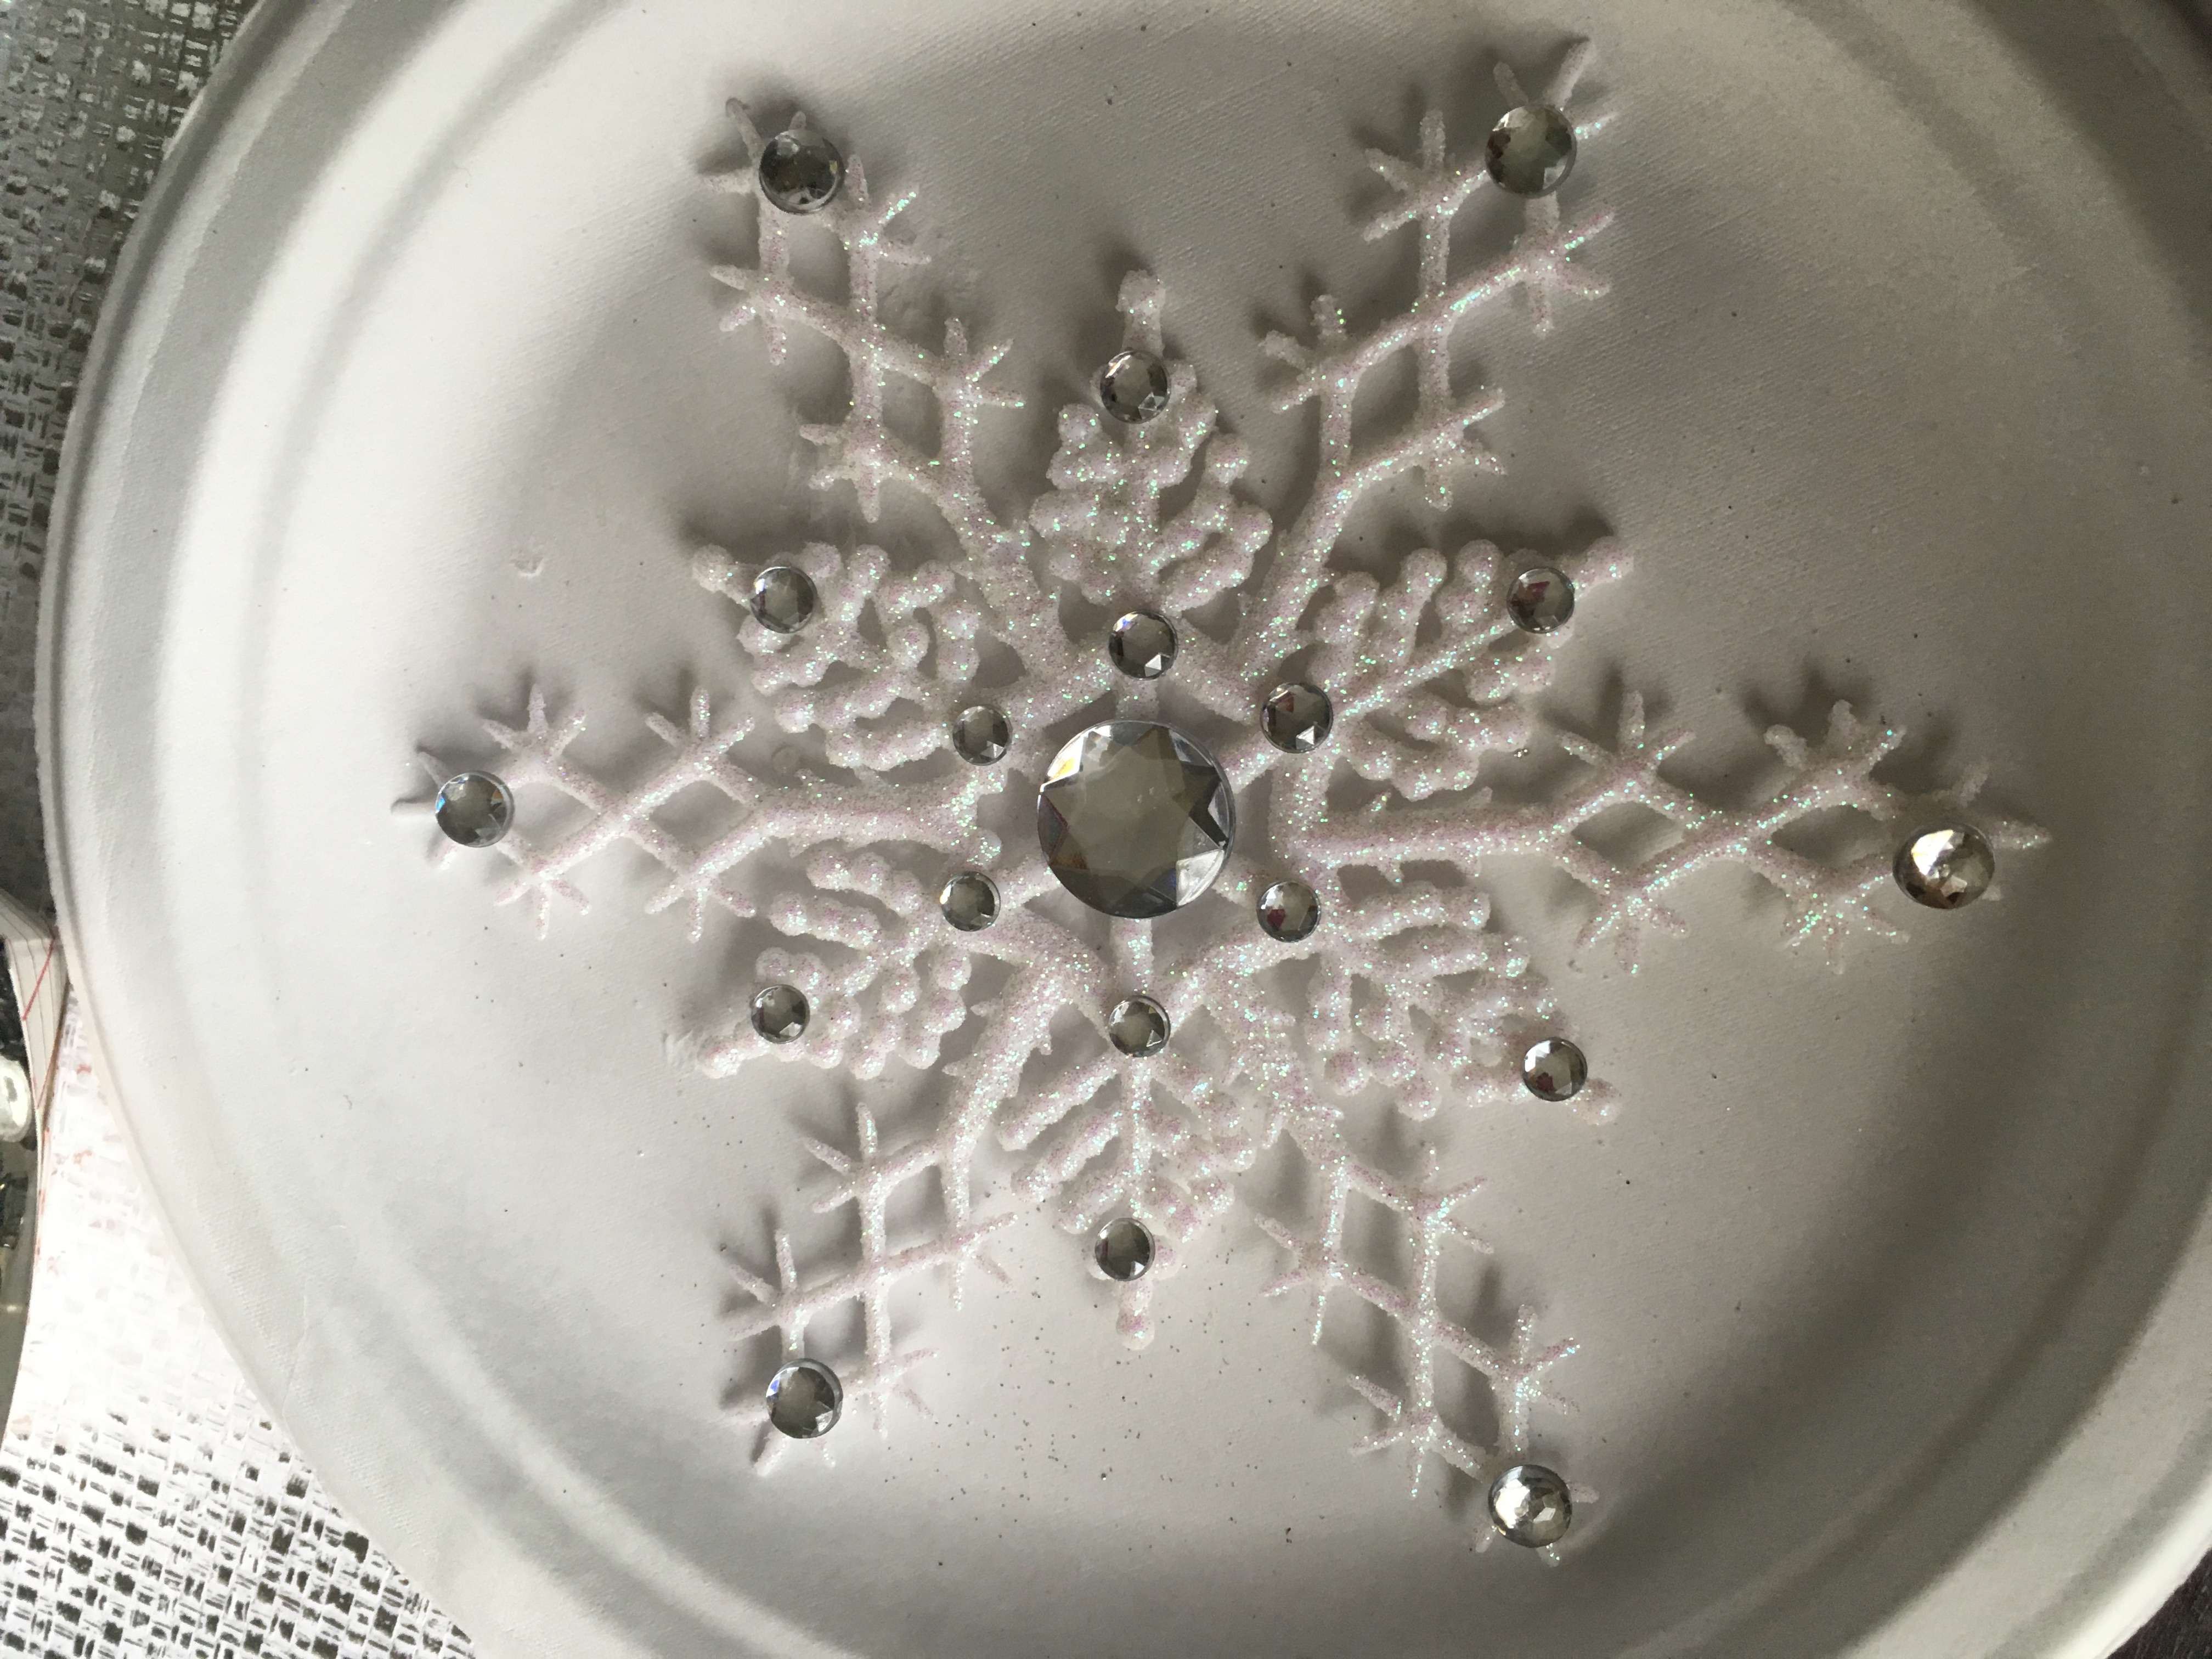
The big bows have the most complicated centerpieces. Put a big gem at the tip of each of the ends and around the middle to make a dazzling snowflake that really sparkles, along with a massive gem in the middle.
How to make the Little Snowflake Centerpiece
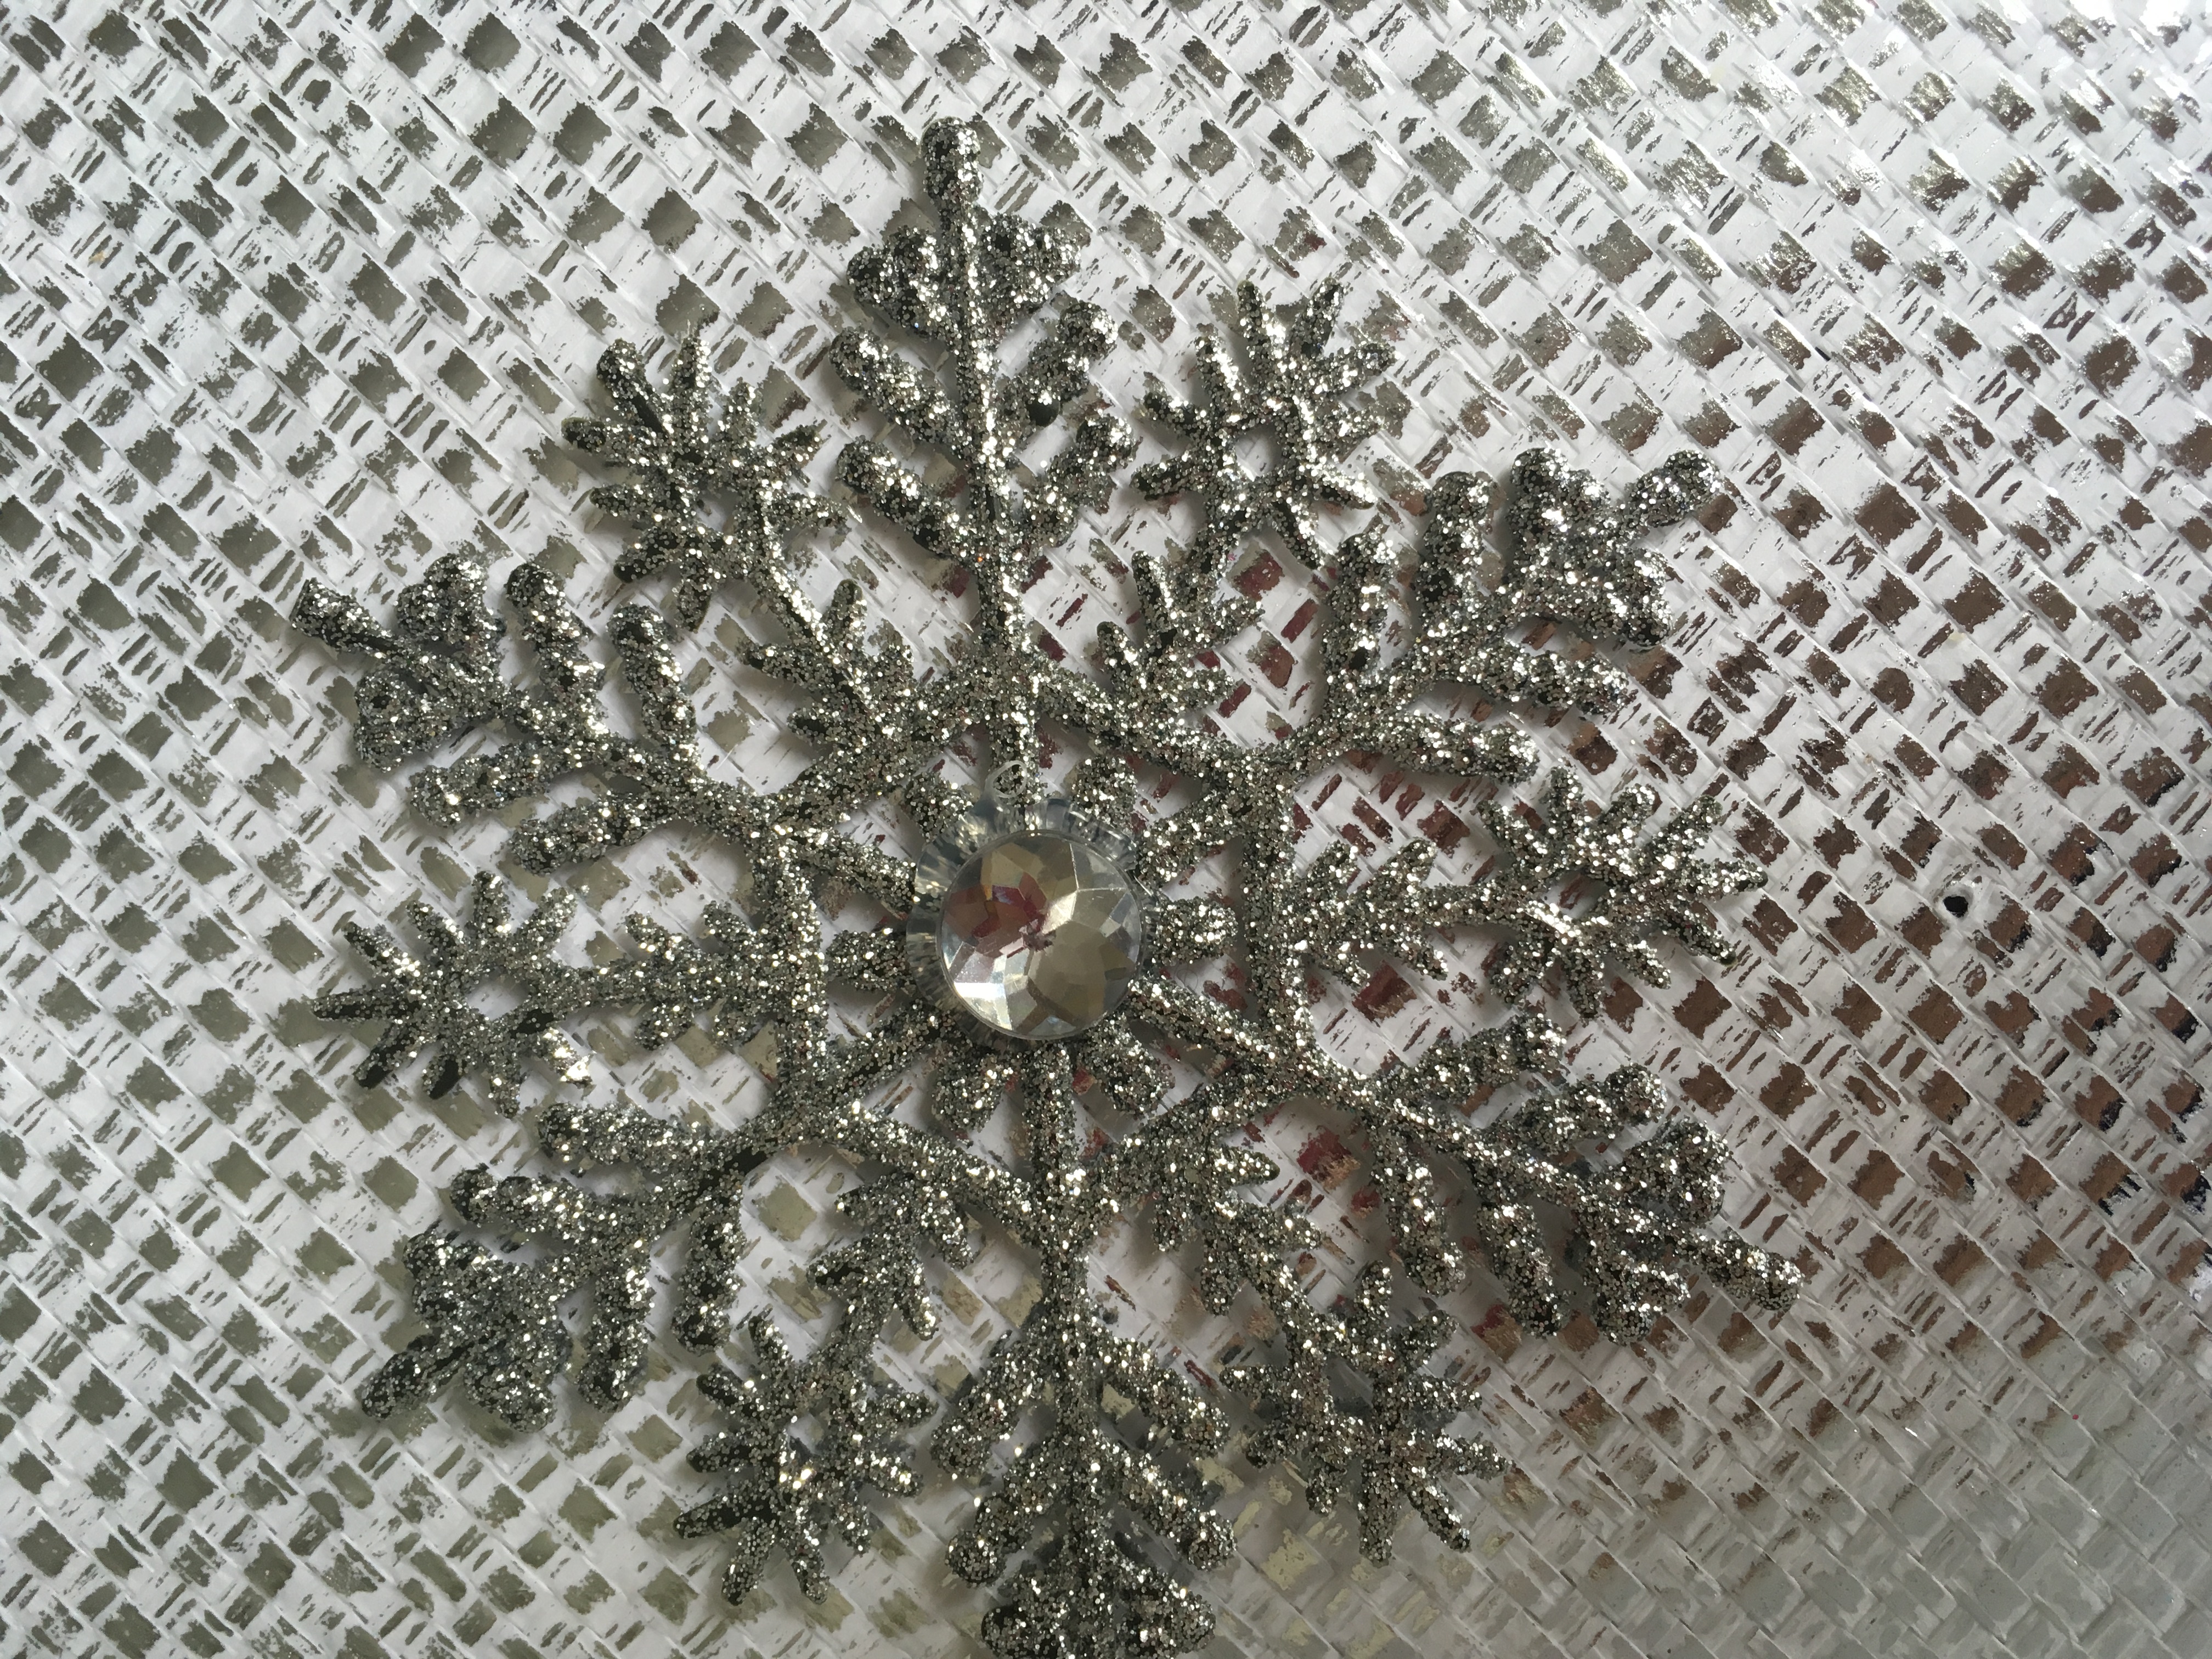
The little snowflakes are easy to decorate, with just a gem in the middle. Don’t get the gem dirty, or it will look clouded and ruin the effect.
Gluing and Centering the Snowflake in the Christmas Bows

Before you do anything with hot glue again, make sure you know exactly where and how you want the snowflake to be. Then apply a huge glob of glue to the middle of the bow and press the snowflake down hard by the gem into the glue. If your finger does not hurt, you aren’t pressing hard enough.
Fluffing the Bow
After all that pressing, your bow probably looks really sad. Fluff it back out to its former glory and set it aside to be repeated seven more times.
Finish
You should now have a pile of bows that are super fun and cute. Happy crafting!

