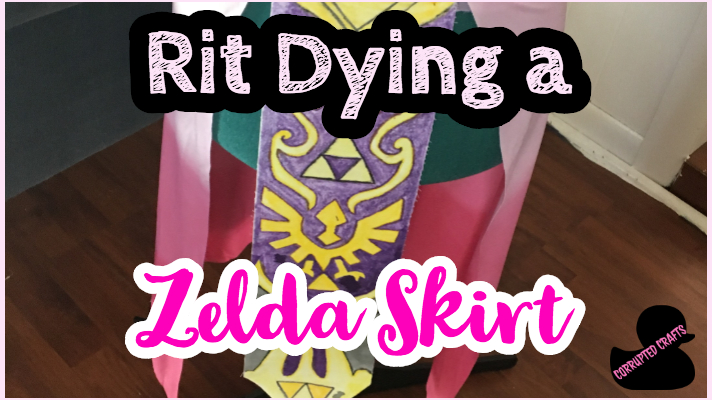
Zelda is a super fun character to cosplay, but sometimes it is hard to find a cloth that has the right gradient and also a decent flow. This tutorial is how to make the Hyrule Warriors Zelda skirt using Rit Dye. Creating a layered effect like this in knit is easy and can be done with little effort. This technique can be used to do a layered dye pattern on sweaters and shirts too.
What you will need
- Rit Dye for synthetic fabrics
- Stainless steel pot
- Water
- Rubbing alcohol
- A metal rod to hold the cloth above the pot
- Safety pins
- Stovetop
- White knit synthetic fabric
Finding the Perfect Knit
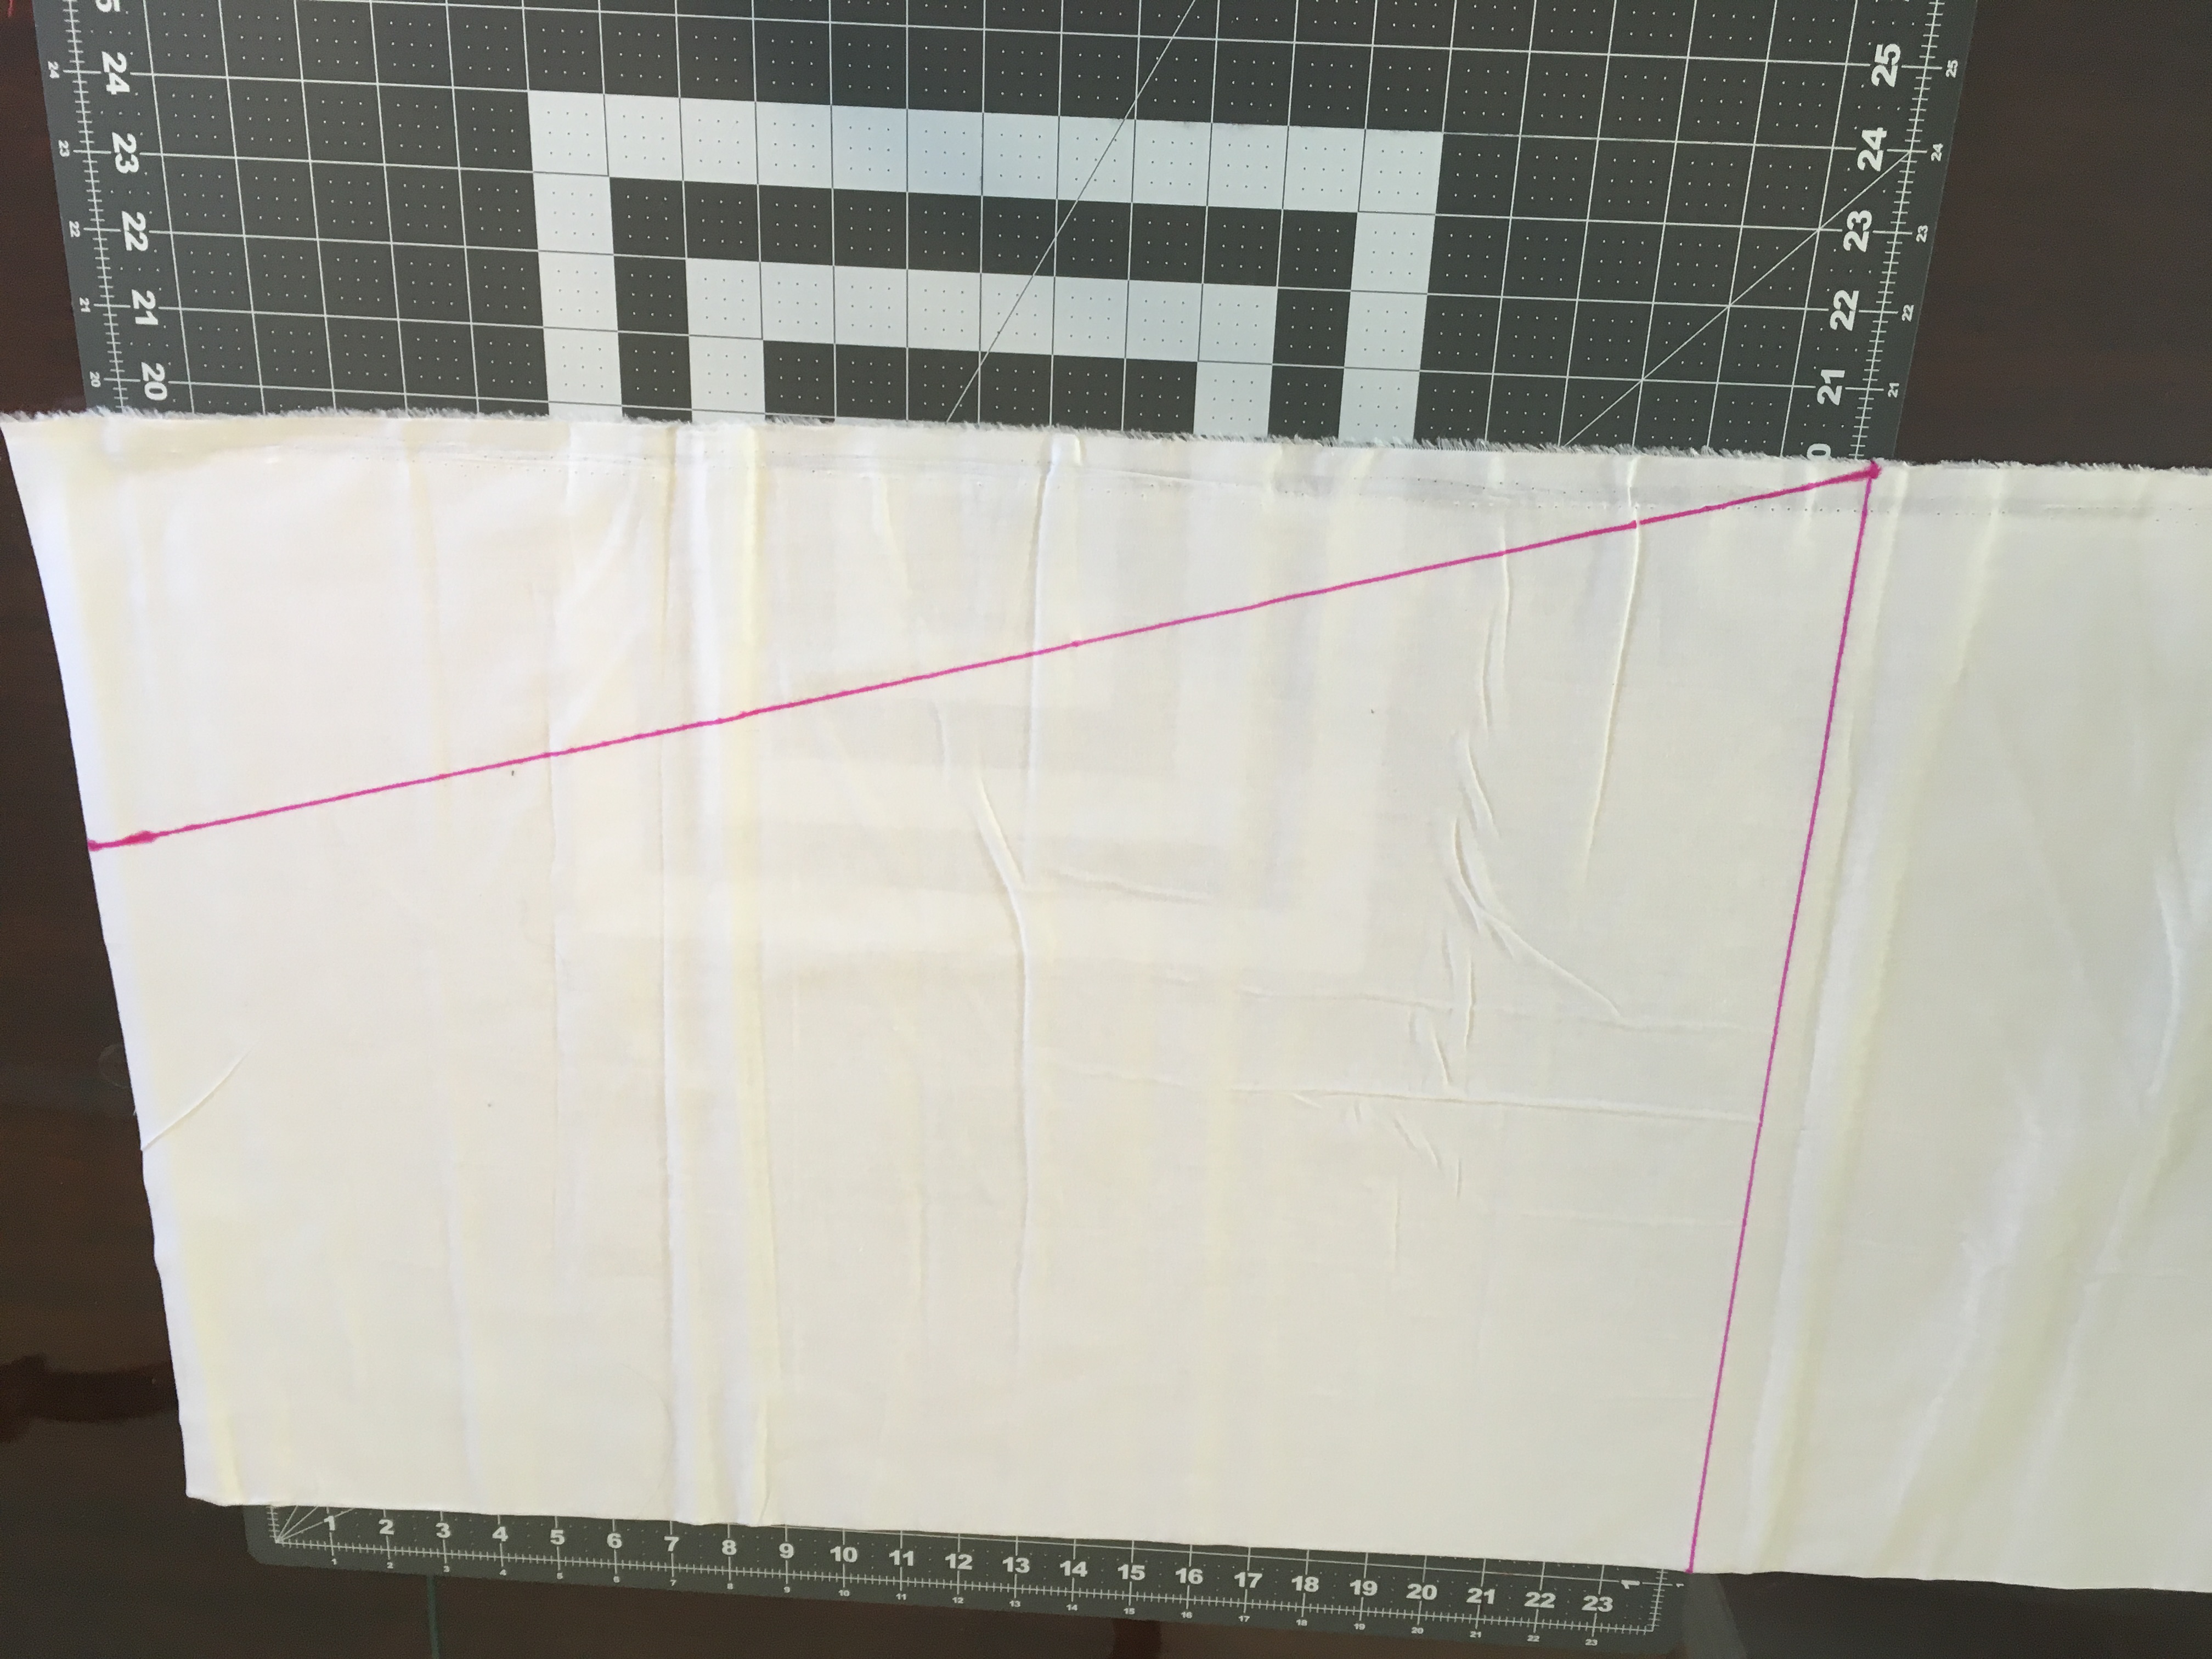
At a fabric store, look for a stretchy knit fabric in white. Knits do not fray, meaning there won’t need to be a hem.
Making the Pattern on a Dress Form
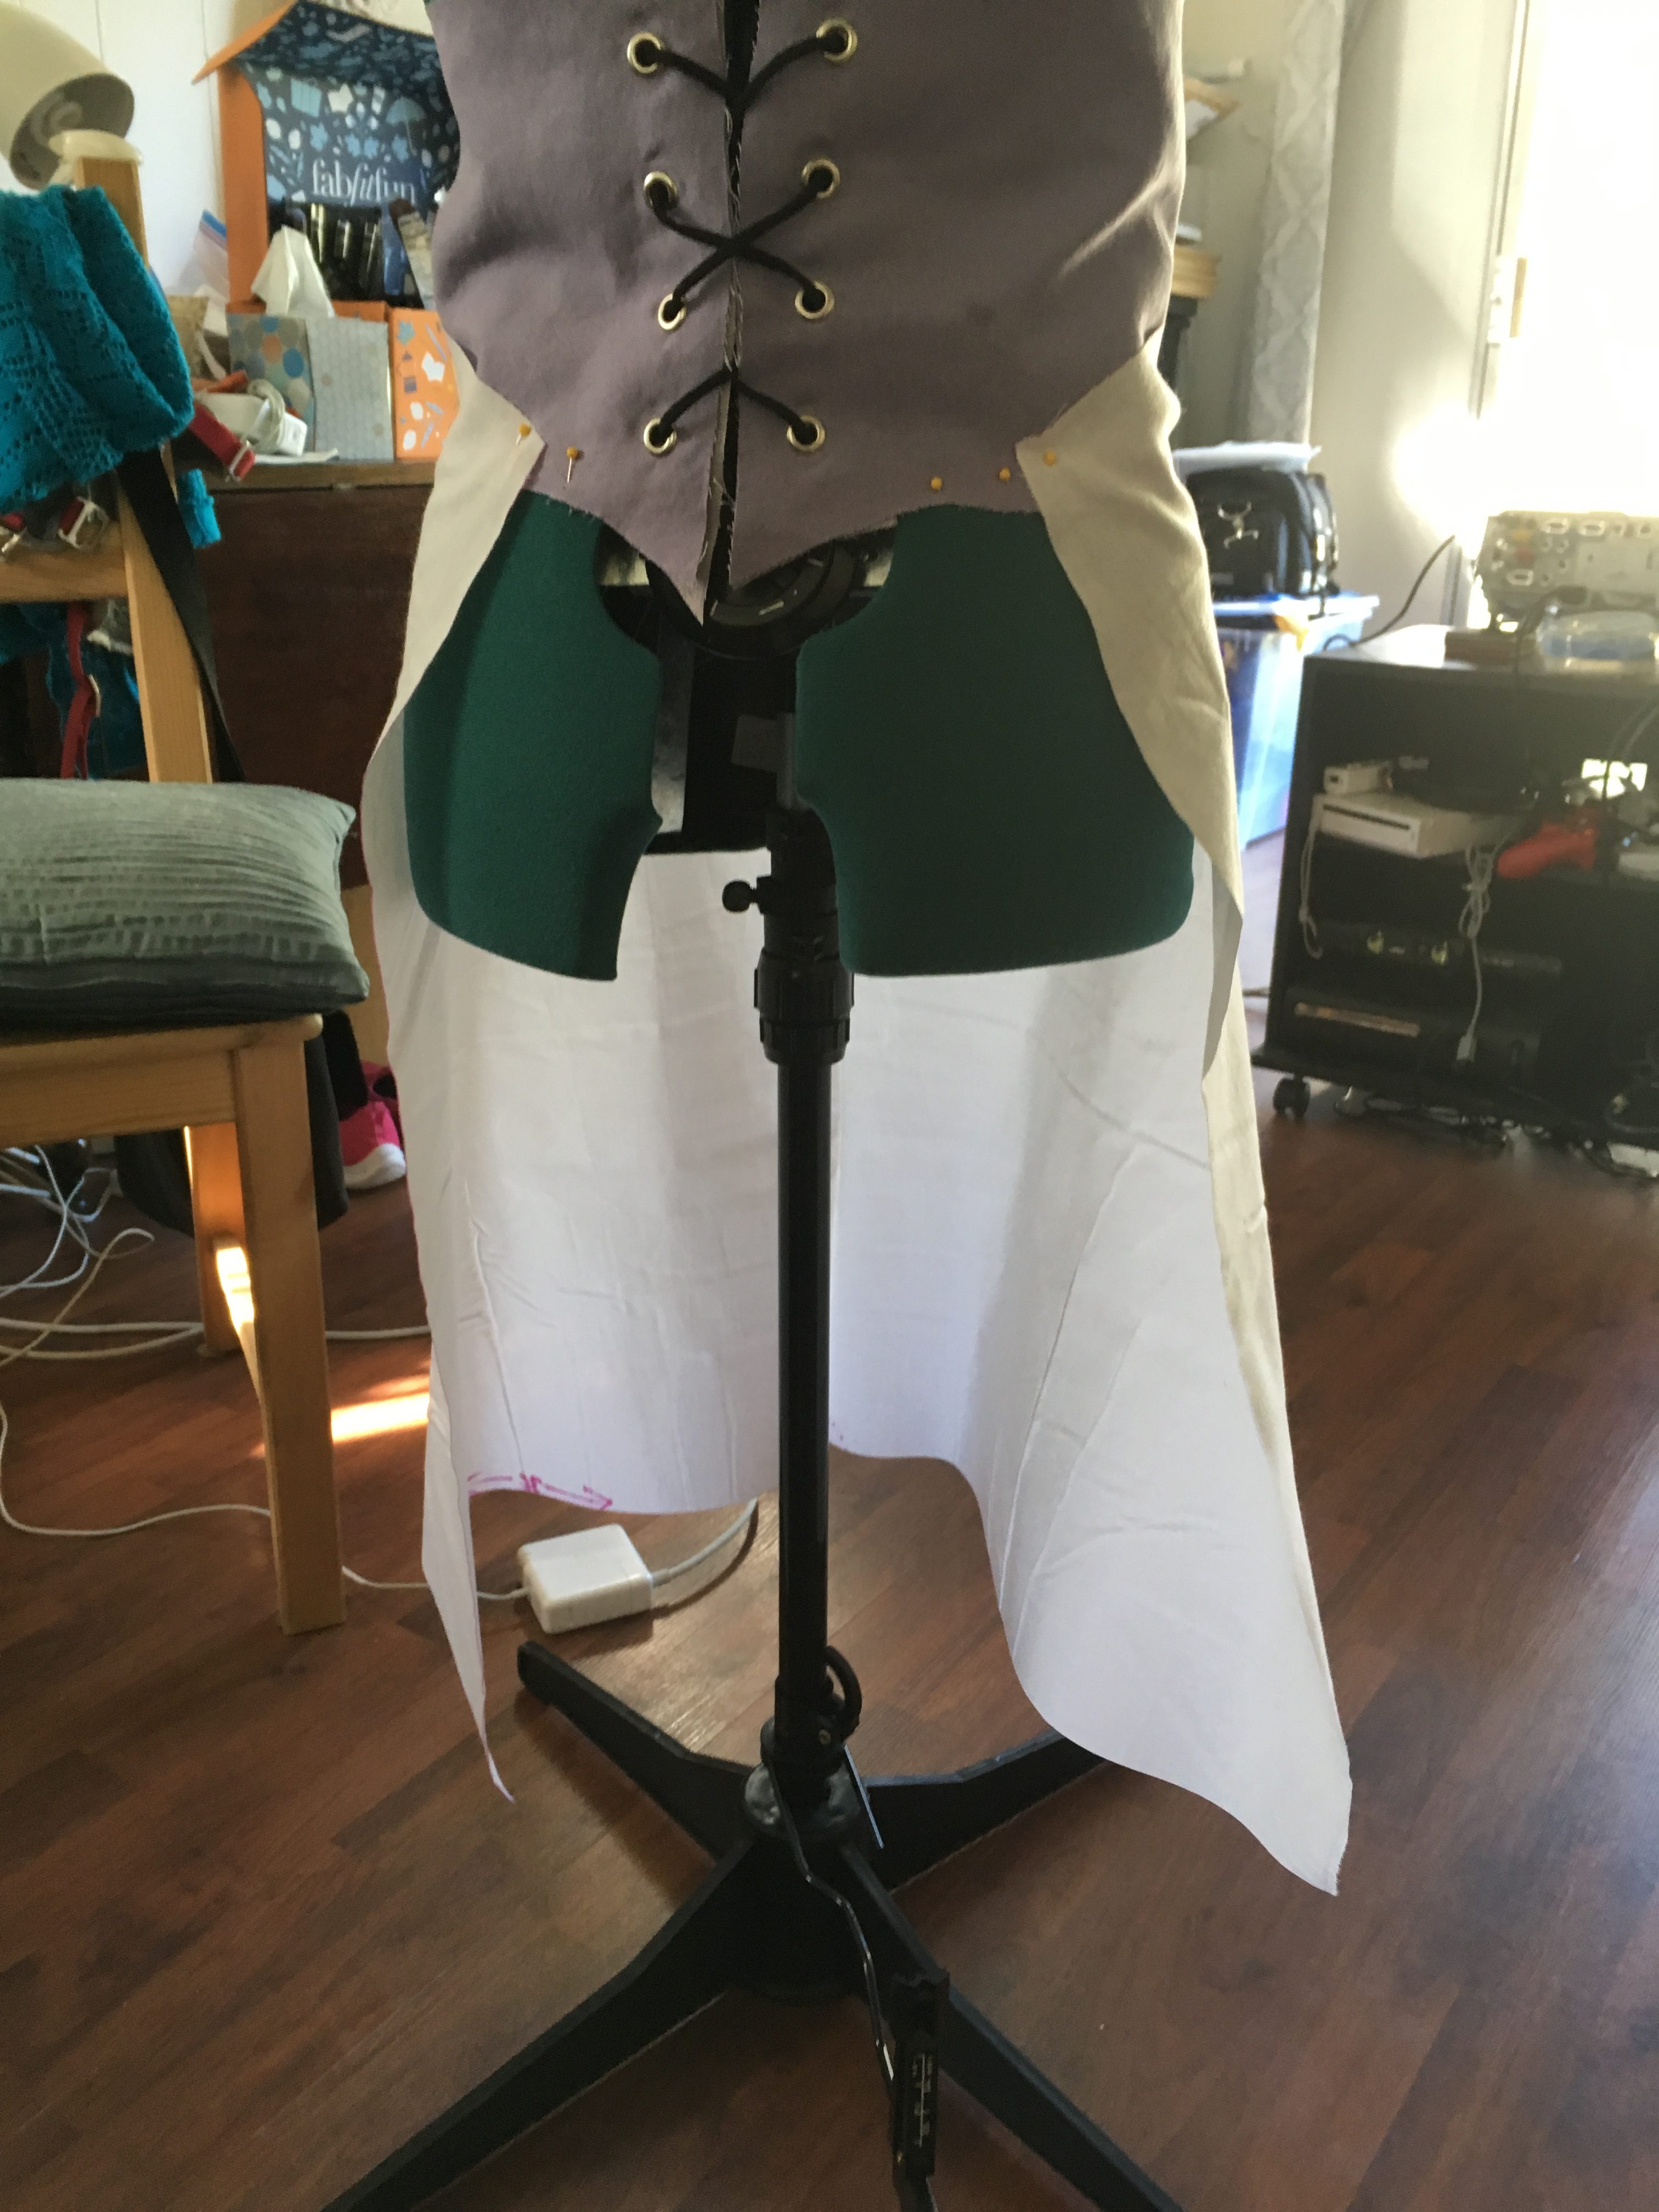
Pin the fabric to the waist of the dress form. Stare at it and figure out what length and width would be perfect based on the dress form’s measurements, and write them down.
Measuring the Fabric
Using some muslin, put the measurements on the cloth to make what you envision on the dress form. Draw the lines on the fabric with a ruler to make as straight of lines as you can.
Prototype
Cut out the fabric and pin it to the dress form securely. If the pattern looks good, pull it off and take it back to the cutting table to the knit fabric.
Cutting out the Zelda Skirt
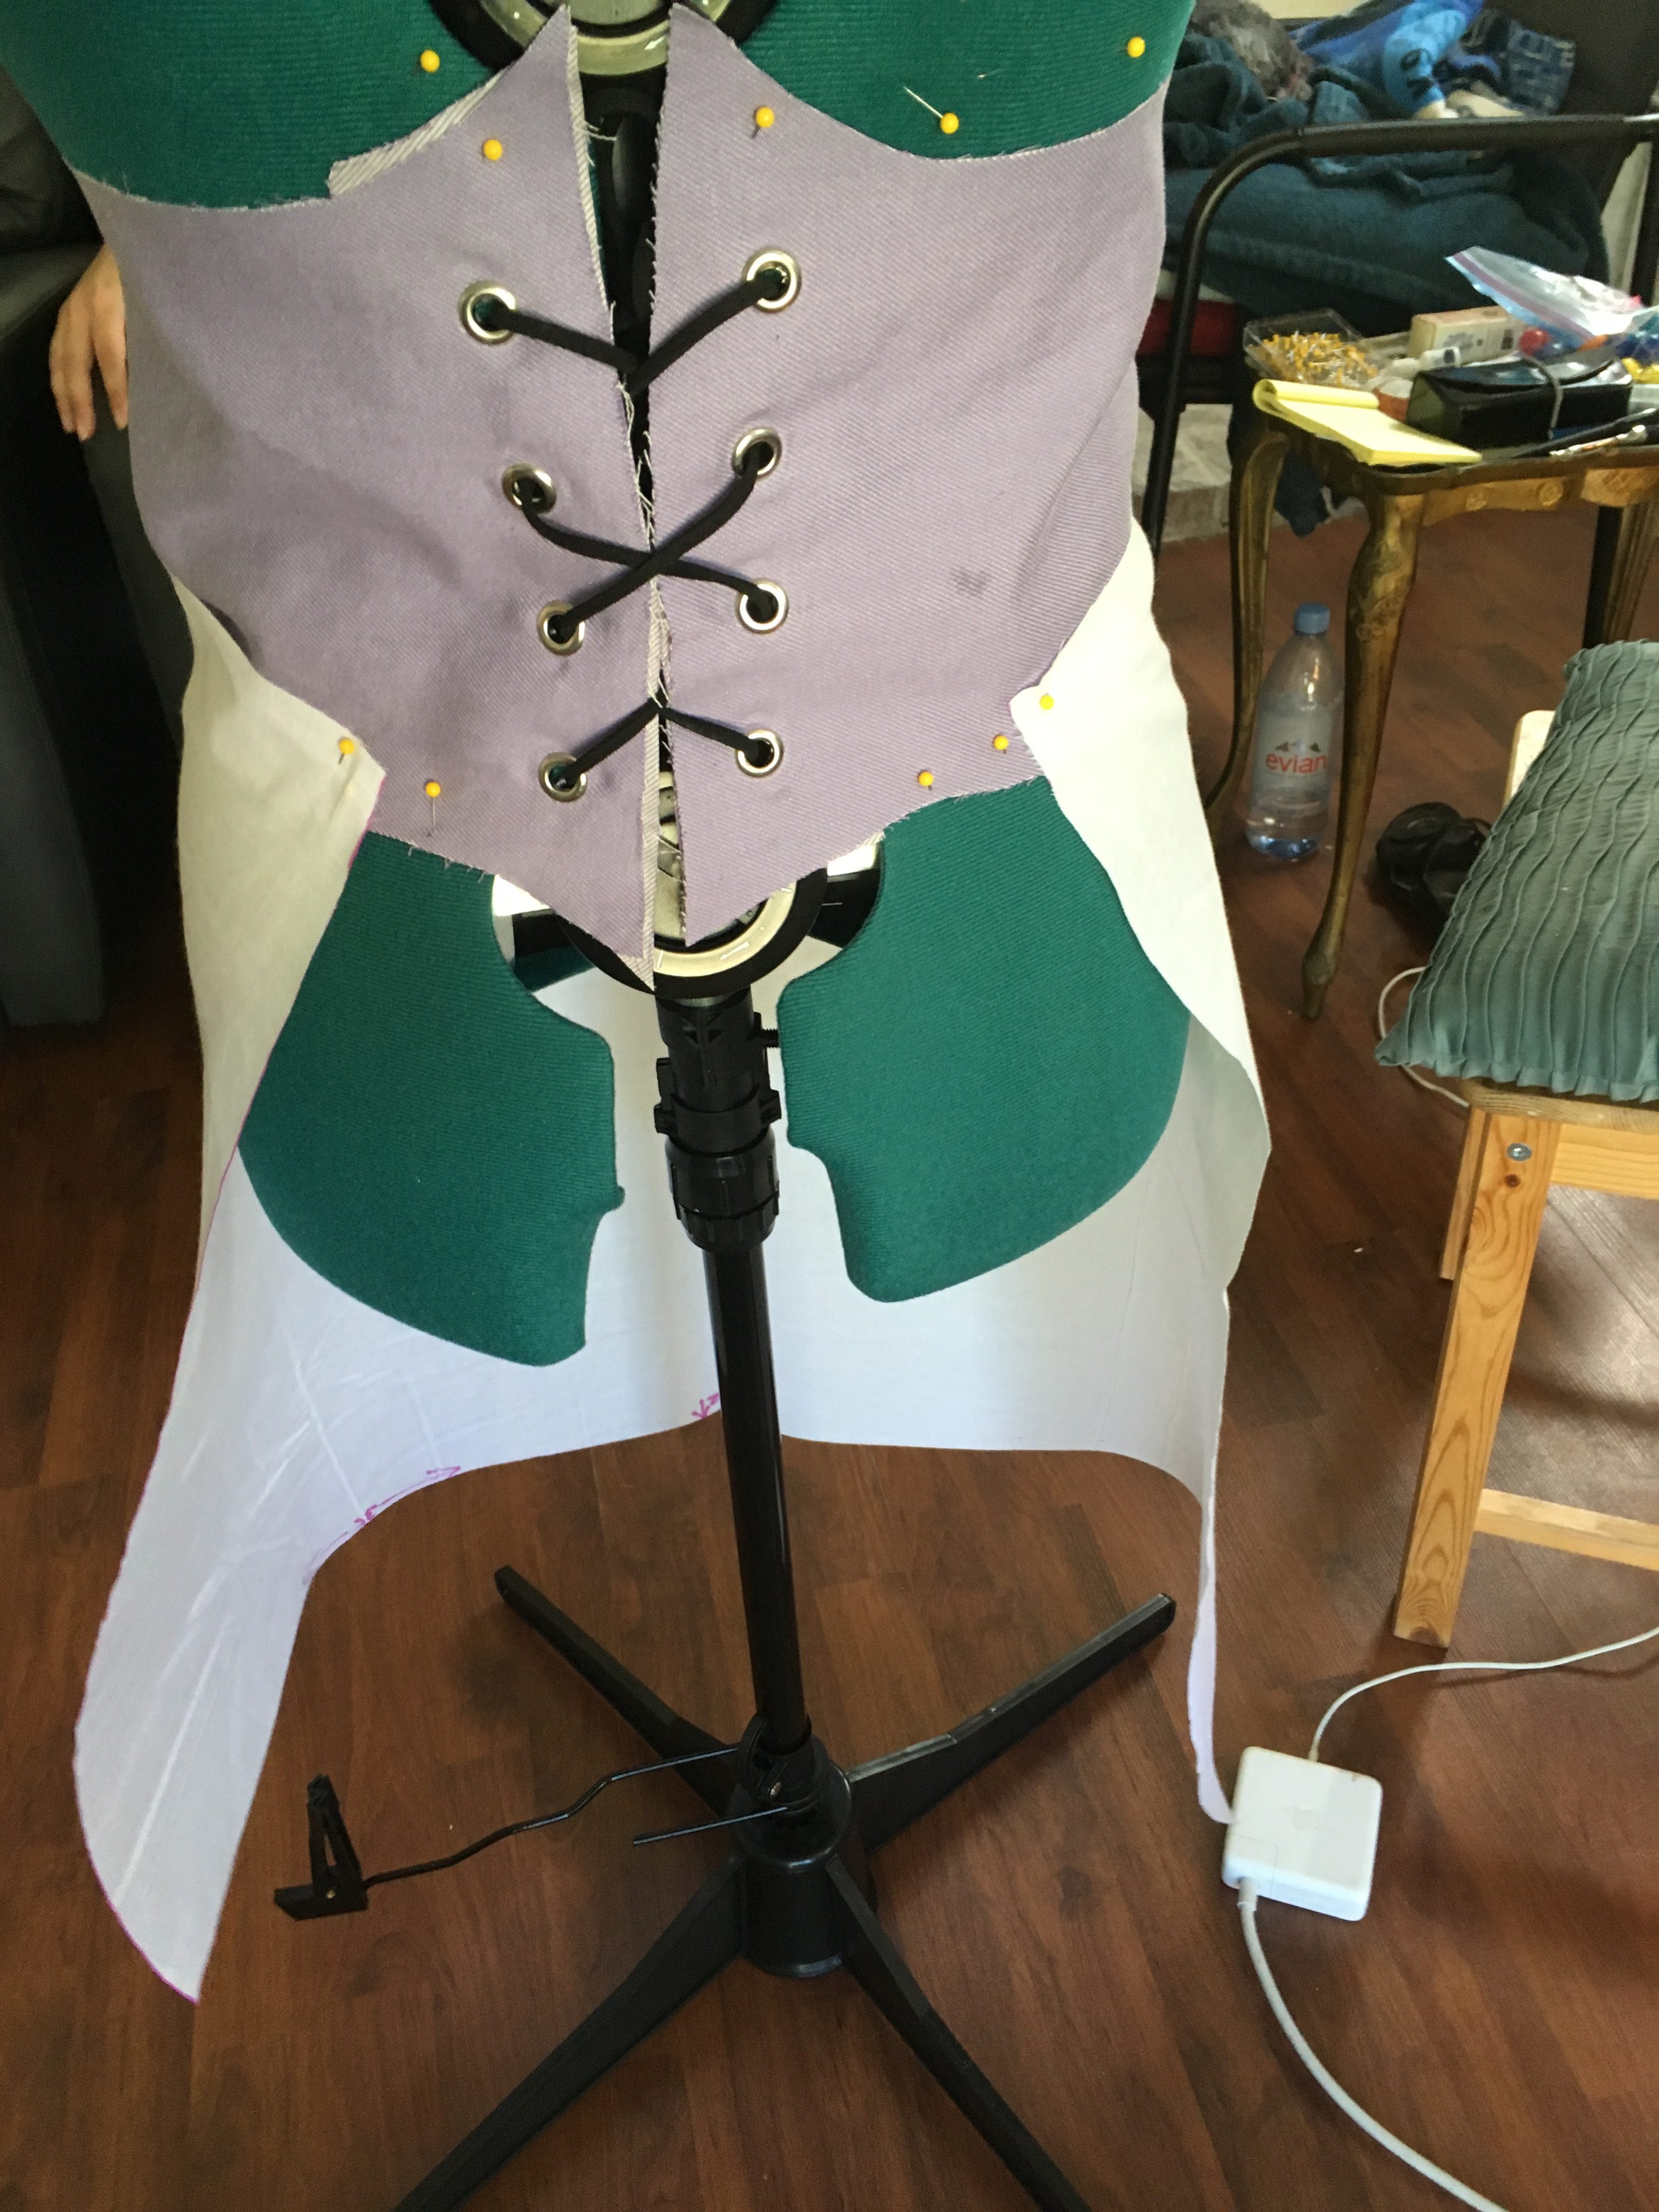
Trace and cut out the skirt with a rotary cutter for smooth lines. Put it on the dress form to make sure it is just right, and cut out a piece to test dye.
Pinning the Zelda Skirt for Dying
There are three layers to Zelda’s Skirt—the dark at the bottom, a lighter pink in the middle, and the lightest pink at the top. Put pins to mark how far up each color should go.
Preparing the Dye for the Zelda Skirt
Pour half a bottle of rit dye into a stainless steel pot not used for food. Fill the pot with enough water for the cloth to flow freely and not be in a bunched up wad of fabric.
Boiling the Dye
Heat the rit dye until it is boiling or close to it. Rit dye must have hot water in order to properly dye the fabric, otherwise it will wash out.
Rolling up the Cloth
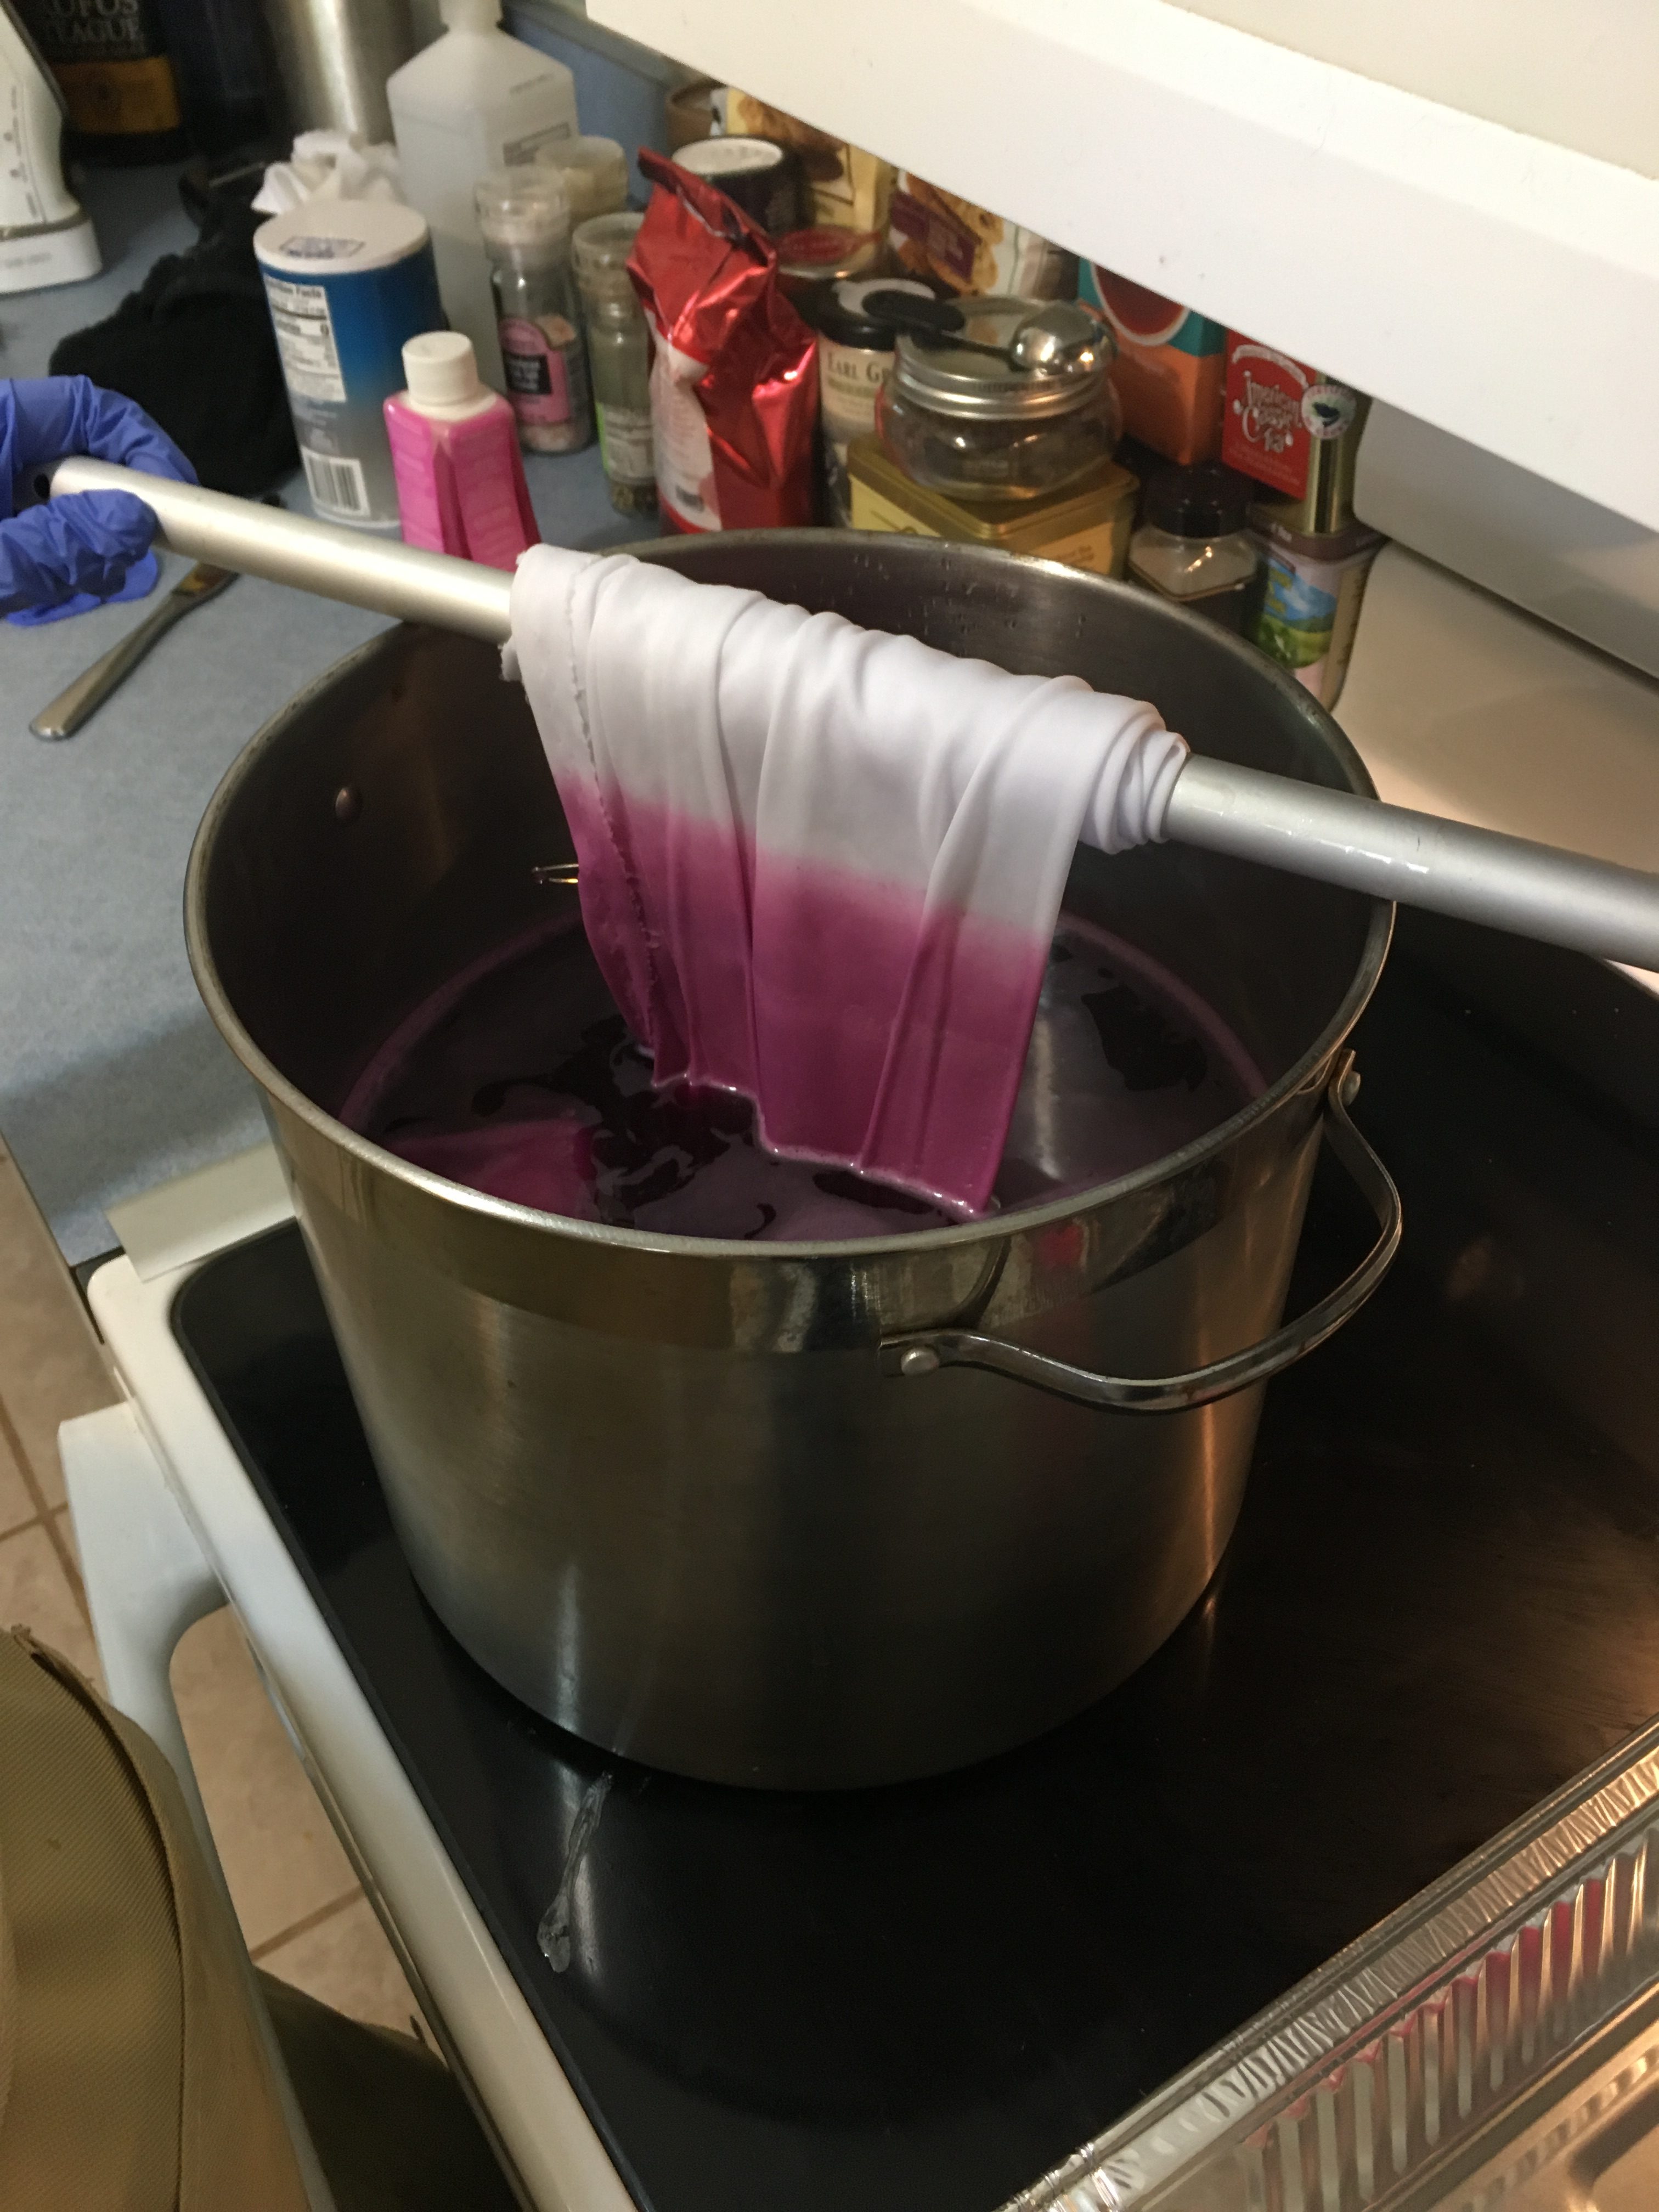
Roll the cloth up on the metal rod, starting with the waist part and rolling up to the end of the skirt. The darker cloth must sit longer in the water to dye properly.
First stage of the Zelda Cosplay Skirt
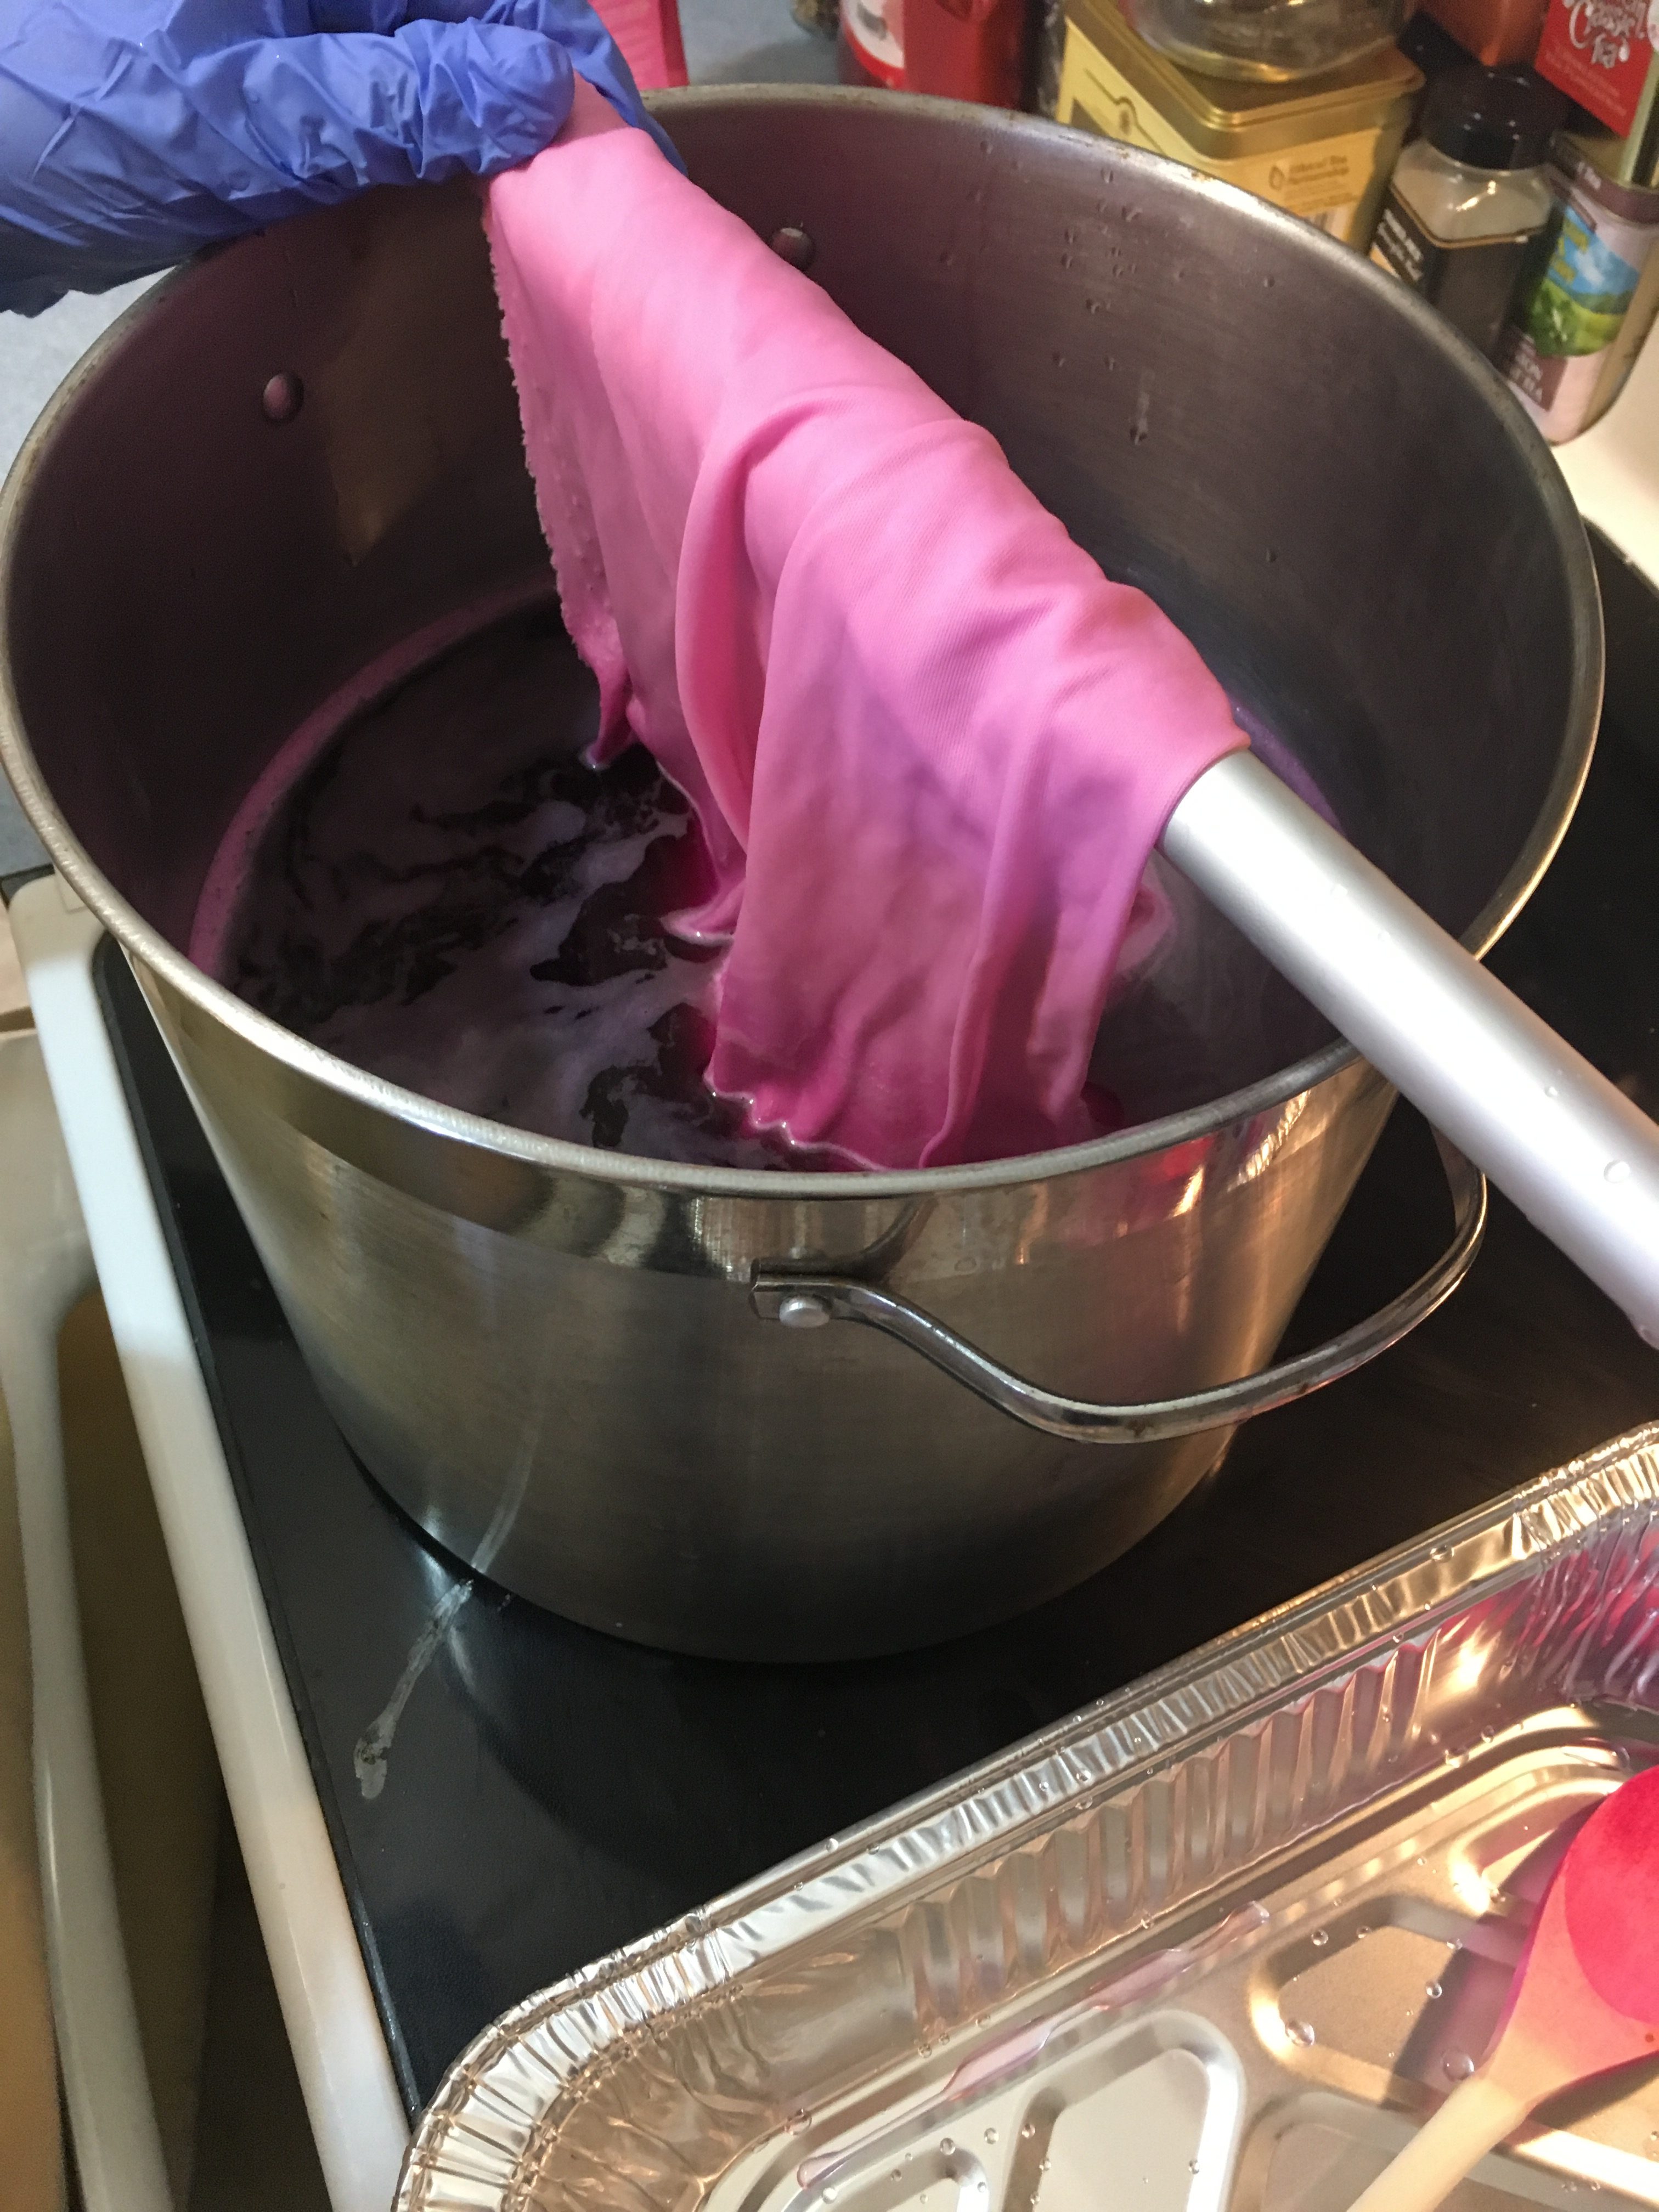
Once the pot is heated, slowly roll the cloth down to the first safety pin and allow it to sit in the dye for about ten minutes. Use a wooden spoon to spread the cloth around in the water.
Second Layer of Dip Dying

After the ten minute mark, roll the cloth down to the next safety pin and hold the fabric in place to keep it from dropping in the pot. Let the cloth sit for another five minutes.
Third Layer of Dying the Hyrule Warrior Zelda Cosplay Skirt
For the third layer, you have to be fast and have a disposable foil pan nearby. Drop the rest of the cloth into the pot, wait ten seconds, and pull it out immediately and put it in the pan.
Rinsing the Freshly Dyed Skirt
Put the cloth in the sink and rinse until it runs clear, with gloved hands. Pull it up and admire your work.
Letting the Dye set and Dry
Optionally you can hang the skirt out to dry if you have any doubts about the cloth not being fully dyed. It’s also fun to watch it in the sunlight, because it is so pretty.
Washing the Skirt
Throw that skirt in the washer with some soap on delicate wash and cold water to get rid of extra dye.
Drying the Skirt Again
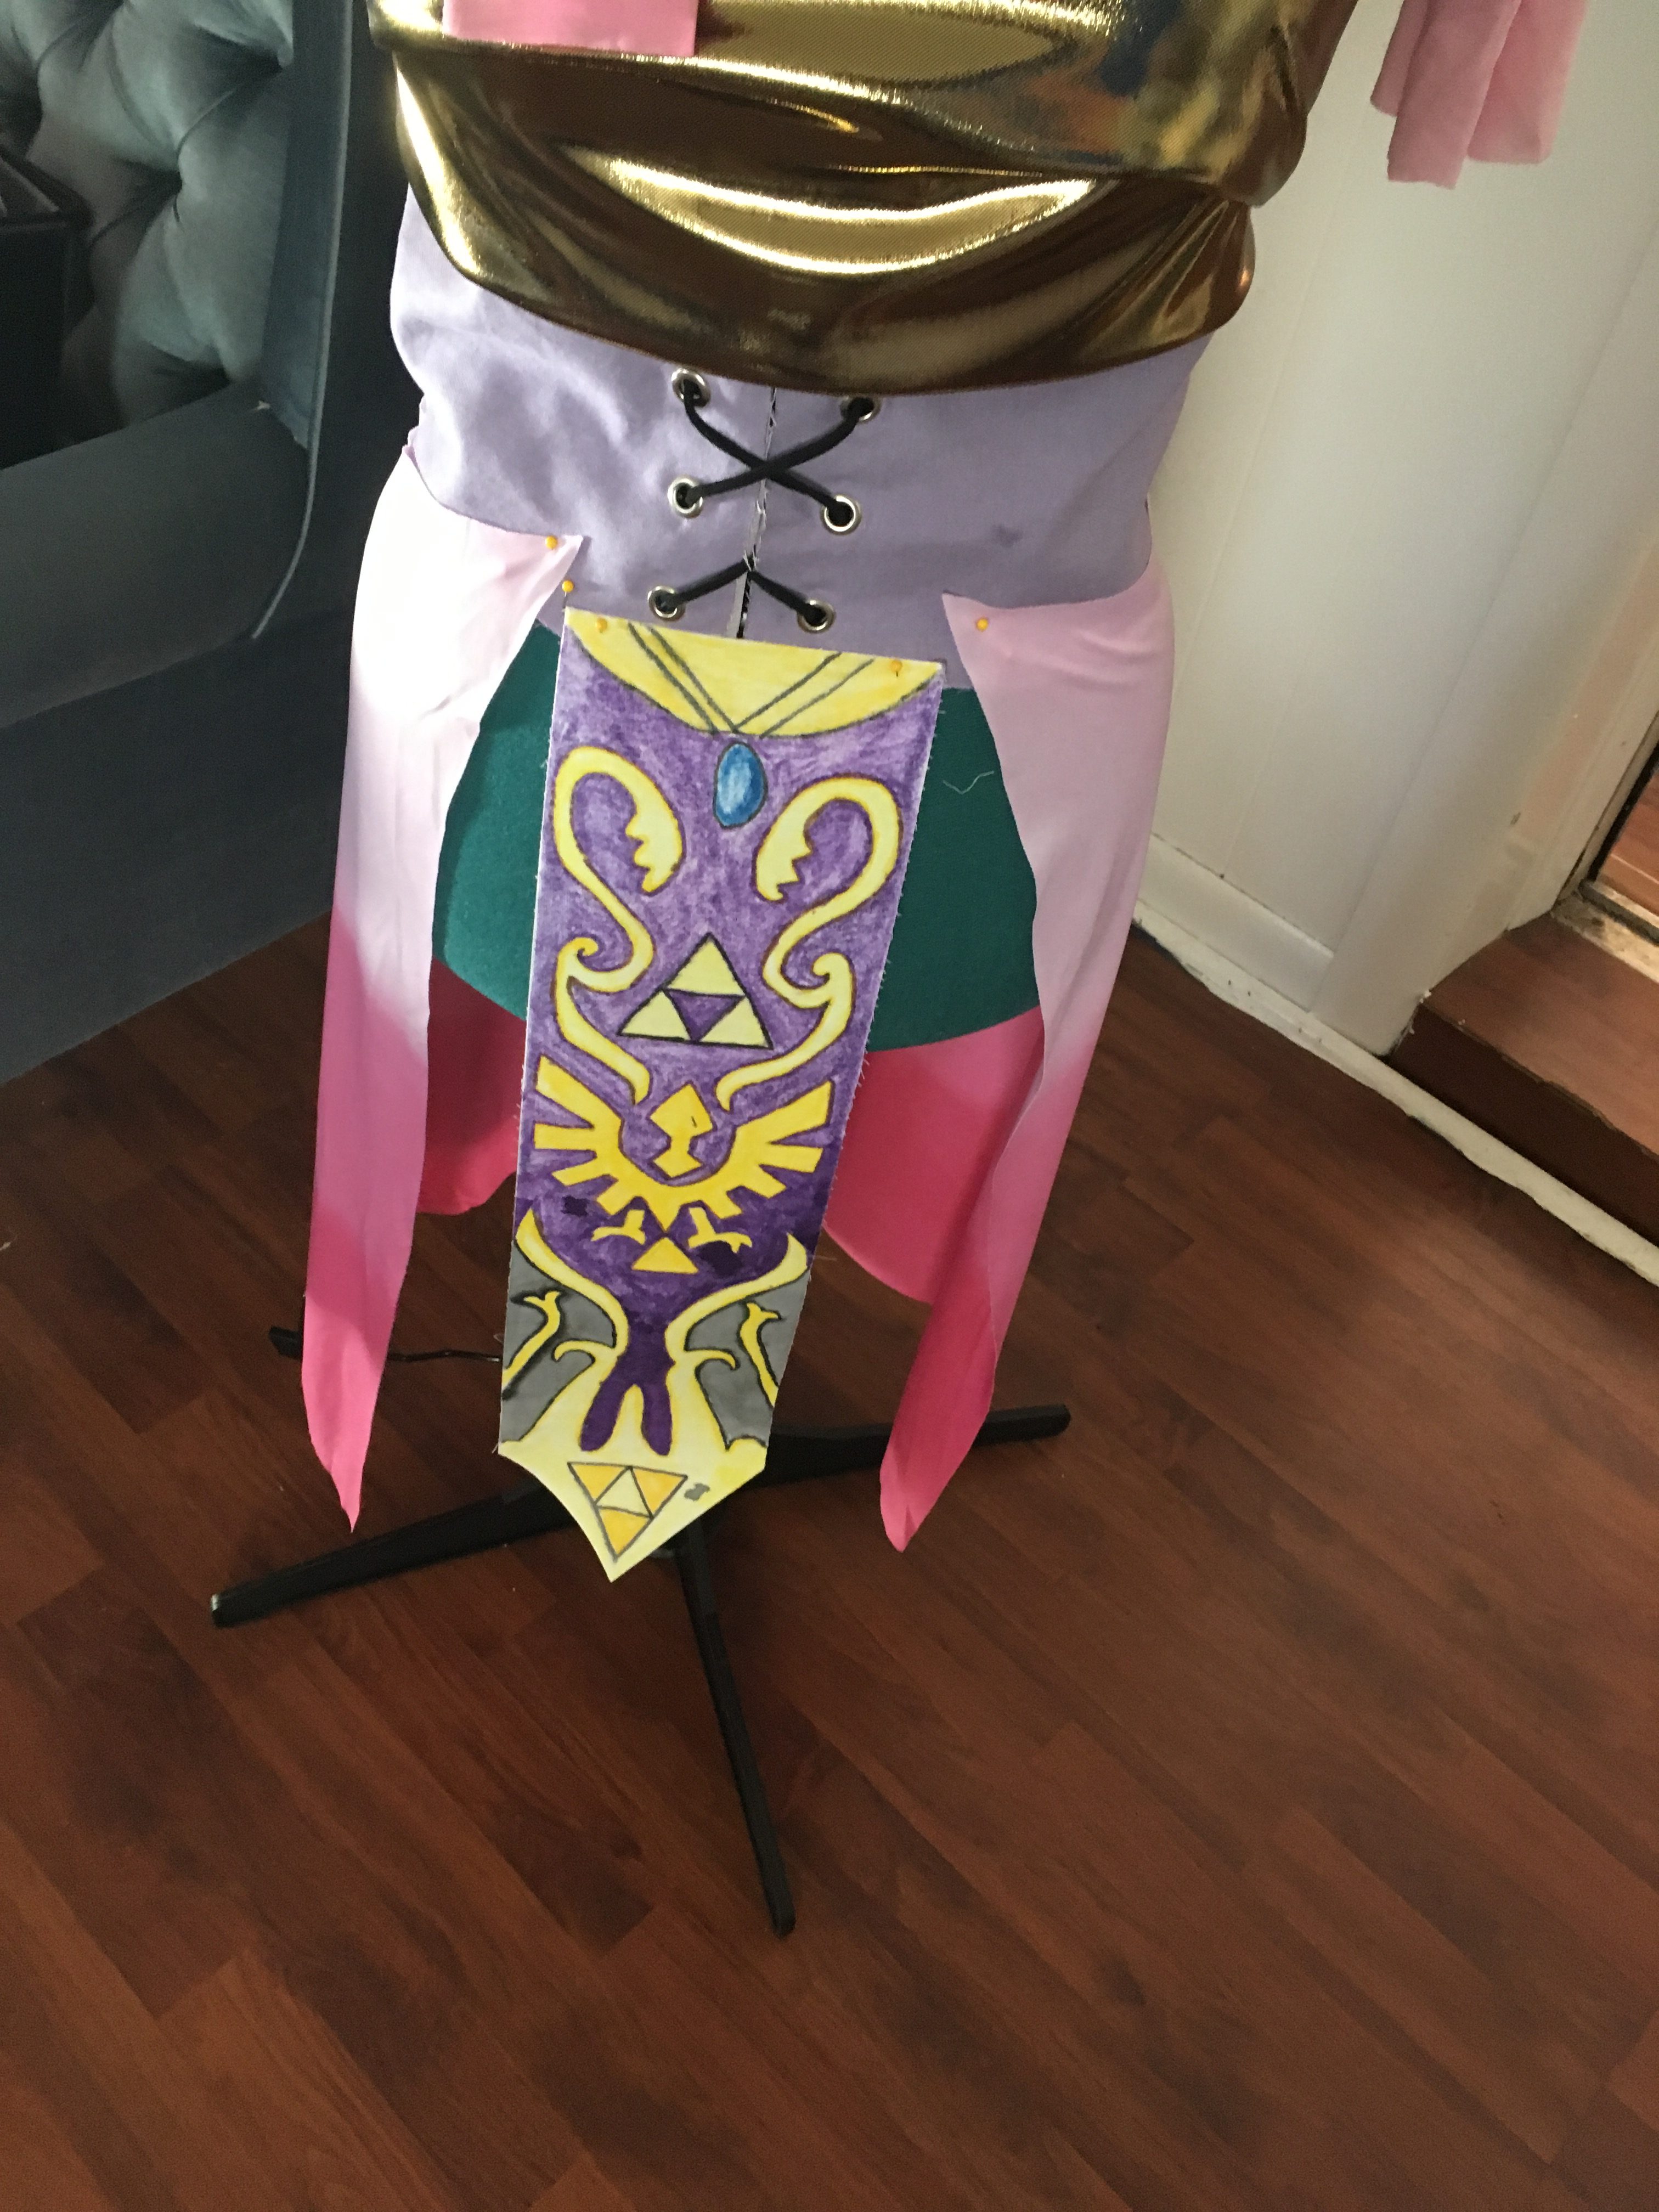
Hang the skirt up outside again. Never put knits in the dryer or wash freshly dyed fabric with other clothing, as that can ruin other clothing or towels.
Finish
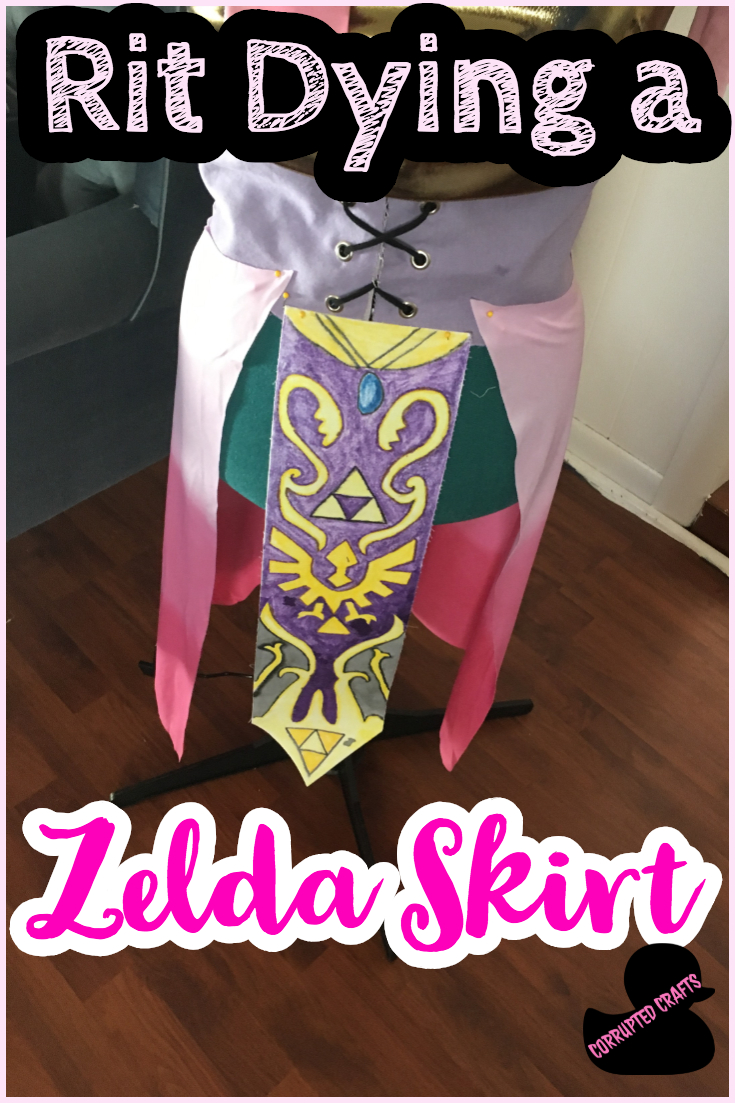
And you now have a skirt with the perfect amount of flow to match Zelda. Happy crafting!

