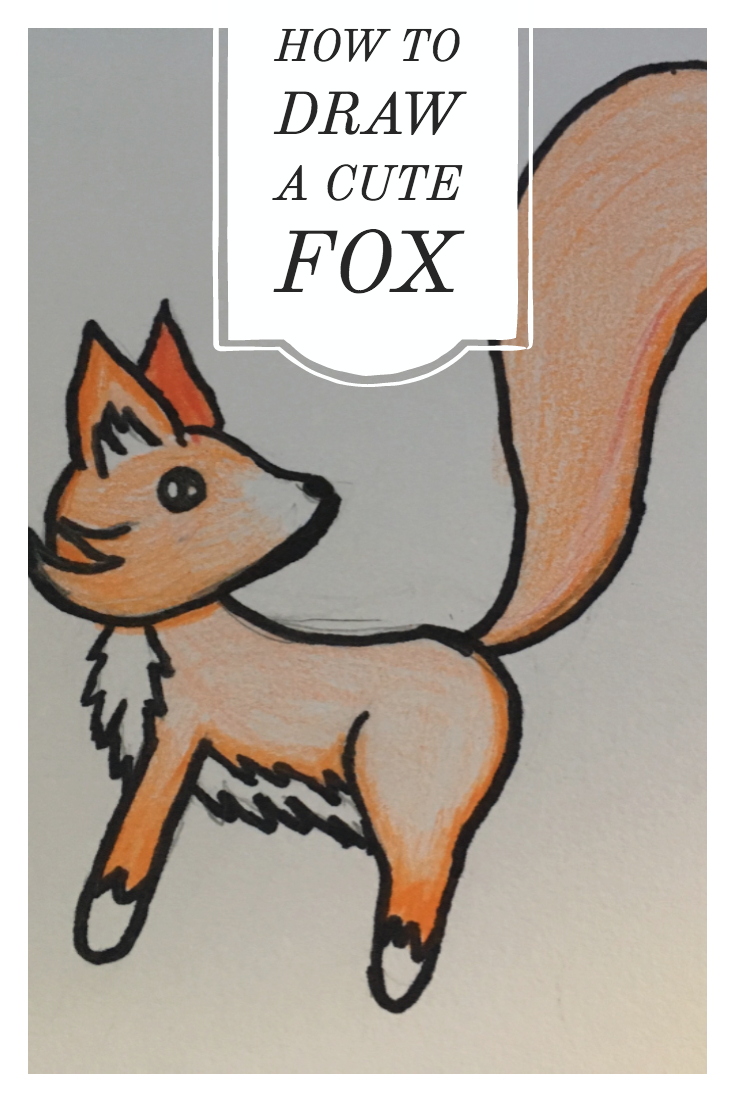
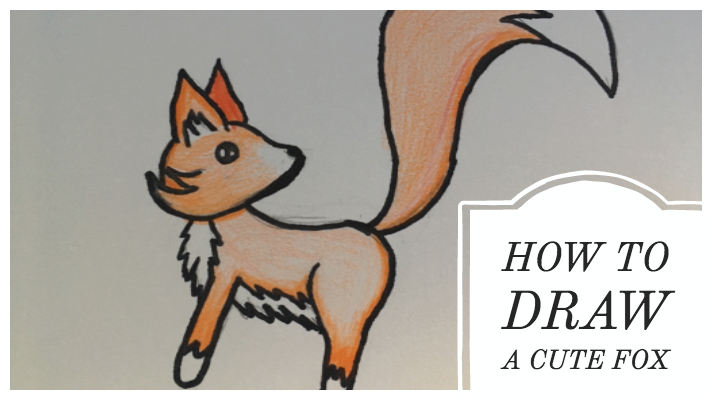
Foxes are adorable, with their fluffy tails and pointy ears. This is the process of how to draw a fox worthy of adding to your doodle book.
What you need
Step 1: Draw a Fox Tail and Face

The tail of the fox drawn started with a stretched out “S” shape, curving up and out from the body of the fox. The connecting line of the fox tail should have the tail widest in the middle and narrowing at either end. Foxes often have white tipped tails, so draw a zig zag line about half an inch from the tip so that you remember to leave that part white. About an inch from the tail to the left, draw the head of the fox. The nose has a rounded point, and the fox head is triangle shaped. Draw two pointy ears on the top of the head. Make the other ear slightly shorter, and the line for the top of the head should pass that ear line and stop at the ear facing you. Then add a few tufts of fur to the ear.
Feet and Body

The back of your fox connects the head to tail, and goes from about the chin, swoops down a little, and swoops back up to meet the tail of the fox. The spine may take a few tries to get right, but do not give up. Then after the back spine is drawn, draw the rear and hind leg, which curves out slightly and ends at a little stubby nubby paw about an inch down. Draw a little zigzag line on the leg like the tail, and leave that part white. The front of the fox is fluffy, so using that same furry zigzag pattern, draw the fox belly of the fox. The front paw is a straight line with a nubby nub paw at the end which is white like the back paw. Draw the big black eye on, so the fox looks very concerned at having a tail.

Details and Coloring

Color the the body with a light peach color, except for the areas marked off with zigzags and the nose. Color over the peach color with a darker orange, making it especially darker by the belly fur and the underside of the tail. And now that it is finished , this lovable fox drawing is ready to brighten someone’s day.

