I have this old Blue Jewelry Box with sentimental value and I thought it looked a little gnarly. With a bit of acrylic paint, a mirror, and some love I made this old jewelry box look almost as good as new. If you are attempting to fix a different kind of jewelry box, result, color, and the process itself may vary. I love mixing custom shades of paint and restoring things, so this project was a super fun way to spend an afternoon. Perfect for a rainy day craft.
What you will need
- Acrylic paint
- Small mirror
- Old jewelry box
- Paintbrush
- Pallete of some sort
- Toothpick for stirring
- Superglue
- Pliers
- Glue stick
Starting with a Clean Workspace
Lay out newspapers on a table to protect the surface. Pull out all of the jewelry and set it aside in a safe place while you work.
Making the Jewelry Box Beautiful with a Mirror

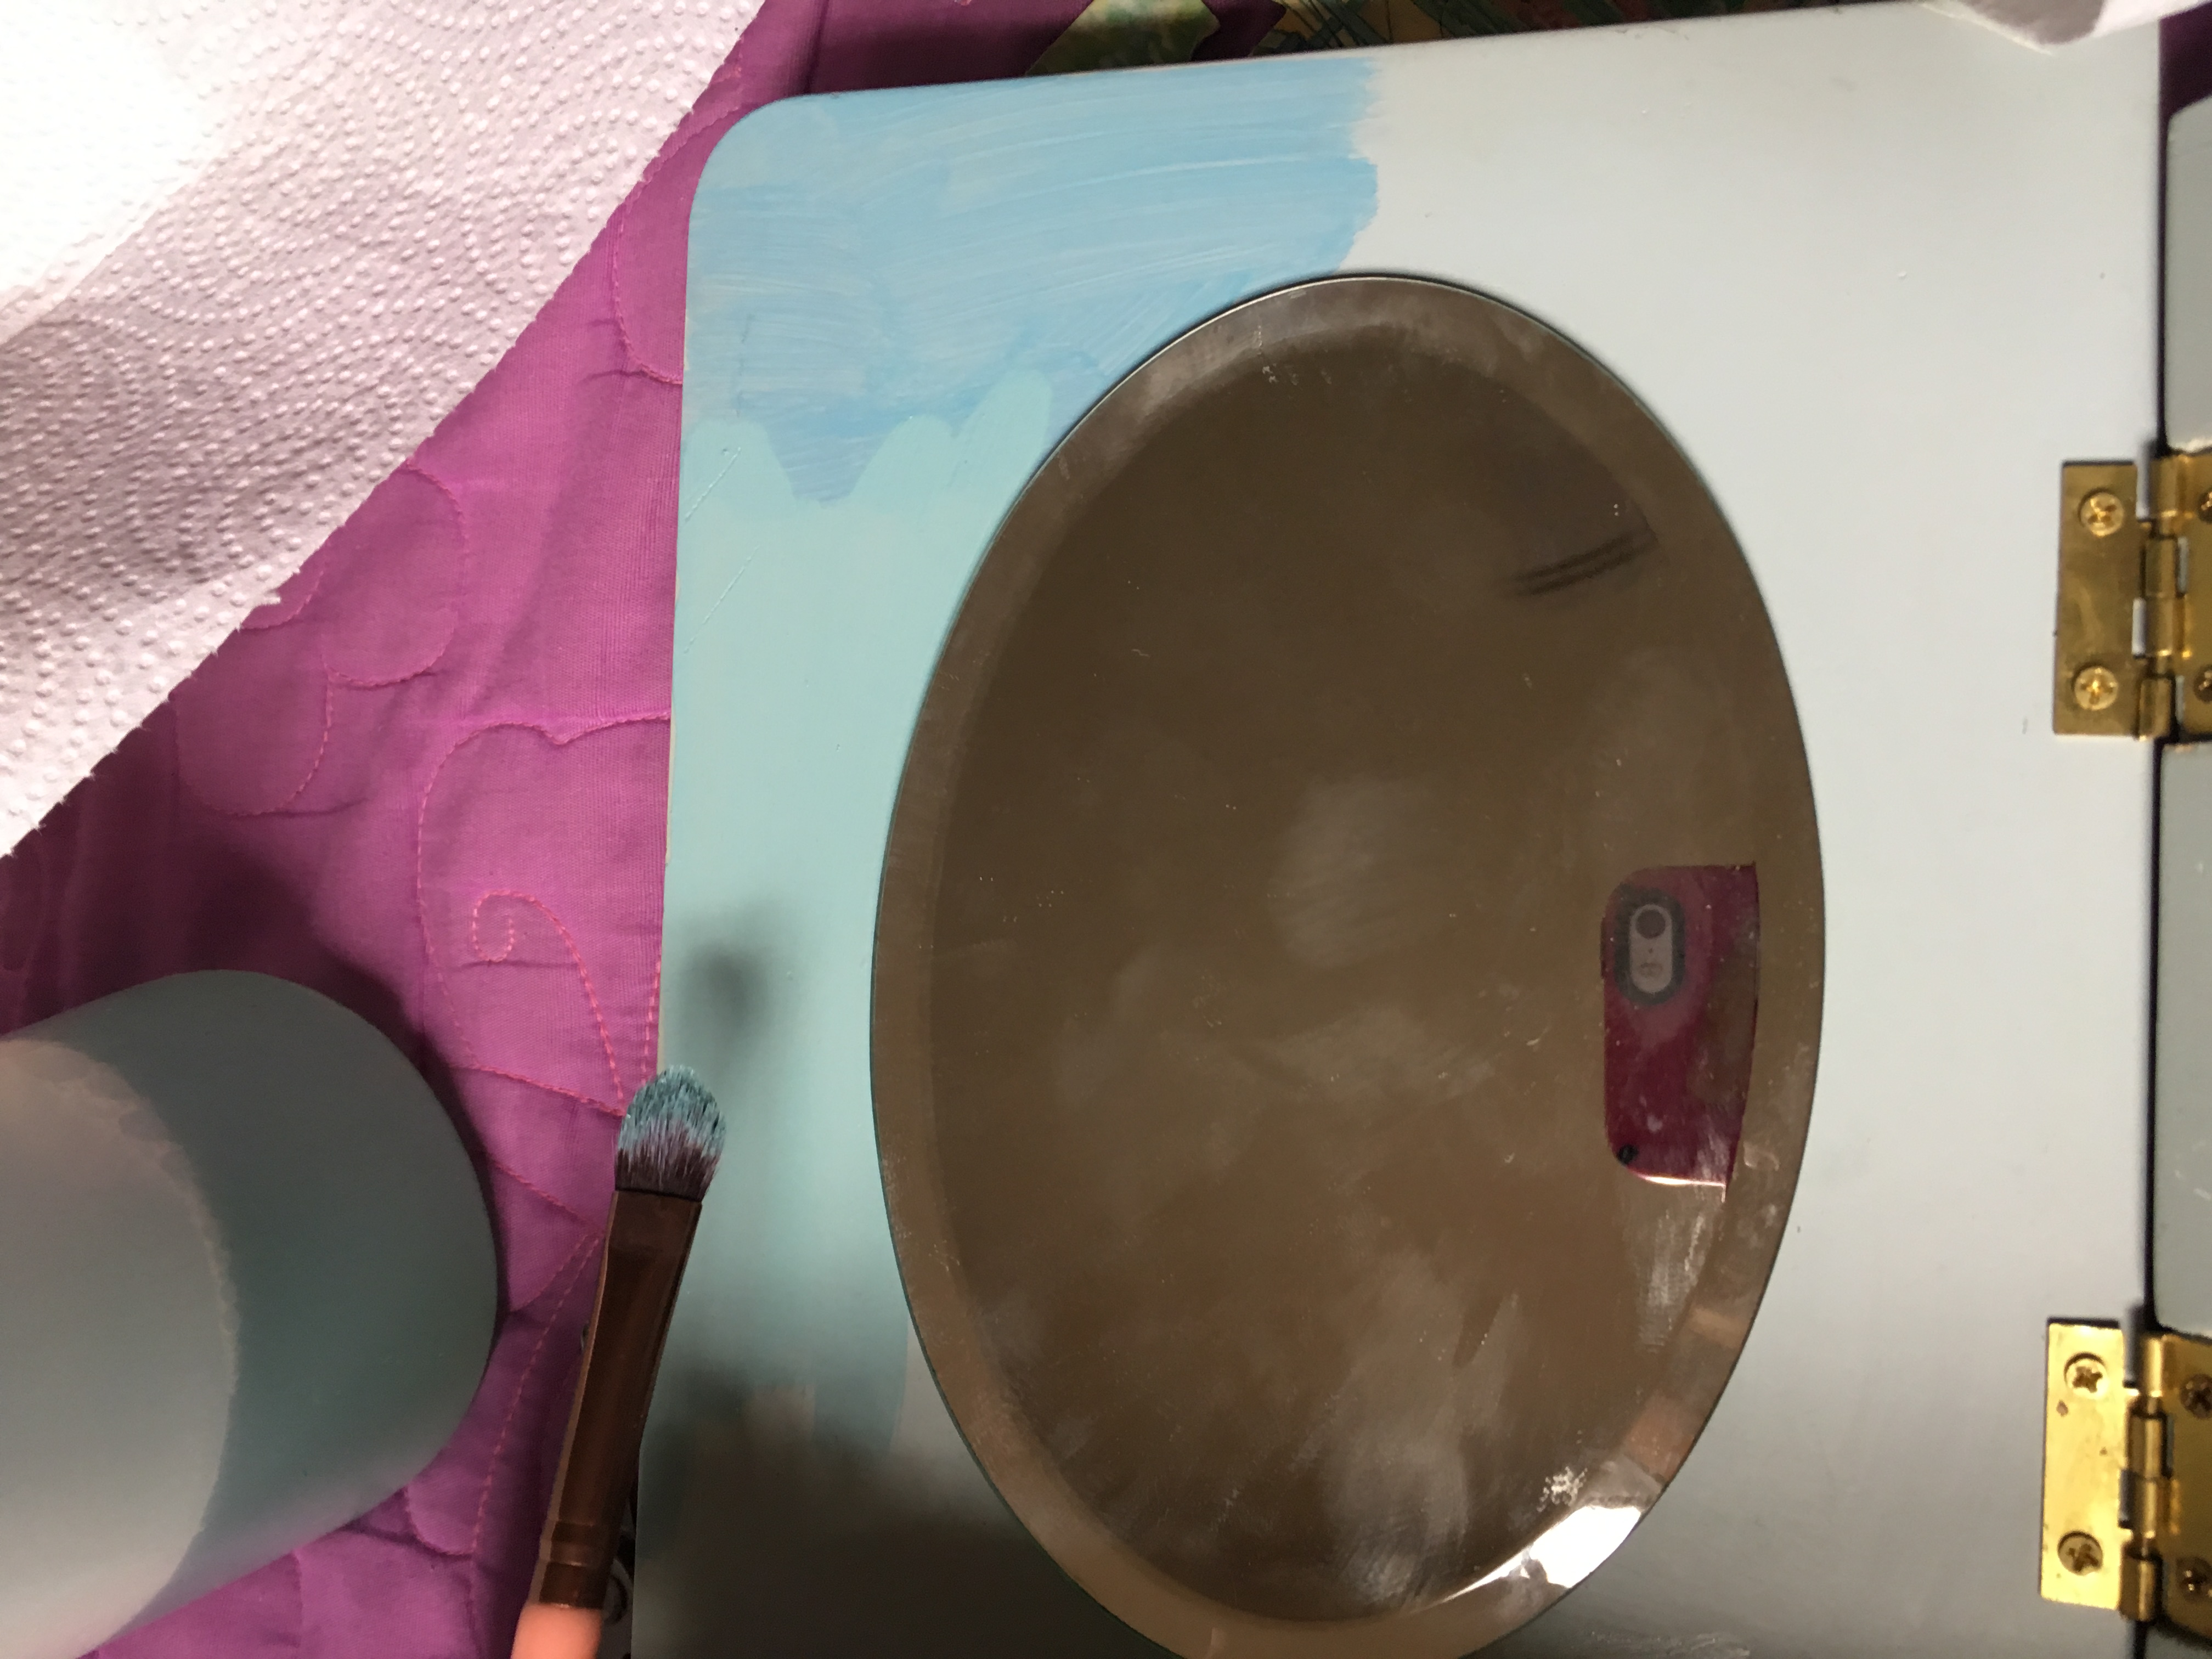
First, figure out exactly where you want the mirror and draw around it before adding any glue. This will increase your chances of actually getting the mirror straight. Apply a generous amount of Krazy glue to the back of the mirror and press and hold it against the spot marked. Make sure to get any drips that start as soon as they do.
Mixing a Pretty Green Blue Shade for the Blue Jewelry Box
Next, it’s time to play with some acrylic paint. The reason I chose acrylic paint instead of wall paint is because acrylic is much more forgiving and can be applied with a smaller brush. I started mixing greens and light teal blues together until I found the desired shades.
Swatching Different Options on the Blue Jewelry Box

Now that there are a small variety of shades, they need to be swatched on the box to see how they would look on the box itself when dry. Pop the lid up and swatch a few on the underside. Remember they will be covered up by the winning color anyway.
Cleaning the Inside of the Blue Jewelry Box

This jewelry box was kind of gross. The best way to get the lint stuff out of the box is to use a piece of tape or a vaccume to get the dirt. You could also hot glue a new lining entirely, but I decided that project was for another day.
Sanding the Blue Jewelry Box
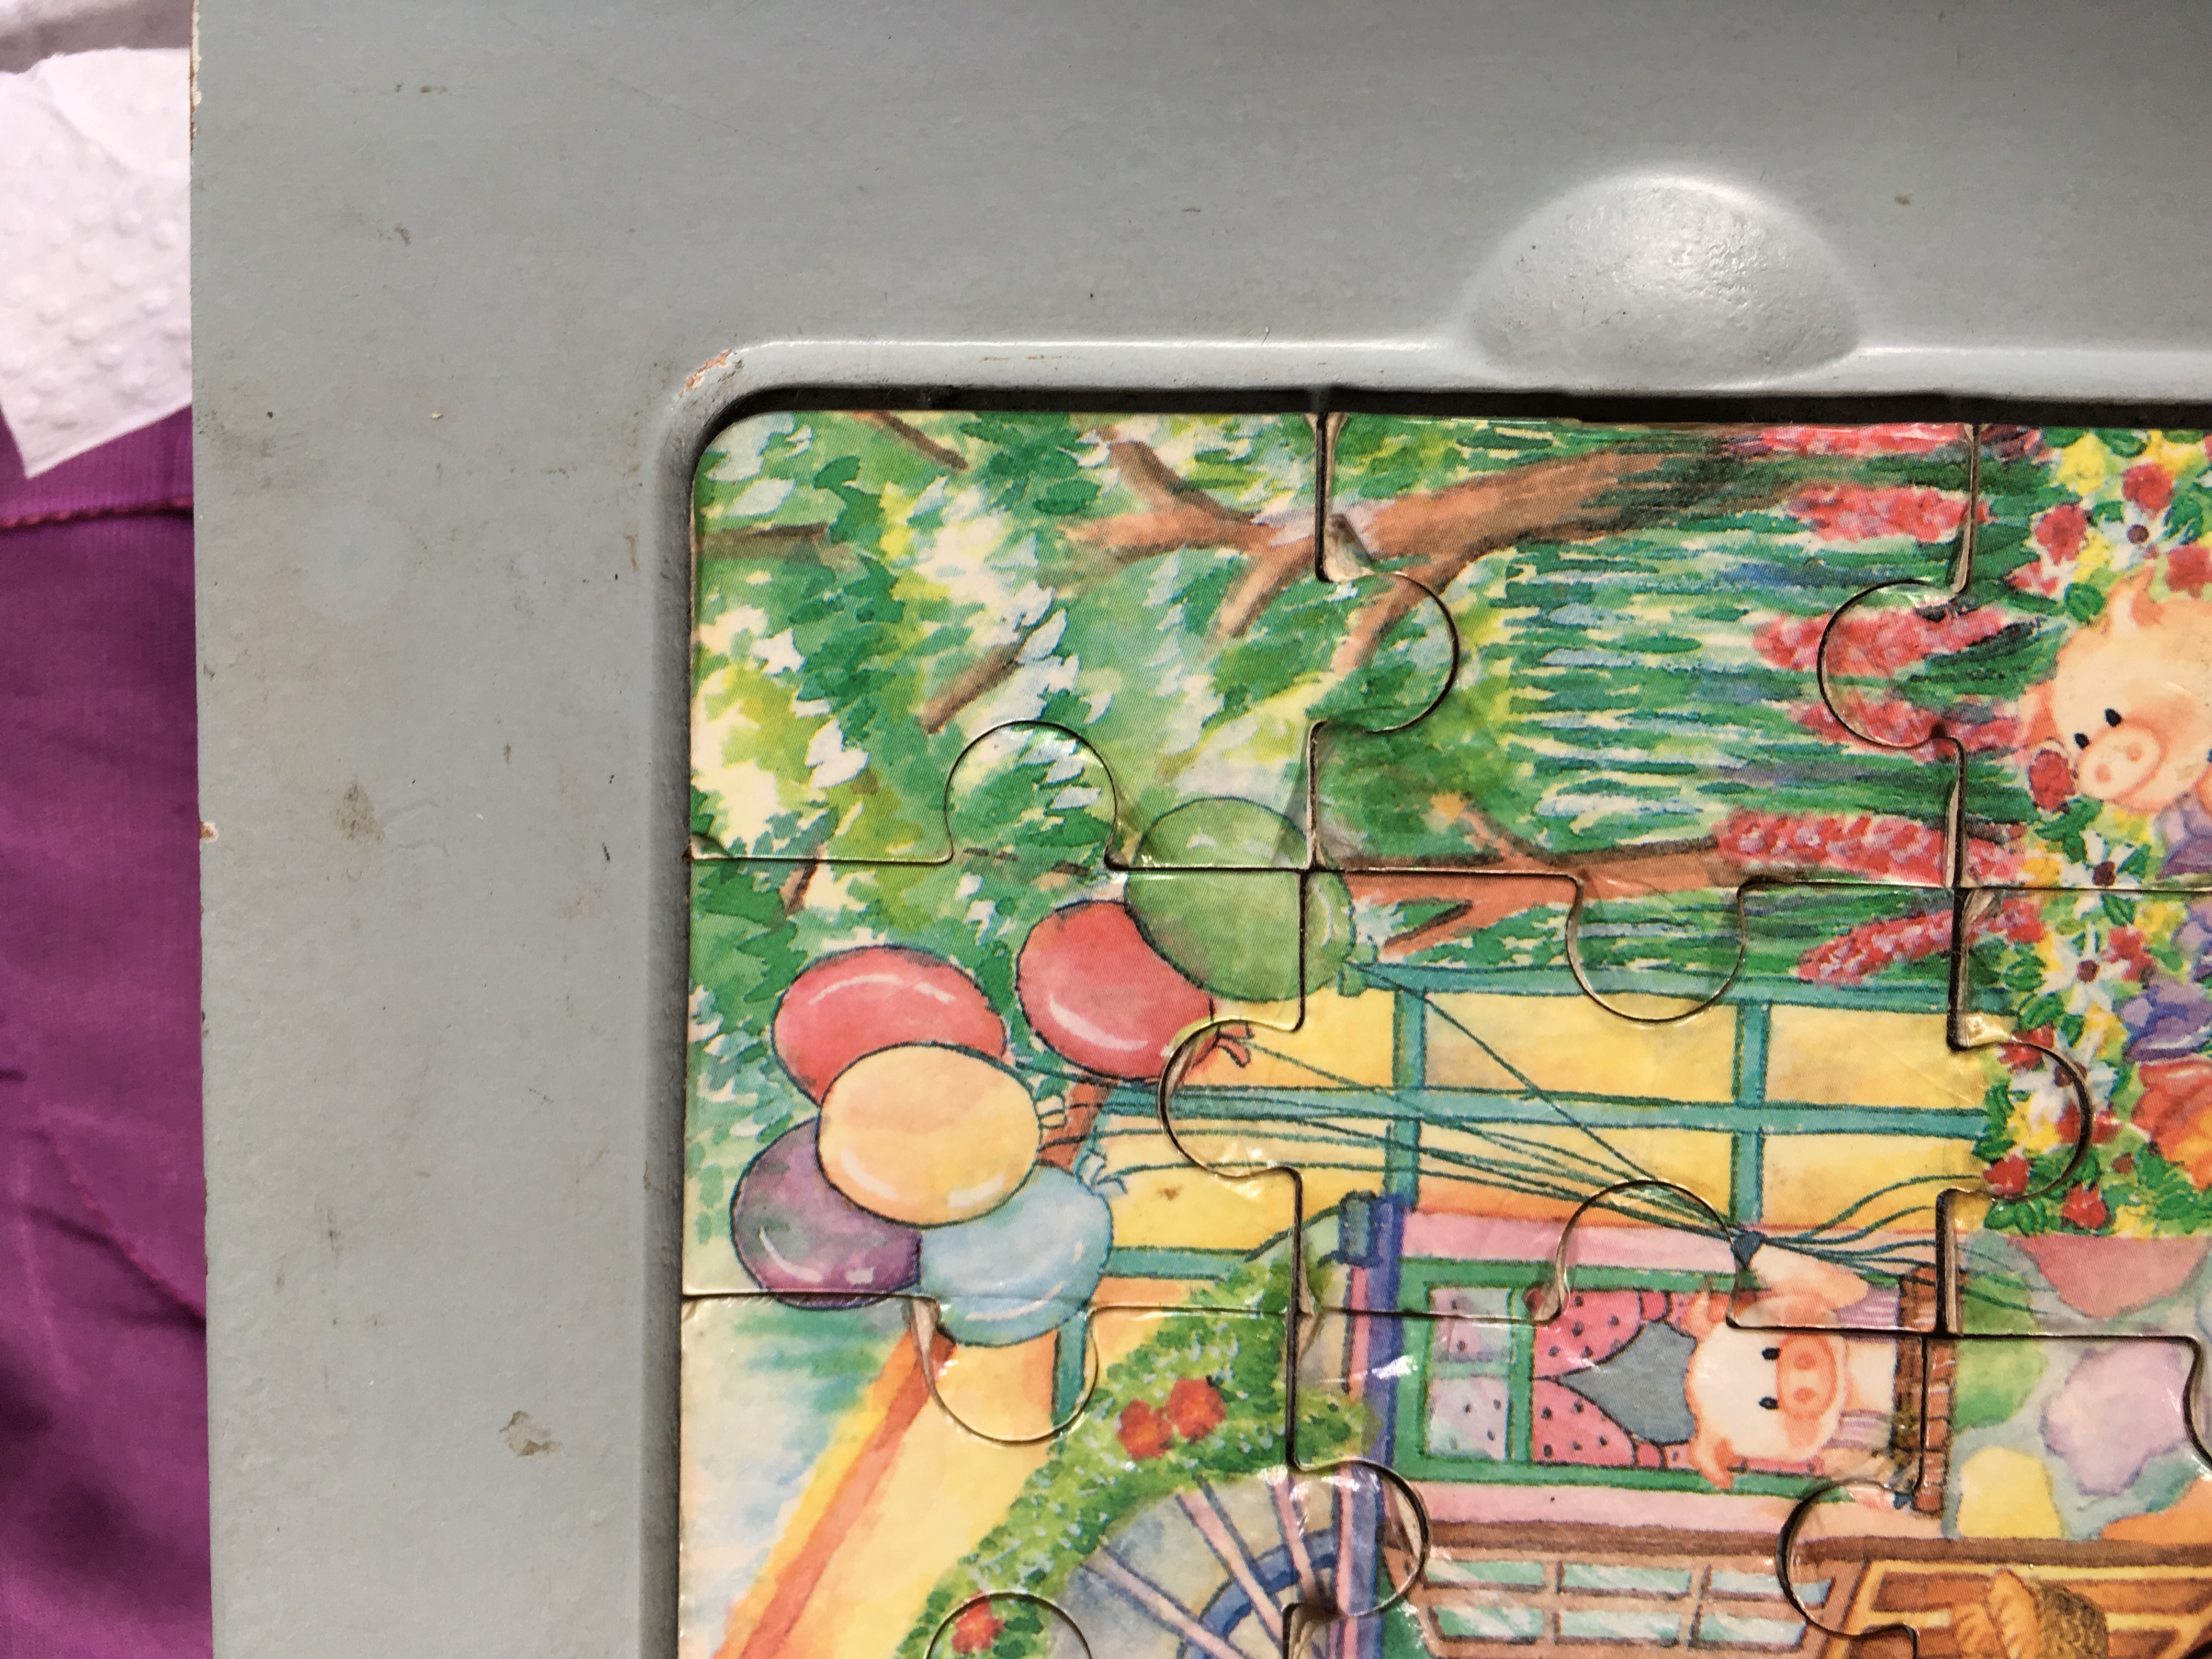
Since the paint was old, any new paint applied would likely scratch off. Remove the puzzle pieces and use a piece of sandpaper to lightly go over the paint all over the box. This will smooth down the rough edges and give the paint something to adhere to.
Fixing the Pig Puzzle

The puzzle was starting to peel up at the corners, however a glue stick easily fixed that. Let the glue dry on the puzzle pieces before continuing.
Optional Clear Coat
To further protect the puzzle pieces, you can use a clear nail polish to seal them in. Make sure to do this while the pieces are separated and the puzzle is not complete to prevent them from sticking to each other.
Painting the Blue Jewelry Box

While the puzzle pieces dry, use a brush to apply one to three coats of the blue paint. Make sure to use small amounts in order to avoid brush strokes and ensure it dries quickly.
Finish

Add a sealant of some sort and your box is done. Happy Crafting!

