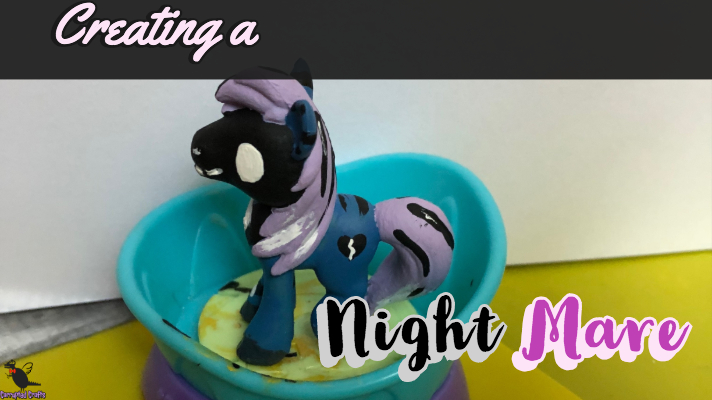
After Choco Chip, I learned painting these little plastic ponies was kind of fun. This time I went with a more corrupted approach and made a little pony of darkness. He started off as an unidentified pony and became Night Mare, a terrible pun and a Creepypasta in one.
What you will need
Covering your Work Surface
Start by laying down newspaper or parchment paper on your work surface. This will keep the paint from covering everything in your room. Get a cup of water and your fine paintbrushes, and if you are wearing nice clothes, wear an apron.
Mixing Blue paint for the MLP Makeover
The only blue I had was just a little too light, so I added a little tiny drop of black and mixed it in to dull the color. Be careful when adding black to a color, as it is hard to recover if you add too much.
Making Light Purple
Mix some red and blue paint, and add about twice as much white paint as colored. This will produce a lovely pastel shade that is perfect for the mane of the Night Mare.
Painting the Base Color on the MLP Makeover
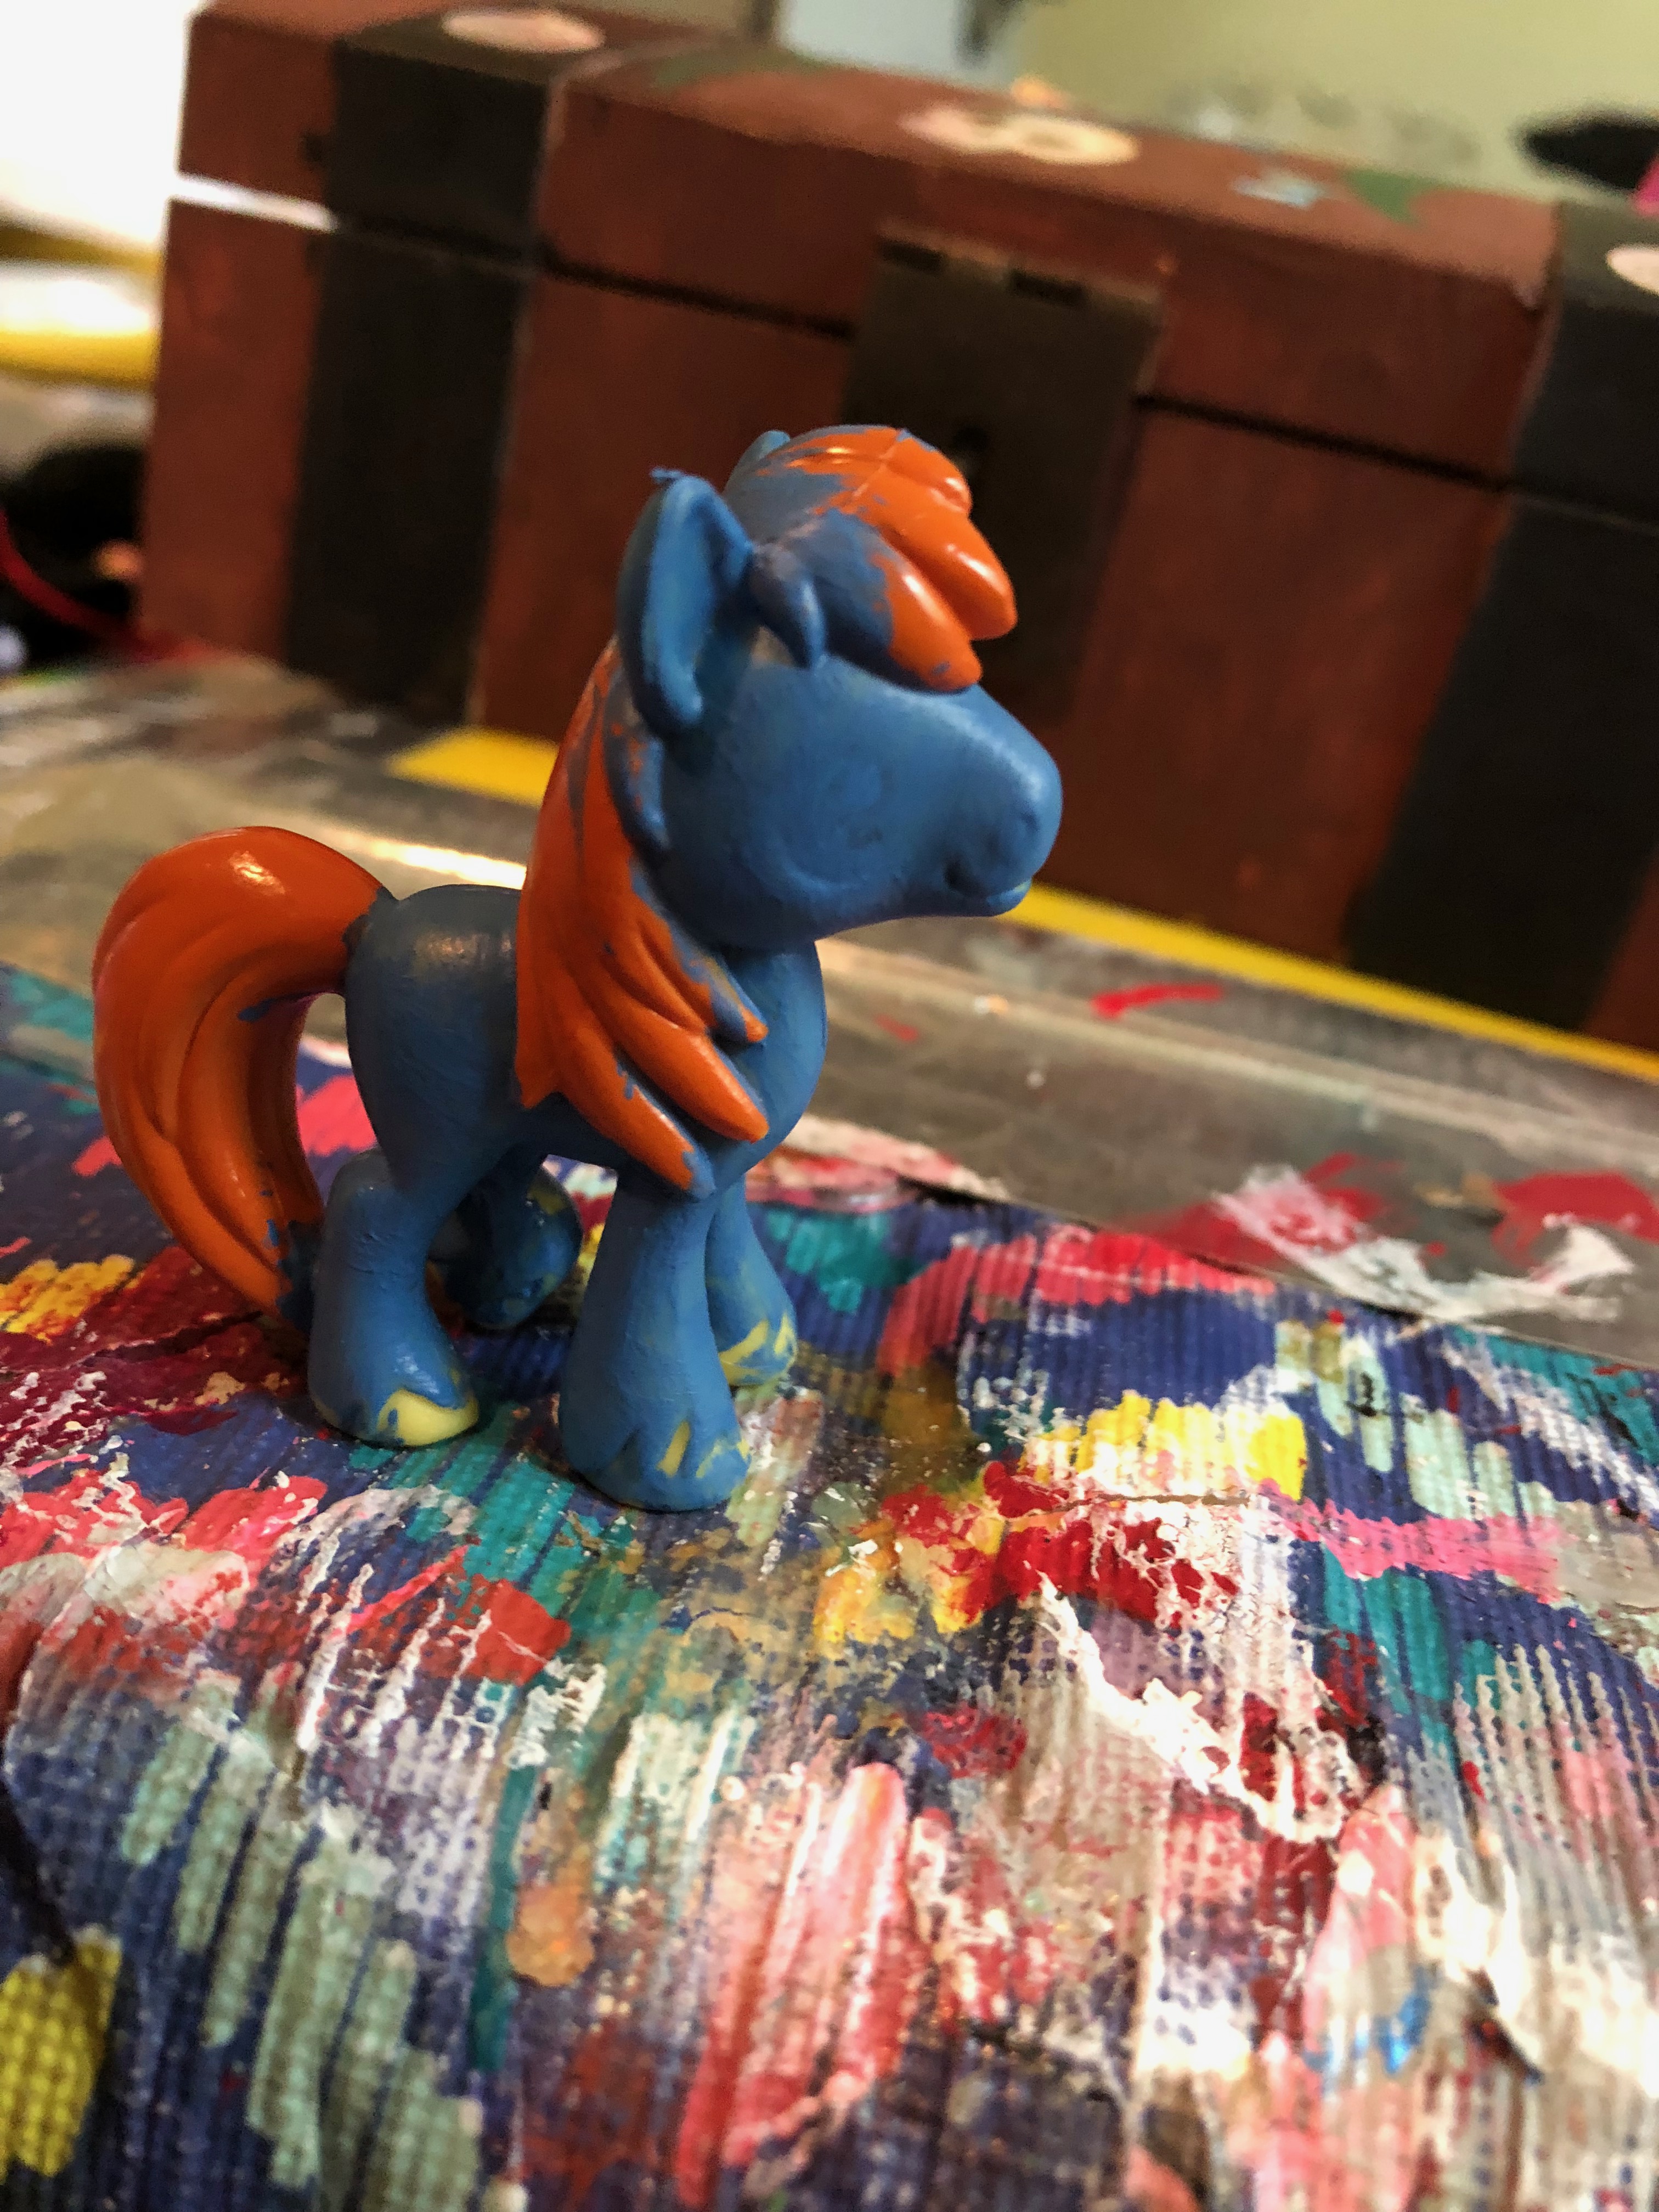
Apply the dark blue all over the pony besides the mane. Make sure to get all of the gaps and in the hole in its foot. This should take a couple of coats before full coverage is achieved.
Painting the Hooves on the MLP Makeover
Using grey paint, ignore the sculpted fur on its hooves and paint a smooth line. Fill in the hoof with grey paint, as if he had walked through mud. The fur detail is too fine to really look decent if you paint with the plastic.
Painting the Purple Mane of the MLP Makeover
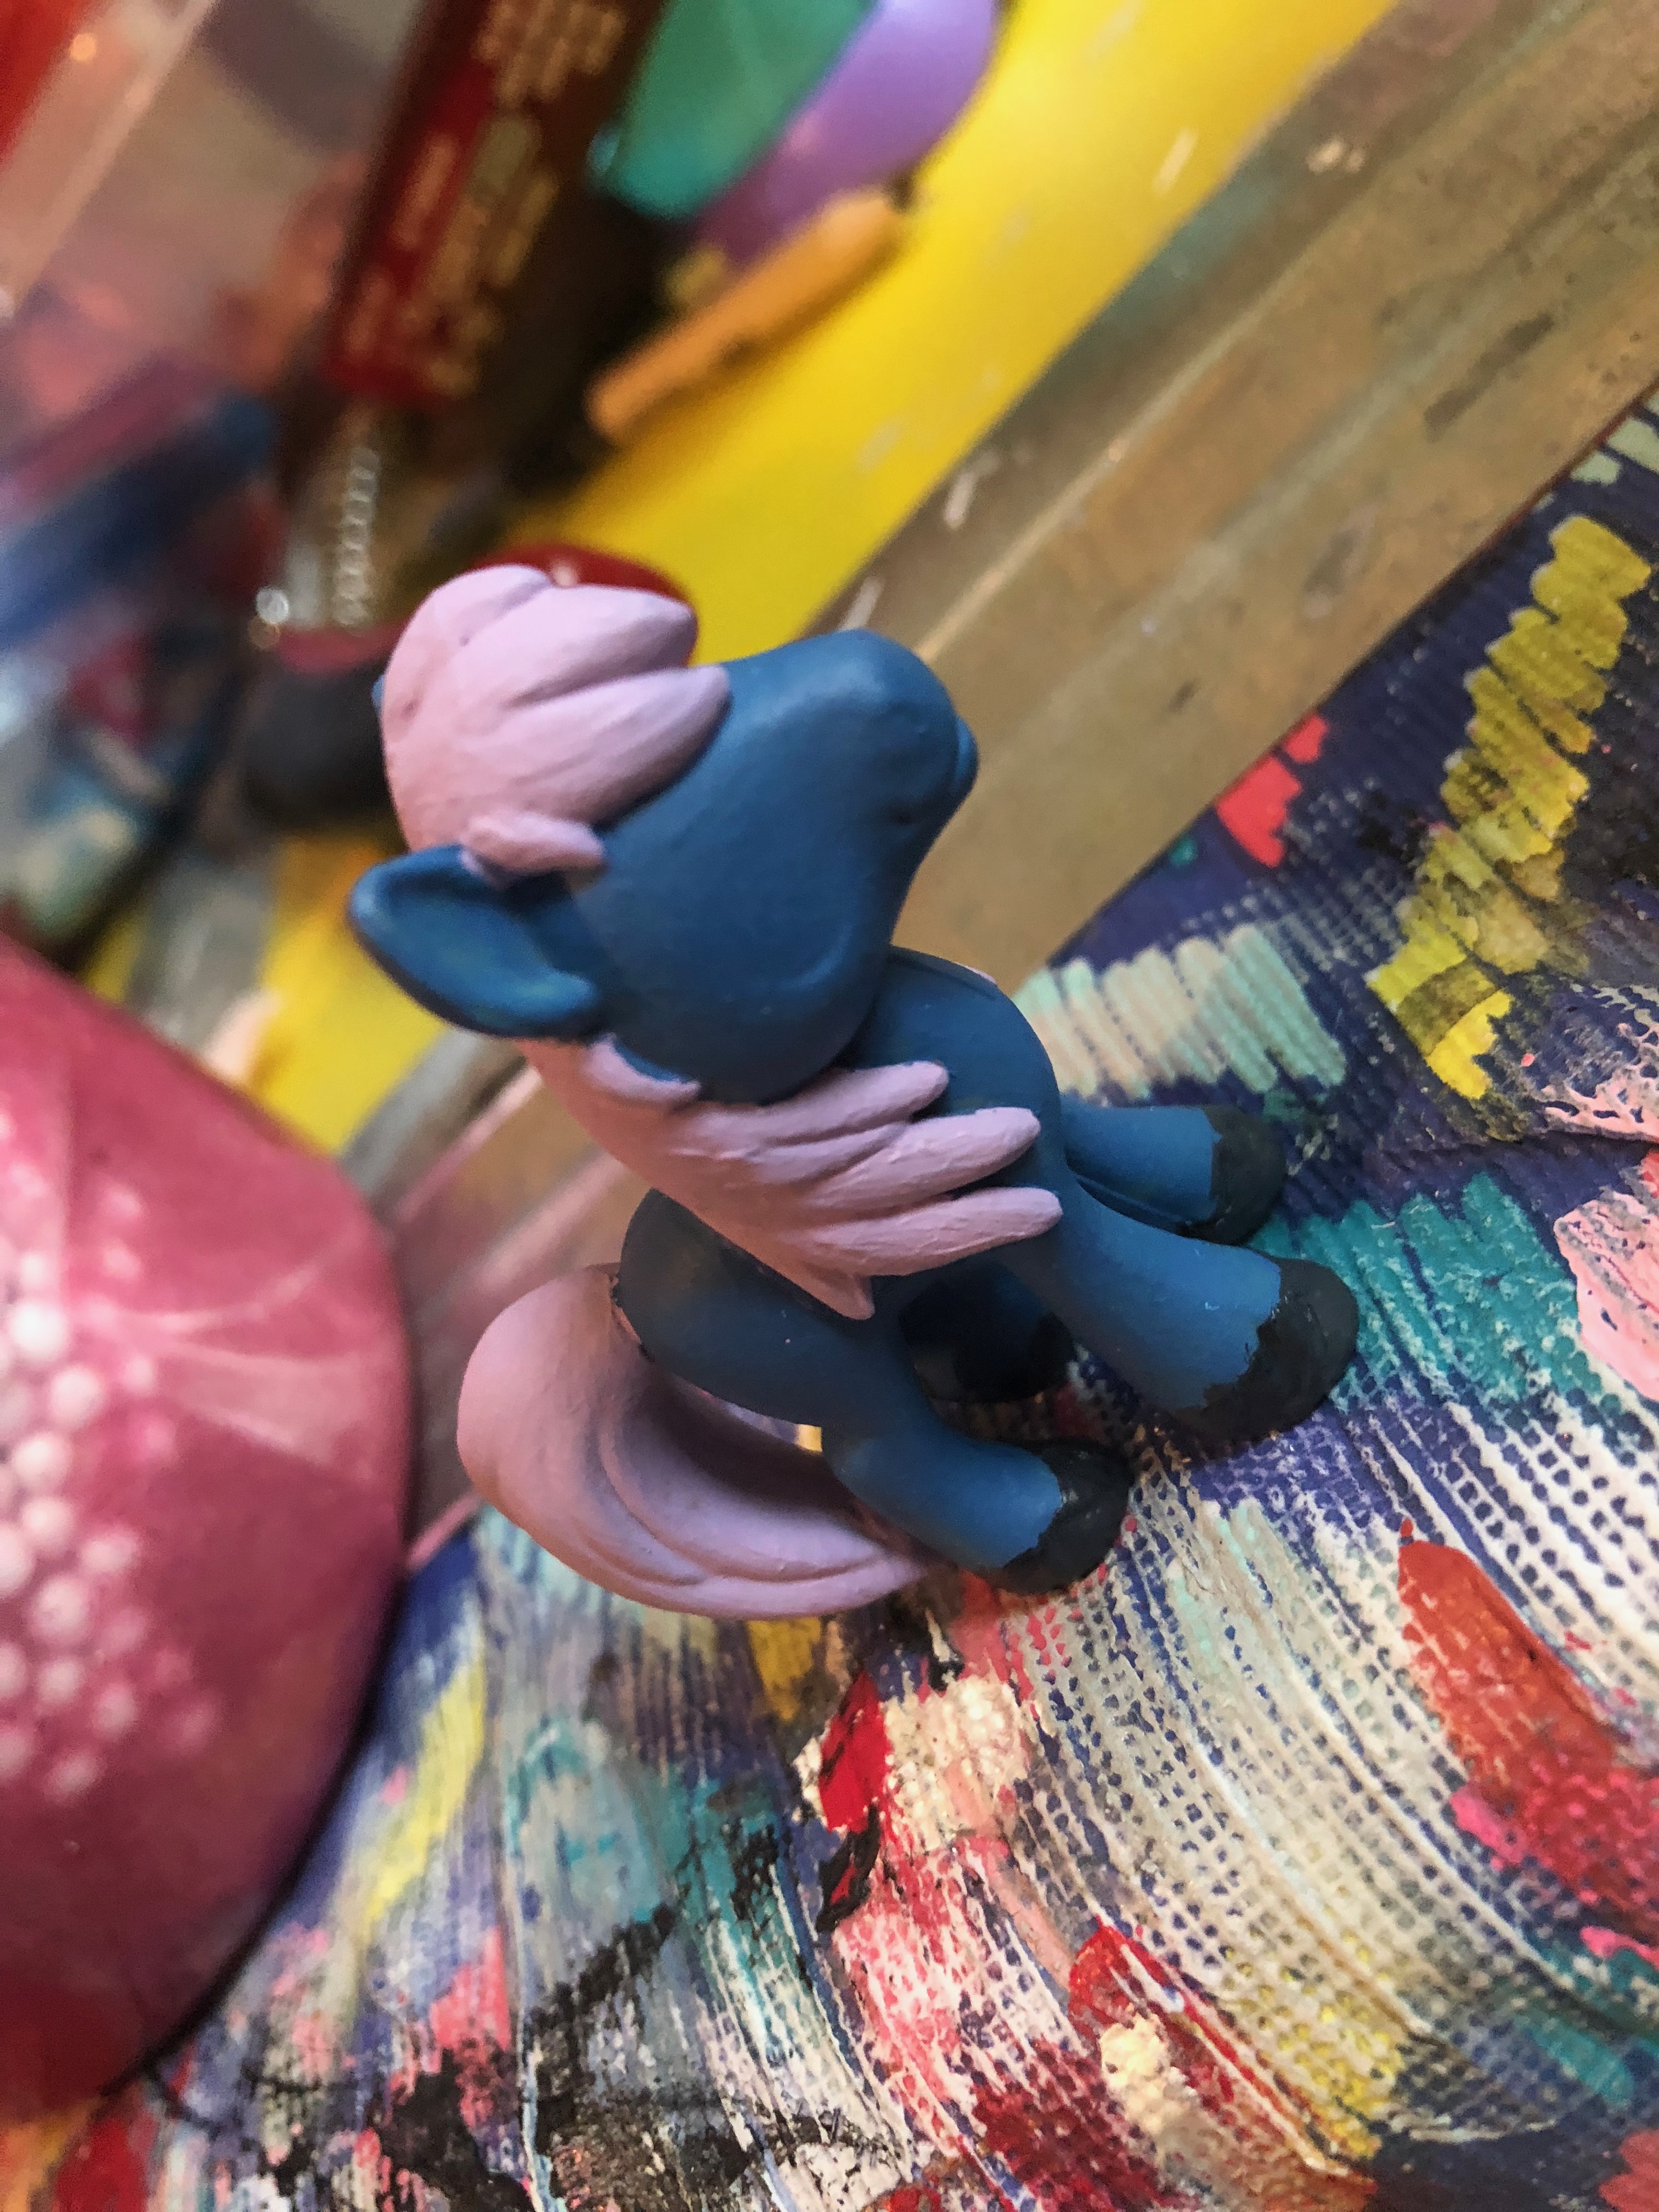
Using that pastel purple paint, cover the entire mane. This will also take a few coats, but it once it is fully painted it will look super cool against the dark blue. You may have to cover any spots you accidentally painted over with more blue paint.
Painting the Black Face on the MLP Makeover
Next use a fine brush and a good black paint to cover the face. This was really cool and fun to do, as one coat completely covered the face. Make sure the brush strokes are minimal by applying very little paint and spreading it really thin.
Painting Streaks in the Mane

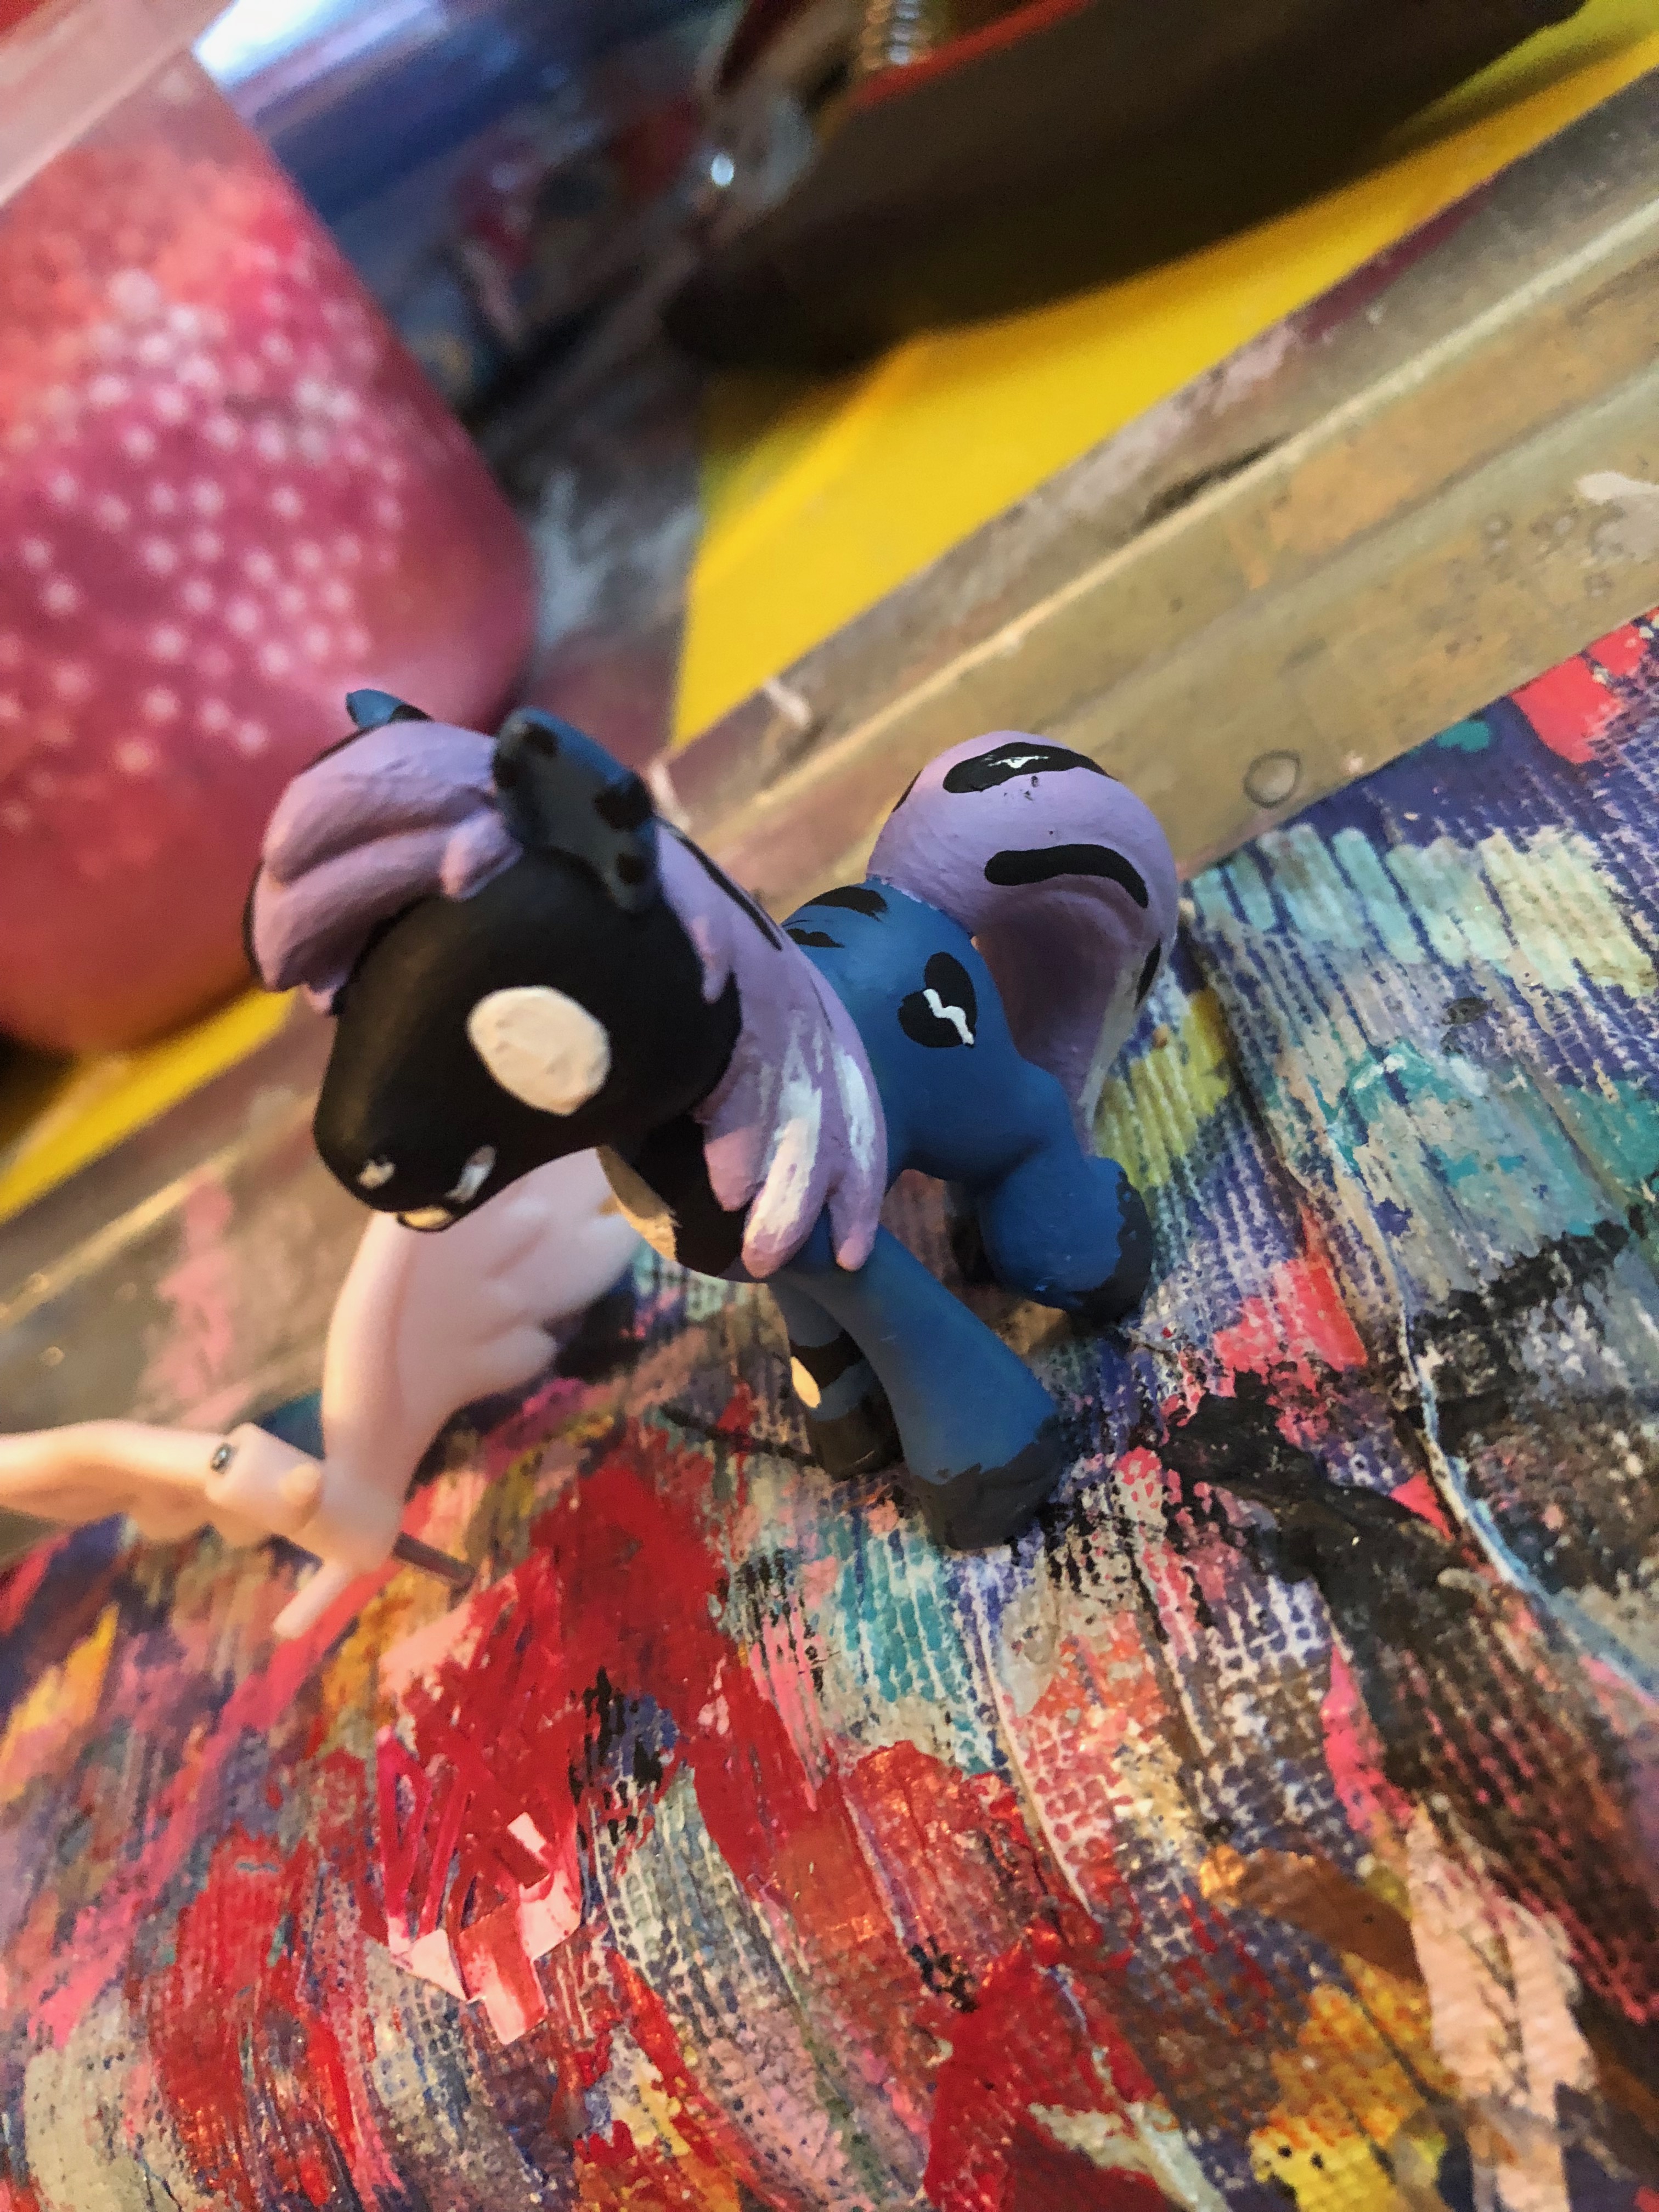
Just a plain purple mane won’t do for the Night Mare. Add some small black and white streaks, to make him stand out. Don’t overdo it, we still want the base color to show through. Start closer to the rear of Night Mare and make the brushstrokes go with the natural flow of the mane. Lift the brush up as you get closer to the end of the tail to make a point with the paint. Add the black ring around his foot to get a anklet appearance.
Painting the White Features
Put paint on the eye indentations to make the eyes, and paint a diamond on the front of his chest. If you need help with his diamond, you can always draw it before filling it in with a pencil. Add a white spot to his anklet to make it stand out. I painted a creepy smile on his mouth too.
Optional Clear Coat
If you are worried about your pony scratching or getting ruined, you can do a quick clear coat to seal the paint in and protect the pony. This is completely optional however, and if you don’t want to seal it then you don’t need to.
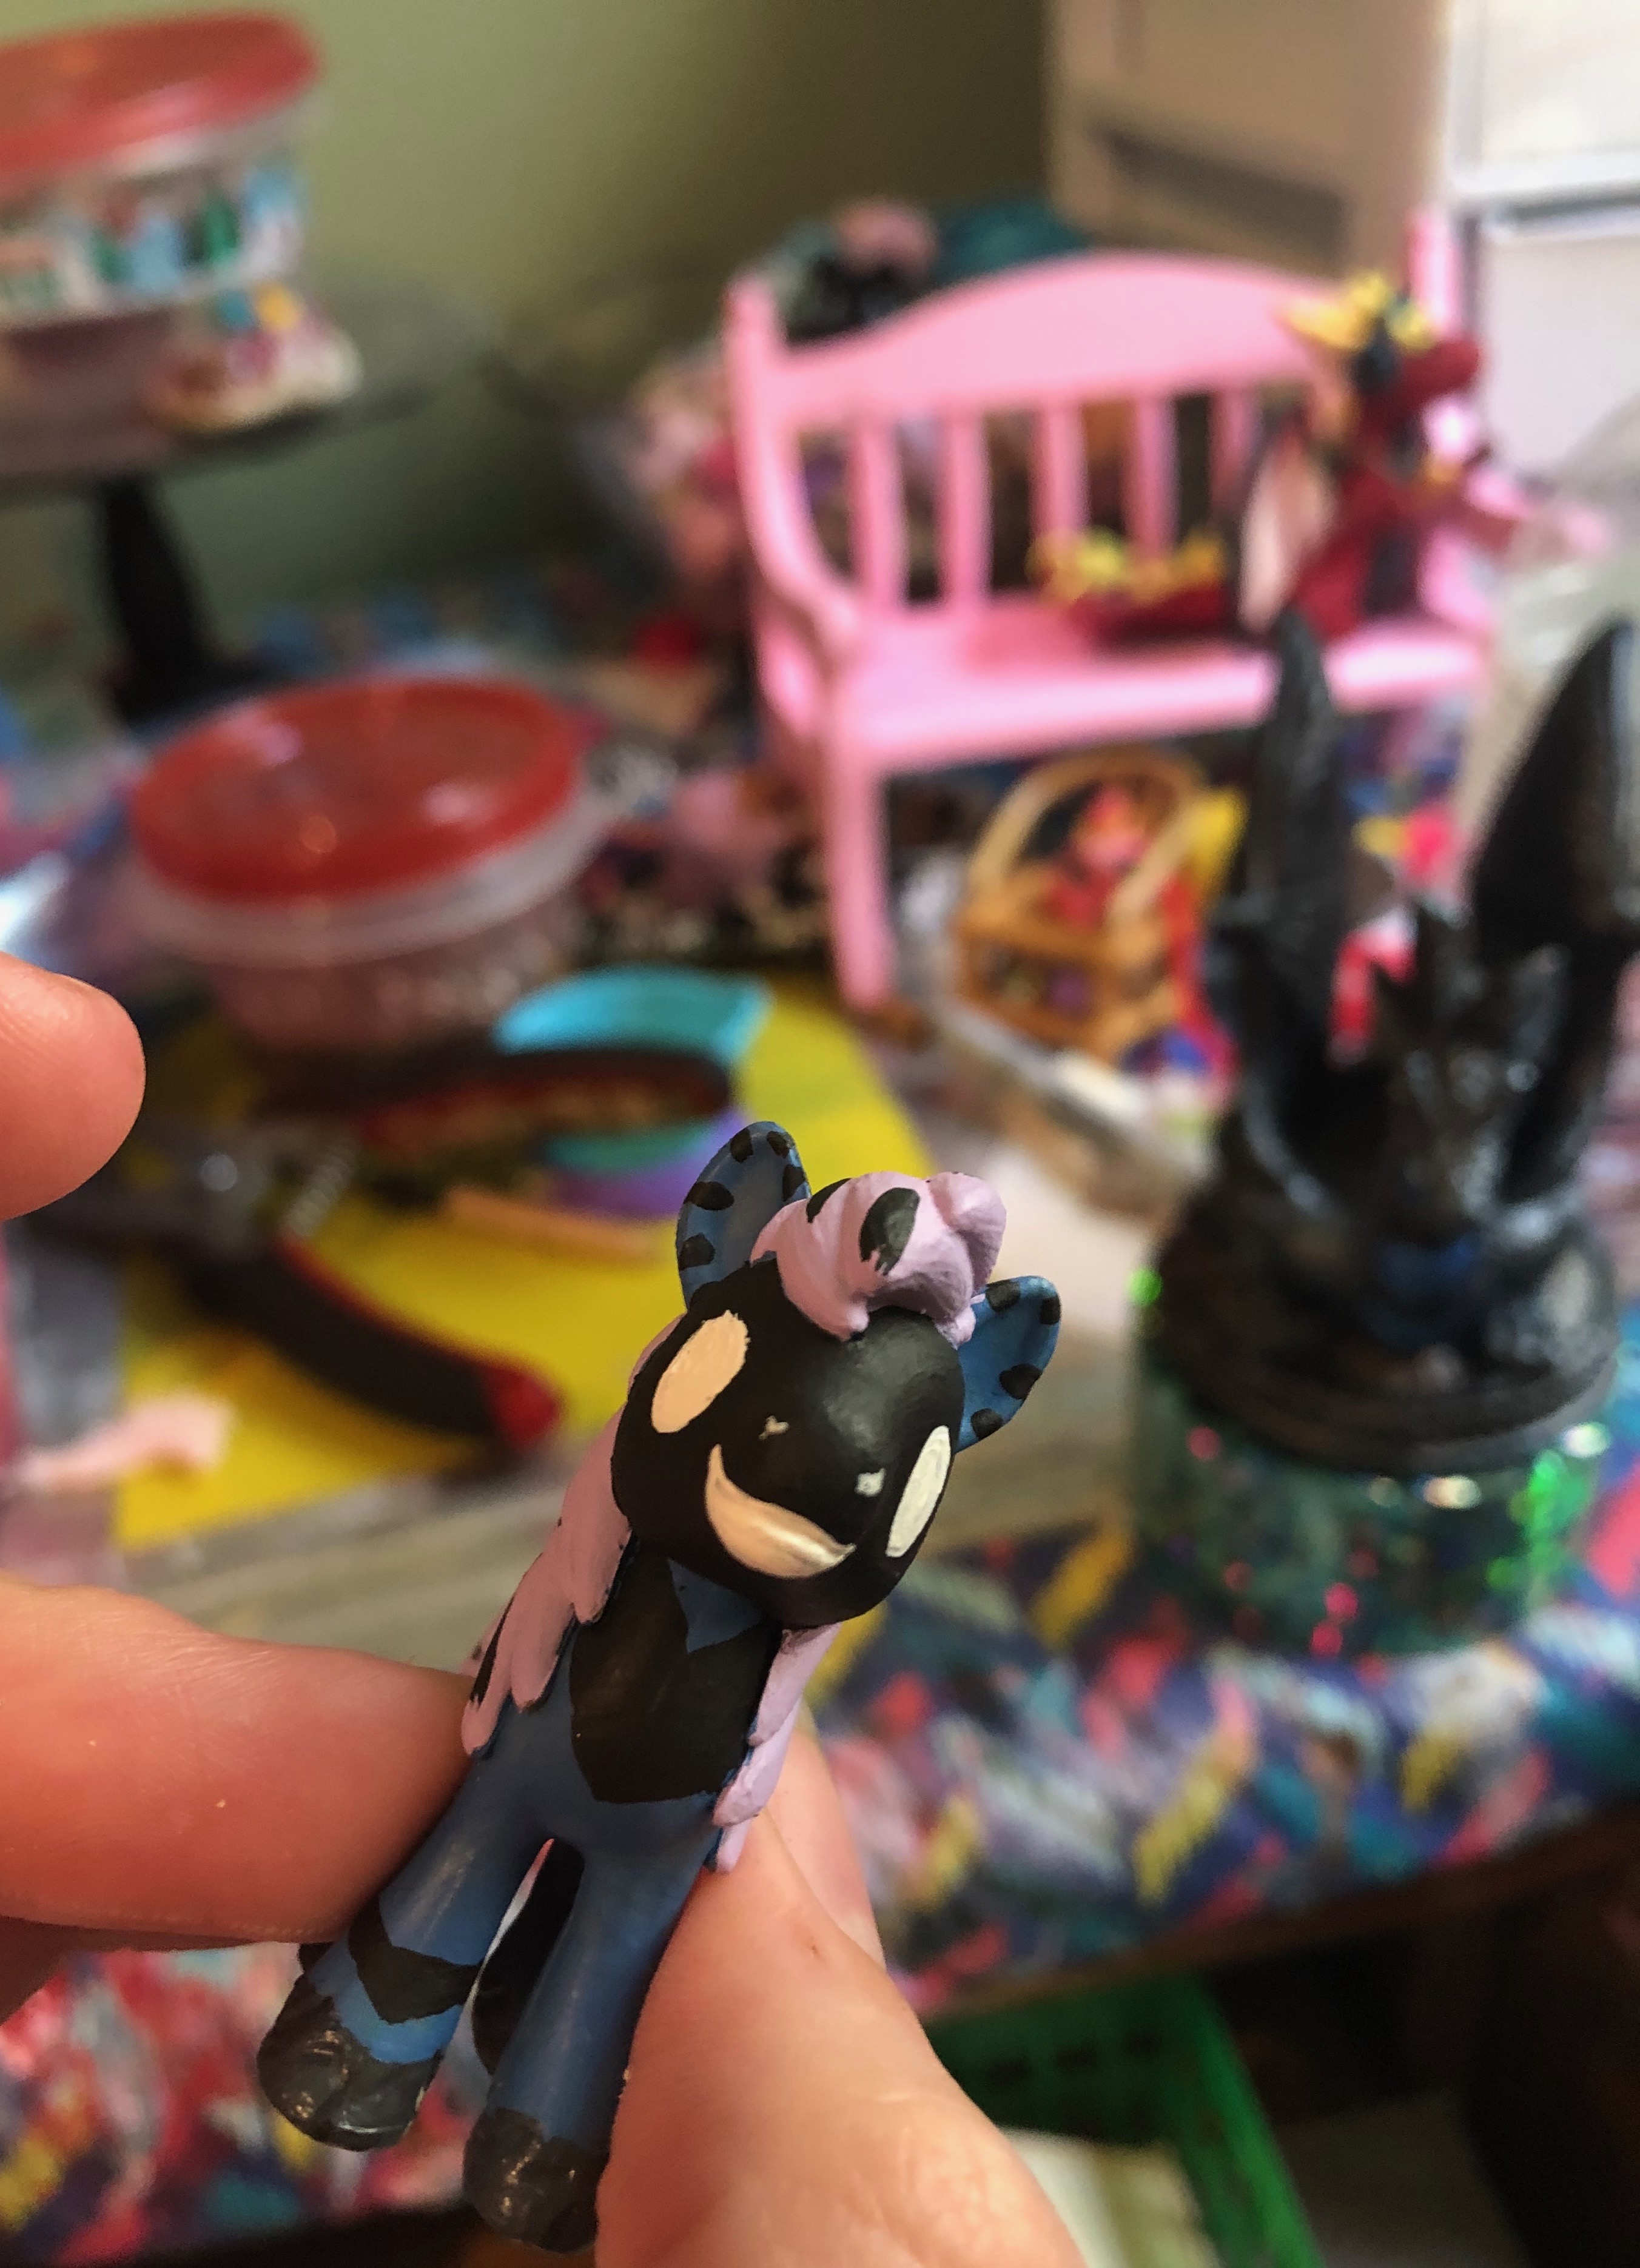
Finish

And your little Night Mare is complete and ready to eat the souls and dreams of all the ponies in Ponyville. Happy Crafting!