
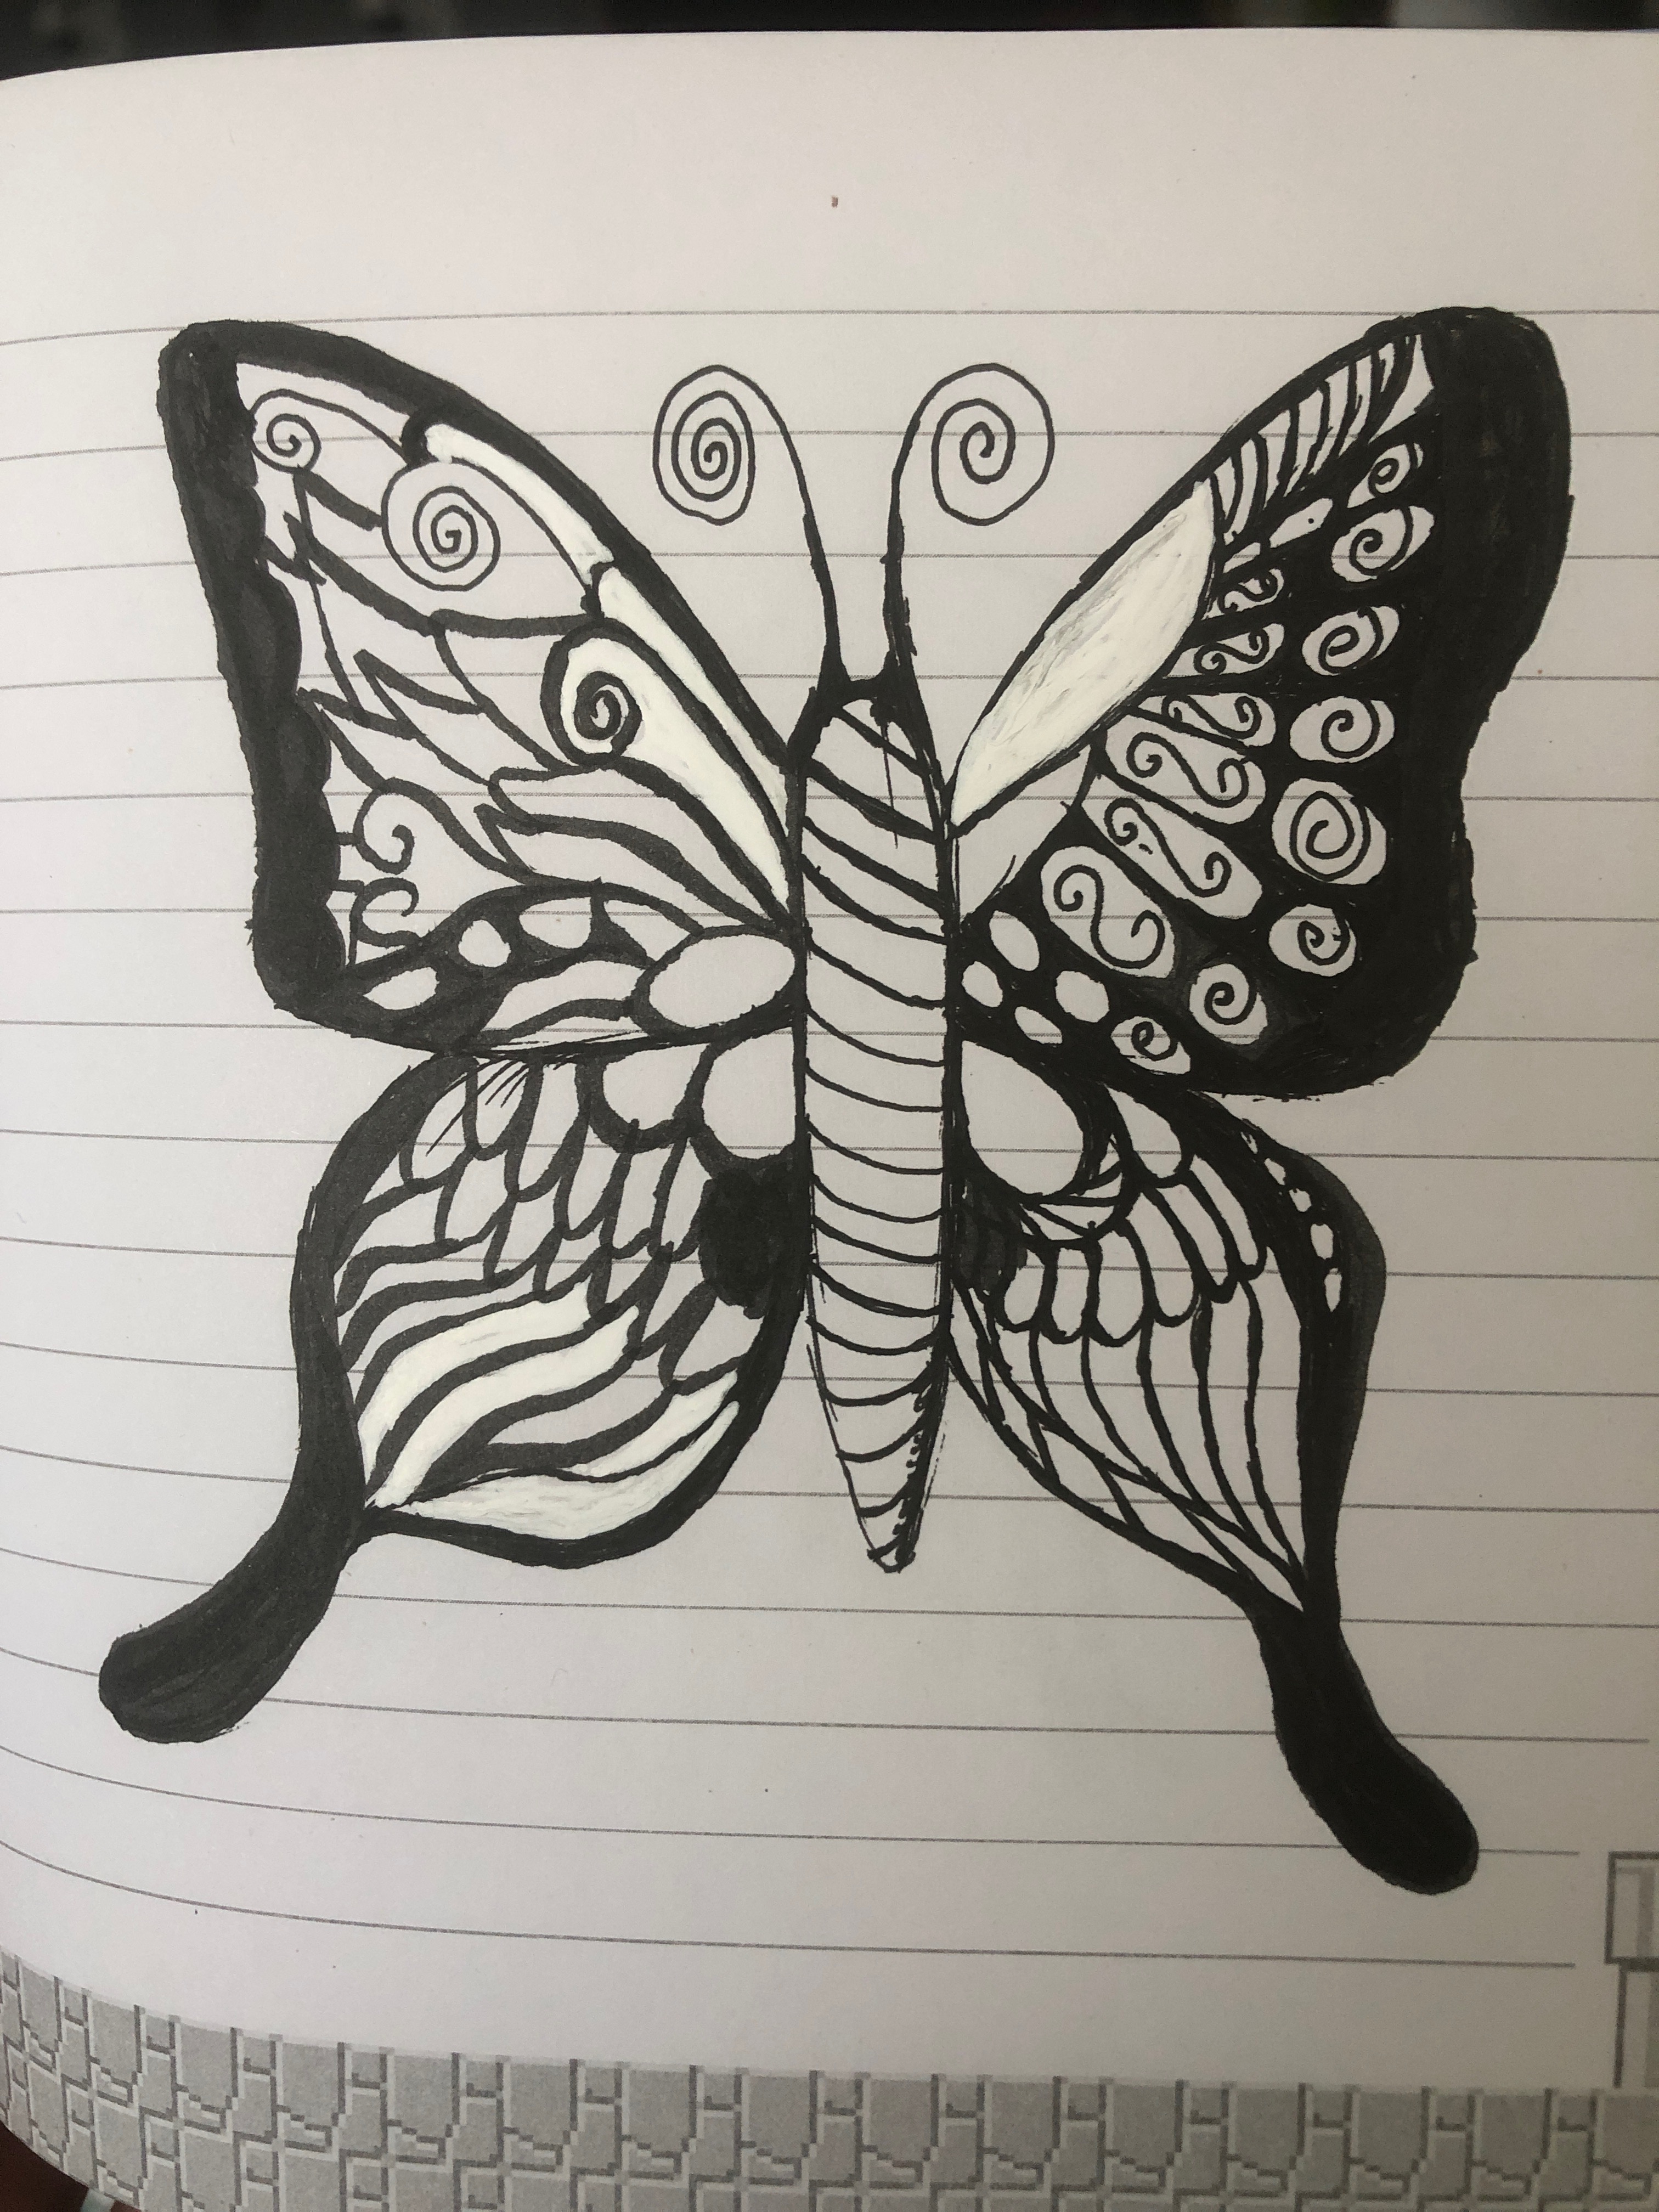
Butterflies are really pretty little creatures, but they can be really hard to draw with their wings open. Here is how I drew a cute little butterfly with only ink pens, and with fairly symmetrical wings. This craft should take around an hour to complete.
What you will need
How to Draw a Butterfly Body
The body of the butterfly is very simple and easy to draw. It’s basically just a sausage with pointy ends. Some butterflies have bodies that are thicker in some places and thinner in others, so draw him any way you see fit. Remember it is better to draw a smaller body first and color it in to make the shape, to prevent wonky butterflies.
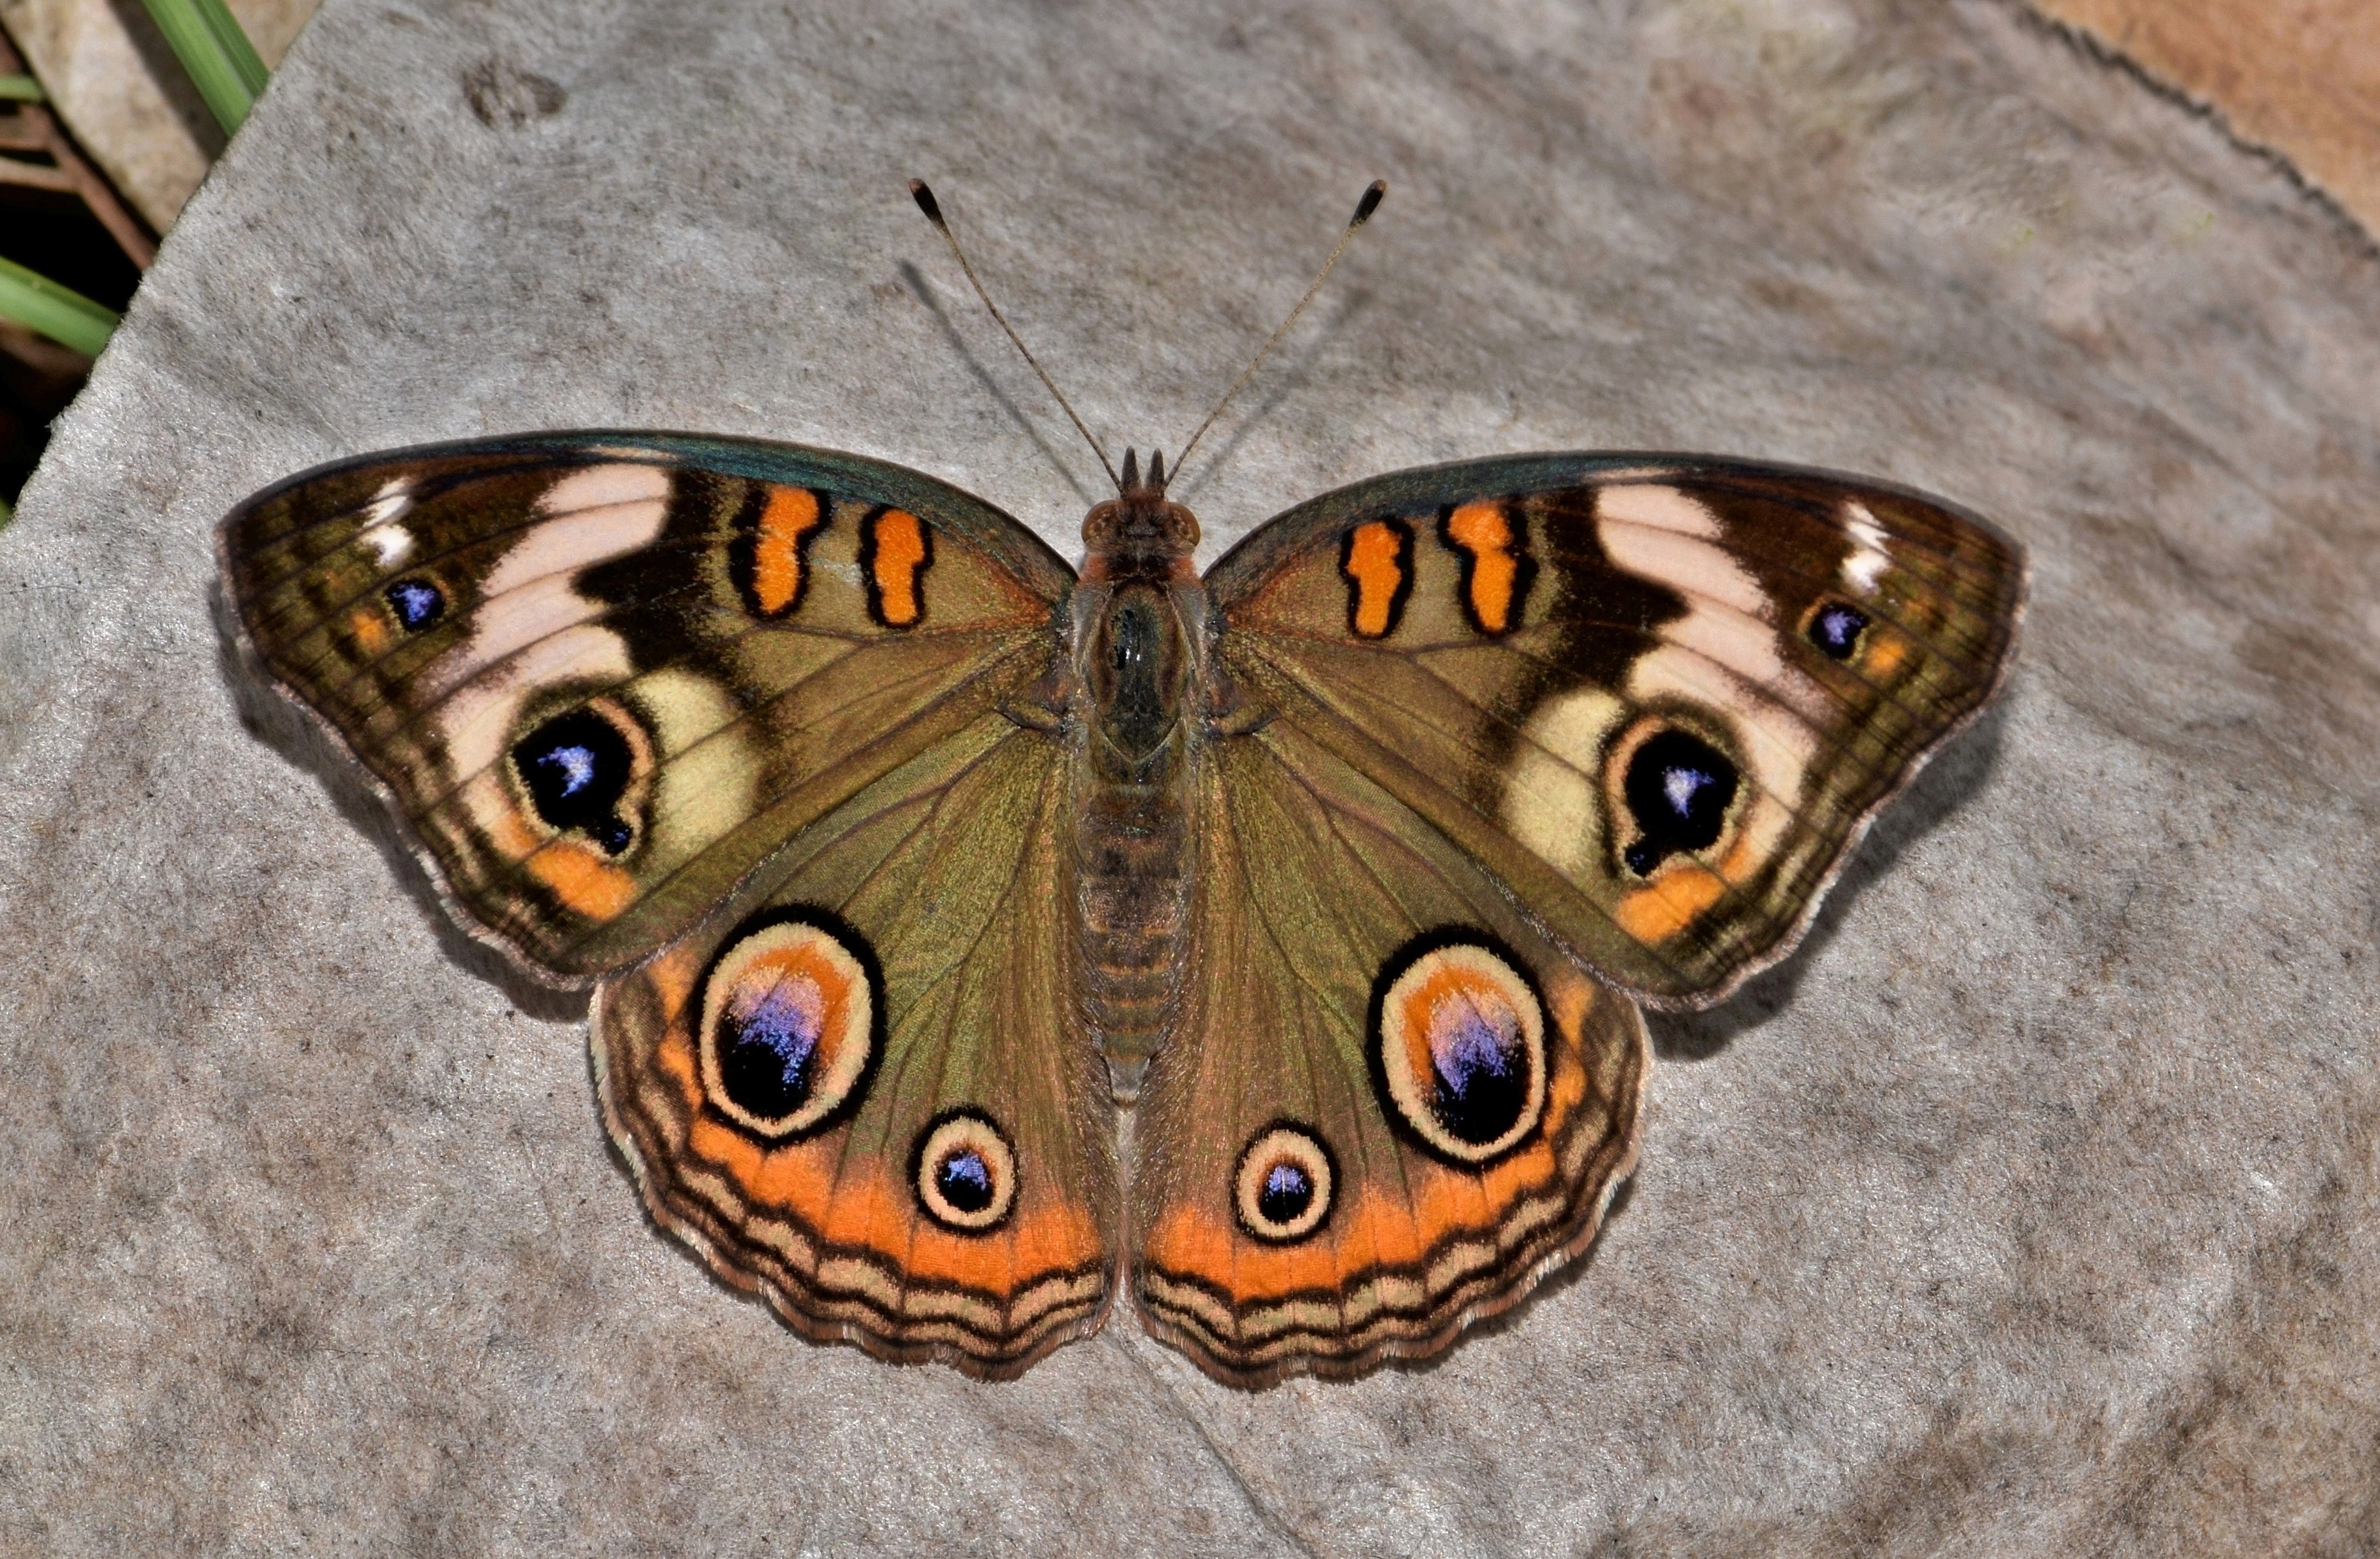
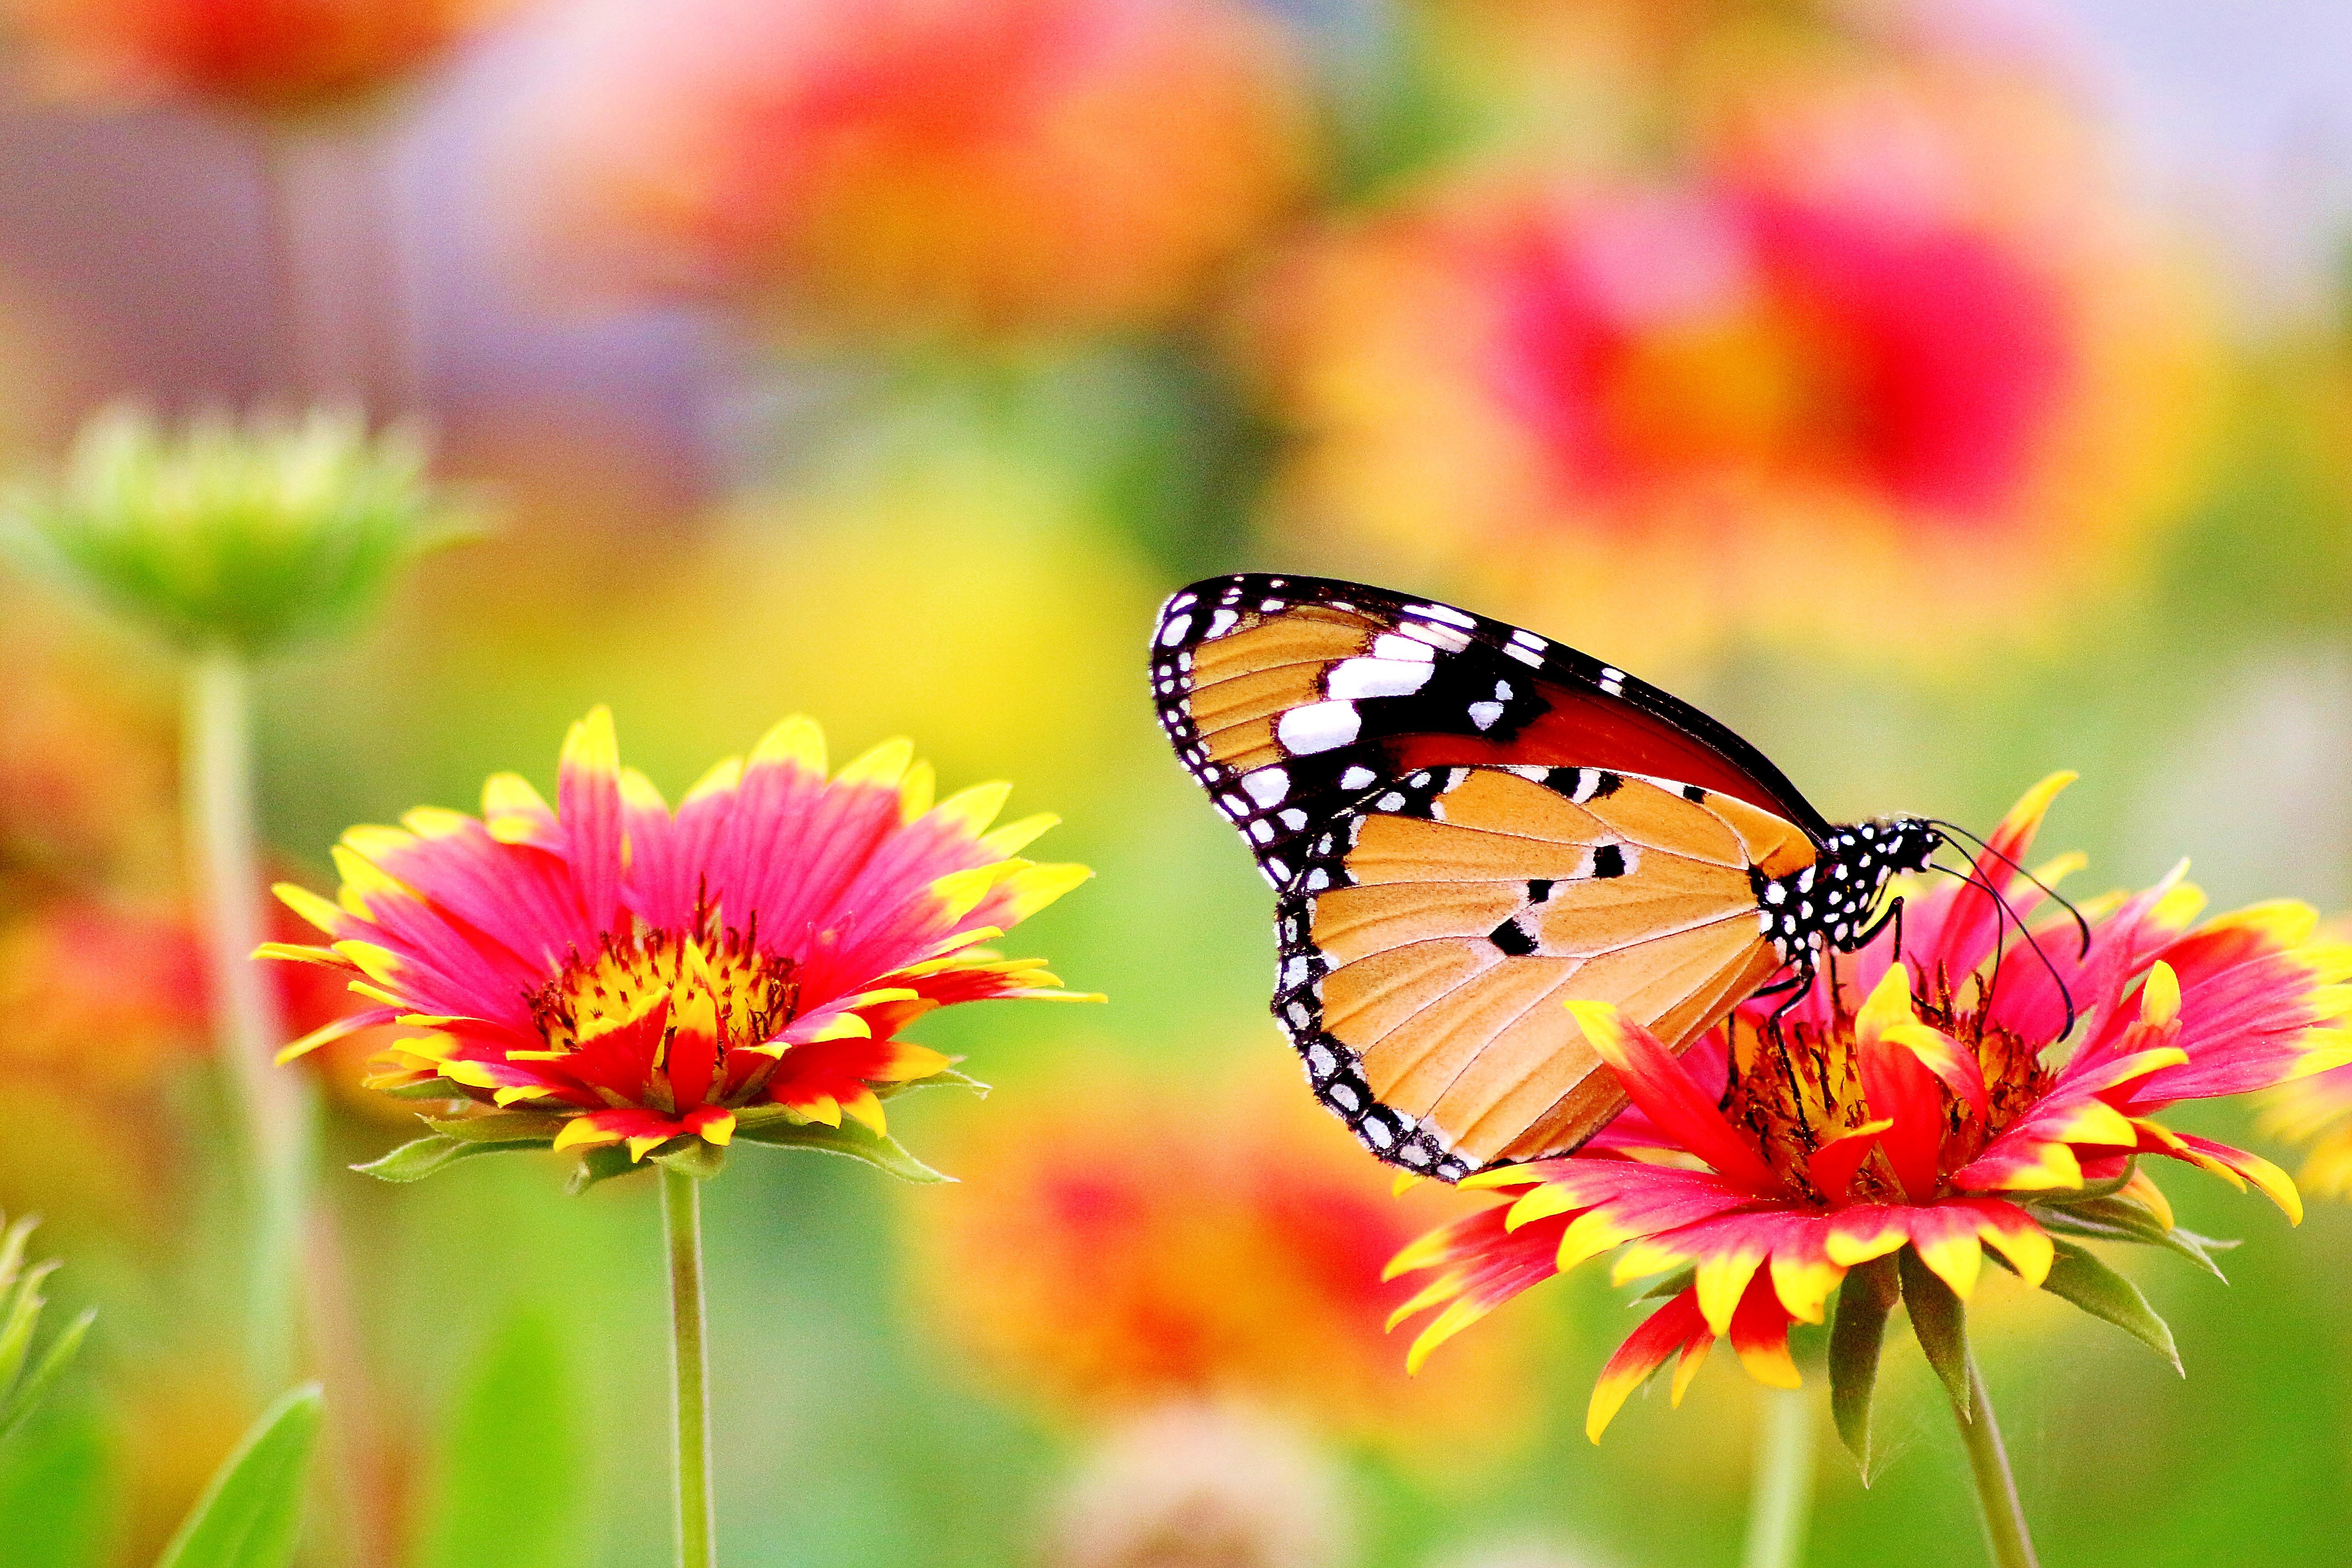
Figuring out What Butterflies you want to Draw
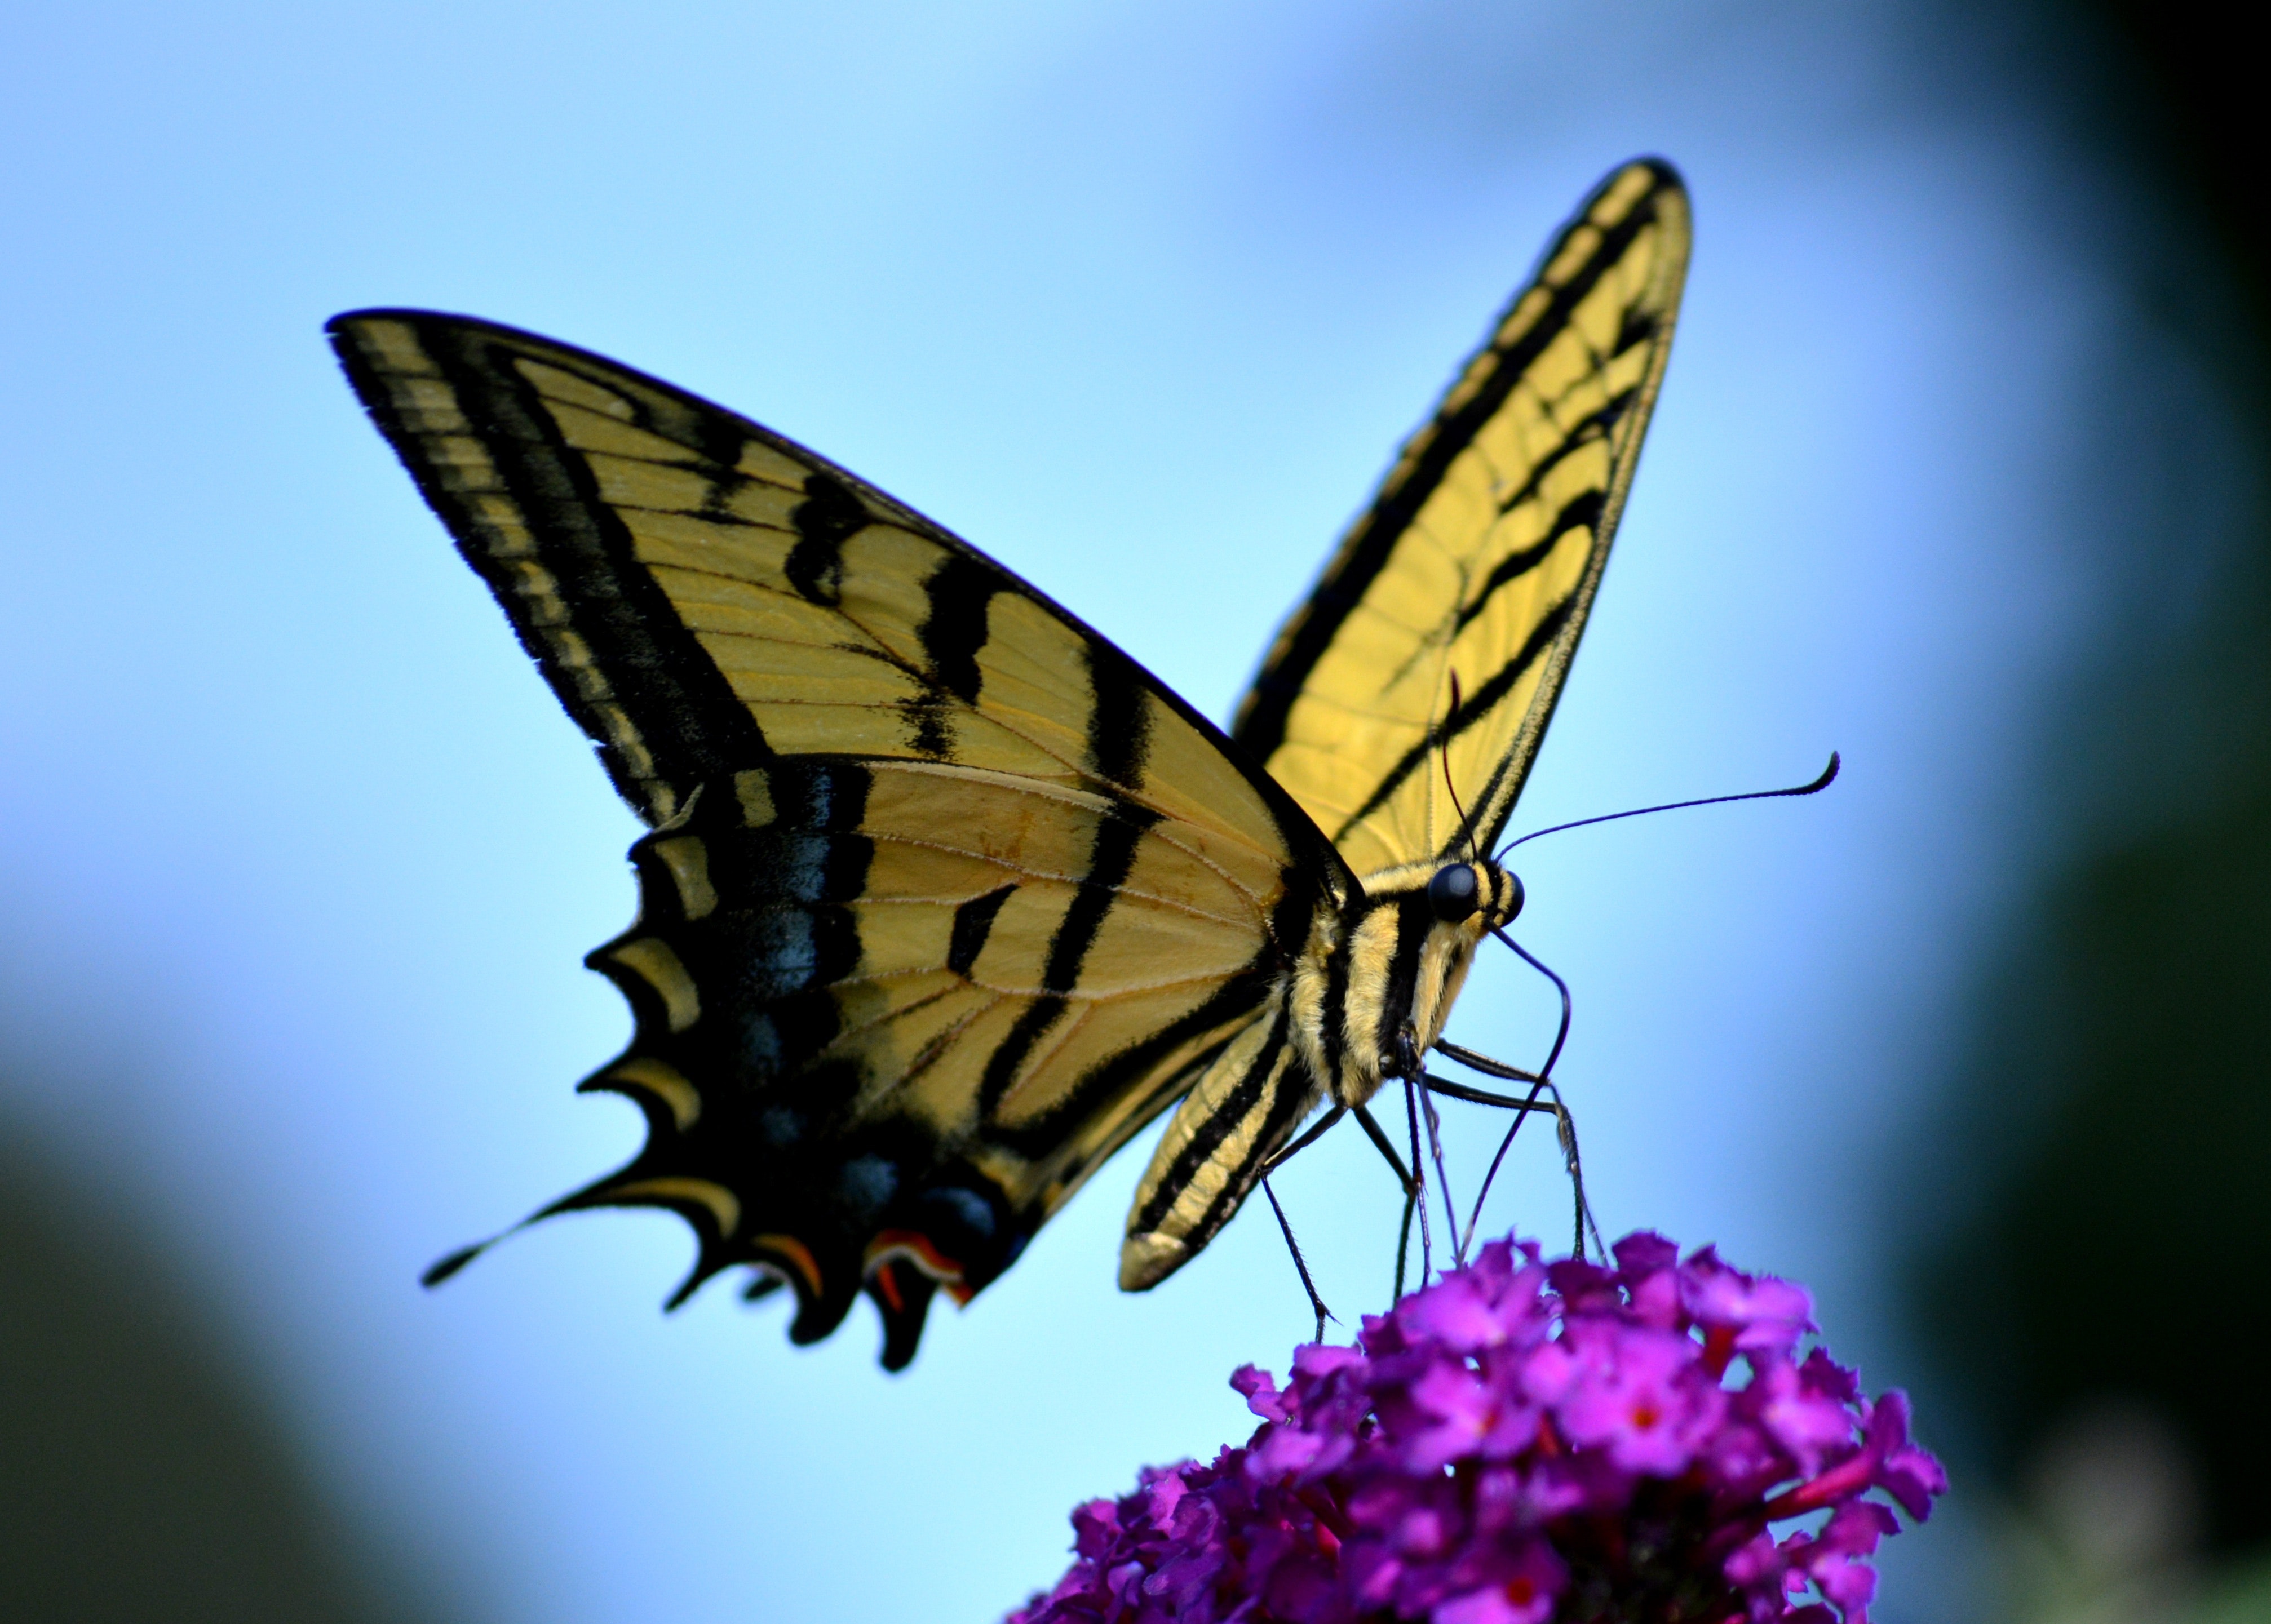
Oftentimes it helps to look at references of real butterflies, be it in your backyard or on Google. Here is a few pretty pictures to get your mind started. I’ve found it’s best to look at them as a reference, but not try to copy them exactly.
Draw a Butterfly Wing Outline
Start by figuring out how large of a wingspan you want to have in your butterfly, and make small marks on either side of the butterfly so you have some guides. Next, about in the middle of where your wing will be, add another small line on either side. This should be the closest to the body in comparison to the other lines. Add two more lines on either side where the bottom of the wings will be.
The Secret to Drawing Symmetrical

You know how sometimes you’ll draw something really good and then go to draw another and the other one looks awful compared to the first? This can be avoided just a bit if we draw both sides at the same time. For instance, in this case, we will need to connect our points. We can connect the points by drawing the top line of the wing on the right, then the top line of the wing on the left, then the side of the right wing and the side of the left, constantly adjusting and lightly scratching the paper until we get what we want.
How to Fix your Symmetry Mistakes
Nobody is perfect, and these wings will still have a few small problems. Use that ink pen again and just darken the lines until they look the same, adjusting it to be what you want. If it gets to be really thick, don’t worry, we will make it work.
Adding Details in the Wings
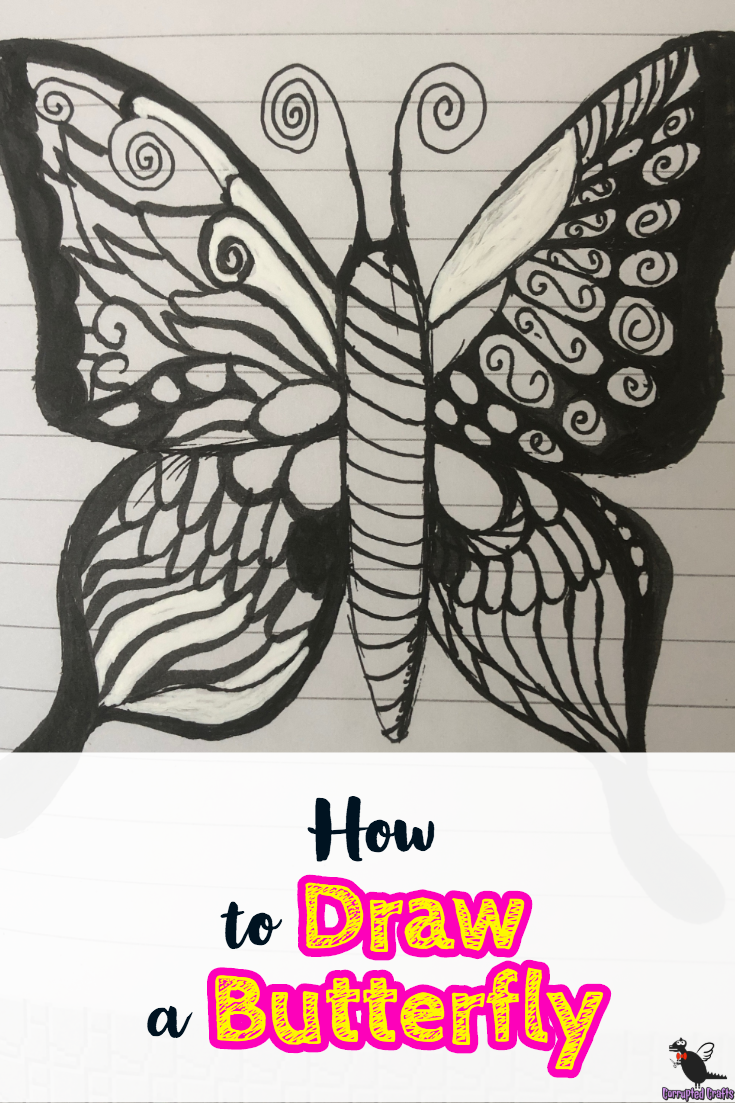
Start drawing little parts of the wing in a similar way to real butterflies, with the little areas of almost blank space between the thin dark lines. It’s okay if the design on one wing does not match exactly with the other wing, as long as they look similar enough. Keep doodling around until you are satisfied with your design. My butterfly had some pieces that were dark on purpose, so at this stage I added the black ink to those parts of the wings.
Coloring in the Wings with White Out Gel Pen
Remember how I said if the black creeps up too far on the outside of the wings, that it’s okay? This is where that part comes in. If you outline is too dark, pull it up about a quarter of an inch and draw small white shapes onto the black with the gel pen to make it seem intentional. Fill in any of the places that you drew the light areas of the butterfly as well.
Touching up the Details
Keep going back and forth over the butterfly to make your design as pretty as you would like. It doesn’t have to be perfect, it just has to be interesting to look at.
Finish
Let your butterfly dry a good five or so minutes. Trust me on this one, I ruined a few ink drawings by either trying to erase or my hand swiping through the fresh ink and smearing it beyond repair. Good luck and Happy Crafting!