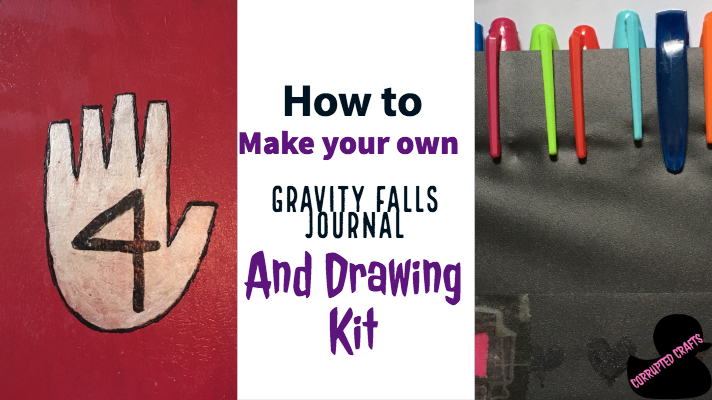
On the hunt for Bill Cipher? This easy, fun, and creative project will help you on the go to write down notes or sketch drawings.
What you will need
- Red paint
- Gold paint
- Black nail polish
- Unicorn skin flakey nail polish
- Set of markers or pencils
- Paintbrush
- Red fabric
- Hot glue
- Binder with three pockets preferably
- Graph paper
- Lined paper
- Blank paper
- Sticky dry erase board sheets
Getting set up to Make your Portable Drawing Set
Start by setting up a workspace covered in newspaper with the binder open and facing down. Wear rag clothing or an apron, as this can get a little messy.
Painting the Base color on the Drawing Set
Using red paint and a paintbrush, apply two or three coats of red paint, or until the binder is fully covered in the red paint with no streaks. Allow to dry between coats and after painting the final coat.
Finding the Hand for the Front of the Binder
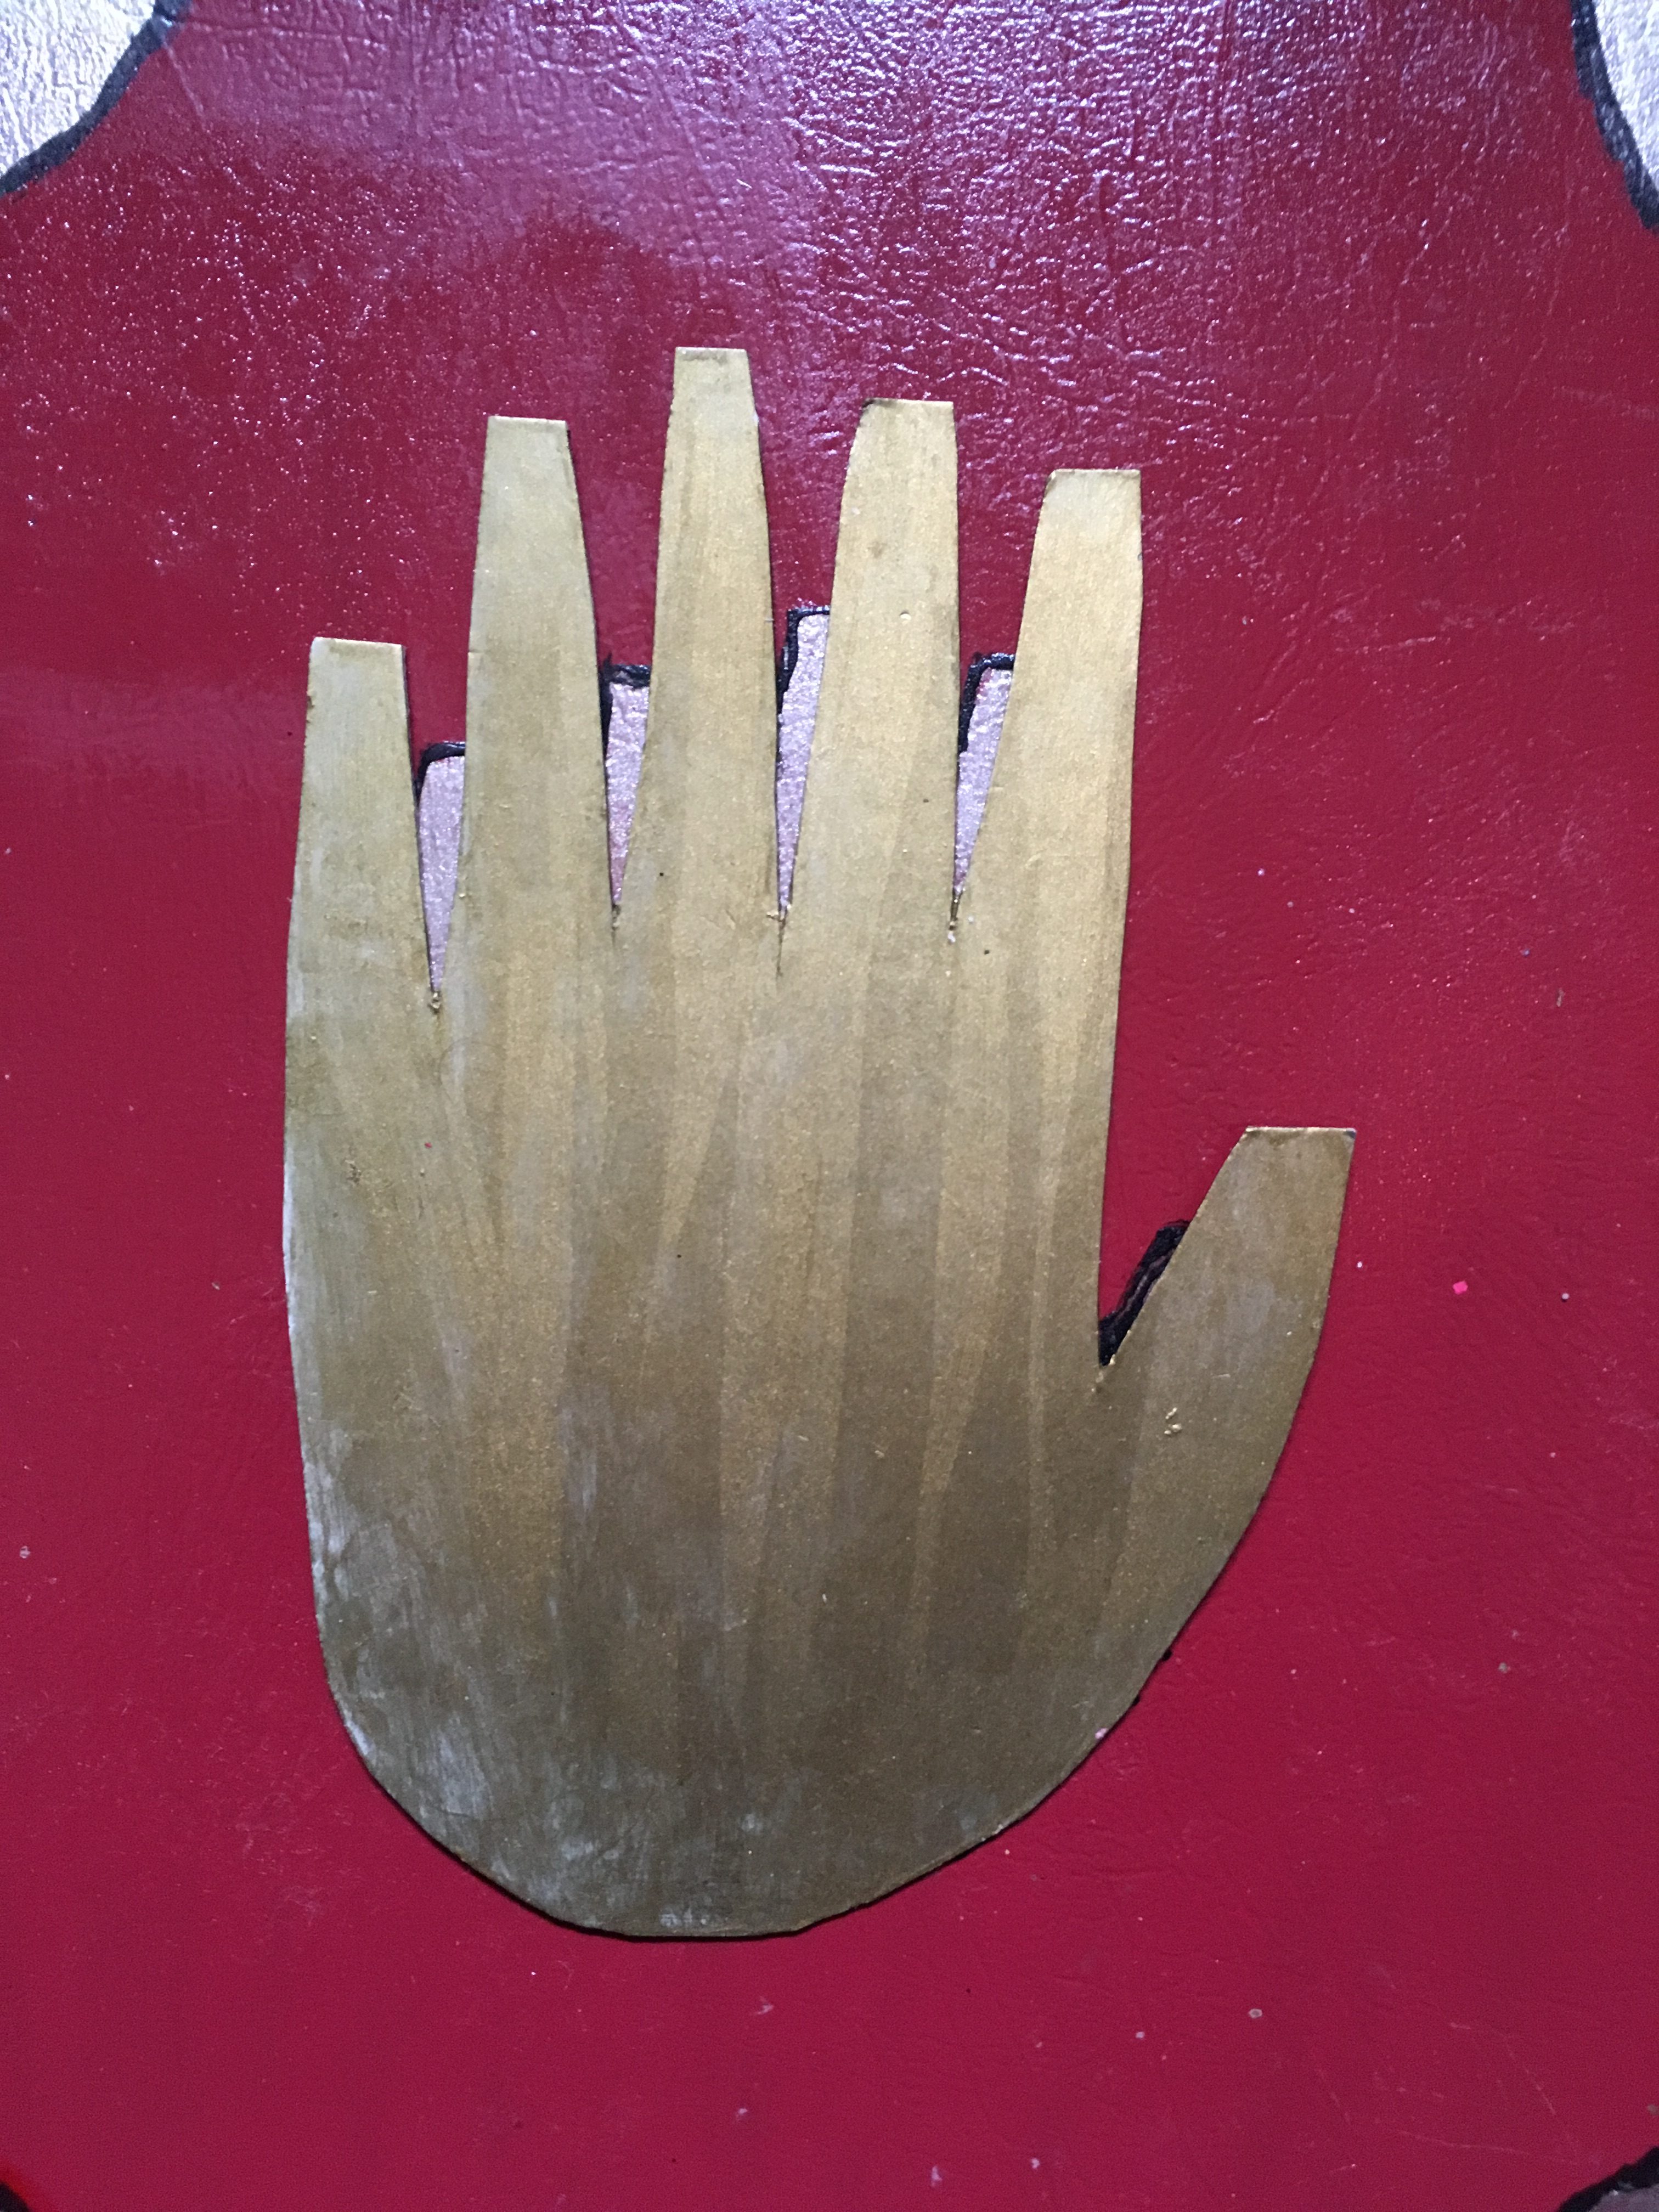
Using the magic of the internet, find and trace a picture of the six fingered hand online. Cut it out and place in the middle of the front cover of the book.
Tracing the Hand
Using a pencil, gently trace around the hand in the middle. Make sure it is centered appropriately.
Drawing the Corners

Draw quarter circles on the front cover of each corner, these will be the accent corners made of gold.
Painting the Hand and Corners
Using gold paint, fill in the hand outline and the quarter circles completely. This may take a few coats of paint, do not give up.
Adding the Black Details to the Drawing Set Binder
Using a black sharpie or nail polish, trace the outside of the hand and the corners. This makes it look much cleaner and more polished.
Gluing the red Cloth onto the Binder
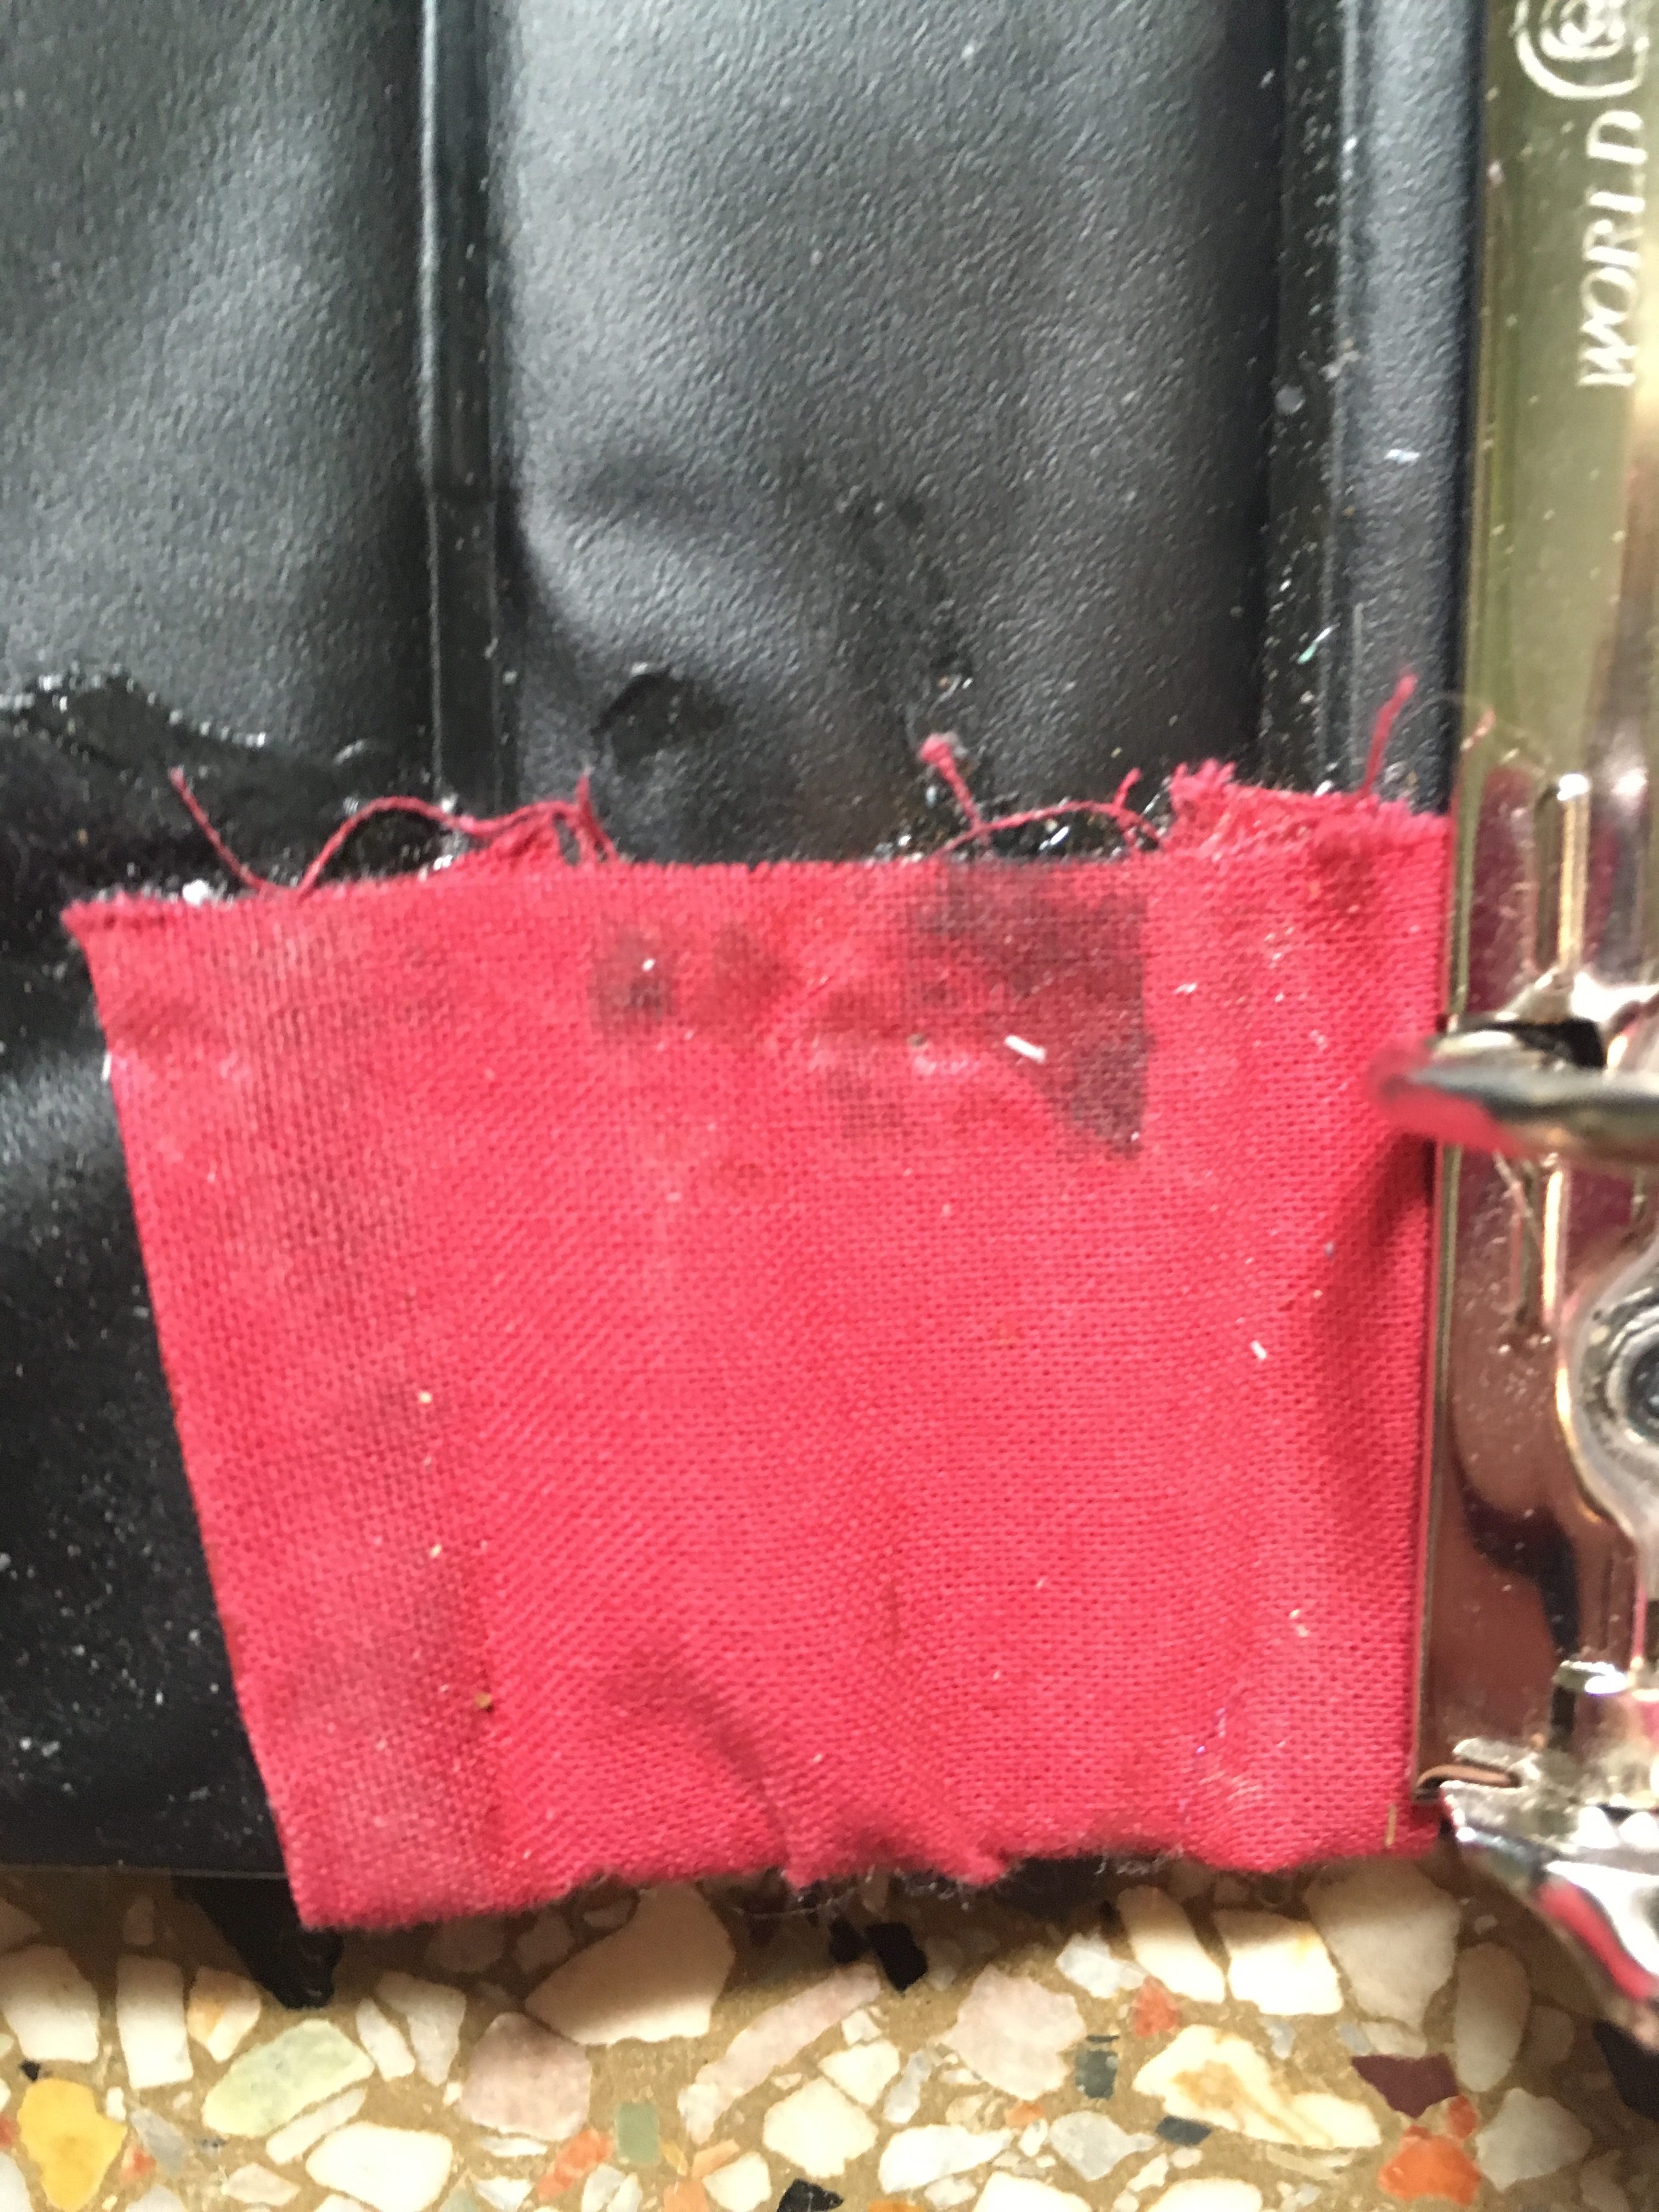
Using a hot glue gun and parental supervision, glue the red cloth along the binding of the binder, securing it along the spine and on the inside cover to ensure it does not look ragged or slip off.
Attaching the dry Erase Board Inside
Cut out a piece of dry erase sheet and arrange it to fit in one solid piece on the inside cover of the front of the binder. Don’t forget to bring a dry eraser marker in your kit.
Adding the Paper

I like to use a mix of paper, such as graph paper, normal lined paper, and printer paper which is stored in the back pocket of the binder. The graph and lined paper hang neatly in the binder hooks.
Adding the Markers and Goodies

Dump out your box of sharpies and pick a rainbow of colors. Stash them all in your book, and add some of those things that go on the loops of the paper so your favorite drawings will not be torn out easily. Use them to preserve your art.
Extra: How to make the Marker Sheet
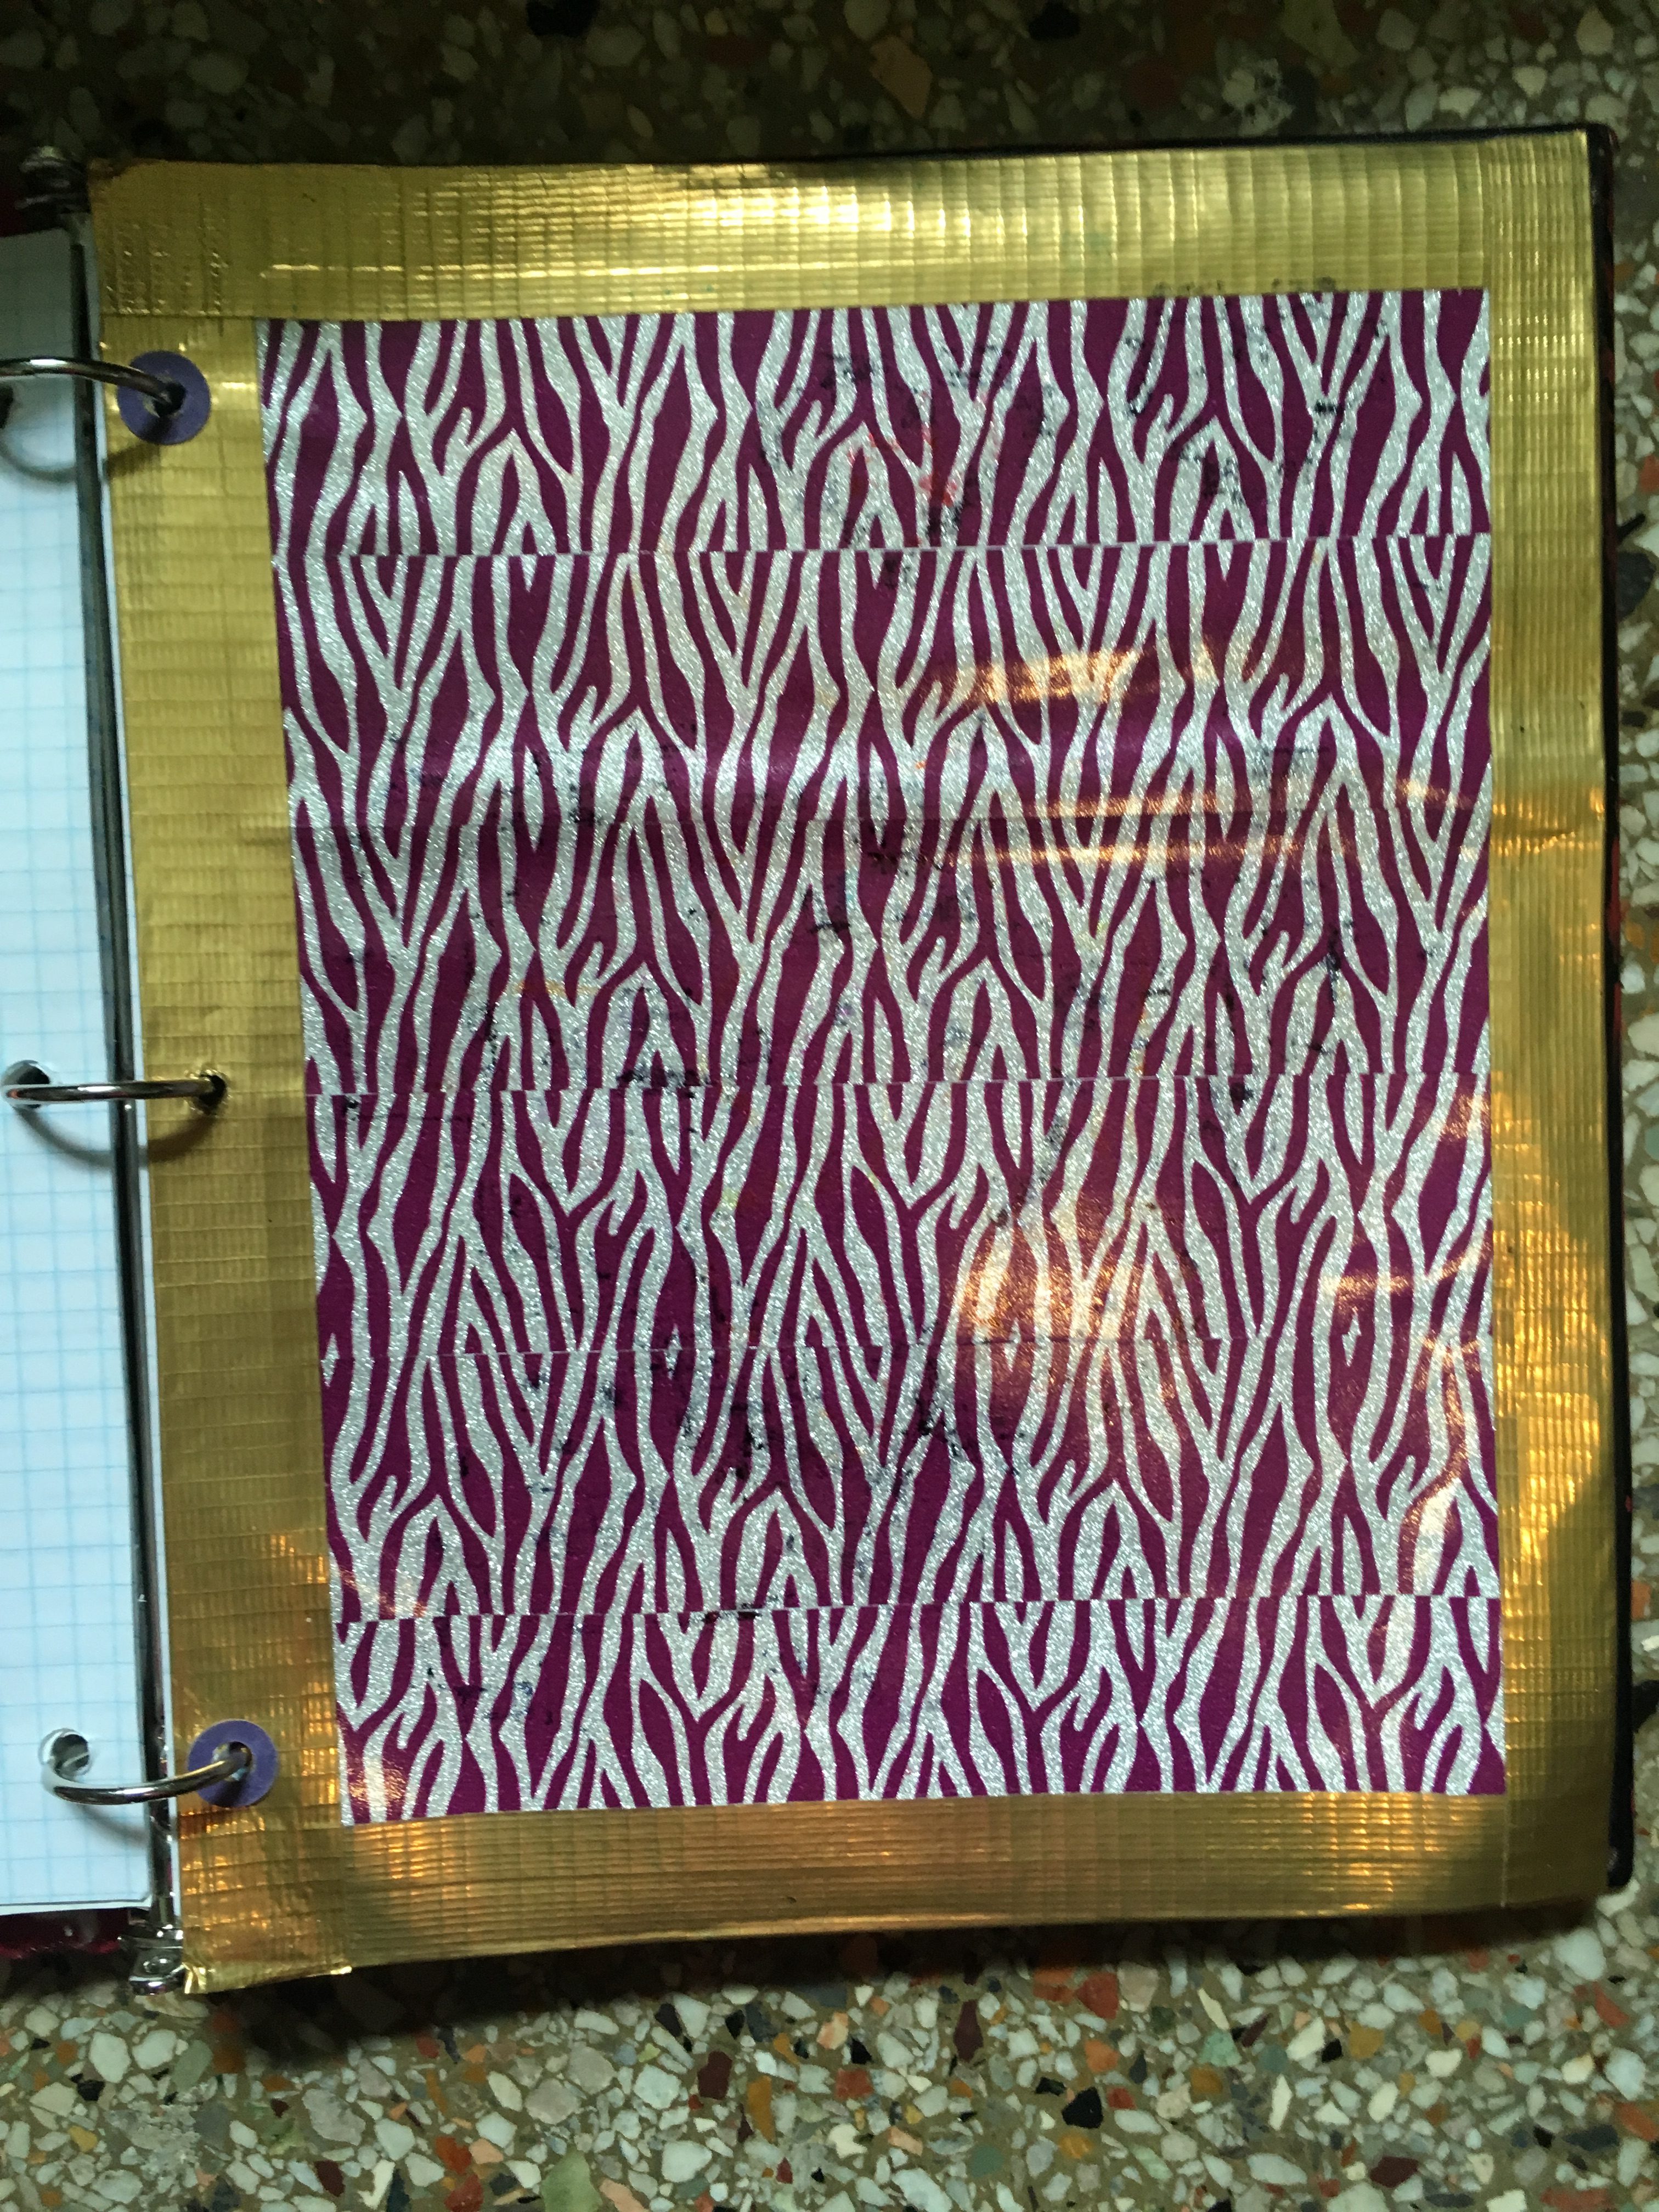
This sheet I keep in the binder is to prevent the marker ink from seeping through to the other paper. To make your own, cover a piece of paper on both sides with duct tape and cover edges well. Use a hole punch to make holes on the side and put it in your binder until ready to use.
Finish
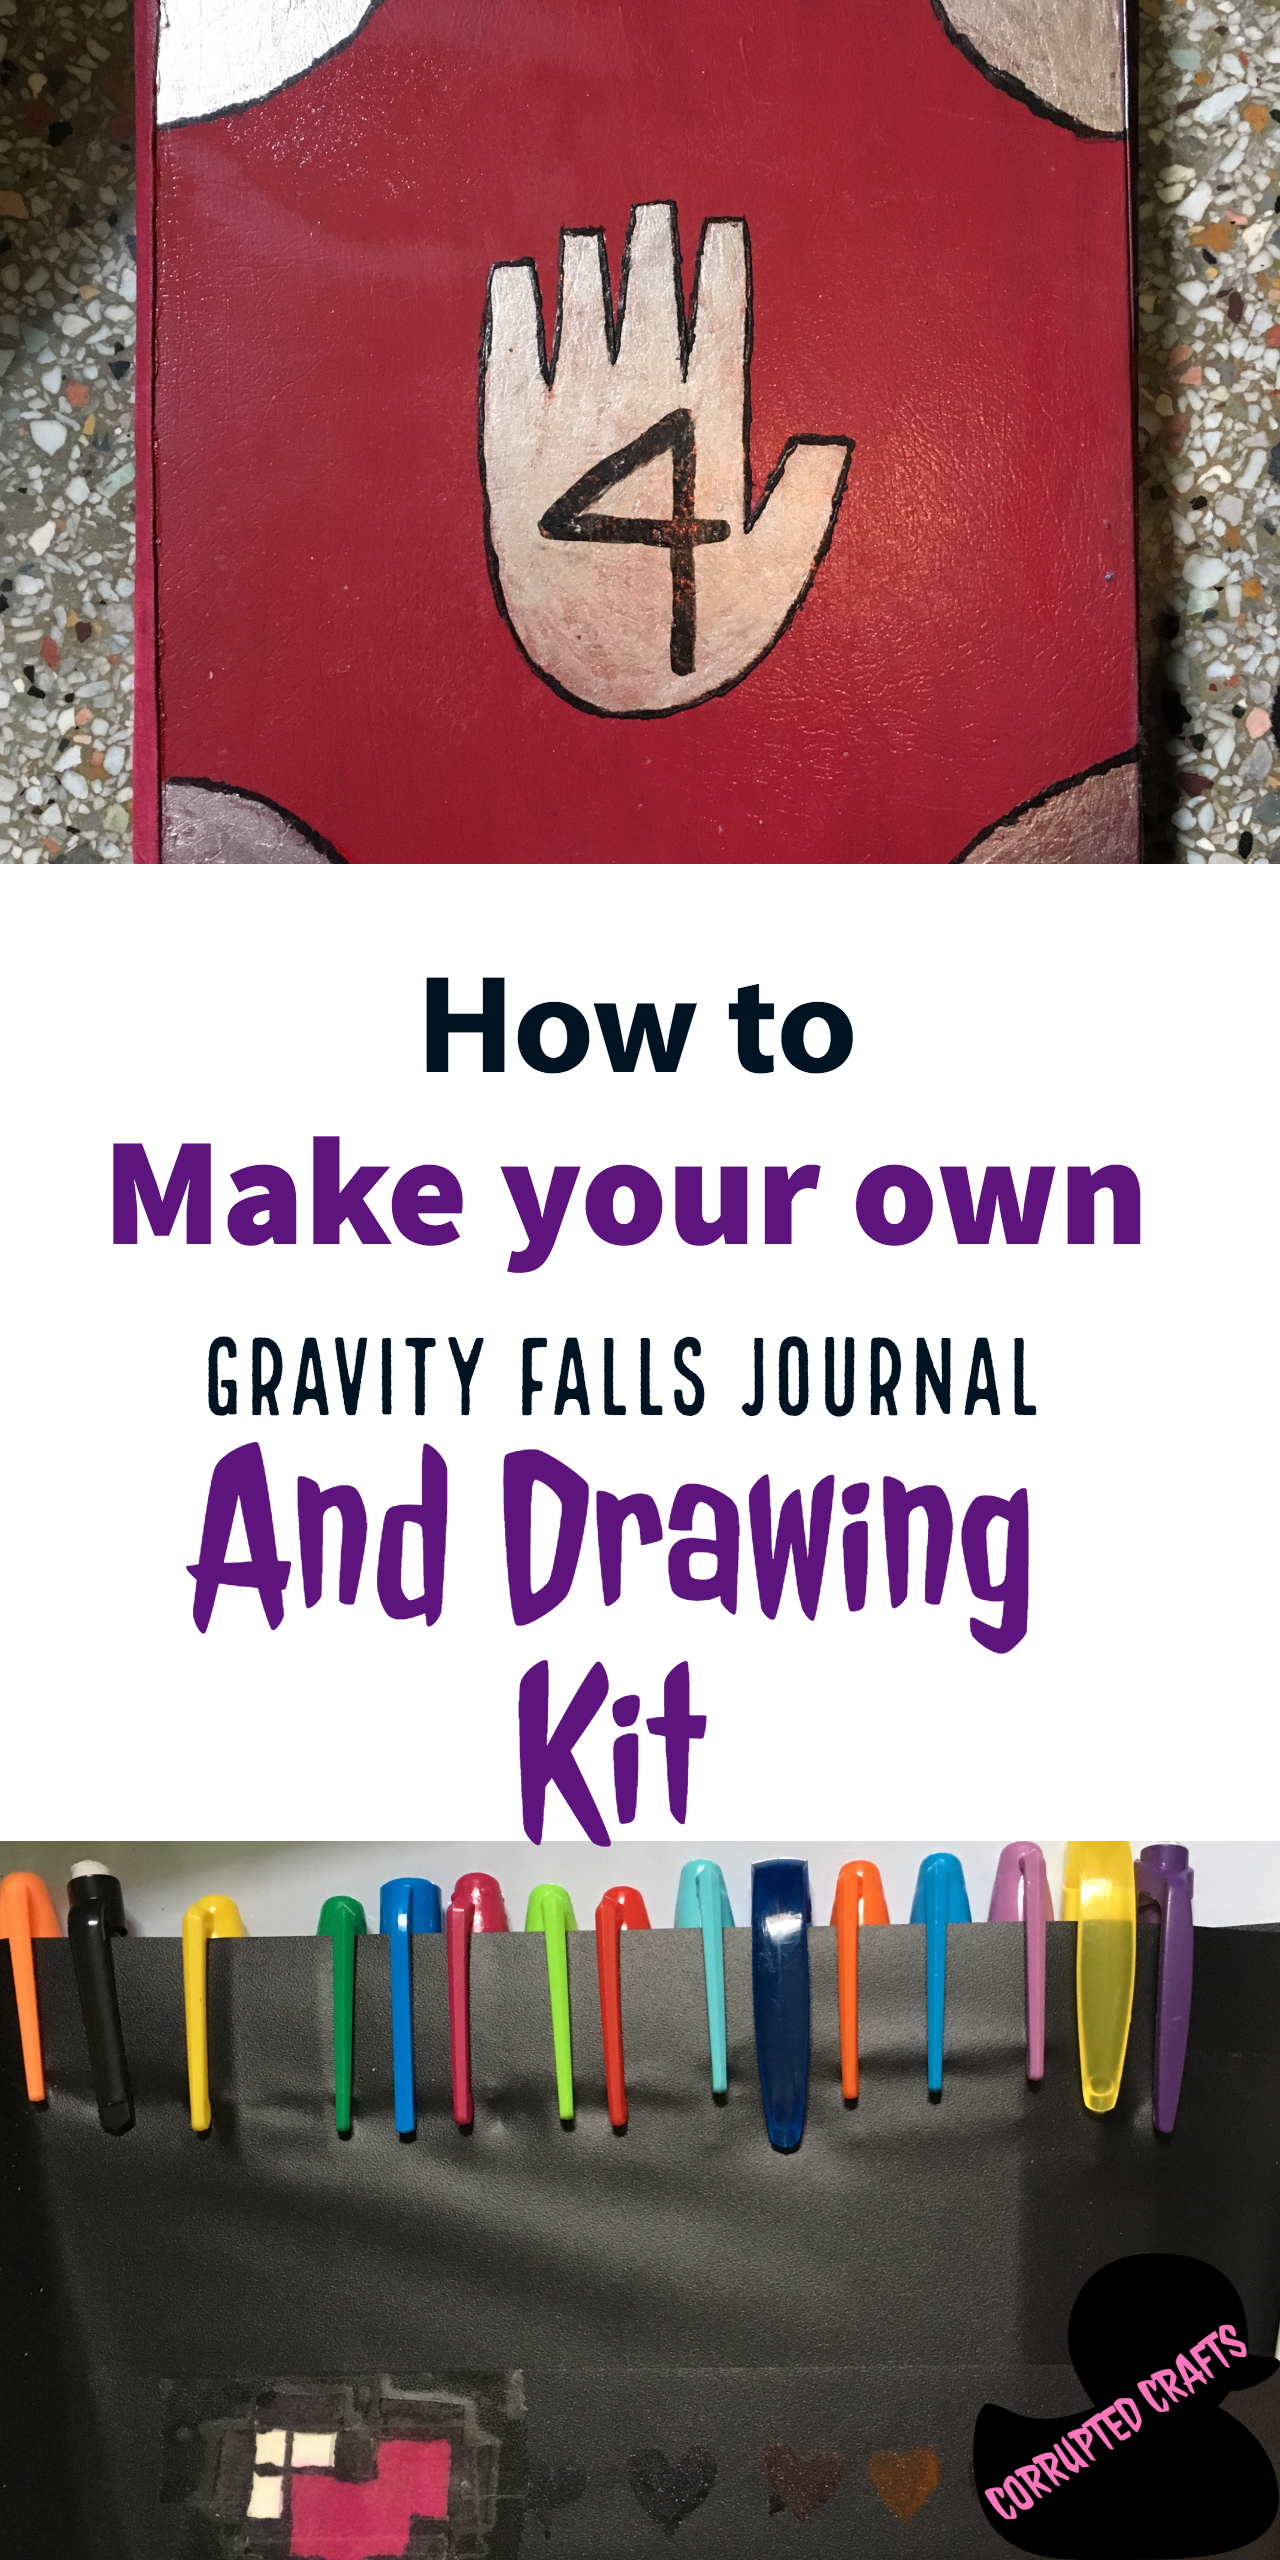
And your Gravity Falls theme binder is complete. Happy crafting!

