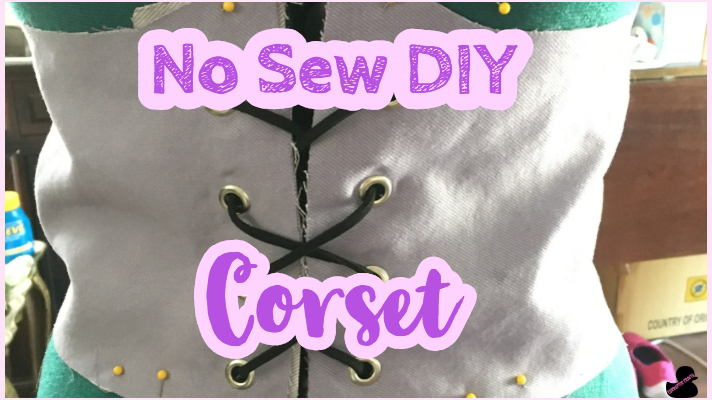
Halloween may be over, but cosplays are always in season. This is a simple tutorial to make a corset in about 20 minutes, and this corset can be adjusted for anyone and for any costume that needs it. This corset requires no boning, and therefore is just for appearance and will not squish your insides into a tiny form. This corset pattern is perfect for female pirate costumes, medieval costumes, cosplays, and of course, Zelda from Hyrule Warriors.
What you will need
- Purple Jeans
- Pattern
- Grommets
- Purple shoelace or rope of some sort
- Muslin for making a pattern that fits you
- Scissors
- Iron
- Ironing board
- This Special Pen
Printing the Pattern
Using the template, print out the corset pattern and cut the pieces out. Measure your waist to get a general idea of how long the corset needs to be. If you cannot access the pattern, make your own based from the simple shapes in the photo. The band should be no more than four inches wide.
Drawing the Pattern on the Muslin
Using the measurement from your waist and the pieces of pattern, make a straight band the same thickness. The pattern should altogether be the measurement of your waist.
Making the Pattern Fit
After cutting the pattern as all one single piece of muslin, wrap it around yourself to make sure it fits. Arrange the corset so it has a small gap in the front, no more than an inch. Adjust the pattern by pinning it on the band in the back until it is the desired length without any pulling.
Tracing the Pattern of the No Sew Corset on the Purple Jeans
Flip the washed and ironed jeans inside out and trace the pattern on the inside. Use the special pen to mark it and be able to iron it right off once the corset belt is cut out.
Cutting out the DIY Corset Belt
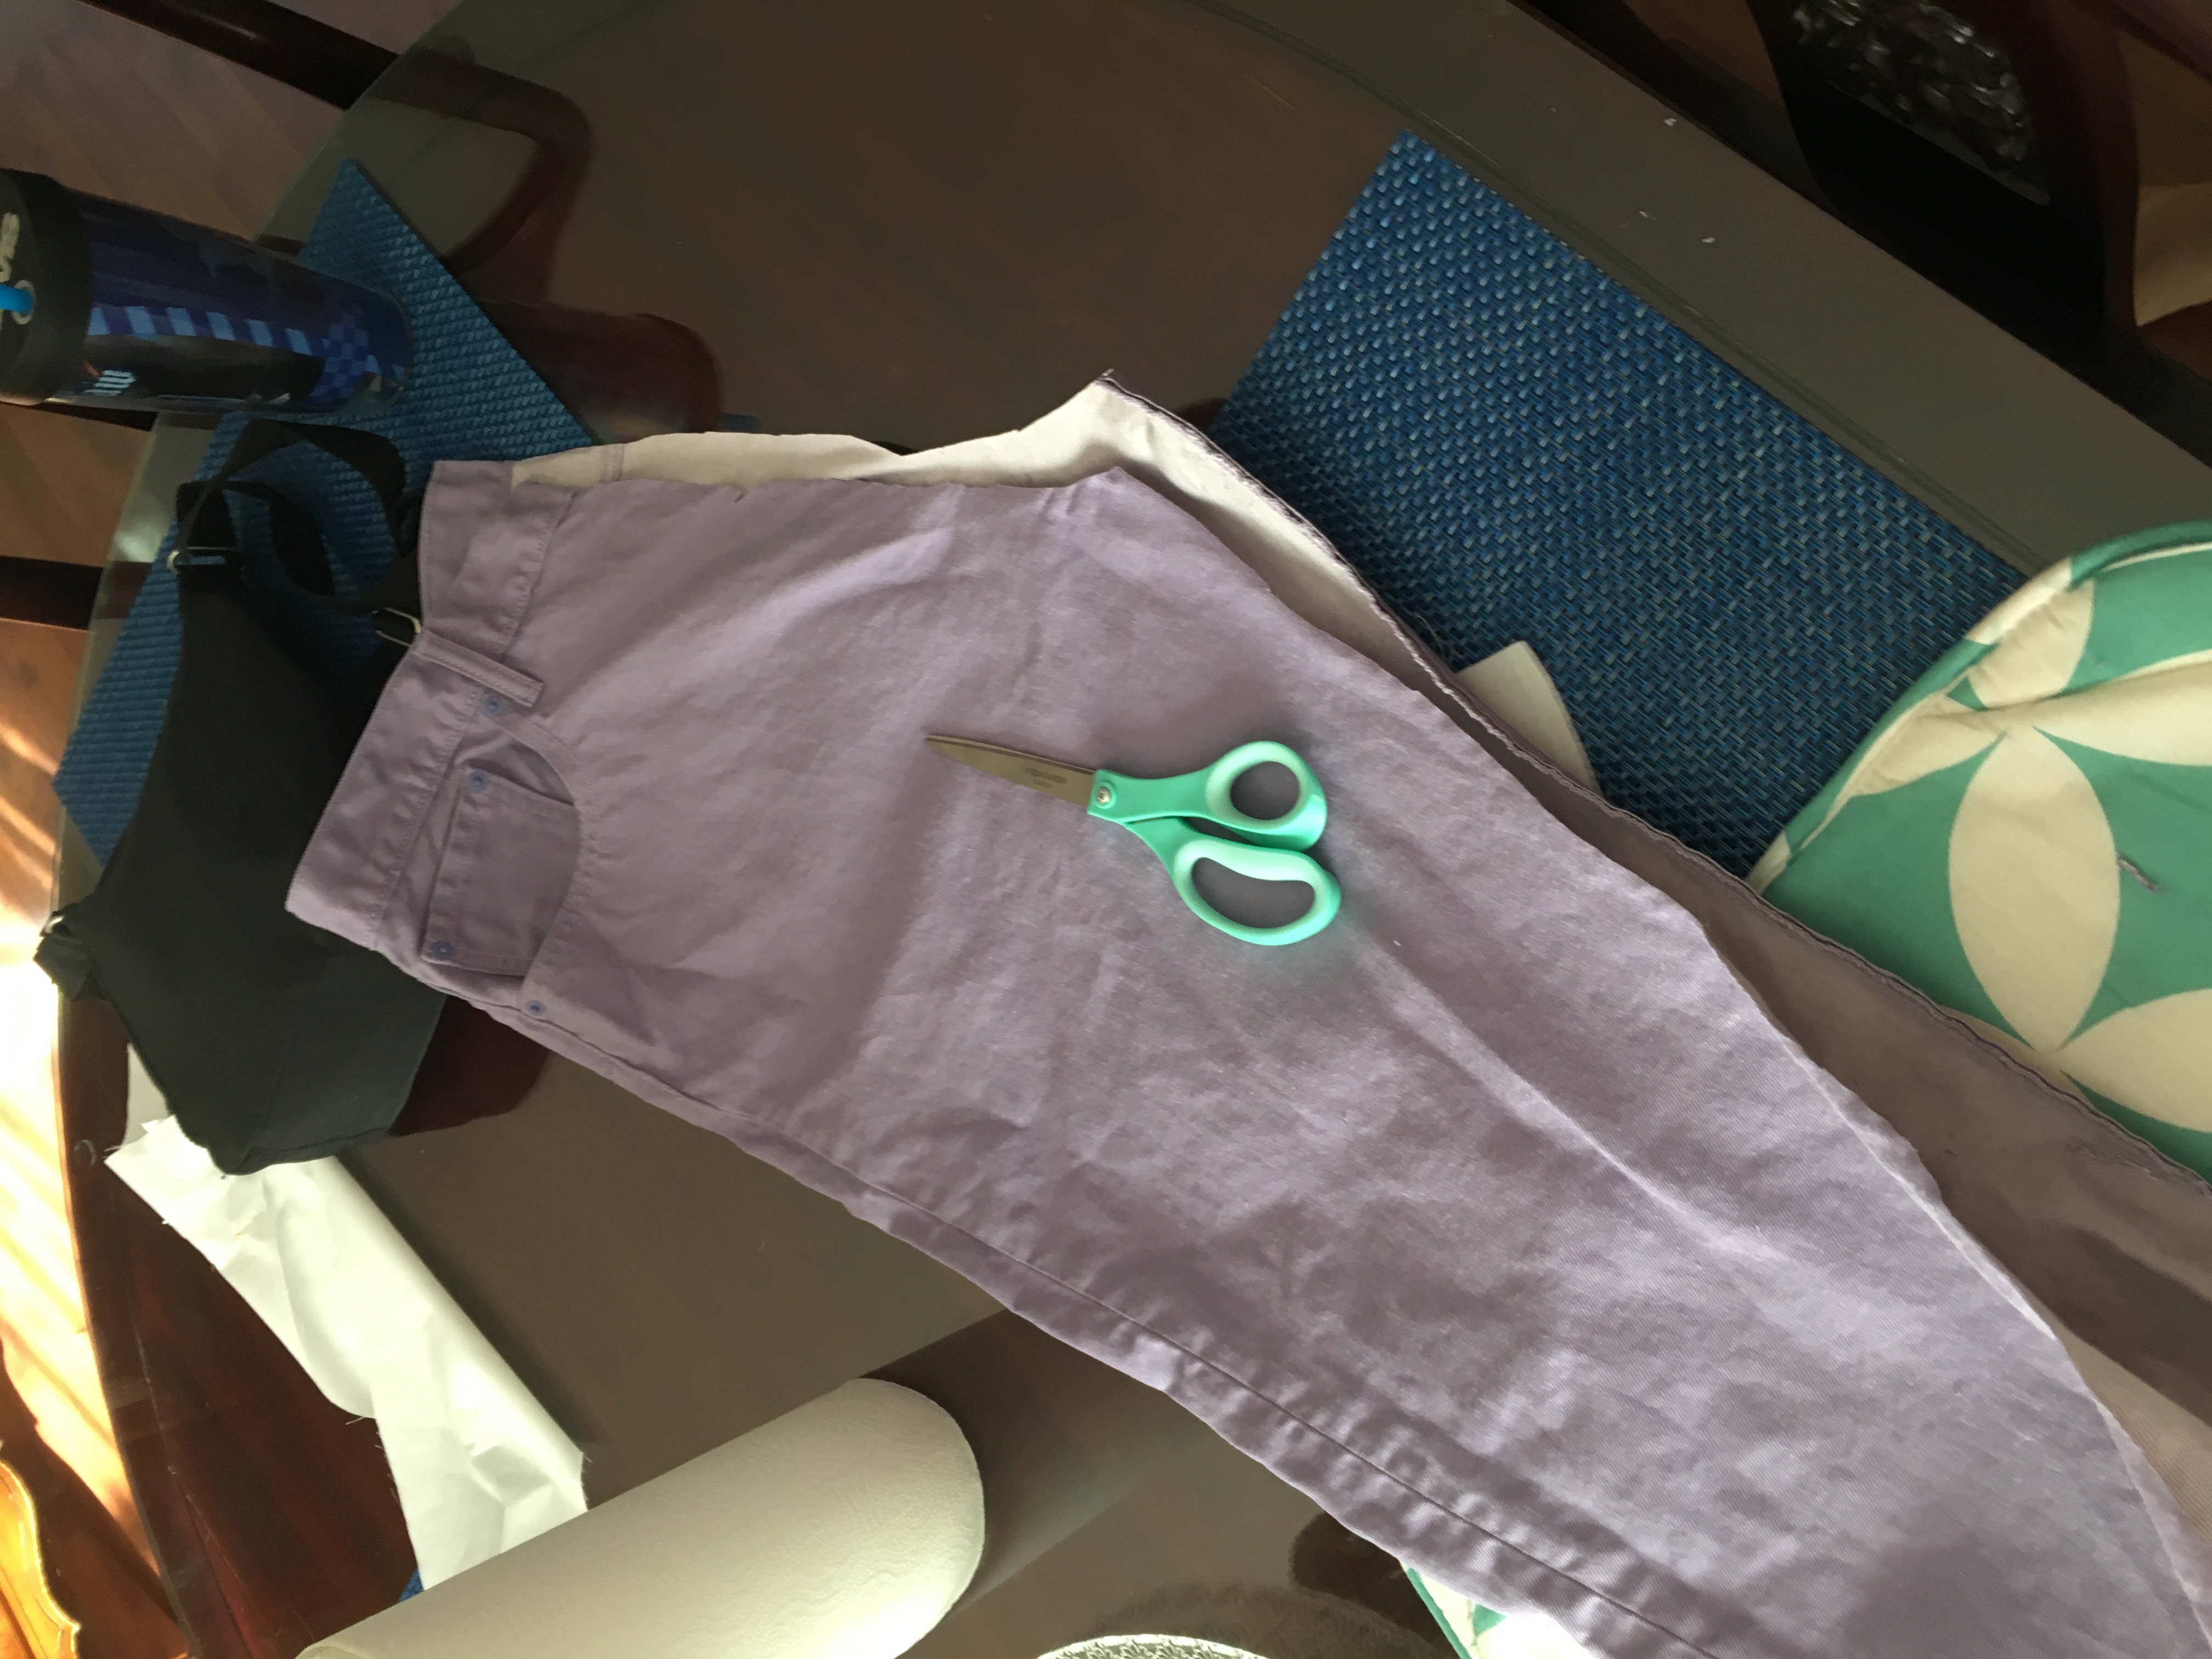
Using a sharp pair of scissors, cut the corset out of the cloth. Iron out the edges to get rid of the pen marks.
Making Sure the No Sew Corset Belt Fits
Wrap the denim corset around your waist and see if it looks right. If there is a gap, you are good. If not… You may need to recut the pattern again after shortening.
Making the Side Panels

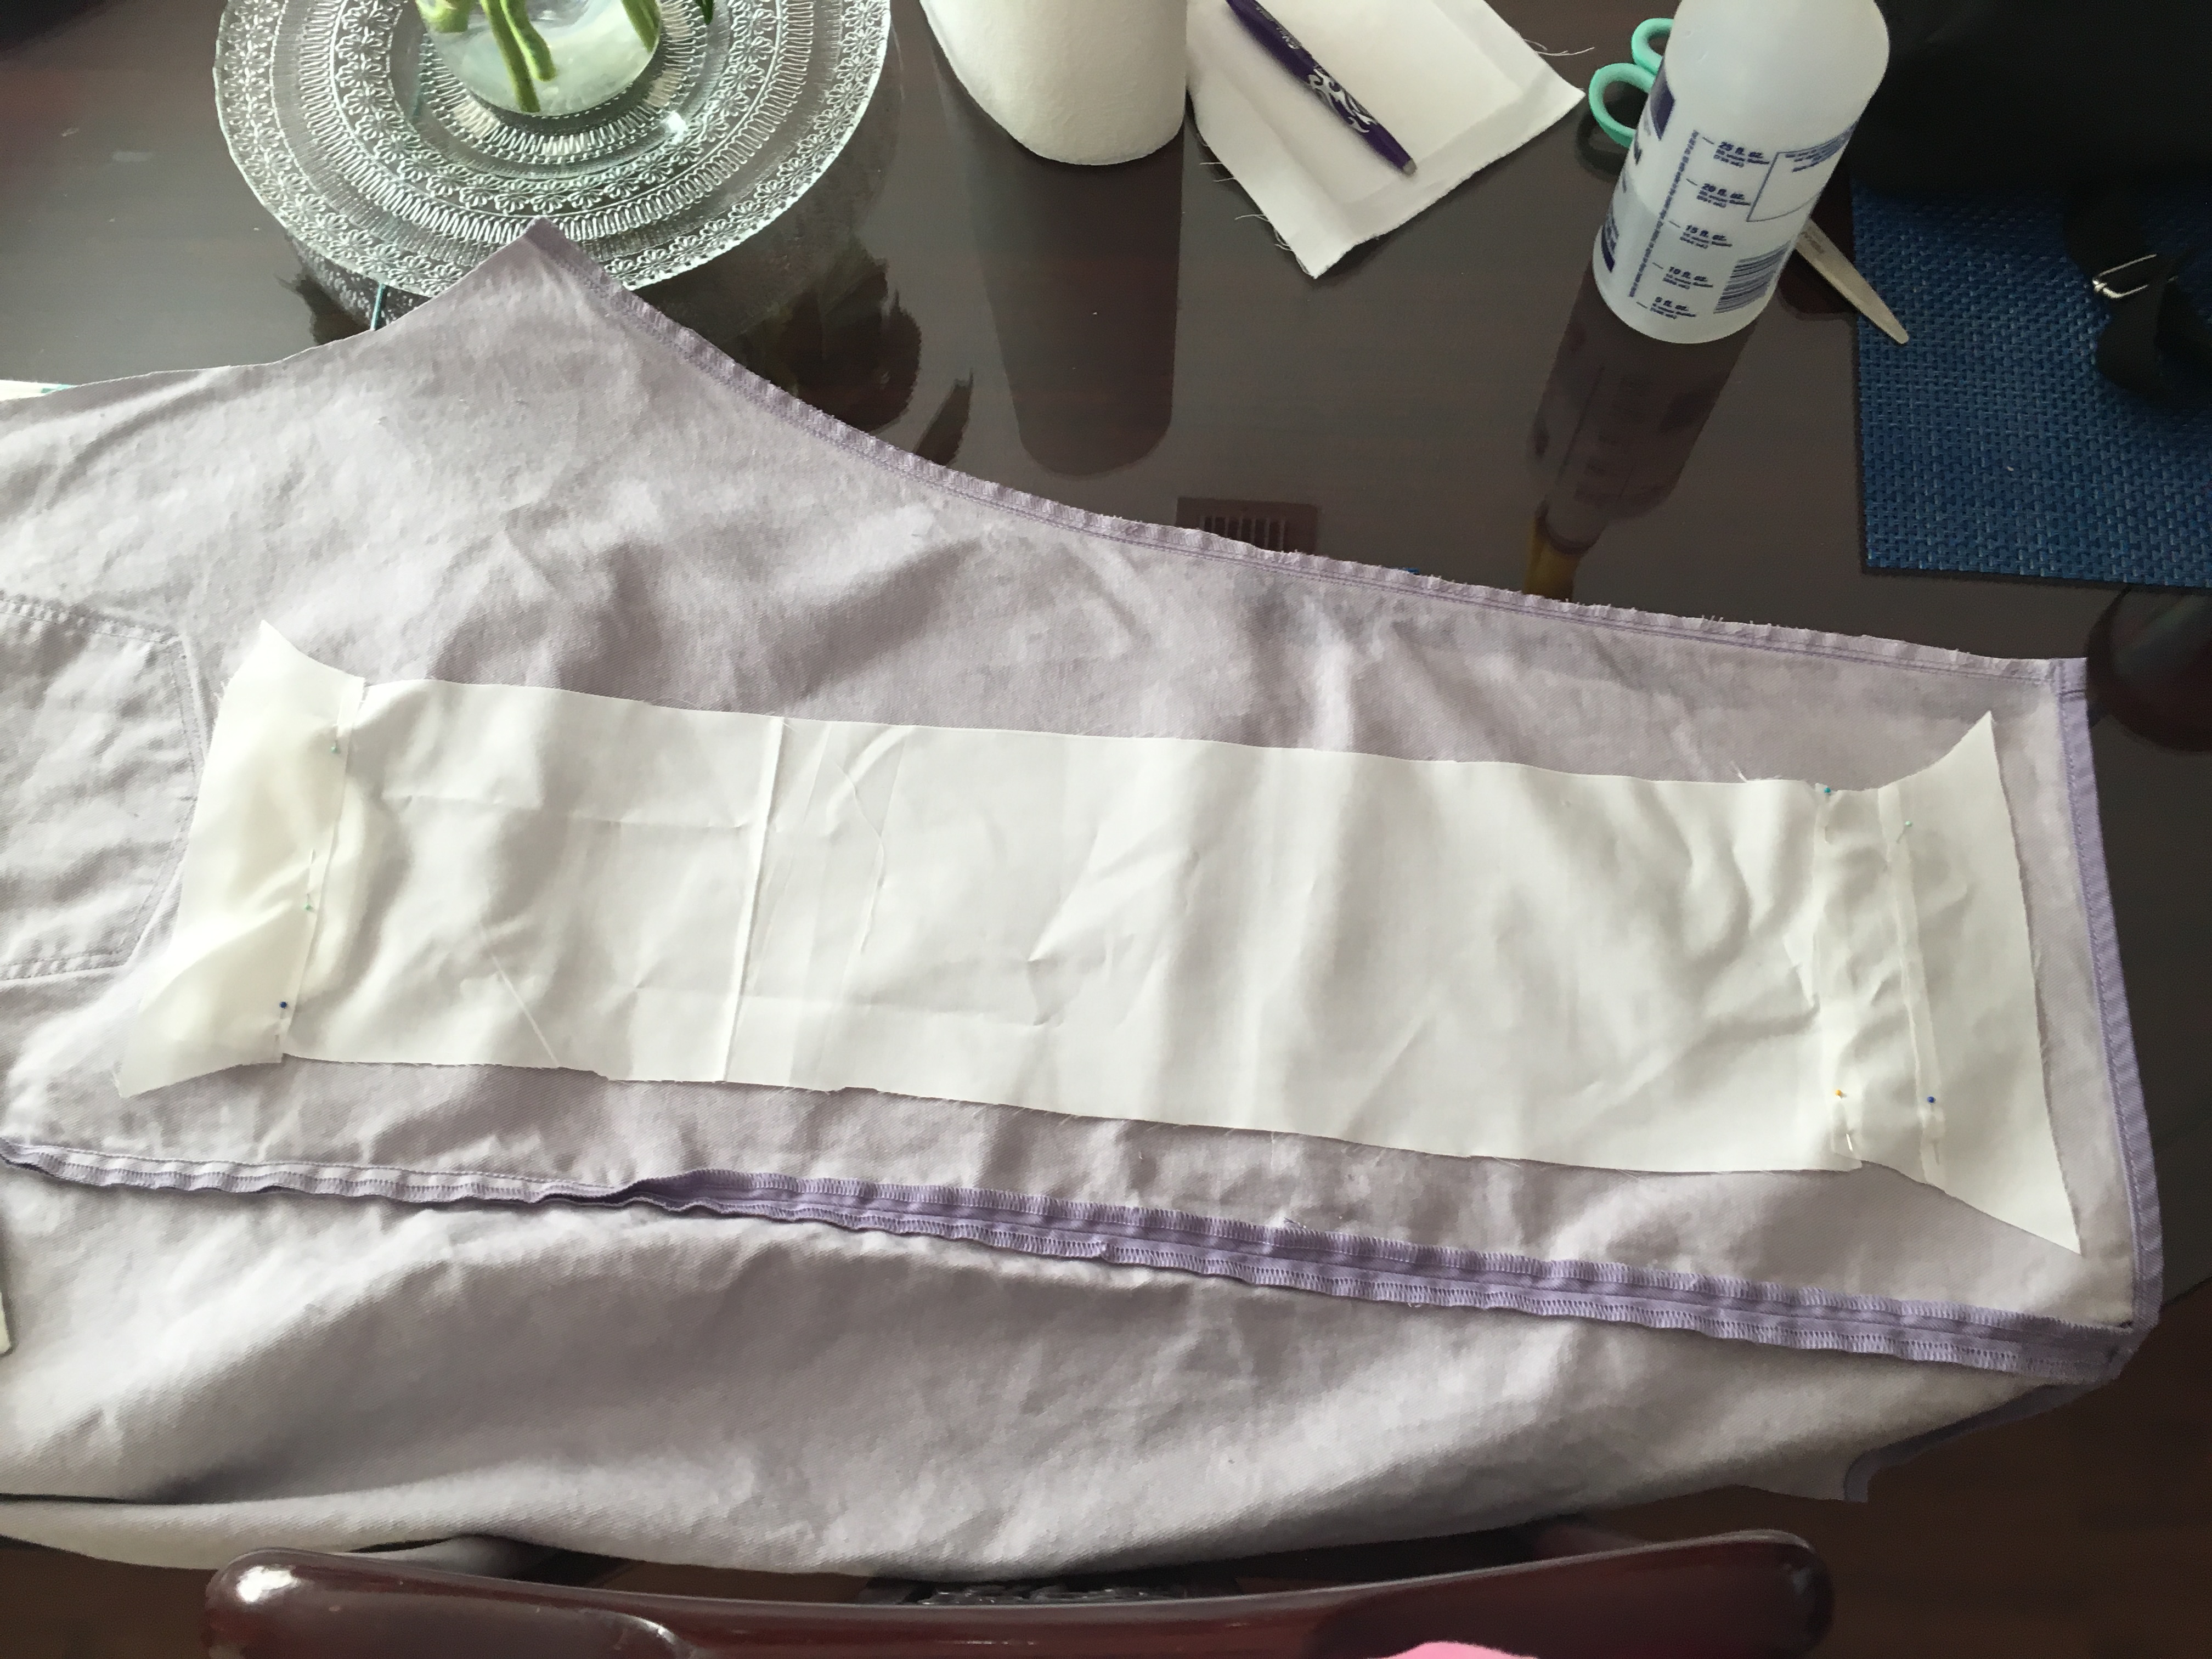
Corsets are rarely ever one layer, and therefore we need to make sure we prepare for the grommets. Cut the side panels out of the main paper pattern and make two facing opposite directions to attach to the underside of the corset sides.
Gluing the Side Panels
For the side panels to attach, use some Krazy glue left over from your Derpasaur Terrarium and glue the side pieces to the undersides of the corset. This will make a strong place for the grommets to grip onto.
Alternative way: Making 2 Pieces
Another method would be to cut out two big corset pieces and use a LOT of Krazy glue to stick it all together, then using grommets at the ends.
Grommets in the No Sew Corset Belt
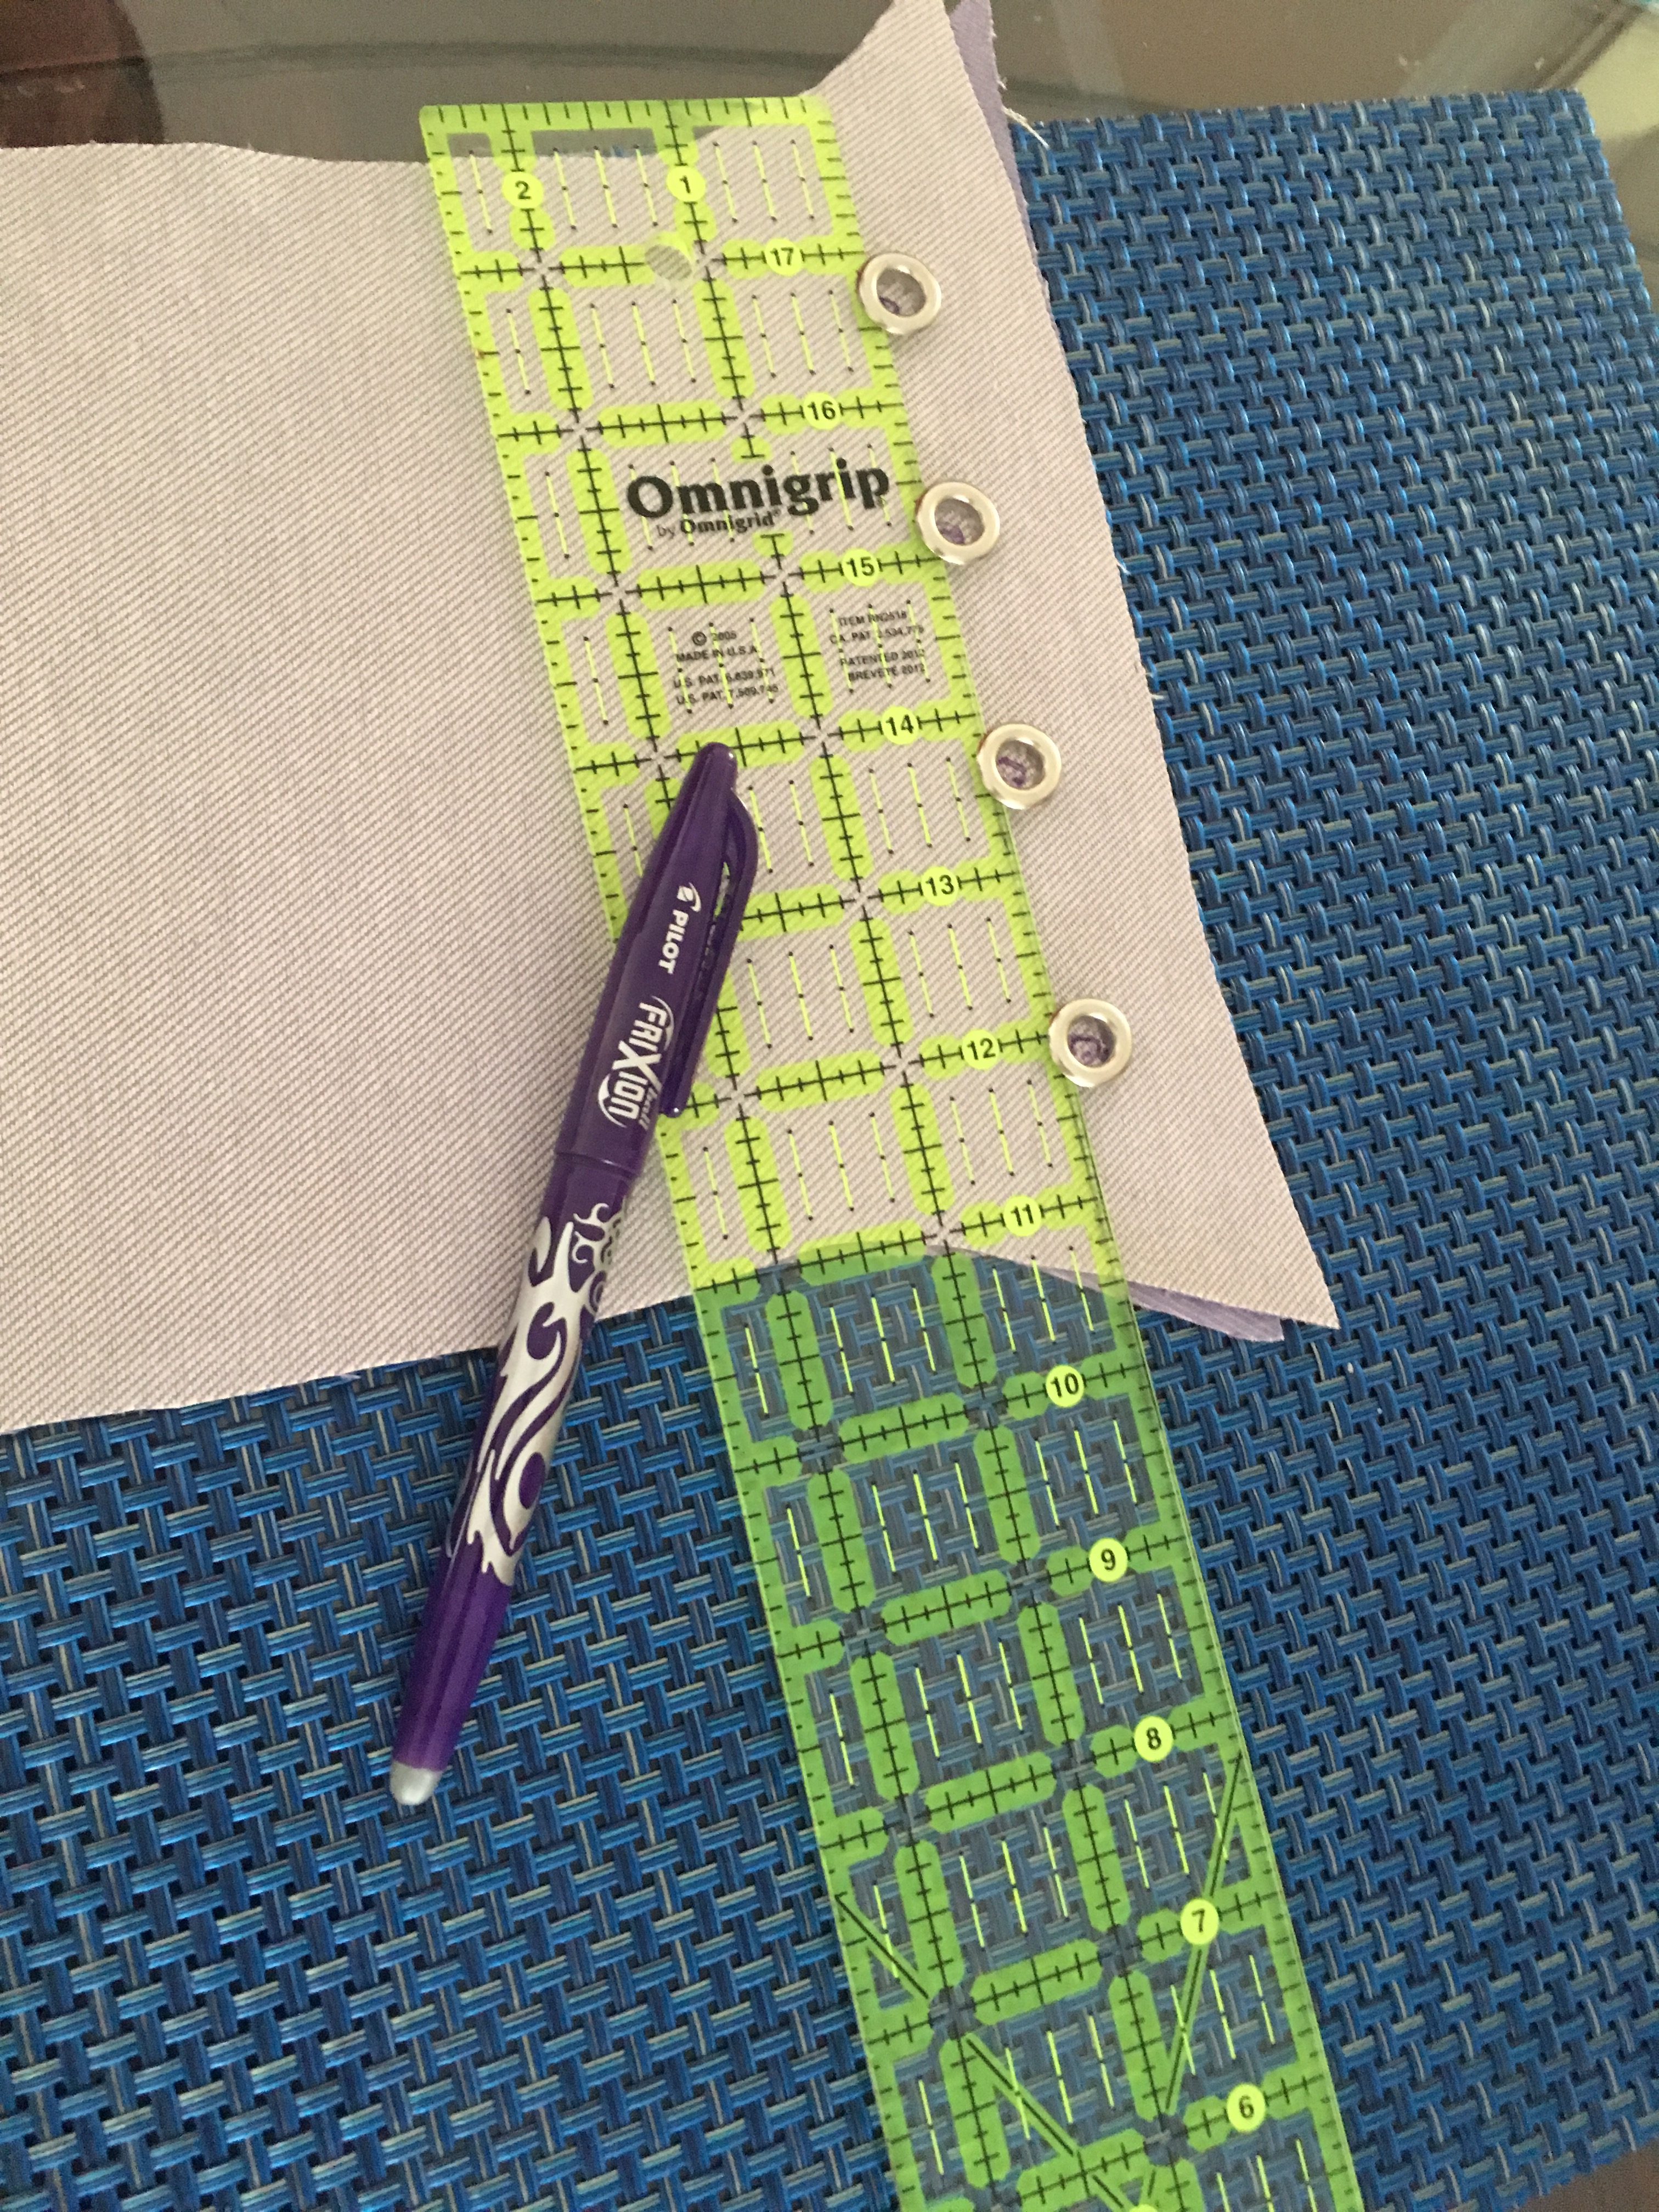
Mark and cut holes in the cloth at the ends for the grommets to go through. Make sure the holes are only just big enough for the grommet, too big will ruin the corset. Line up the grommets in the holes and beat them with a hammer to get the grommet to flatten and make them permanent.
Lacing the Corset
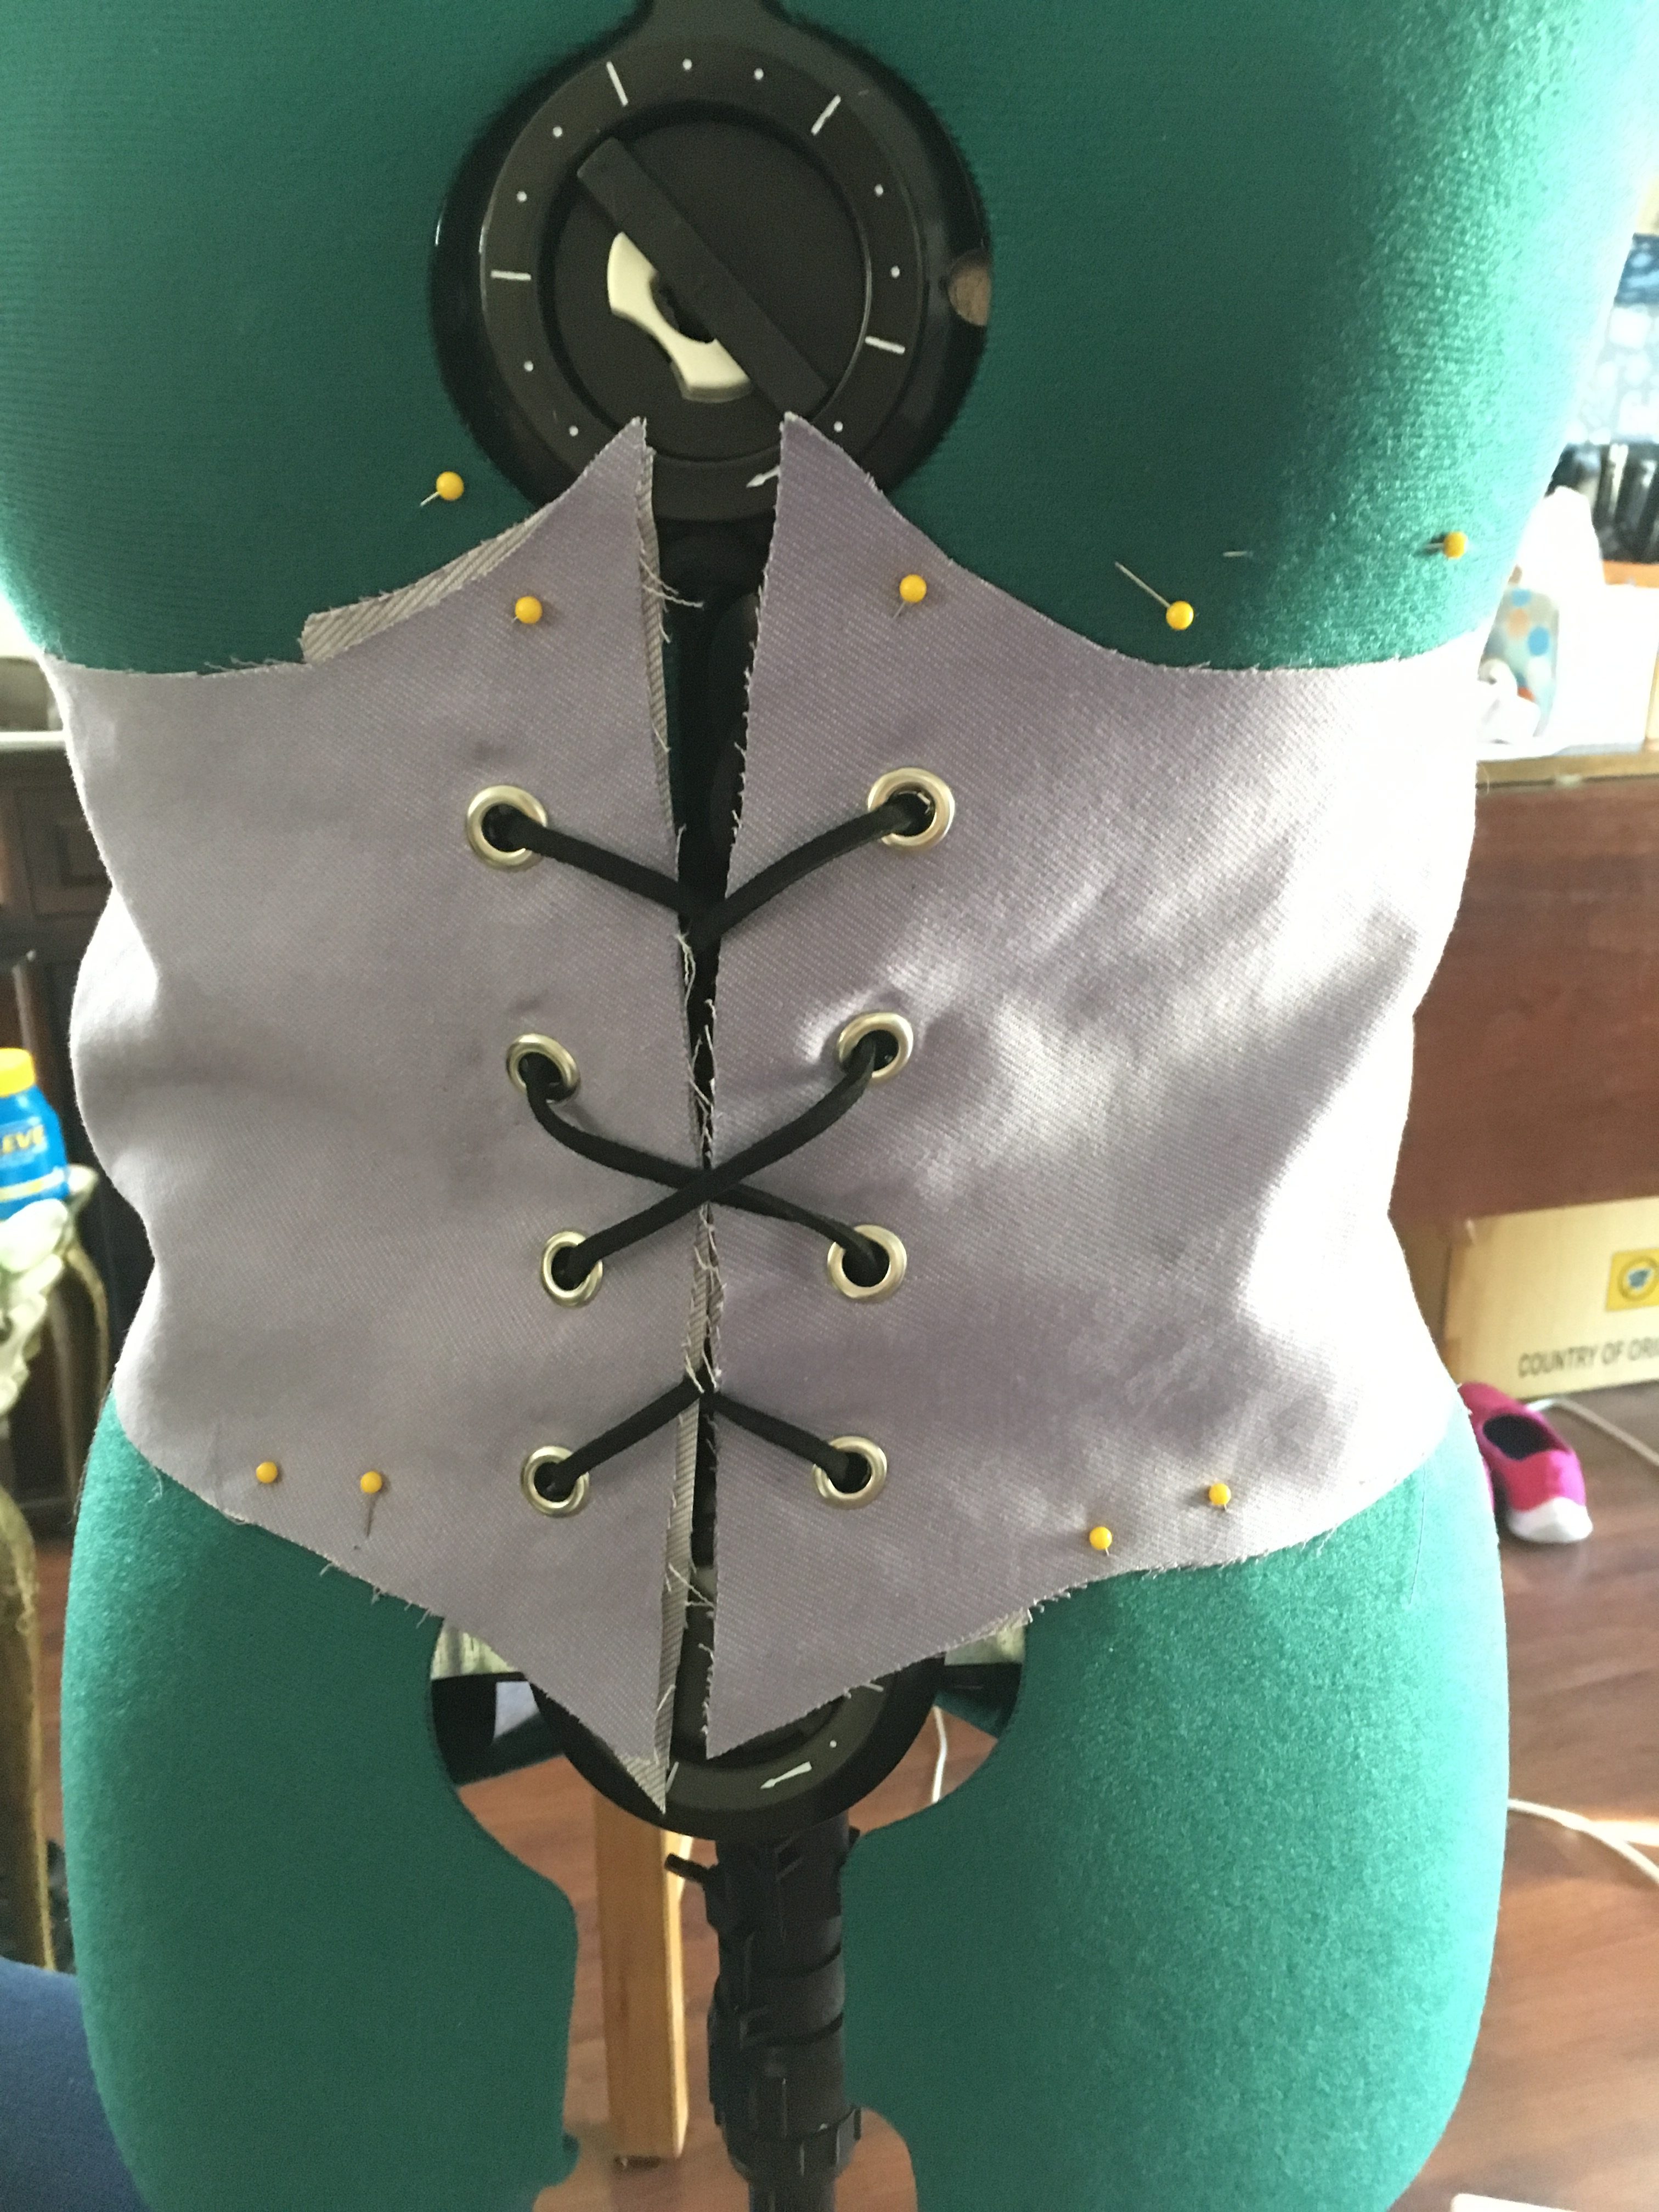
Using the black leather cord, weave the cord through the corset after the corset is on your body. Don’t make my mistake and lace it and then try to pull it over your head, as it is not the smartest thing in the world to do and will result in being stuck.
Finishing the No Sew Corset
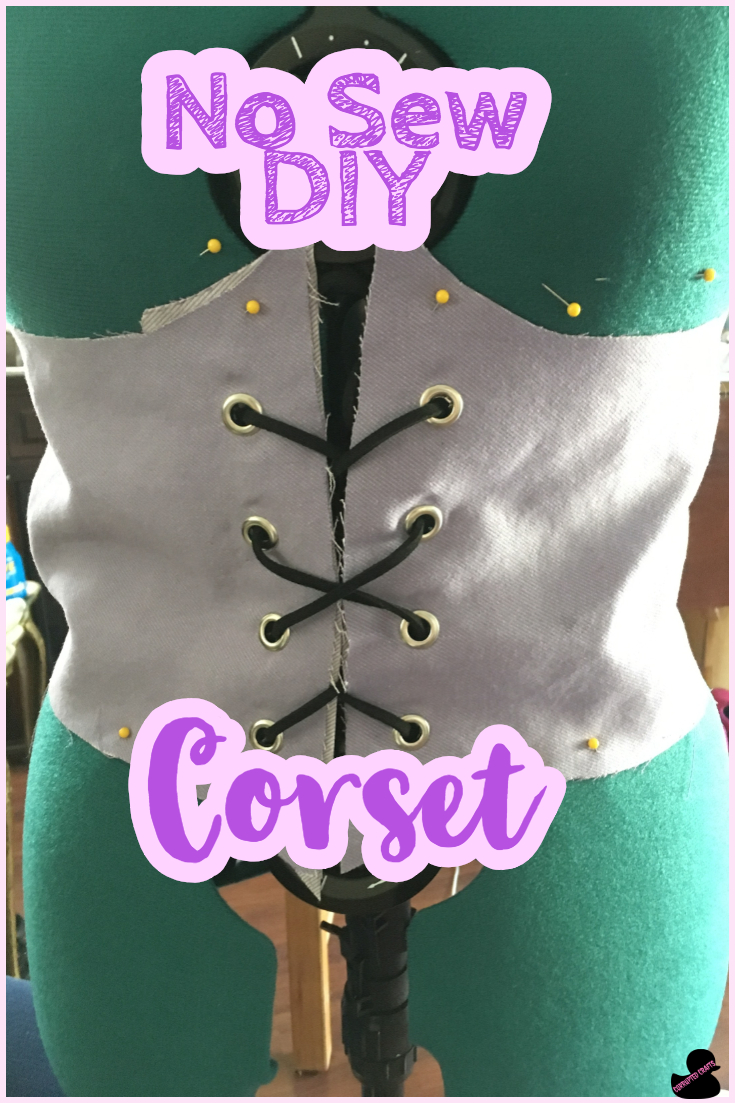
Once you are laced in, you are good to go. I hope this tutorial proved helpful and improved your costume. Happy Crafting!

