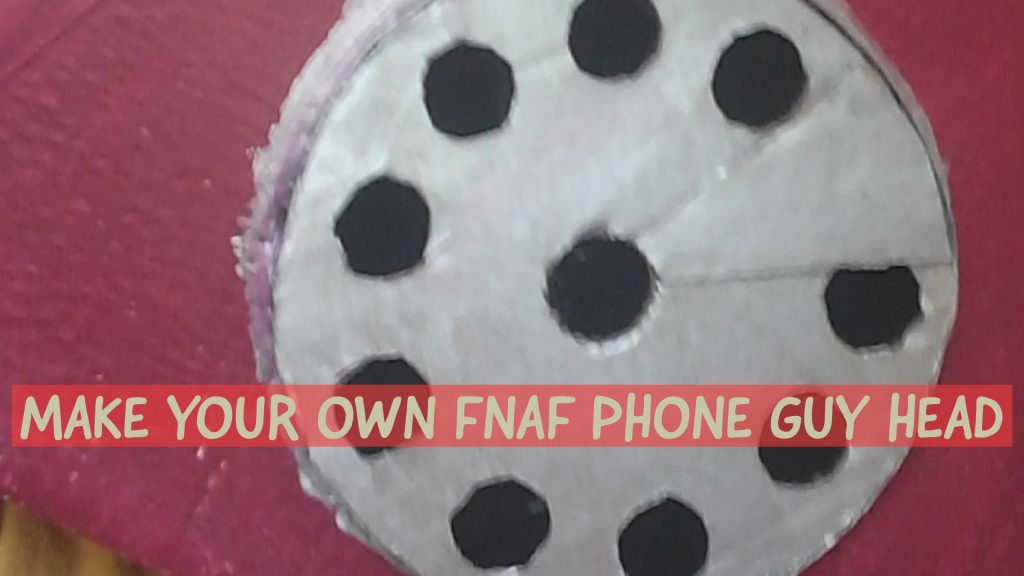
Welcome back to my Five Nights at Freddy’s phone guy mask tutorial. If you did not read part one, please do not continue any further as this post will not be of much use to you. You can check out part one on my blog page.
Making the phone of your phone guy mask
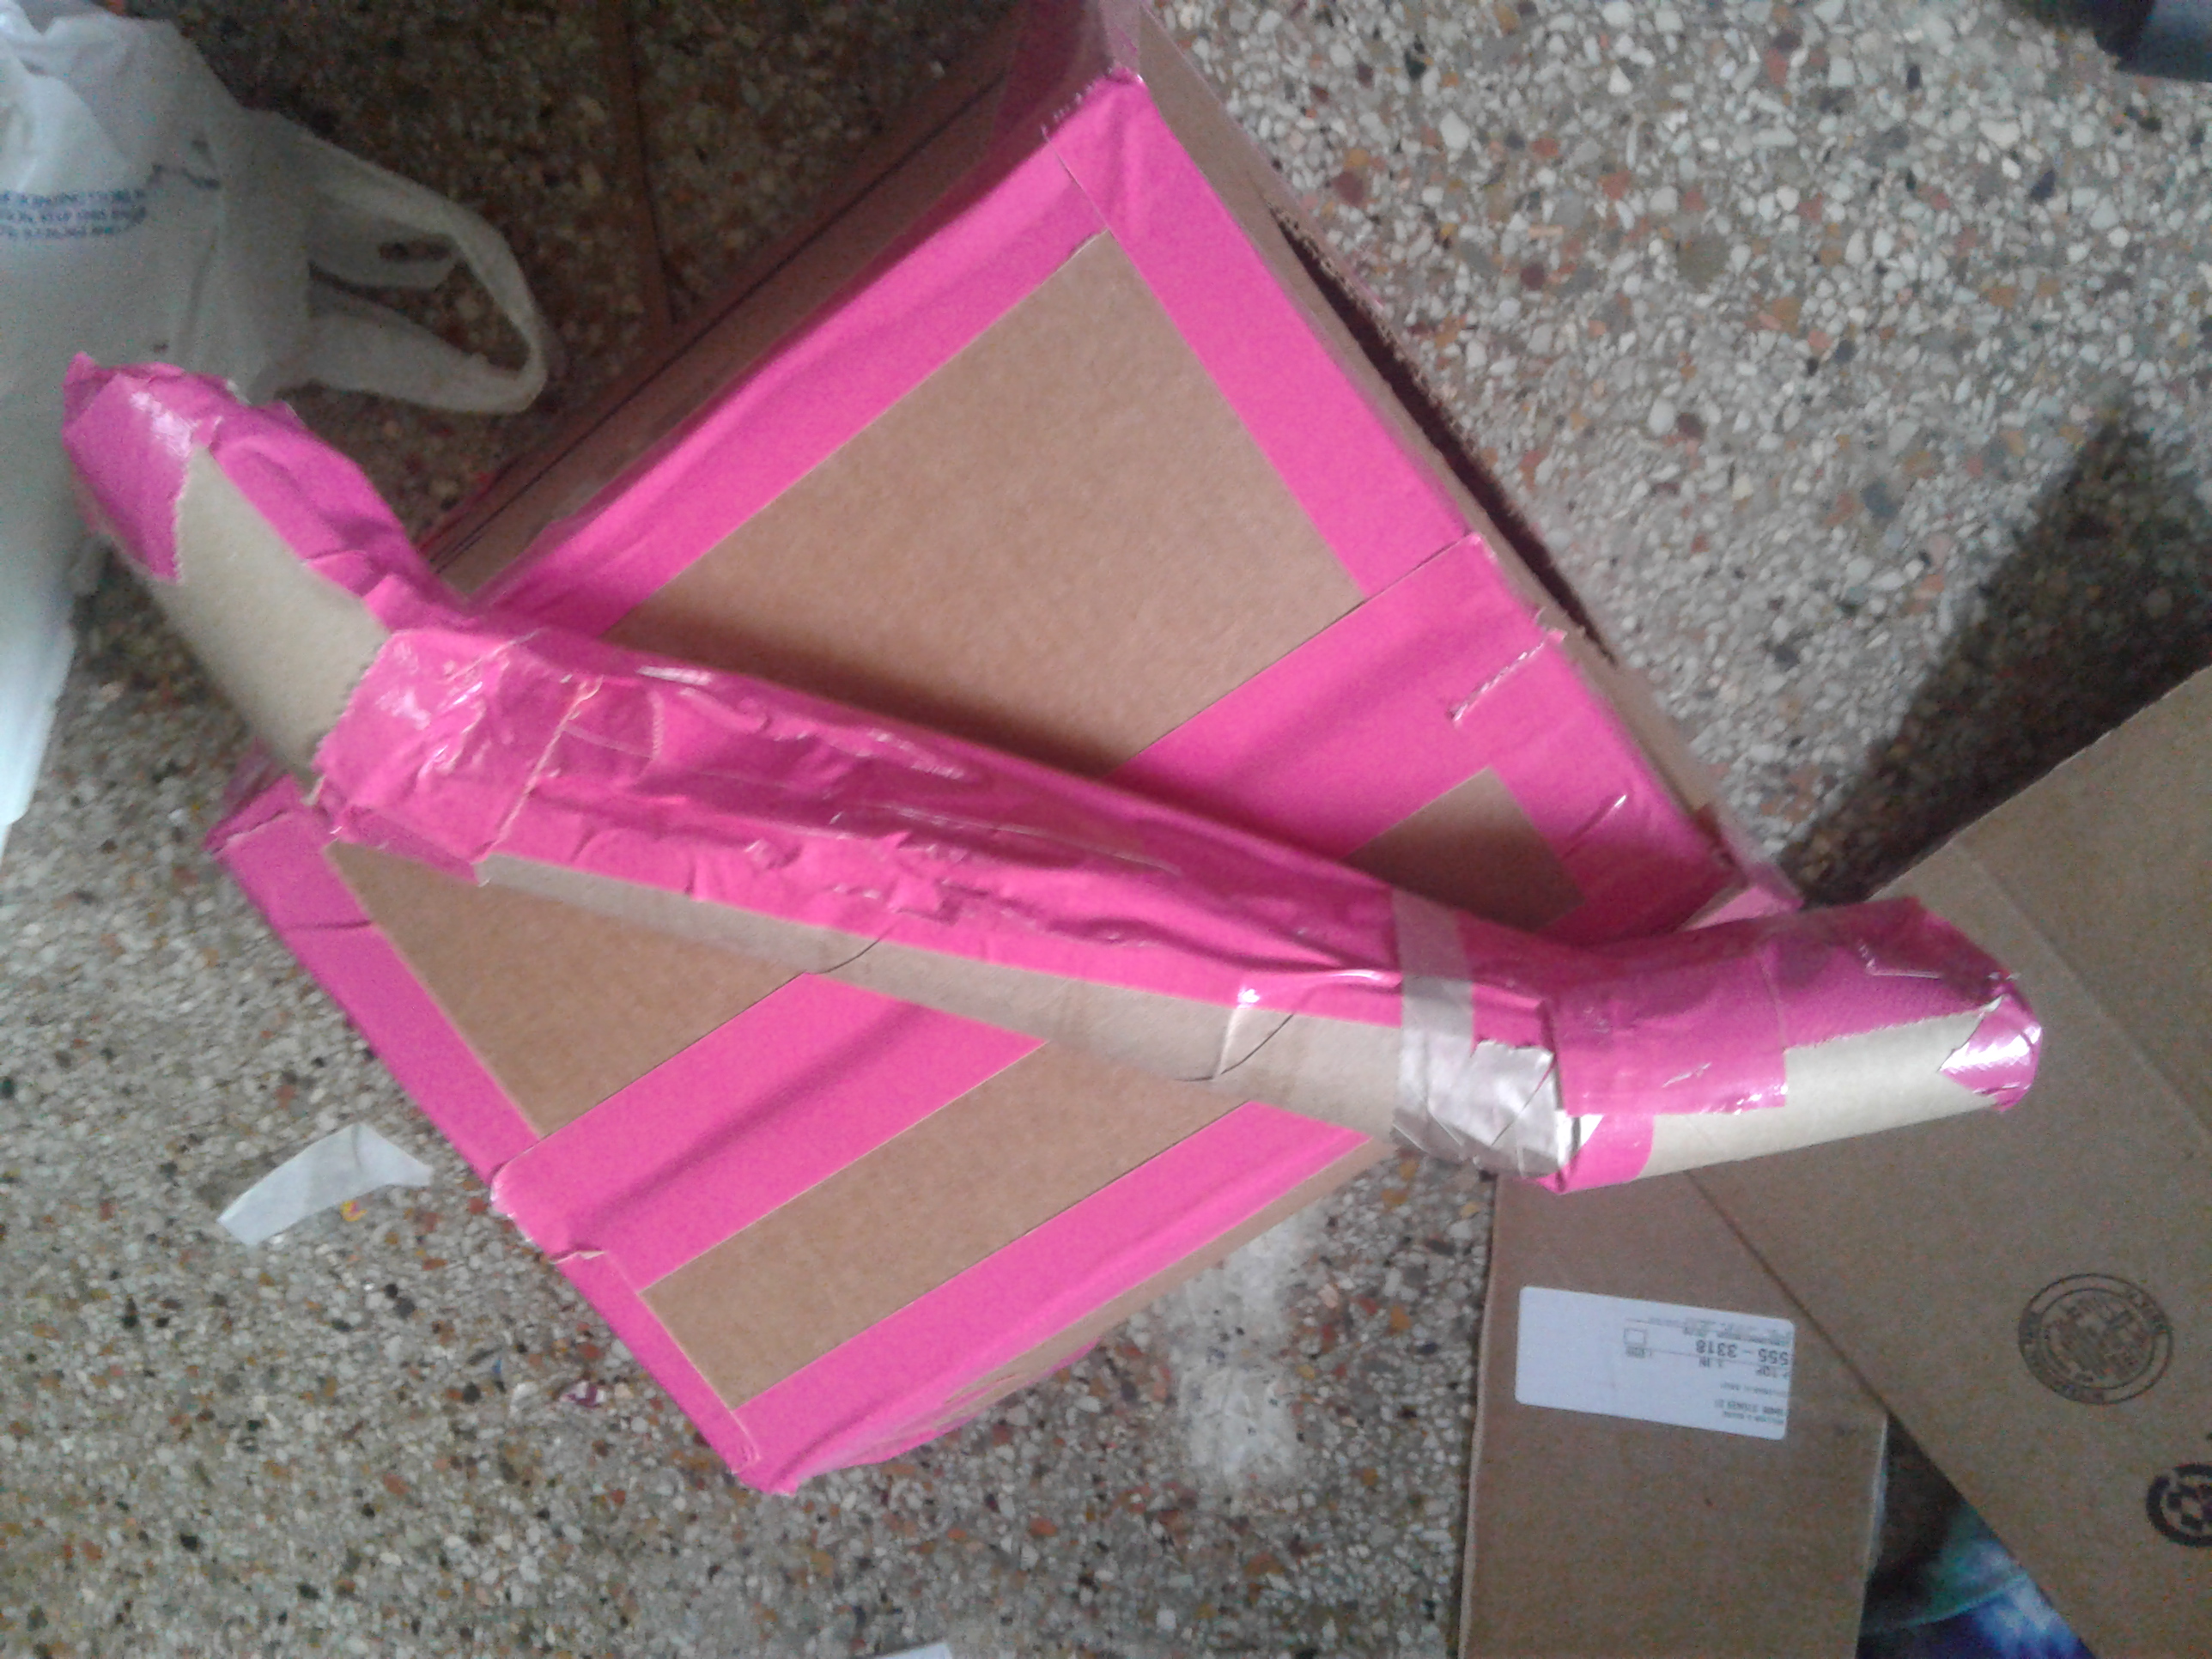
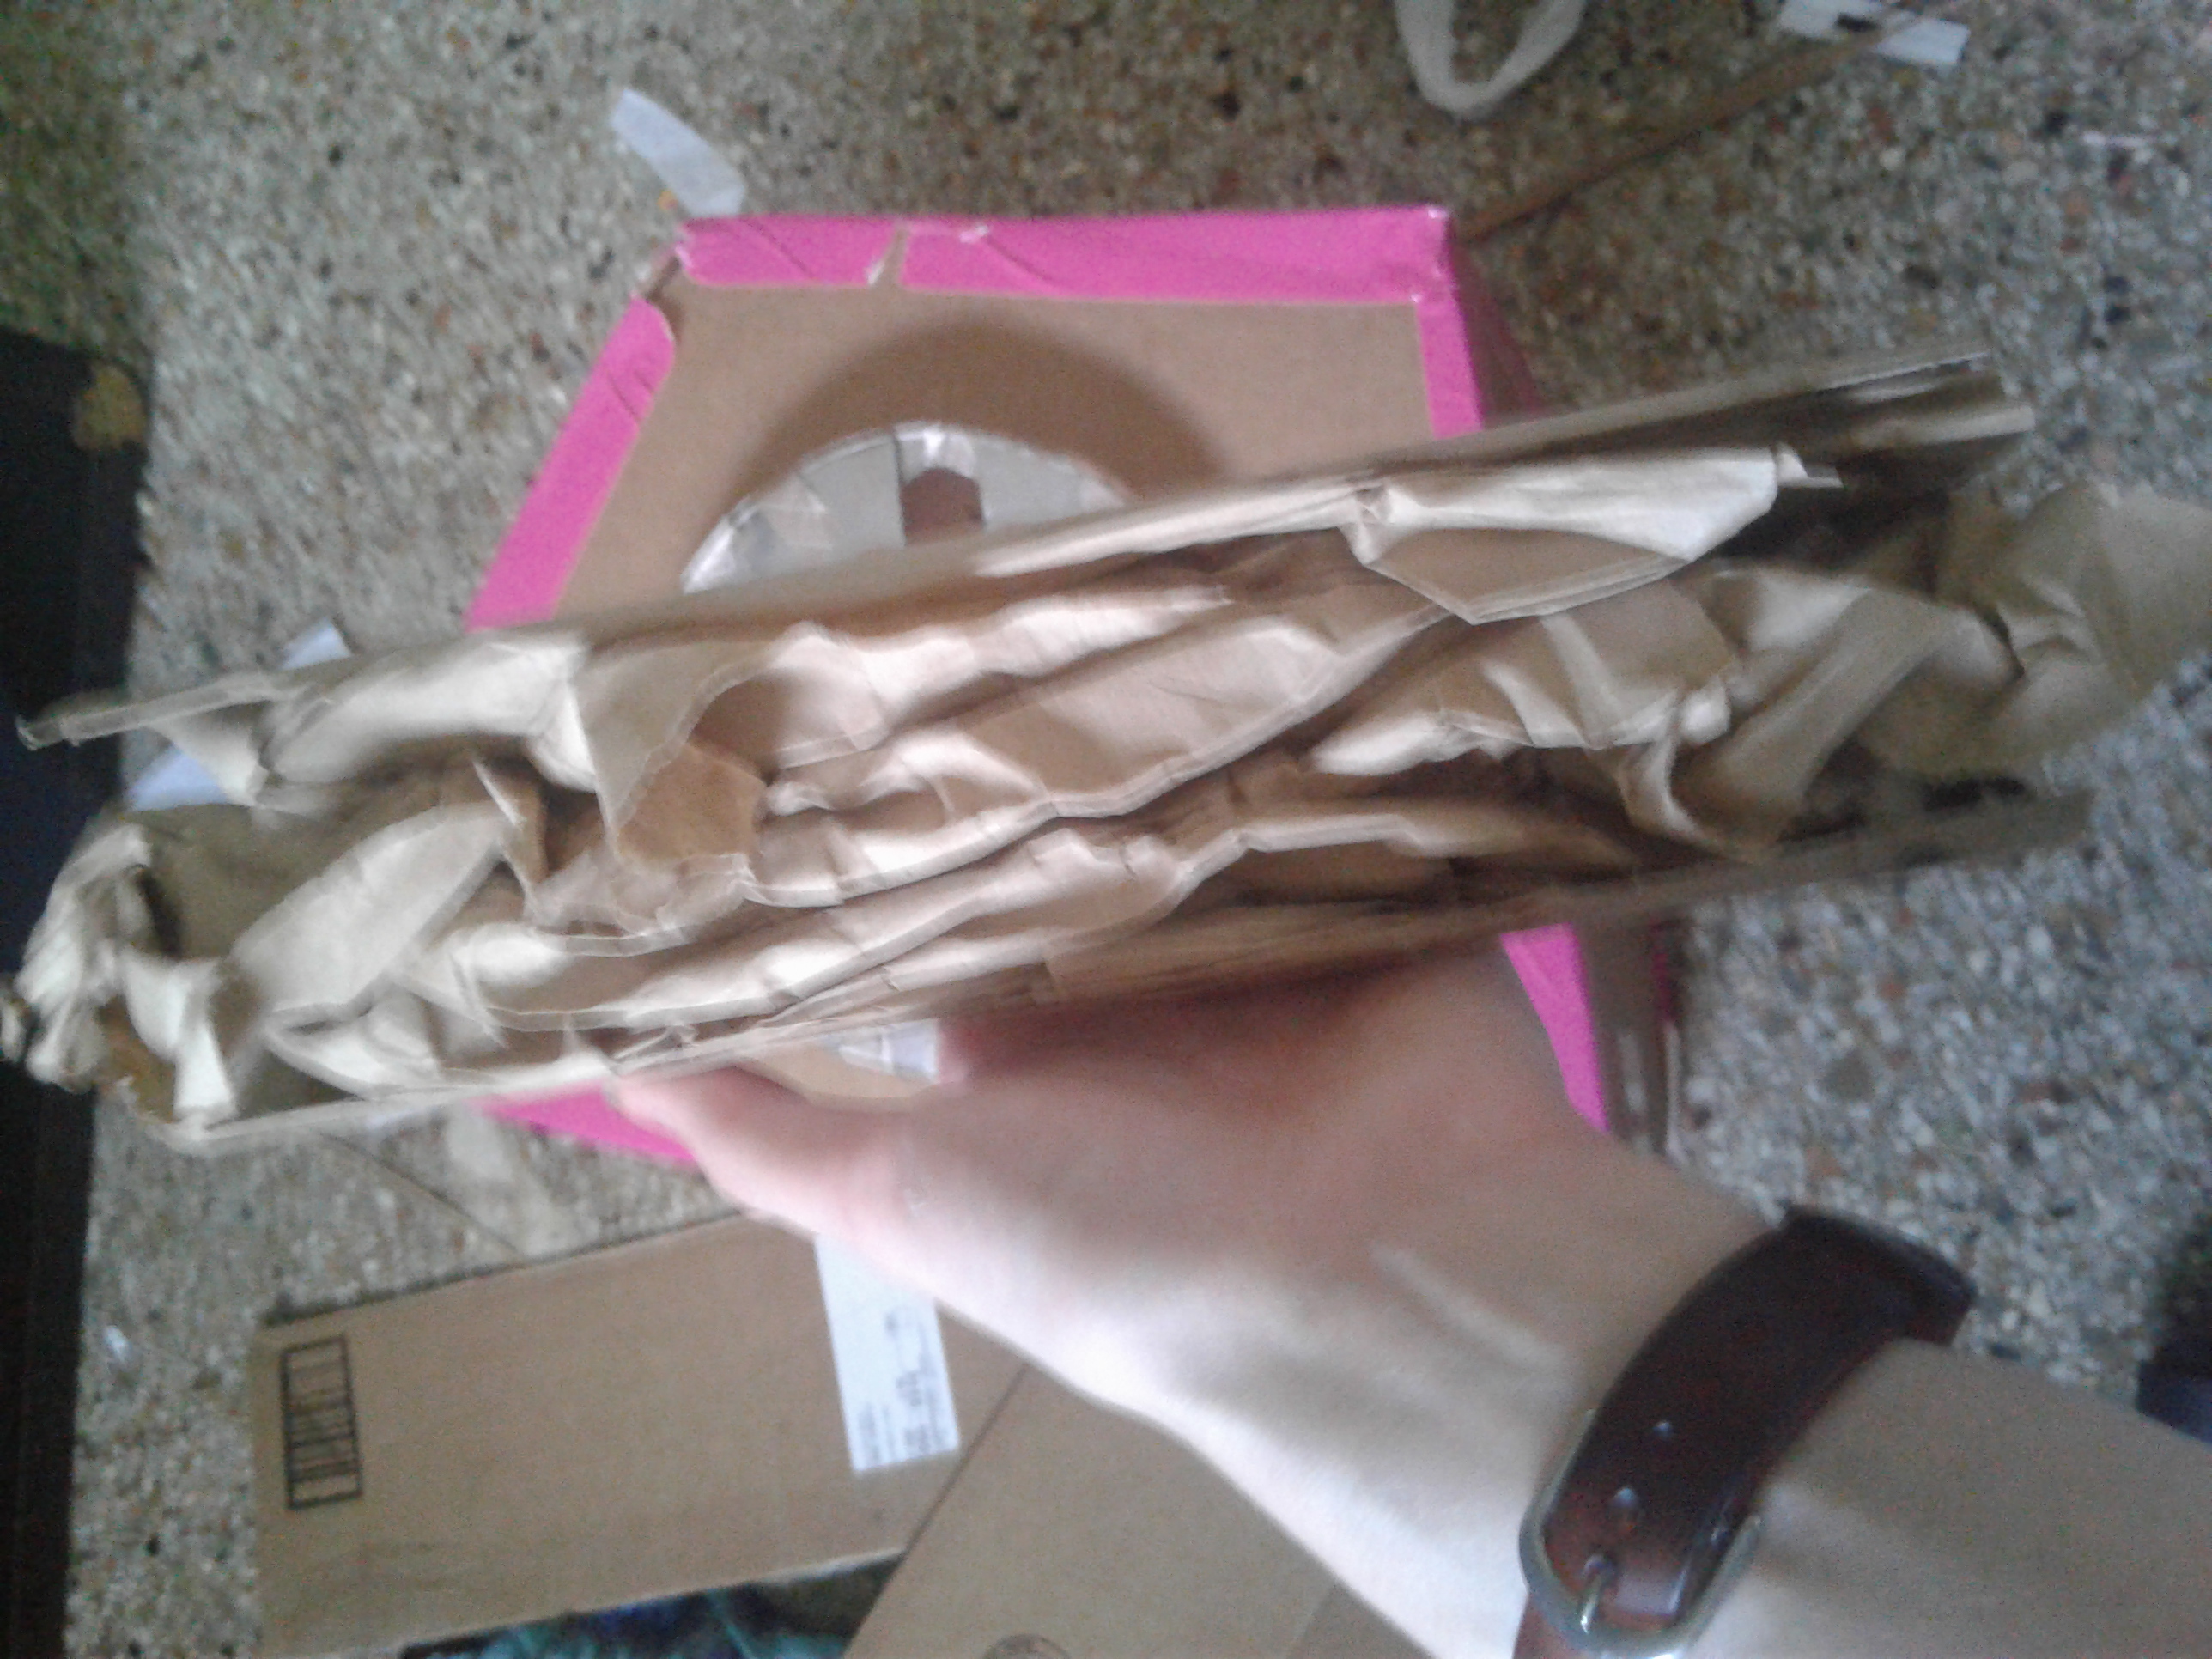
For this you will need some cardboard tubes, I used two toilet paper tubes and a paper towel tube, however you can buy tubes on amazon here if you prefer, then you will have the box you need as well! Cut your paper towel tube open and stuff it with the brown paper that you can purchase here. After your tube is stuffed to desired thickness, cut both toilet paper tubes and stick them on either end of the paper towel tube at an angle so it looks like the ends of the phone. Tape them down with some duct tape and stuff them as well. Then bind it closed with your duct tape and put it aside.
Assembling the phone head
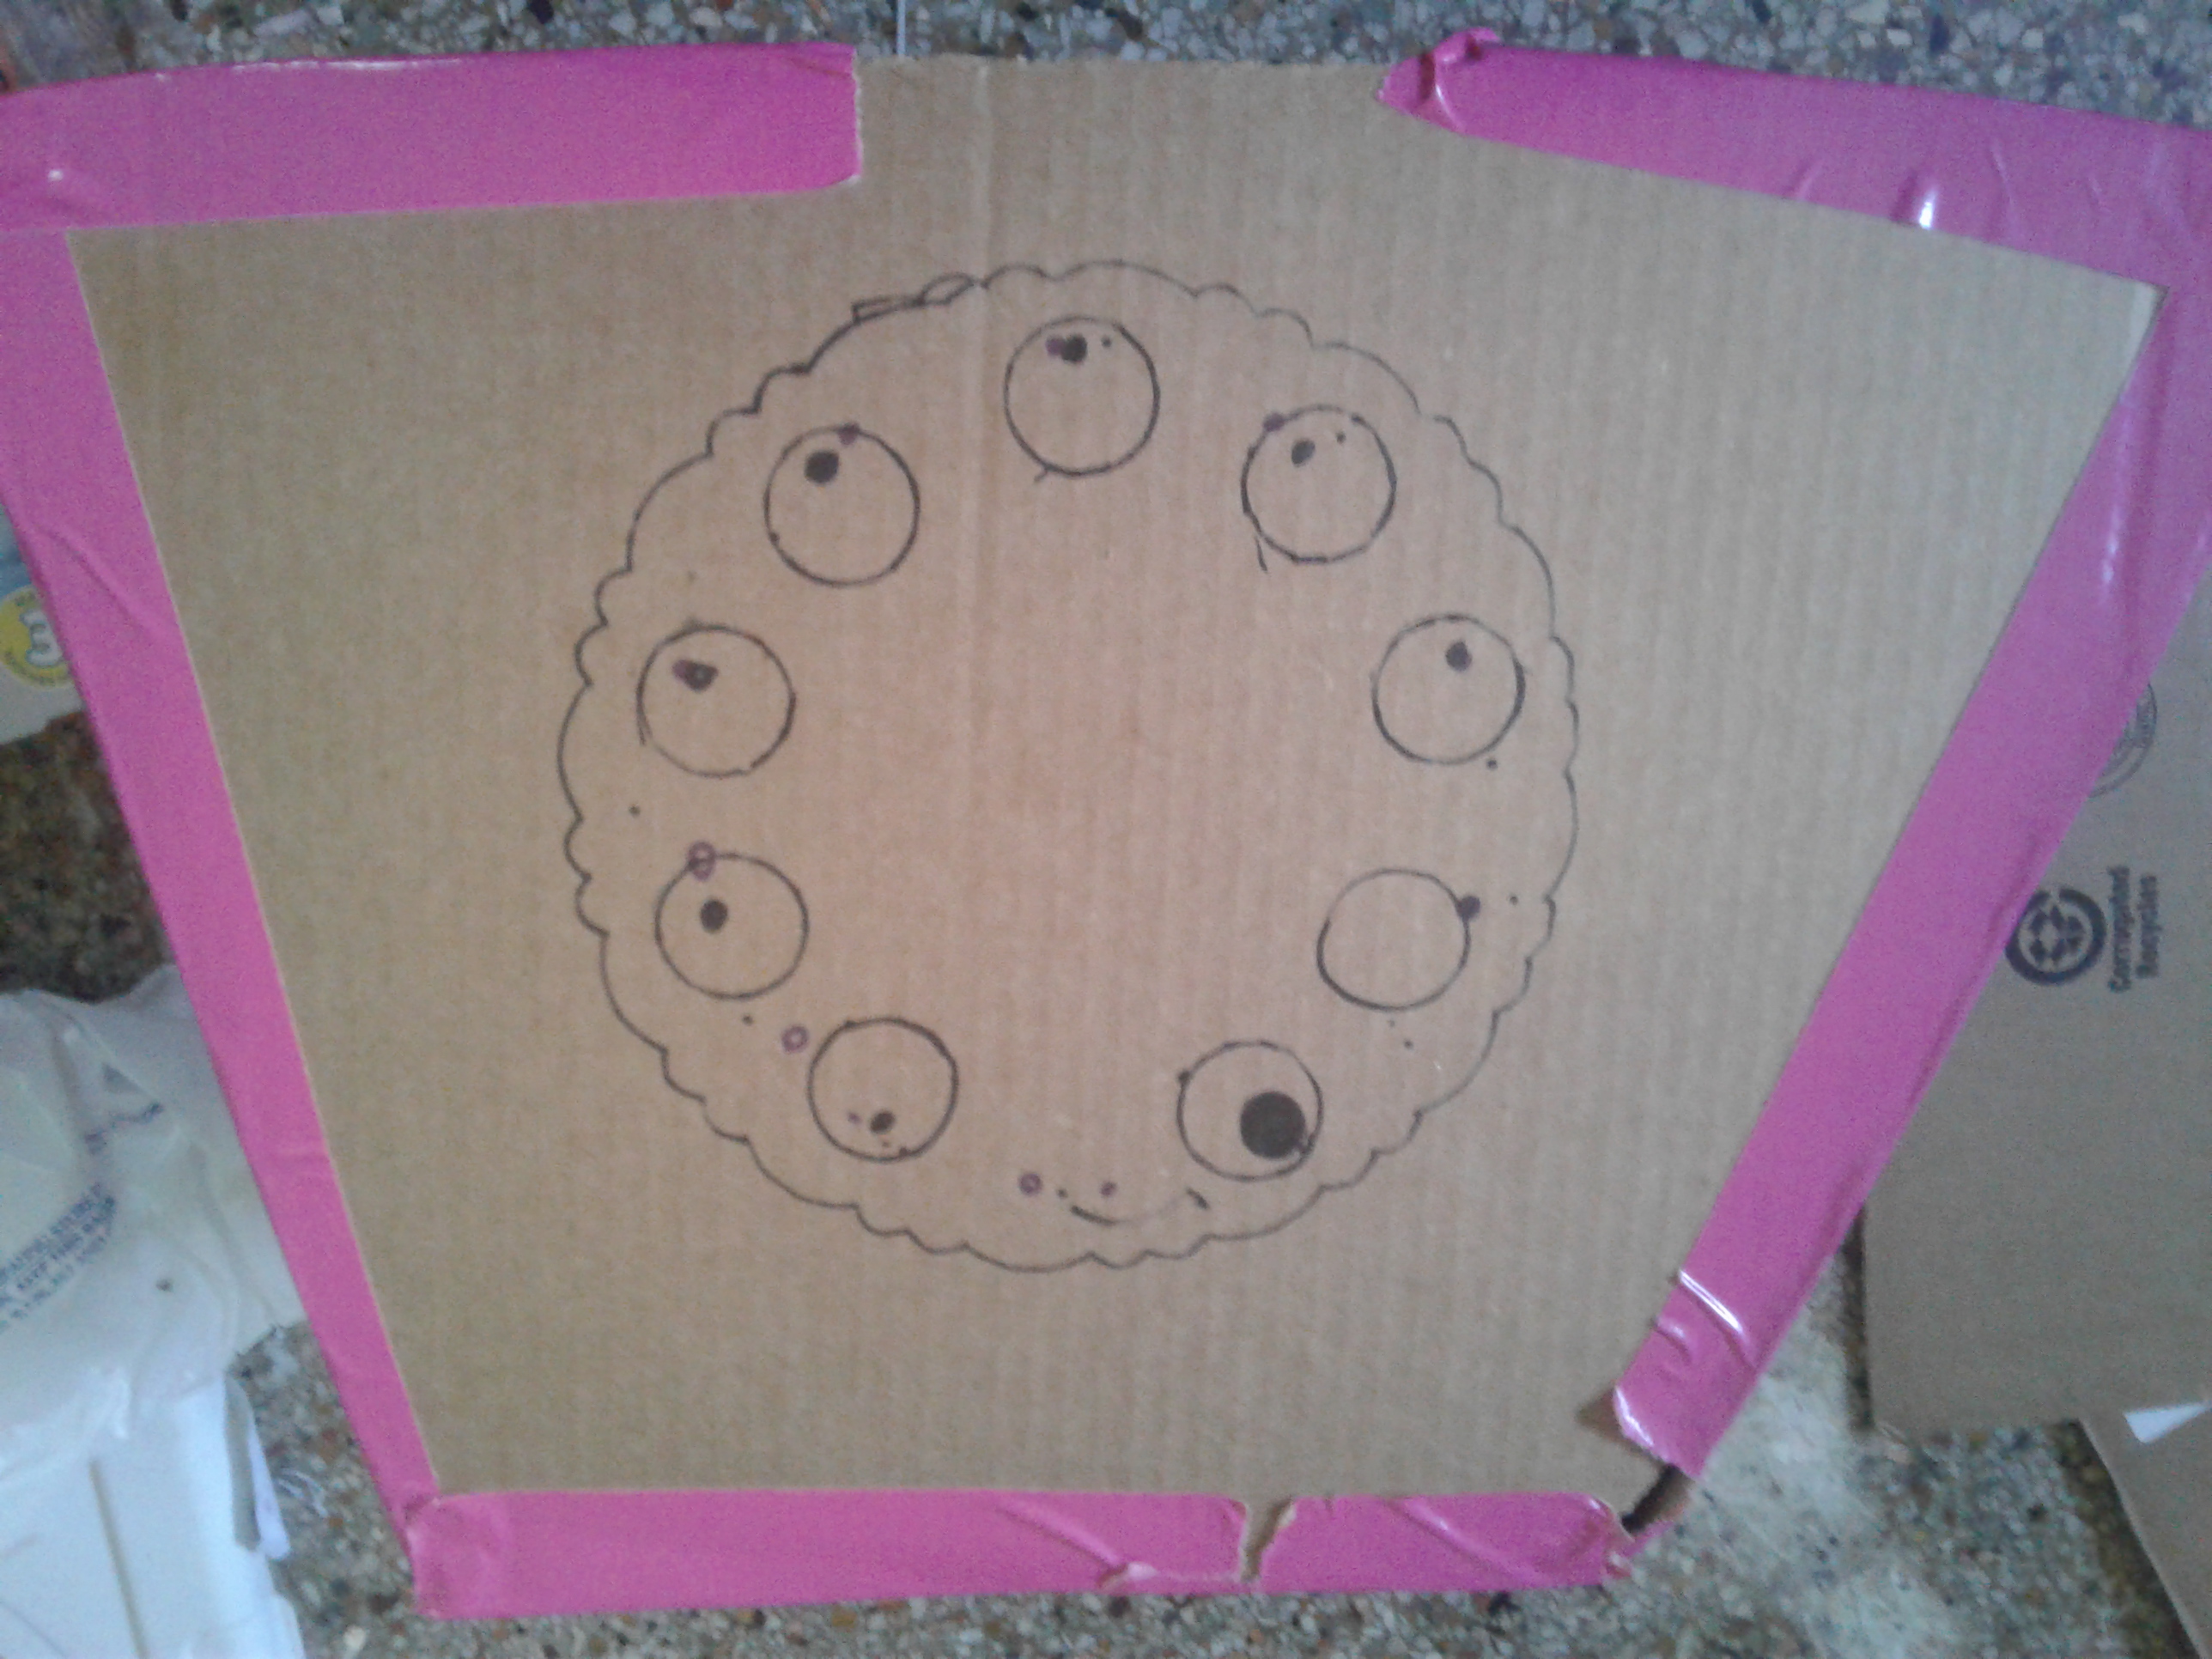
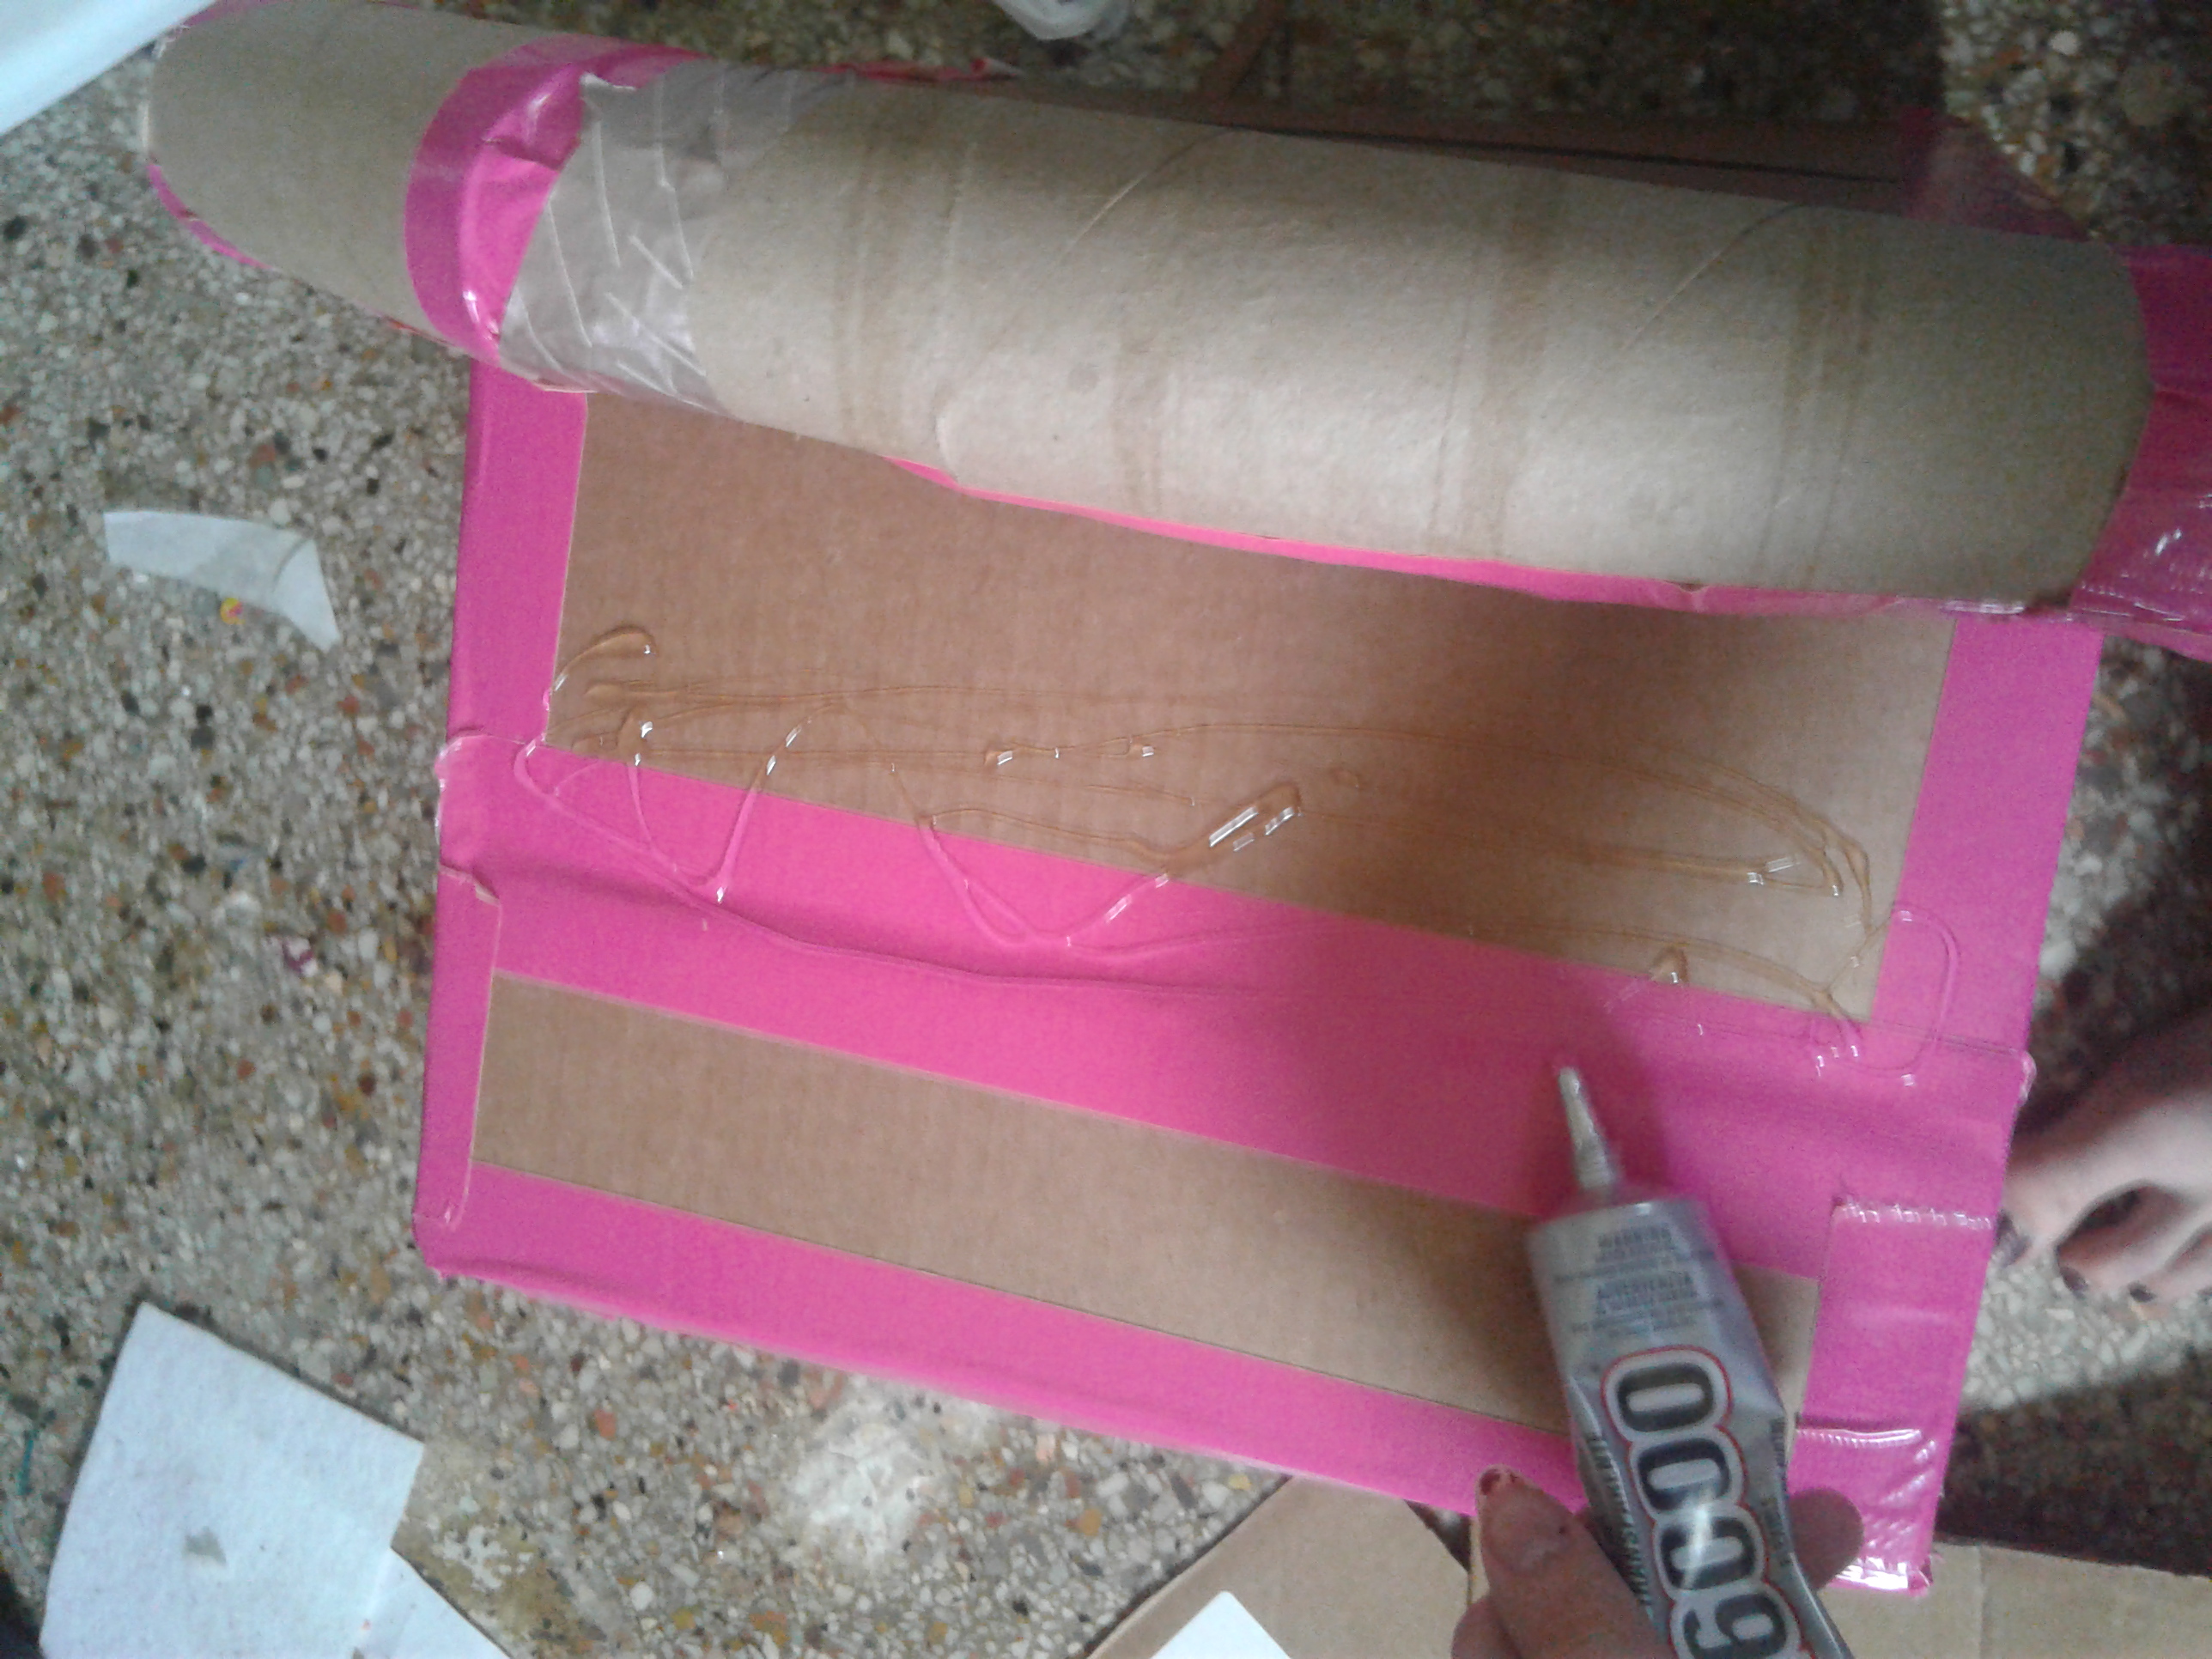
Now that you have all your pieces ready to go, it is time to assemble the phone. Take your side flap pieces and put the long part along one side of the phone head back piece, leaving the top open and a gap at the bottom. Tape it securely to the back piece edge to edge with duct tape, bending the cardboard at the bend where the flap is at the bottom of the phone head, making sure to smooth out any air bubbles that appear. Do the same to the other side piece, securing it at the side and bottom with tape. Then put your front piece on and secure it with tape as well. Cut out a piece to put on the top gap and tape down as well, so you have a place to glue down your phone! Speaking of which, secure your phone down to the top of the box with a bit of E6000.
Cutting out a place for your head
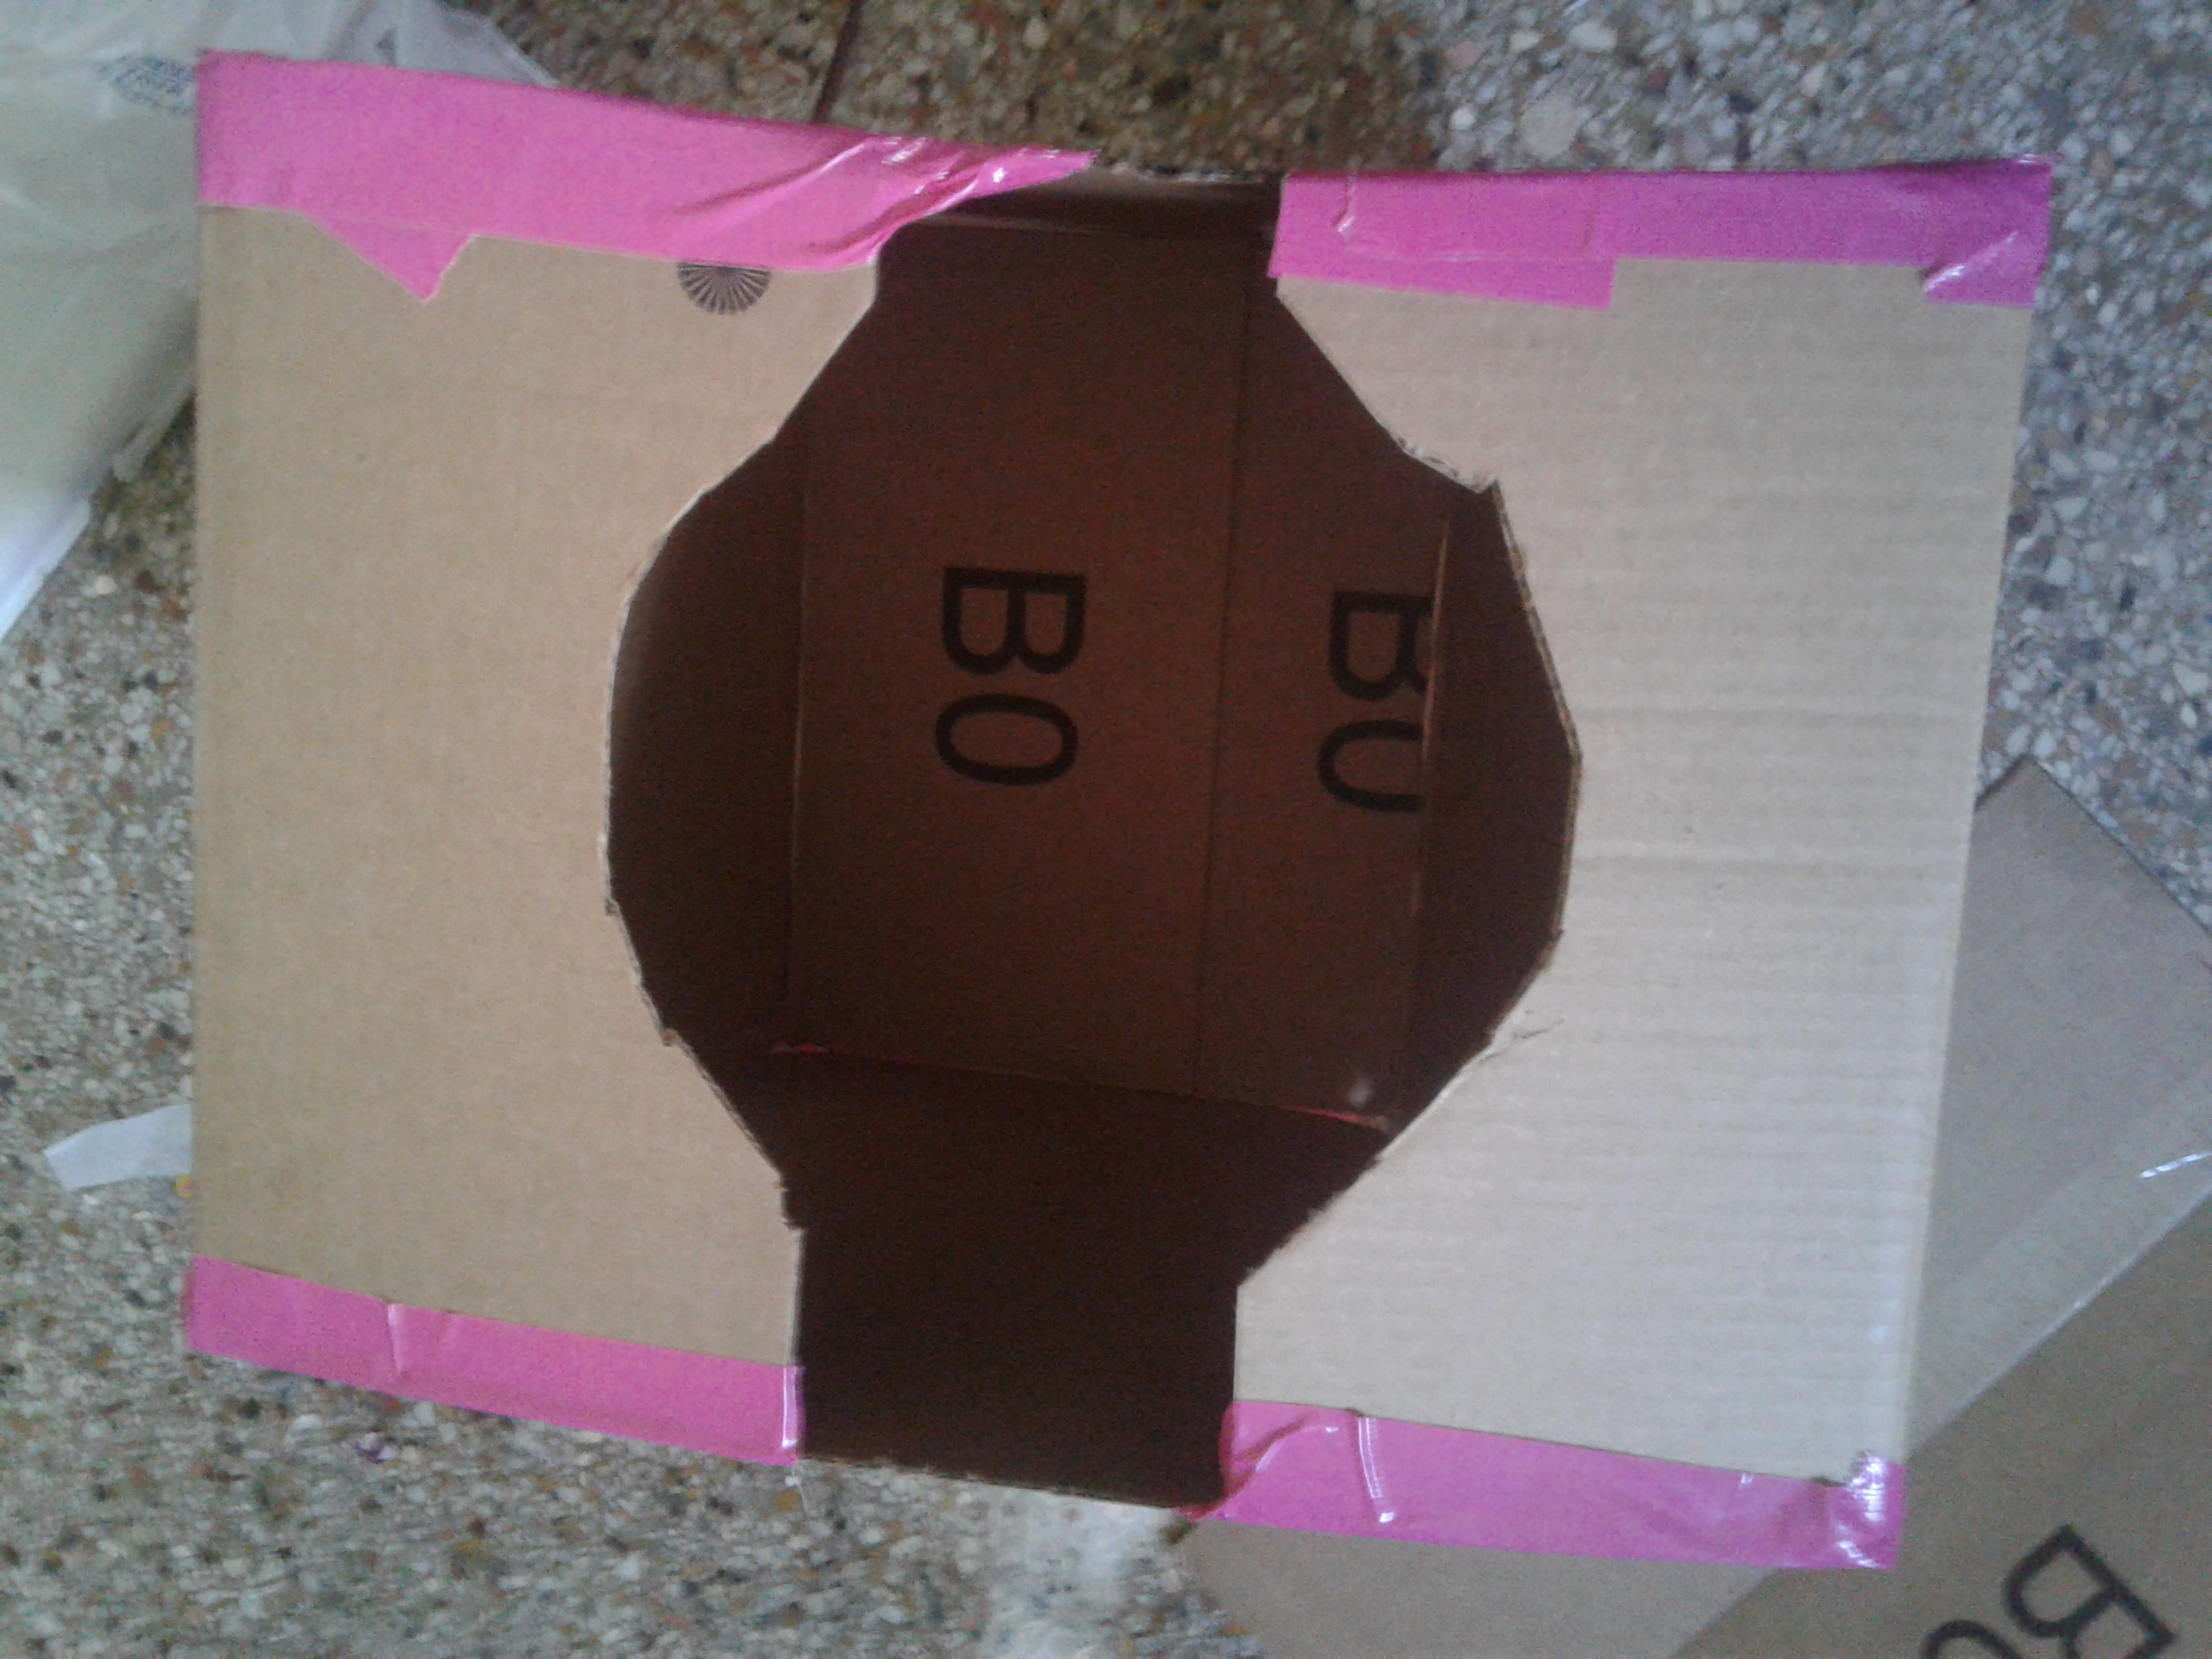
So after you have securely taped everything, you need a way to actually wear what you made. Take your boxcutter and cut a hole in the bottom to put your head through. Make sure it is wide enough for you to easily slip on and off without getting hurt or stuck, but with enough on the sides for your mask to rest on your shoulders. This is why your glue needed to be dry on the dial before you put it together, the superglue we are using has potentially toxic fumes when wet. You can add some glue to the underside of the tape so it seals it in.
Painting your phone head
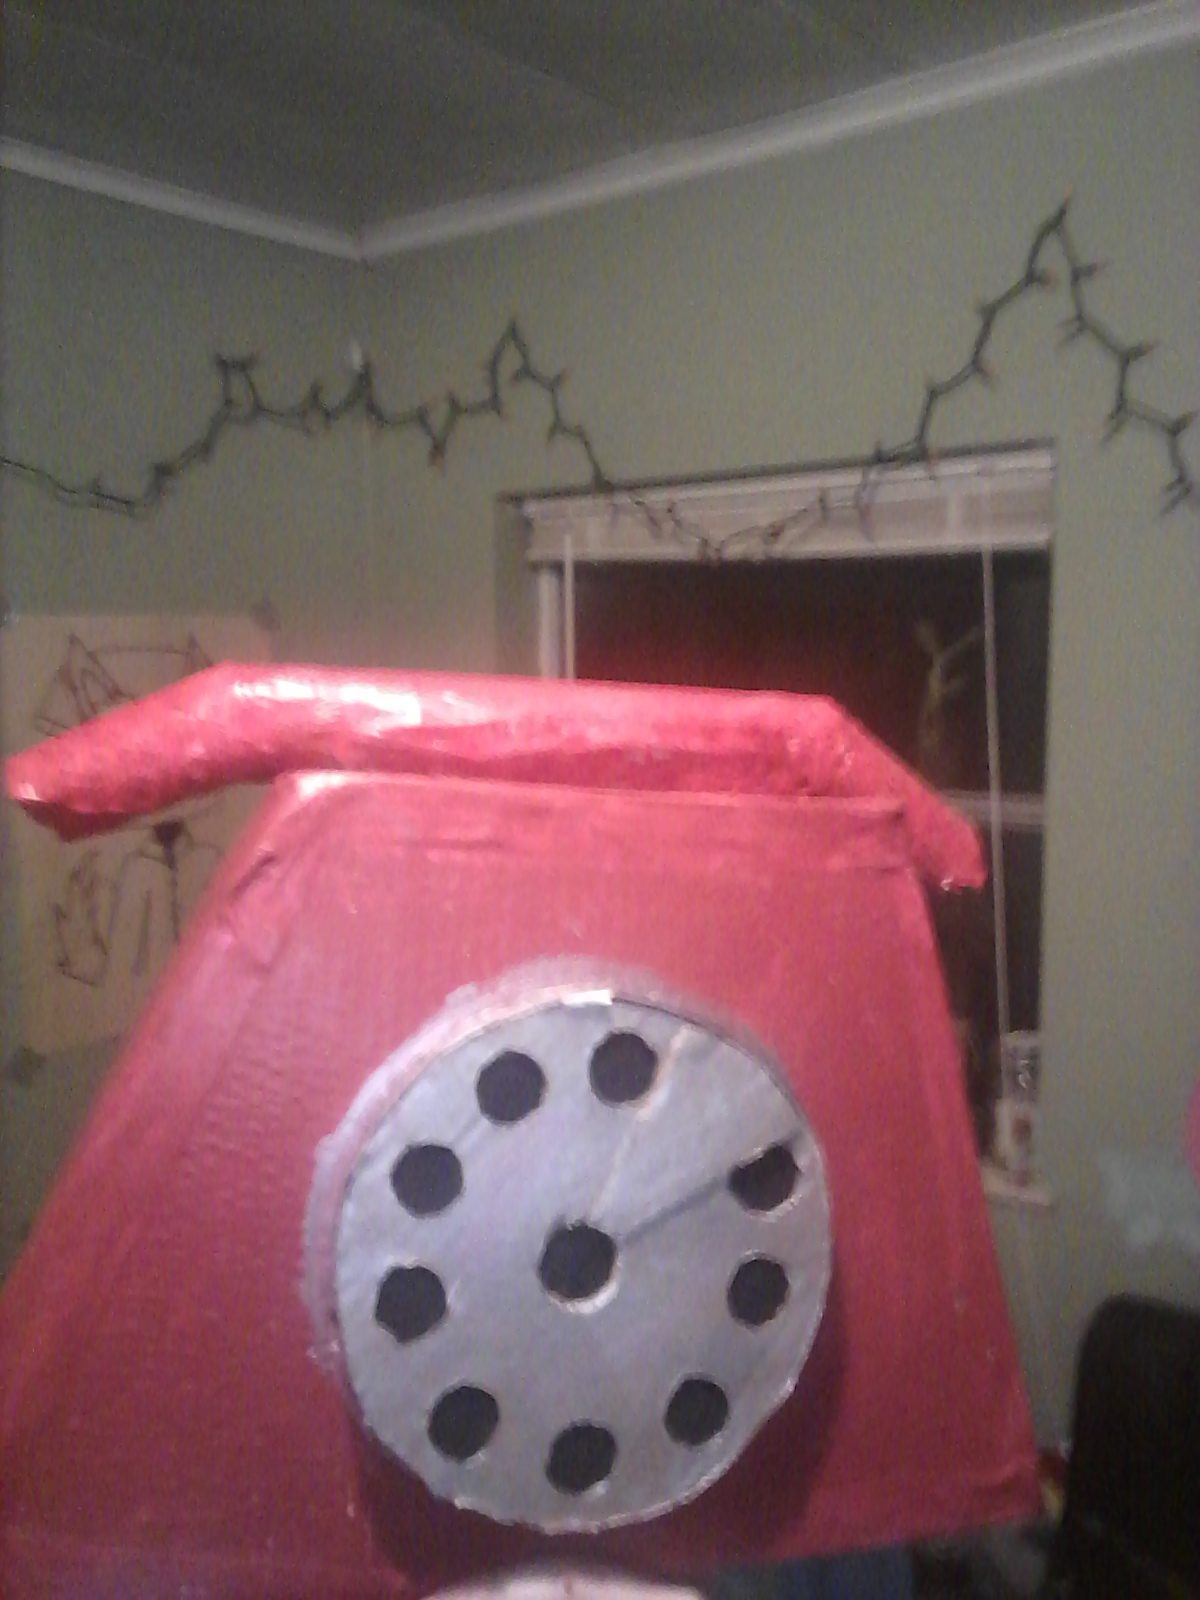
Your dial looks pretty great, but what about the rest of your mask? Now is the time we make it look less like cardboard and more like phone guy. Use this white paint as a base coat and completely coat everything, including under the phone and under the box that rests on your shoulders. This makes it easier to paint over your duct tape and gives it a better finish. This red paint you can purchase here was a good red that worked beautifully on this project, beware that you will need two bottles. Be careful not to paint your dial, and get under the phone as best as you can!
Extra touches to fix minor problems on your phone head
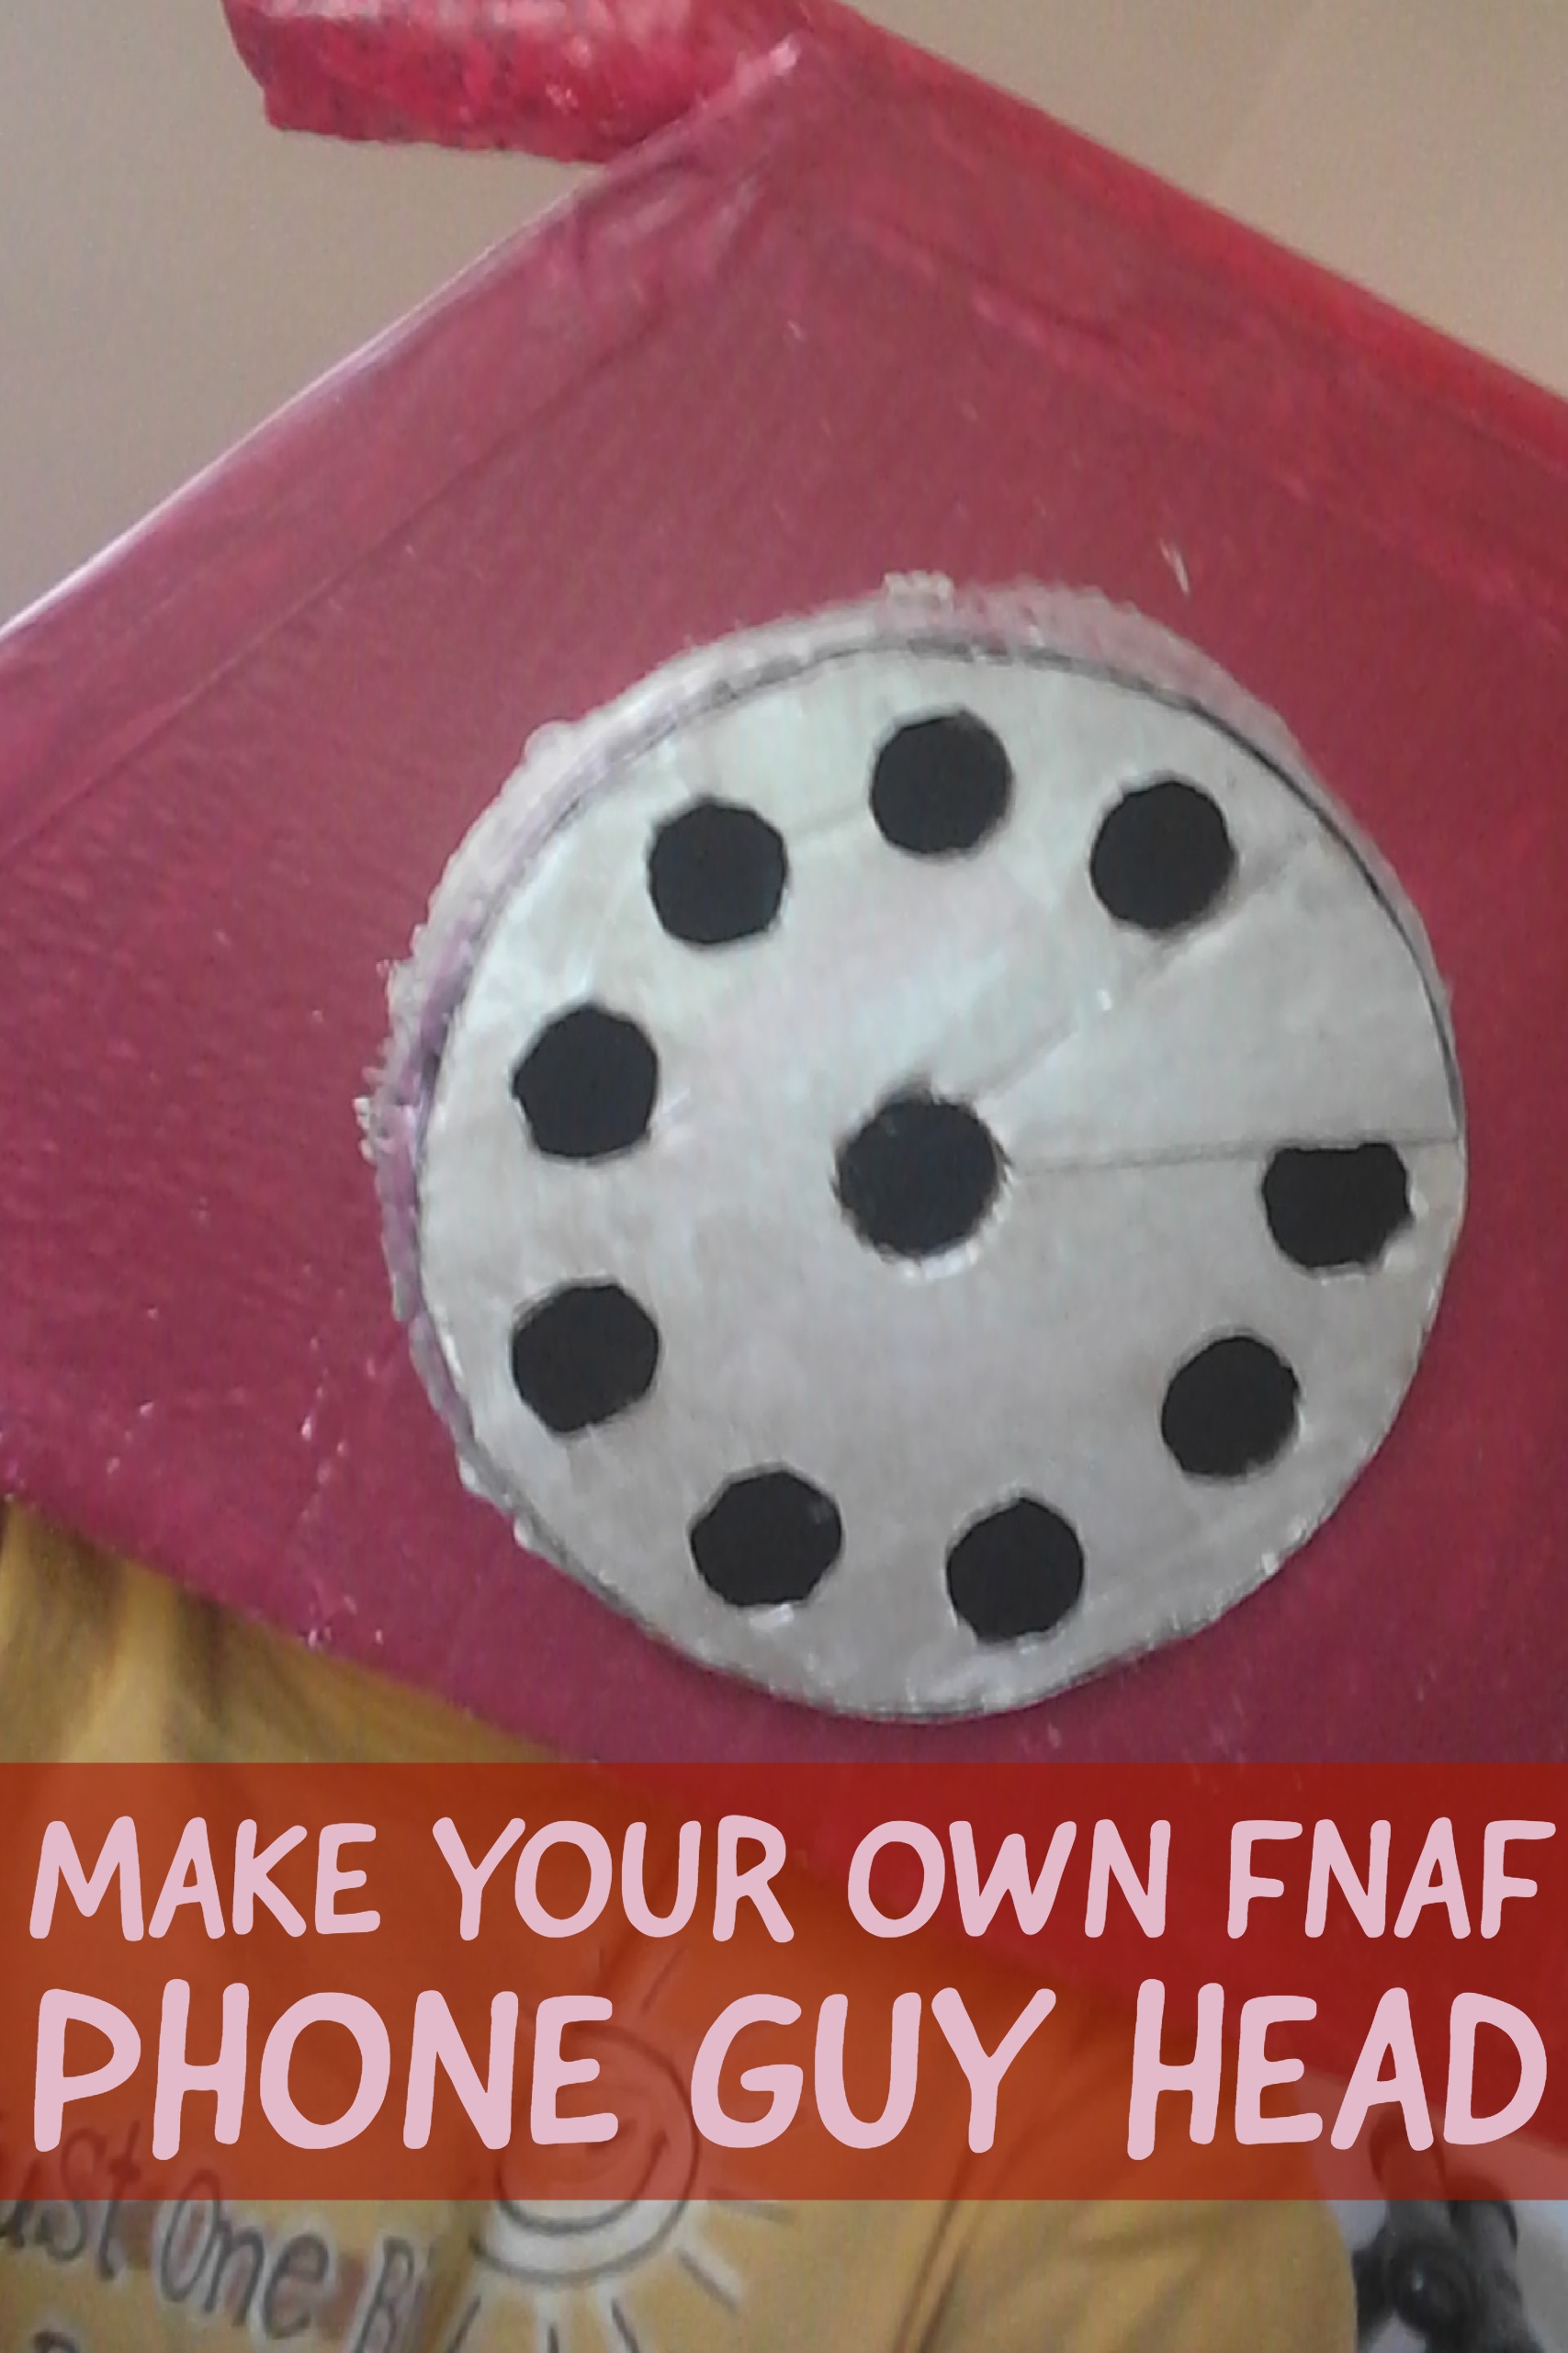
One flaw I noticed in my design was that the head tended to fall forward. To solve this problem, I simply taped some foam in the back of the head that made it stay upright. I recommend using these foam roll thingies to help you stabilize your phone head. That is it for this tutorial, if you tried it feel free to email me how yours turned out.

