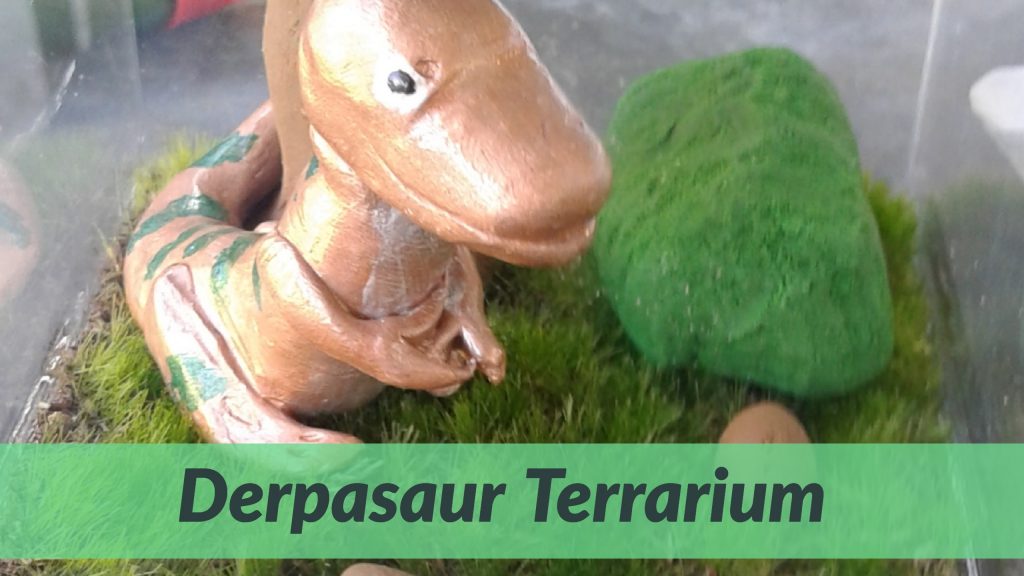
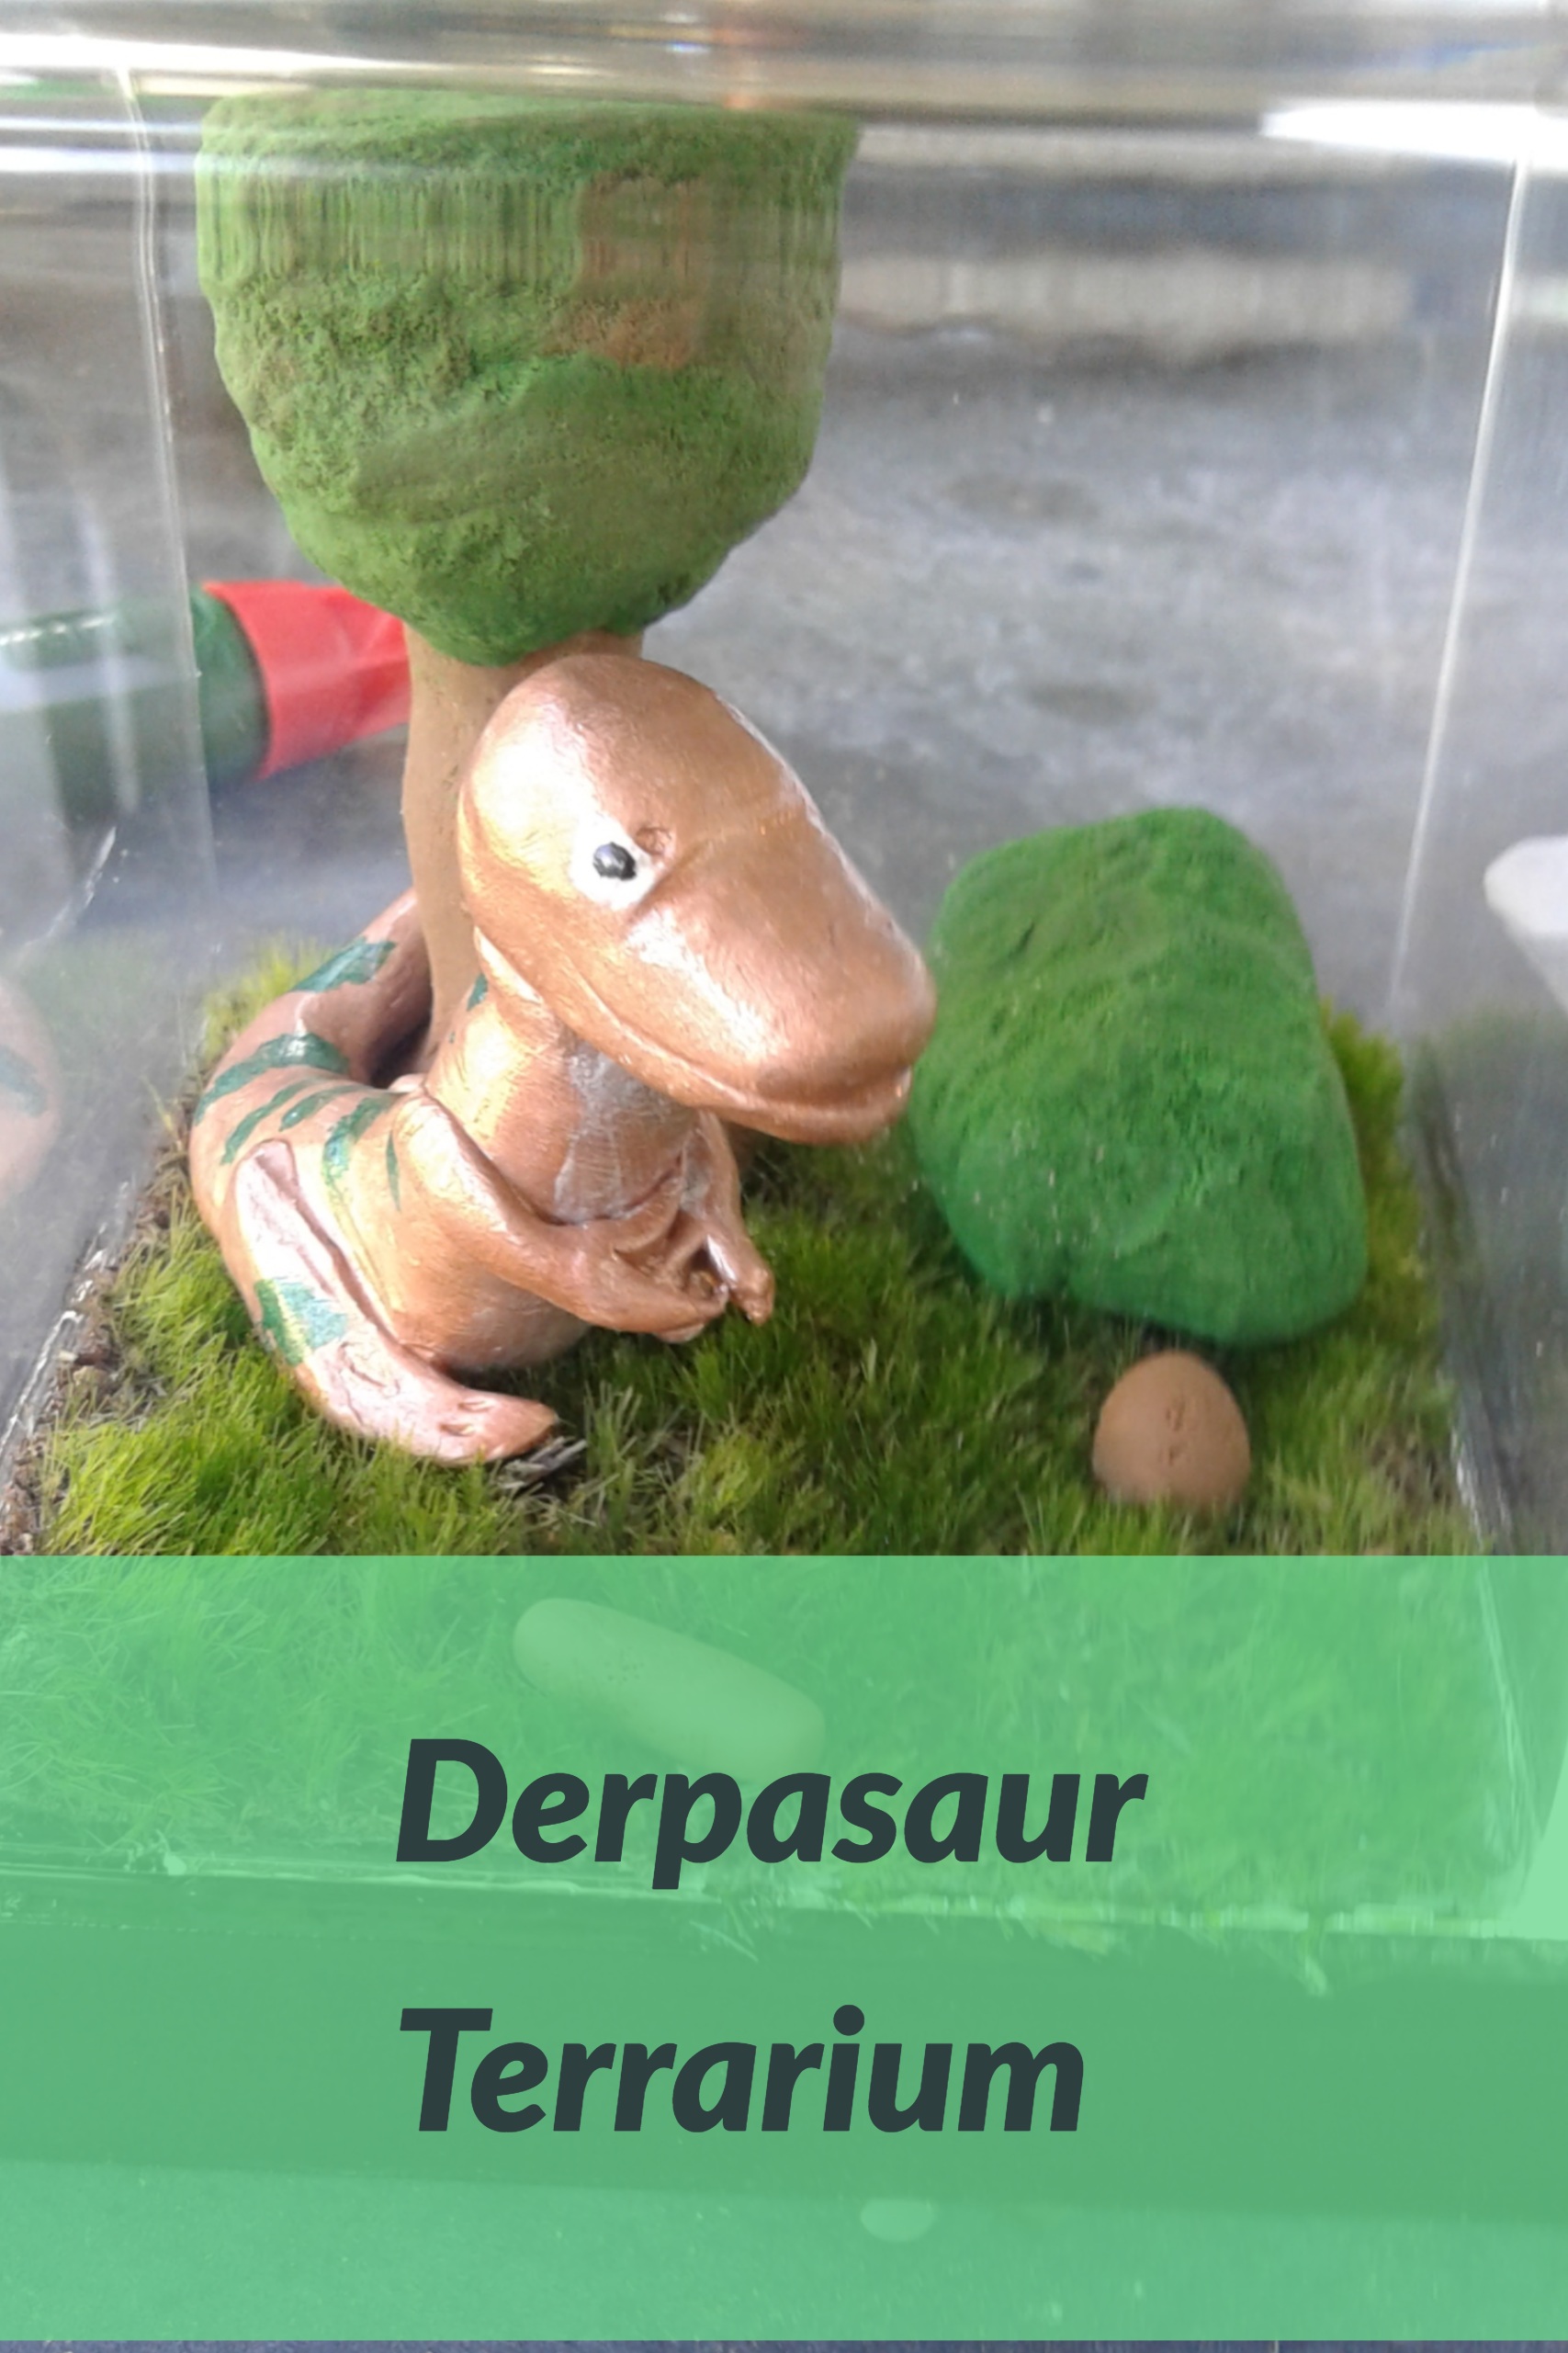
So, I have a little Derpasaur that I made, which is inspired from one of the dinosaurs in the ruins of Bongoland. I wanted to enter him in a contest just for fun, and as he was a bit delicate, I felt he needed to be protected in a case of some sort. However, this idea could protect any of your polymer clay projects that you would like to keep forever.
What you will need:
- A baseball or softball container
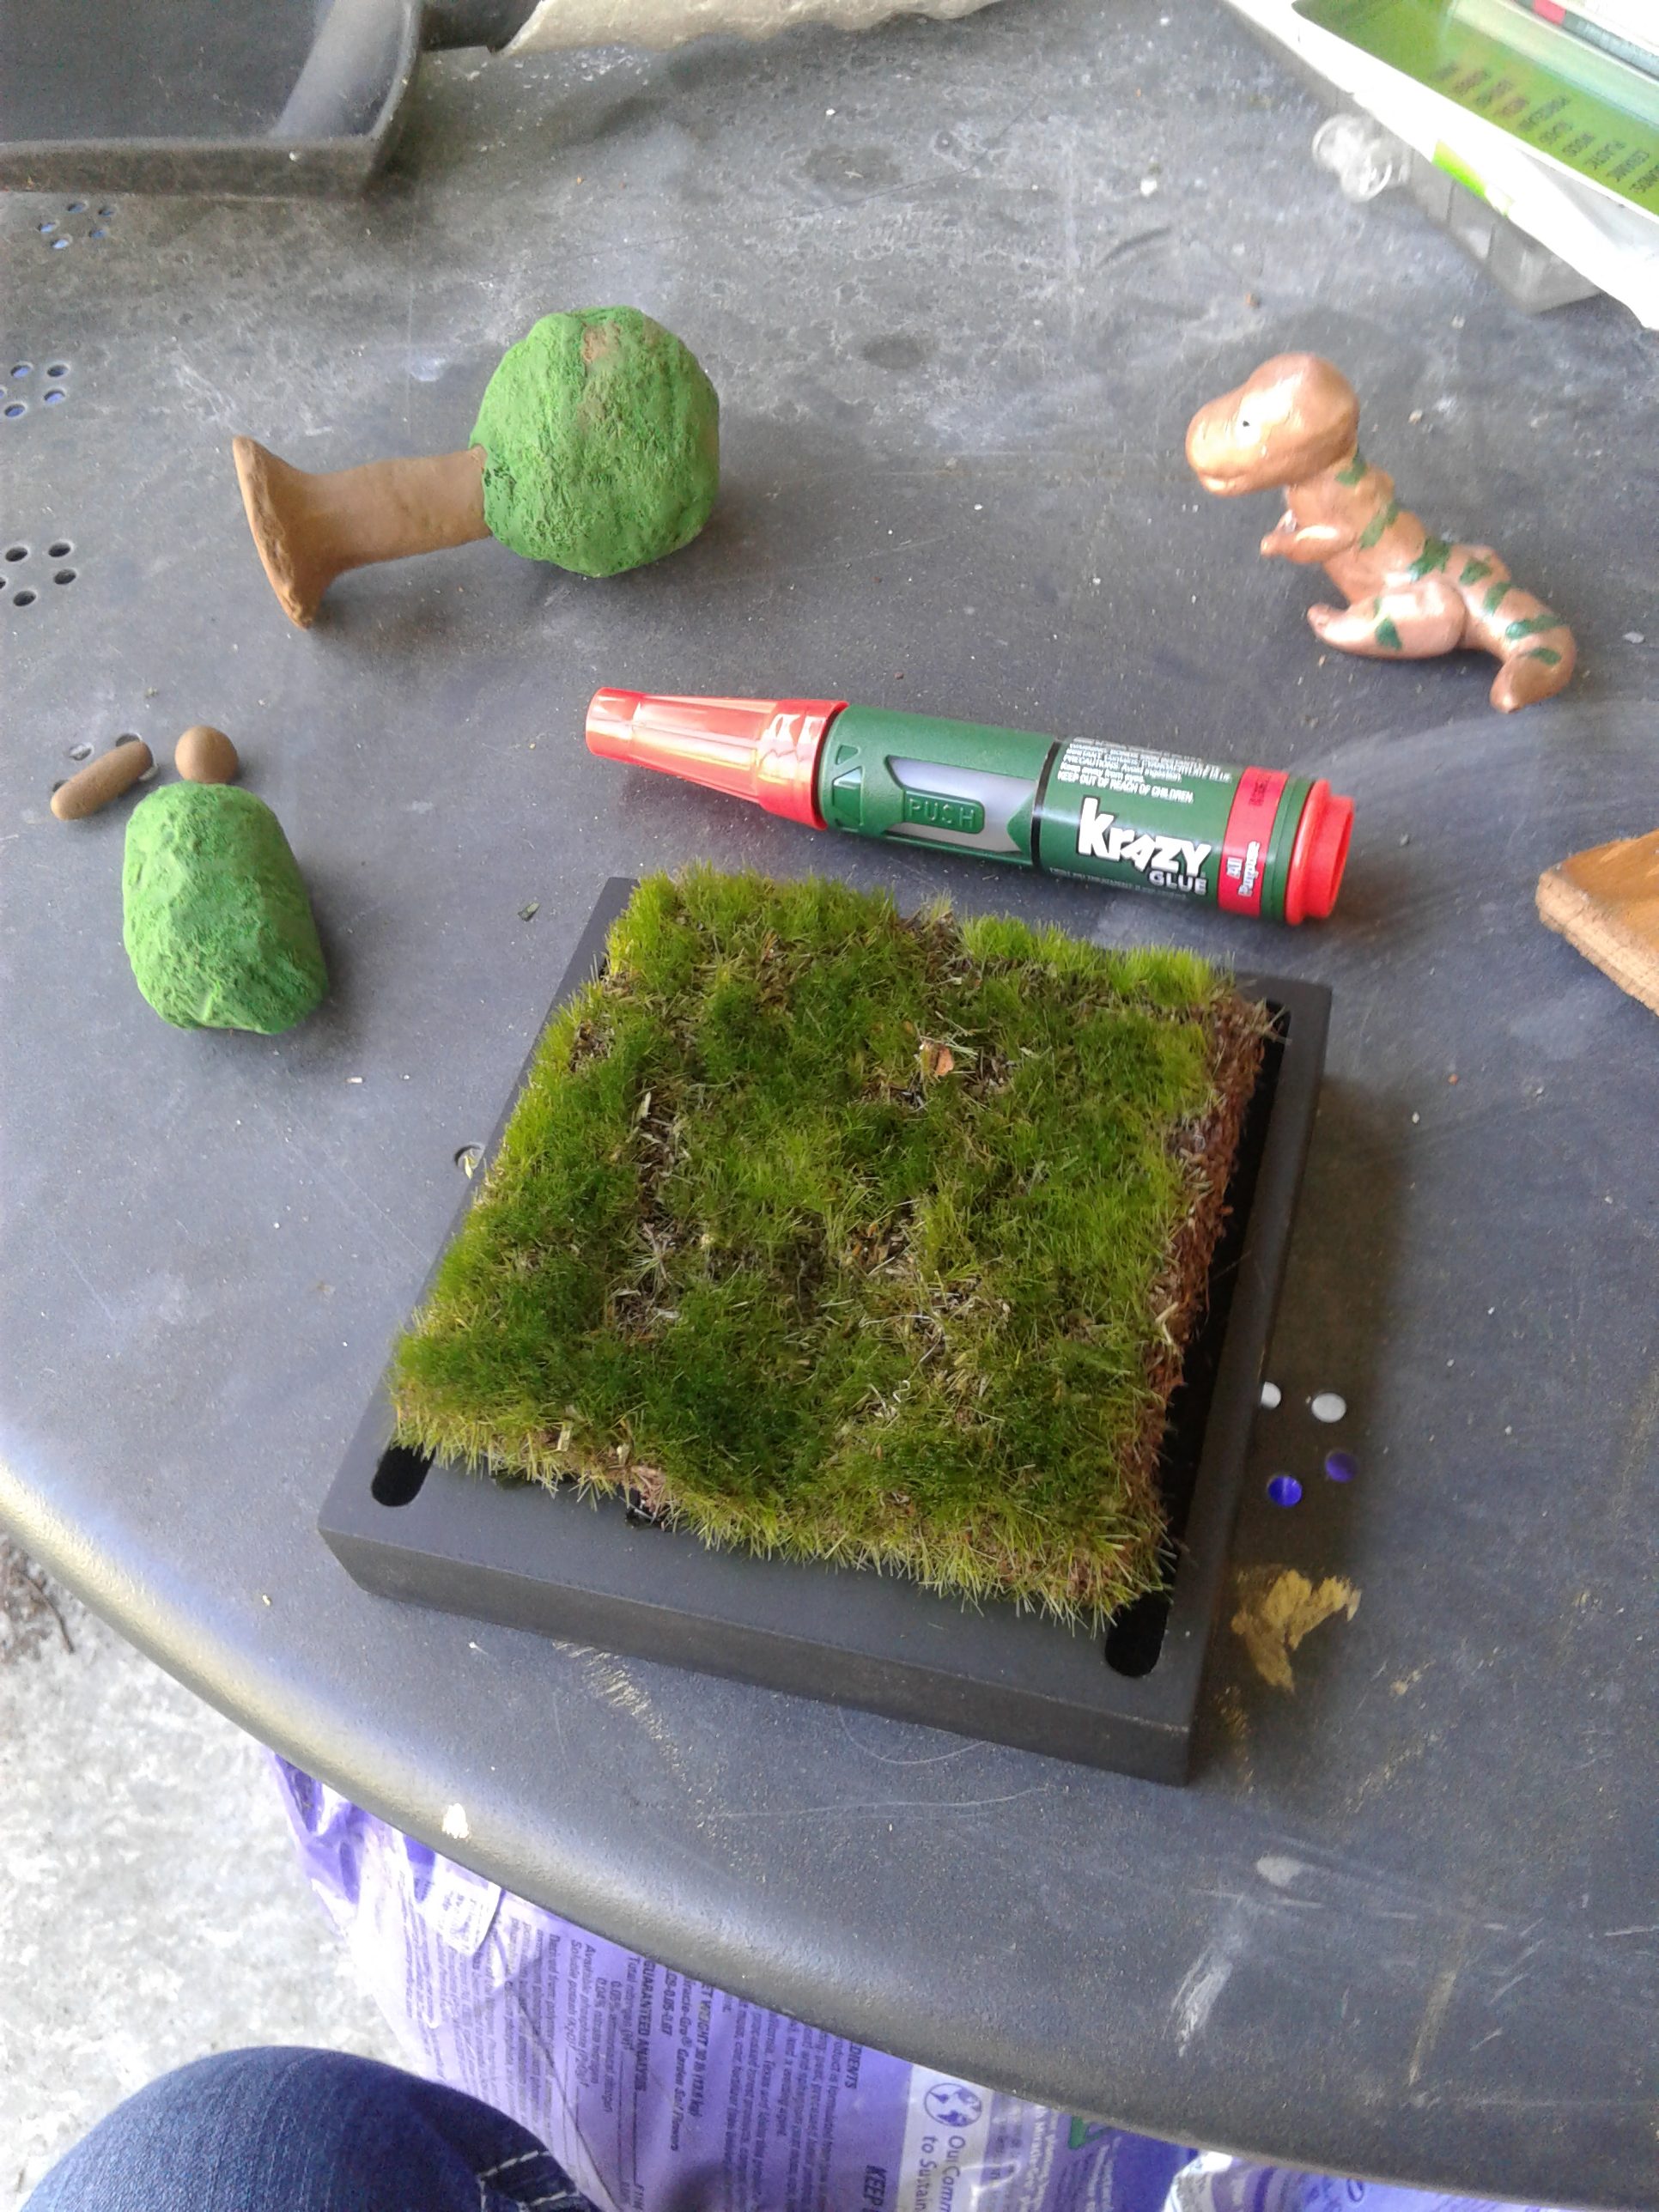
- Krazy glue
- Some fake moss, this stuff in a roll worked perfectly with the baseball container.
- Leaf green sculpey
- A tree brown sculpey clay block
- Baking sheet with parchment
- Glass bottle or rolling pin
- Tin foil
- Firm toothbrush
Shape Your Foil Into the Tree and the Bush

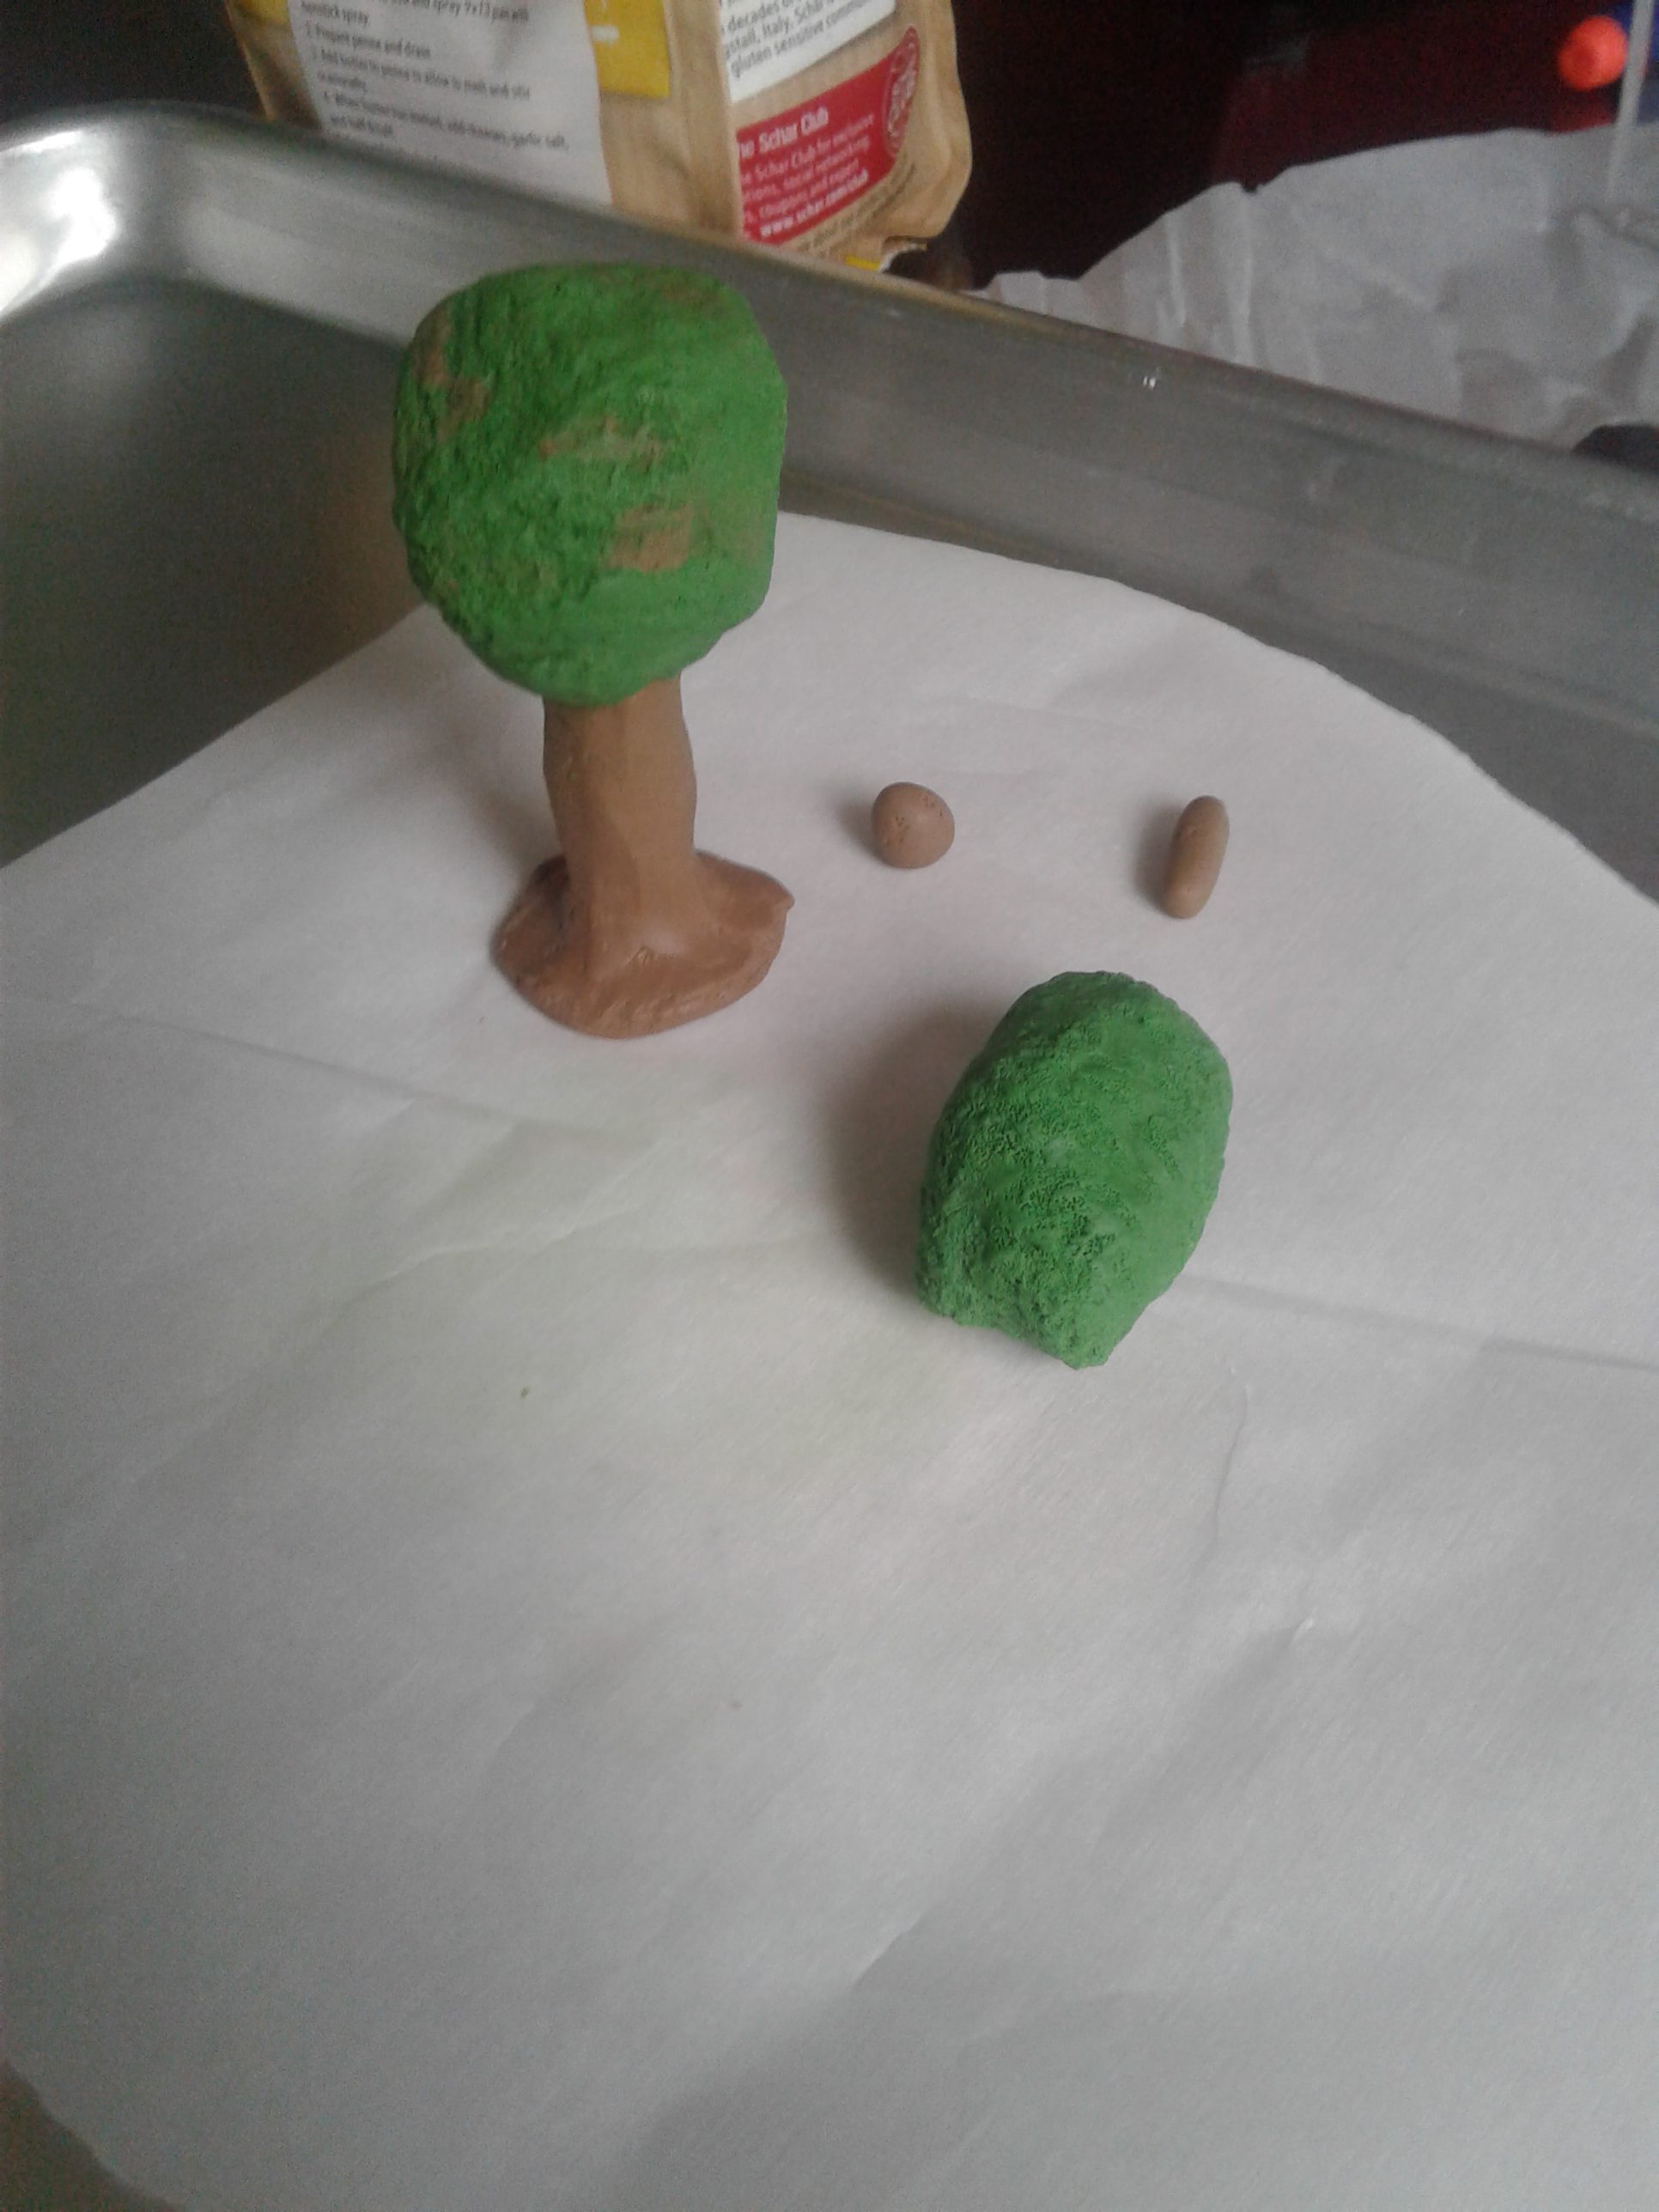
I unfortunately did not get pictures of the foil bases, however it follows the same shape as the tree and the bush l took in the picture before baking. I used a pencil to help smooth the foil down as much as possible, and made sure all of me pieces were securely attached, as the Sculpey is only to look pretty and will NOT stay stable if your base is not strong. The shape of the tree should be a bit like a baseball on a stick, and the bush should just be a little lump of foil.
Roll Out Your Polymer Clay and Wrap it
Put a piece of brown clay between two pieces of parchment paper, and use your rolling pin or bottle to flatten it out as thin as you can. Then peel it off and wrap it around the trunk of your tin foil tree. Smooth the clay down to the tree as best as you can, making sure you have minimal air bubbles. Make a base piece out of a round shape and smooth it down to the point where it can stand upright. Use your toothbrush on its side to make it look like bark by scraping the bristles against the clay. This will also help with fingerprints left on your tree.
Top of the polymer clay tree and bush in your terrarium
For the top of the tree, I mixed green and a little brown polymer clay together to make it look marbled. Be careful not to overmix your colors. Roll it out like you did the brown, and wrap it around the top of the tree. Use the brush to blend seams and lightly tap the tips of the bristles against the green part to make it more textured and like a tree, and well as help with fingerprint removal. The bush was done the same as the green part of the tree, mix green and brown, roll it out, wrap it on the foil, and use your brush to blend and add details.
The… Ahem… Rocks in the Terrarium.
You will notice in my terrarium there are two little brown things on the ground. These are optional, but I added them for a special touch. I rolled out a small piece of brown polymer clay and textured it with my toothbrush.
Baking Your Pieces and Assembling Your Terrarium

Sculpey polymer clay bakes at 275 Fahrenheit, for 15 minutes per ¼ inch thickness. That means to start at about eight minutes and see if it is ready, if so take it out and let cool. While your pieces are in the oven, remove any stickers from your container and wash it well. Cut your moss or fake grass down to size and glue with krazy glue to the base. The reason I am using Krazy Glue instead of E-6000 is because it dries much faster and you will not need to hold the pieces down as long.
The finishing touches to your polymer clay creation
Now glue the moss or grass down and hold for about 30 seconds to one minute. Let it sit for about ten minutes, and by then the pieces should be done and out of the oven. Wait for them to cool, and glue your pieces to the moss or fake grass. Then place everything out before you glue, so you know where your pieces are going. When gluing to the moss, press down really hard and use a lot of glue so it does not fall over. Finally, glue the acrylic covering over the base.


