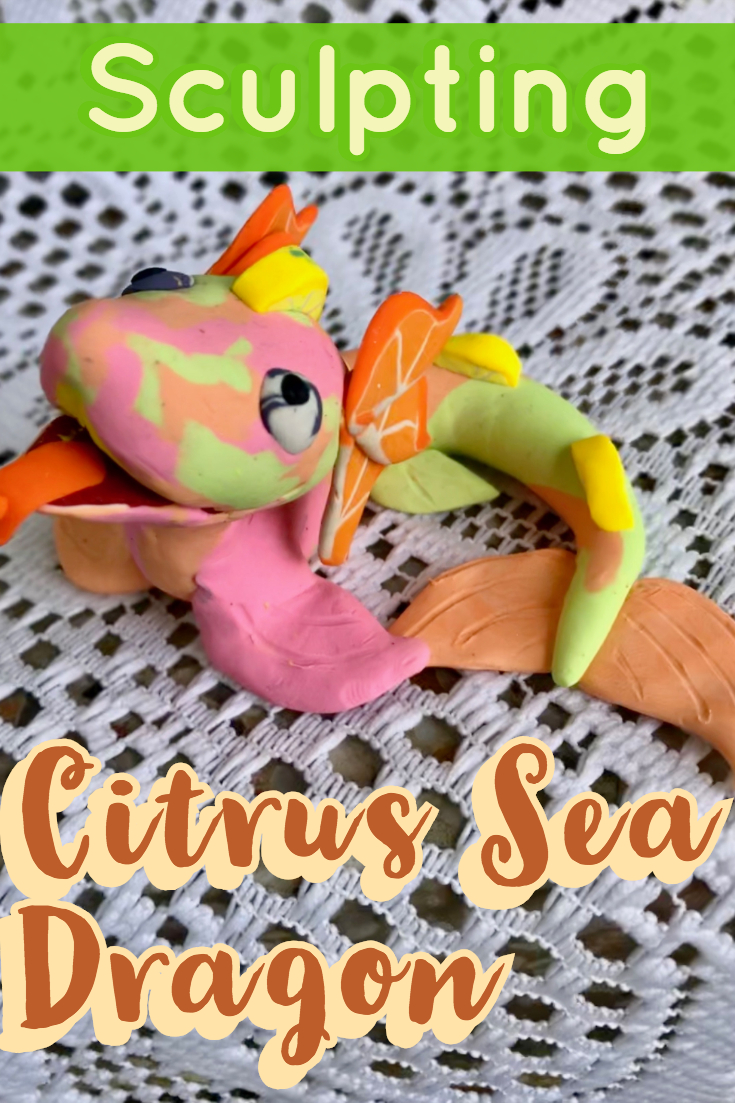
This little creepy creation is made from completely polymer clay, but he looks like he is made of sherbet. This Polymer Clay Dragon can be modified to hold pencils, bite erasers, or just constantly stare at you with the creepiest expression possible.
What you will need
- Polymer clay in
- bubblegum pink
- Lime green
- Light yellow
- Light orange
- White
- Wire
- End of a paint brush or dotting tool
Cleaning off your Surface
When working with light colors, it is always best to start with a fresh clean surface. I often use a plastic bin lid, but a plastic mat will work as well. Use alcohol and a rag to clean it off to prevent dust in the clay, and thoroughly wash your hands before starting.
Conditioning the Clay for your Citrus Polymer Clay Dragon

Start kneading a good chunk of each color of clay to make it nice and soft to work with. Sculpey does not take long to knead, but it is frustrating to stop what you are doing to knead clay when you are halfway through the project. Always condition your clay before getting into your craft.
Sculpting the Base

Get a nice blob of white clay and shape it into a ball. Rip up the orange, pink, yellow, and green blobs of clay and make little balls out of them. Sort the dippin dots sized orbs aside into piles sorted by color.
Adding the Clay

In a random pattern, pick up the blobs of clay and attach them all over the ball of white clay, and roll it in your hands to mush the colors together. Roll out the body like a snake, with one end flatter, the middle wider, and one end pointed and thinning like the end of the tail. Position it in an L shape, so that the thicker part is up off the ground. Use wire if needed for support to hold its shape.
Shaping the Head

The head shape is similar to my other dragons. Cover another blob of clay with the same clay you did the body, and in the same way. Roll it out into a pyramid shape, and round the corners. Curve the tip of the nose up, and cut the mouth using a sharp knife by slicing the bottom jaw open. Line the upper part of his mouth with orange clay, and add a little orange forked tongue poking out.
Making the Polymer Clay Dragon Ears

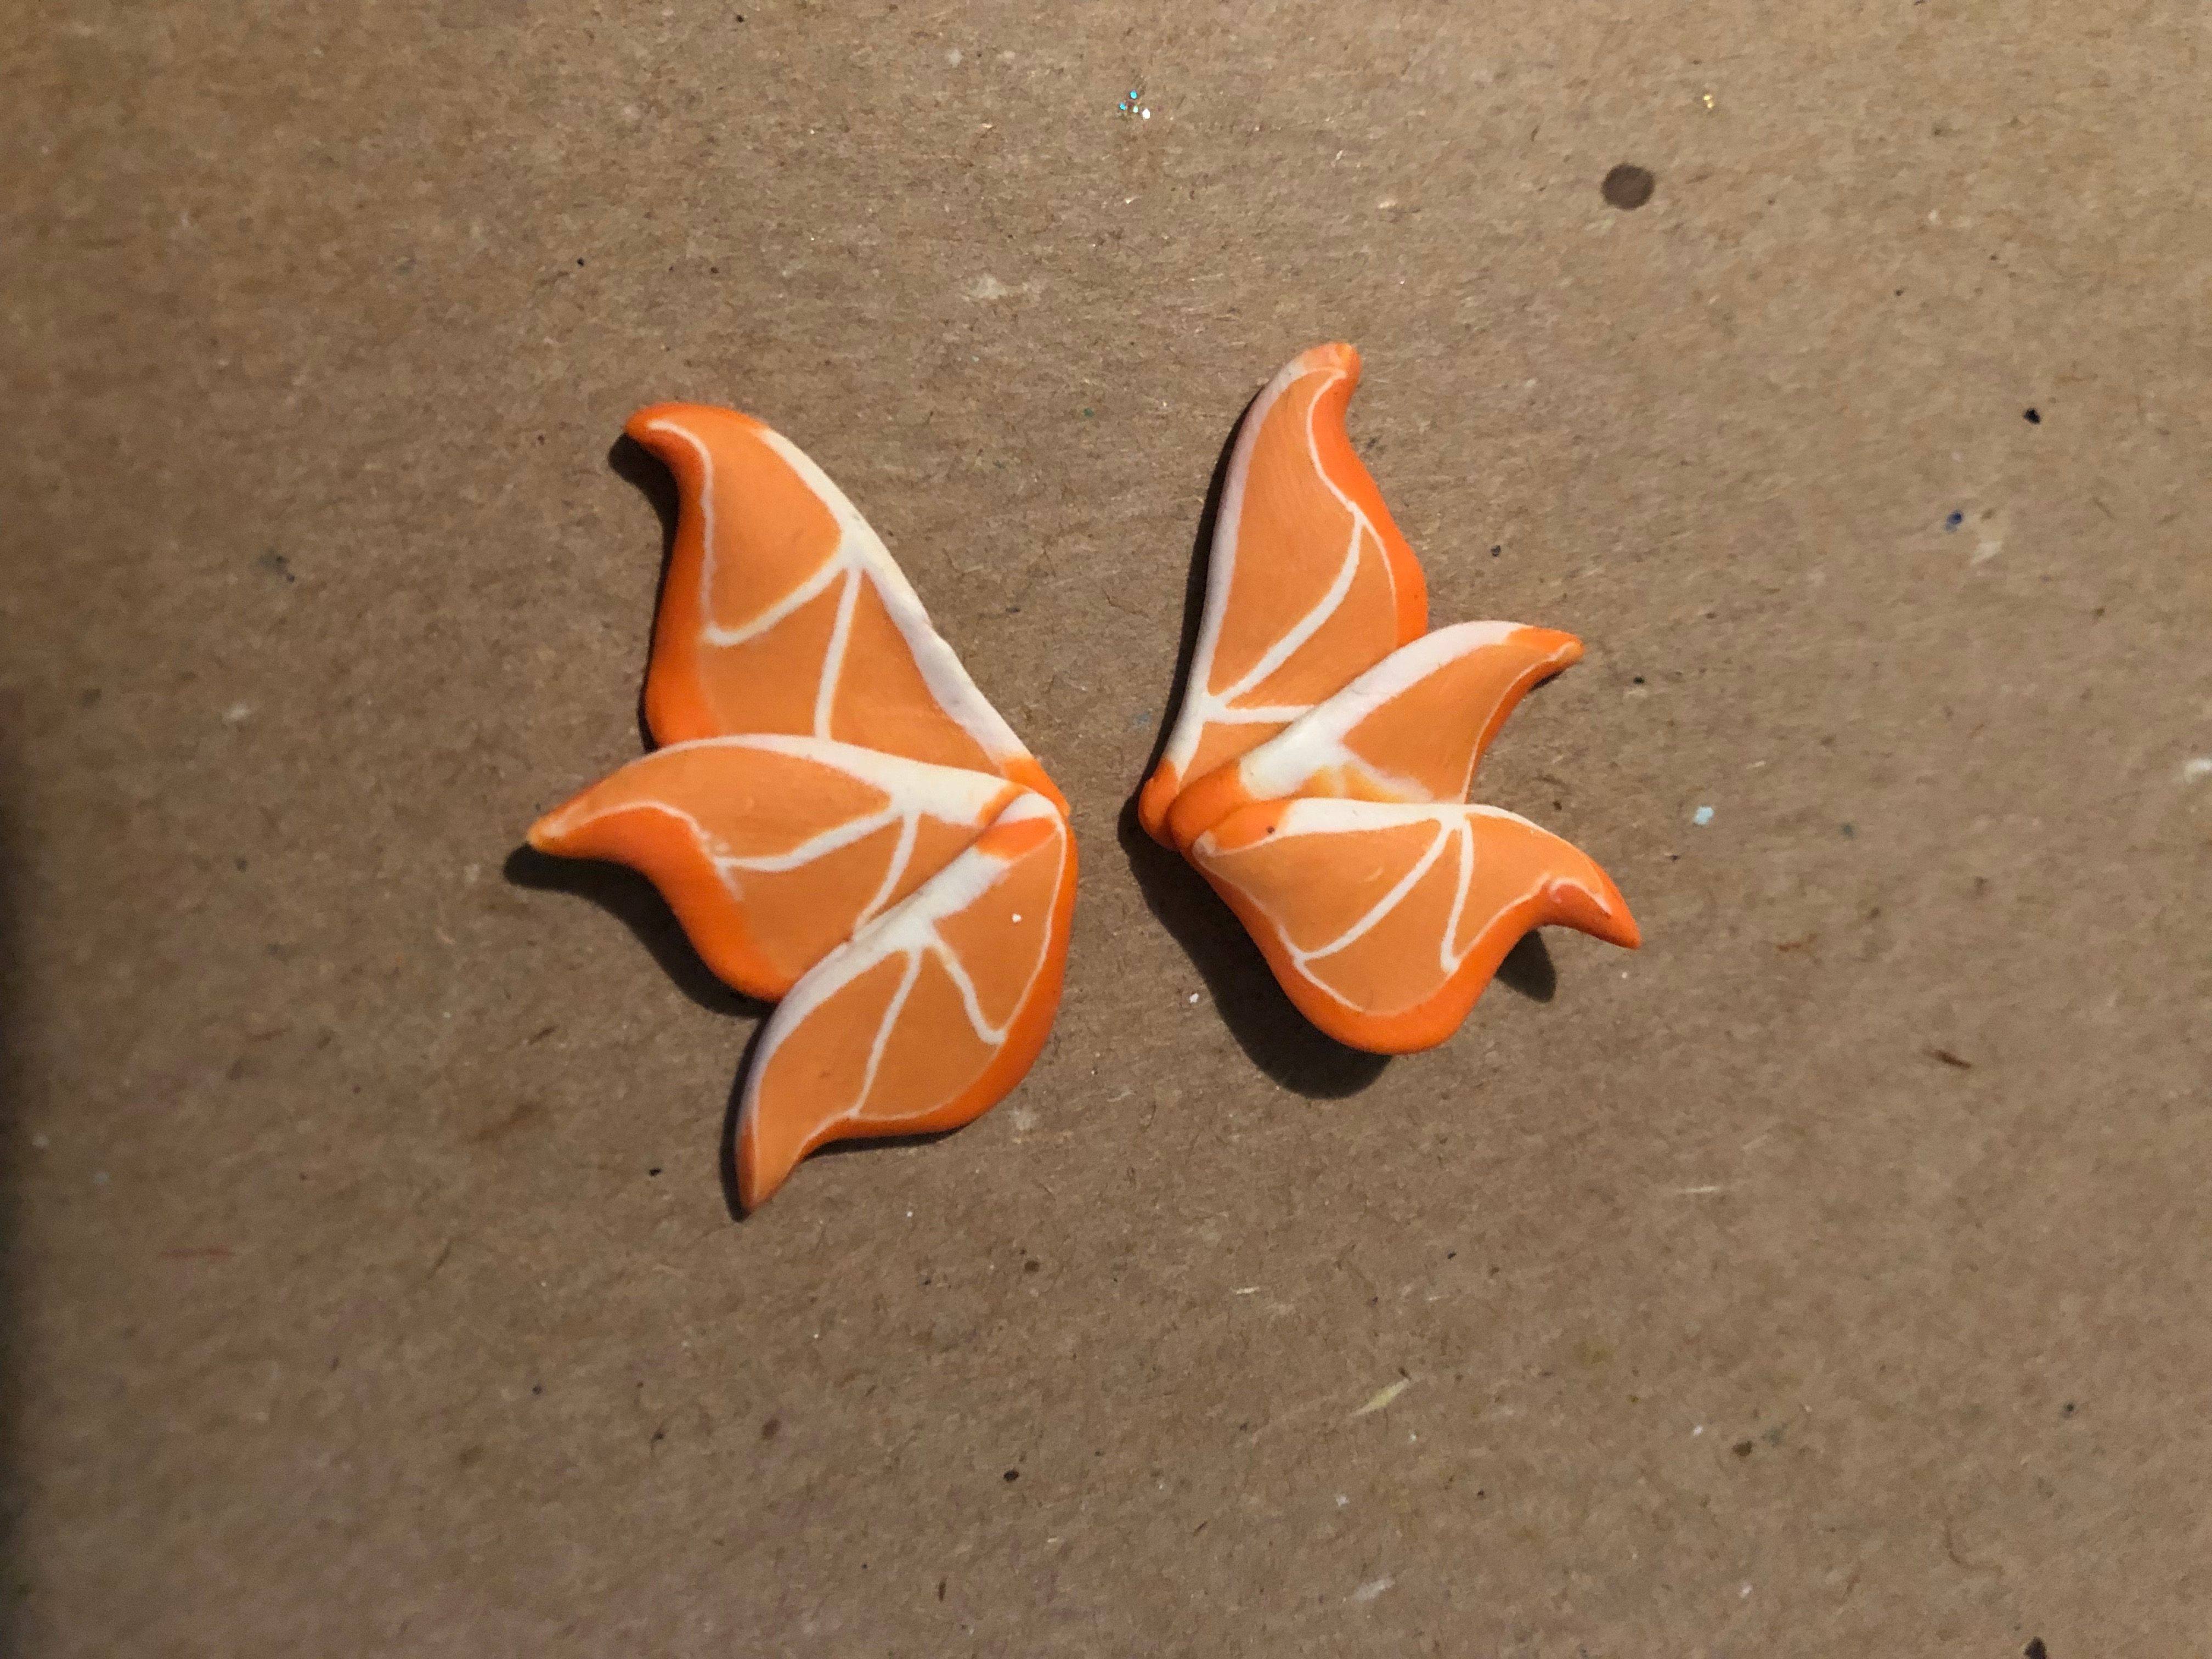
This citrus dragon has super special ears. After completing my “Polymer Clay Citrus Cane” tutorial, slice the orange slices off about an eighth of an inch thick and stick them together, making three slices to a fanned ear. Squish them gently to get them to stick to each other, and set these aside.
Making the Polymer Clay Dragon Back Spikes

Again, following the citrus cane tutorial, use lemon canes sliced in half lengthwise for the back spines. Attach a small chunk of lemon every so often for a more obvious citrus touch, so he does not just look like a random paint palette.
Attaching the Head

Using a little wire, secure the head to the body on the neck. Smooth and blend the clay together with your fingers. It’s okay if the colors look a little mismatched, just keep blending. If you do not like how it looks, use the citrus slices to make him a little neck ruff to hide the scarring.
Adding the Ears to the Polymer Clay Dragon
Attach the little ears to the sides of his head by gently pressing them on with your fingers. If you are worried about them falling off in the baking process, use a small piece of wire to secure them to the head.
Shaping the Tail of the Polymer Clay Dragon
Keep poking at the tail until it is curved around to the side of the dragon. This will give it extra stability and will make it seem more alive instead of a simple sticklike figure.
Making Fins

Make two large teardrop shapes with your colored clay. Flatten them out together, and shape the ends to be curved more inwards. Slide this creation under the tail of the dragon and lightly press the tail down to make it cooperate and stick to the fins. Do the same for the front flippers, but attach them to the front of the dragon in two pieces.
Shaping Eyes
Using a dotting tool or the end of a paintbrush, make small indents in the face and stick small balls of purple and white marbled clay into the sockets. This will give him a more crazy look, while also still being funny and adorable.
Smoothing out Fingerprints
Using alcohol and a Q-tip, rub away any fingerprints before baking. Remember alcohol is a fire hazard, and to give your new friend a minute or two to dry before he faces the oven.
Baking the Polymer Clay Dragon
Pop him in the oven for about thirty minutes, since we used a completely clay base he is thick and will need time to fully bake all the way. Sculpey clay bakes at 275 F.
Finish

This cute and silly citrus dragon is finally done. He will happily eat all of the ice cream in the neighborhood, or maybe sit on a bookshelf like a good dragon. It all depends on the personality of your beast. Good luck and Happy Crafting! If you liked this post, you’ll love my derpasaur terrarium and you may like my polymer clay noodle dragon.

