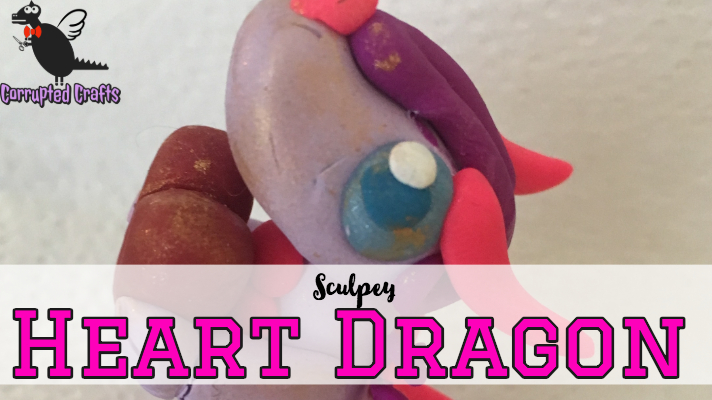
This kawaii broken heart dragon is a sad little friend that just needs a hug and does not take up much room. Here is how I sculpted her in about an hour.
What you will need:
- Dotting tool
- Sculpey kit
- Hands
- Razorblade
- Oven
- Foil
- Pan
- Wire
- Pliers
Main Body of the Broken Heart Dragon

To start, take some lavender clay and roll it out to make along tear drop shape. Make sure to smooth it out as best as you can as you go, to minimize fingerprints and make the dragon look more adorable.
Curving the Body

Since this dragon is going to be sitting up, we need to fix the posture of this dragon. Move the bulky part bent up and smooth the clay again. It should be able to sit up by itself.
Shaping the Tail of the Dragon
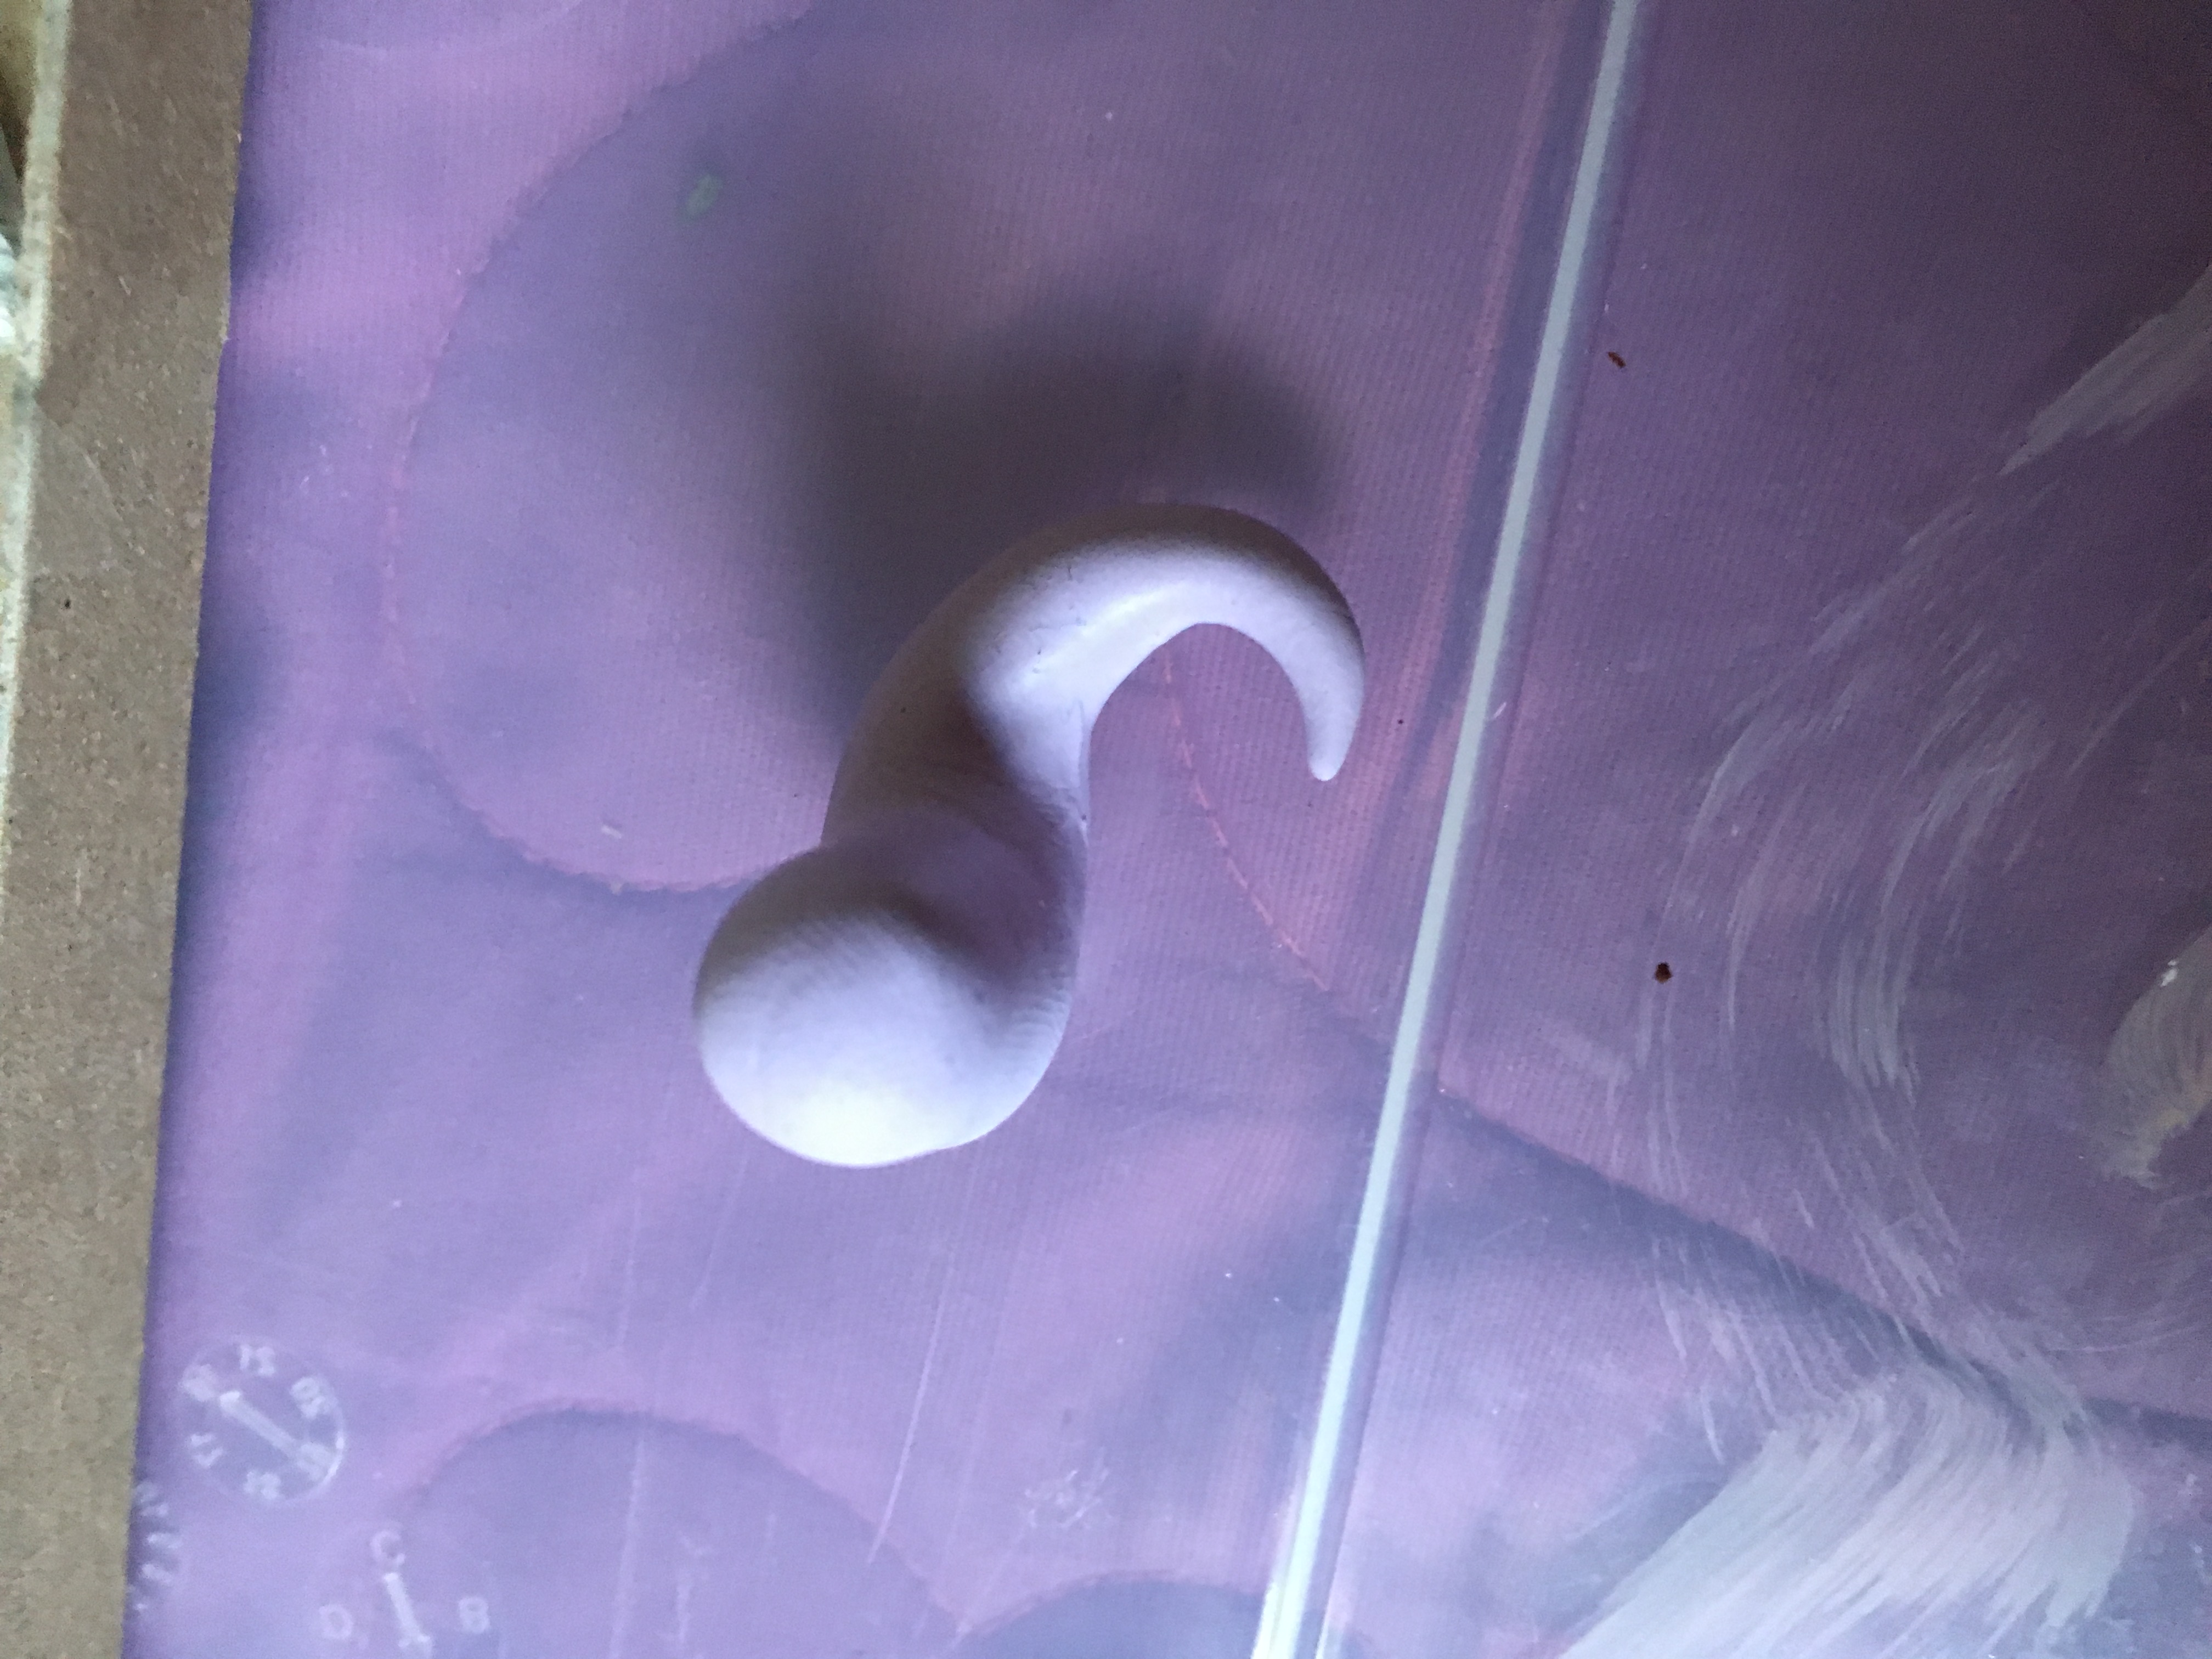
Make the tip of the tail pointy but keep it short. Curl the tail up gently around the base so that it still sits up but also has a sort of lifelike cartoonish touch. Curling hair, tails, and horns always makes dragons look much better and more alive.
Making the Belly Scales
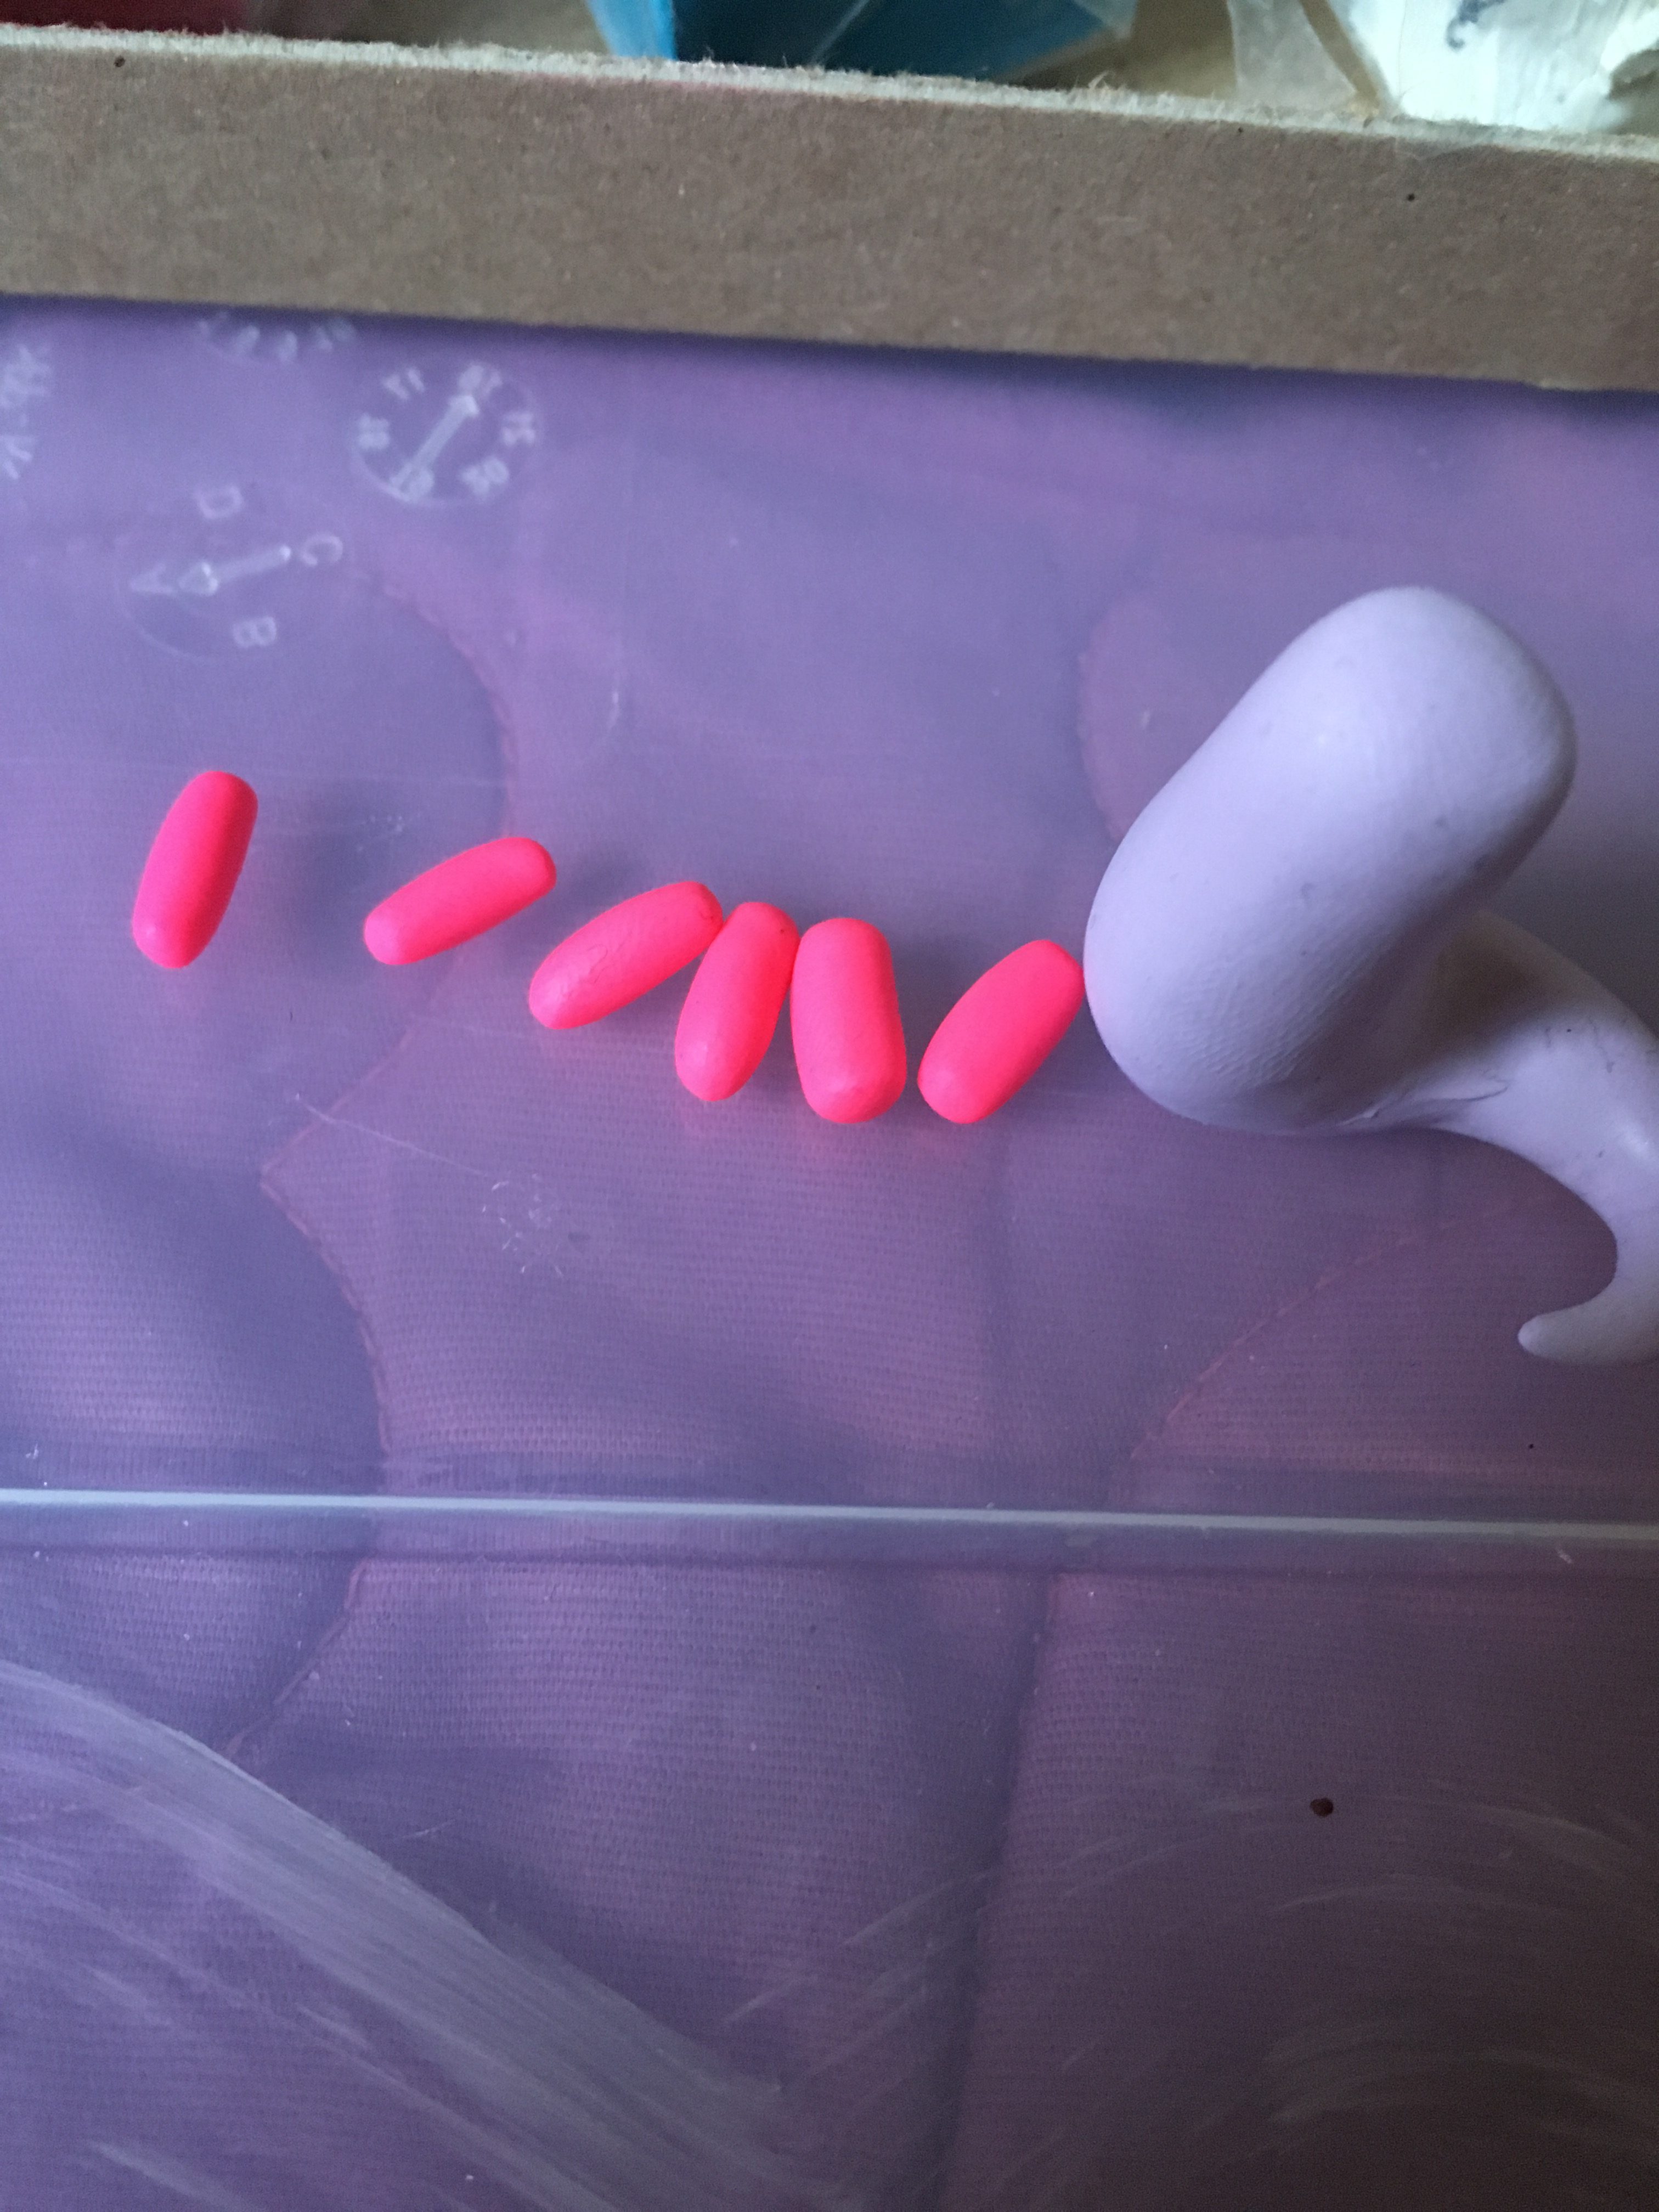
Roll out some hot pink clay into tiny tic tac shapes. Lay them all out in a row how you want them to be on the broken heart dragon.
Applying the Belly Scales to the Broken Heart Dragon
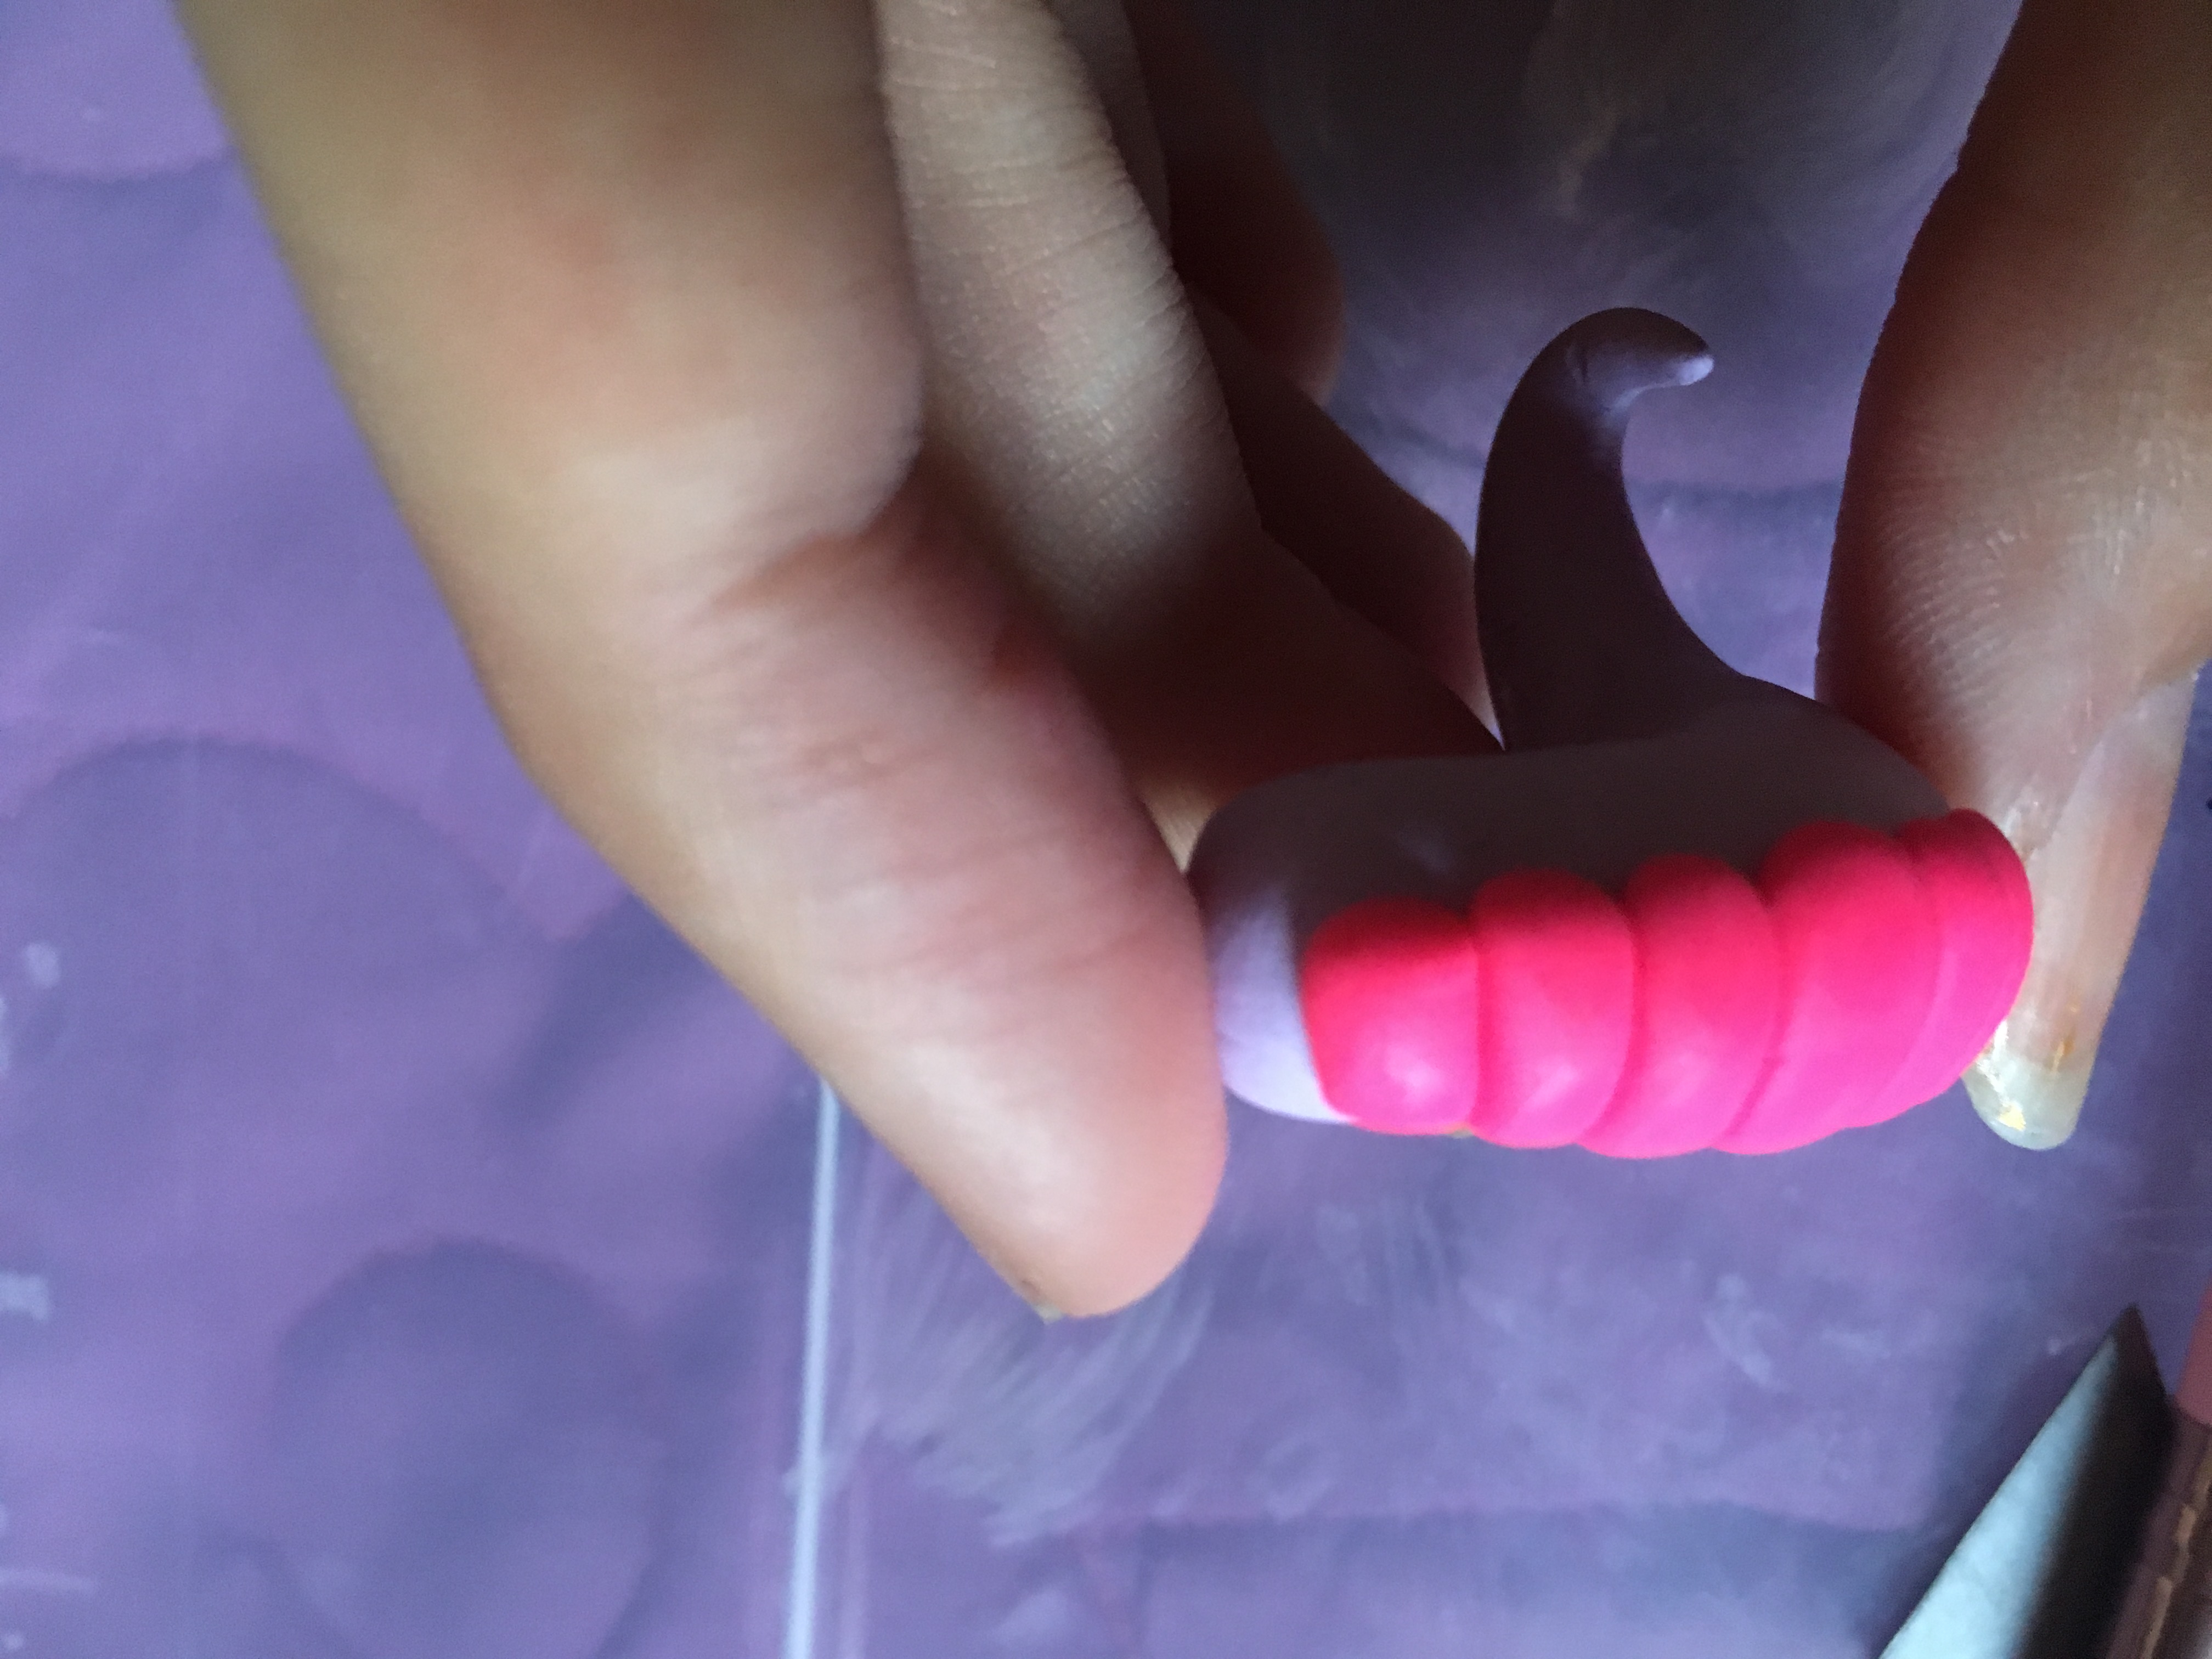
Squish the scales on the belly of the dragon, adjusting them to fit well. Smooth out finger prints.
Making Tiny Wings

The wings I made by rolling out dark purple clay and curling the ends, making three curls and attaching them together. Press them carefully into the sides of the dragon, being careful not to mash up the delicate swirls.
Making the Back Feet

The feet are very easy to make. Make four balls of clay, two larger and two smaller. Put the small ball under the big one and squish them together at an angle to make the shape of the leg and foot. Use the dull end of a blade to gently separate the toes. Smooth the clay as needed.
Making the Front Feet

The front feet are sculpted like the back feet, except the front feet are thinner and longer. Make two paws the same size and set them aside for now.
Sculpting the Horns

Sculpt the horns from light pink clay as you did the wing pieces, only thicker. Roll out two extended tear drop shapes of the same size and set them aside.
Sculpting the Head of the Dragon
The head is sort of a dulled triangle. Keep playing with the shape until it looks like a DragonsAndBeasties style face.
Attaching the Horns
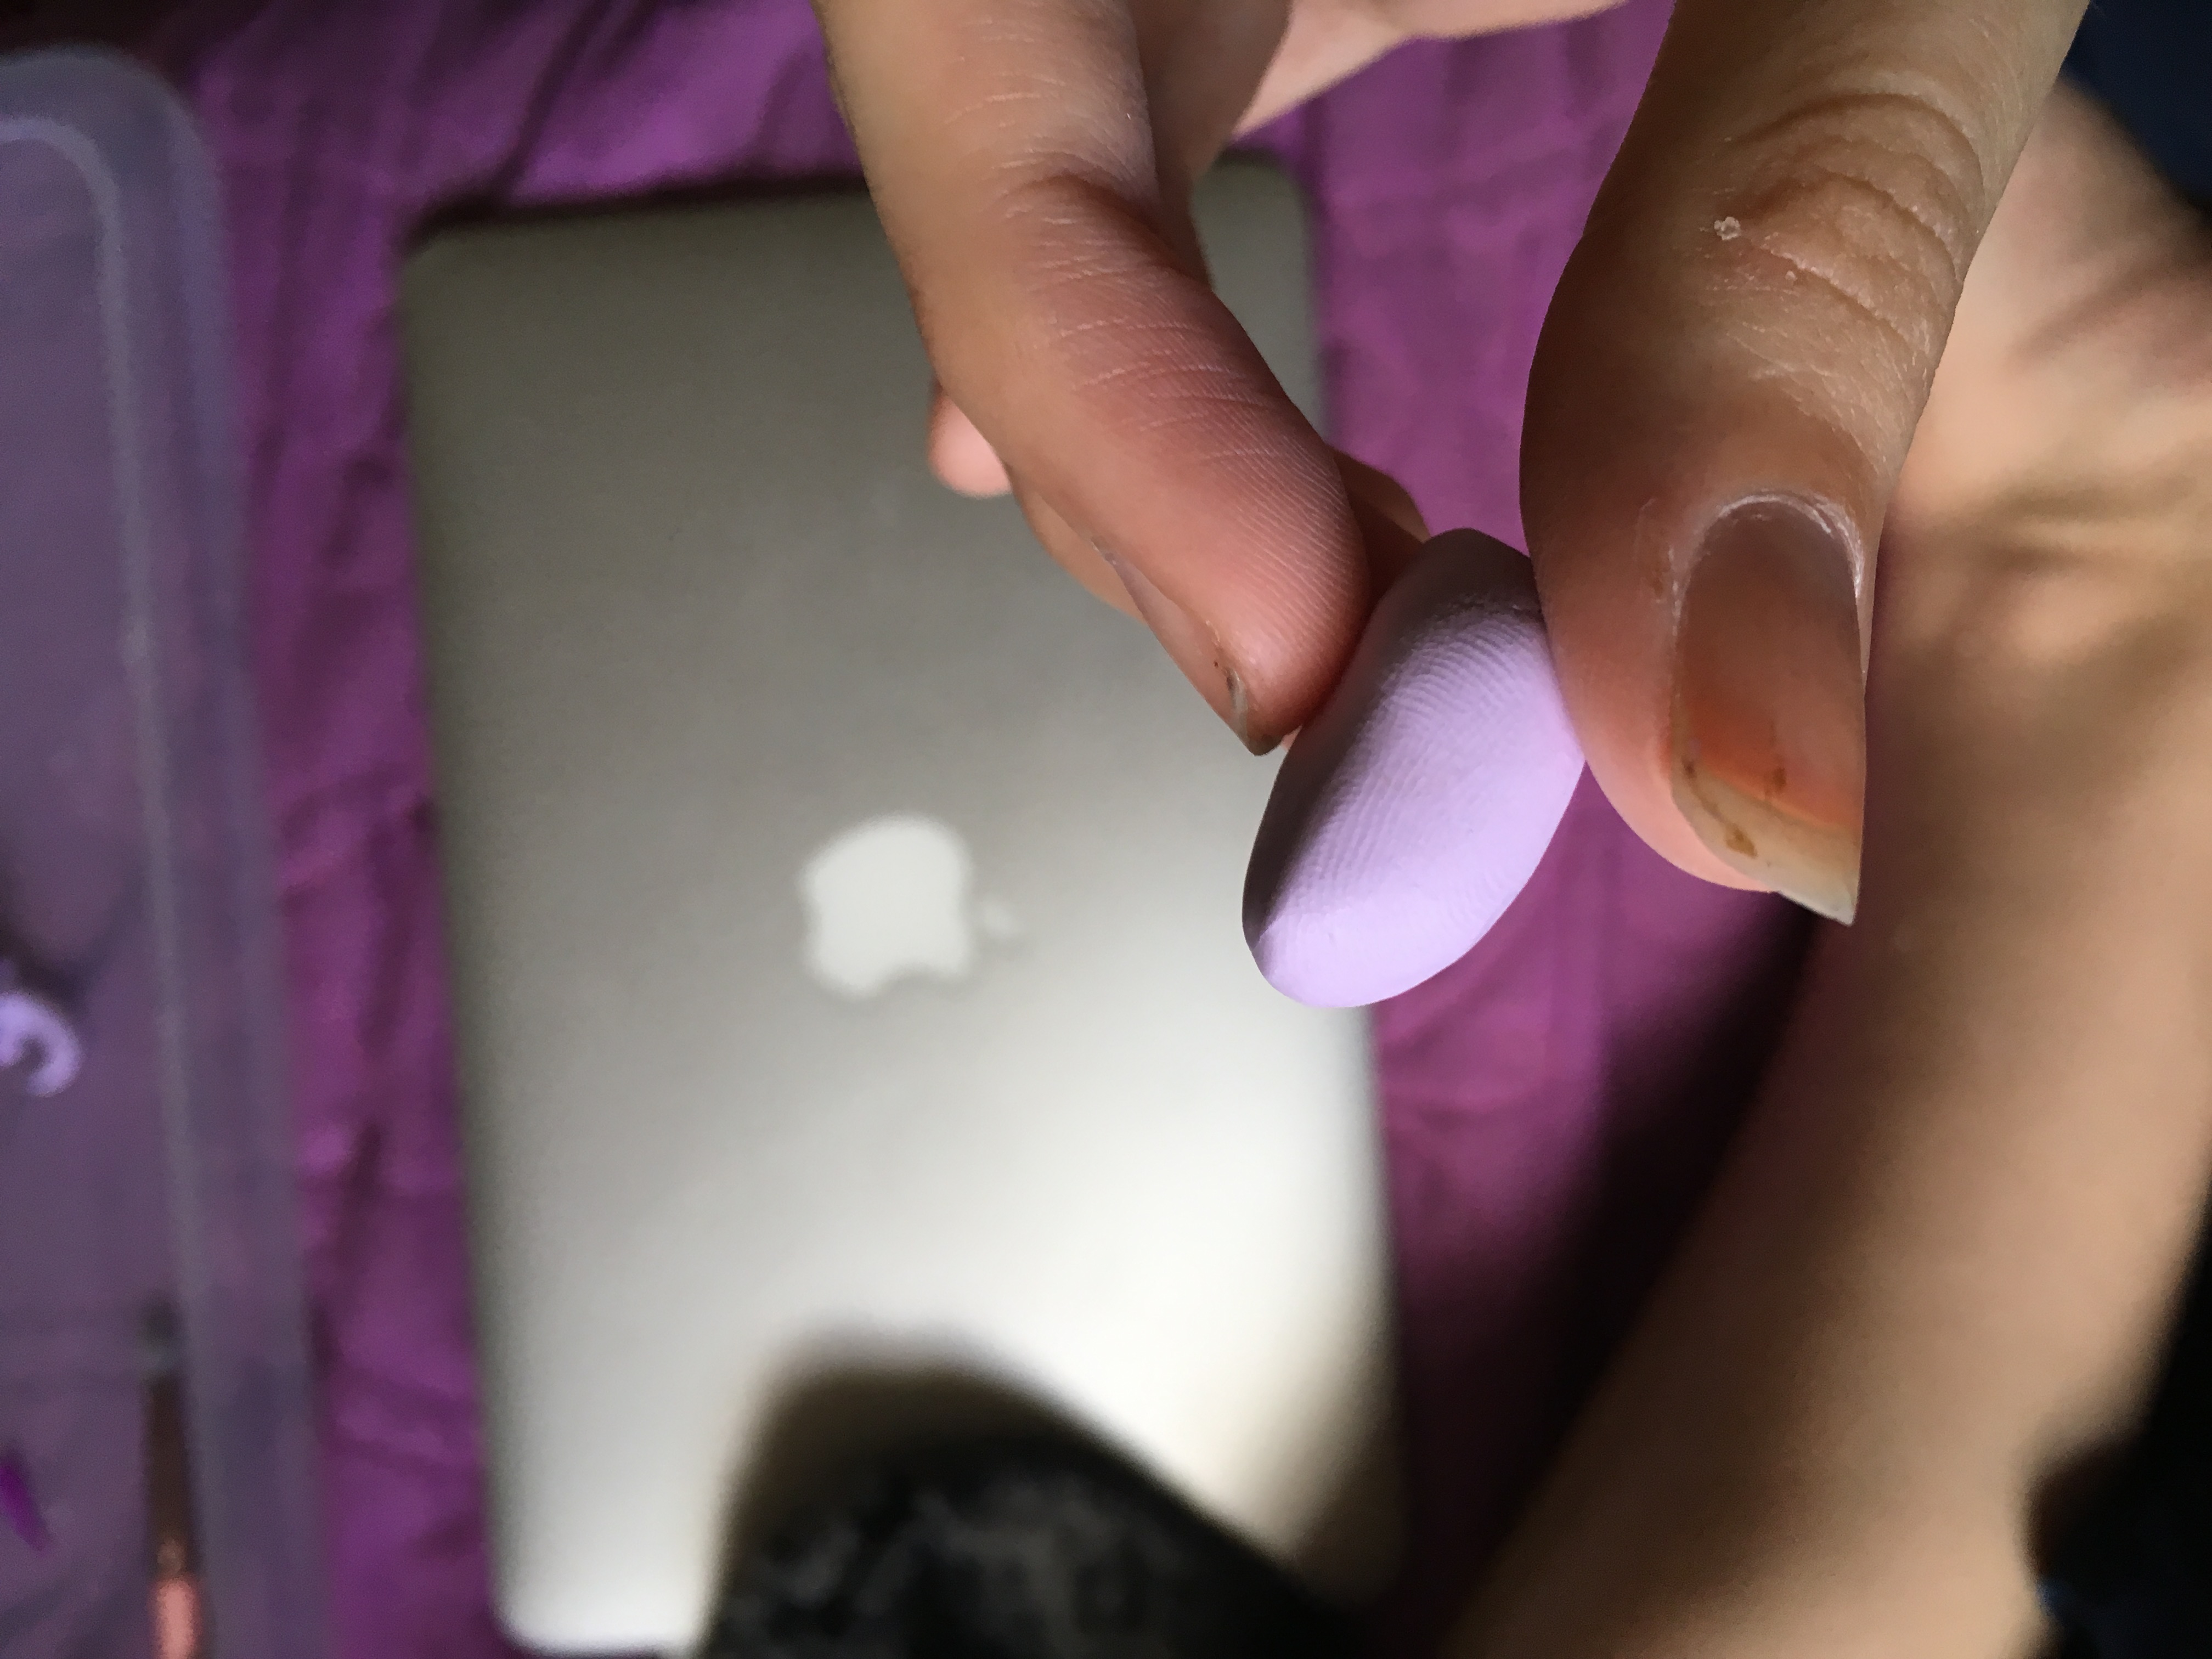
Attach the horns and some funky purple swirls to the top of the head, leaving room for eyes. Remember to smooth the clay down as you go.
Details
Make eyeholes with a large dotting tool, and smooth out the finger prints. Add any little scessories or details now to make It yours. Non toxic acrylic paint is bakeable, so you can paint details on and let the paint dry.
How to make the Heart
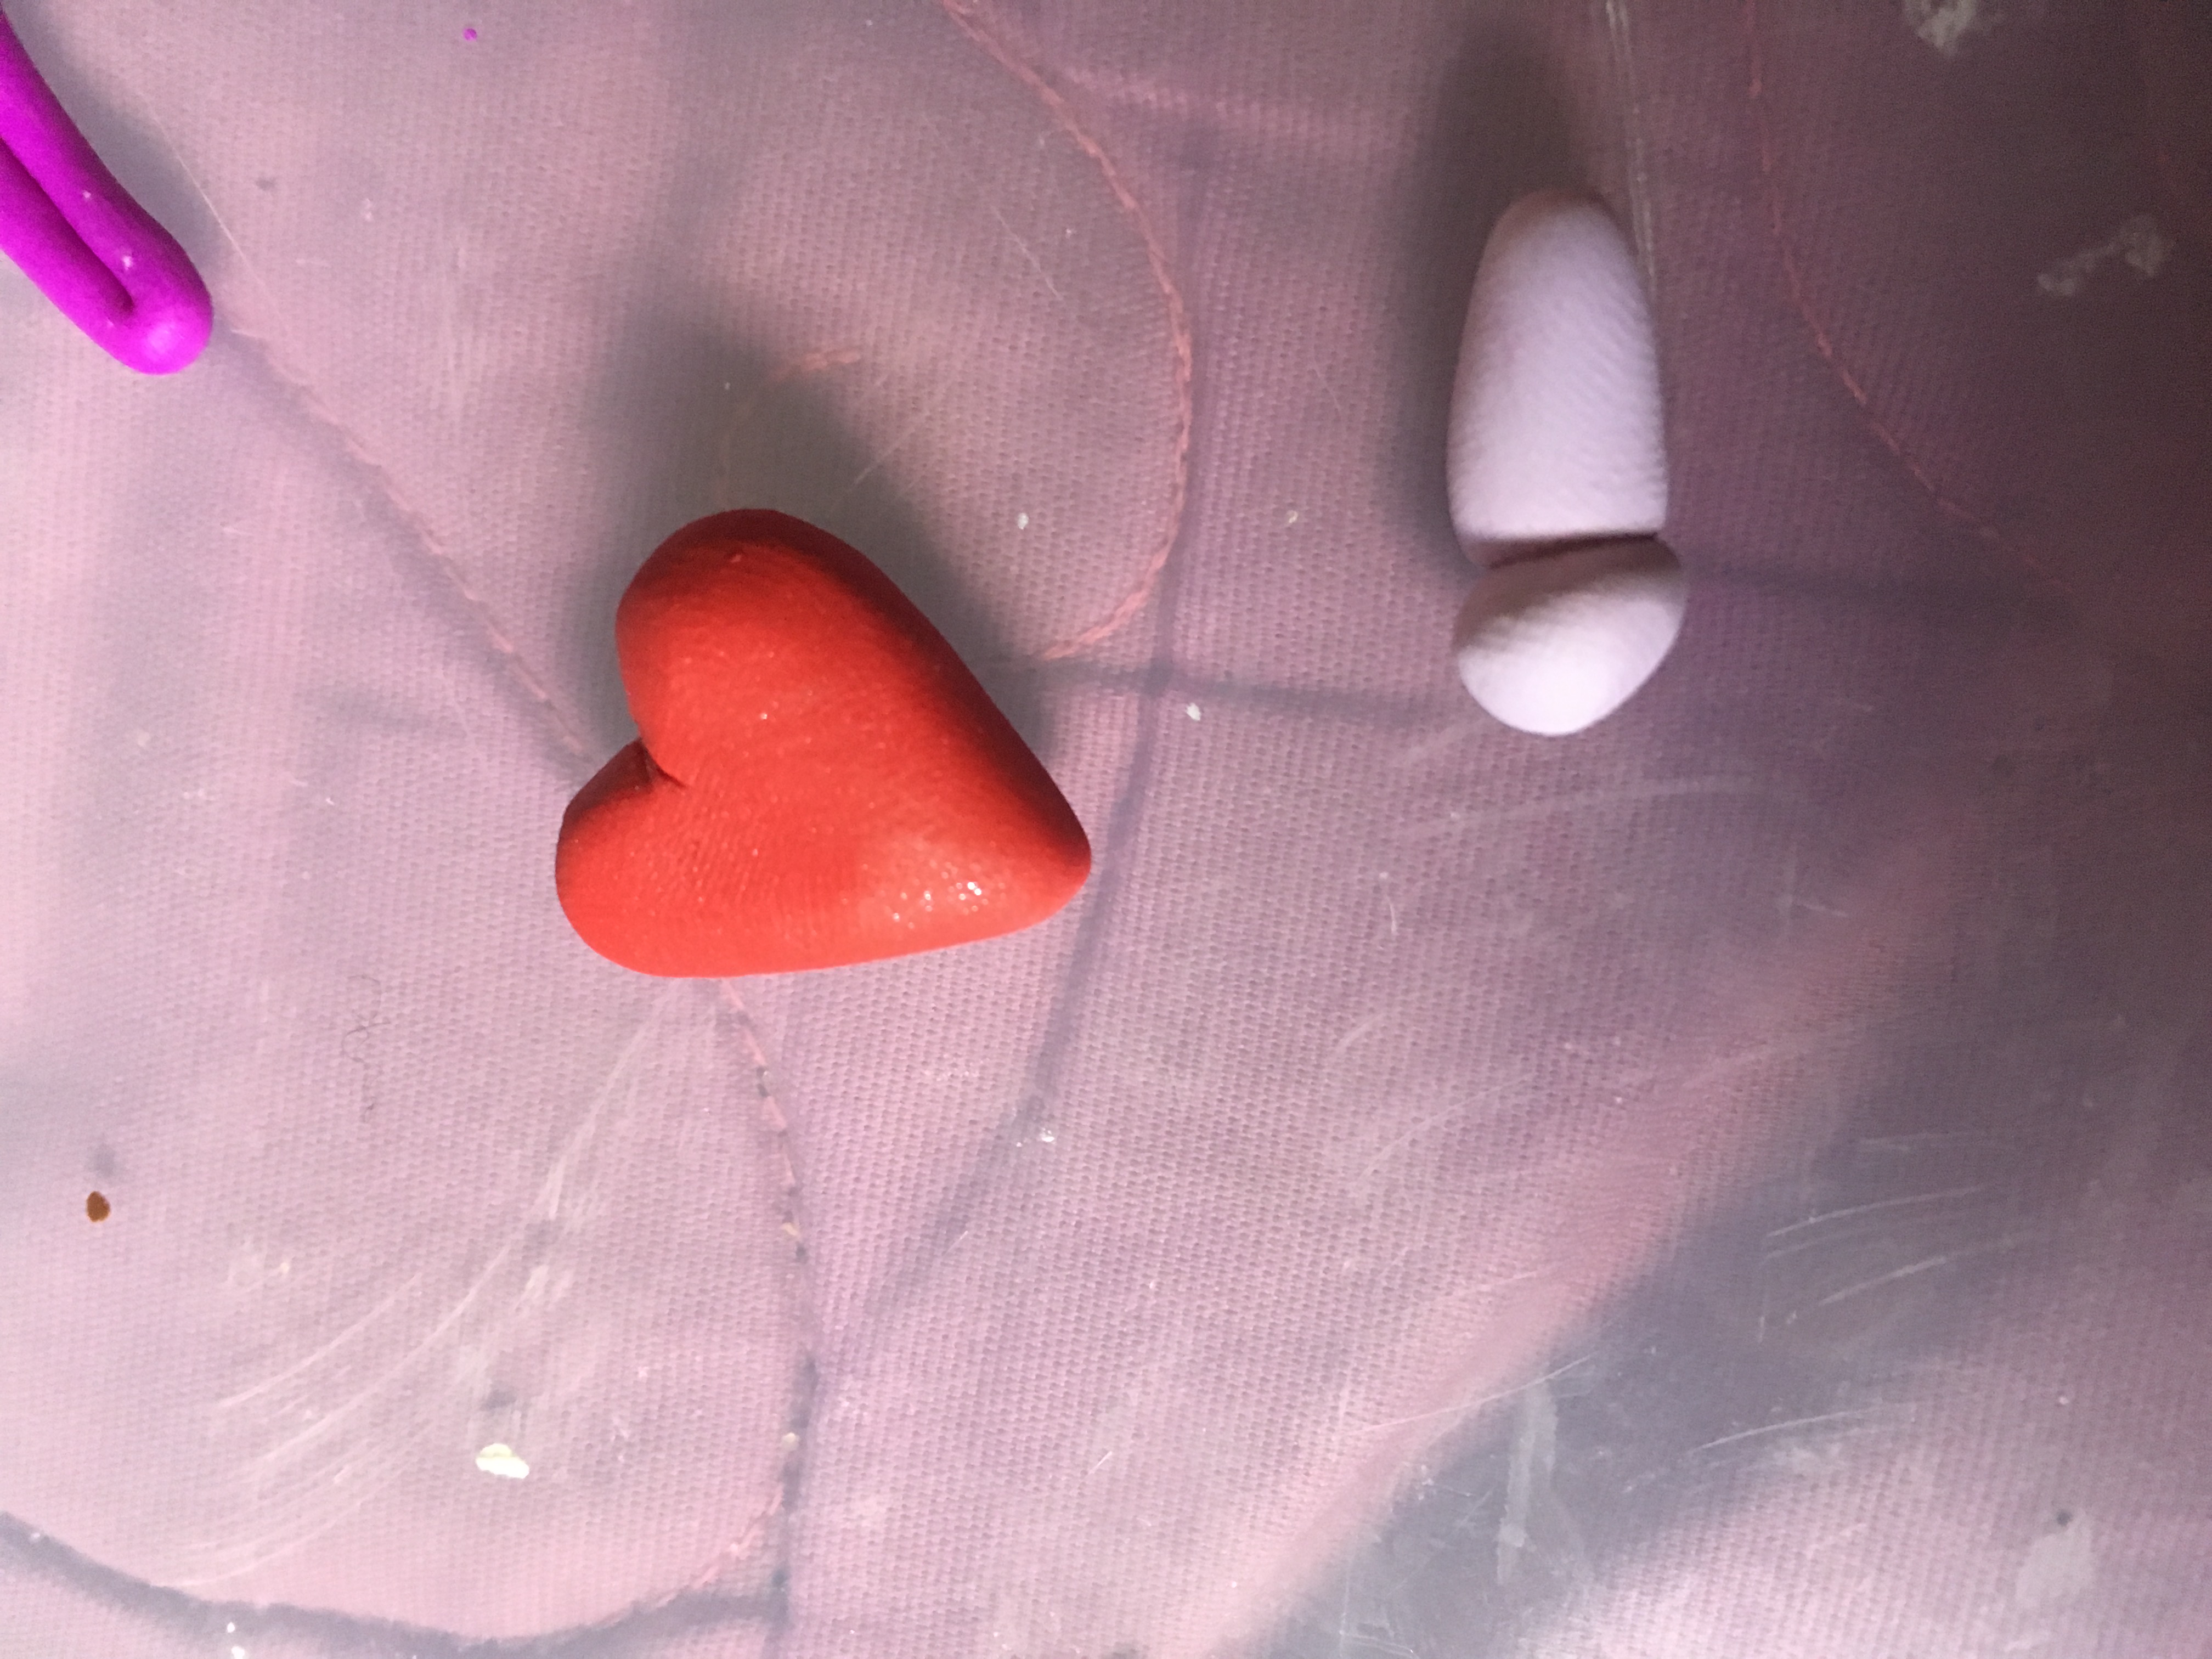
Roll out two red teardops and press them together. Roll, shape, and blend the two halves to make one. Carve out a crack right in the middle to make it broken, or leave it whole.
Attaching Everything
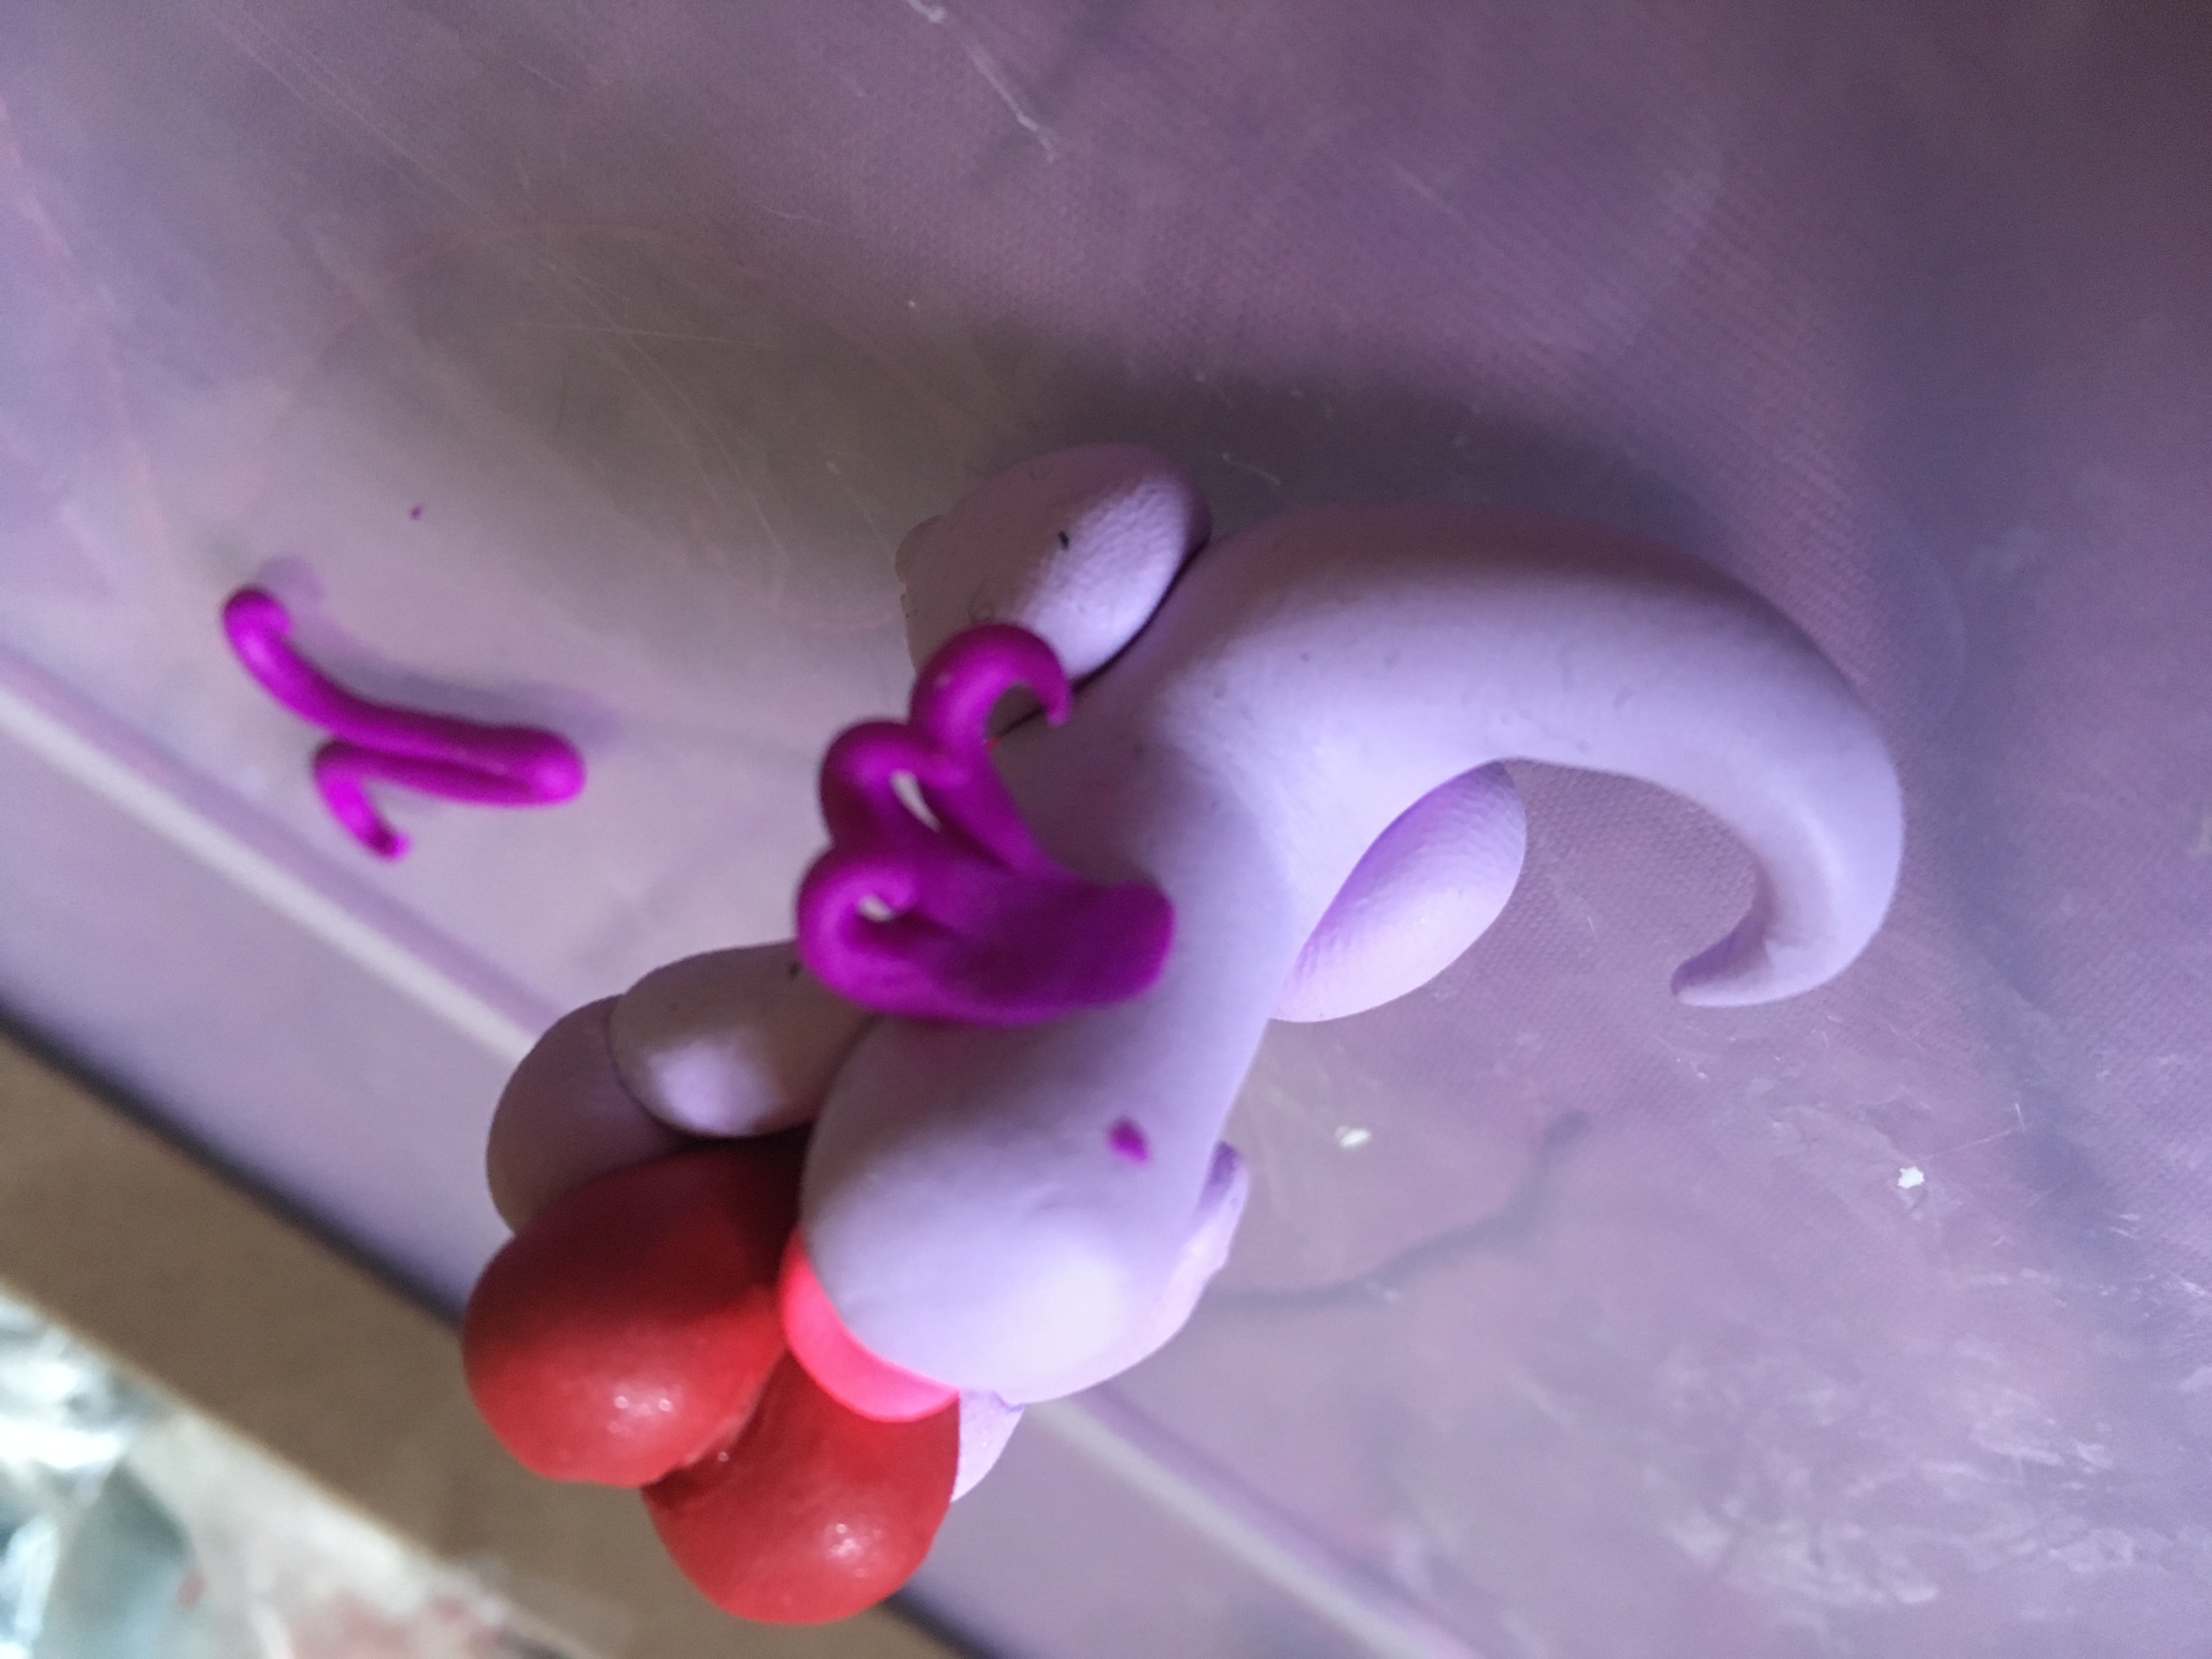
Attach the front arms to the body using bits of wire to secure them on. Attach the heart to the hands the same way, press the hands onto the heart to help hold it securely and use the back part of the blade to define the paw.
Eyes
Make a ball of shiny blue clay that will fit into the eye socket and then make a second, unless you intend to have a cyclops dragon. Add black or dark blue for a pupil, and a bit of white for the shine. Smooth it over with a very tiny amount of rubbing alcohol on a brush.
Attaching the Head
 Using another wire, secure the finished head to the body. Blend the clay as best as you can.
Making and Attaching the Back Spine

The back spine is just a piece of pink clay that has been molded into a long triangle. Secure it to the body and press it on, smoothing the fingerprints out.
Cleaning up and Baking the Dragon
Using a brush dipped in little bit of rubbing alcohol, clean off any fingerprints and make him smooth. Be careful though, as some smaller pieces can be weakened by the alcohol and break off. Bake at 275 for 15 minutes.
Finish
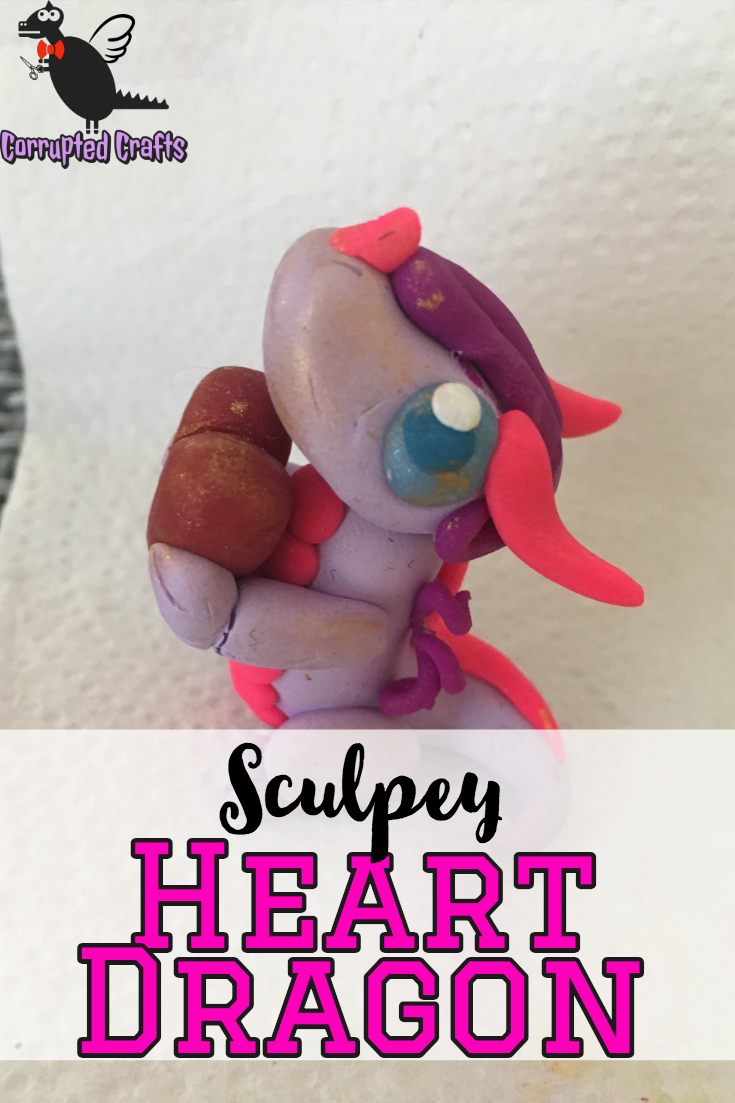
At this point you can glaze her or leave him be, you are done. This little dragon can be designed to hold a pencil or to sit and look cute and remind you why you are single. Happy crafting!

