
With two hours and a massive block of Sculpey, anything is possible. Here is how to make a cool dragon head which is perfect for jewelry or just as a decoration.
What you will need
- Sculpey
- Wire
- Foil
- Glass Coke Bottle
- Cookie sheet
- Small glass jar
- Dotting tools
- Rubbing alcohol
- 2 hours of time at least
- Parchment paper
Preparing your Work Area
Start by covering your pan in wax or parchment paper. Working directly on the pan will allow your piece to easily be set into the oven which will leave less room for damage.
Making a Foil Base

Ball up a bunch of foil for the head, smushing the ball of foil and adding pieces to make the top part of the muzzle. Crush and add foil as needed until you get a shape sort of like a misshapen and squished peanut, like you would find at the fairground.
Conditioning the Clay
Working with a massive amount of Sculpey like this can make it difficult to make the shapes and cover smoothly. Knead small chunks of clay until soft and mash the pieces into one big ball. The ball of clay will be much easier to work with than the block of clay.
Covering the Foil Dragon Base
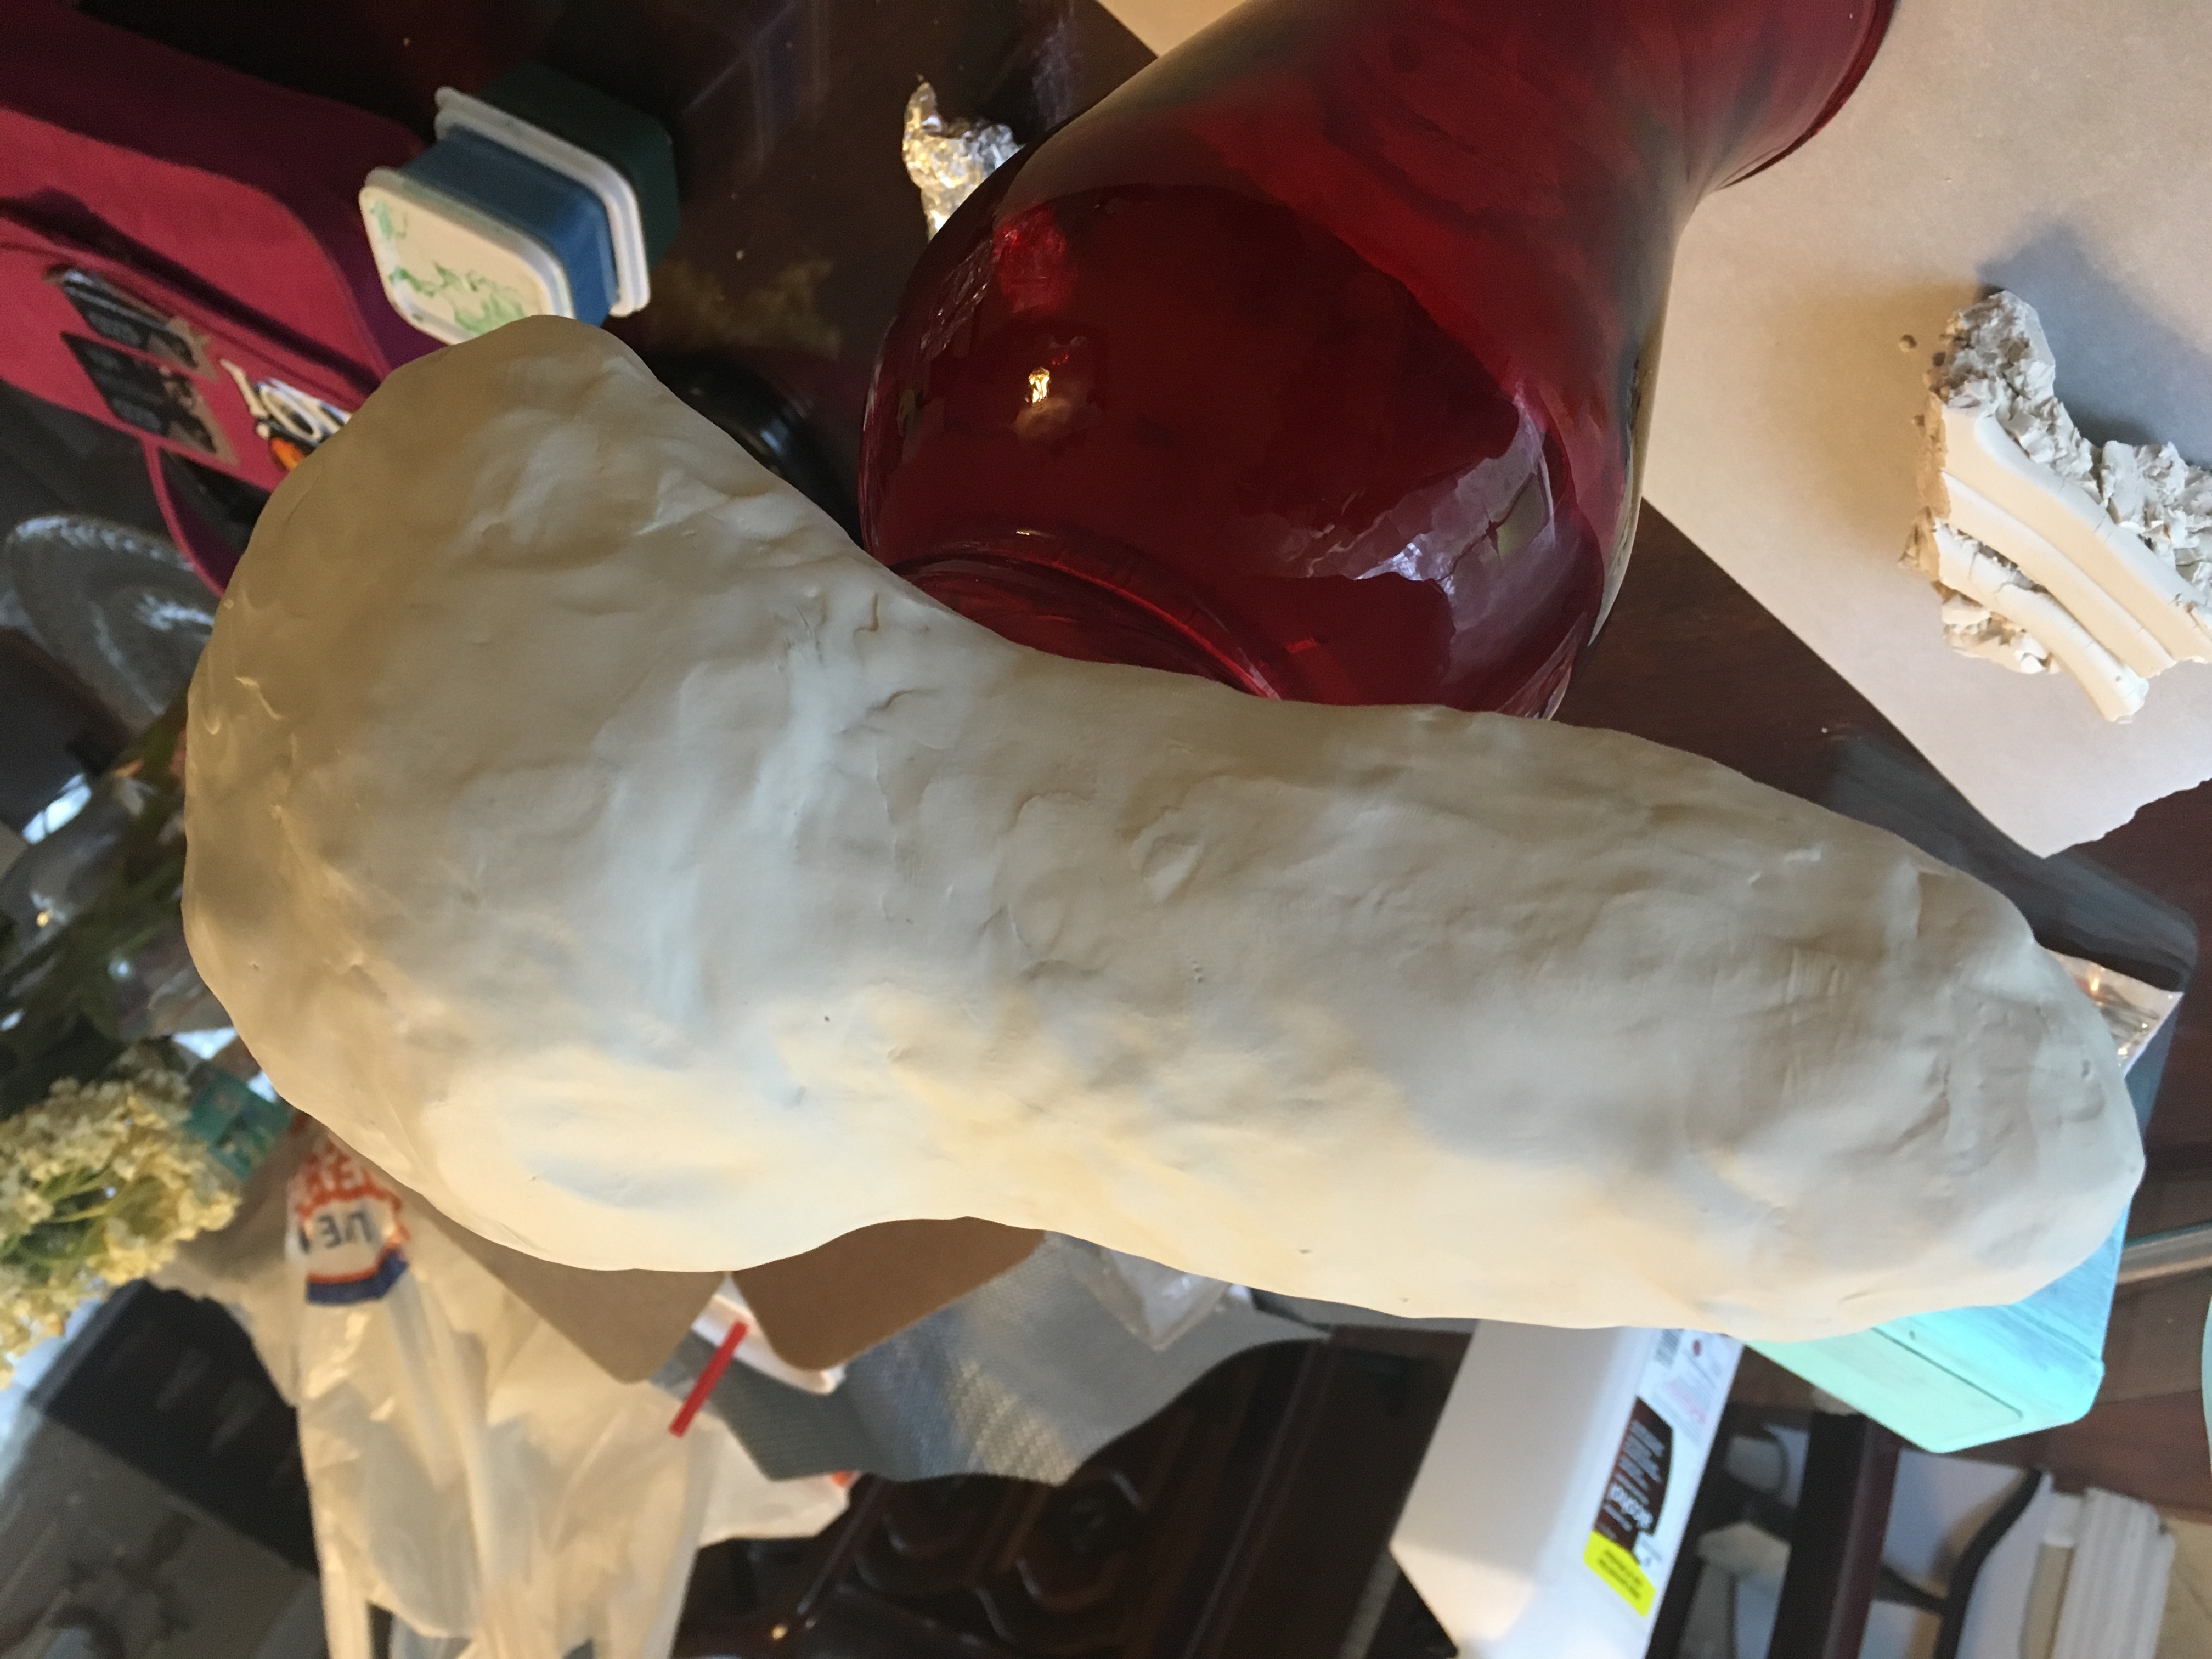
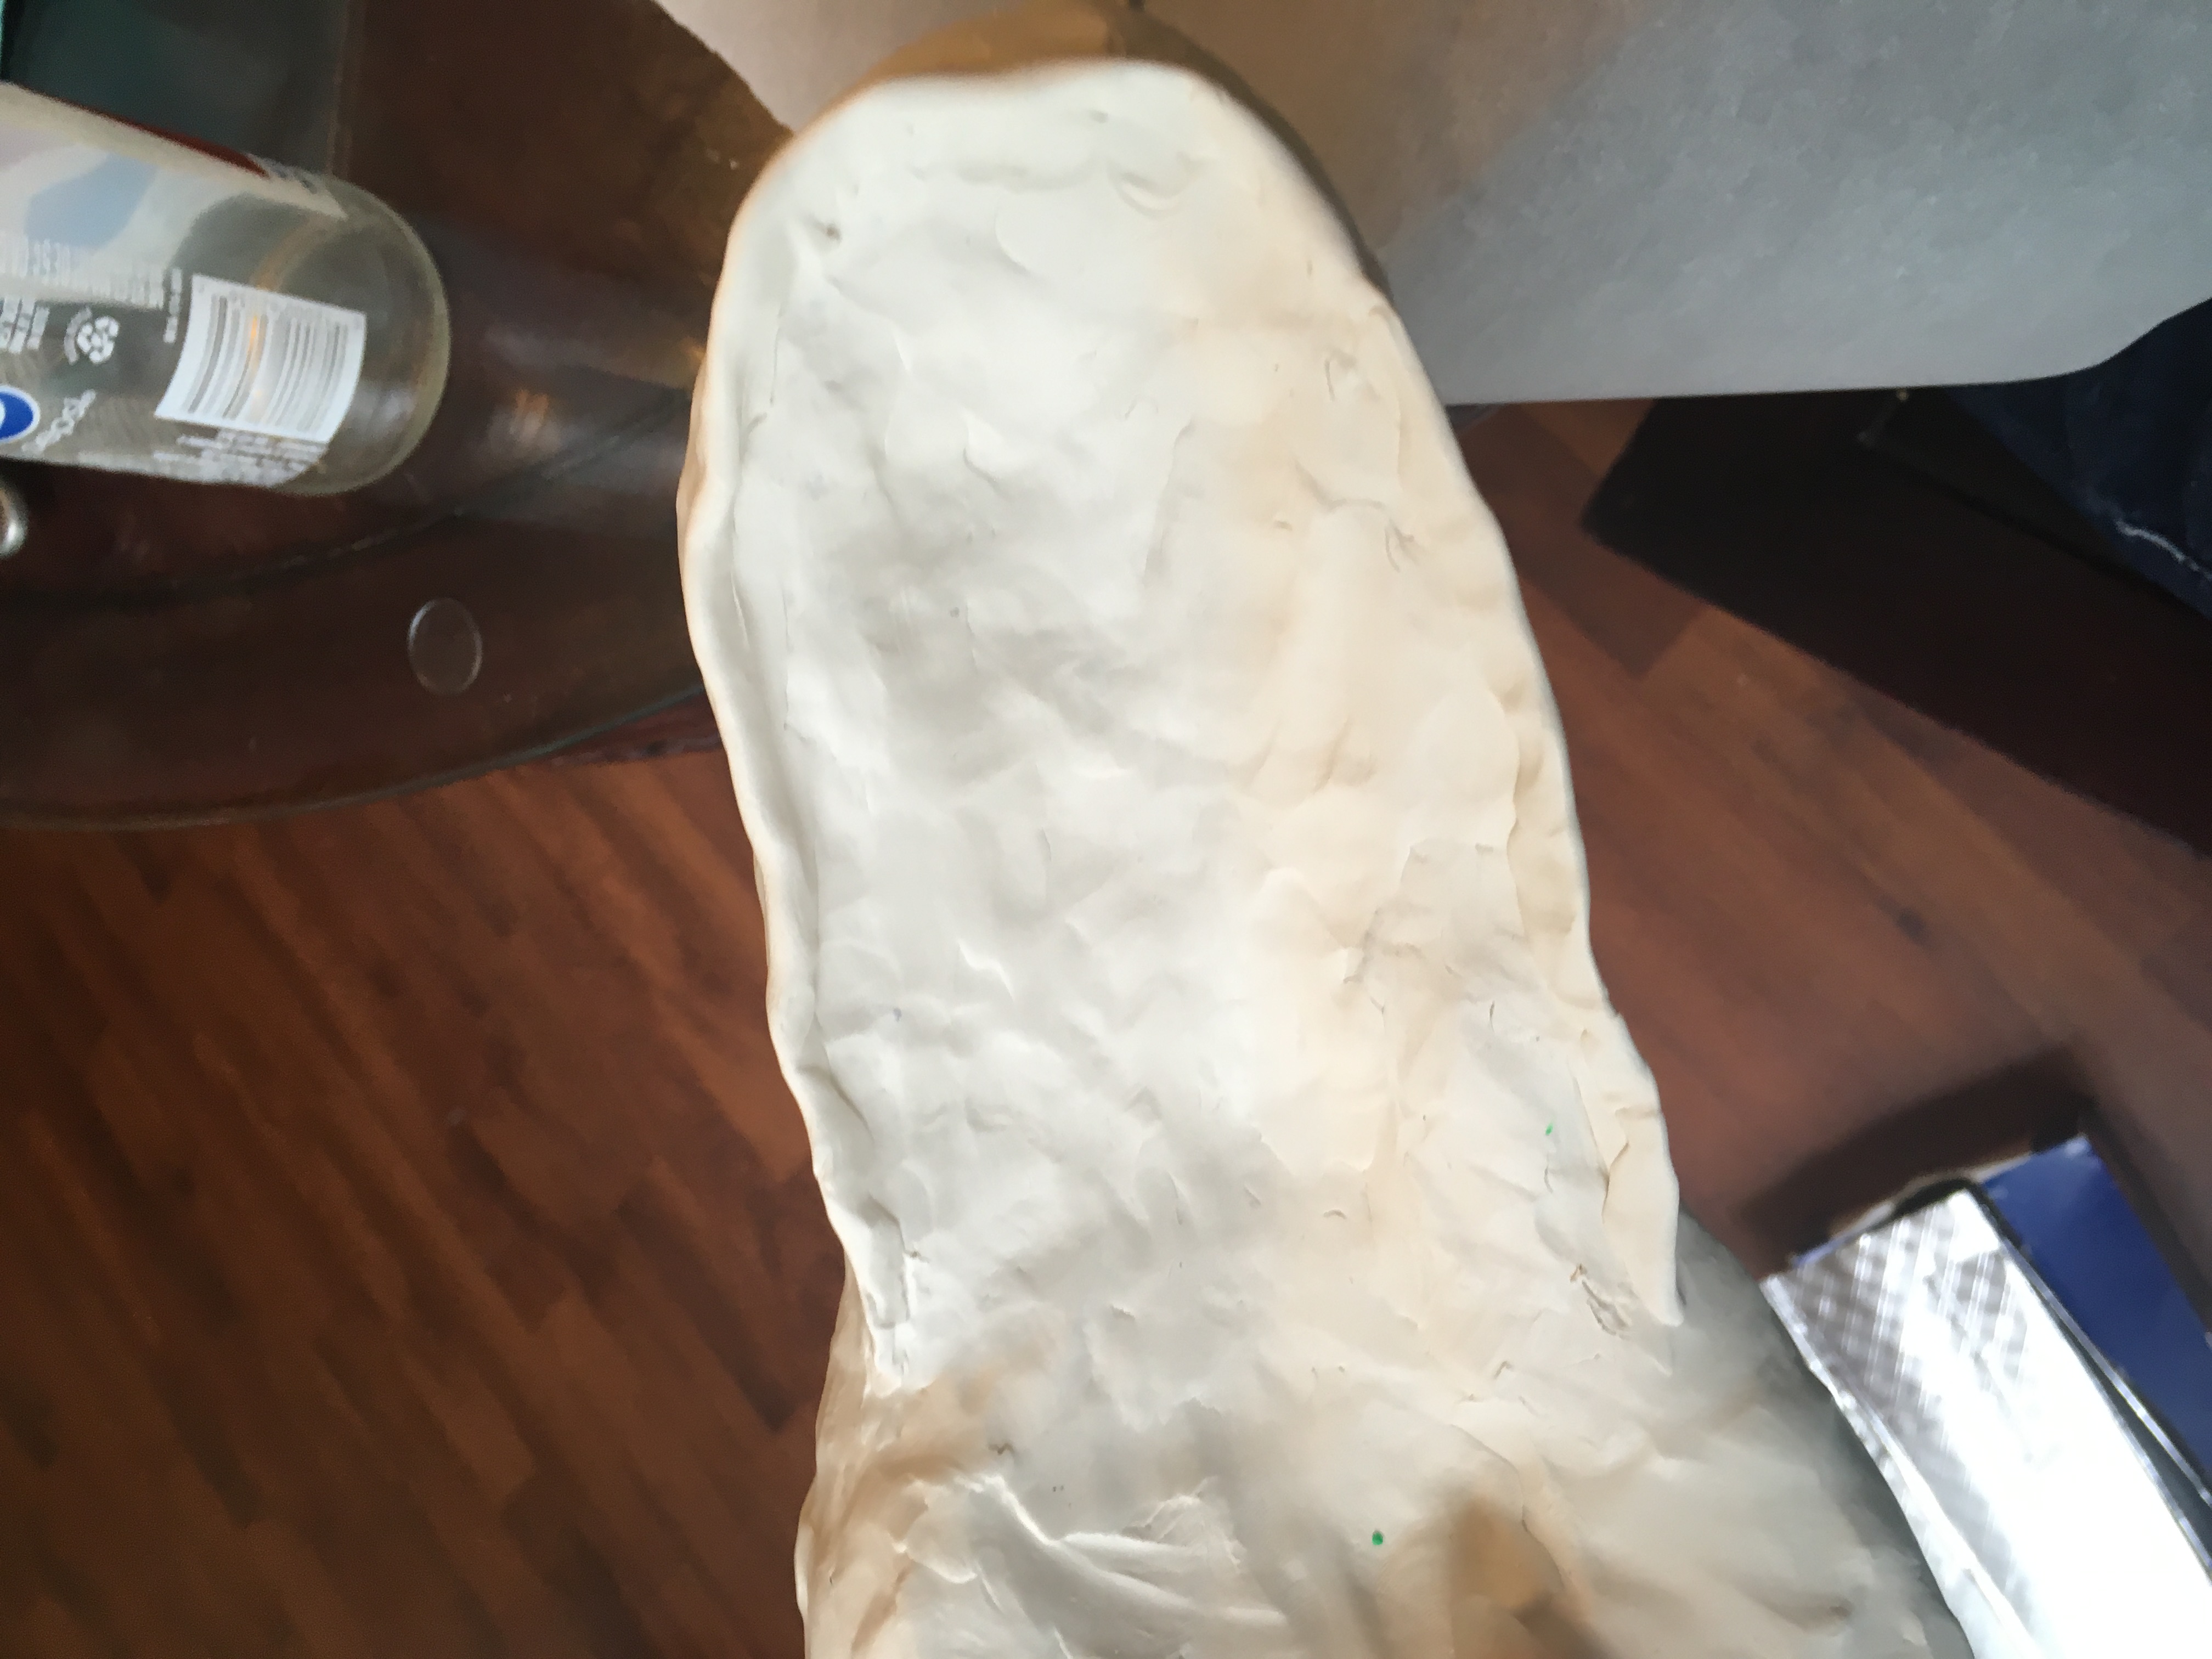
Roll out the clay and cover the dragon head base completely in a thin layer, and add more clay to smooth out the surface. Do not add too much clay as more than half an inch thick will make baking dangerous. Clay cracks if not worked with properly. Make this layer no more than a quarter inch thick and smooth out fingerprints with rubbing alcohol.
Adding eyes, Nose, and detail

Using two half balls of clay, gently press them on as eyes and roll out a thick snake of clay. Attach a piece of clay to either side just over the eye to define the bone and make the dragon look angrier. Attach two snakes of clay to either side of the nose, blending the clay seamlessly to make the snout snoutlike.
Bottom Jaw Foil
Fold a piece of foil up to the size you want the bottom jaw to be, and curve the edges facing out up to make the jaw look like an actual dragon jaw instead of a flat piece of bleh.
Covering and Attaching the Bottom Jaw
Using some pre kneaded white Sculpey, cover the entire jaw as you did the head and add some extra clay at the base of the jaw. Smooth and attach the lower jaw to the upper part of the head, supporting the base below the jaw on a glass bottle for stability.
Smoothing
Go over the whole dragon head with rubbing alcohol and get off all the fingerprints. Do not wet the clay too much or you will have mud instead of clay.
Adding Teeth
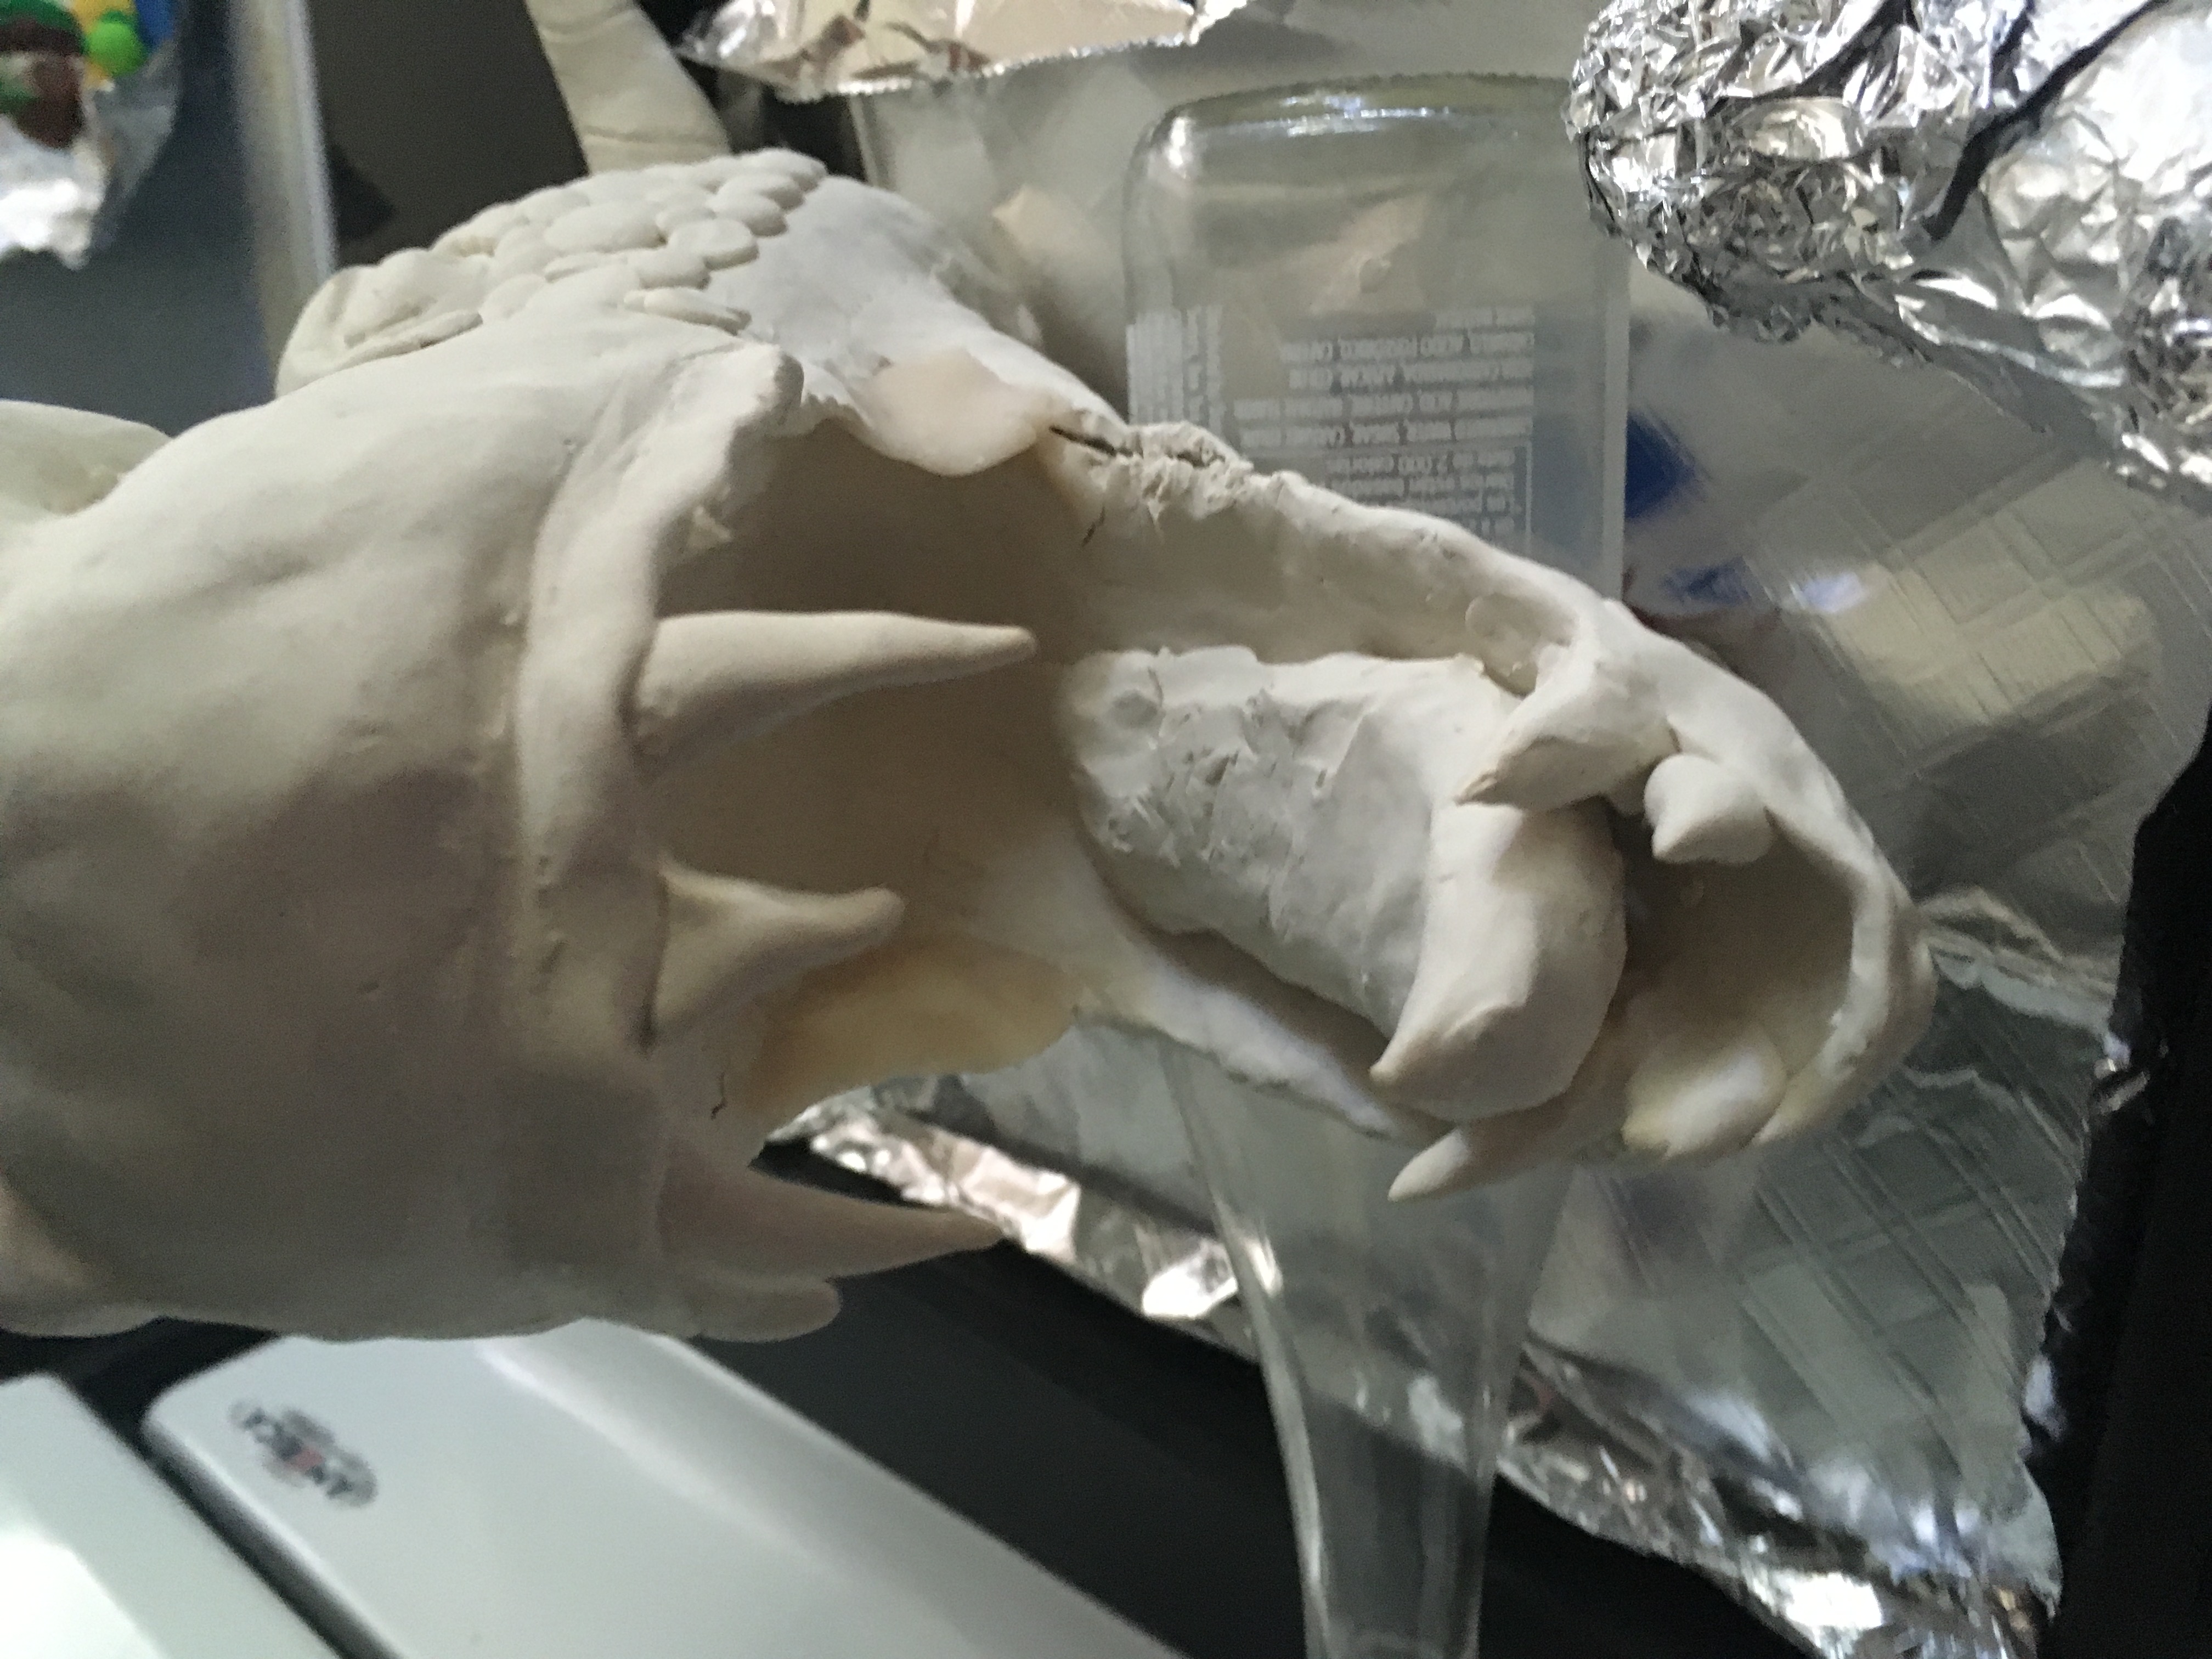
Make little tiny cones and attach them to the inside of the mouth, letting them hang out in the open. Make two top fangs longer to make him look more dangerous.
Horns
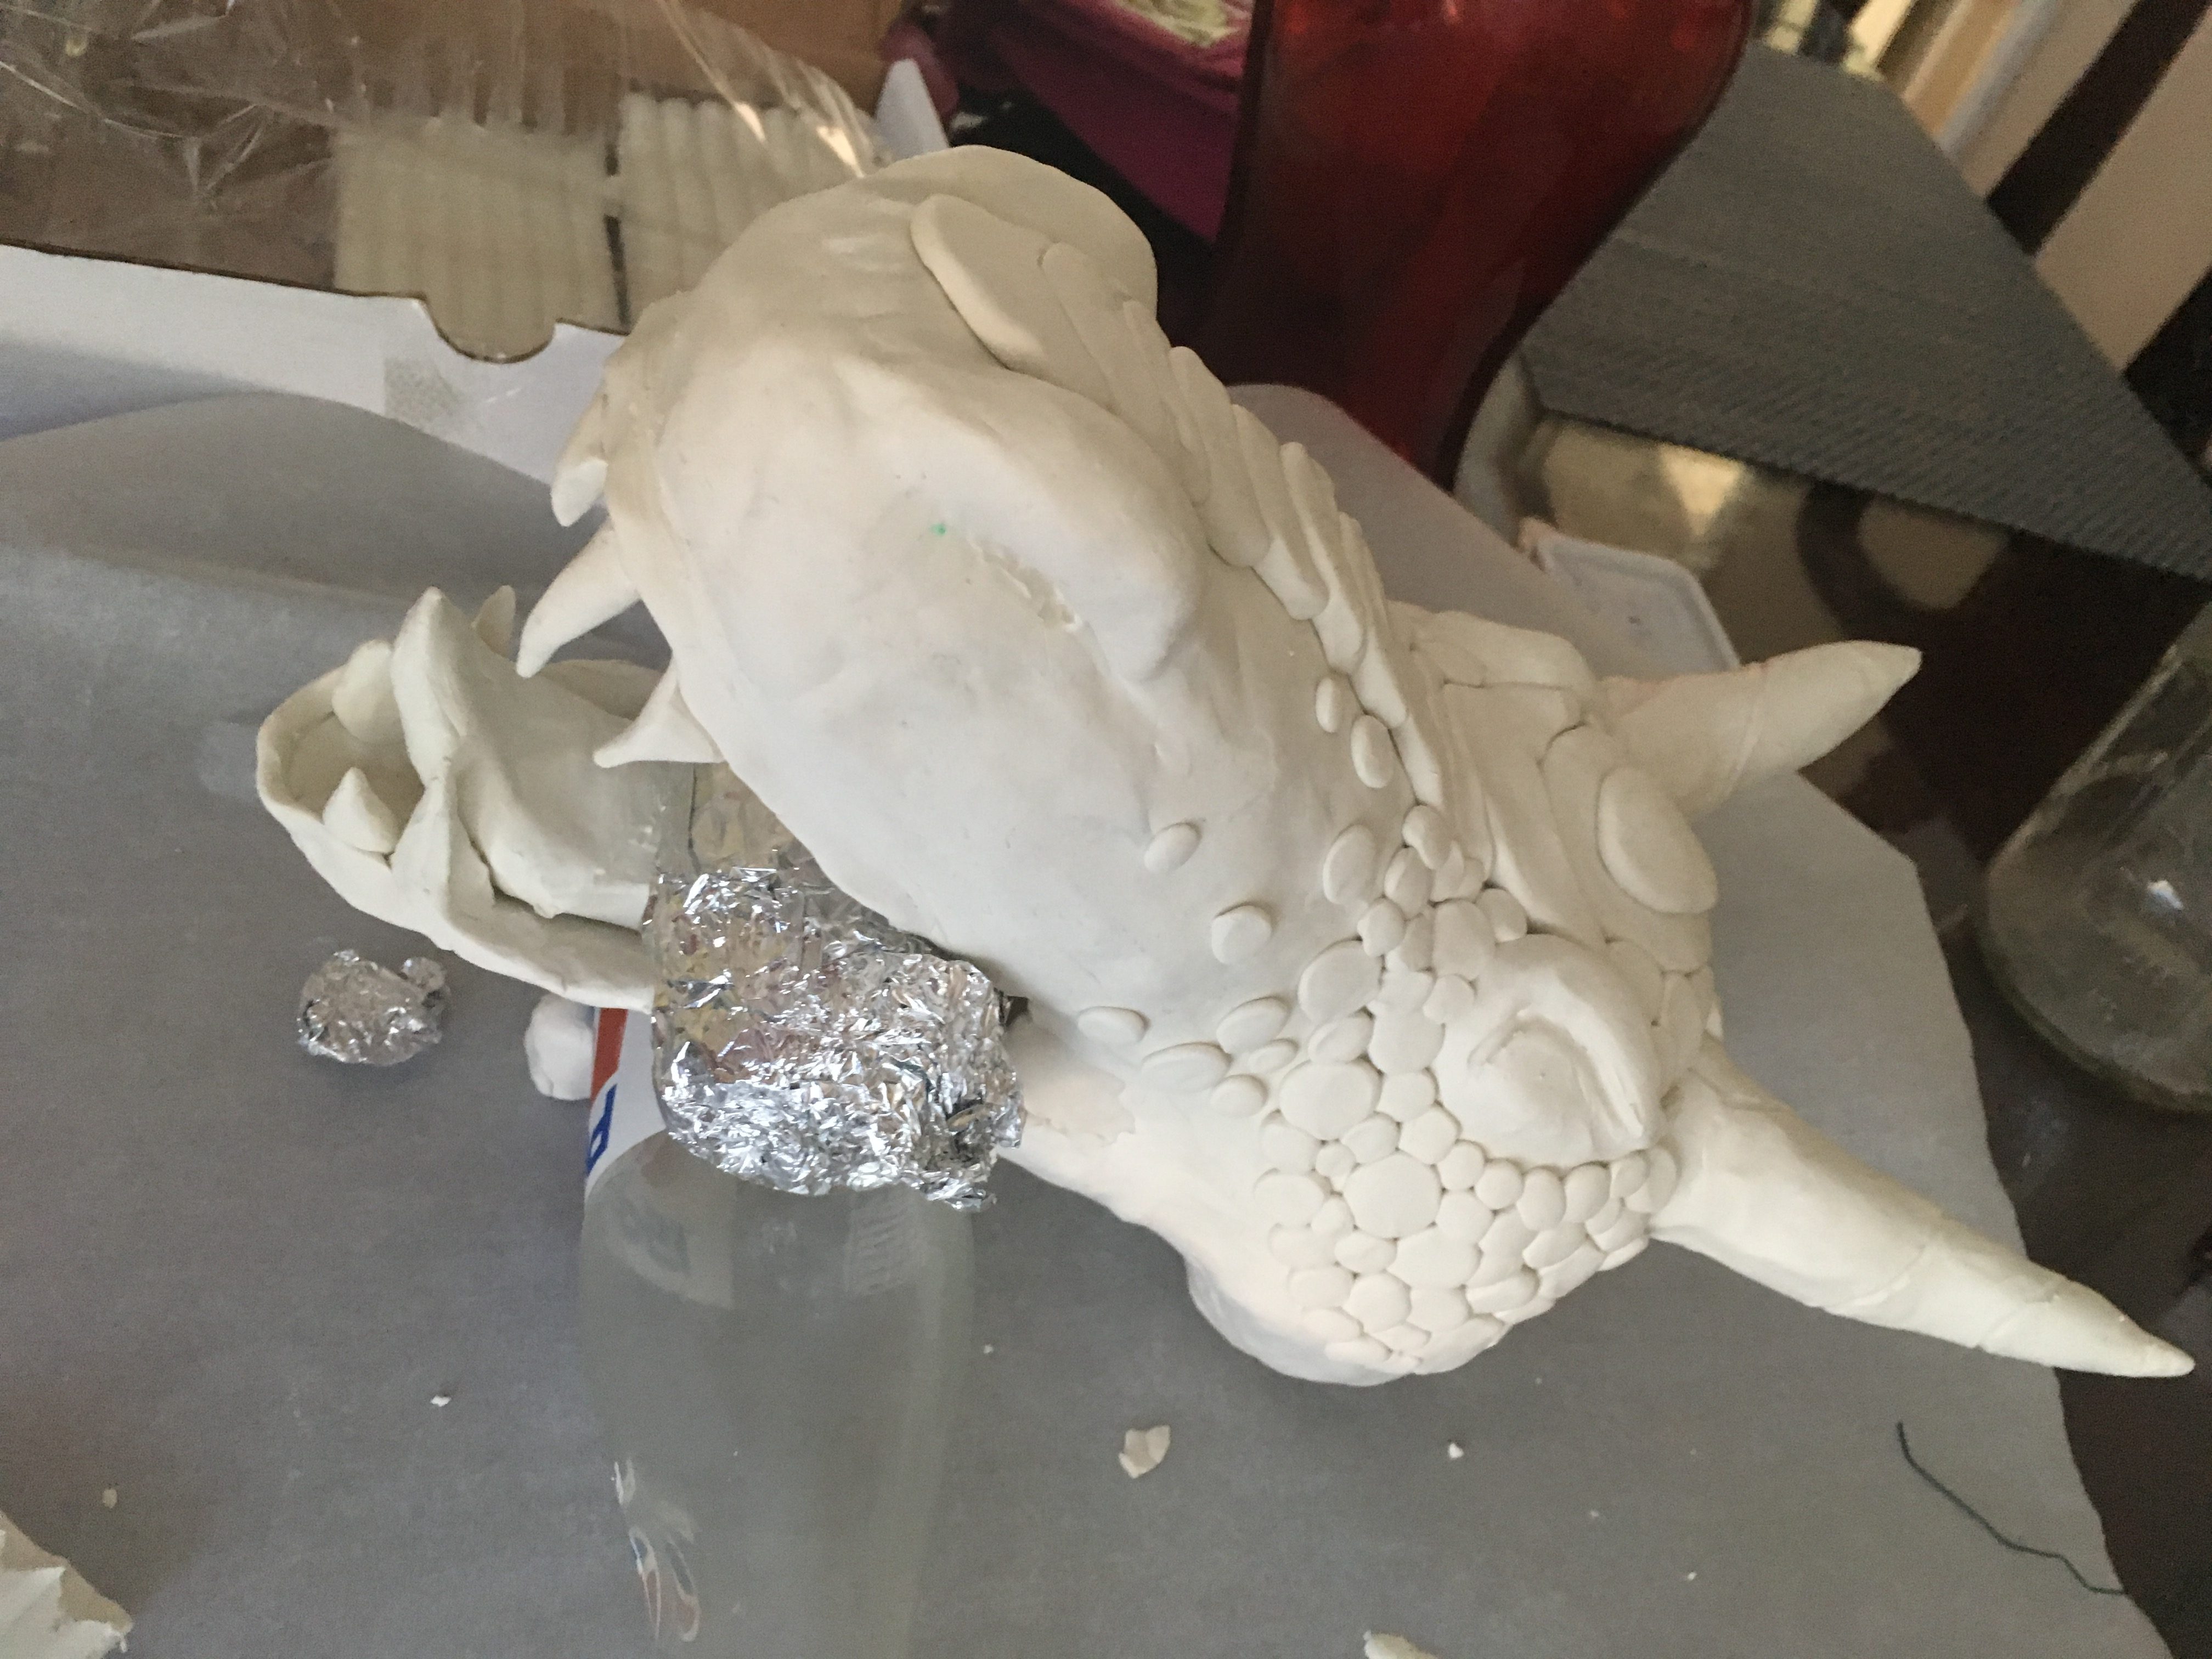
Make two foil cones and cover them with foil, attaching them to the head and smoothing the clay down as was done for the lower jaw.
Cooling
Because your hands are warm, the clay will be softer. Allow the clay to cool off for a few hours or overnight before continuing.
Scale Work
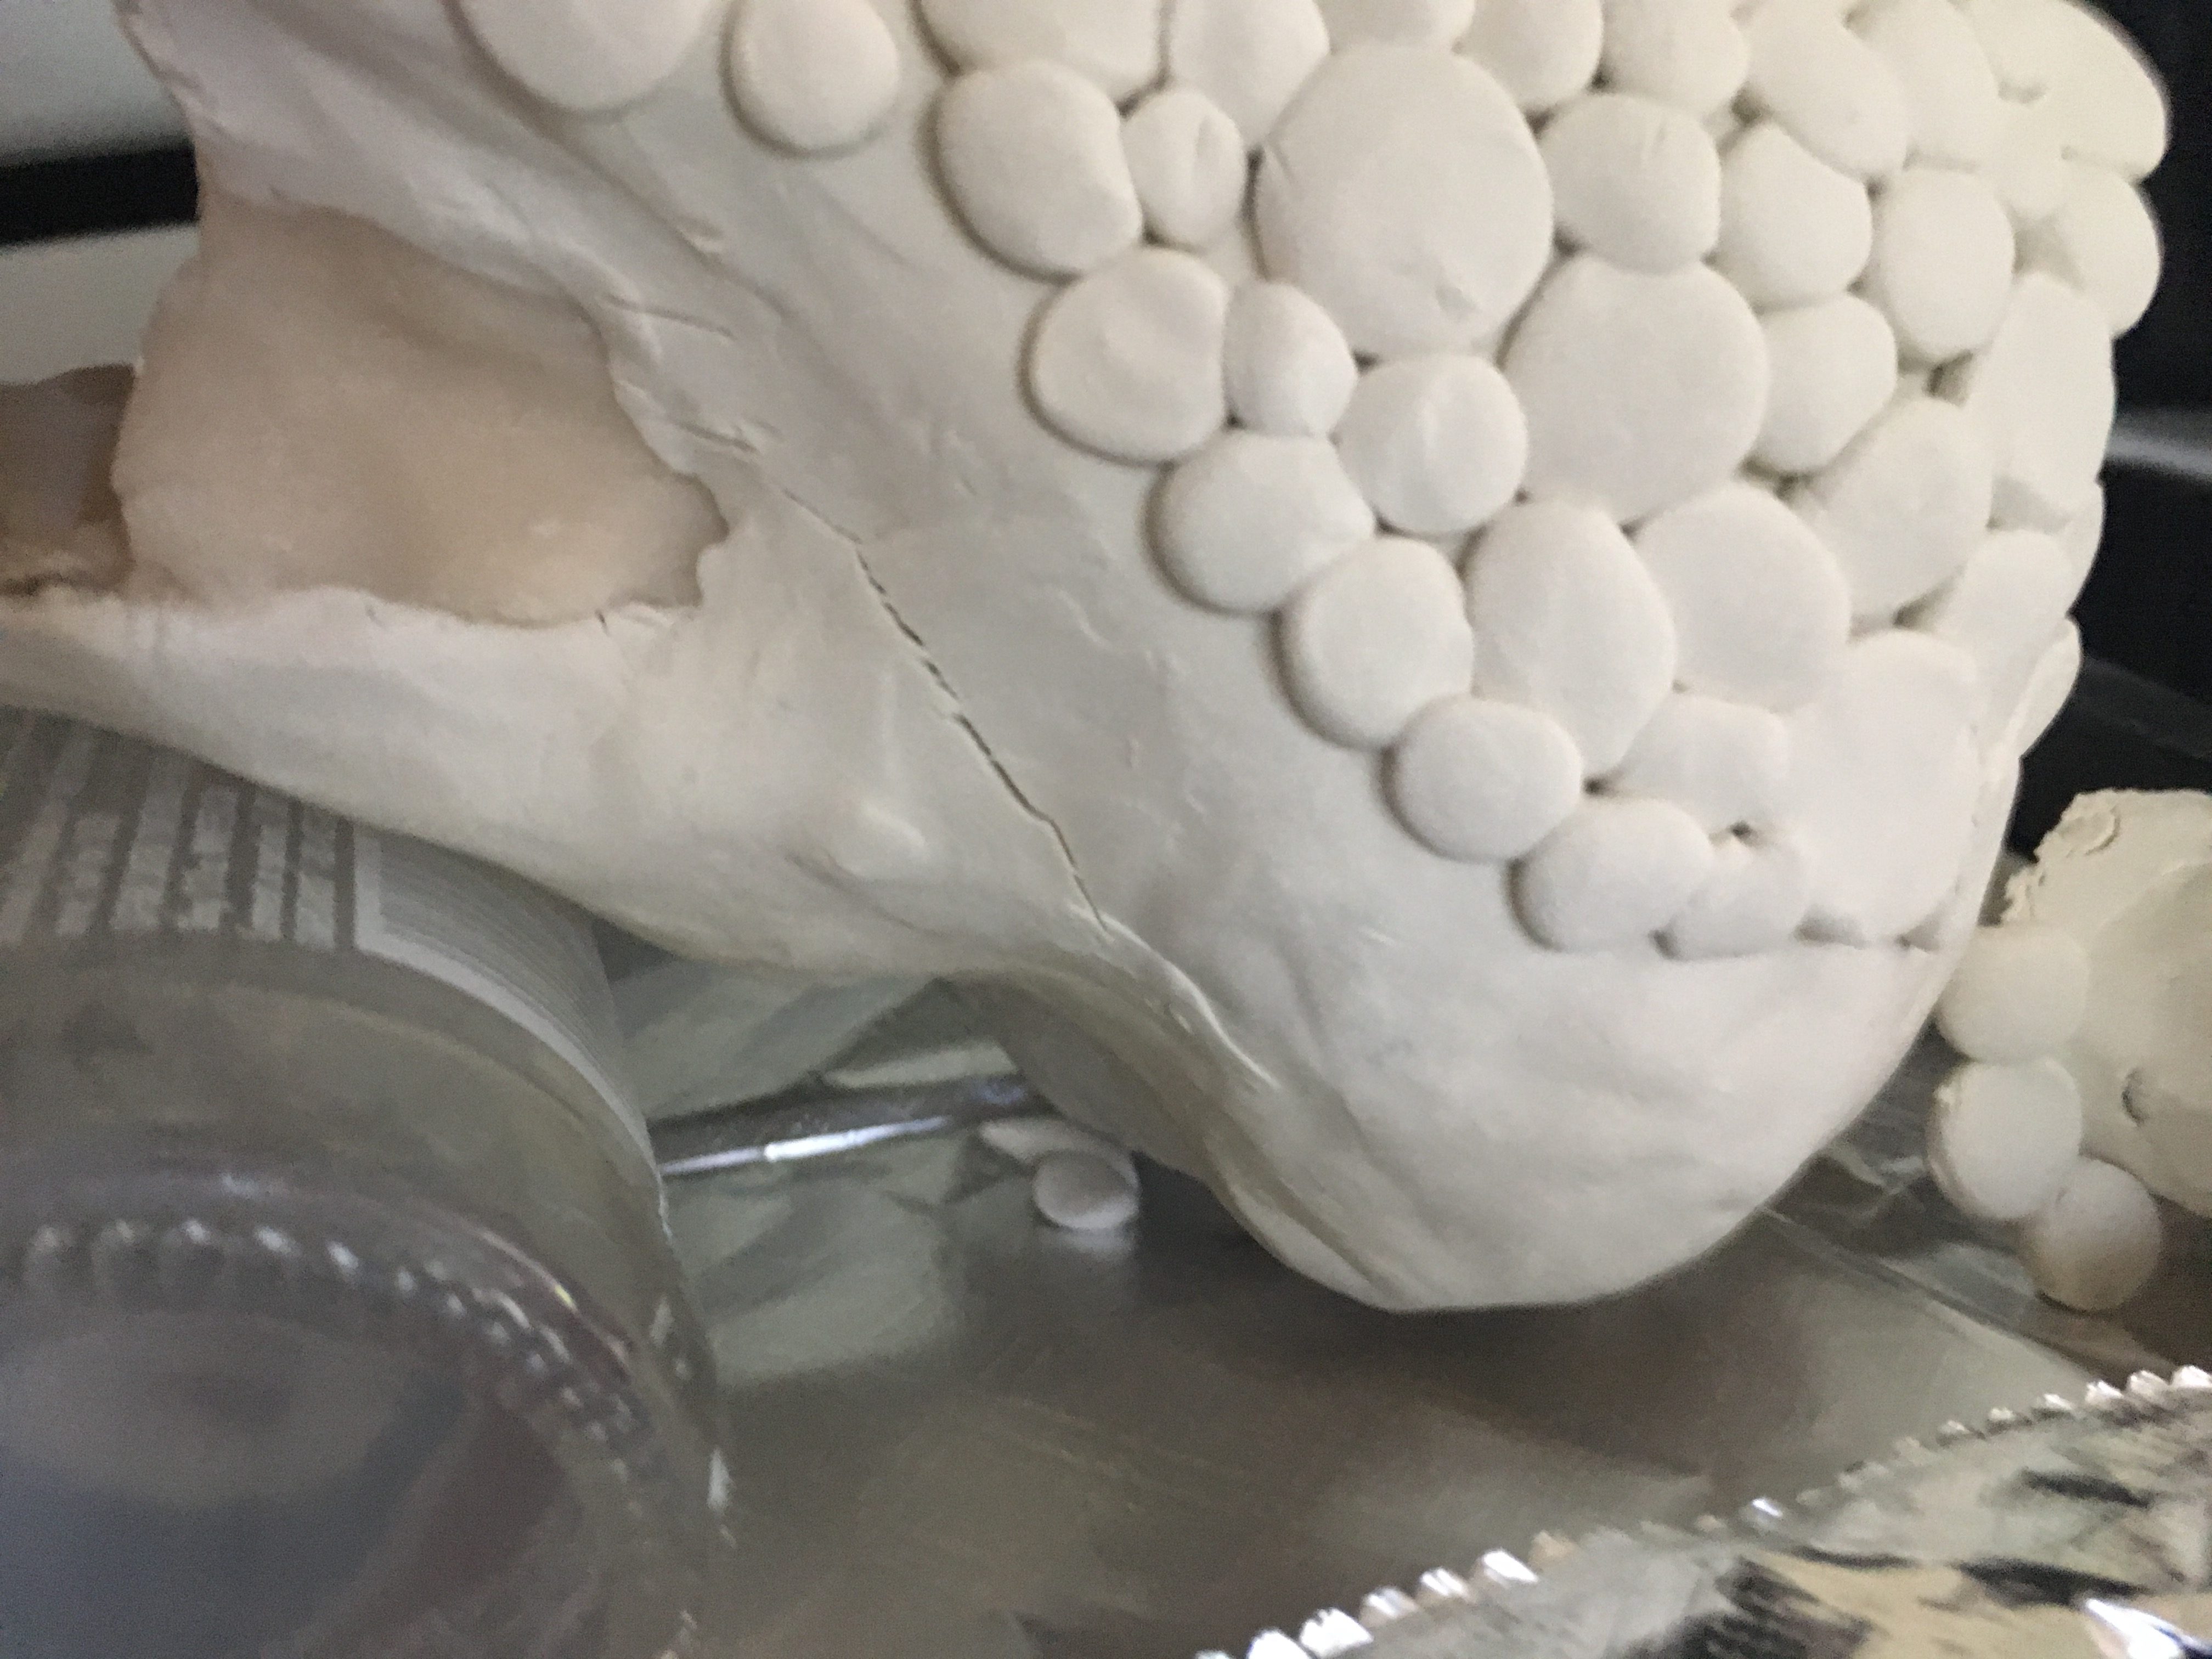
The next morning, make a whole bunch of little balls, of varying sizes. Squish them gently on the dragon where desired for an easy scaley effect. This trick works well for mermaids too.
Baking
After all details have been added, time to pray to the Sculpey gods and preheat your oven to 275. Pop him in the oven carefully for about 20-25 minutes.
Cooling Again
After you pull the dragon from the oven, do not touch it for at least one hour to prevent damage to the clay. Set it on the counter and walk away. No touchy.
Removing the Supports
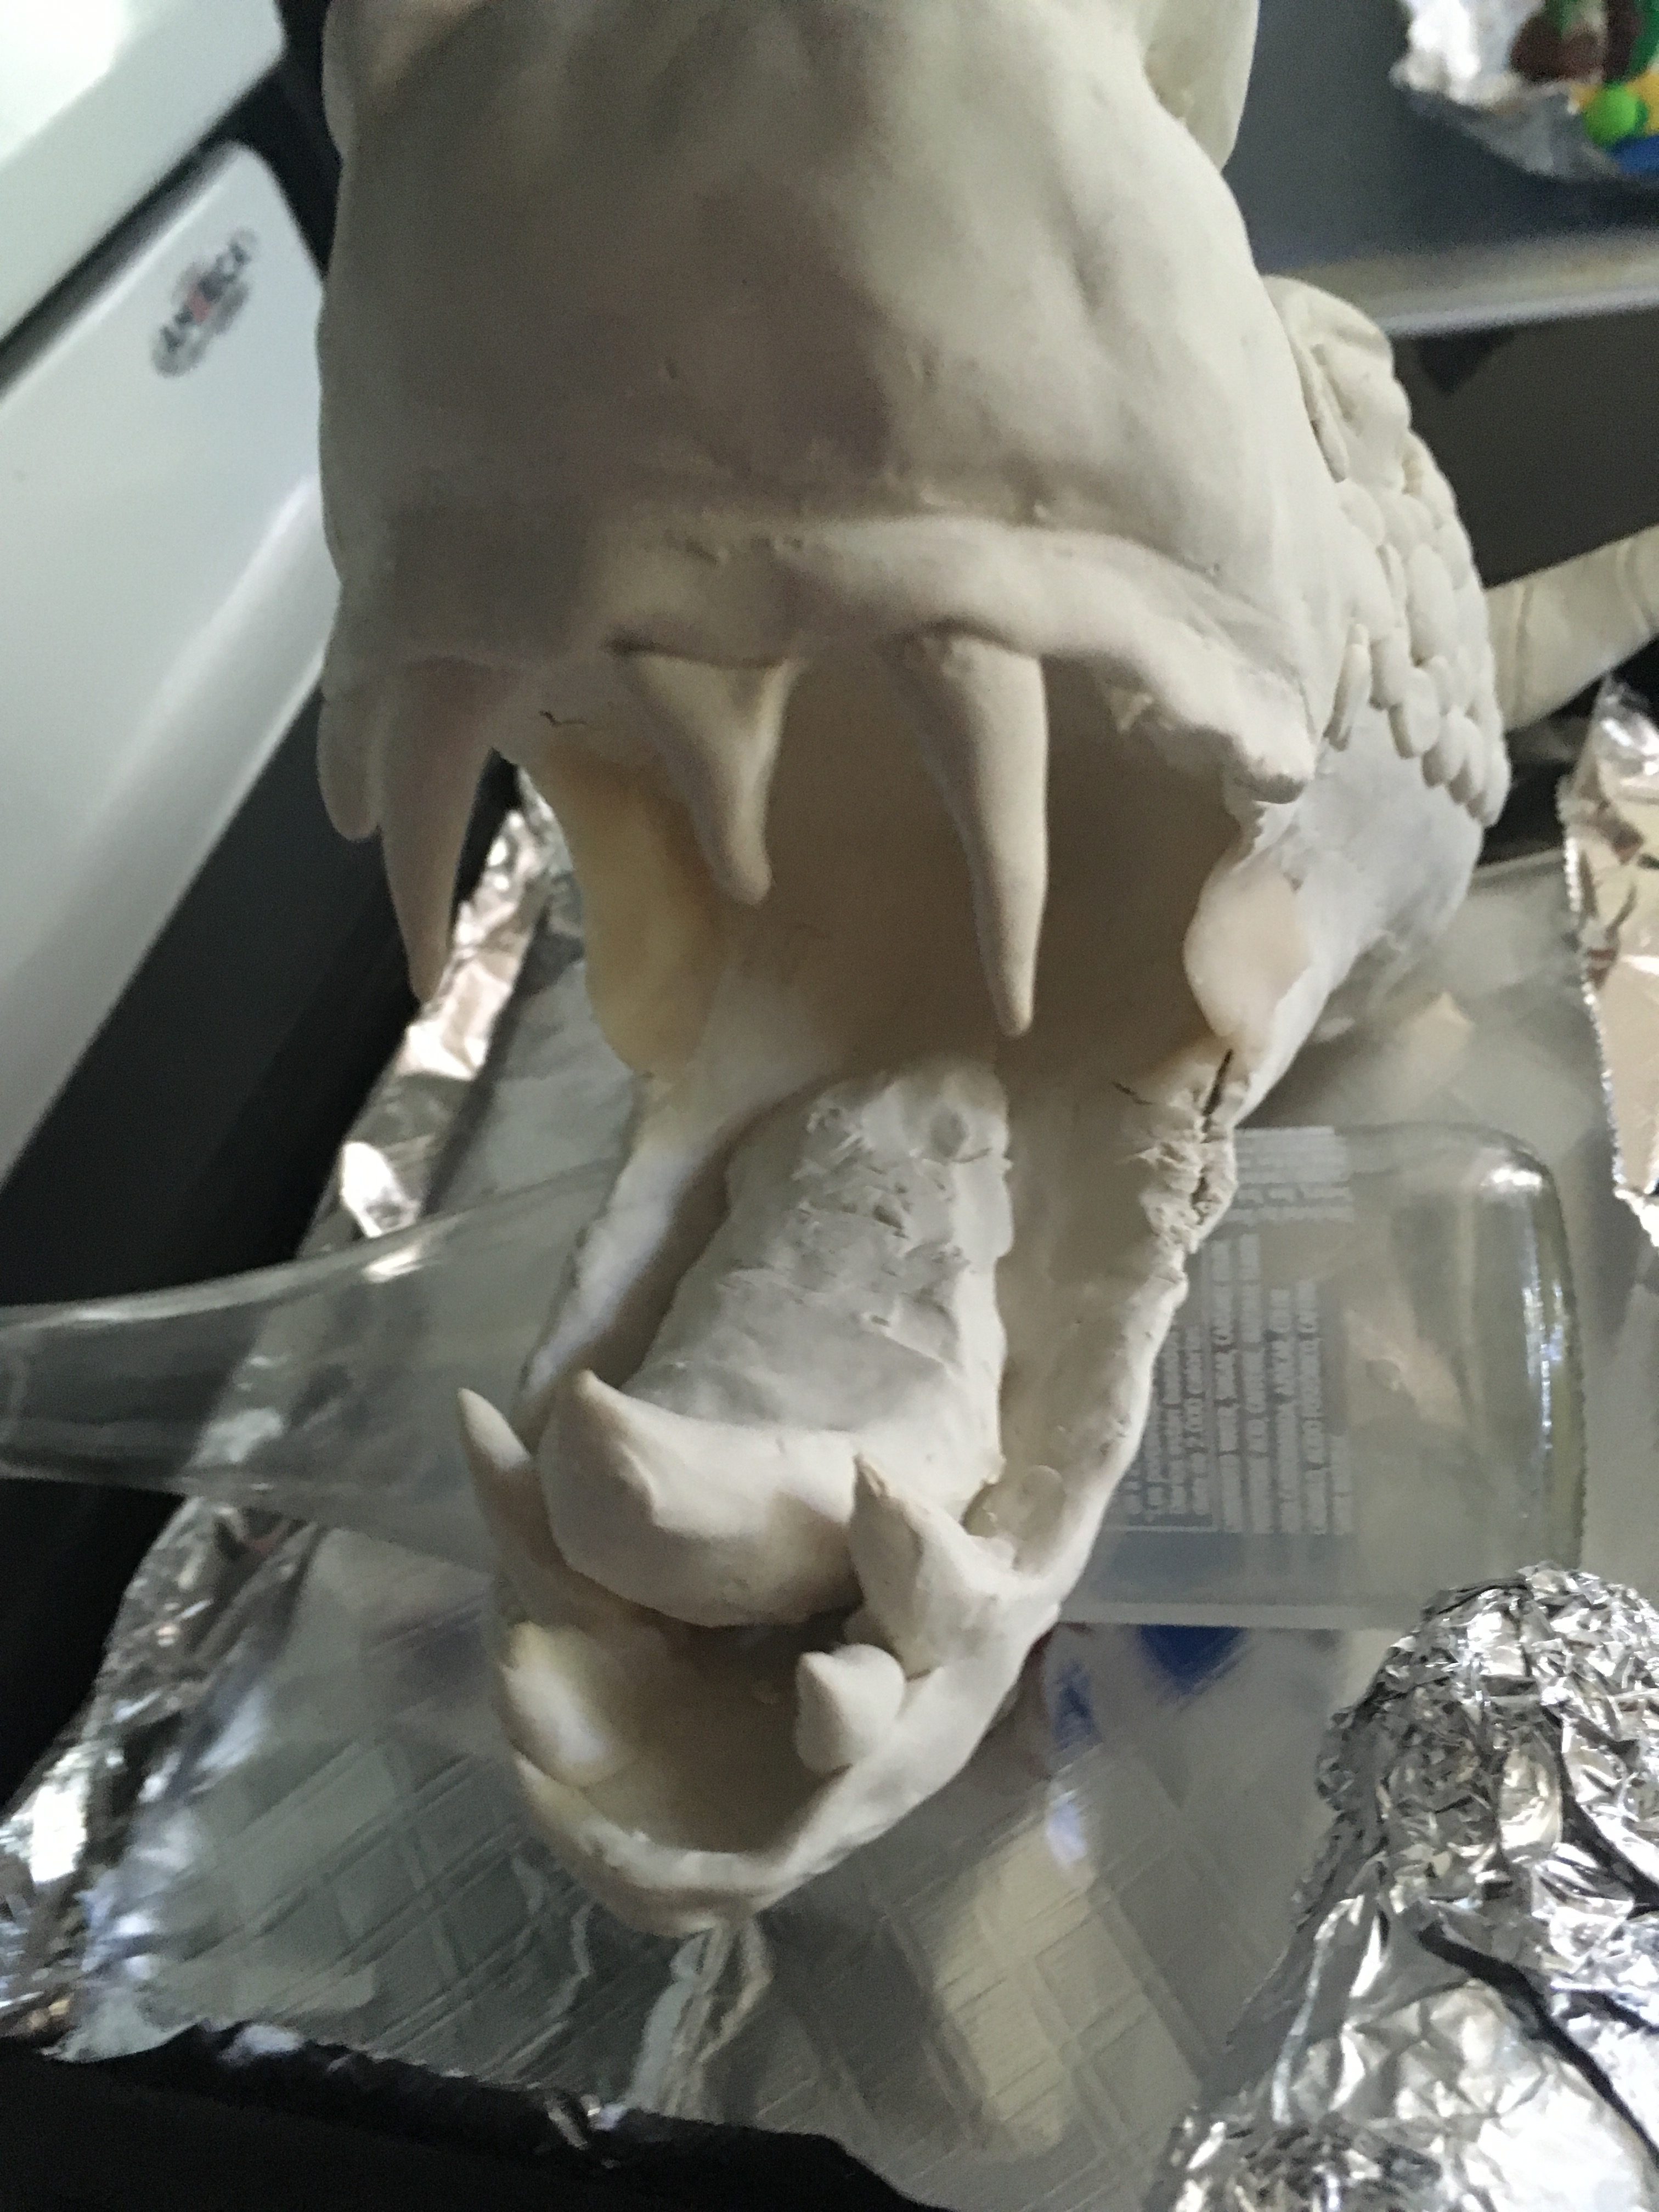
After the clay has completely cooled, pull the coke jar out from under his head. If you are lucky, the dragon will be stable just like that and will not break. Be careful with the lower jaw however, as it will be more fragile.
Finish

And the dragon is done. If you sculpted it with a tongue, it has a ring holder, the horns are great for necklaces, and the teeth are great for biting off the hand of whoever dares disturb your treasure. Good luck and happy crafting!