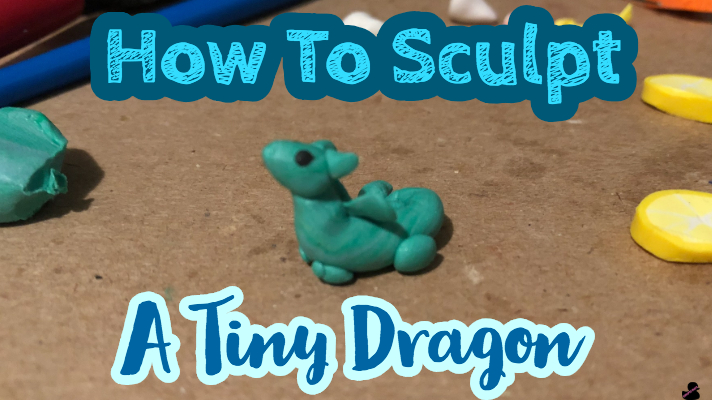
Tiny things are always so adorable, and dragons are always in style. In this tutorial, you will learn how to sculpt your own teeny tiny Miniature Polymer Clay Dragon just big enough to have his own piece of popcorn. This little friend is less than half an inch tall, and a very curious dragon.
What you will need
- Steady hands
- Polymer clay in any color and black
- Dotting tool
- Oven
- Pan for clay
Visualizing the Miniature Polymer Clay Dragon
Start by thinking of the shape of the little friend. He should be just like a normal dragon laying down, with teeny tiny paws. Try to simplify the design as much as you can.
Making a Bunch of Blobs
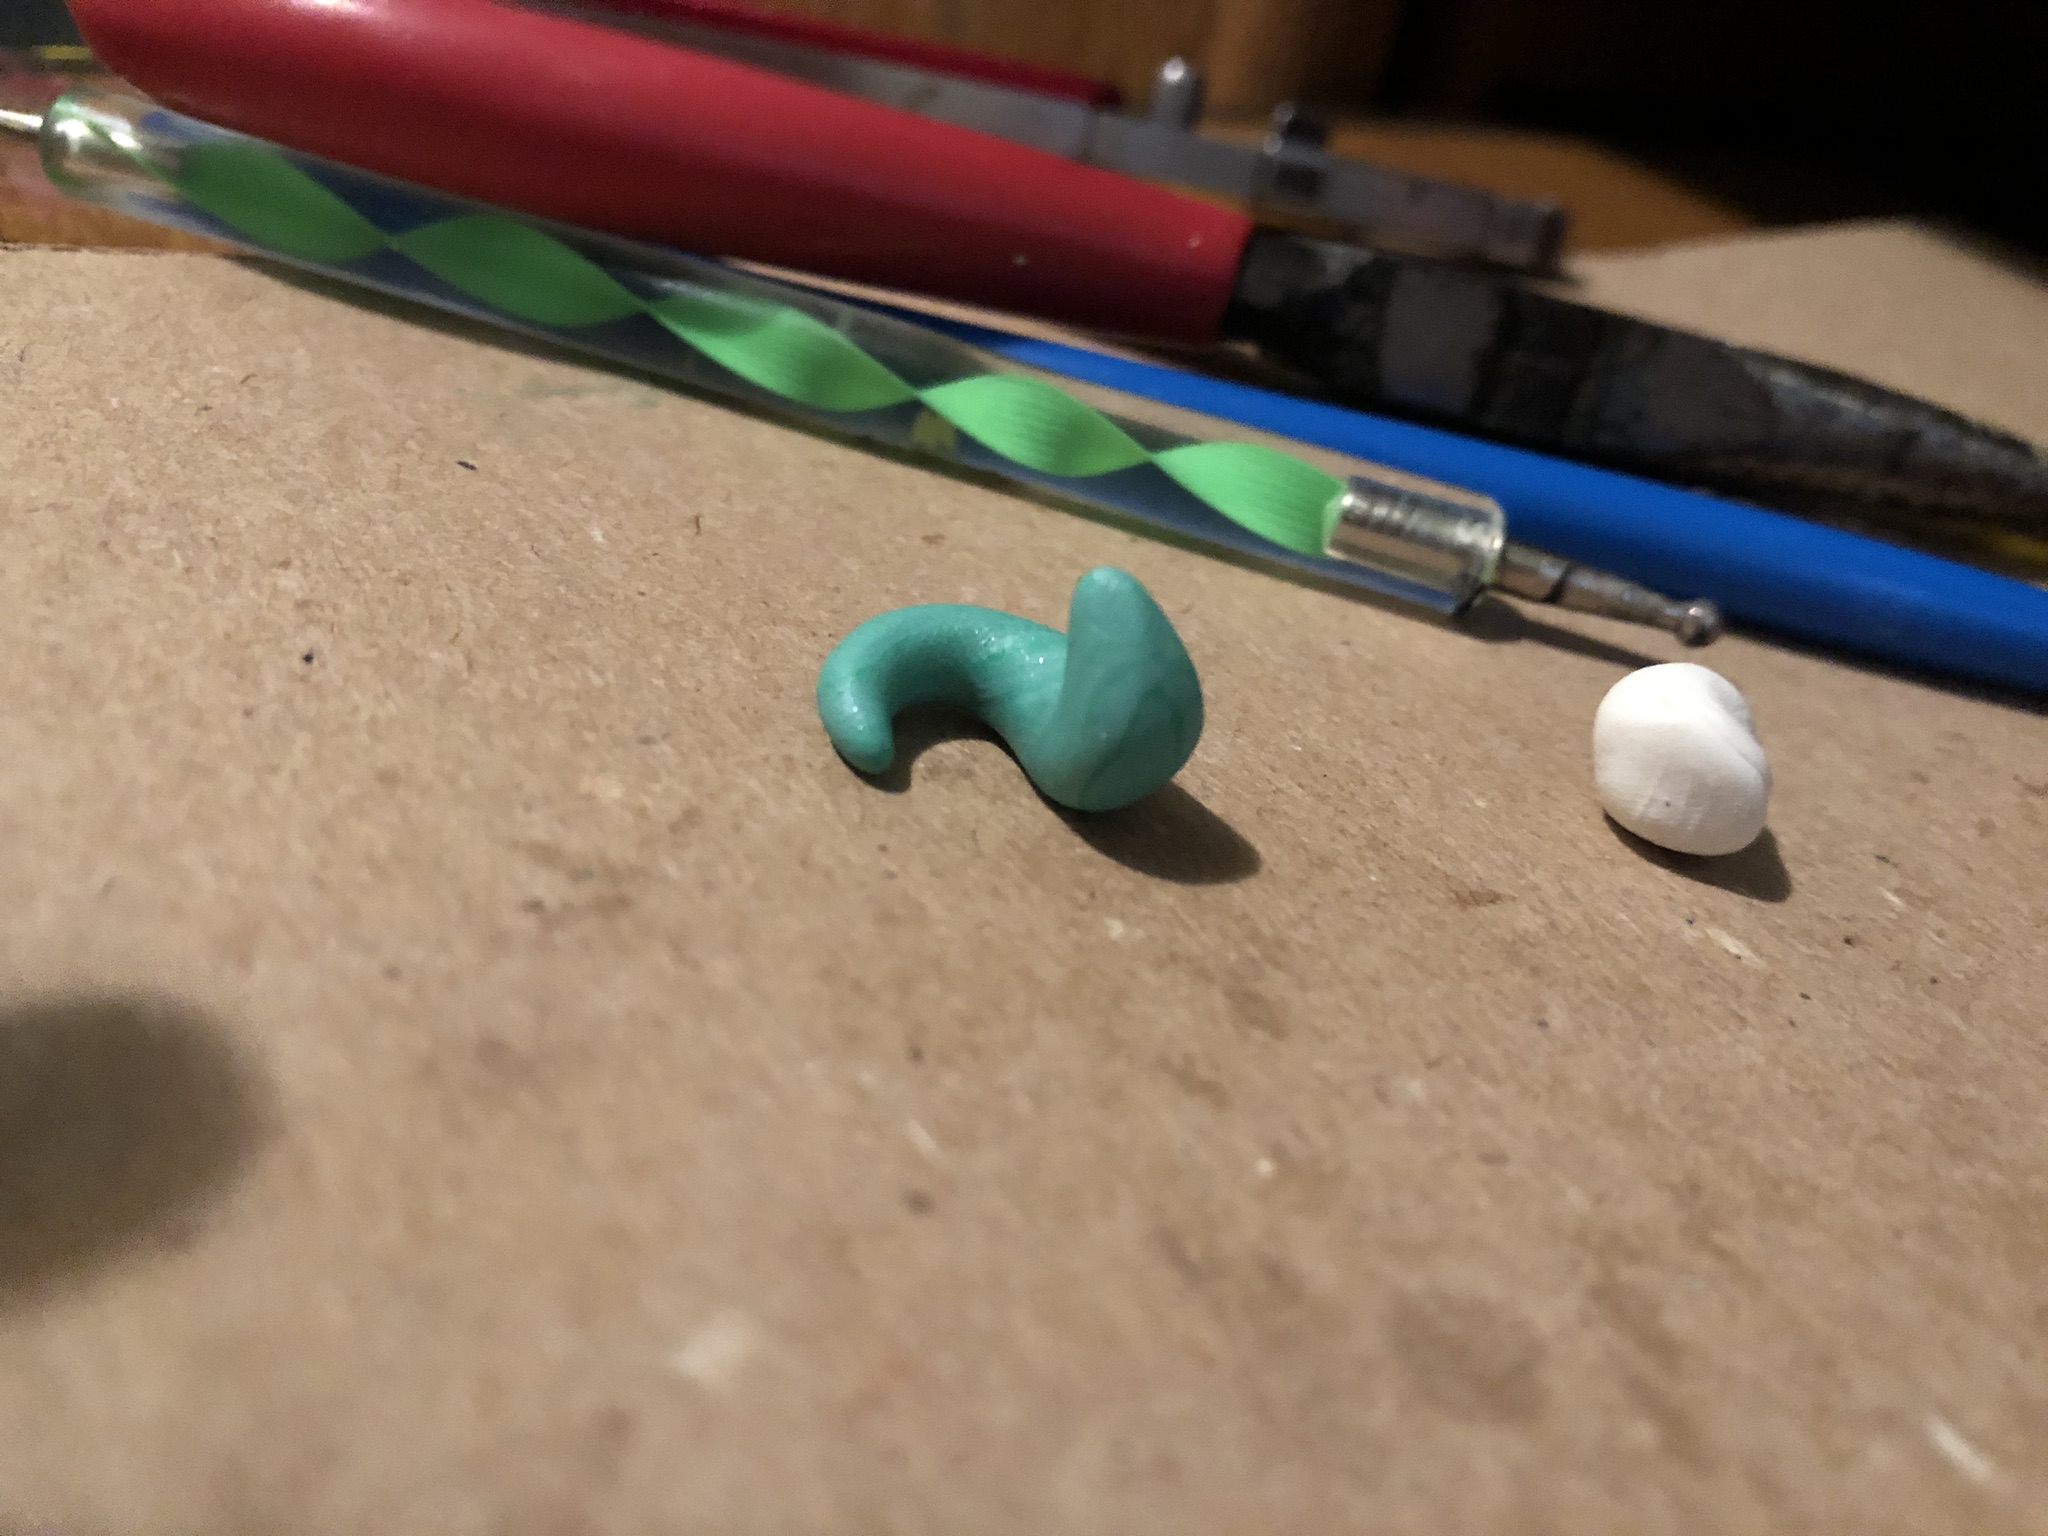
Make a tiny blob of clay for the head, a blob three times as big for the body, and four tiny blobs for legs. I chose a teal color but you can choose any color you want. If you choose to make a black dragon, use tiny white dots for the eyes.
Sculpting the Head
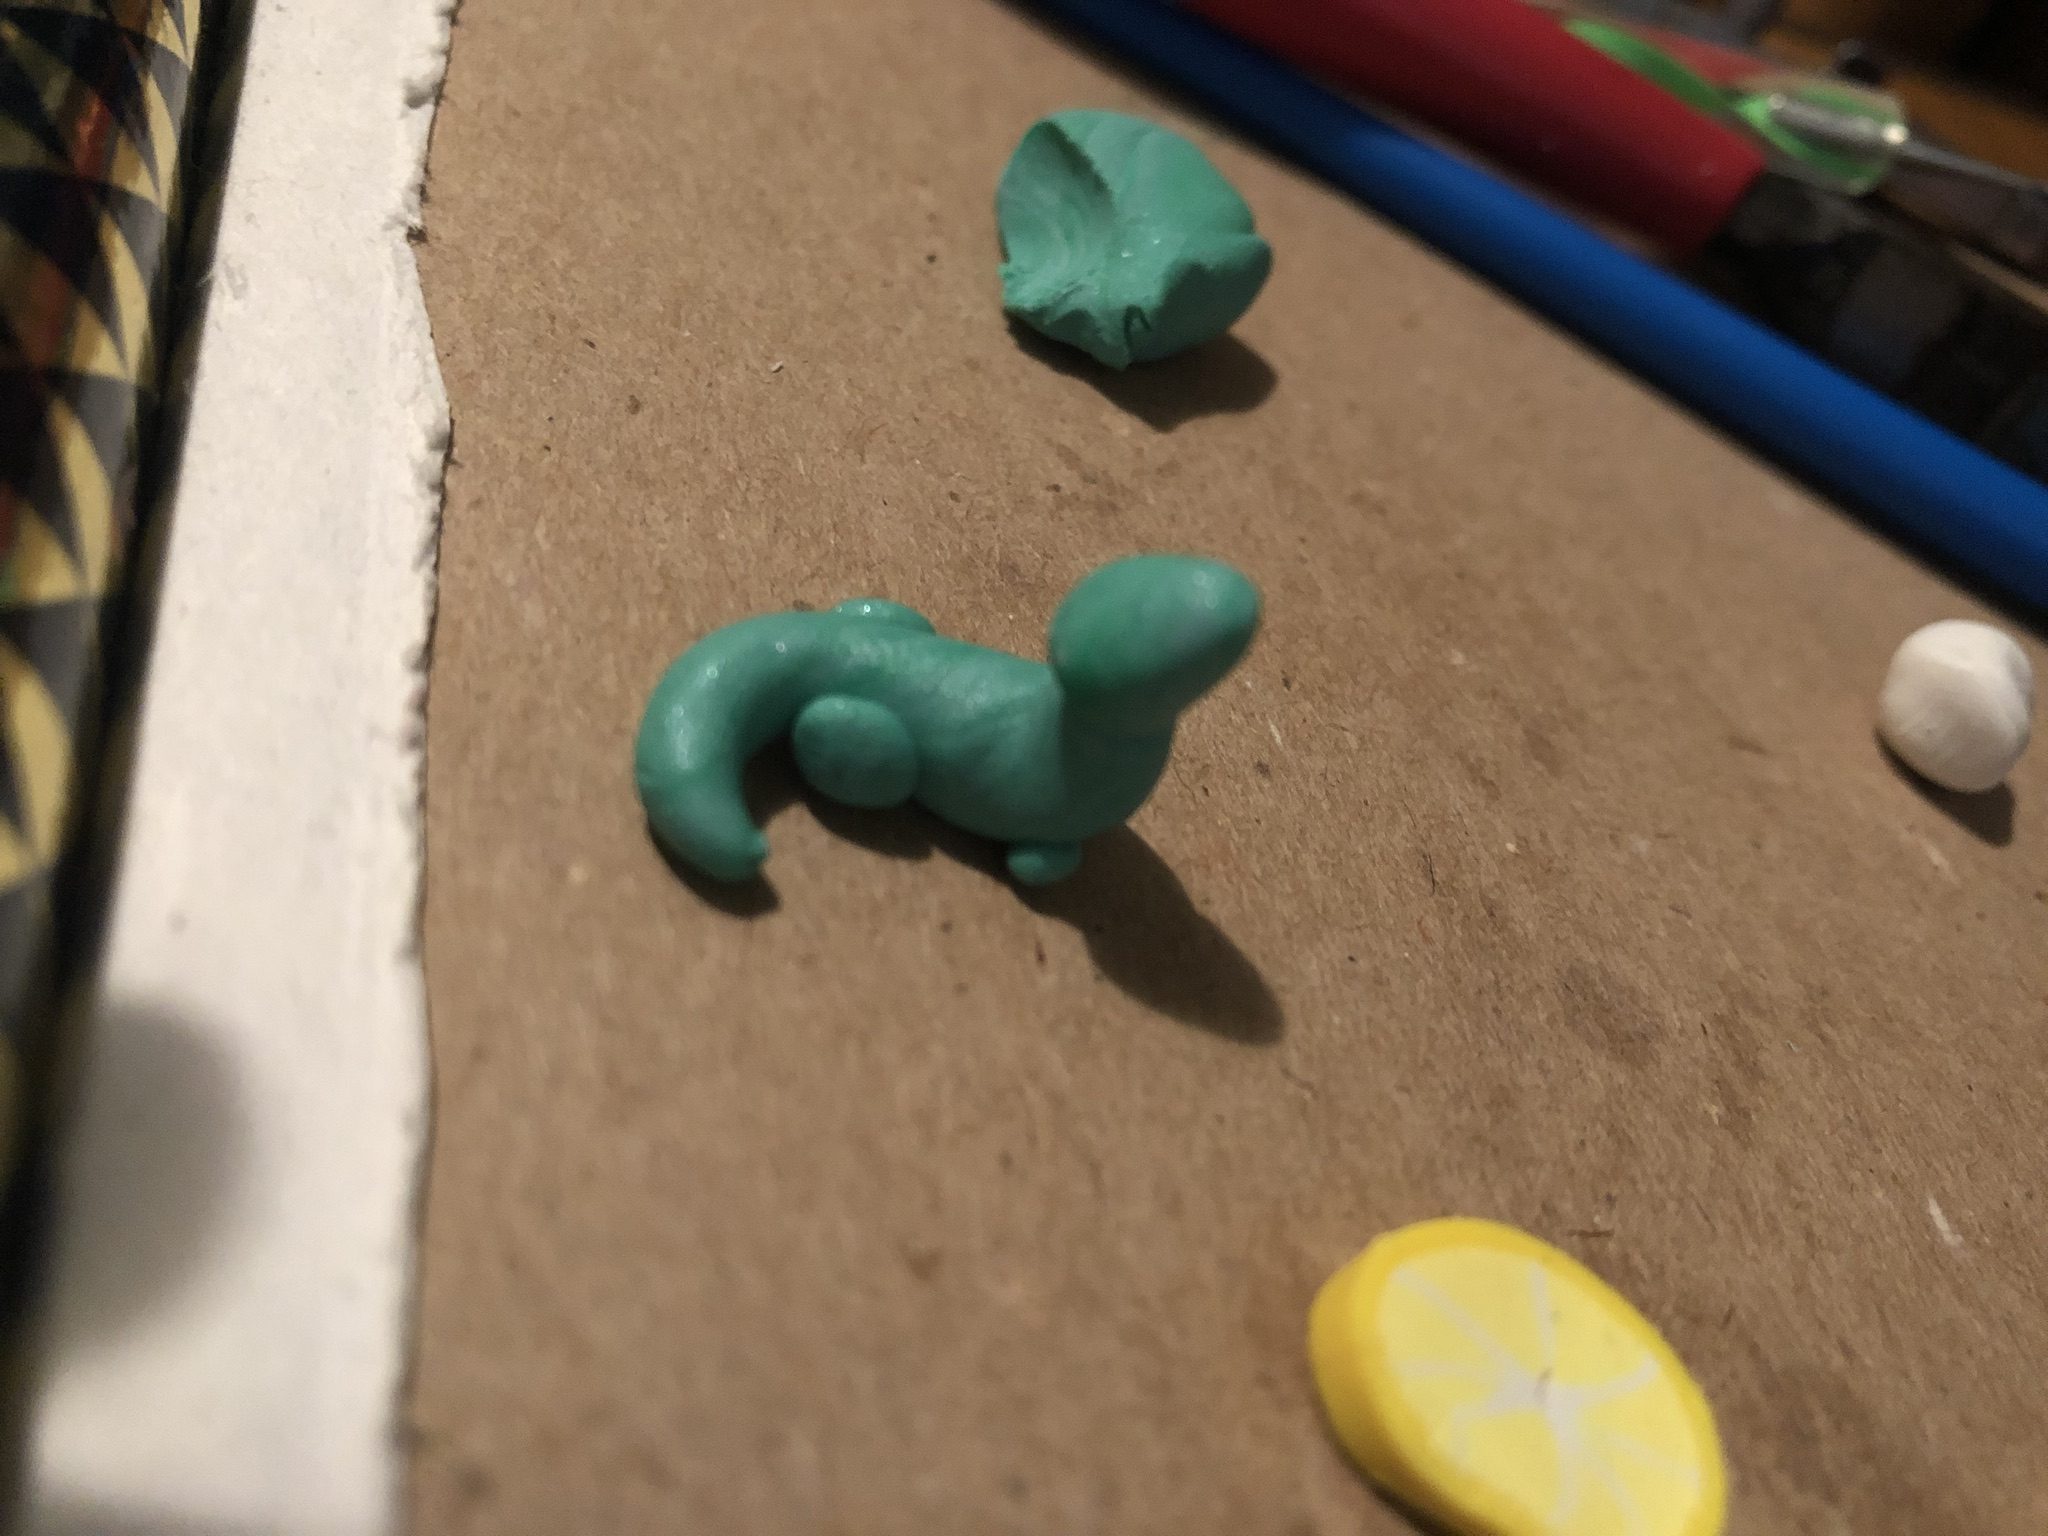
Sculpt the head like a smooth teardrop, with the nose rounded off and the face generally pretty fat and cute, like a tiny baby dragon. Try not to get fingerprints on the clay.
Making eye Sockets on the Miniature Polymer Clay Dragon
Using the tiniest dotting tool, gently poke tiny eyeholes into the clay. Sculpt tiny little eyes while you are at it, taking a painfully tiny ball of black and splitting it in two, rounding them into balls again.
Sculpting the Body
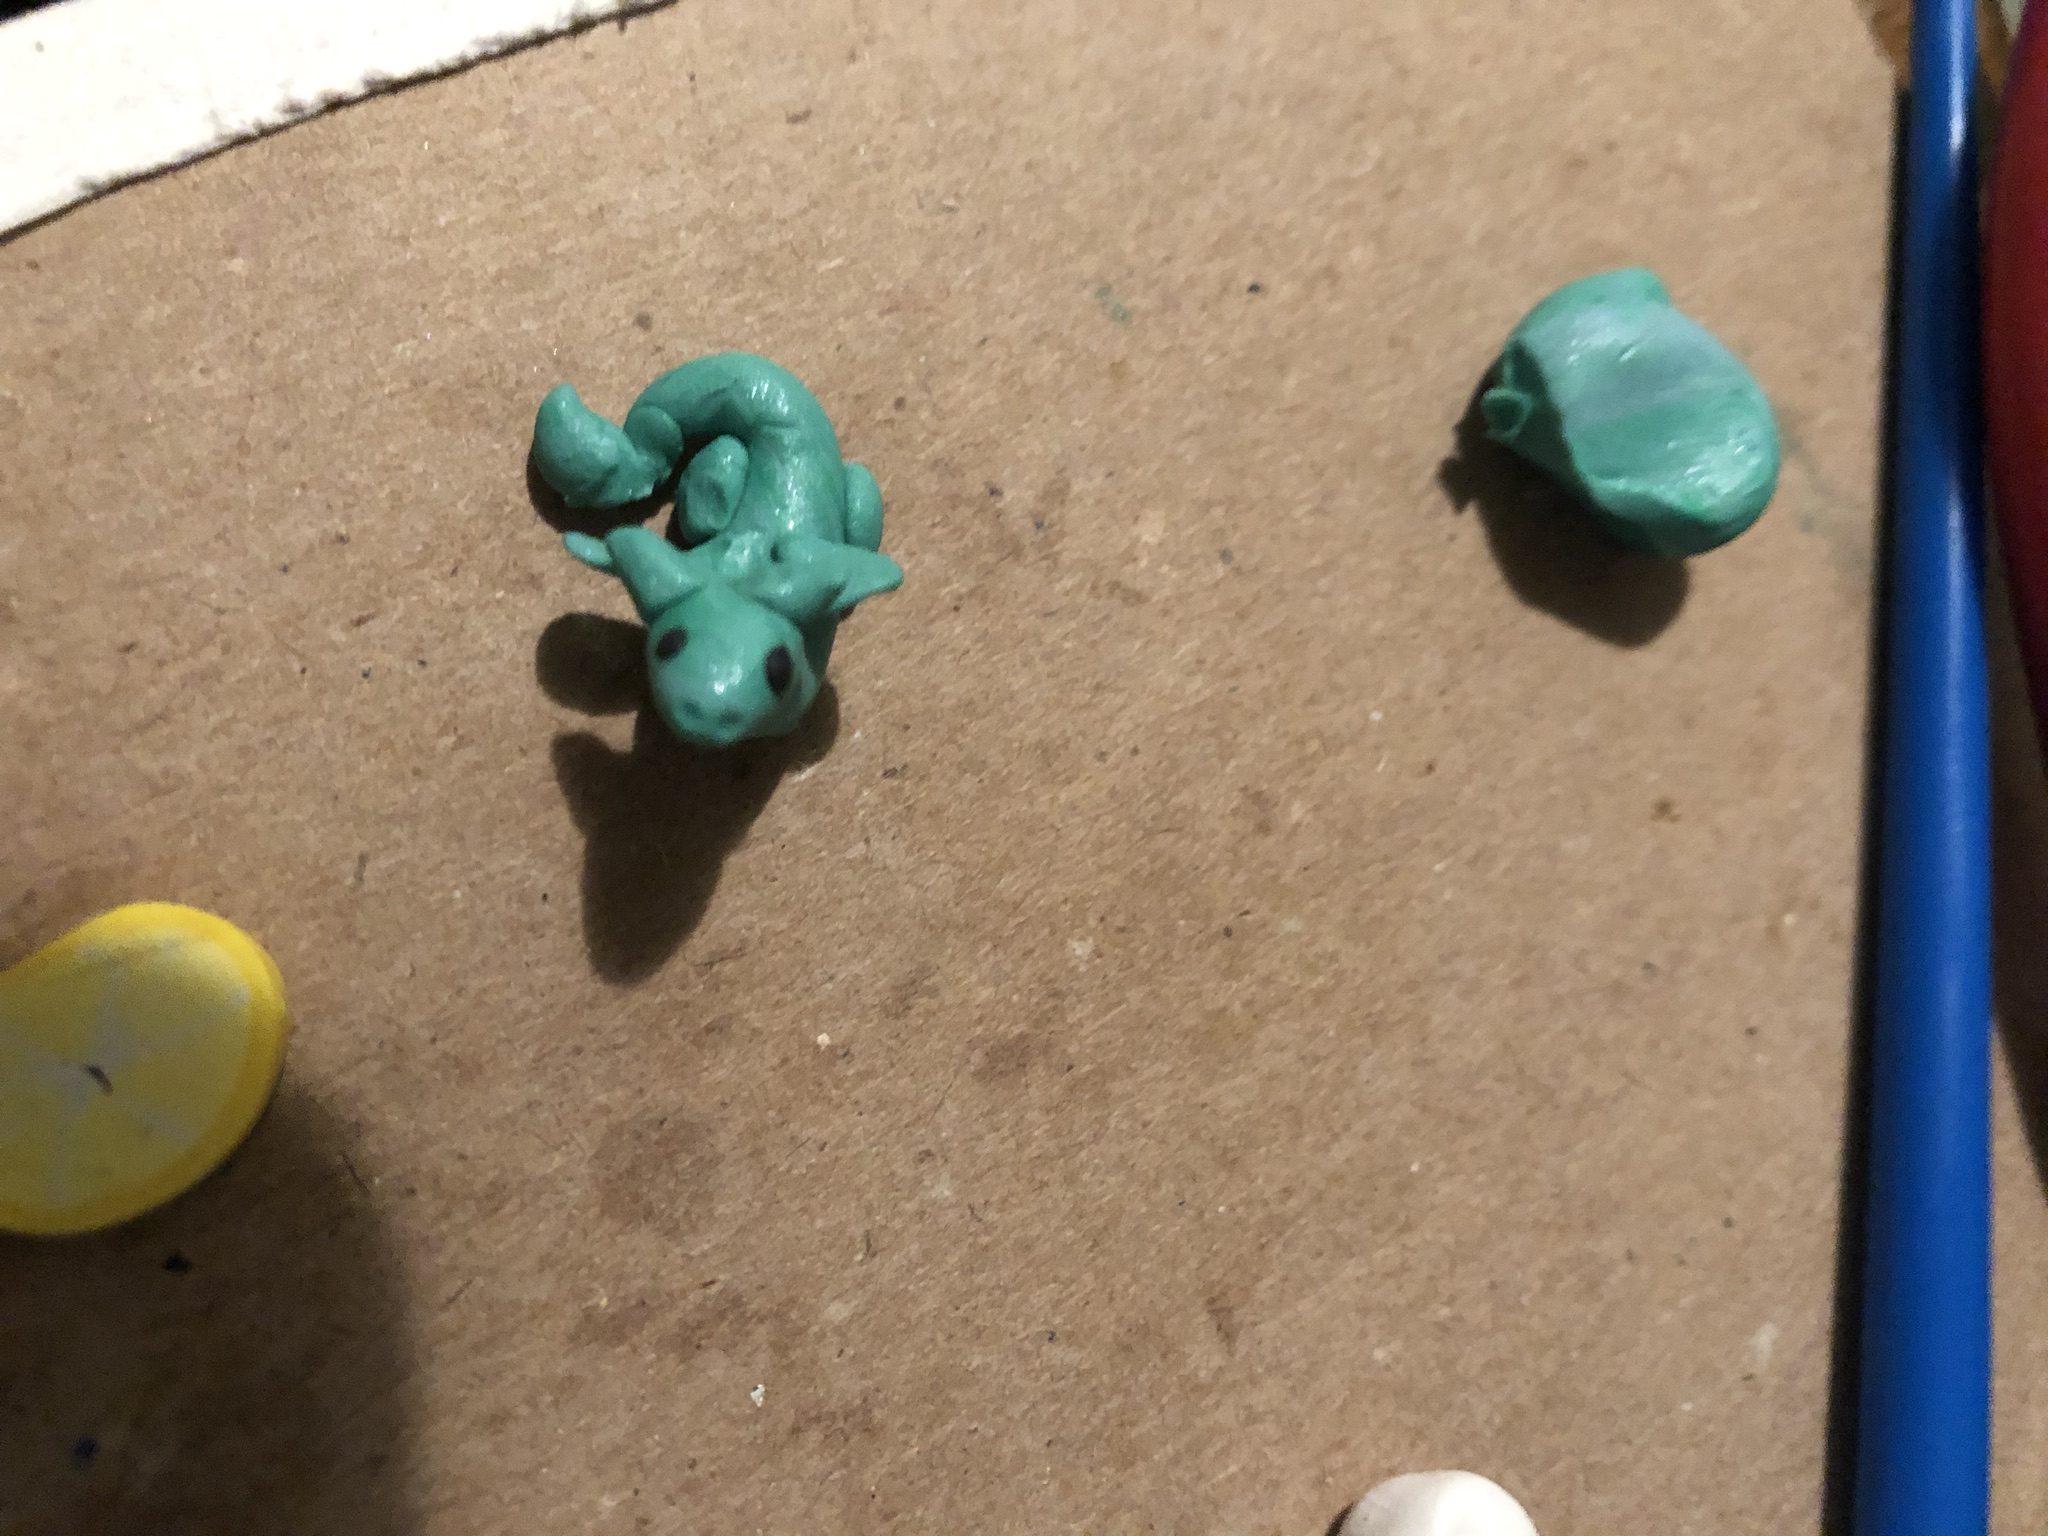
Make a little tiny snake without a head. Sculpt the tail into a point at the tip, and bend the neck up so it can look up at you.
Attaching the Head
Shove the head gently onto the neck, making sure it is securely connected with no way of coming off easily. Reshape the body as needed. This is the true test of gentleness, and if you press too hard your dragon will wind up being as squished into a pulp.
Shaping the Tiny Tail of the Miniature Polymer Clay Dragon
Curl the tail in and away at the tip, attaching a little triangle for a bit of extra detail. Blend as best as you can using a dotting tool.
Making Tiny Back Feet
Out of the four tiny balls of clay, sculpt two little ovals and stick them to his sides like little back legs. Make super tiny little balls of clays for front and back paws. Press them on, making sure to keep the shape of the clay.
Sculpting and Attaching Mini Wings
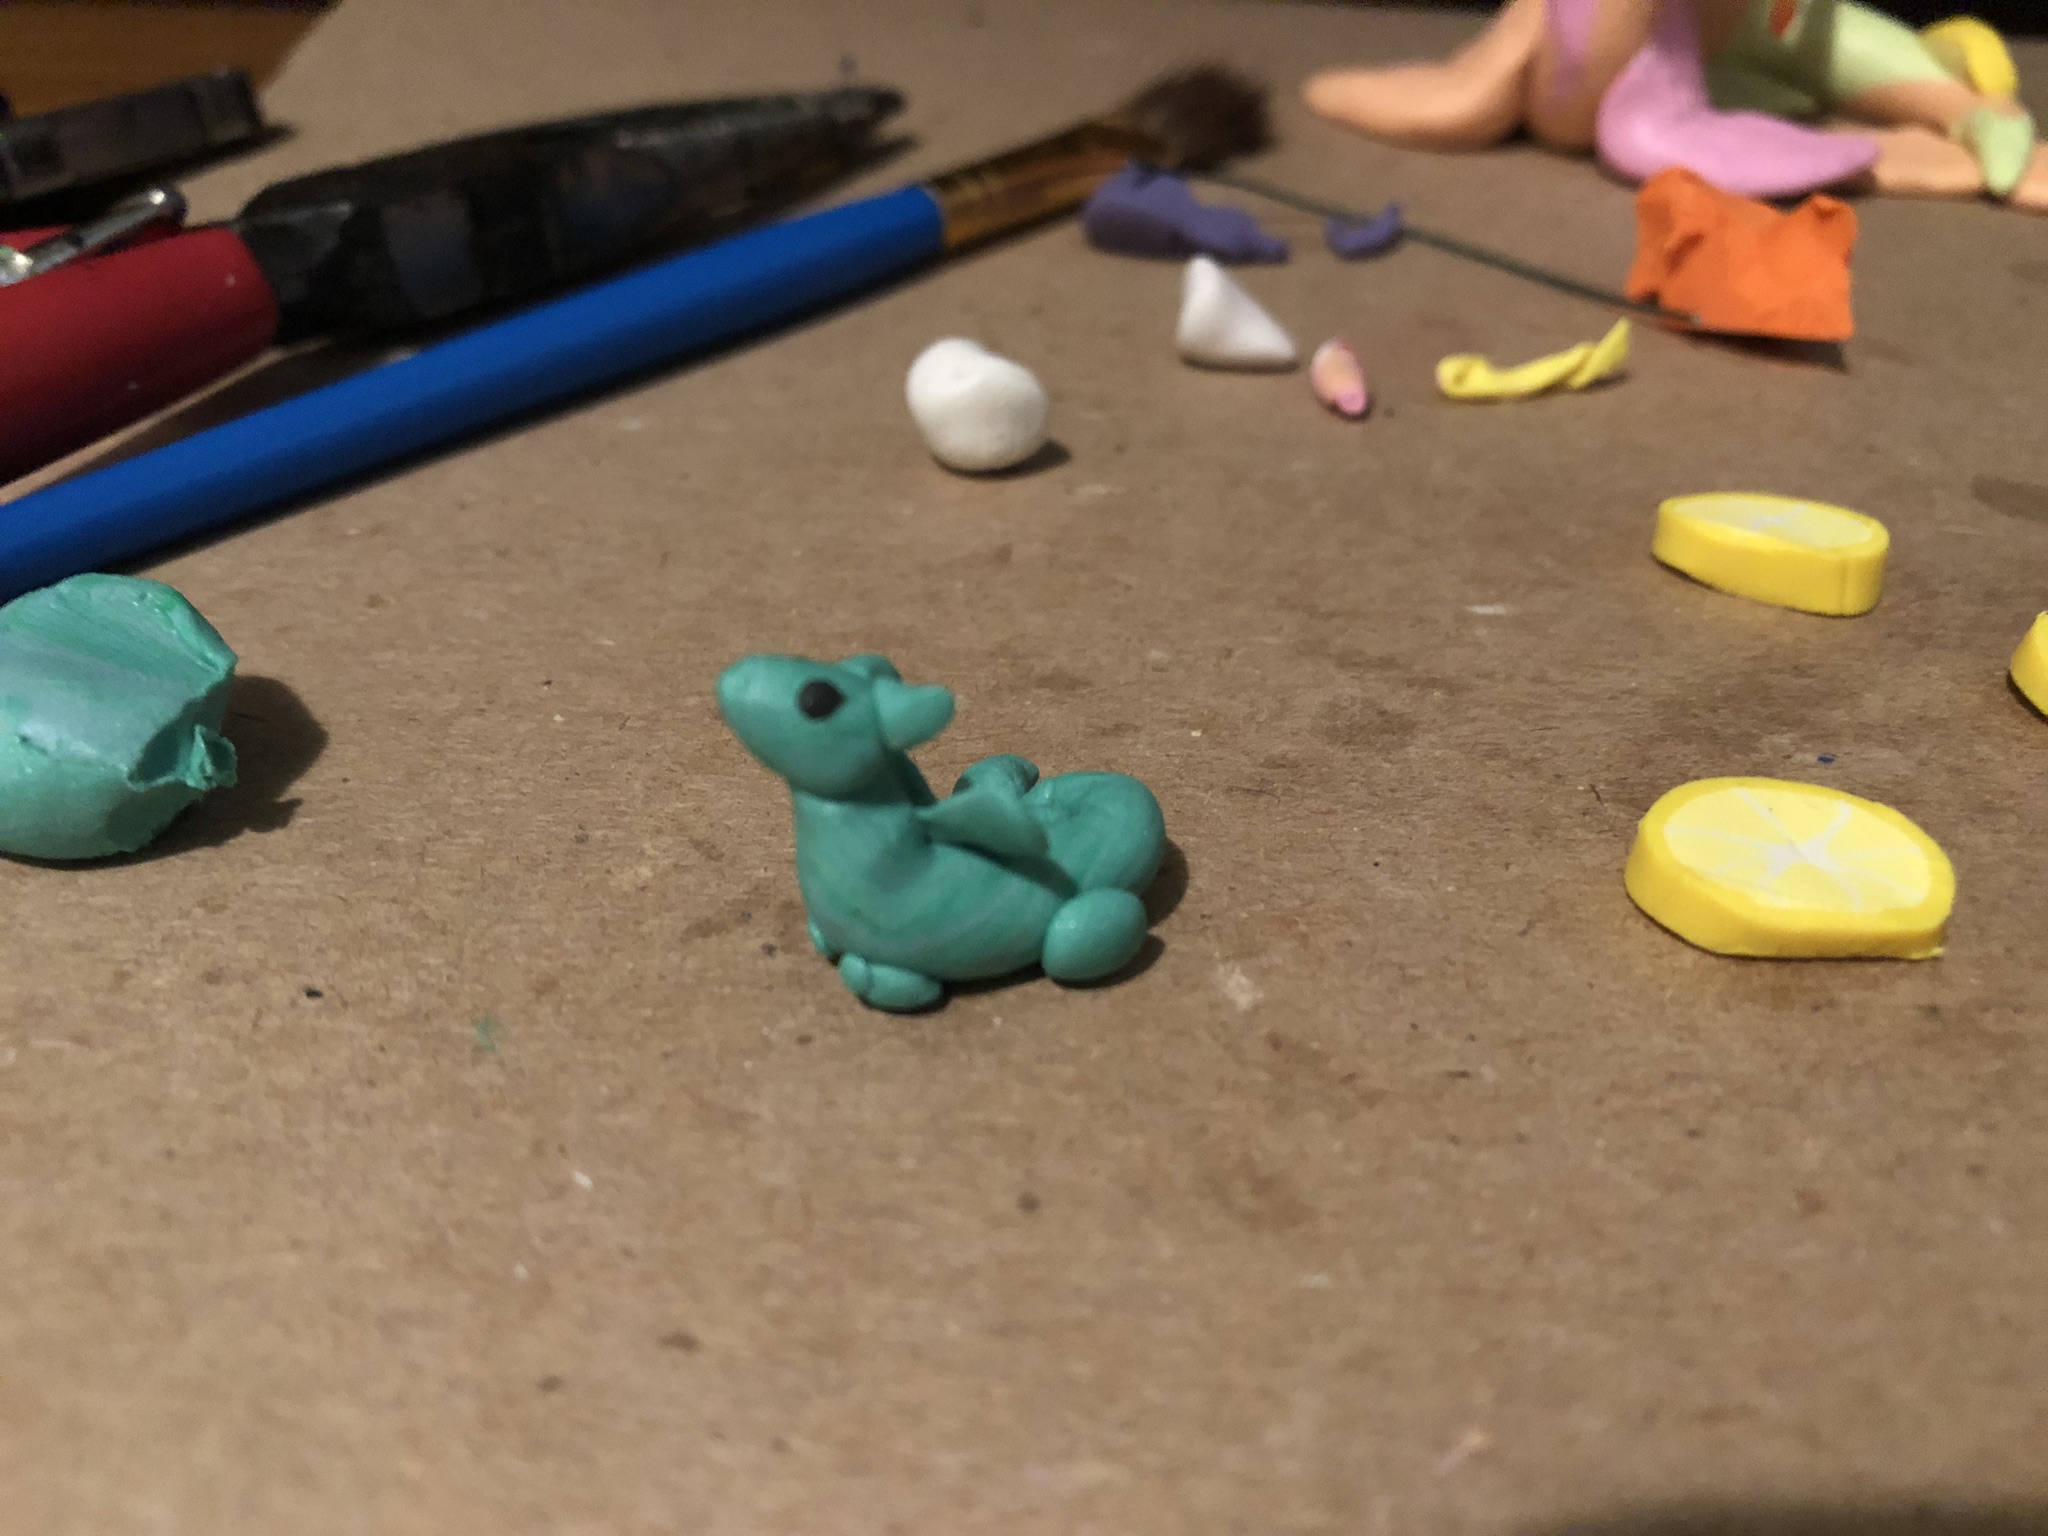
Squish two balls of clay onto the back of the dragon and flatten them with your fingers to make sort of wing shapes. Don’t try to make detailed wings, you will lose your sanity and probably cry a lot. Plop two little horns onto the head if you wish, and secure the eyes in the sockets.
Baking the Miniature Polymer Clay Dragon
Preheat the oven to 275 and throw him in once it is preheated. He only needs about ten minutes, as he is so tiny that he will bake very fast.
Finish
Now you have a super tiny friend that will probably break if you do anything besides let him sit on a shelf and be his tiny self. Happy Crafting!

