Mermaiding can be super fun and a fantastic way to get exercise. However, mermaid tails can be a pain to drag to the waterside. Even fabric mermaid tails can be large and awkward to carry. But with a bit of cloth and a sewing machine, you can easily make a Mermaid Tail Diy Bag custom to your tail in particular that can be thrown on your back on your way out the door.
What you will need
- At least 3 yards of fabric
- Basic sewing machine
- Iron and ironing board
- Thread
- Pink binding
- Mermaid tail
- Muslin
- scissors
Drawing the Pattern for the Mermaid Tail DIY Bag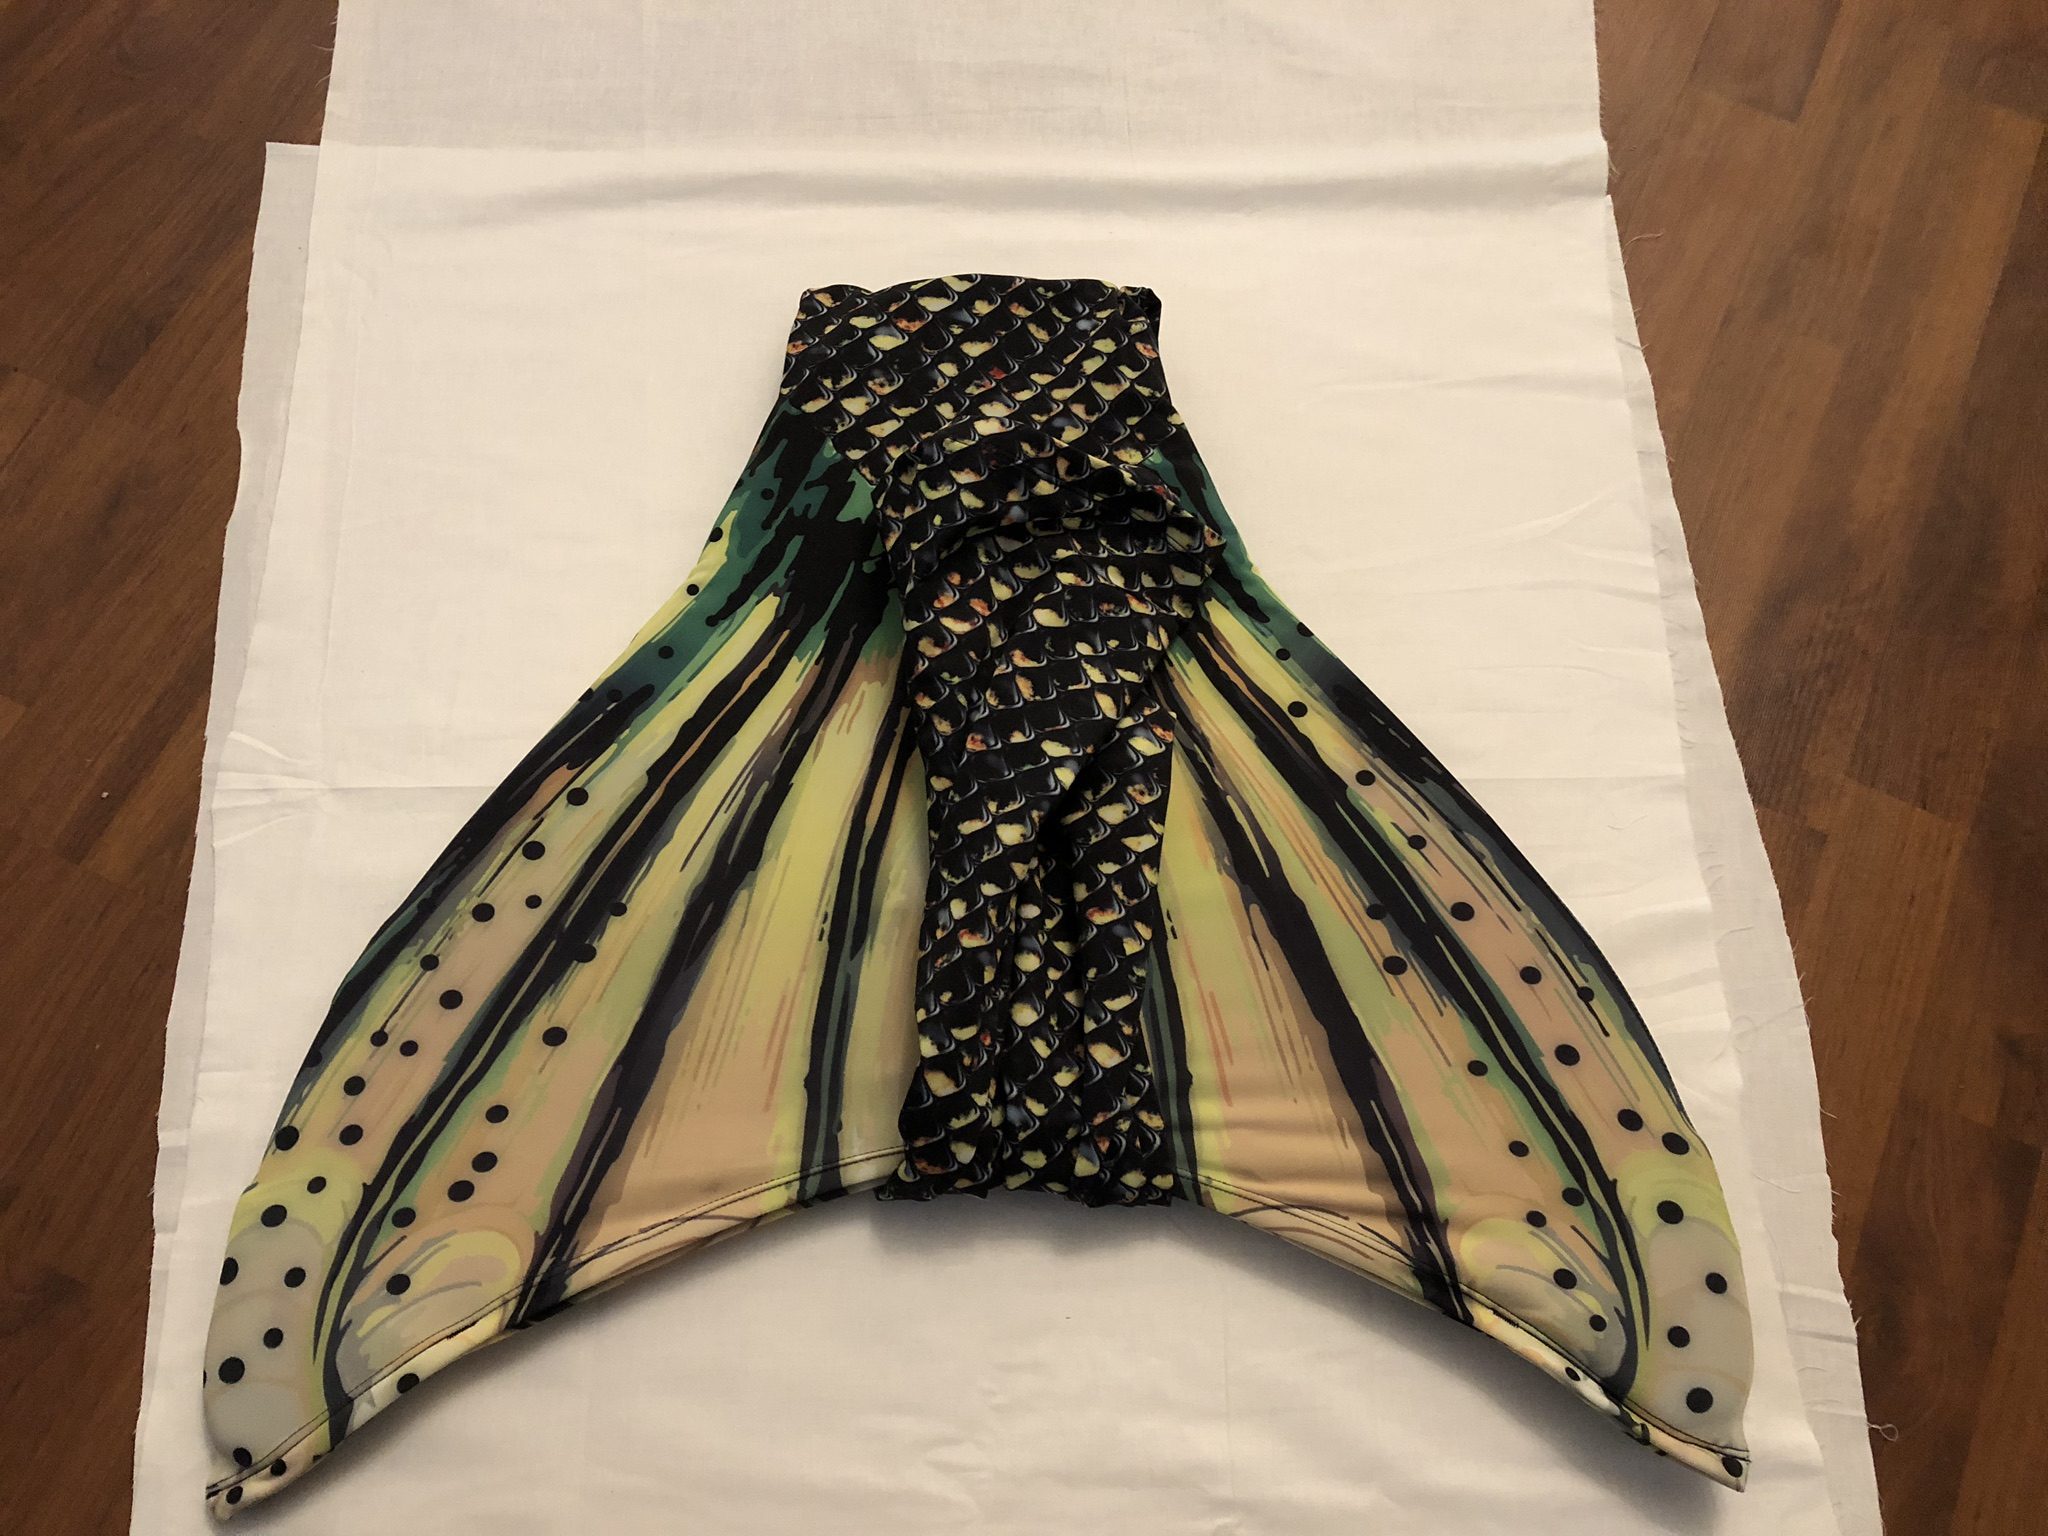
Start by folding a piece of muslin in half and set your monofin and mermaid tail down straight on the doubled cloth. Trace around the tail, leaving about an inch and a half of a seam allowance. Make sure to get the bottom of the monofin too.
Cutting out the Pattern for the Mermaid Tail DIY Bag
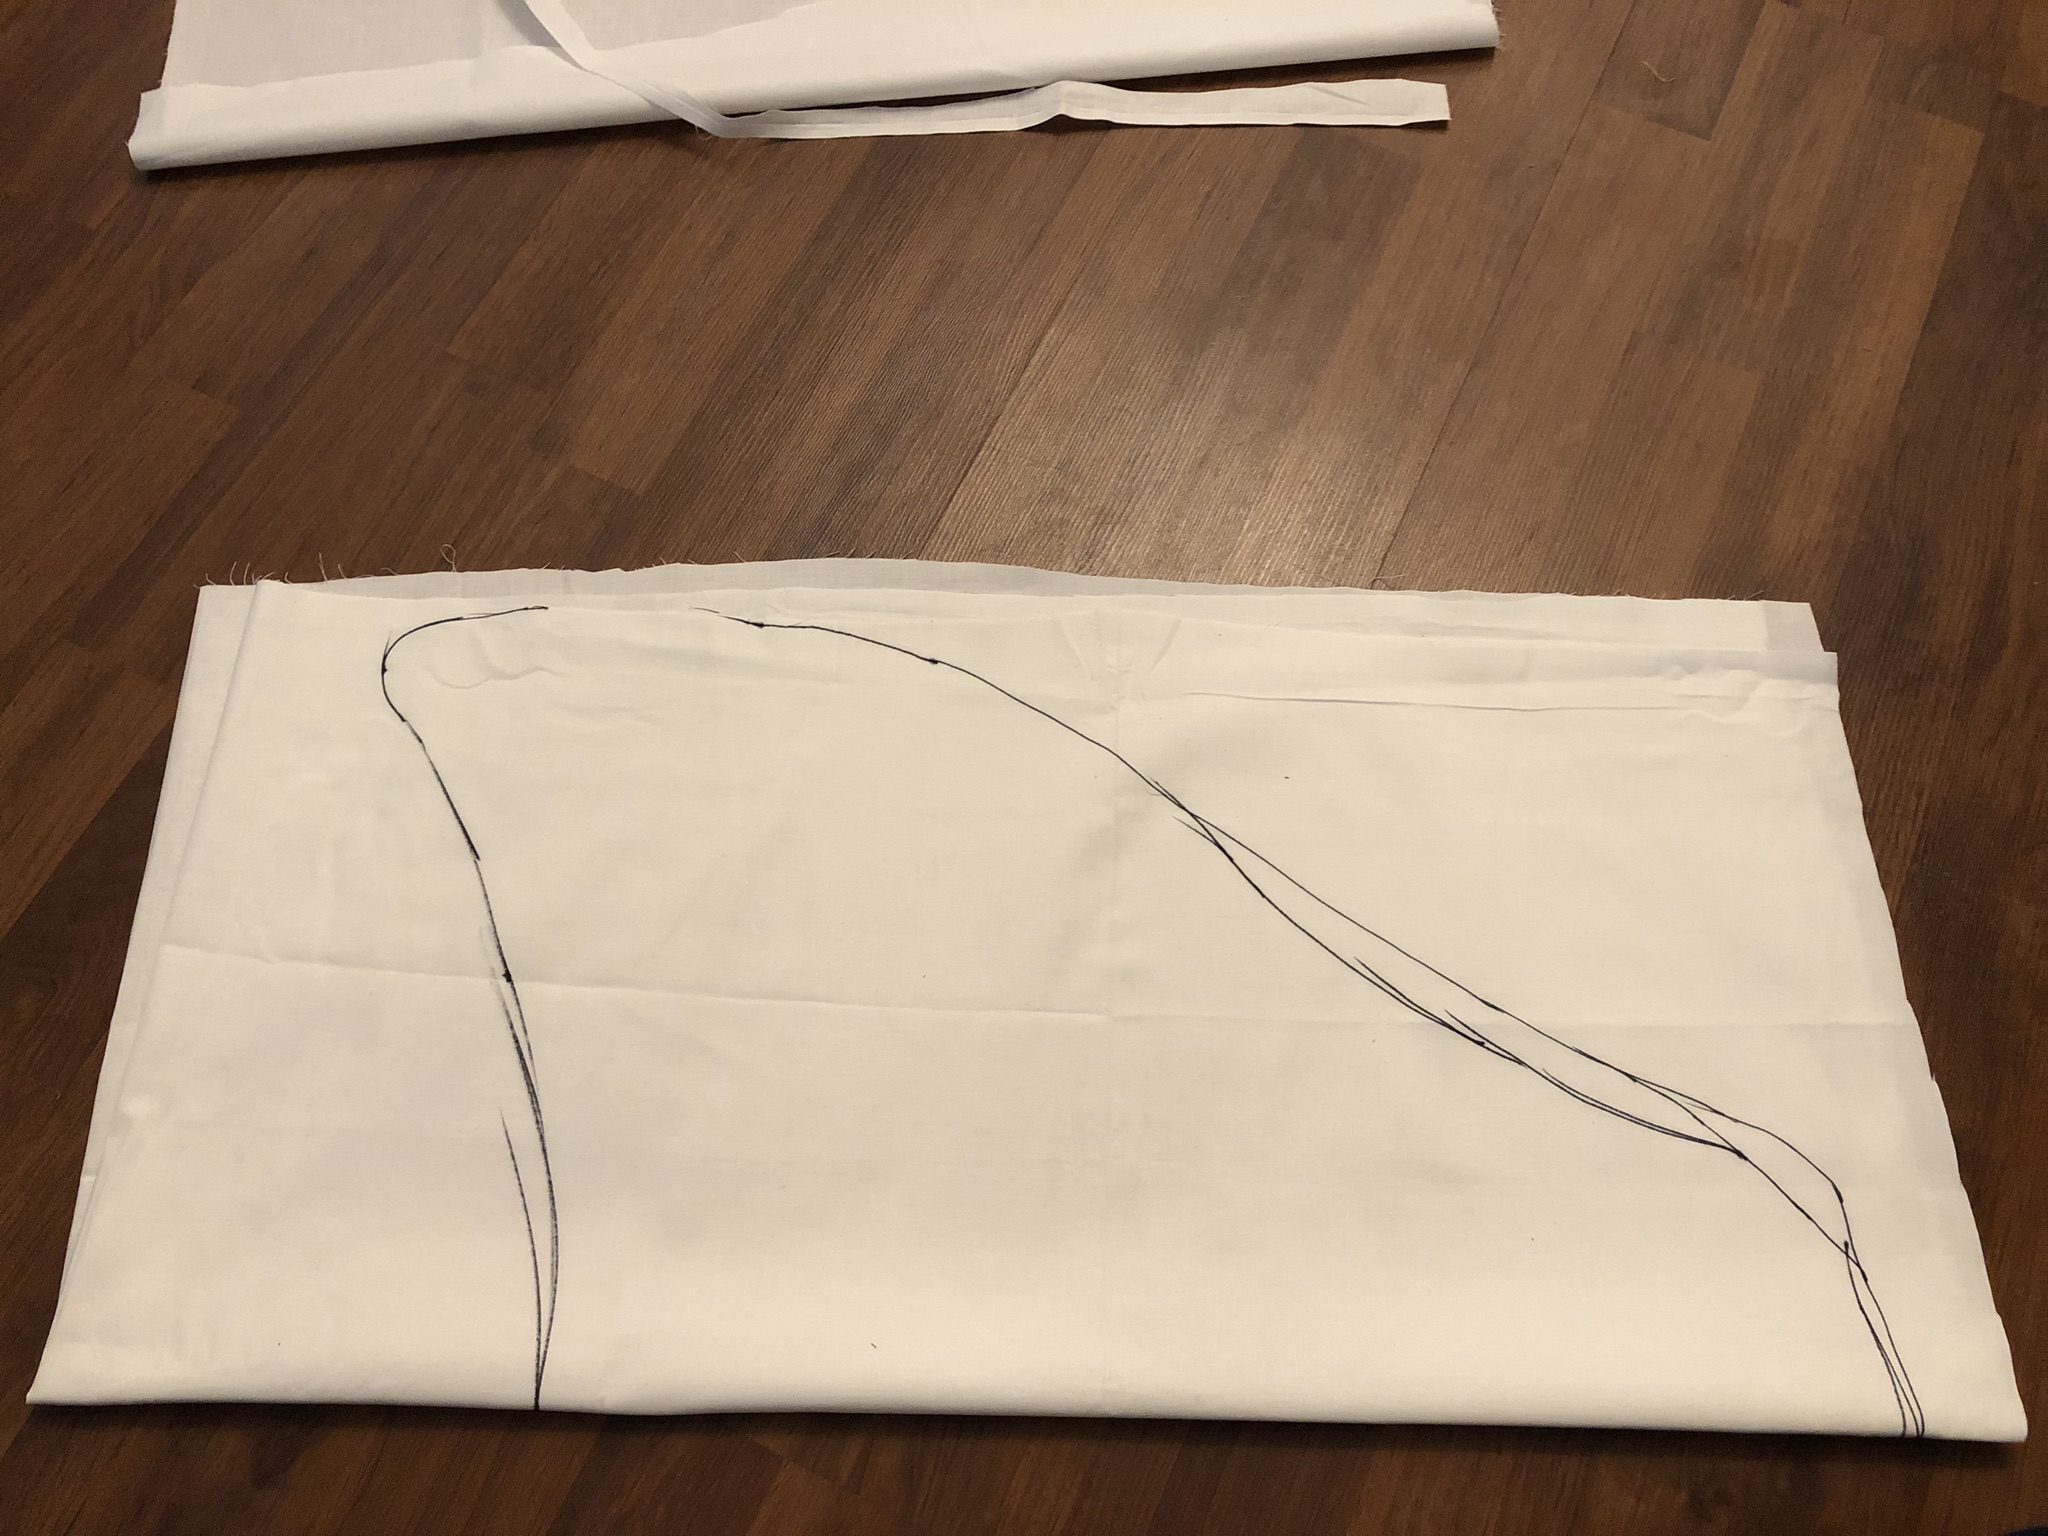
Use a pair of scissors and carefully cutting out the shape of the Mermaid Mail DIY bag. Try to save as much space as possible, the bag will need to be quite large.
Sewing the Prototype
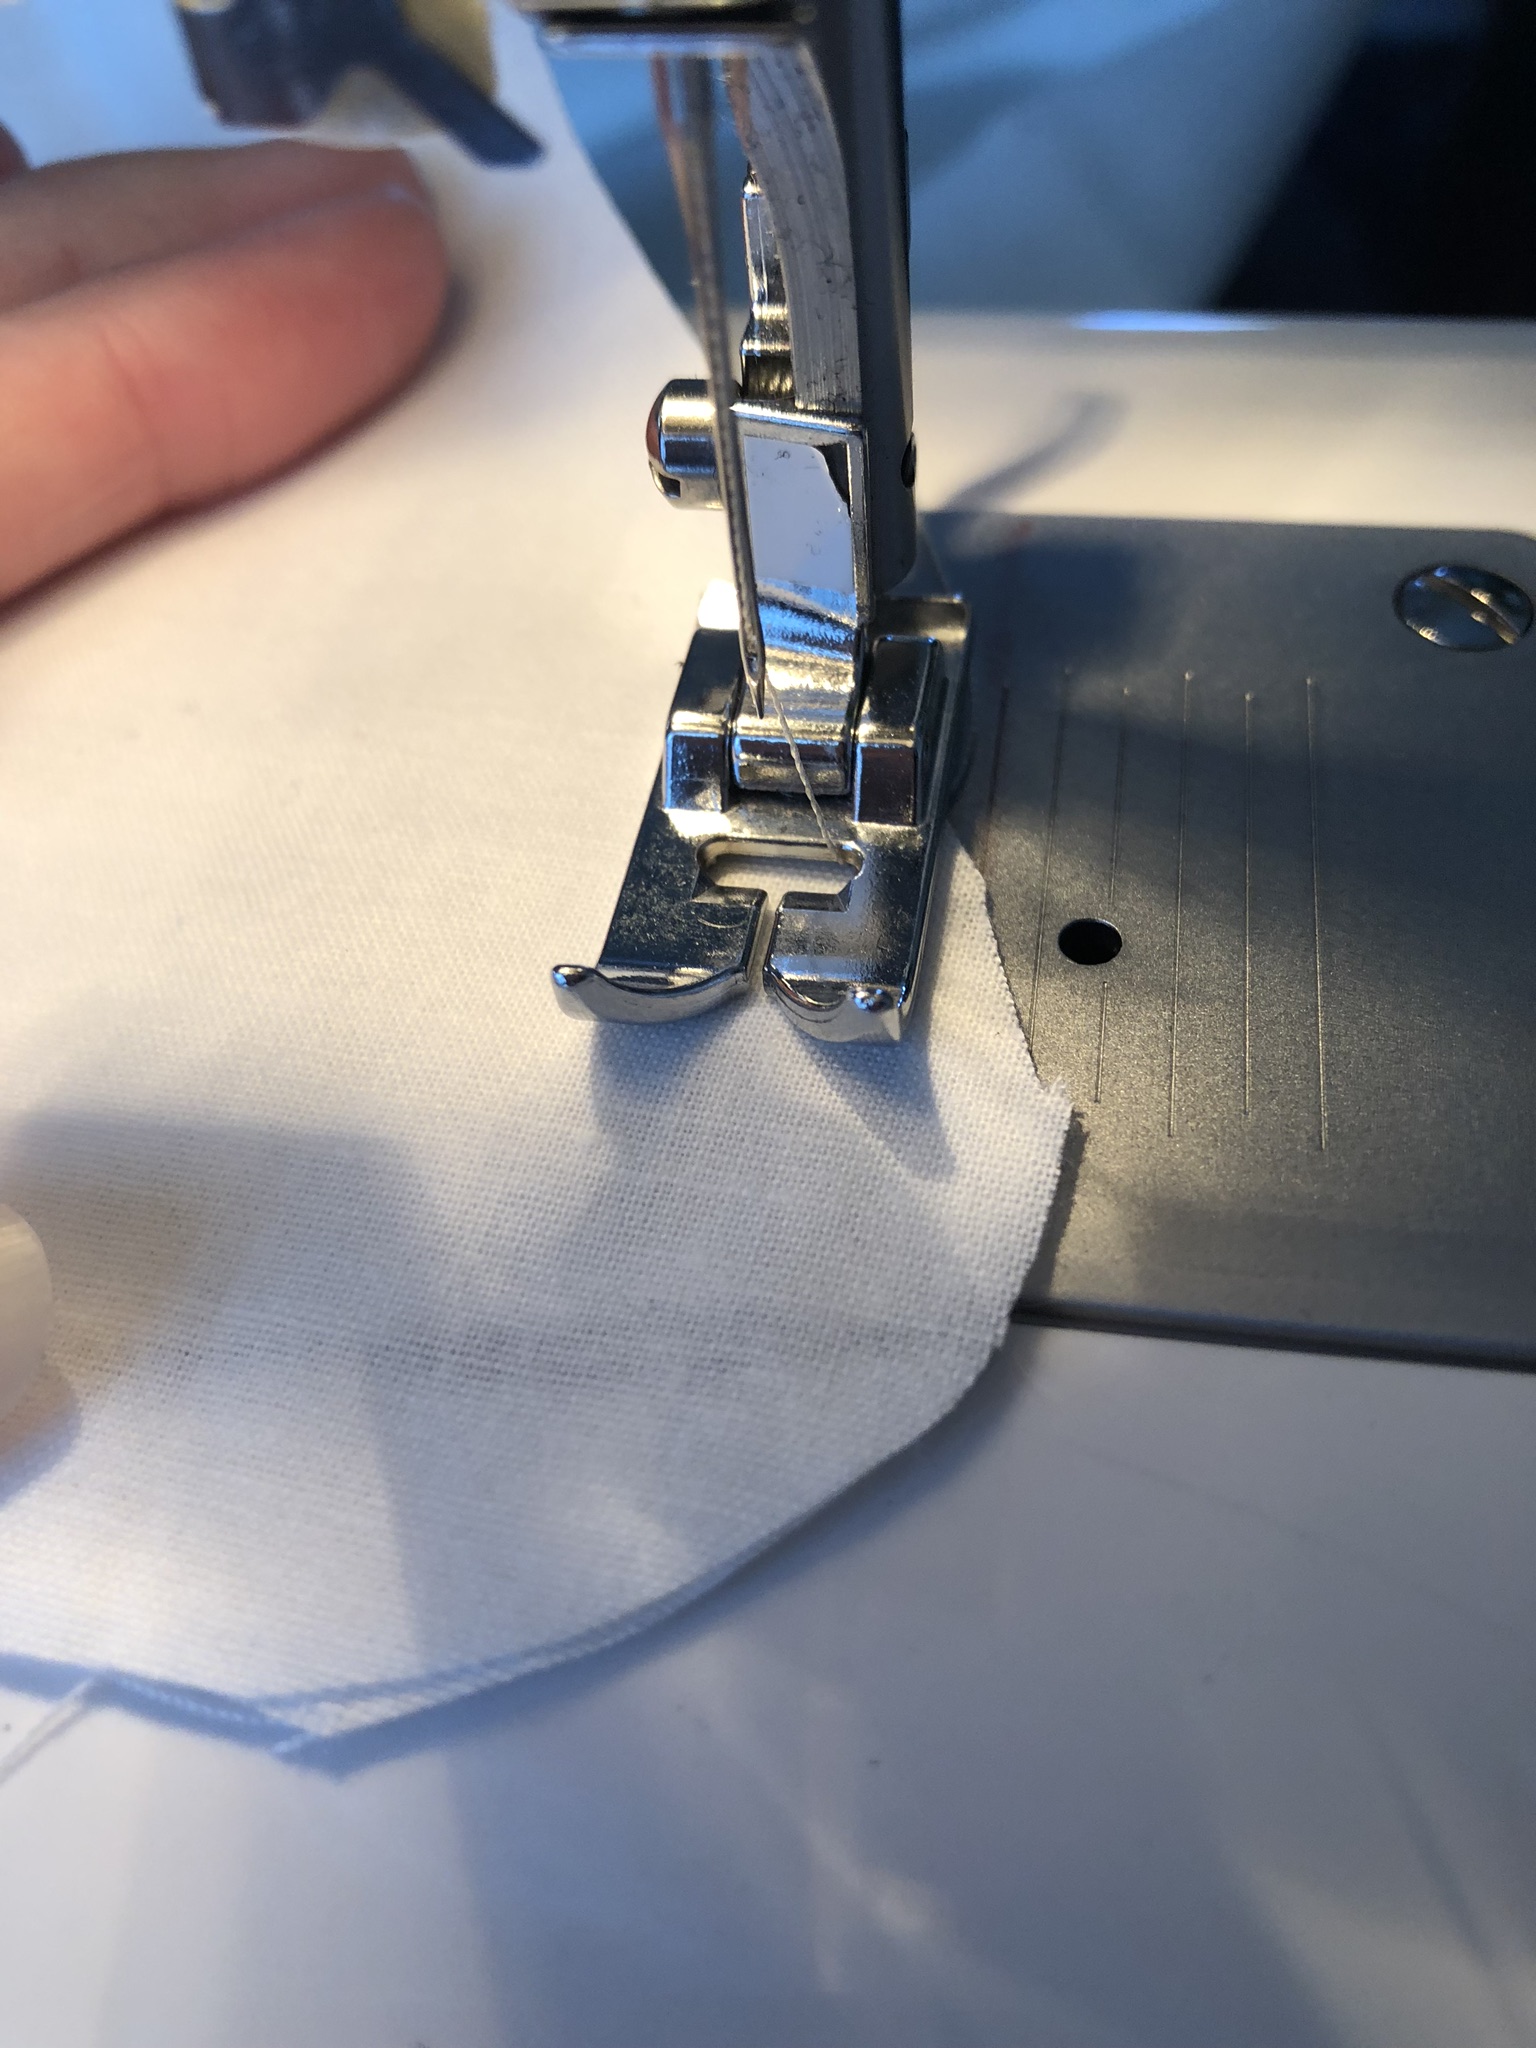
Sew on the machine from the tip of one fin to the tip of the other. Sew slightly over each corner to help contain the tail, and leave the bottom open to get the fin in and out.
Testing the Prototype
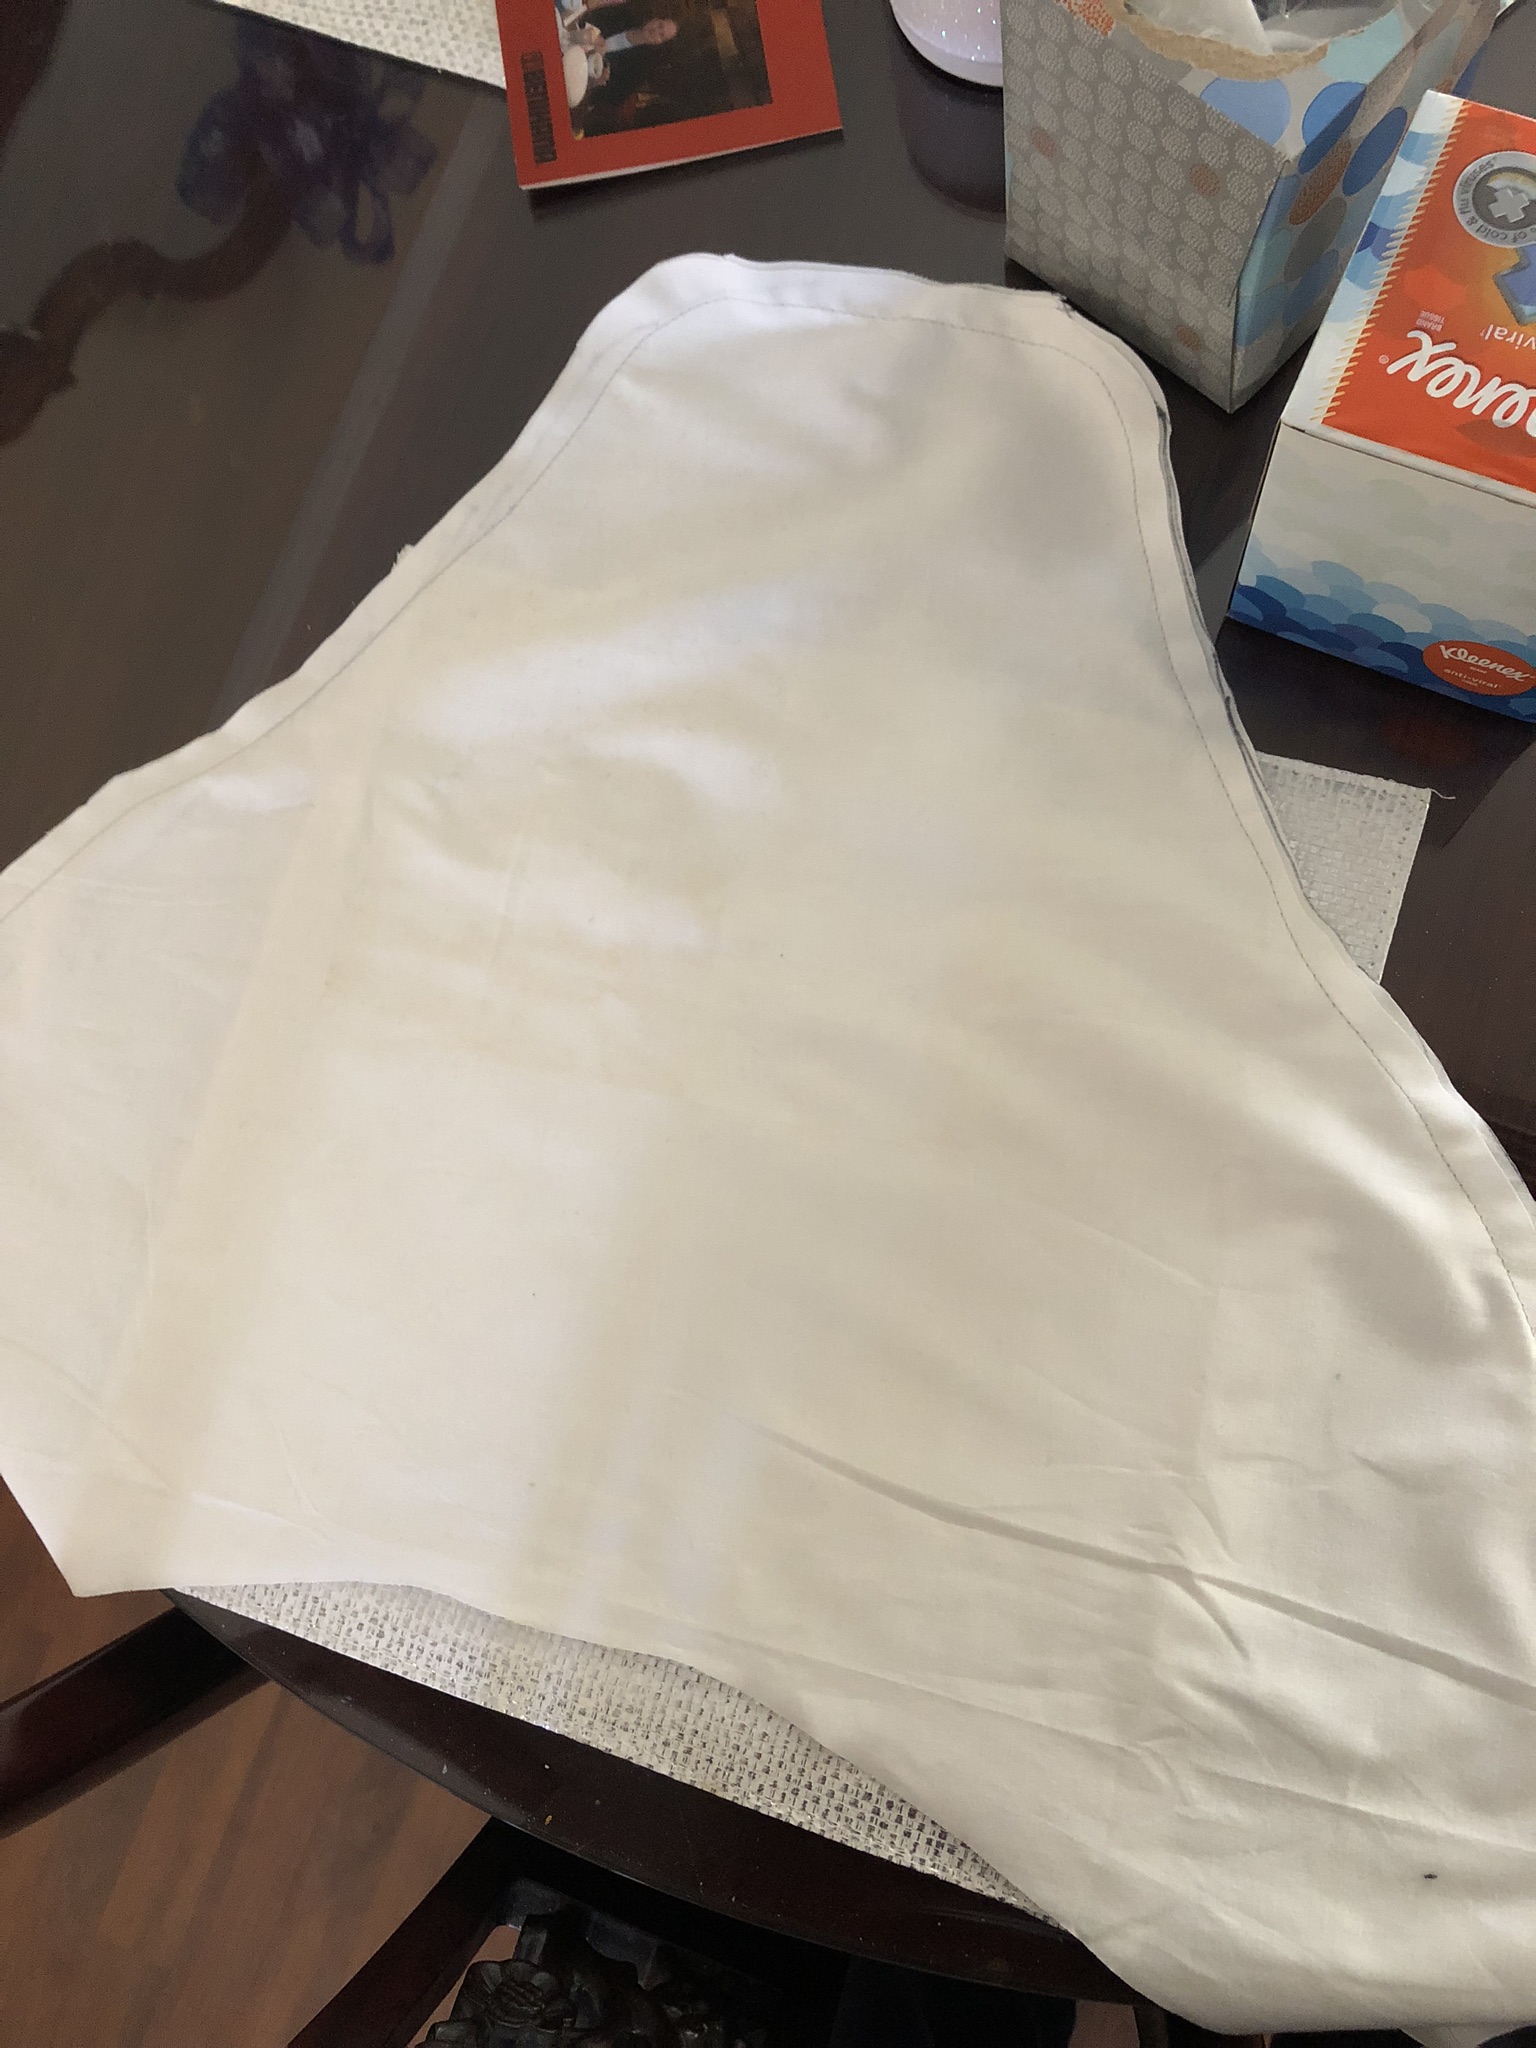
Turn the prototype right side out, and try to pull it over the tail. It should loosely fit the tail, and not show too much resistance getting the tail into the bag.
Ironing the Real Fabric
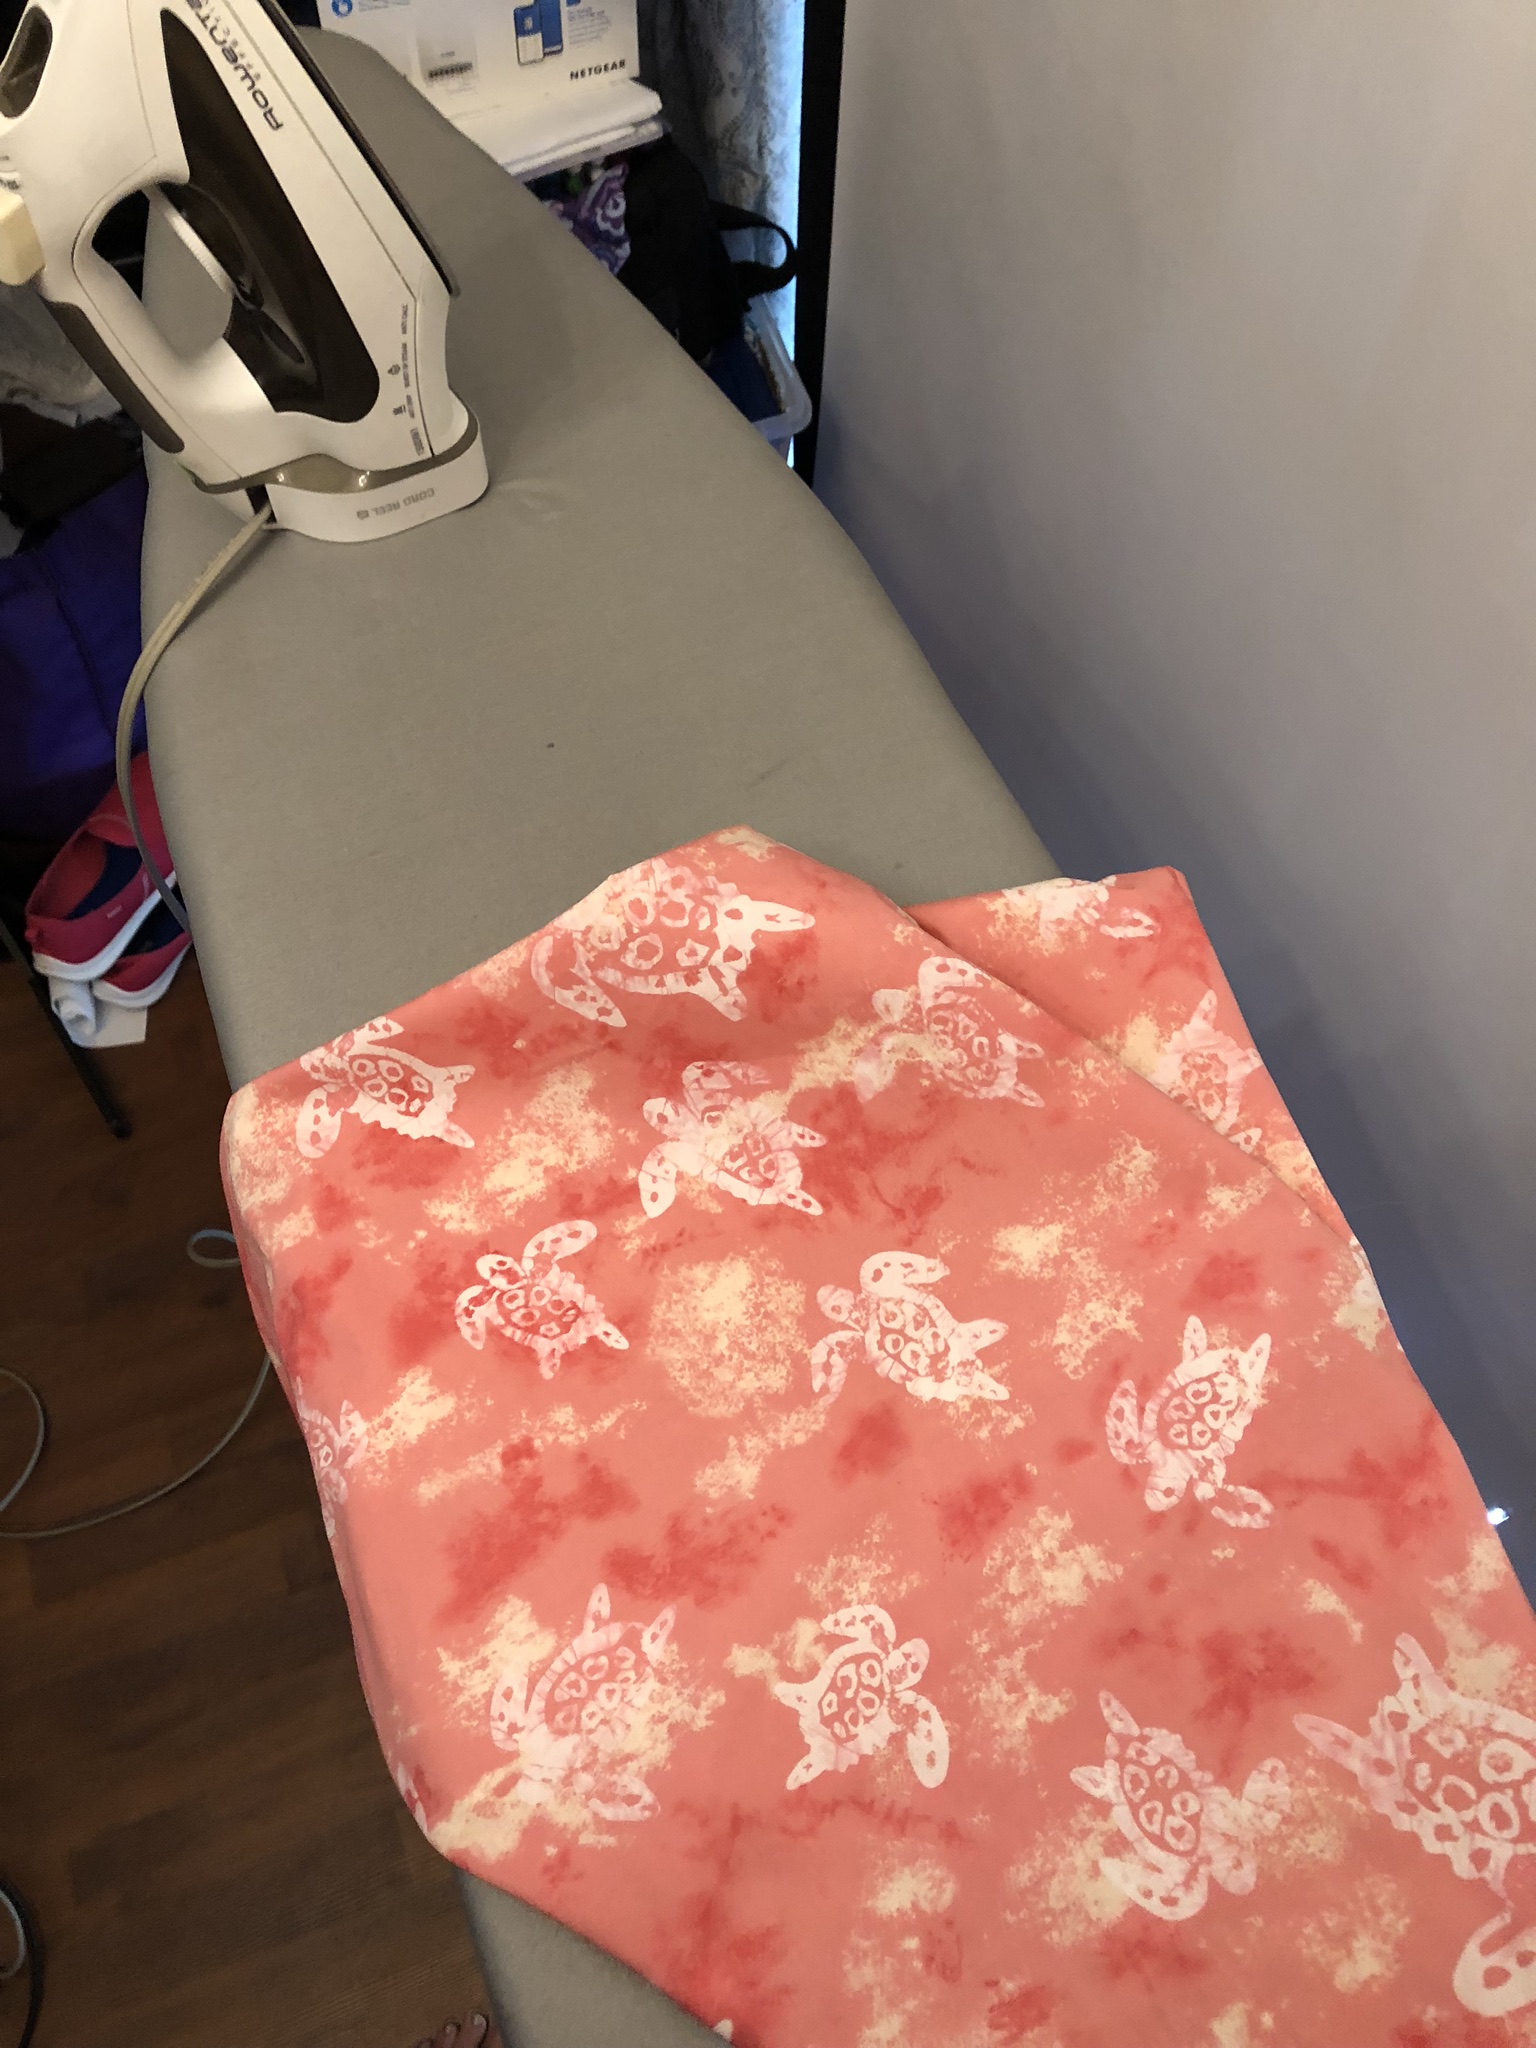
I chose a pretty pink turtle print fabric for my bag, and ironed it on high with steam to pull out all the wrinkles to help the pattern transfer as best as possible.
How to Cut the Real Fabric for the Mermaid Tail DIY Bag
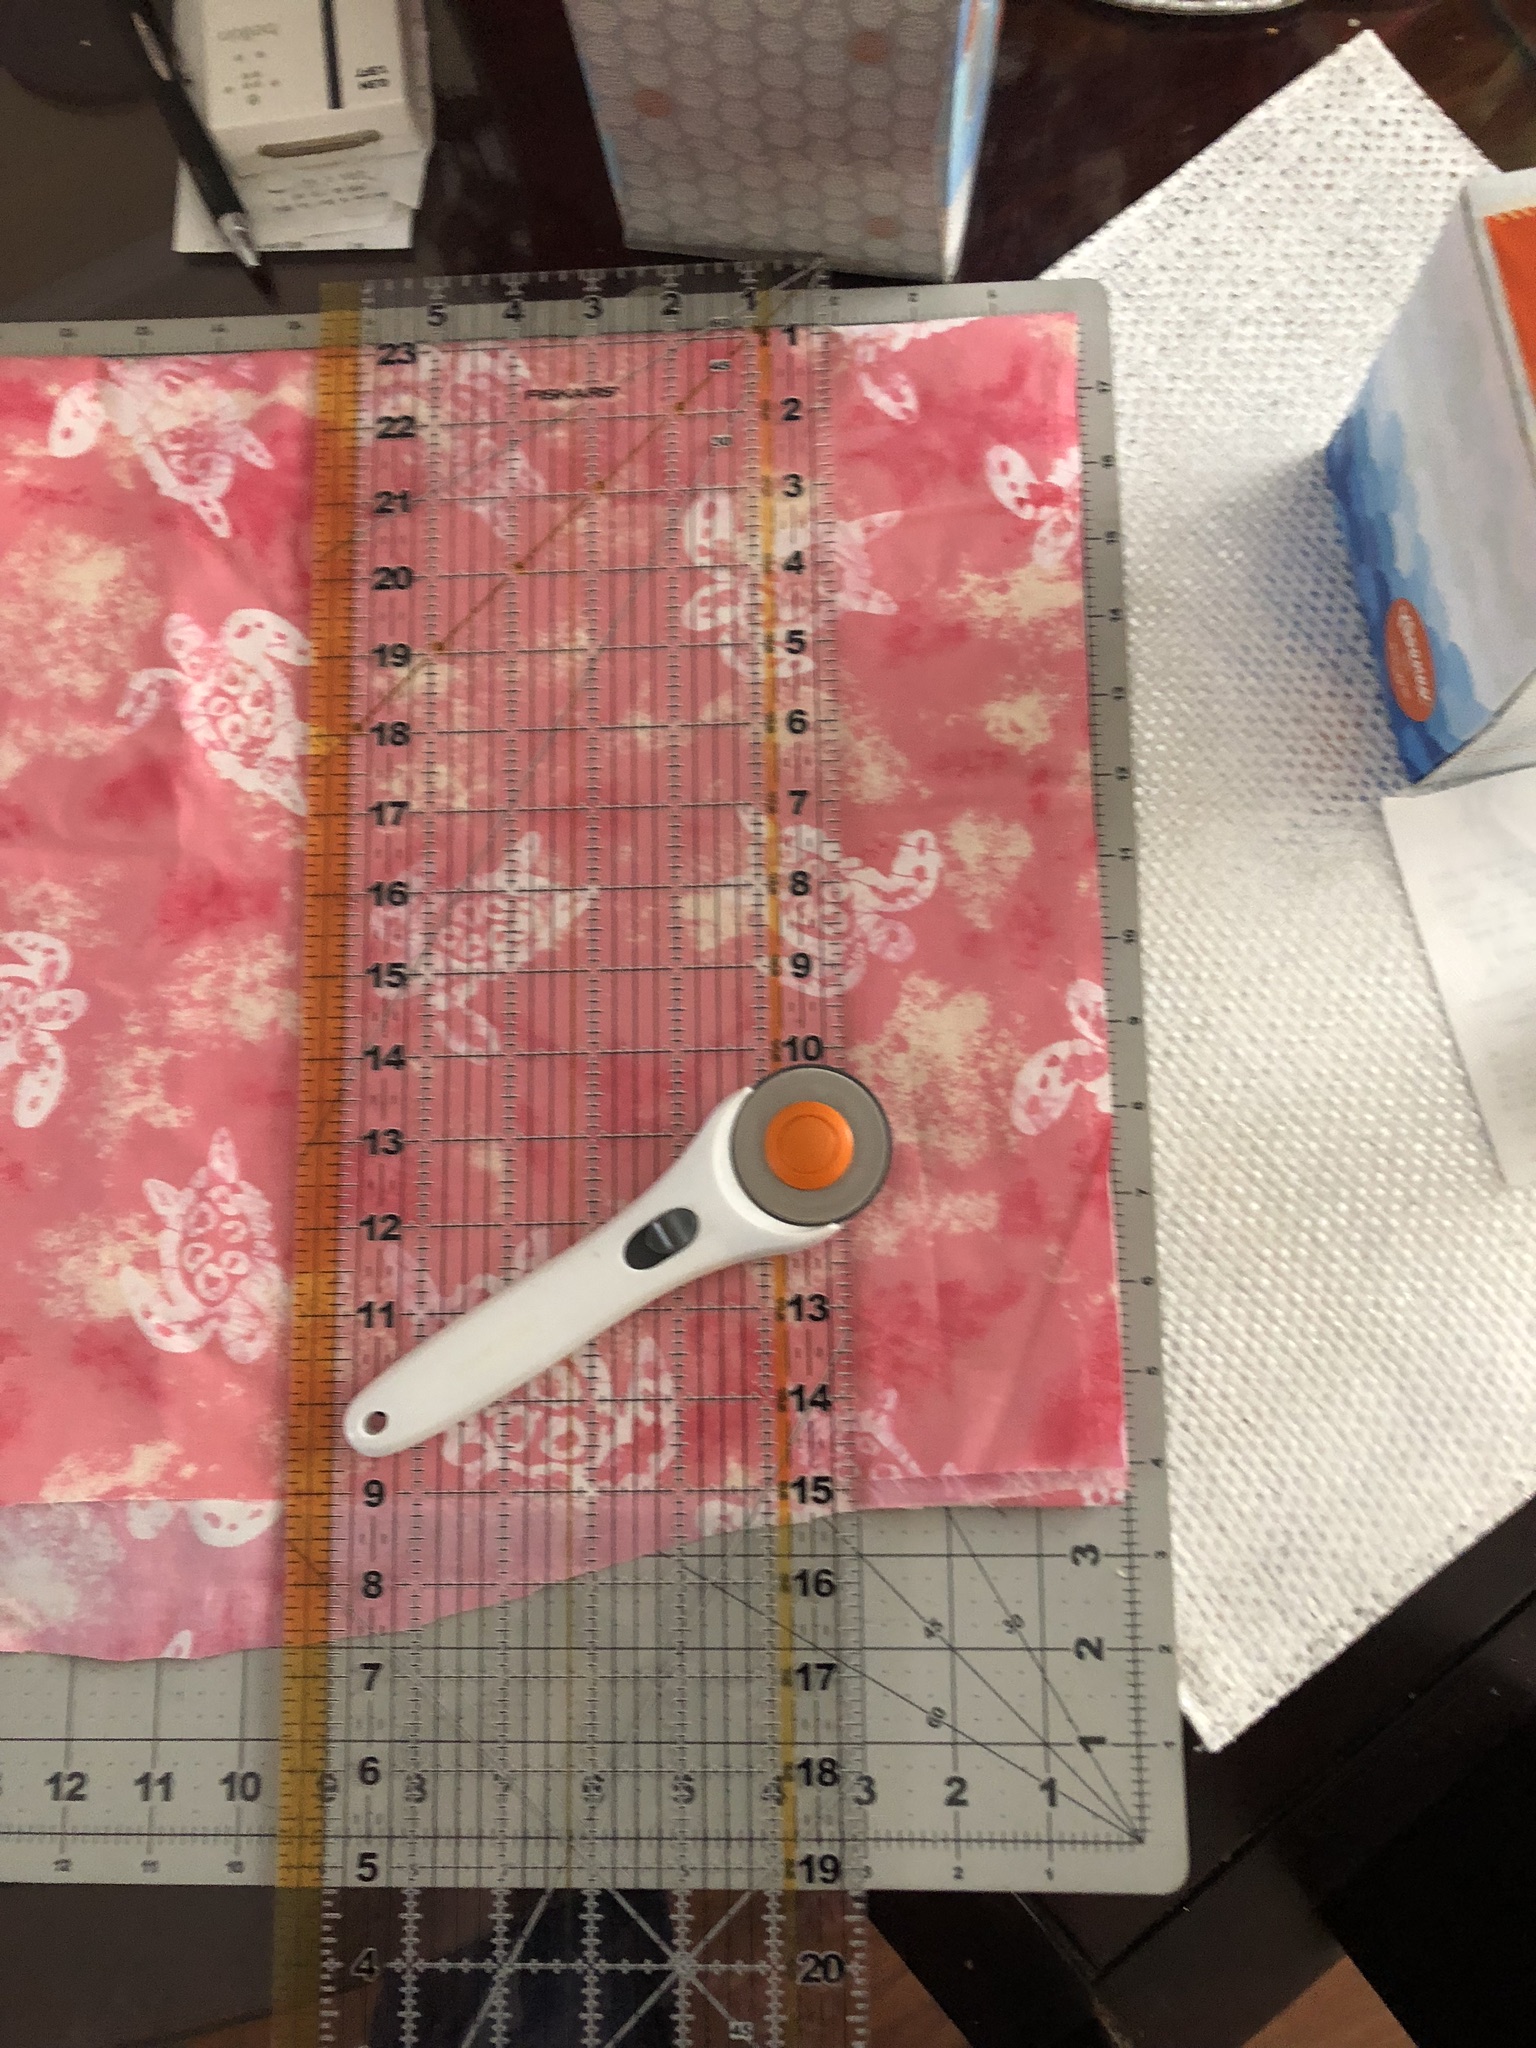
Fold the cloth in half again, and turn the pattern back inside out. Lay it down and trim carefully around it, adding a bit of extra cloth to the top of the bag where the fin goes in. Cut four pieces of fabric this way, or double it twice and cut it out so that you have four pieces of mermaid fin shaped cloth.
Ironing Again
Iron the cloth again and team up two halves evenly inside out, preparing them to be sewn together to make a thick double sided piece of cloth. Do this to the other two pieces as well.
Sewing the Layers
Sew the cloth until about 6 inches from the starting point, and flip it right side out. Set it down and sew the other one the same way, then fold the edge of the cloth in and do a straight stitch to seal in the two pieces of cloth and make them one. Pro tip—Do not start the seam right before the curve on the edge of the tail, as that will make it hard to put in the final stitches.
Last time Ironing
Iron the seams flat out on the two halves, to make it easier to sew. You can sort of wiggle the cloth to better expose the seam to iron.
Sewing the Main Seams
Remember we sew inside out, so if you chose to use two different kinds of fabric, sew it inside out and flip it when the main seam is in. Leave a quarter inch seam and sew it just like the prototype that worked so well.
Testing the Design

Shove the tail into the bag and hope it fits. If it fits, celebrate and remember that we have no way of securing the thing to your back. Darn it. We will need straps.
Sewing the Straps
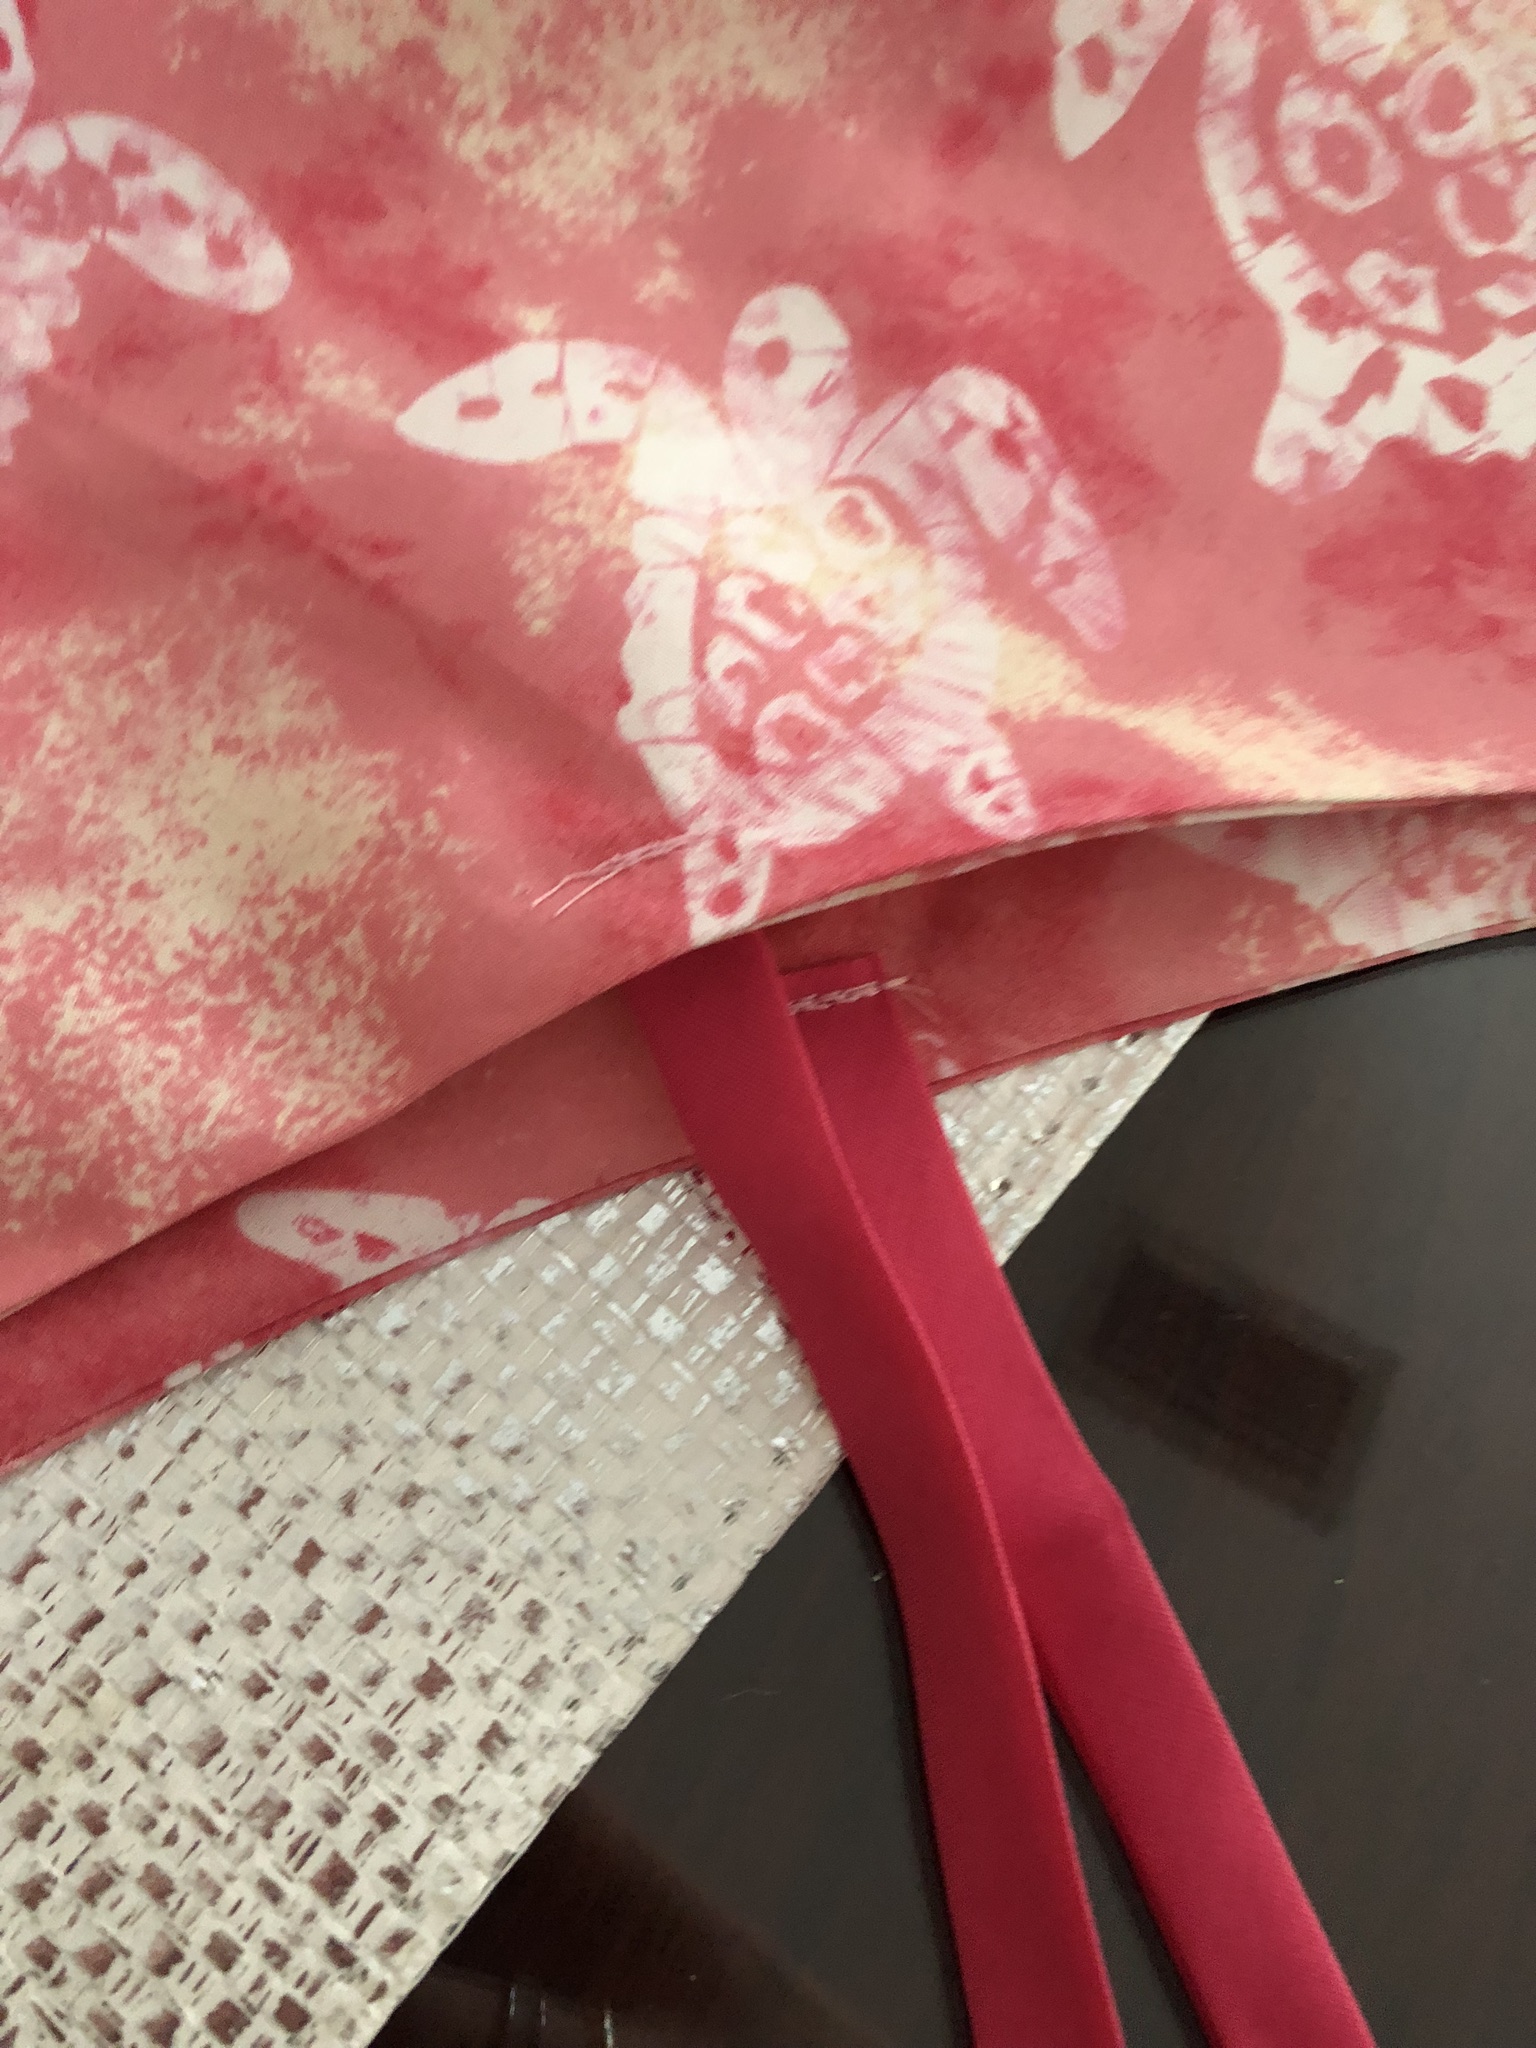
Using some scrap cloth, cut a very long strip about three inches long. Fold the cloth in thirds and run a seam all the way down the middle, to make a strap similar to that on a backpack.
Putting the Ties on the Mermaid Tail DIY Bag
After half an hour of trying to figure out where to put the straps, I realized I had to do it on the bag upside down. Attach the straps to just over the tips of the tail in the bag and at the base of the monofin. Sew it on securely, going back and forth a few times. Make sure at some point you cut the long strap in half and pin it first to make sure the straps are long enough. Sew about two to four inches of binding on each side of the middle of the opening in the bag to keep the fin from falling out.
Optional Loop
Optionally, you can use some of the binging to sew a loop to hang the tail onto the back of the door once you have finished swimming and dried your tail. Never dry your tail in the bag. Attach the loop like the backpack strap at the base of the monofin, securing the loop by sewing back and forth several times.
Finish
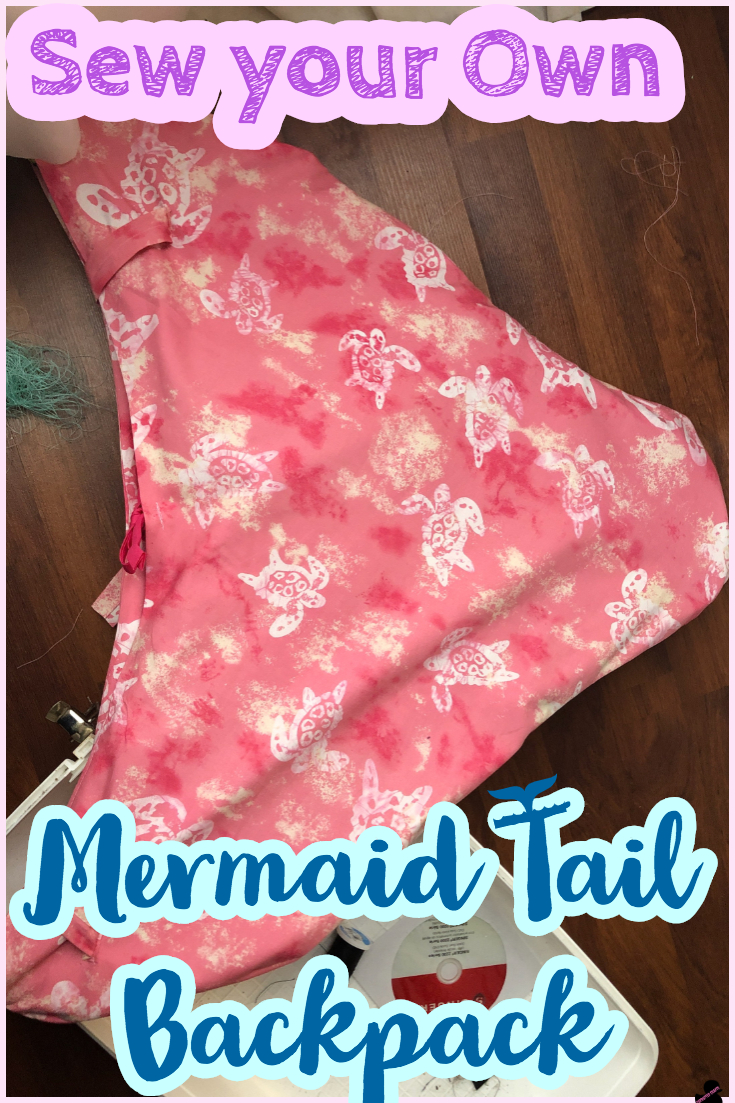
Now you can carry your tail much easier on your back without the awkwardness of carrying a tail in the open. Happy Crafting!

