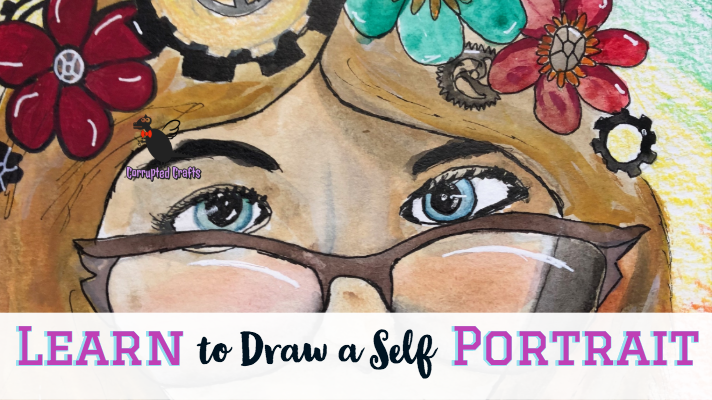
Self portraits often do not look like the person who created them. In this project, we will sort of make an art piece that almost could be mistaken for us, but is sort of not an accurate representation. Instead of admitting this piece is not accurate, we will instead say it is stylized and it will sort of be its own thing.
What you will need
- Watercolor set
- Colored pencils
- Kneaded eraser
- Normal pencil
- Watercolor brush
- Watercolor paper
How to Draw a Self Portrait from a Selfie
One thing that is always important to have while drawing is a reference photo of some sort. In this case, a good reference photo is yourself. A quick selfie with good lighting can be the easiest thing to draw from.
Alternative Methods of Making a Self Portrait
Commonly you will hear of people sitting in front of a mirror to draw a self portrait. However, if you choose to draw yourself this way then you will be moving around and not get a very good end result. You could also have a friend take a photo of you to draw from.
How to Draw a Self Portrait Base
Look at the shape of the face. Start by drawing that base outline around the entire face, and edit it as needed to make a good strong outline. You can also make small marks in places like where the hair will go up to and where it sits on the face and shoulders.
Adding Lines to put each part of the Drawing
The easiest way to draw a face, or any figure really, is to draw a lot of guidelines first. Where is the tip of the nose? Where is the mouth? Where are each of the eyes? What about the chin? Drawing several lines where each of these features are will greatly help you draw a good self portrait.
How to Draw a Self Portrait and Mix up a Flesh Toned Color
While mixing up a good flesh tone, keep consistently testing it on your skin like foundation. Continue adding and mixing watercolor pigment in the top part of the watercolor kit until you get a perfect shade. Let it dry out for now, since watercolor easily reactivates.
Drawing Accessories and Making Eyes

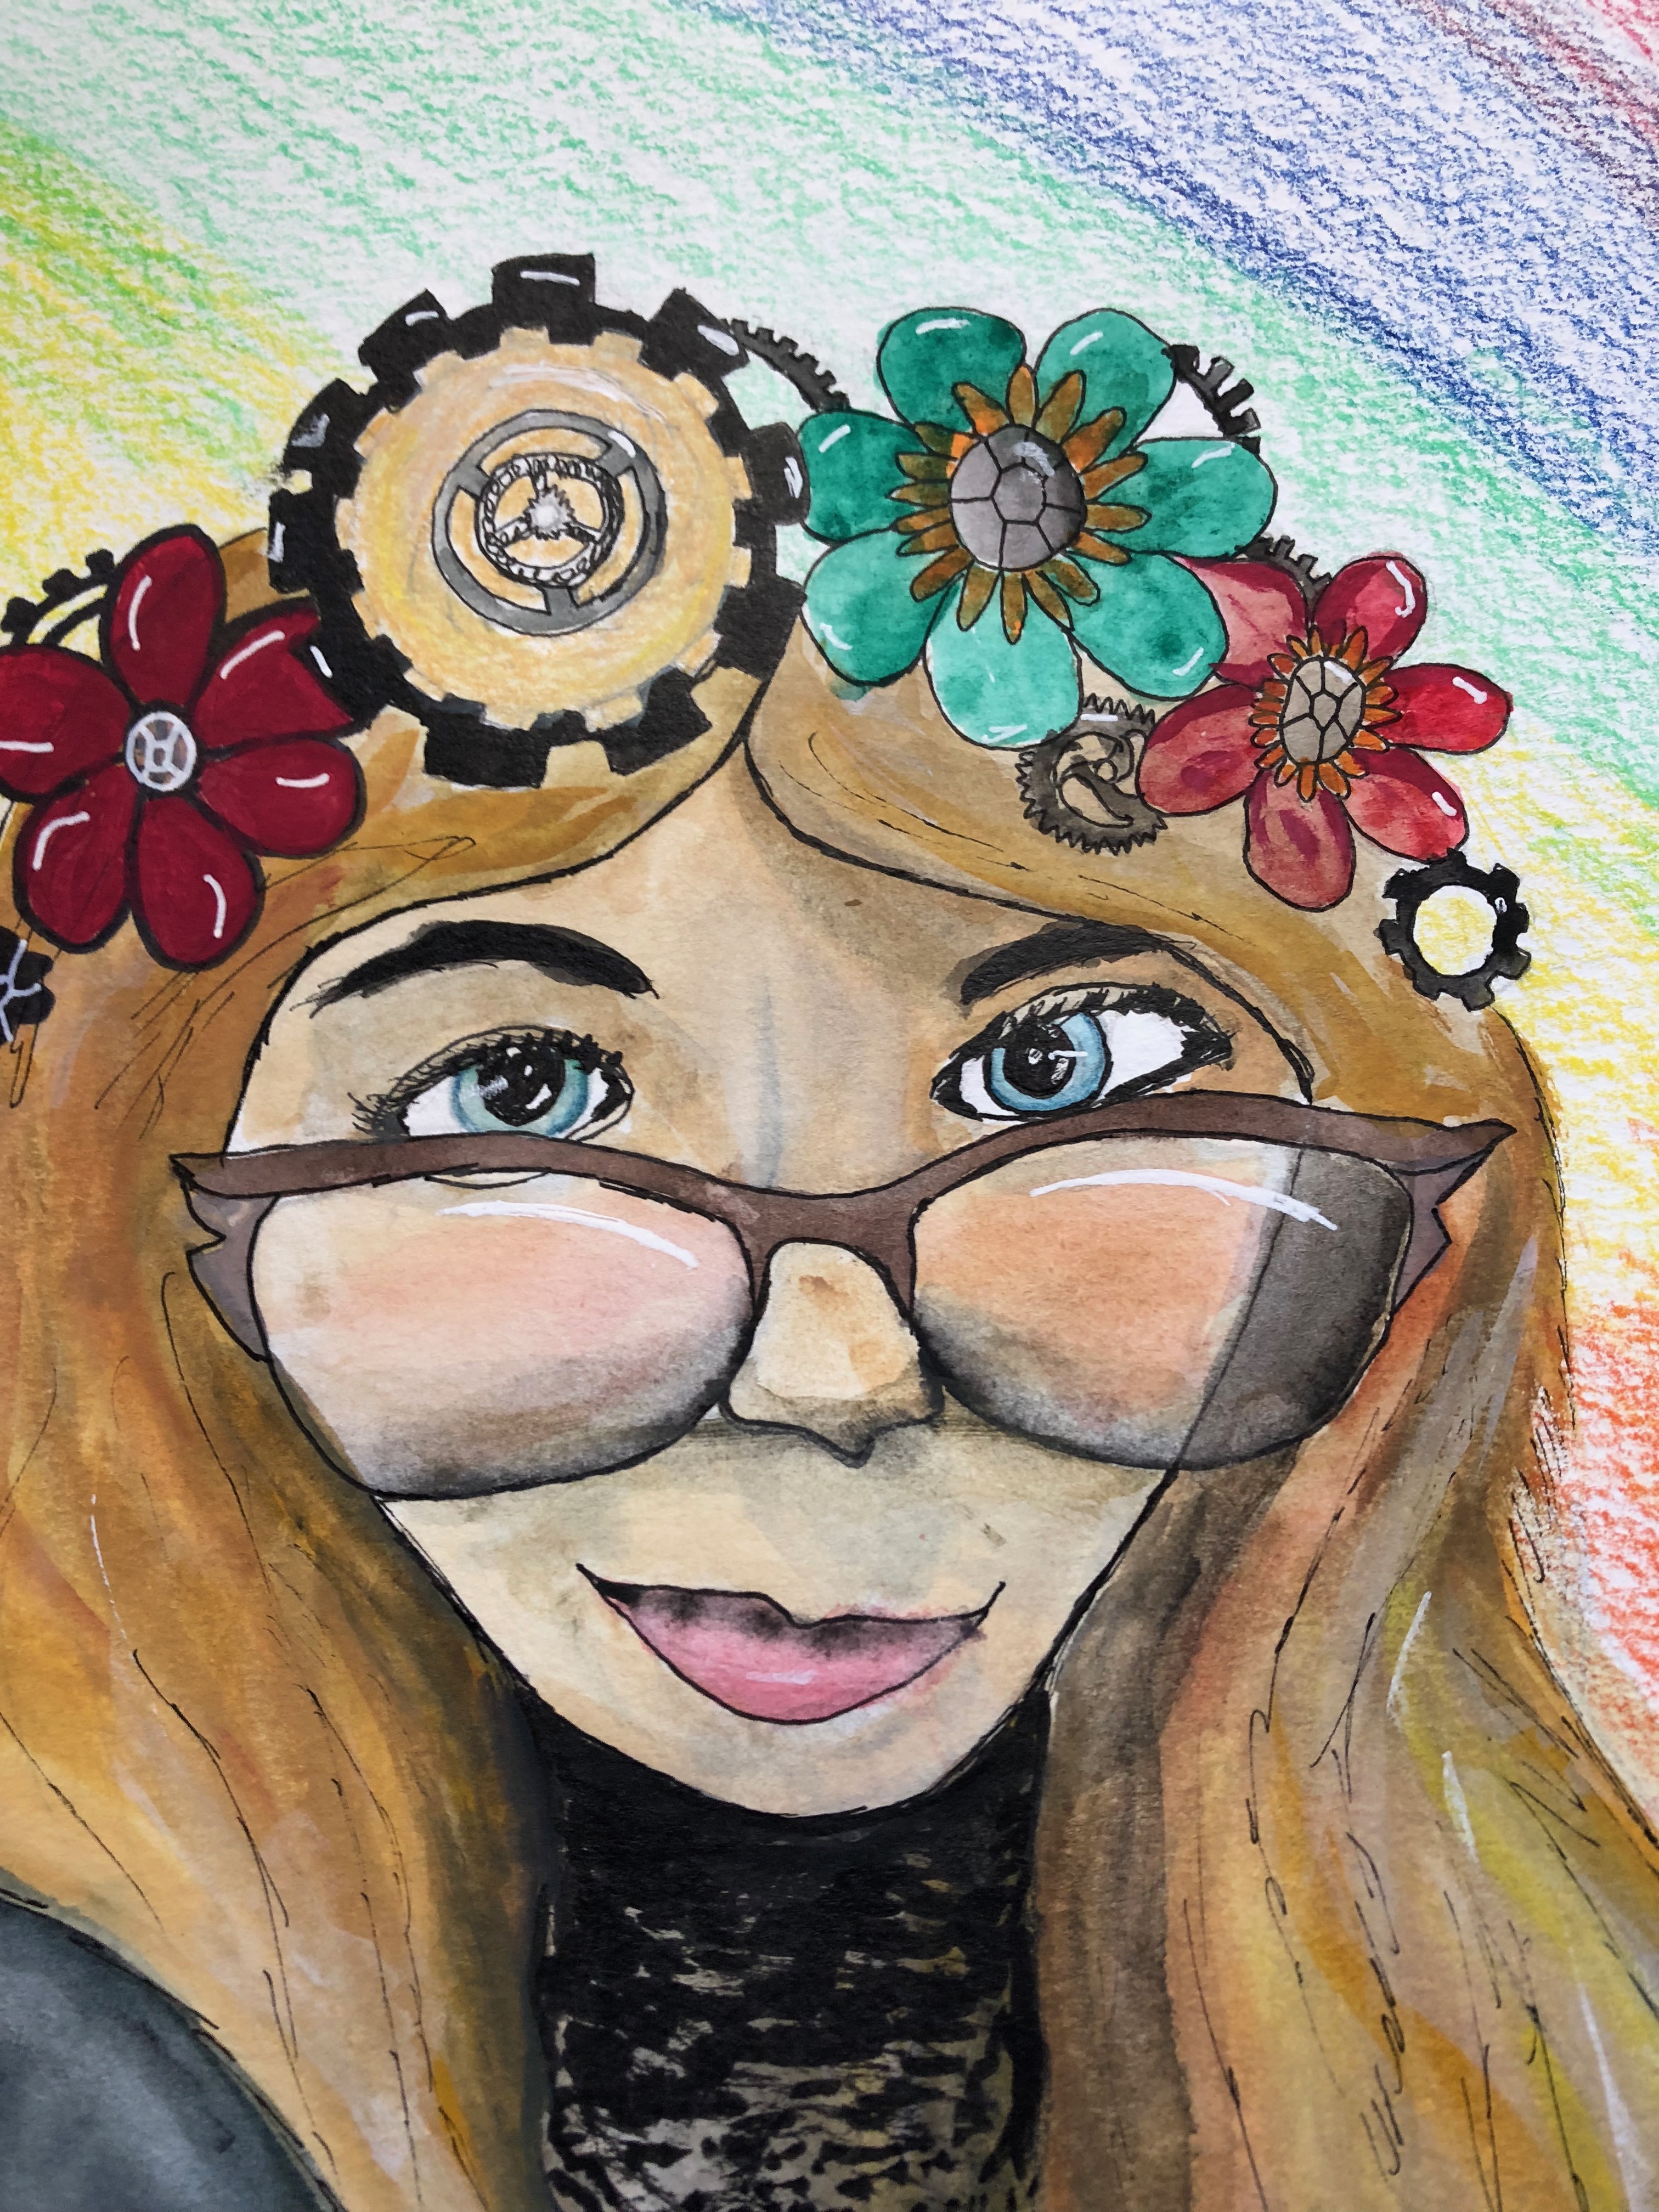
The glasses were the hardest part of the portrait. If you have earrings, glasses, fangs, or any kind of headgear, now is a good time to make a rough sketch of what they look like from the photo. Make sure to look at their position on the face and use your guidelines to accurately place them onto the drawing.
How to Draw Self Portrait Lips and Noses
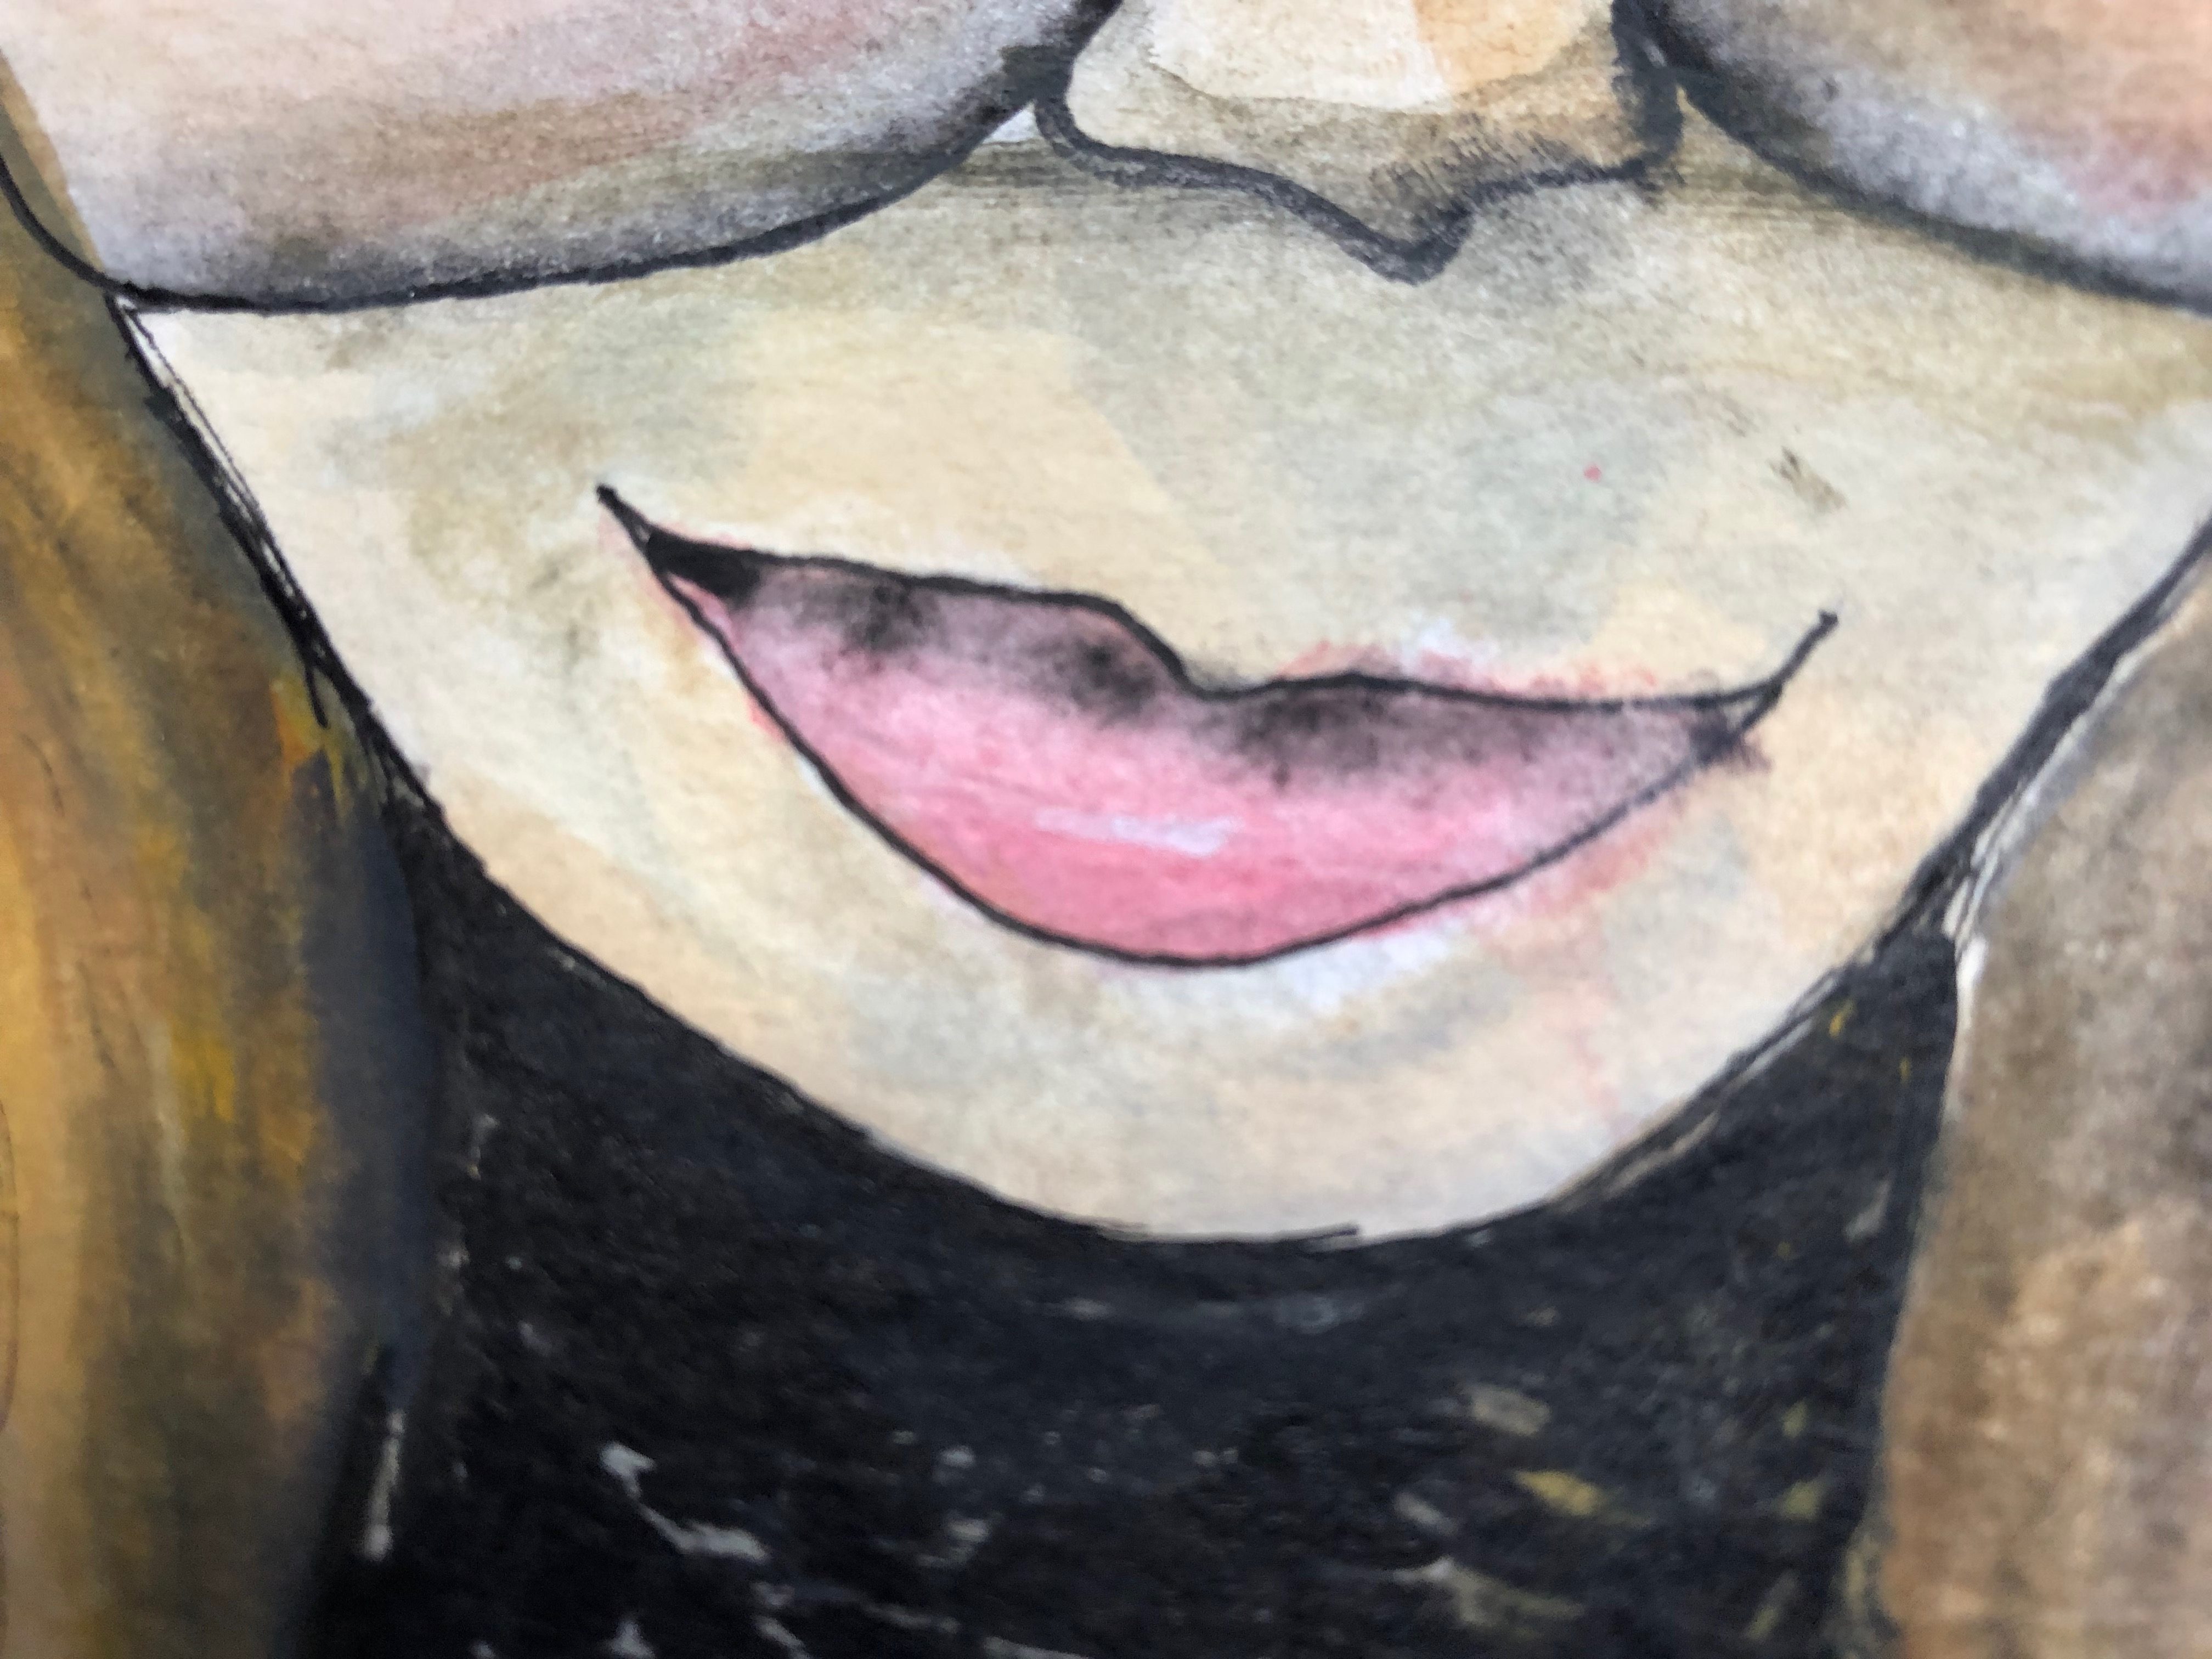
The end of the nose can be broken down into three simple shapes—a round ball on the end of the nose and two little side wings that come off of the circle. Make sure to give a little shading under the nose to make it look less blobby. The mouth is a sort of round shape up top with two longer round shapes on either side of the round shape.
How to Draw a Gear
Gears are very tedious to draw. Trace around something round that is about the size you want the gear to be. Next, use a pencil to add little square teeth all the way around the gear, keeping the spaces and size of the metal bits even.
Drawing the Brass Flowers
These little flowers are super cute, and easy to draw too. Start with the little gem in the middle. Draw a circle, and a little hexagon shape in the middle of the circle. Draw lines going from each corner of the shape and pull it to the edge of the circle. For the petals, draw loopy circular-ish shapes all the way around. I used watercolors to define the little shapes in bright colors and added highlights with a white gel pen.
How to Draw a Self Portrait Hairstyle
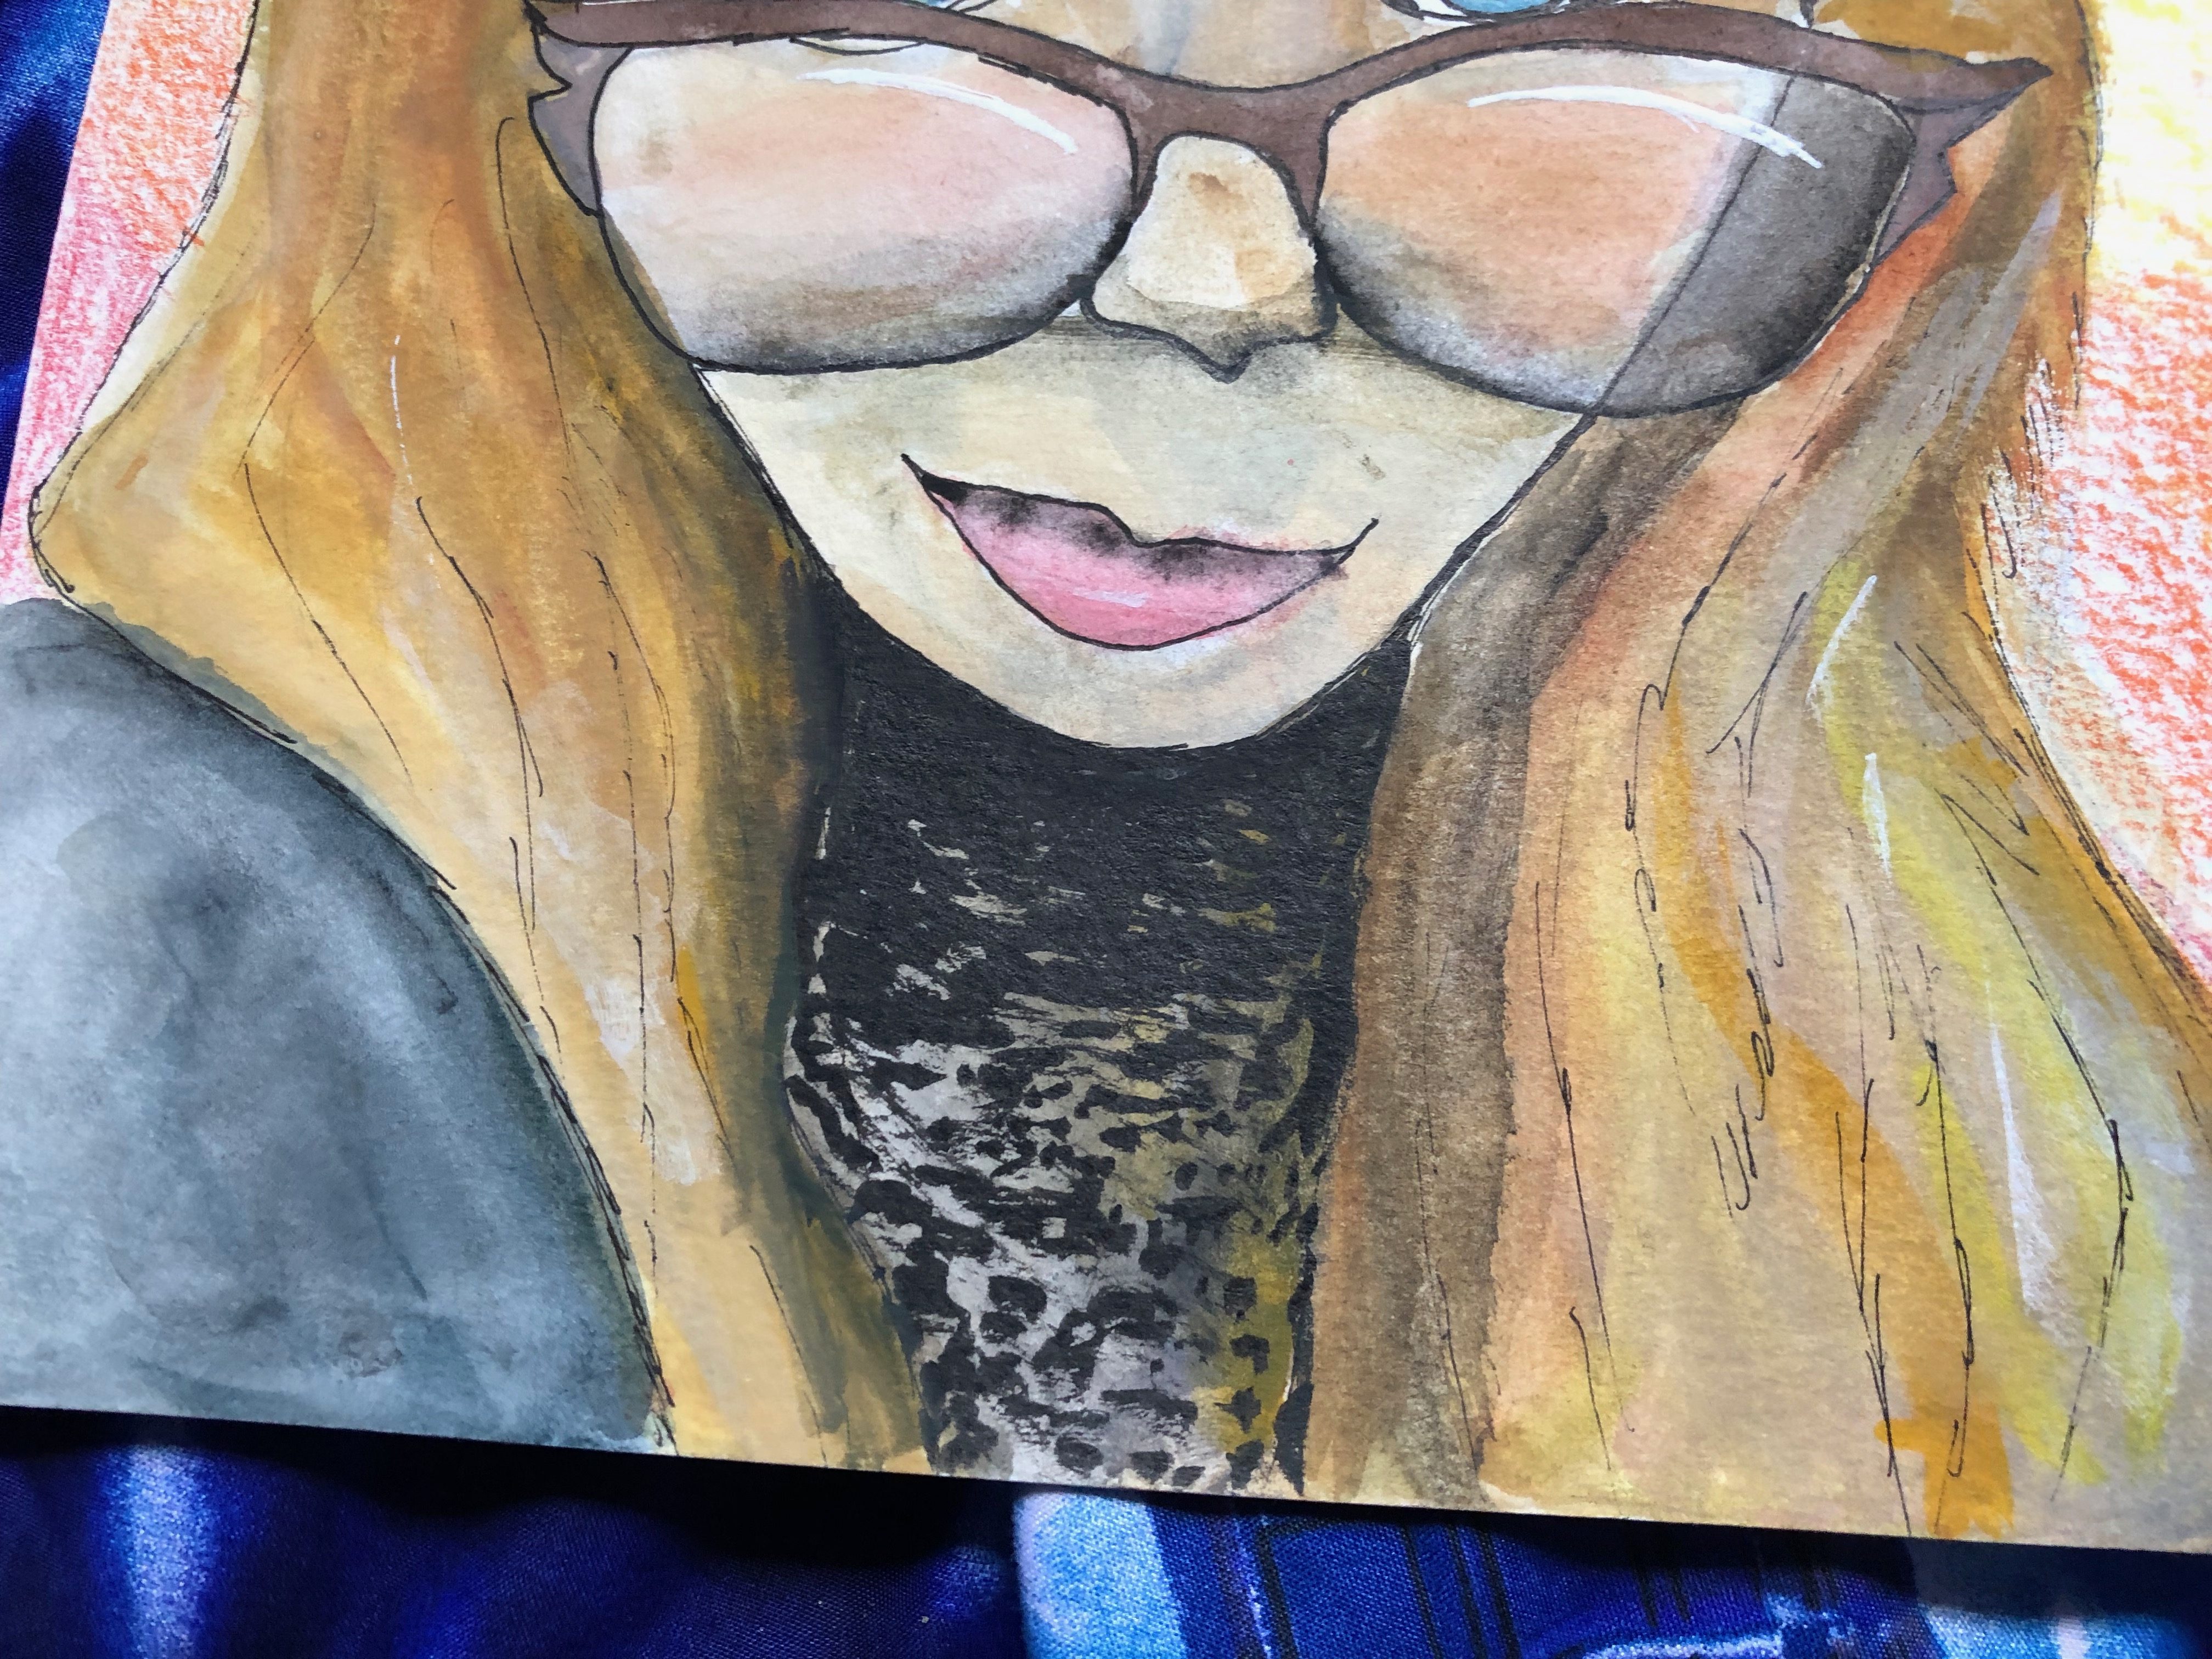
Hair is never just hair. For instance, my hair is a dirty blonde color, and it sometimes shows a very slight hint of copper. So I started with a sort of dark yellow color and mixed in some watered down red for a slight orangey tone, while adding small streaks throughout the hair. I continued to fluff out the hair as far as it was fluffed in the image by adding more paint until it seemed to be thick enough.
Drawing the Shoulders
The shoulders should not distract from the rest of the painting, so do not put as much effort or detail into this part. I chose to make the shoulder black, to show as a sort of T shirt that went along with the color that wound up becoming the neck color.
Painting on the Skin tone
Start lightly applying the flesh tone you created earlier. While the paint is still wet, add a tinge of red to the cheekbones as a sort of blush, and add shadows to the face using very watery black. Keep blending and playing with the colors until you are satisfied. Don’t forget to add a little highlight on the glasses using the white gel pen.
Coloring the Eyes

My eyes are a light bluish color, so I chose to use a couple of different shades of blue onto the portrait’s eyes with a little highlight to make them pop. No matter what color your eyes are, never use just one shade of pigment. The eyes should be very vibrant and stand out. Don’t forget to use black on the pupil, unless you want to look like you have bad cataracts.
Inking Details
Go around things like your hair line, the outline of all accessories, and even some throughout the hair. Your pen can mark things like hairs flowing out, the corners of your mouth, your eyelashes, your eyes, and other things in your photo.
How to Draw a Self Portrait Rainbow Background

The background was very fast and very fun. Lay out colored pencils in the order of the rainbow (Red, orange, yellow, green, blue, and purple) and start coloring with red in one corner of the page. Once you get so far, use the next color to blend into the end of the red and down further, leaving the last bit of the color you just used slightly thinner than the rest of the pigment so it is easier to blend into.
Finish
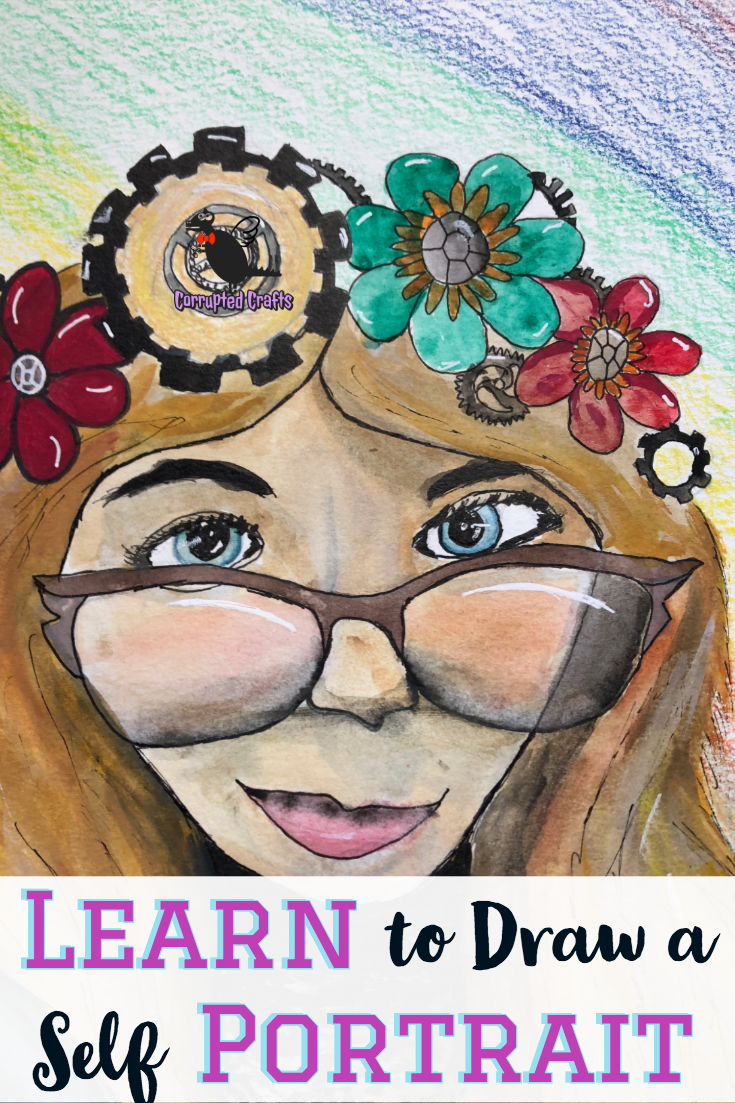
And you now have a very stylized self portrait. Good Luck and Happy Crafting!

