Want a popsicle that isn’t 90% processed sugar but still tastes good? Well, you won’t find many of those in stores, but you can easily make your own DIY Fruit Popsicles in your own kitchen with a few simple ingredients you may already have. You don’t even need fancy molds to make these sweet treats.
What you will need
- Pineapple
- orange juice
- Freeze dried raspberries
- pineapple juice
- Some kind of silicone mold, I used an egg bite maker but a cupcake mold works too
- Some kind of stick or plastic utensil
- A freezer
Preparing and Finding the Mold
First, dig around in the pans to try to find a silicone mold of some sort. If silicone is not available, a normal cupcake tray or a small cup can work just as well, you just may have trouble getting the popsicle out.
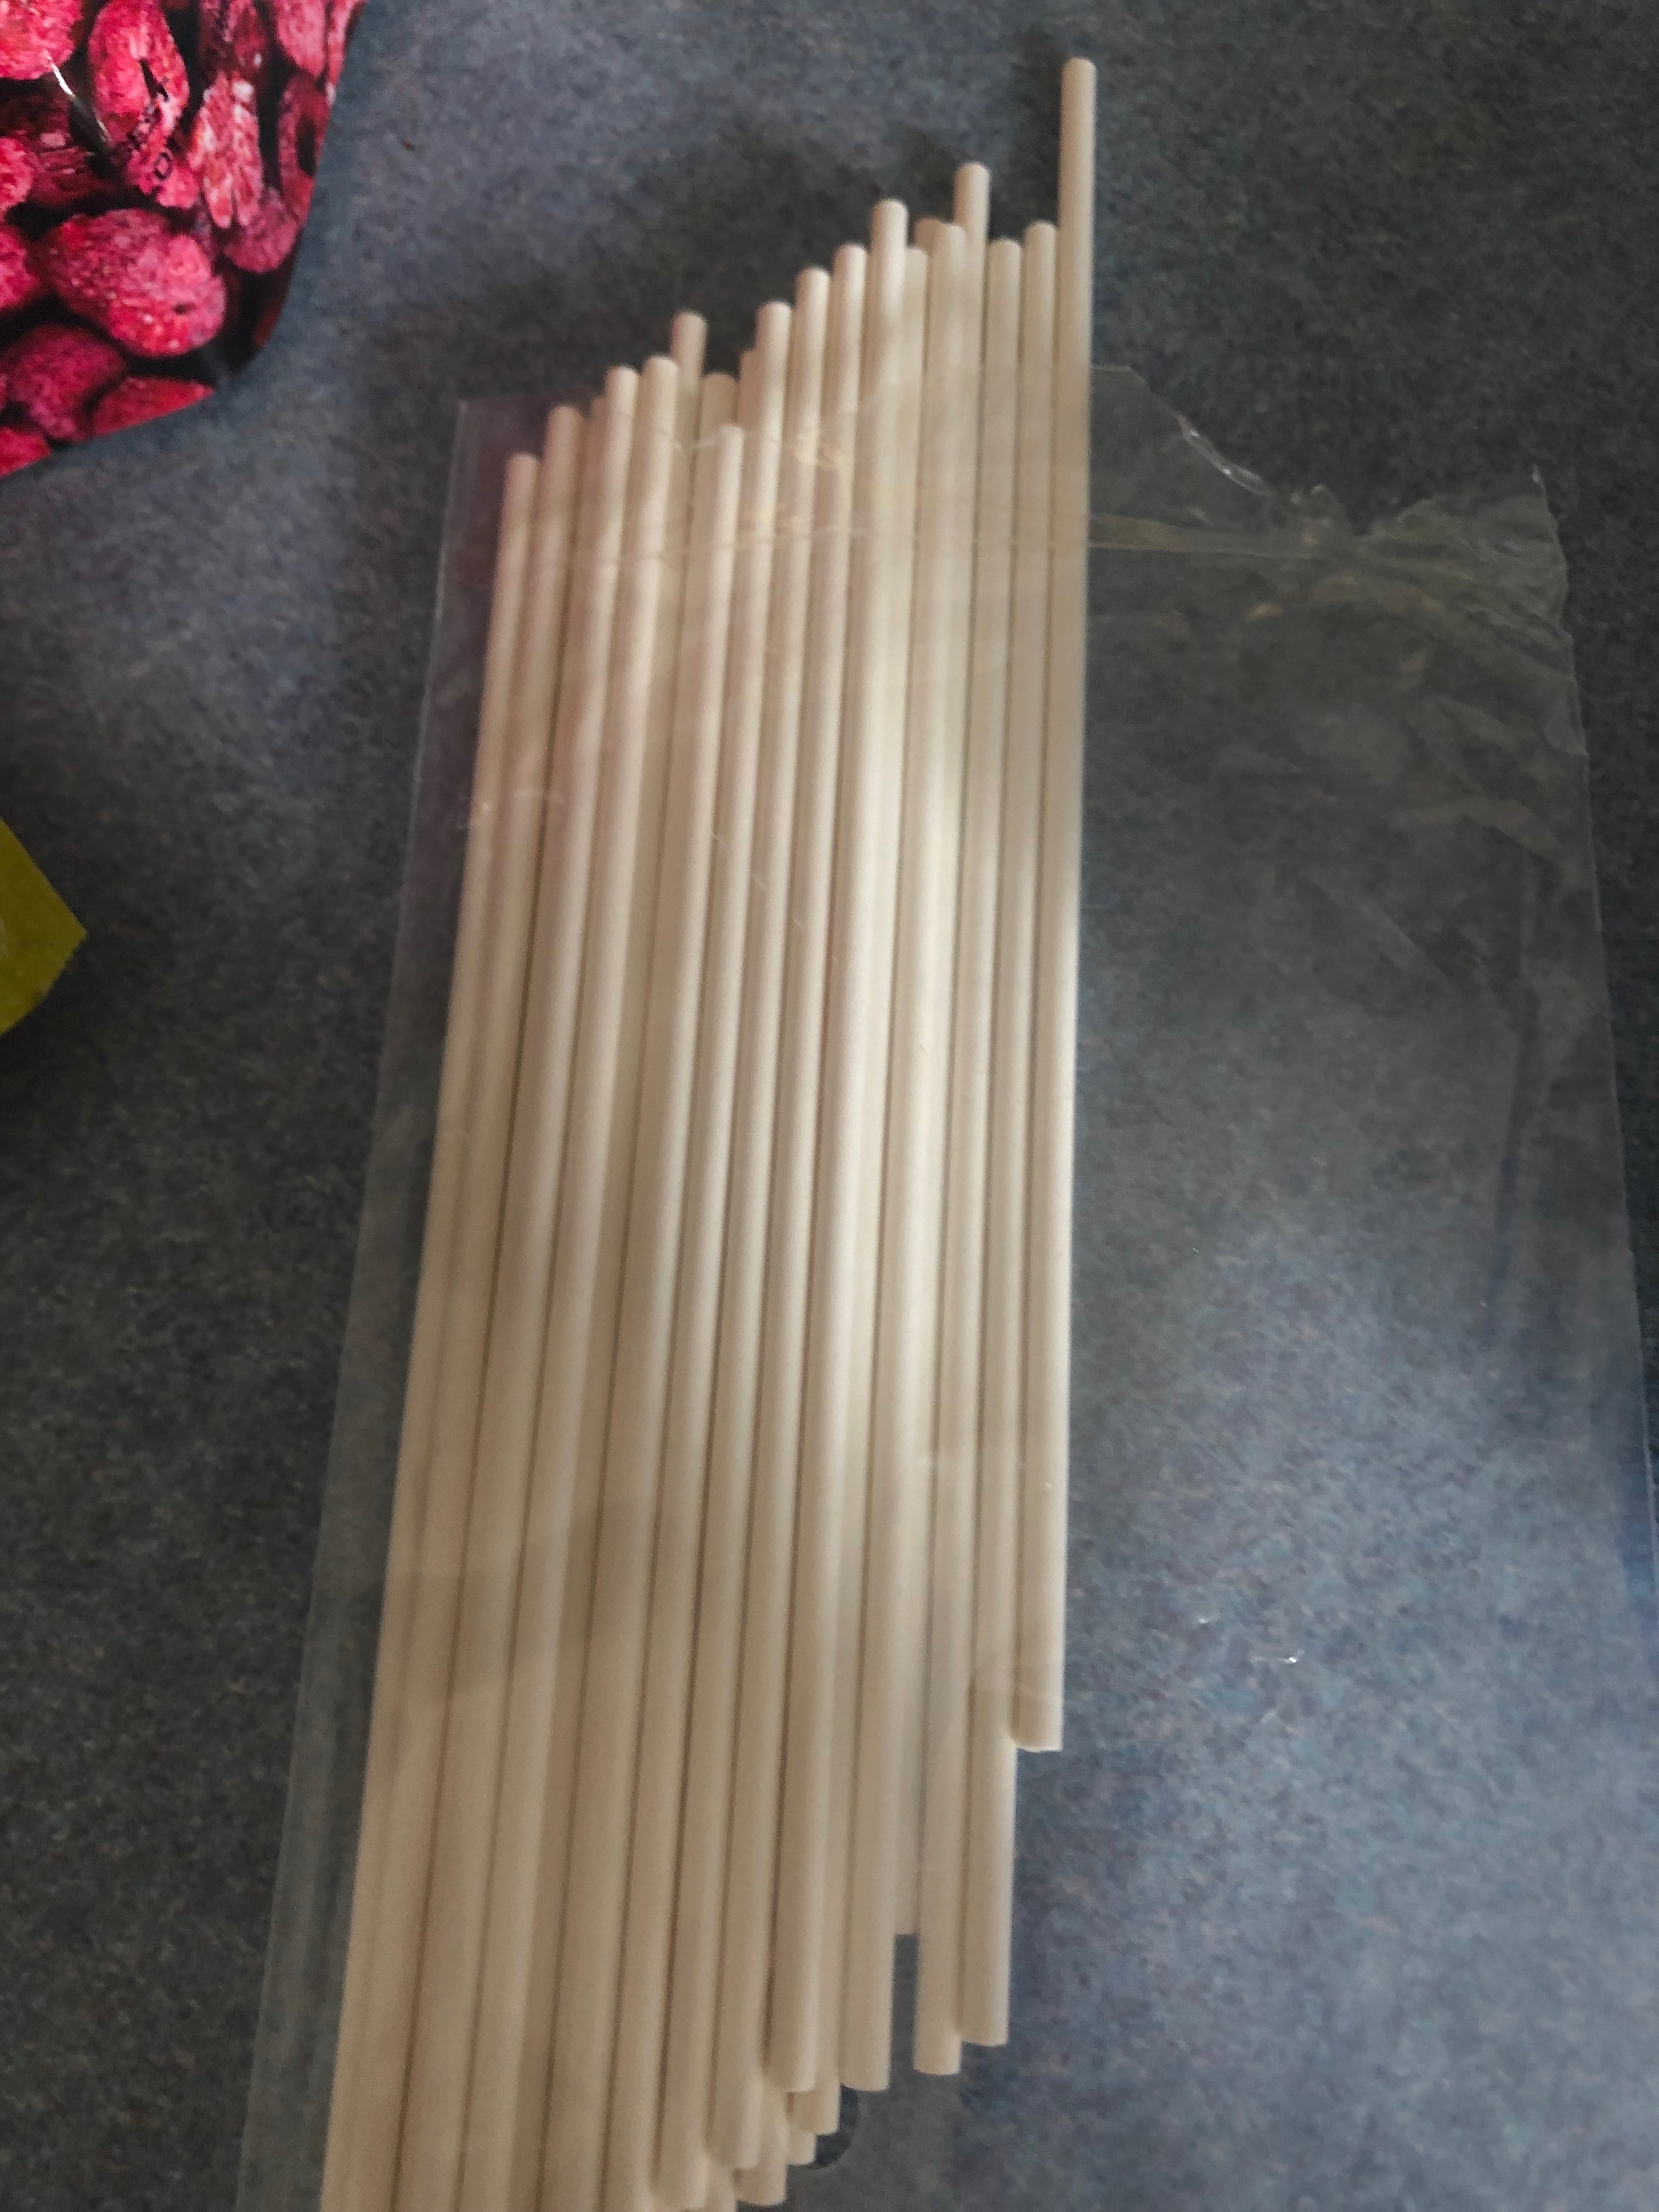
Making sure you have Popsicle Sticks Before you Start

One mistake even professional popsicle makers make is starting without popsicle sticks. If there is no popsicle stick or lollipop sticks in your house, use toothpicks or chopsticks. If even chopsticks are not present in your house, stick your finger in the pop while it is in the freezer. Reusable and eco friendly popsicle sticks right at your fingertips, quite literally.
Testing the Freeze Dried Fruit

Of course the most important thing in the corrupted kitchen is quality. Eat half the bag of pineapples and raspberries before remembering those were for the popsicles you forgot to make and the orange juice is now lukewarm on the counter. Fantastic.
Putting the Fruit in the DIY Fruit Popsicle Molds

Pour the remaining crumbs into the molds, half pineapple and half raspberry. I also did a half and half mixture just because I thought maybe it would taste good. It’s just fruit, right?
Pouring the Juice into the Molds
Shake your lukewarm orange juice and pour it into the molds with the raspberries. Poke them around a bit with a popsicle stick to make sure they are properly juiced. Do the same with the pineapple, pouring pineapple juice over the pineapples and poking them around in the blood of their long lost relatives.
Letting the DIY Fruit Popsicles Sit
Leave the fruit to get soggy for about ten minutes. Finish the rest of the freeze dried fruit, if there is any left in the bag.
Adding Sticks to the DIY Fruit Popsicles

The sticks may not want to stay in the popsicles standing up. If this happens, yell at them and use the freeze dried fruit to help keep the stick standing. You could also take the easy route and use cling wrap to hold the sticks in place, but real chefs use their balancing skills and steady hands.
Freezing the Fruit Popsicles
Pop them all in the freezer for about three hours and see if your sticks stayed. If somehow one of them fell over, threaten to eat it first.
Pro Tip for Enjoying your Popsicles

Using a cupcake wrapper can ensure your popsicle does not melt all over your hands. Stab the stick through the paper and nom away.
Finish
And now you have some awesome tasting popsicles that you made yourself that are considerably healthy than just ye olde bowl of ice cream. Happy Nomming!

