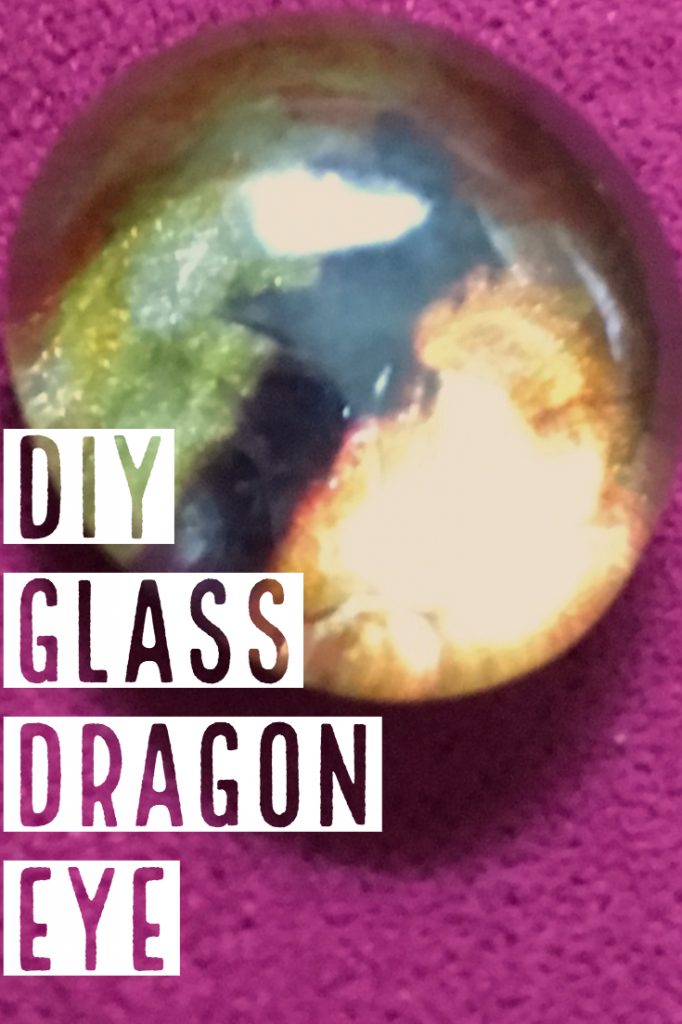
Sometimes, you just need a dragon eye. Here is how to make one with Sharpies and nail polish.
Materials
Step 1: Draw the Pupil of the Dragon Eye
Using a black Sharpie and looking at the glass bead from the top, draw on the bottom of the glass bead to make a thin, snakelike pupil. Draw very small lines to make it look more dragon like.
Step 2: Draw the Outer Color of the Dragon Eye

Using a dark orange sharpie and looking down on the bead from the top, color the ring around the outside of the bead, being careful not to color on the pupil.
Step 3: Draw the Inner Color of the Dragon Eye

Next use a yellow Sharpie to fill in around the pupil and blend into the orange, keeping in mind the colors will blend once the clear coat is applied.
Step 4: First Clear Coat Layer

Start by, in one stroke, covering the pupil in a layer of the polish. Do not spread it around, wait for it to dry completely to the touch to avoid the pupil smearing.
Step 5: Second Layer Clear Coat
After the pupil has dried, coat the entire back of the eye in a very thick coat of clear polish. This will help blend the two colors as well as make the eye shinier.
Step 6: Reinforcing the Pupil of the Dragon Eye

Draw on top of the pupil with a permanent marker again, to darken the outline. This will make your eye stand out a lot more.
Step 7: Clear Coat the Pupil Again
Add another clear coat over the pupil carefully like you did before, coating it in one stroke and allowing it to dry fully before proceeding.
Step 8: Clear Coat the Orange and Yellow

Add another clear coat to the rest of the back to keep it all even. Nobody wants a lumpy dragon eye.
Step 9: Reinforce your Colors

Next, draw on some more orange once the clear coat has dried. Make sure it is where it is not on the yellow, because the orange is darker and will take away from the yellow. Add another layer of yellow as well.
Step 10: Final Clear Coat
I know a lot of clear nail polish has died on this craft, but this is the last layer. Coat it again to protect the yellow and orange sharpie you just put down.
Step 11: Back color

Using a silver or black polish, add a thick coat to the back of the gem to make it more shiny and less transparent. Allow to fully dry.
Step 12: Finish

I lied in step 10. Add one more clear coat to protect the silver polish and you are finally done. Happy crafting!


I like this a lot