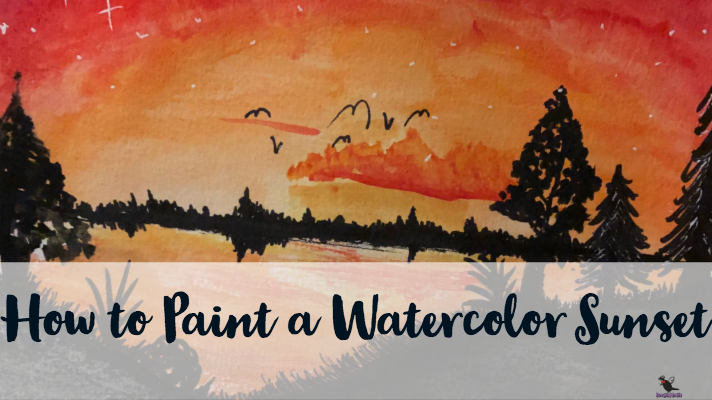
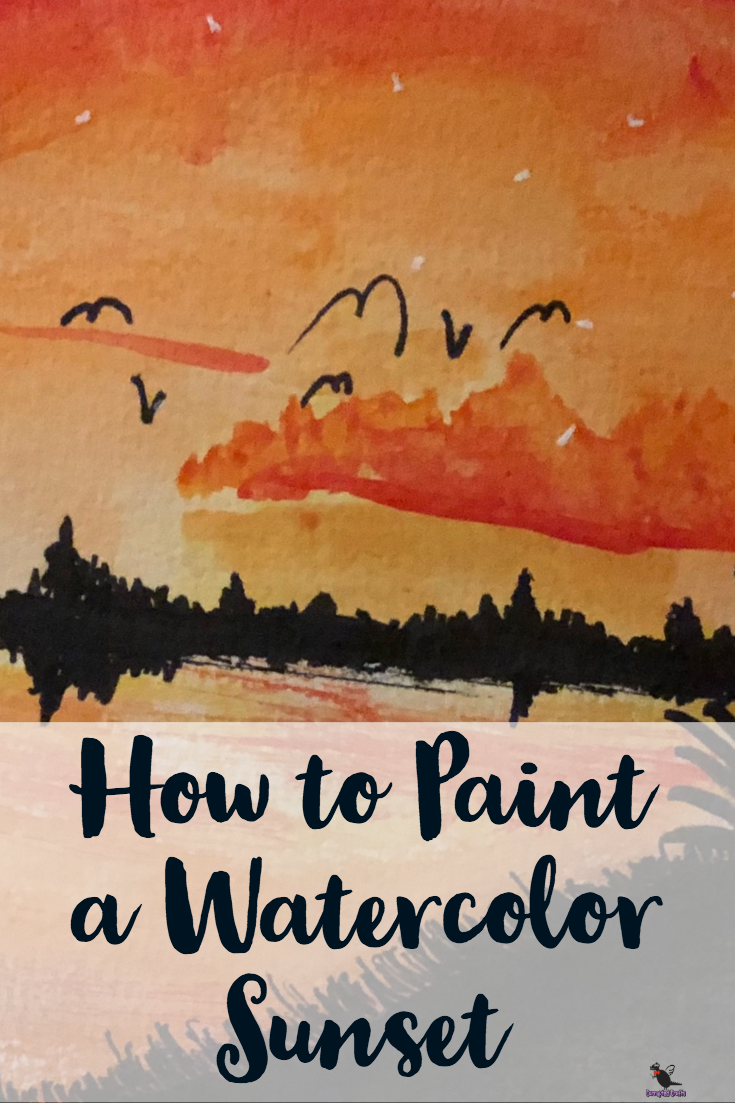
Today we will be learning How to Paint a Watercolor Sunset. Sunsets are super vibrant and super fun to make, especially using watercolor. Let’s get into making this awesome and super bright watercolor Sunset.
What you will need
How to Paint a Watercolor Sunset Base
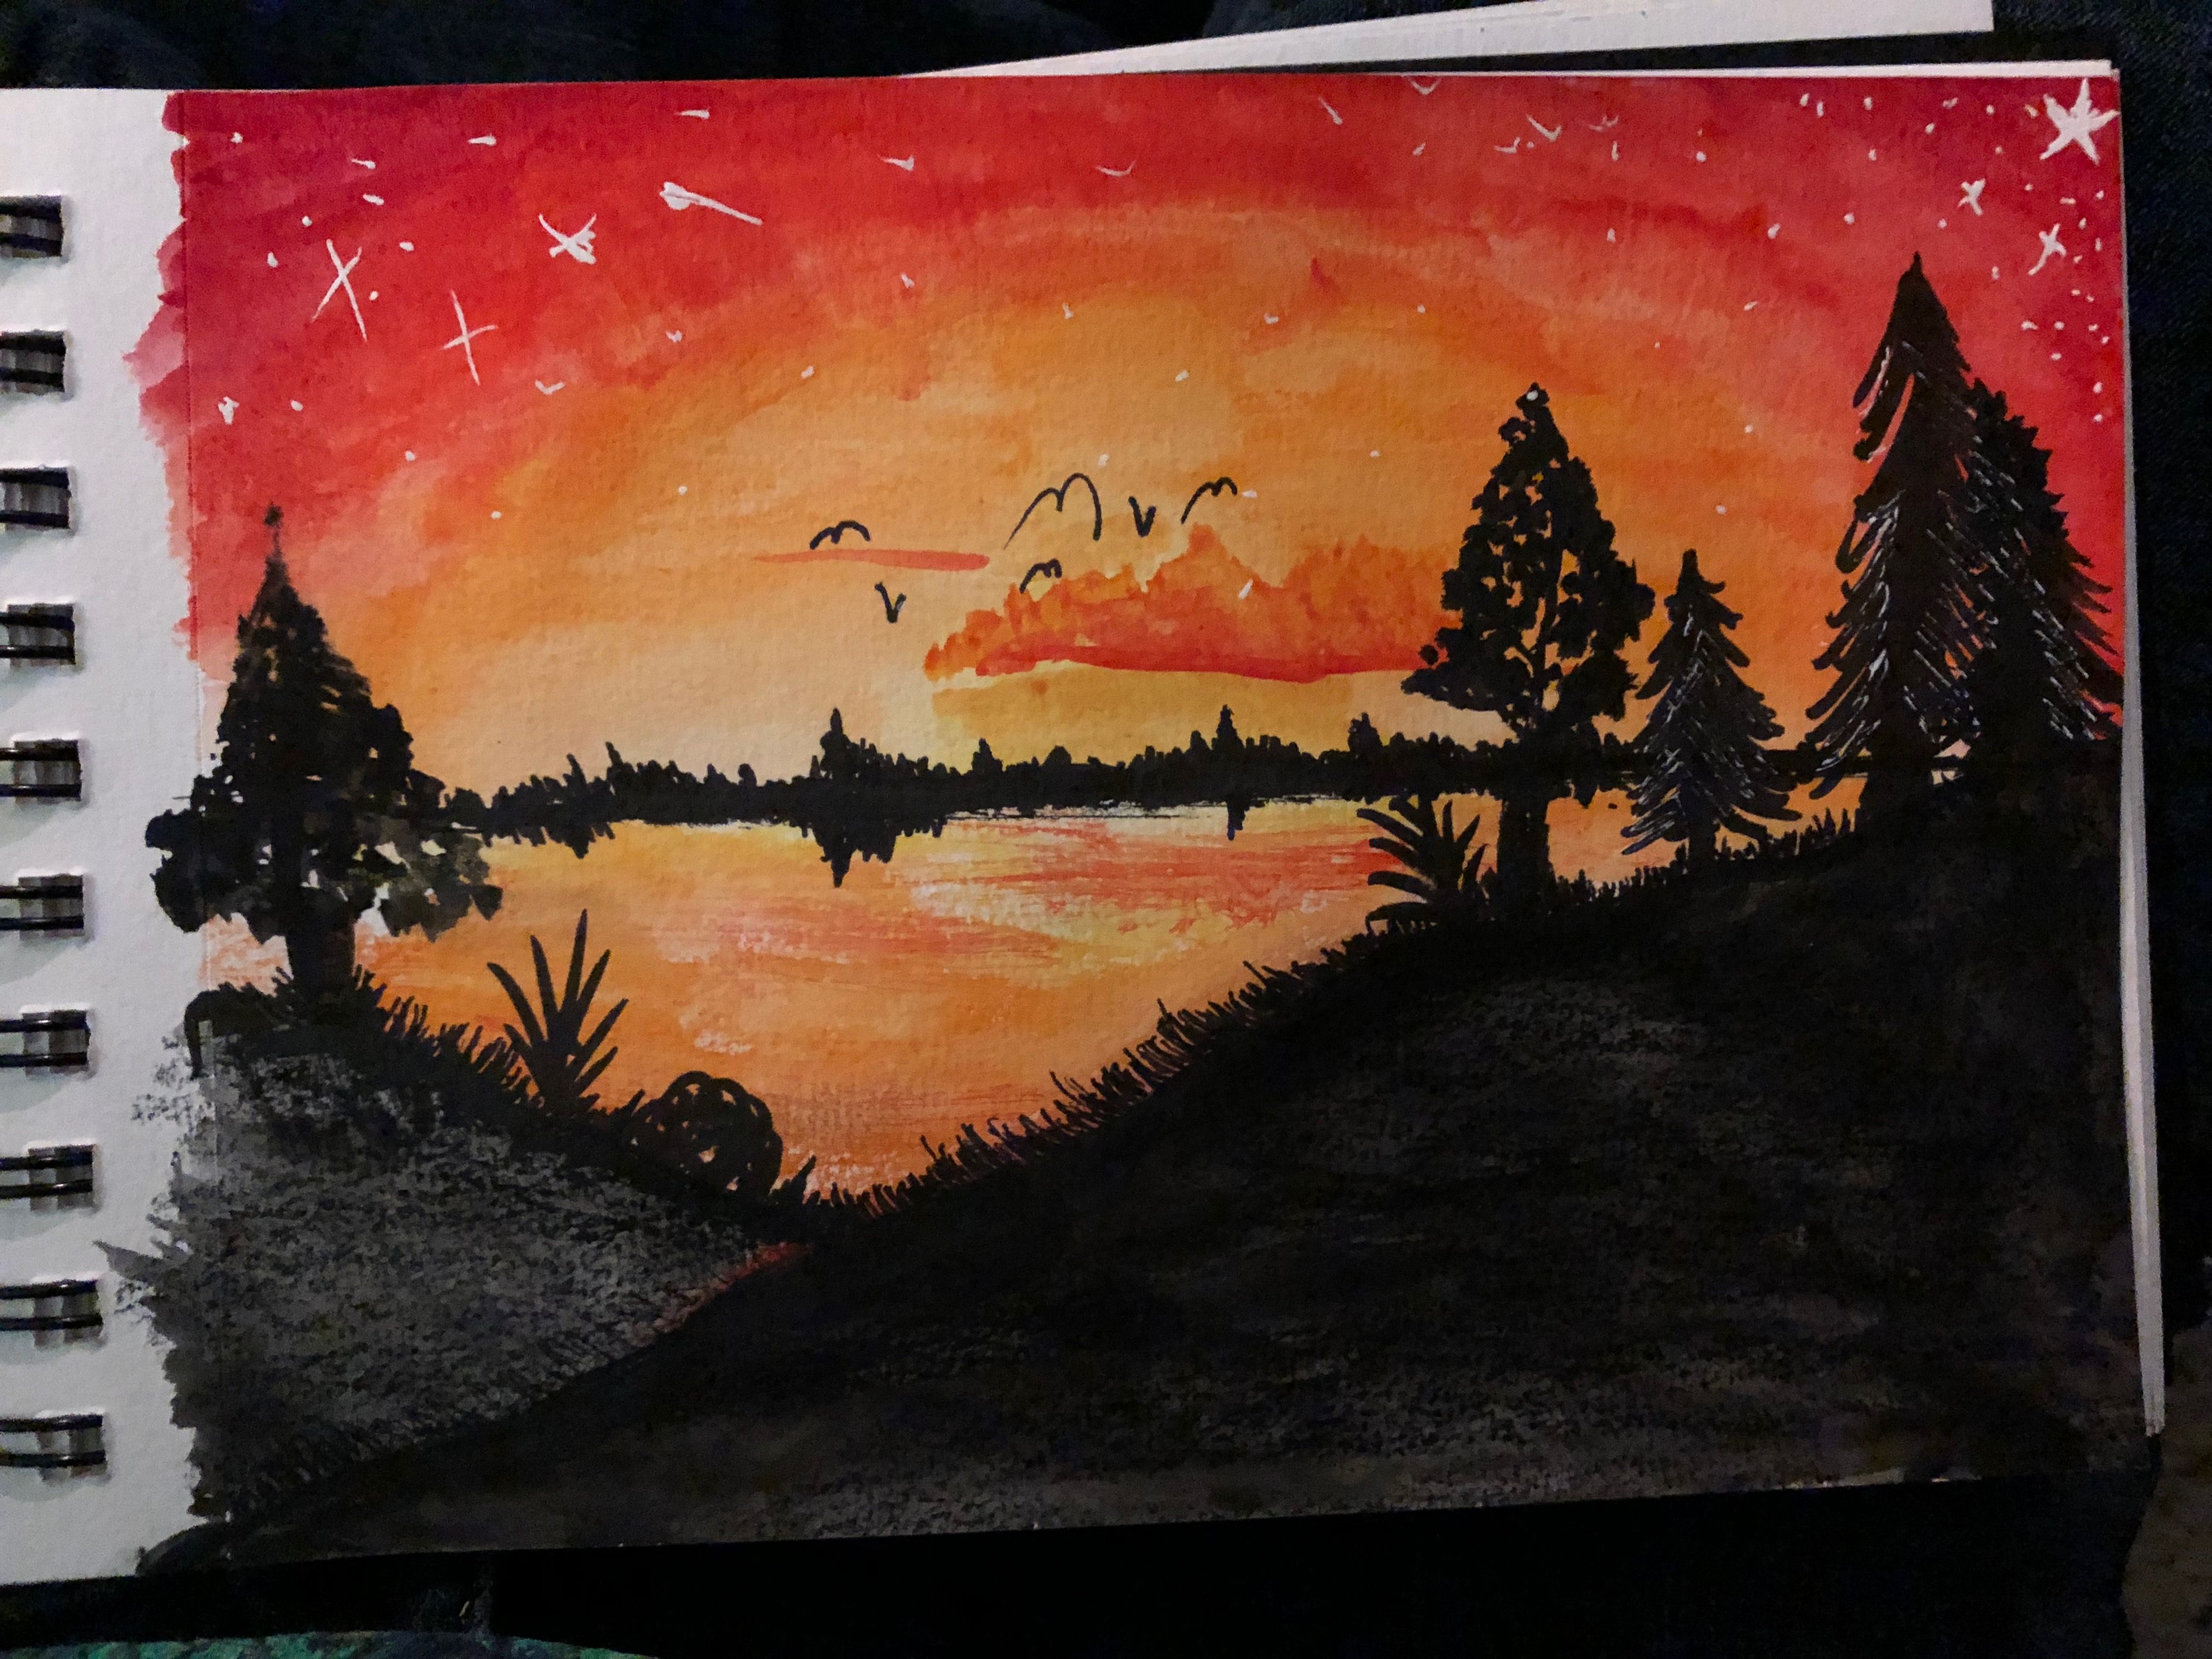
When working with watercolors, it is always best to start with your lightest color first. By using your lightest color, you have the option to darken as needed, as it is harder to undo dark color than to paint over light colors. In this case, put a blob of yellow in the middle of the page horizontally.
A Few Basic Things about Watercolor
Alright so one thing that is important that I learned from Watercolor is that if you want two colors to blend, you must blend them while the paint is wet. If the paint is dried, it’s not going to blend. It will not consider blending. It will not give you even a second thought. It is stubborn and leaves a very hard mark. If your watercolor is on the paper and it is drying out, don’t let that happen. Add a little more water to the canvas to make it function properly.
Painting the How to Paint a Watercolor Sunset ‘s Darker Colors
Add orange around the edges and start pulling it toward the middle. It should be darker on the edges and lighter in the middle. Continue moving the color around until it is smooth and the edge is as dark of an orange as the pigment it came from.
Blending the Colors Together

Start adding a little crimson to the corners. You don’t want to add too much, just creep that lovely dark red into the corners to give a good sharp contrast to the yellow sun in the middle. You can take a blob of orange and add it across the sun using a dabbing motion to create a little cloud crawling across the sky.
Continuing the Color on the Other Half
Repeat this pattern again on the other side, being careful to avoid the bottom of the page. Using your orange, make a wiggly line and fill it in. This will be your little lake. Leave the space between the wiggly line and the bottom of the page blank, to fill in later.
Adding the Black Outlines
Go along the wiggly line with ink or black acrylic and carve out the little hills up close to the point of view. Just a solid black wiggly line, nothing more. Let this part dry before continuing.
Filling in the Hills
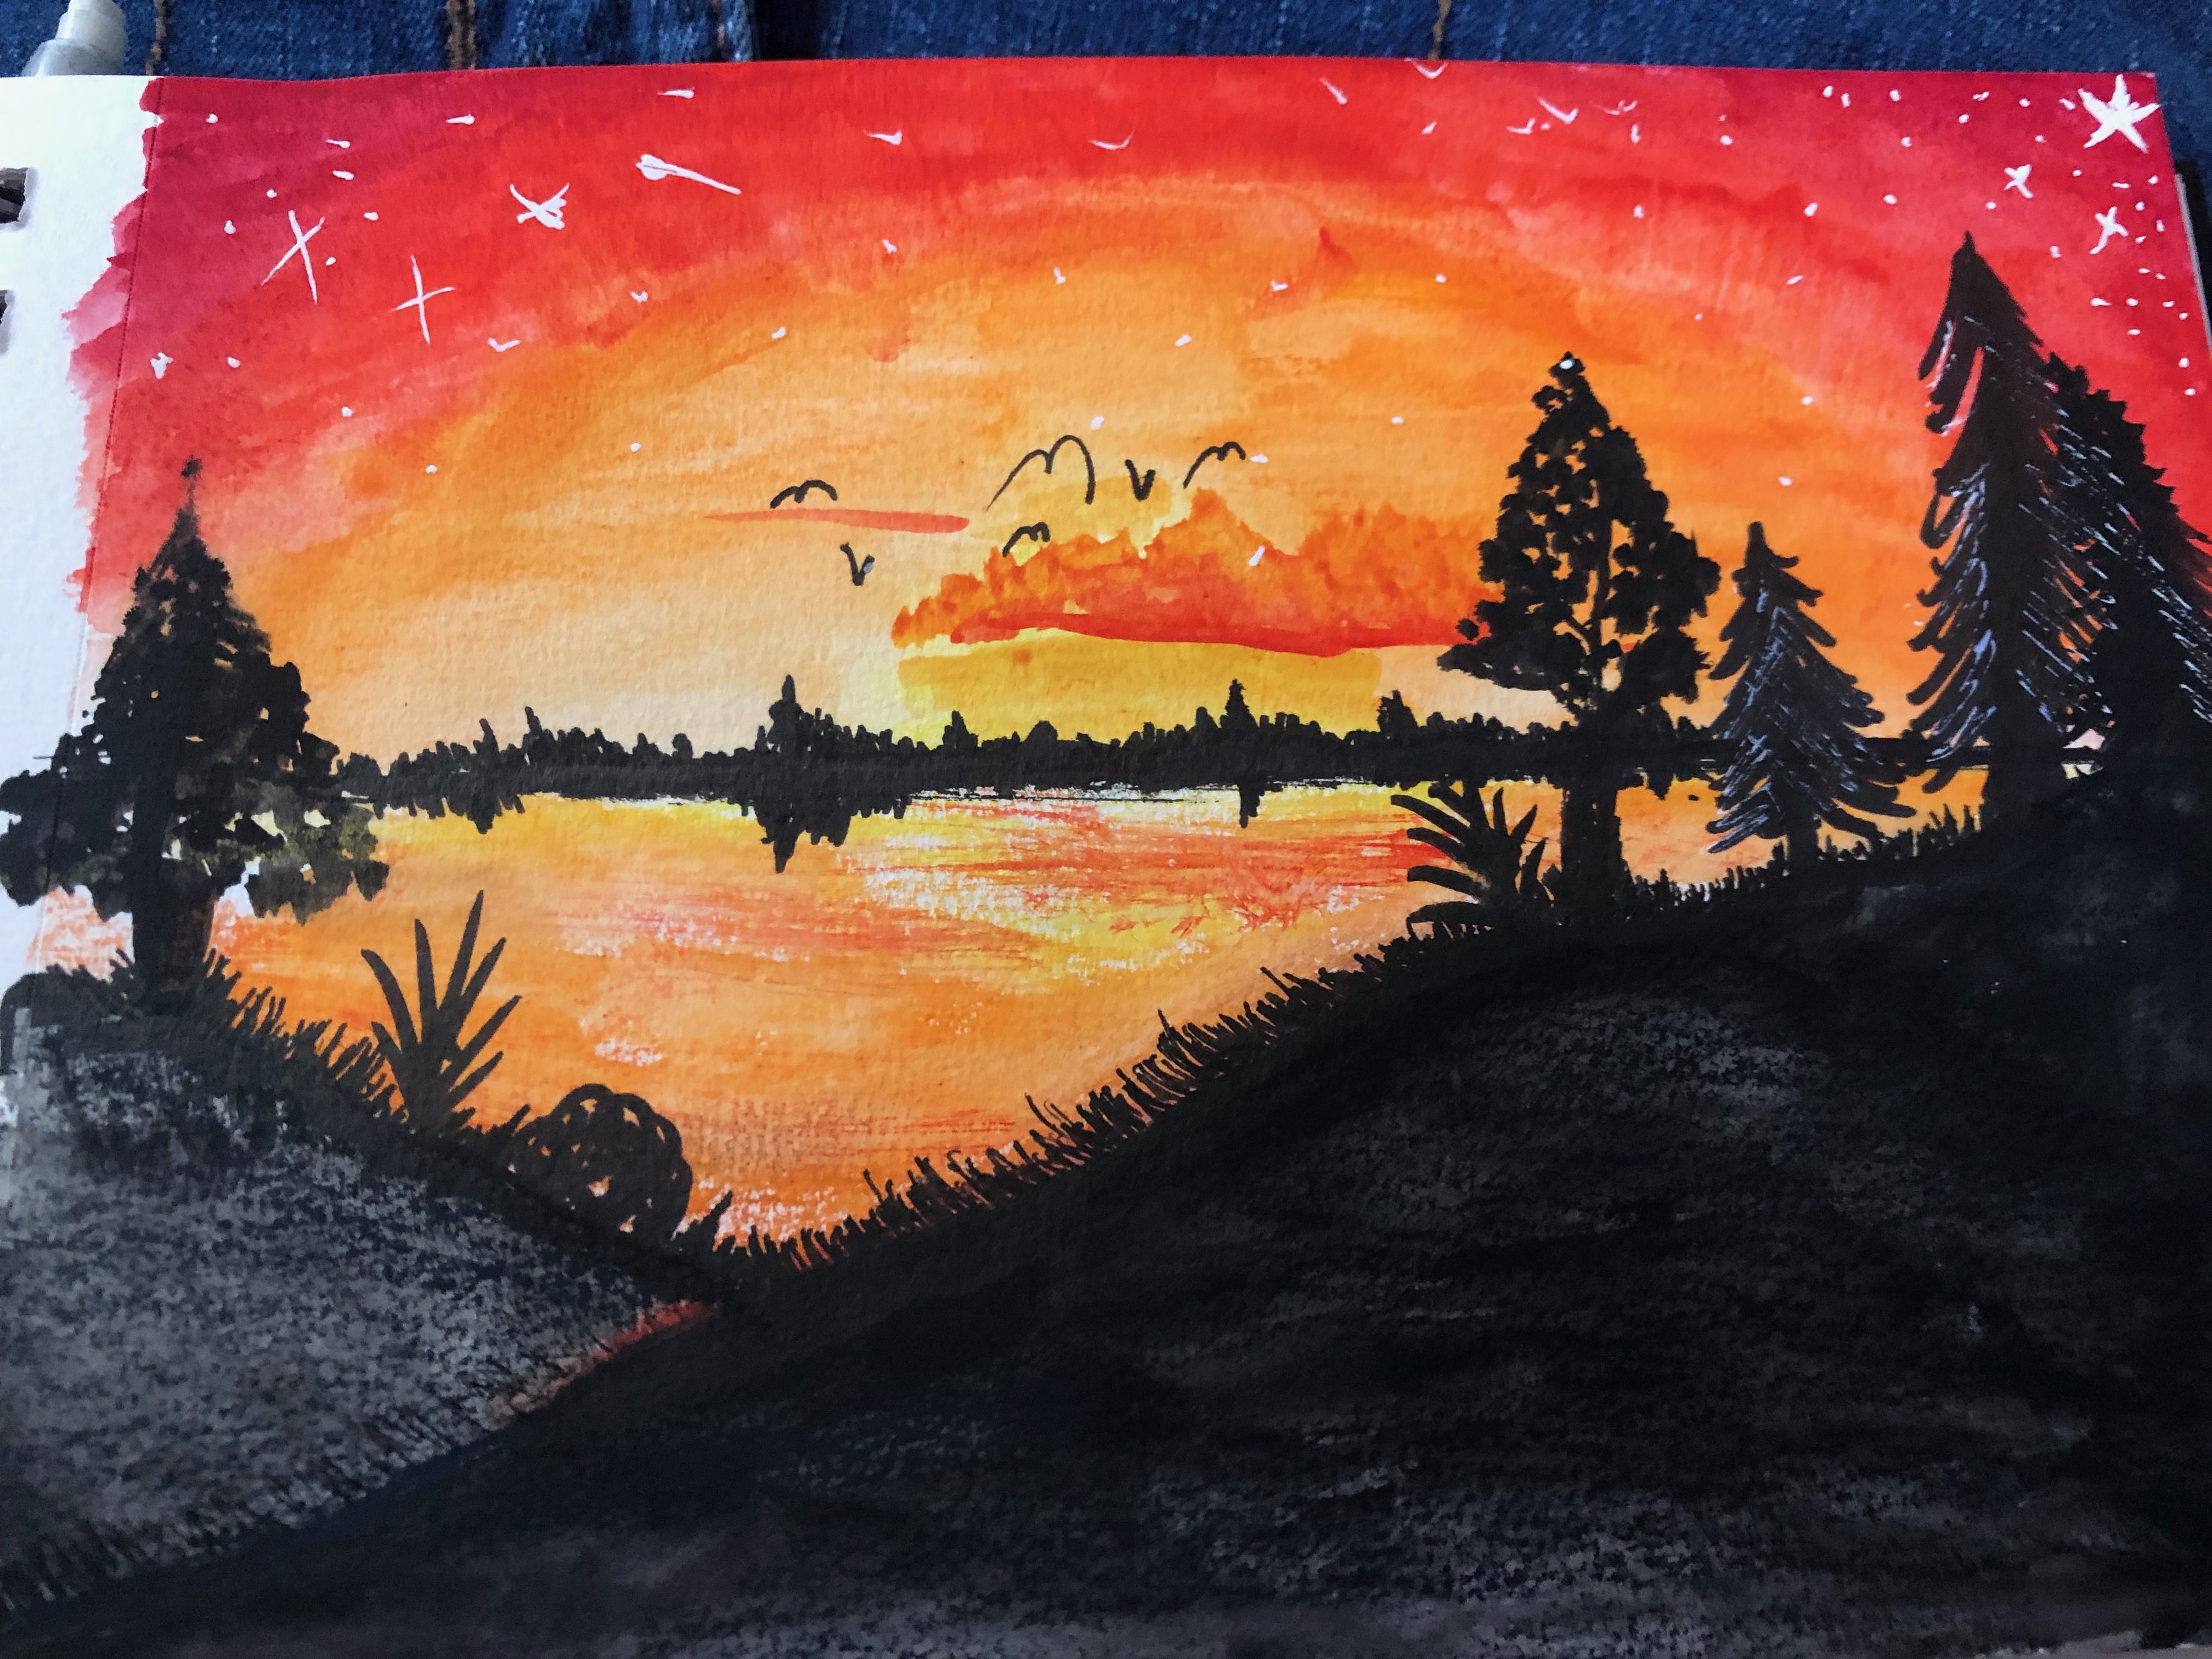
So you know the part where I told you watercolor is unforgiving? About that. Black is such a dark color that it really doesn’t care and will eat your drawing alive. Pick up a little black and lightly brush it across the line, then blend it out from the line down to the edge of the page.
Painting the Water
Water is very reflective, so in this case mimic the color of the sky down under it, starting with yellow and working your way to the orange.
Adding the Trees
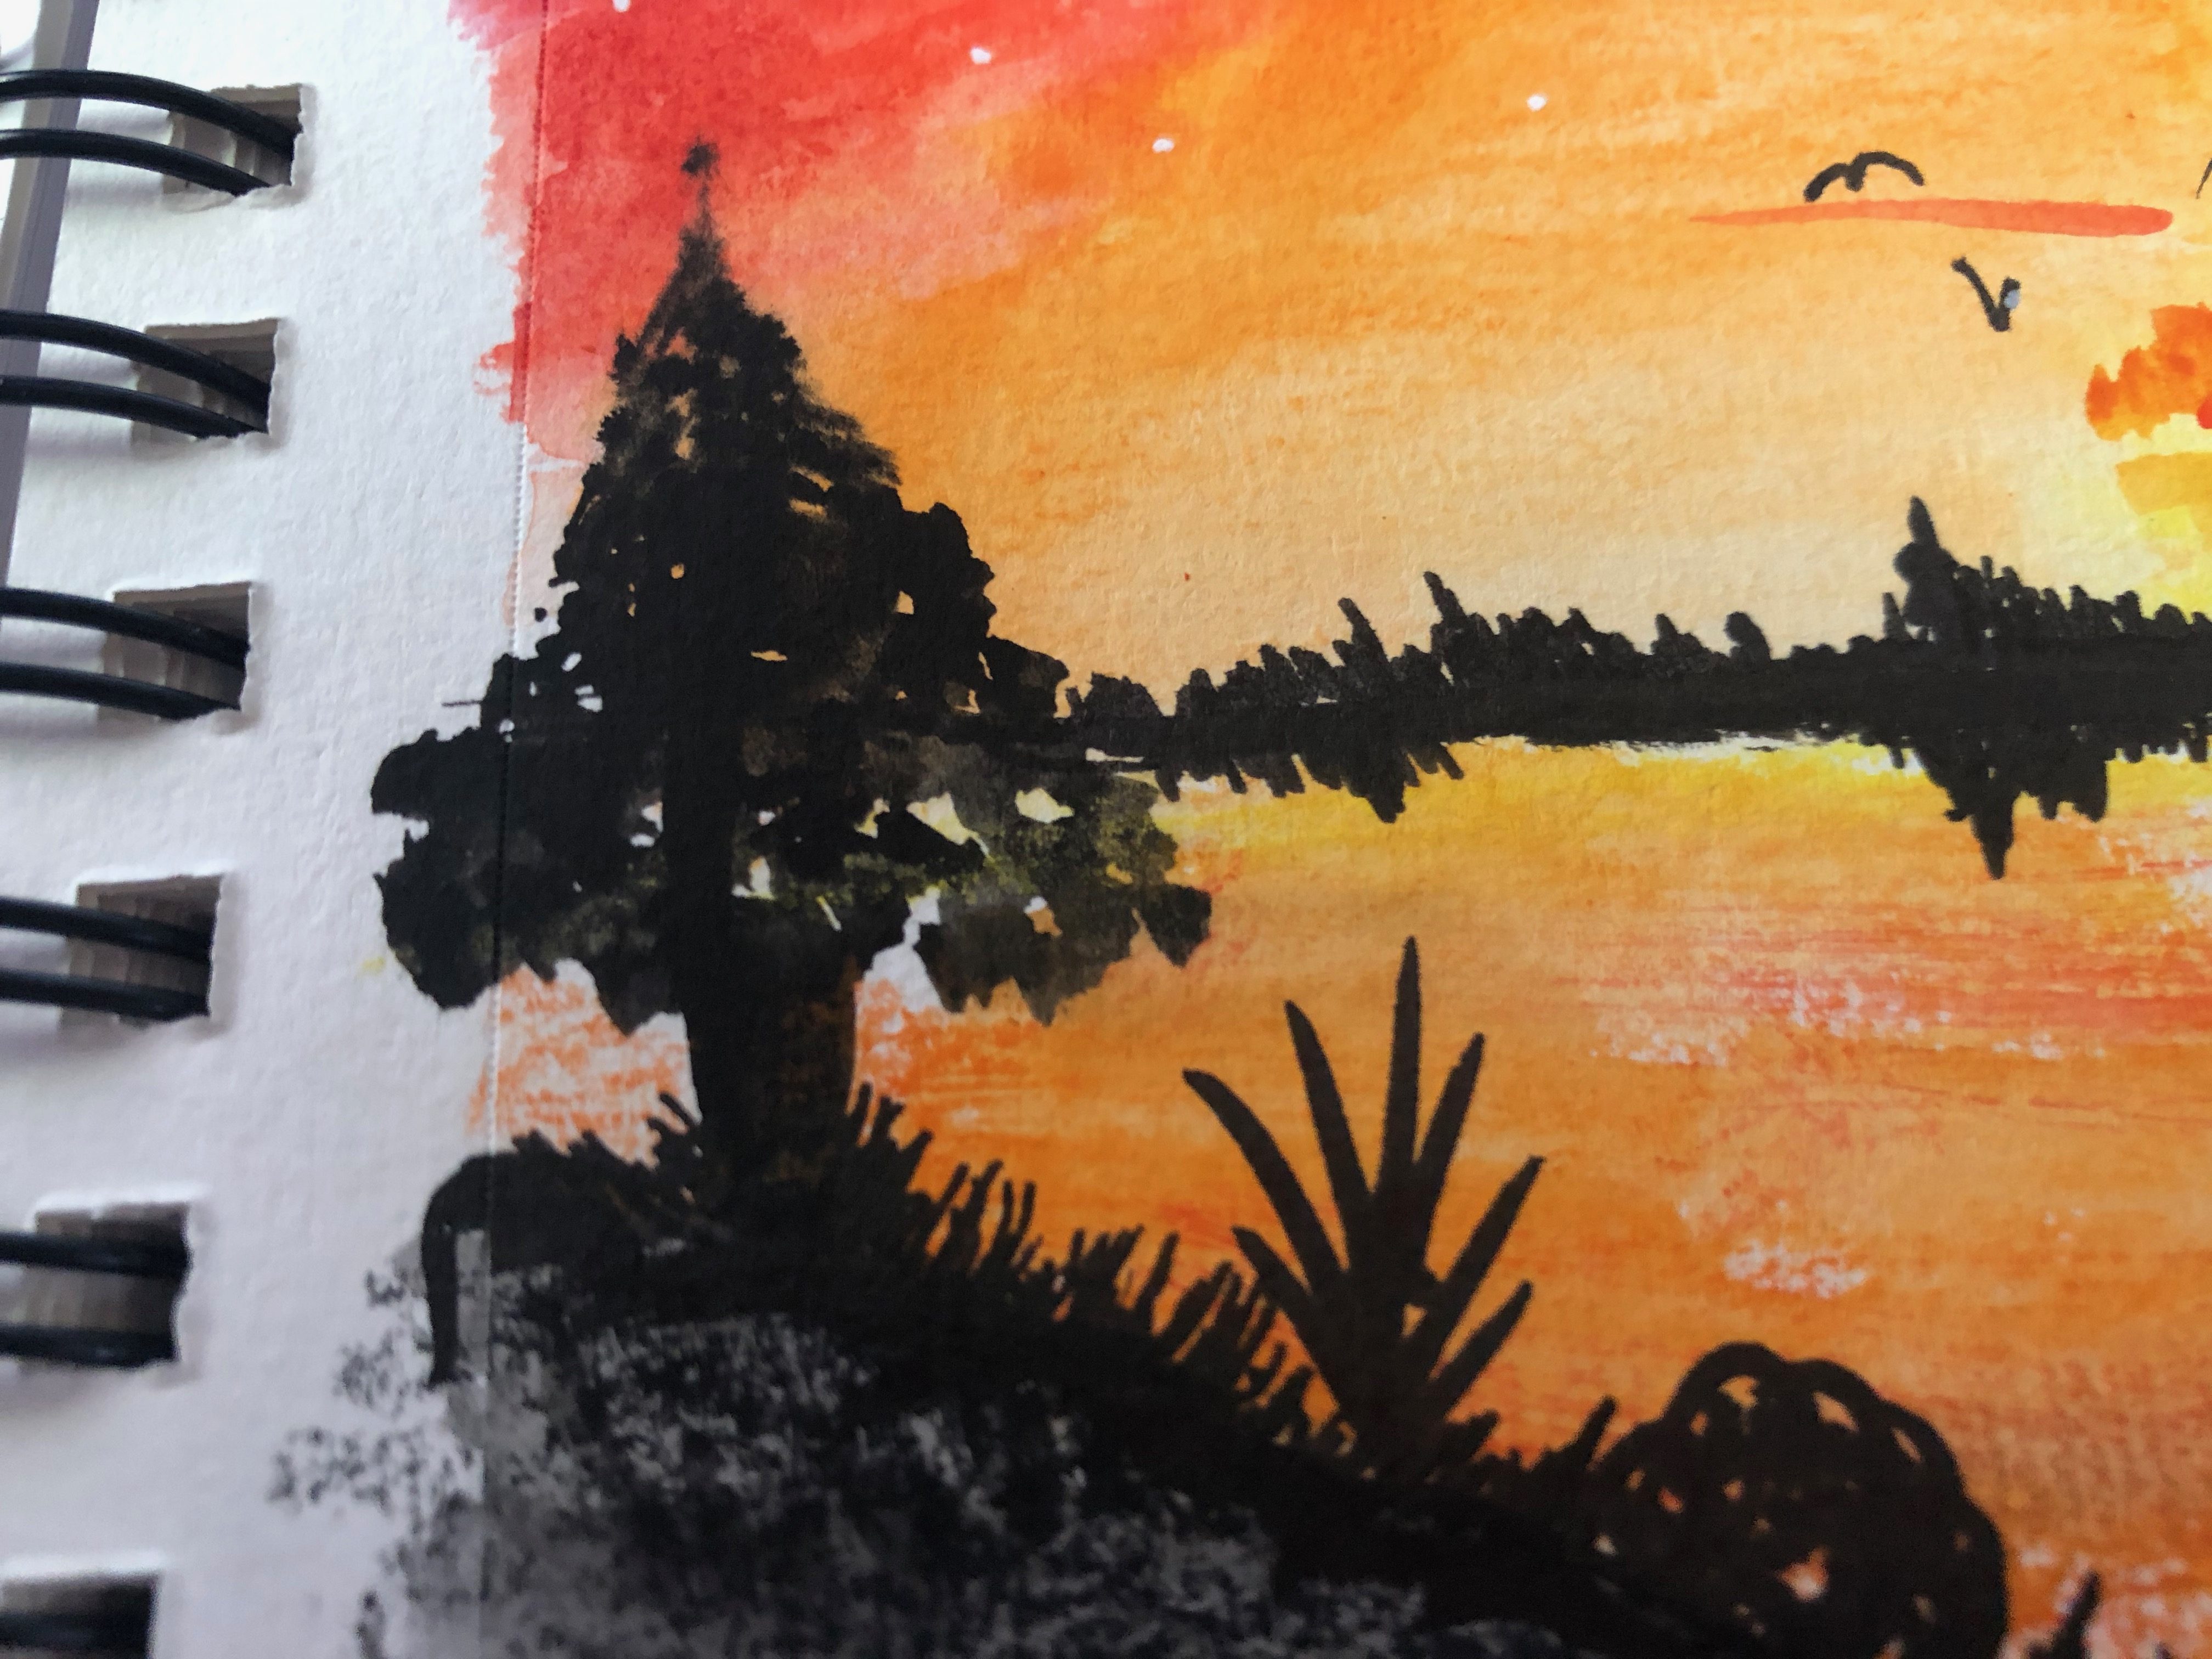
Use your brush pen to gently add little lines of varying thicknesses and sizes in front of the sunset on the sides. Add lines coming off the bigger lines at a slight downward slant from the top of the line down, getting wider as you get closer to the ground. This will make a set of very cute pine trees.
How to Paint a Watercolor Sunset with Texture
A fun trick to add texture with watercolor is to take a little black paint with a slightly damp brush and lightly rub it on the surface of the paper sideways. Do this gently over the land so that it looks like it could be rock or grass.
Allowing the Watercolor Painting to Dry
Watercolor needs lots of time to dry. It can be hard to wait long enough for it to dry, but if you do not give it the time it needs it will absolutely destroy itself and leave you with a gross smeared soggy piece of paper. Doesn’t that just sound lovely?
Finish
Watercolor does not need a clear coat over it, so your painting is done. Happy Crafting!

