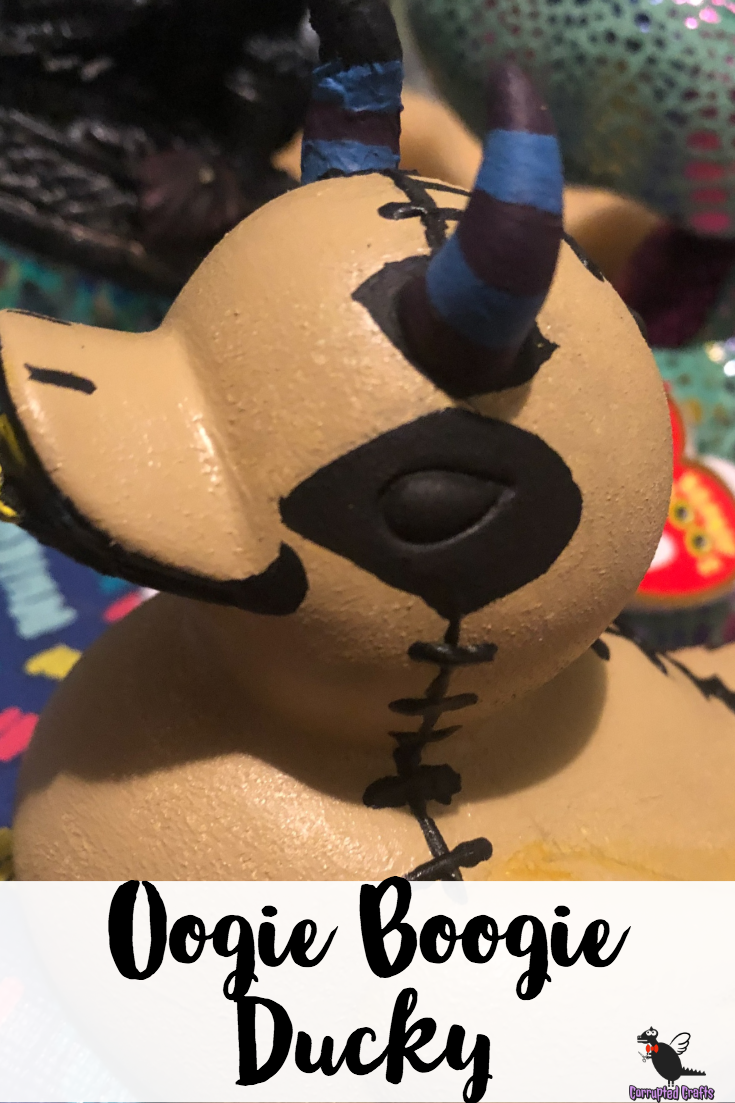
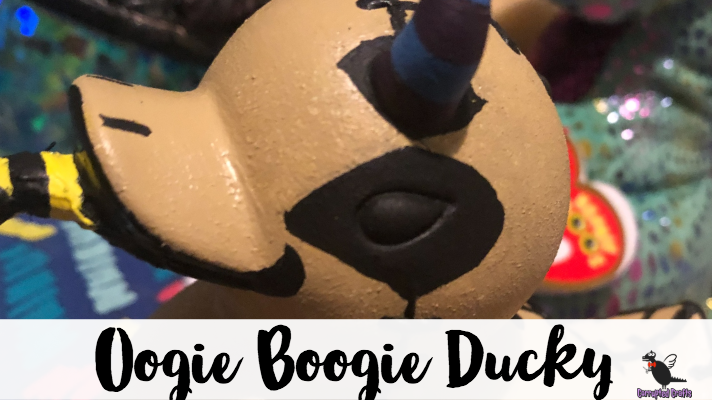
Last time we saw the Oogie Boogie Ducky, he had his base color, a few stitches, and a worm horn. If you missed the first part of the Nightmare Before Christmas Oogie Boogie duck, go flip through that post. Without seeing the first part, this second part will make very little sense.
What you will need
- Hot glue
- Half complete ducky
- Black paint
- Glow in the dark paint
- Sharpie
- Paint brush
- Parchment paper to set hot glue down on
Starting the Sculpting of the Hot Glue Worm for the Nightmare Before Christmas Ducky

Start on parchment paper and make a little “S” shape from hot glue. Let it dry and peel it up off the wax. Flip the hot glue piece over and leave it for a little longer.
Shaping the Worm of the Nightmare Before Christmas Ducky
Add more glue to the back of the worm and let it harden. Use the tip of the hot glue to smooth the two layers together before you attach it to the ducky. It may be hard to get out some details, you can file little edges if you want to make everything even smoother. Remember the paint needs something rough to stick to, though, so do not make the snakeworm too smooth.
Preparing the Duck for Attaching the Worm

Use a nail file to sand the inside of the beak to glue the worm. If you need more of an edge to secure the worm, cut the tail with scissors and make sure it fits on properly.
Attaching the Worm to the Nightmare Before Christmas Duck

Using the tip of the hot glue gun, melt the end of the worm and stick it in the ducky’s mouth. Hold the worm up for a few seconds and release when the glue has somewhat hardened. Reinforce the worm around the base with some puffy paint to seal it on and prevent it from breaking off. Let the puffy paint cure for a full 24 hours.
Painting the Oogy Boogie Worm
Use a fine brush to add black and yellow stripes all over the snake. Remember to paint the yellow first, as it is easier to paint over the yellow more so than over the black.
Adding Hot Glue Details to the Oogie Boogie Nightmare Before Christmas Duck
If you want, you can make more worms and beetles and bugs and secure them to the back of the duck, to make it seem like he has split a few seams. I personally did not want to make my duck look cluttered, but maybe there is a way to do it in a non chaotic way.
Giving up and Covering up the Mistakes
I chose to put on a glow in the dark paint over the black features, but he wound up looking like he had been mistaken for a tissue. I gave up on this and repainted everything black again. Do not put glow in the dark paint over void black.
Adding Puffy Paint to the Nightmare Before Christmas Duck

Go over all the stitches one last time to make sure everything is nice and defined. This is a great time to reseal around the worm in oogy boogy’s mouth.
Optional Clear Coat

If you are going to use him as a bath toy, I highly recommend spraying the life out of this duck with a super high quality clear coat. This ducky took far too long to drown.
Finish

After two days of work, you now have a little ducky who’s spooktastically evil. Happy crafting!

