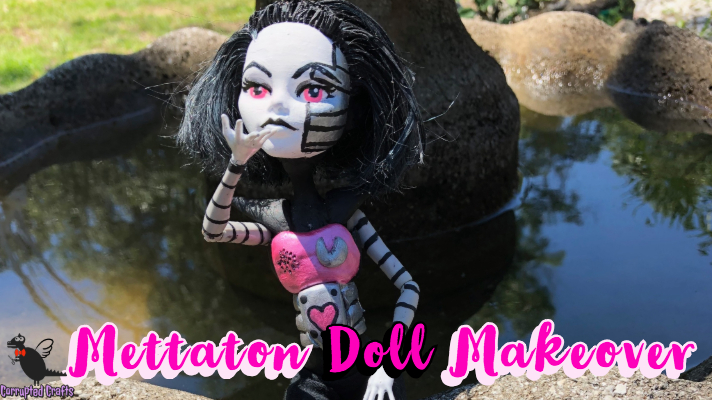
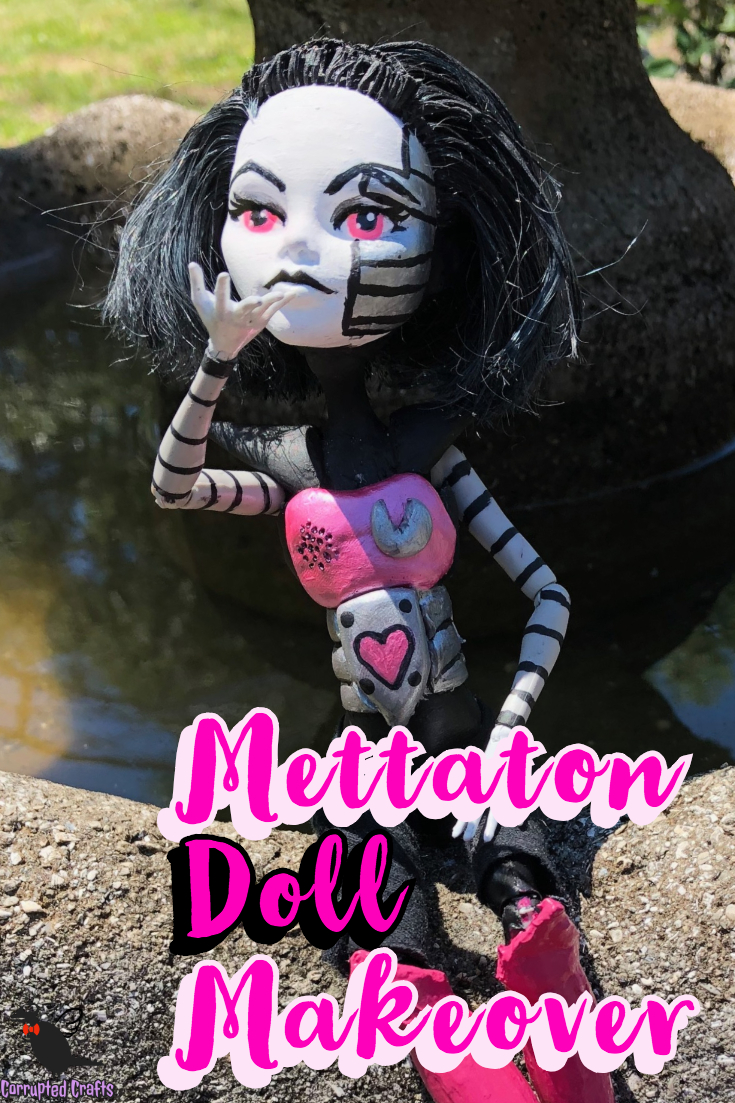
Undertale is a fantastic game with a crazy fandom. One of the main boss characters is none other than everybody’s favorite killer robot, Mettaton EX. This Doll Makeover was my first Monster High Makeover, but I think he seriously improved from his former body and became something much cooler. Be prepared to test the boundaries of what mediums can really do with this craft.
What you will need
- Sculpey in hot pink, black, grey and silver
- Metallic pink paint
- Silver paint
- Ghoulia from Monster High
- Black paint
- Good White Paint
- Nail polish in an ugly color
- Hot glue
- Fine brushes
- Sharpie
- Cheap shampoo and Conditioner
- Wax Paper
- Comb
- Super Stiff Brush
Covering your Surface in Wax Paper
Start by laying down wax or parchment paper on the surface you will be working on. Do not skip this step, as things are about to get messy.
Washing the Doll in Preparation for the Doll Makeover

Wash her hair in normal shampoo and conditioner, the cheap stuff from the dollar store will do. If your doll has bad hair, you may wish to consider using hair softener to tame it down before moving on.
Removing Goulia’s Makeup

Using Acetone, wipe off all of the doll’s face paint including the eyes, eyebrows, and the lipstick. Remove all accessories from the body like earrings and hair clips.
Mixing the Hair Dye
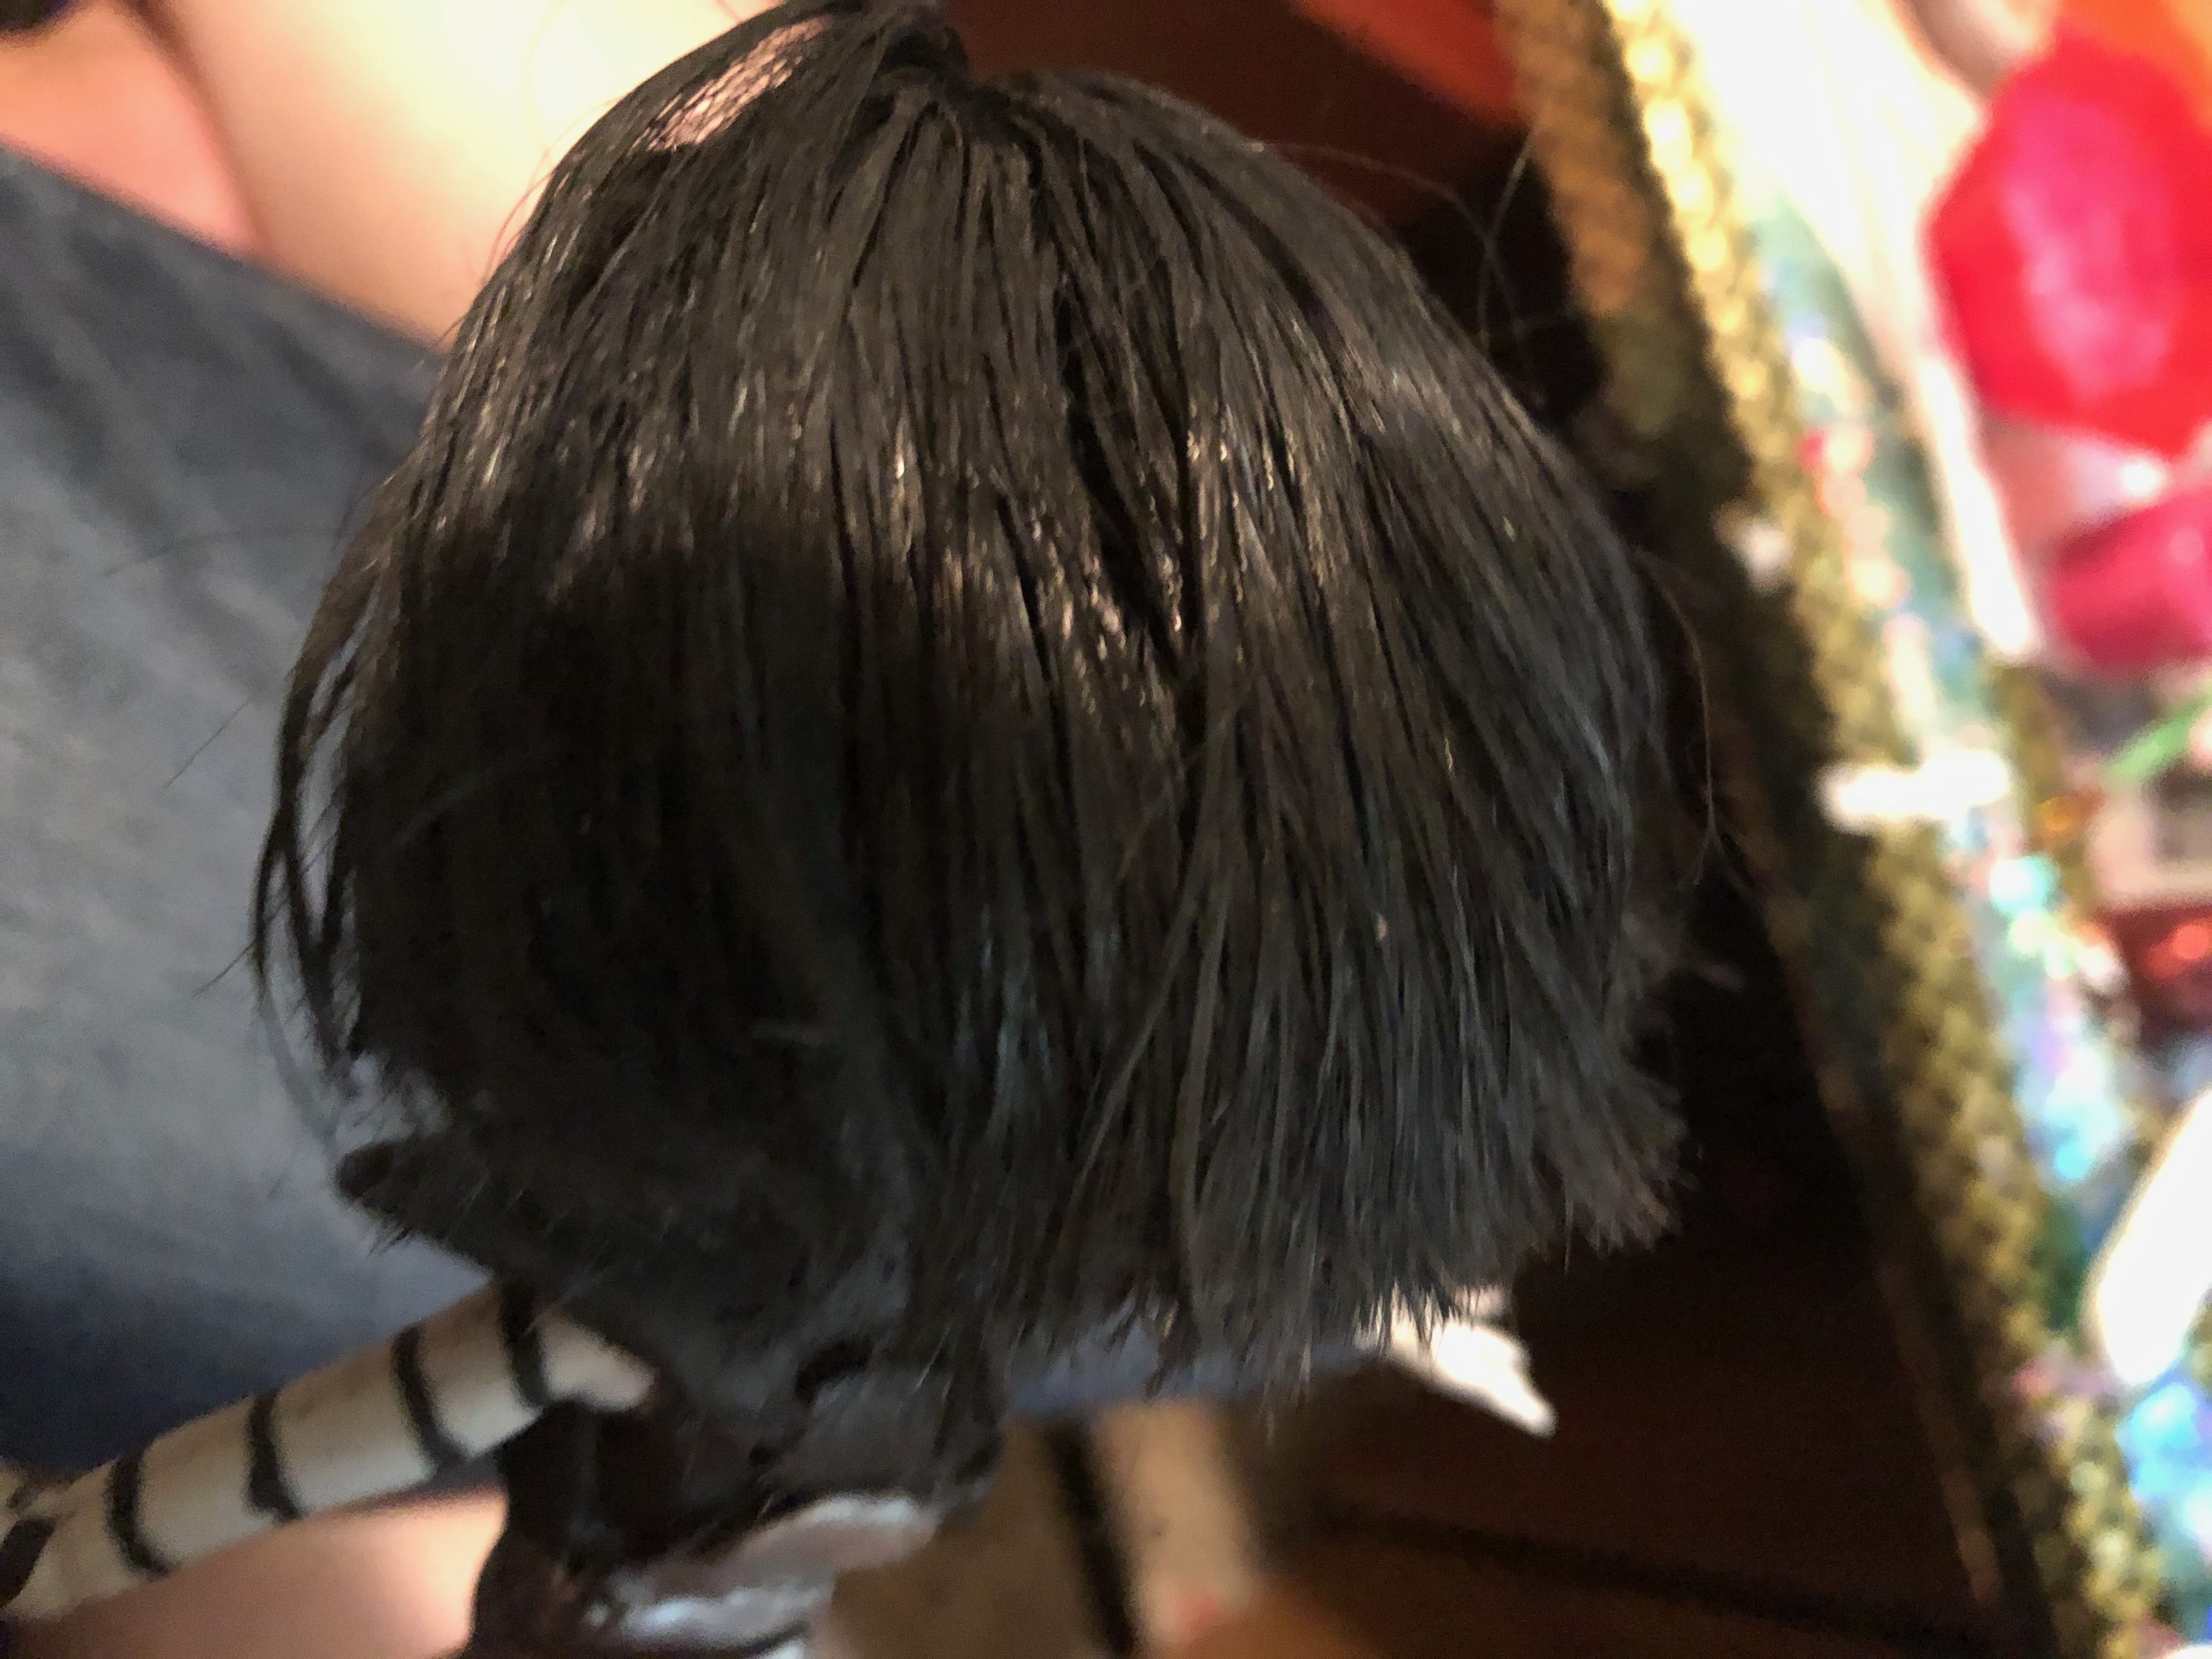
Make a 50/50 ratio of conditioner to black hair dye. Be aware that once the hair is dyed, it will be very crunchy.
Applying the Hair Dye for Mettaton’s Doll Makeover

Using a toothbrush or a very stiff paint brush, apply the paste all over the head of the doll. Be sure to get the scalp and the ends of the hair really well, to the point that it is pure black all the way through.
Letting the Dye Dry

Hang the doll upside down over the parchment to let the hair flop over and dry in a crusty layer. The hair will take a day or two to dry, so I recommend putting it somewhere it won’t touch anything or use a blow dryer on low to help speed the process up.
Optional Re-dye and Touch up Tips

Wash the doll’s hair with shampoo and conditioner to get it to be less stiff. My dye decided it didn’t want to work, so I had to go back in with a second layer that also took a long time to dry.
Cutting the Doll Makeover’s Hair to Match Mettaton EX’s

Cut the hair off the doll to match Mettaton’s style as much as possible. Don’t bother trying to get the bangs to cooperate, it won’t happen. I hacked them off and used fabric paint to sort of blend the mess in.
Cleaning up the Hair Dye
Use acetone to get the dye off her face and arms. Try to get off as much as you can to make it easier to paint over the grey plastic later.
Getting Mettaton’s Hair to Stay
To make Mettaton’s hair behave, I combed in some Puffy Paint to help it stay down. This works sort of like doll hair gel and is good for a permanent hair style. I recommend trying black food coloring instead of acrylic because this method was so terribly messy.
Making Mettaton Pants for the Doll Makeover

Because I couldn’t easily paint on pants, I used some stretchy black cloth and sewed it straight on her. I started with a piece that was almost like a tube skirt and sewed it to fit her hips. Then I cut the fabric in half, sewing the leg covers. The fabric I used did not ravel, so no edges to hem. I applied black paint over my stitches but I highly recommend black thread.
Shaping the Shoulder Pieces on the Doll Makeover

Make thick triangles out of black Sculpey and gently press them to fit the shoulders. Use your fingers to adjust, pinch and smooth the clay to make it as accurate and neat as possible. Do this for both sides and gently peel the pieces off, gently reshaping them to fit once baked. Set them on a cookie sheet for later.
Sculpting the Chest Plate

Make a big pink blob that fits the chest and shape it to be sort of oval shaped. Use a toothpick to put speaker holes on one side, and sculpt a silver Pac-man shape for the other side. Gently press the Pac-man onto the chest armor. Make sure that chest armor will still allow the shoulder pieces to properly sit where they belong.
Sculpting the Side Bands and Heart
Roll out three long snakes from grey clay. Flatten them together and wrap them around the torso under the chest armor. Add two small black pieces for under the arms to bulk up the doll and make it all come together. Sculpt a weird half diamond half rectangle shape and attach it to the belly of the doll for the heart to go and make the grey pieces perfectly match up on either side of the heart panel.
How to Remove the Sculpted Pieces for Baking

Carefully cut the bands off the doll and remove them, making sure they have not warped by pressing them back on gently once you have pried it off. You will need to make a cut on either side to split the armor in three pieces before prying off. It may help to refrigerate the doll with the clay to stiffen the clay for easy removal. Pop the chest and heart piece off as well.
Baking the Chest Pieces
Throw everything in the oven at 275 Fahrenheit for about 20 minutes and allow it to cook. Pull it out to cool once its time is up. Part two of Mettaton will be coming out on Wednesday, but until then happy crafting!


