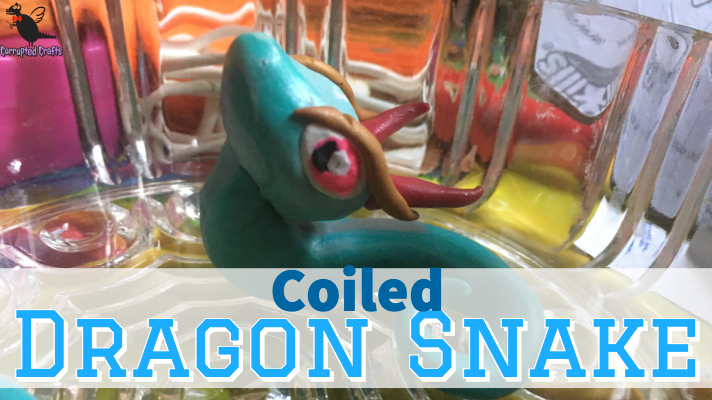
Snakes are awesome. What’s even better is snake dragons. This little guy is a simple version of the dragon snake a made previously, with some minor adjustments. This polymer clay coiled snake is so funny and adorable, and can be made and kept for years to come.
What you will need
- Translucent sculpey
- Regular white sculpey
- The sculpey color sampler box
- Dotting tools
- Oven
- Foil
- Pan
- Rubbing alcohol
Starting off with a Clean Workspace
Always starting off with a clean workspace will ensure the best possible chance of your clay creation looking super good. Set out some wax paper or foil on a pan and wash your hands well before starting.
Marbling the clay Colors
Next use white Sculpey, teal Sculpey, and translucent Sculpey to make a marble turquoise effect. Do not mix the colors all the way but do blend them for the most part, letting some rocklike chunks of white show through.
Sculpting the Body of the Polymer Clay Coiled Snake
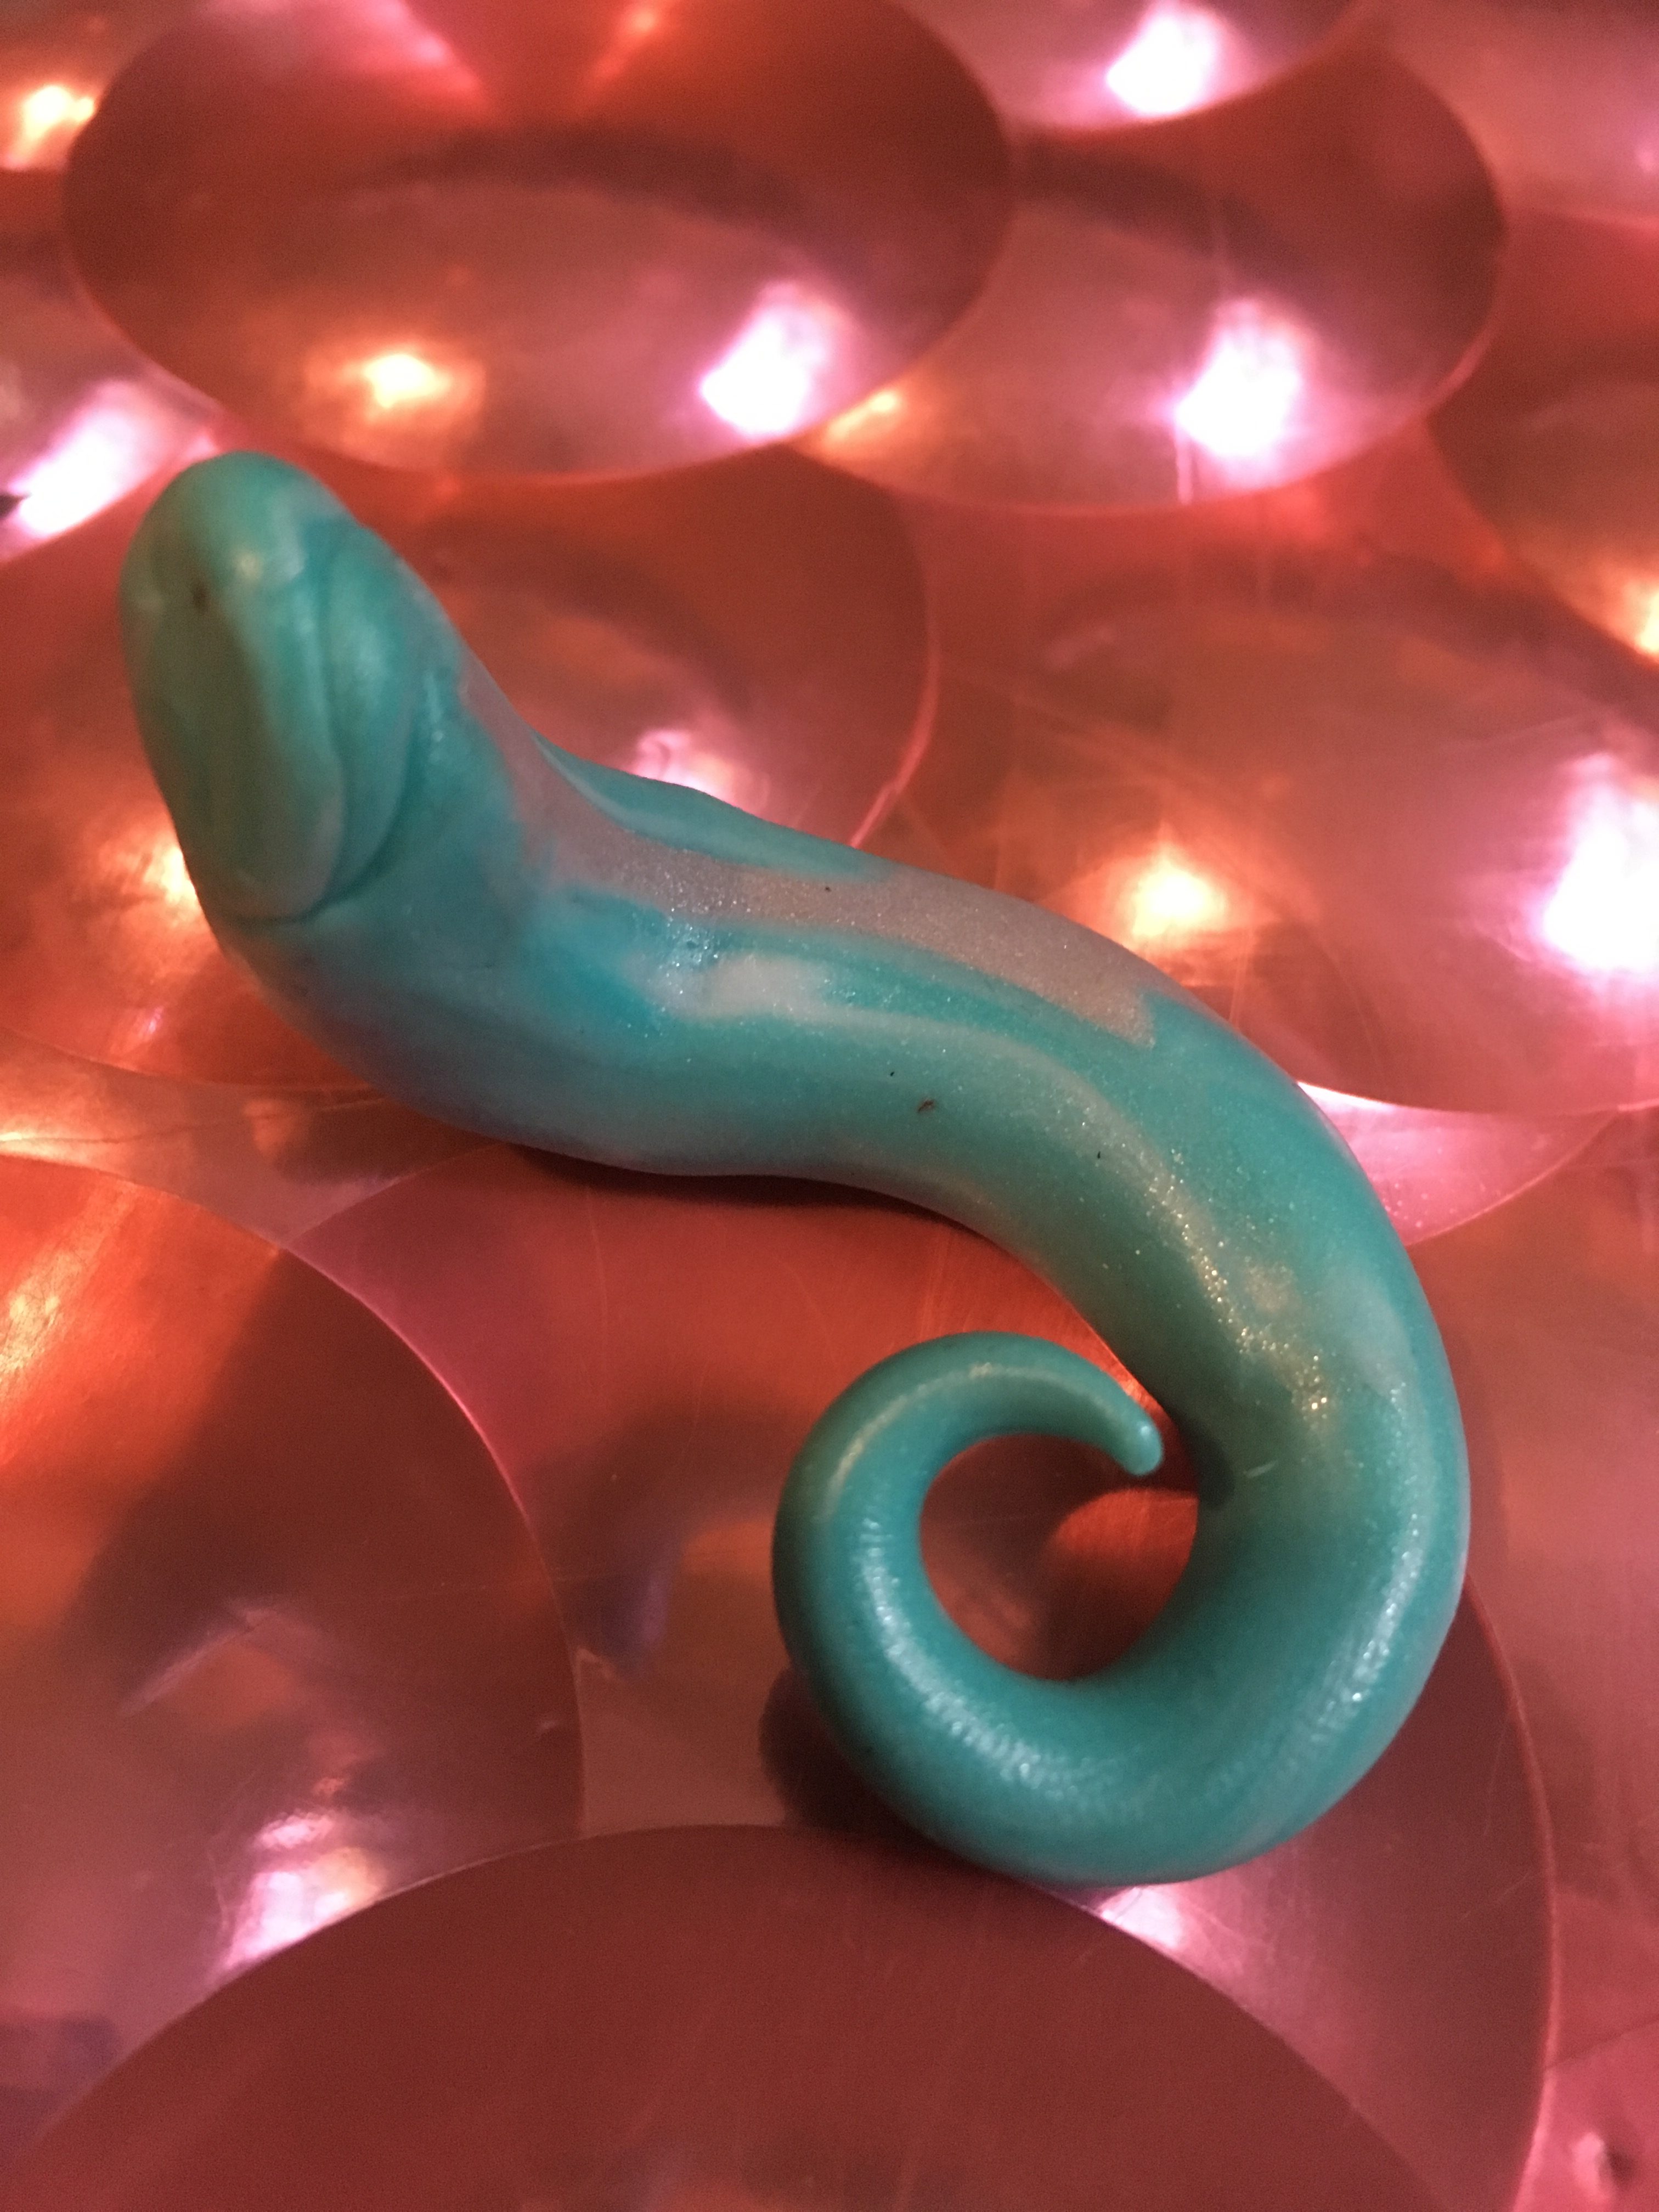
The body of the snake is long and varies in thickness. Condition some plain white Sculpey in your hands and roll it into a ball. Roll out some of the teal clay and wrap it around the big ball of clay, smoothing all creases and cracks. Roll out the clay into a very long cone shape, with the tip of the tail thin, chest thicker, and the neck medium. Coil the tip and angle the neck up.
Basic Head Shape of the Clay Dragon
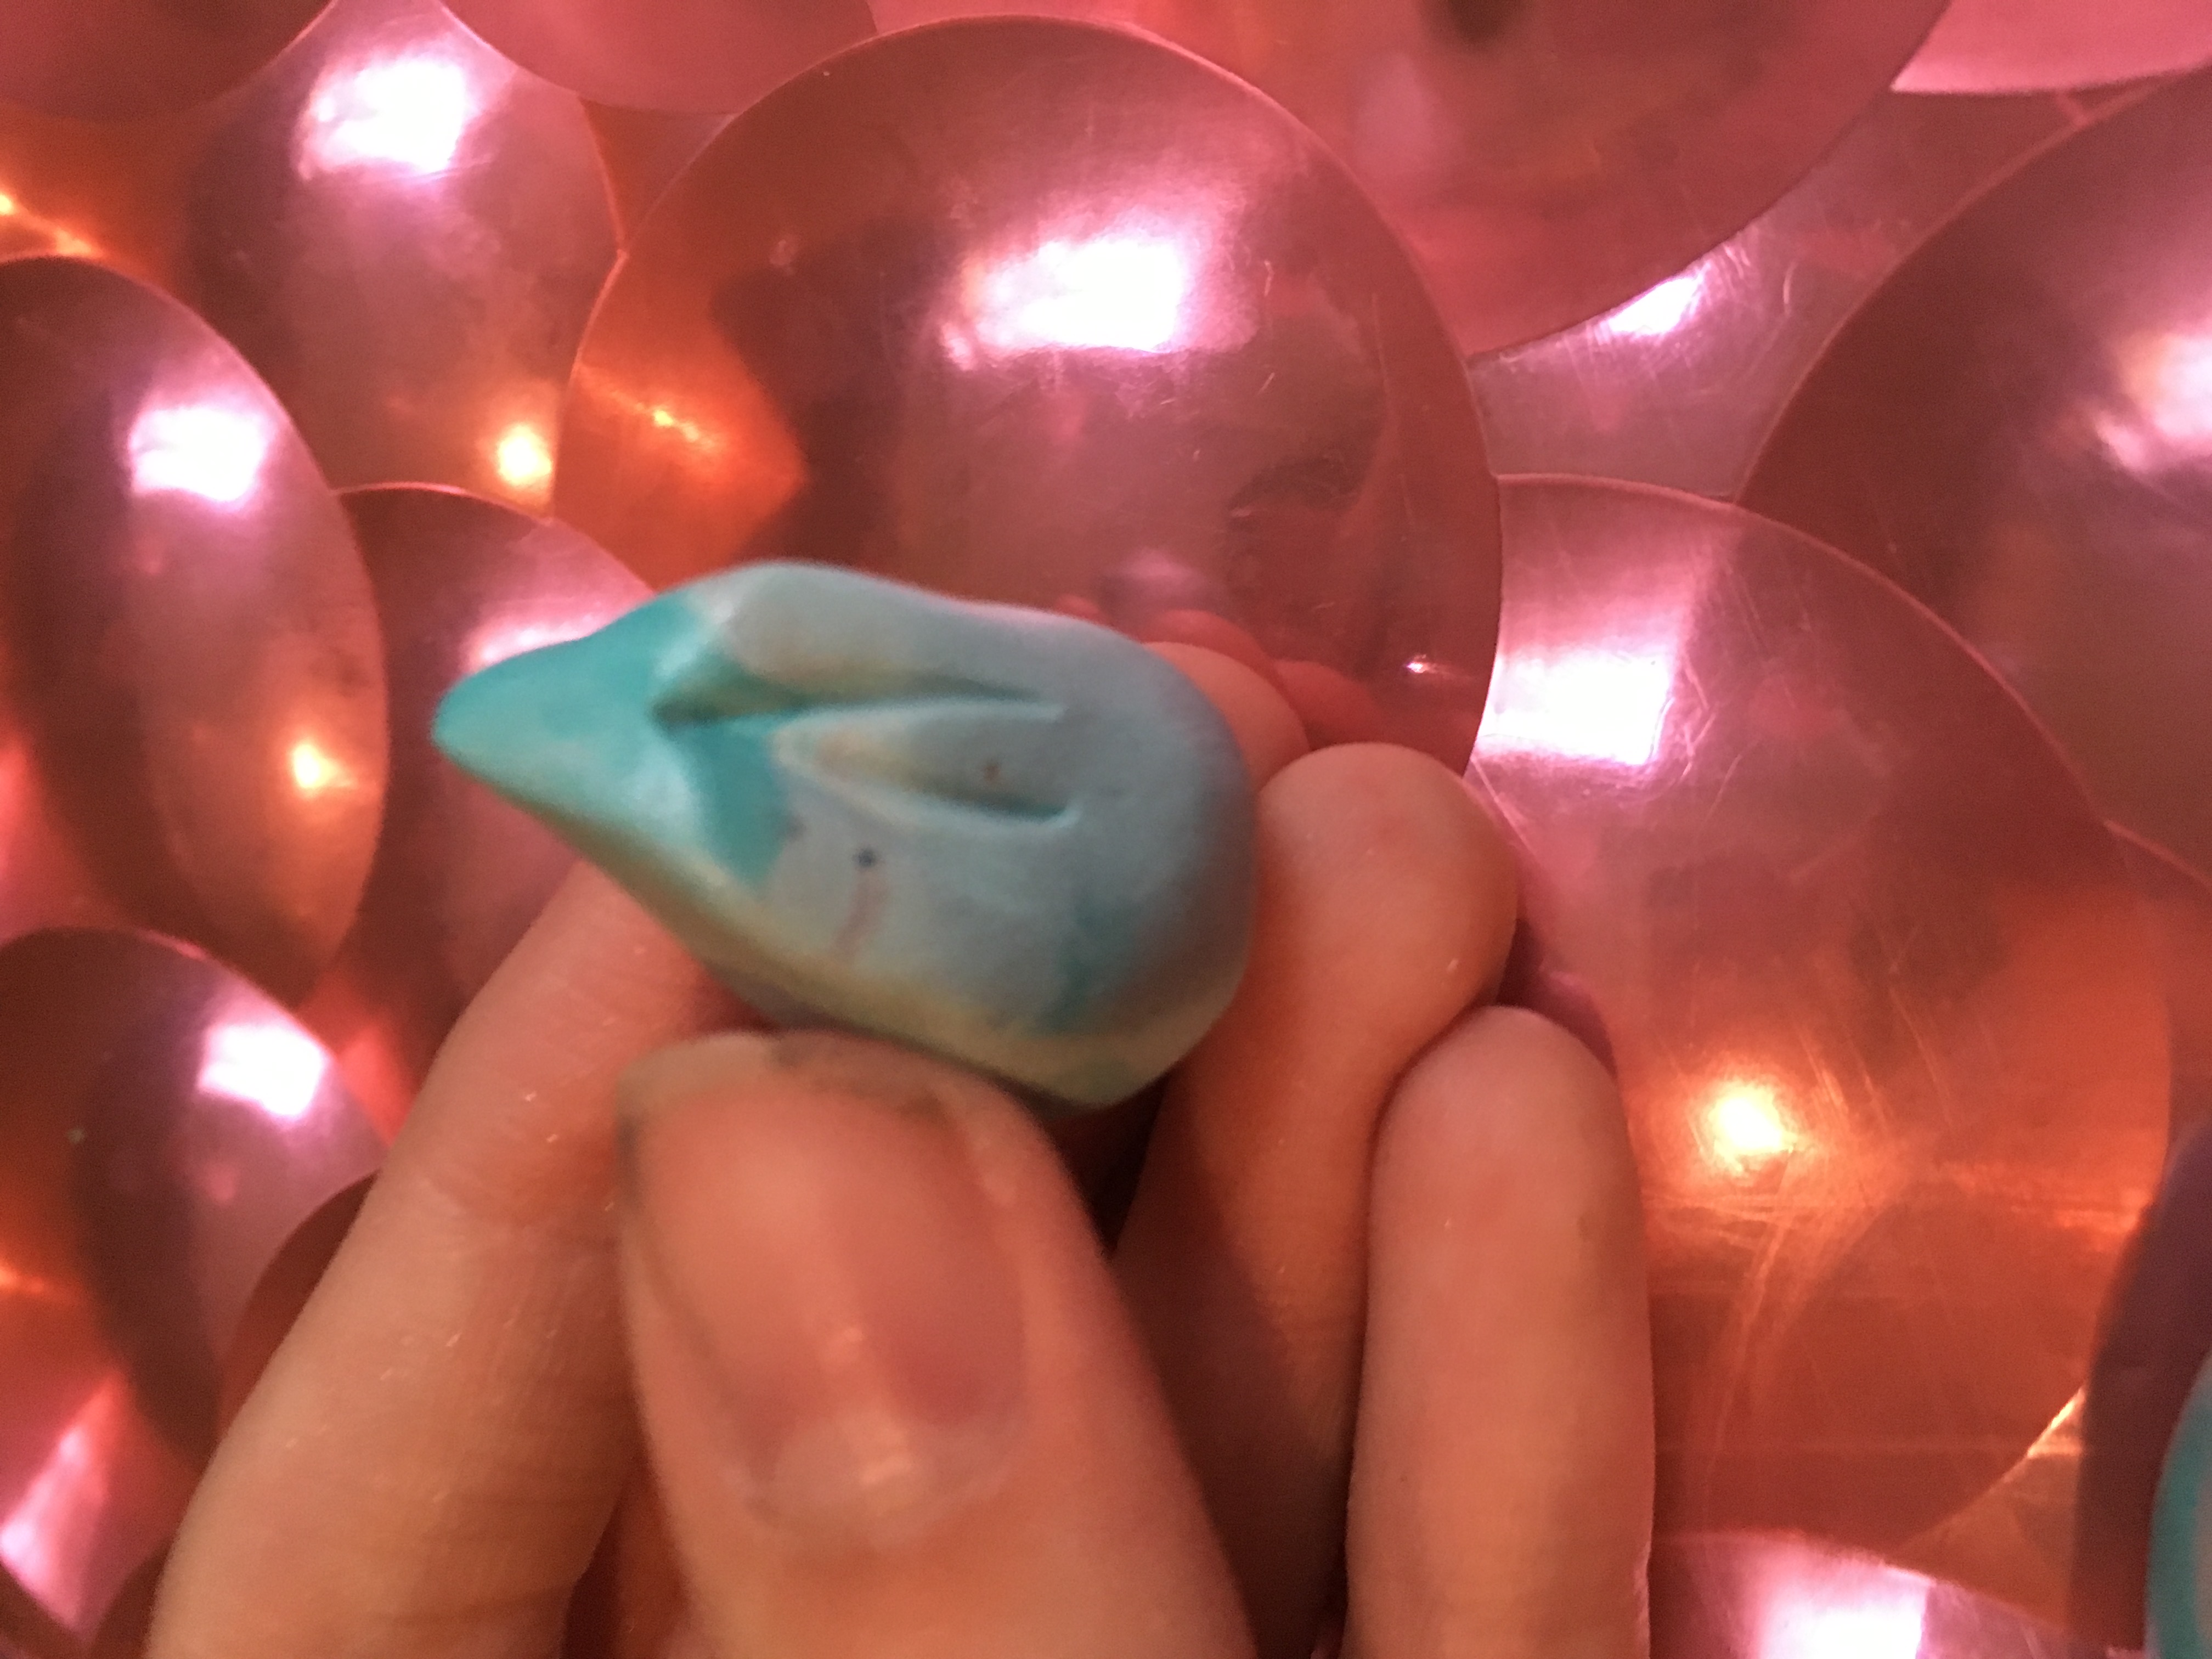
The head shape is a soft triangle. Make a triangle and smooth the edges and point down to make the nose rounded and cute. Carefully set it aside for now.
Smoothing fingerprints off the Coiled Snake
Fingerprints are easy to get on super soft clay like Sculpey. A bit of rubbing alcohol on a Q Tip can resolve the issue easily. Spray rubbing alcohol on the Q tip and rub it all over the snake body and head to remove prints. Do not use much alcohol though, the clay will get brittle and break before baking if too much alcohol is used.
Making the Eye Indents in the Clay Coiled Snake

Using a dotting tool, stab the snake in the head on either side. This will allow you to put eyeballs on him. Carve out the hole and smooth the edges.
Making the Eyes
Make four balls for each eye, a piece of white big enough to fill the gap, a tiny ball of black clay, and a tiny ball of pink clay. Make a very tiny ball of white for the shine of the eye.
Placing the Eyes Piece by Piece

Stuff the white pieces in the head first. Then make an indent in the white with a dotting tool, and put the pink in the gap. Make another dent in the pink and put the black in the pink. Add the white spot between the pink and the black. Do the same for both eyes.
Attaching the Head with Wire
Using a small piece of wire, attach the head to the body. Wait a few minutes to make sure the clay is going to stay without the head flopping off.
Blending
Use a dotting tool to smooth the clay on the neck and head together, making a seamless bond.
Horns and eyebrows
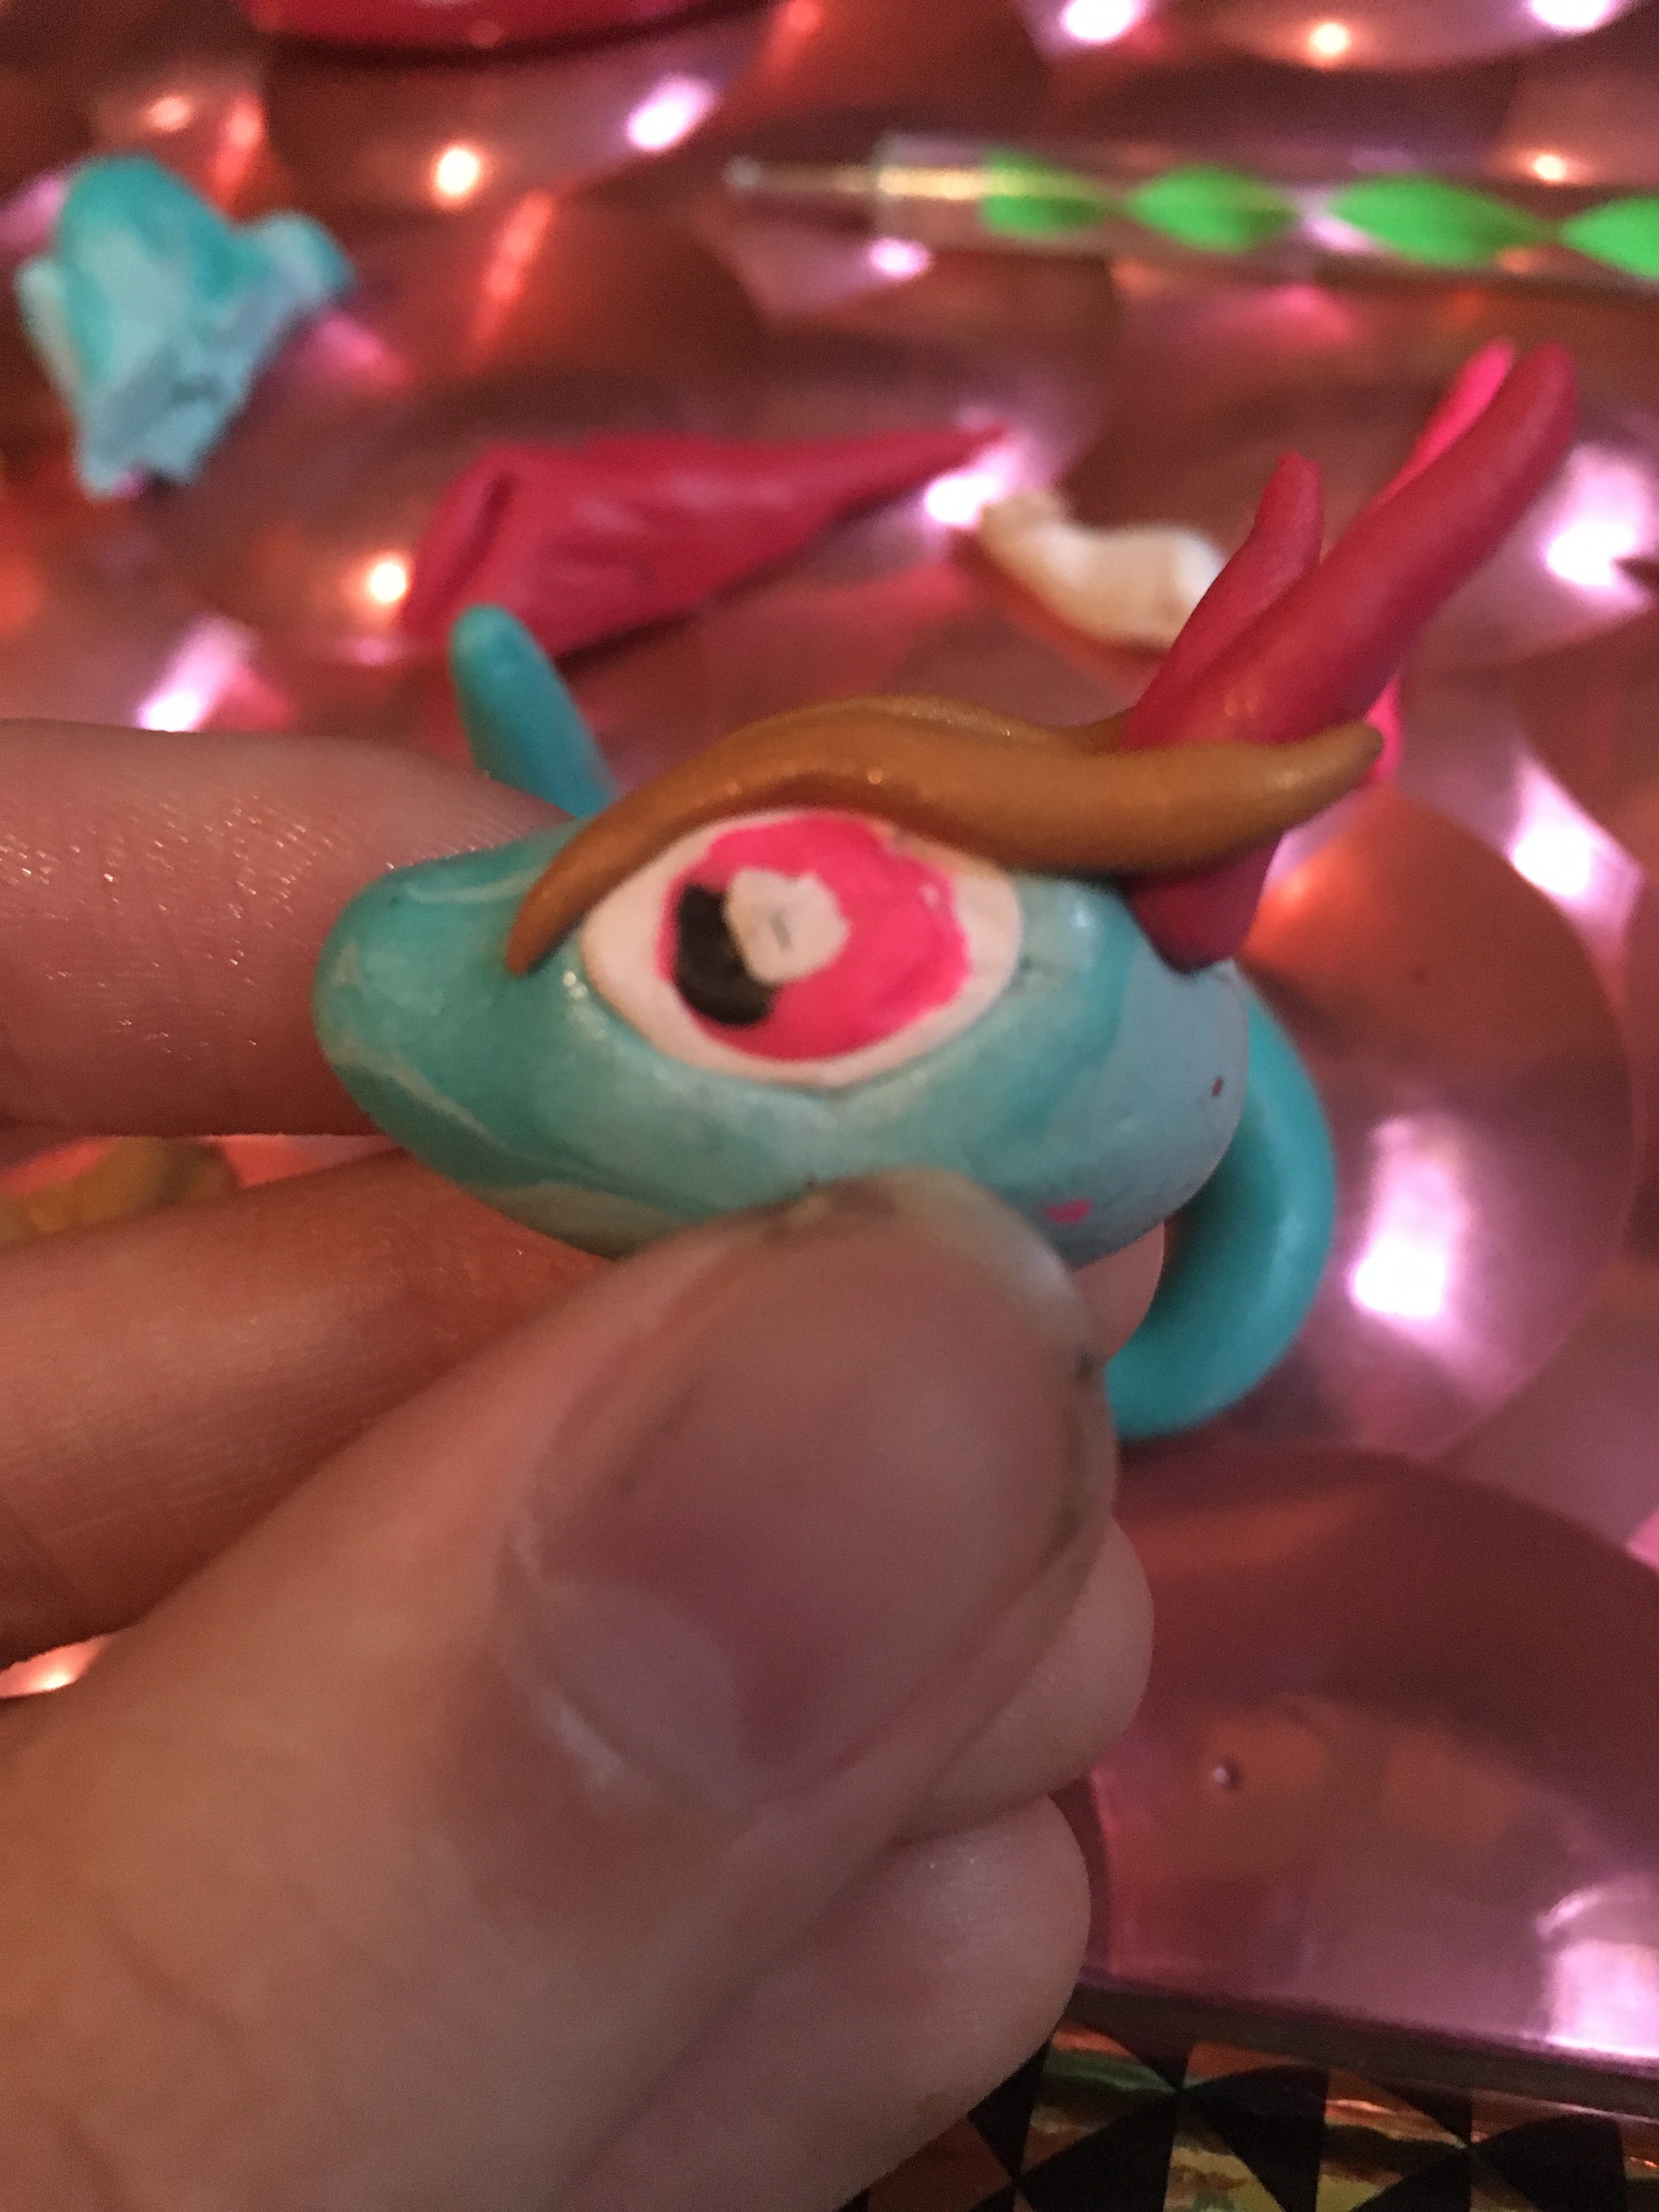
Make two small cone shaped horns and attach them to the head of the snake using wire. Ensure they are stable and use red clay to make a really long eyebrow going up to the horns and attaching.
Baking
Bake the snake for about 15 minutes on 275. Allow to cool before touching.
Finish
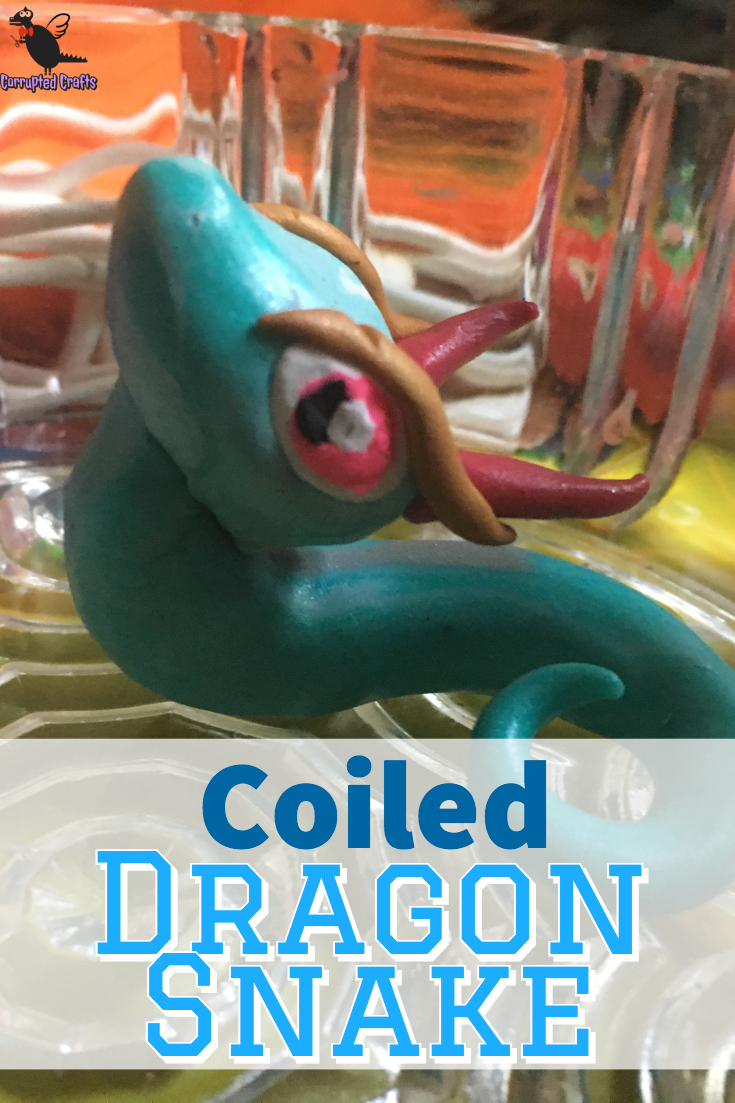
And your snake dragon is complete. Add a clear coat to the dragon snake or don’t. Happy crafting!

