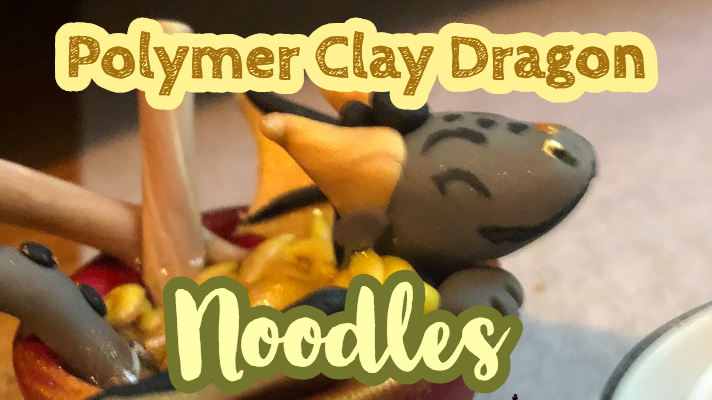
Dragons are awesome, and nothing makes a dragon happier than a nice hot bowl of ramen noodles. This easy to sculpt piece requires no resin and can be done in about an hour minus drying time. The Polymer Clay Dragon Noodles bowl can easily be made in a charm by just twisting a bit of wire into a loop and sculpting the tail to go around and adding a jump ring once your dragon is ready.
What you will need
- Clear Elmer’s glue
- Sculpey in black, grey, red and gold
- Gold pigment
- A little brown eyeshadow
- Toothpick
- Parchment paper
- Dotting tools
- Optionally pliers and wire
Making the Dragon Bowl
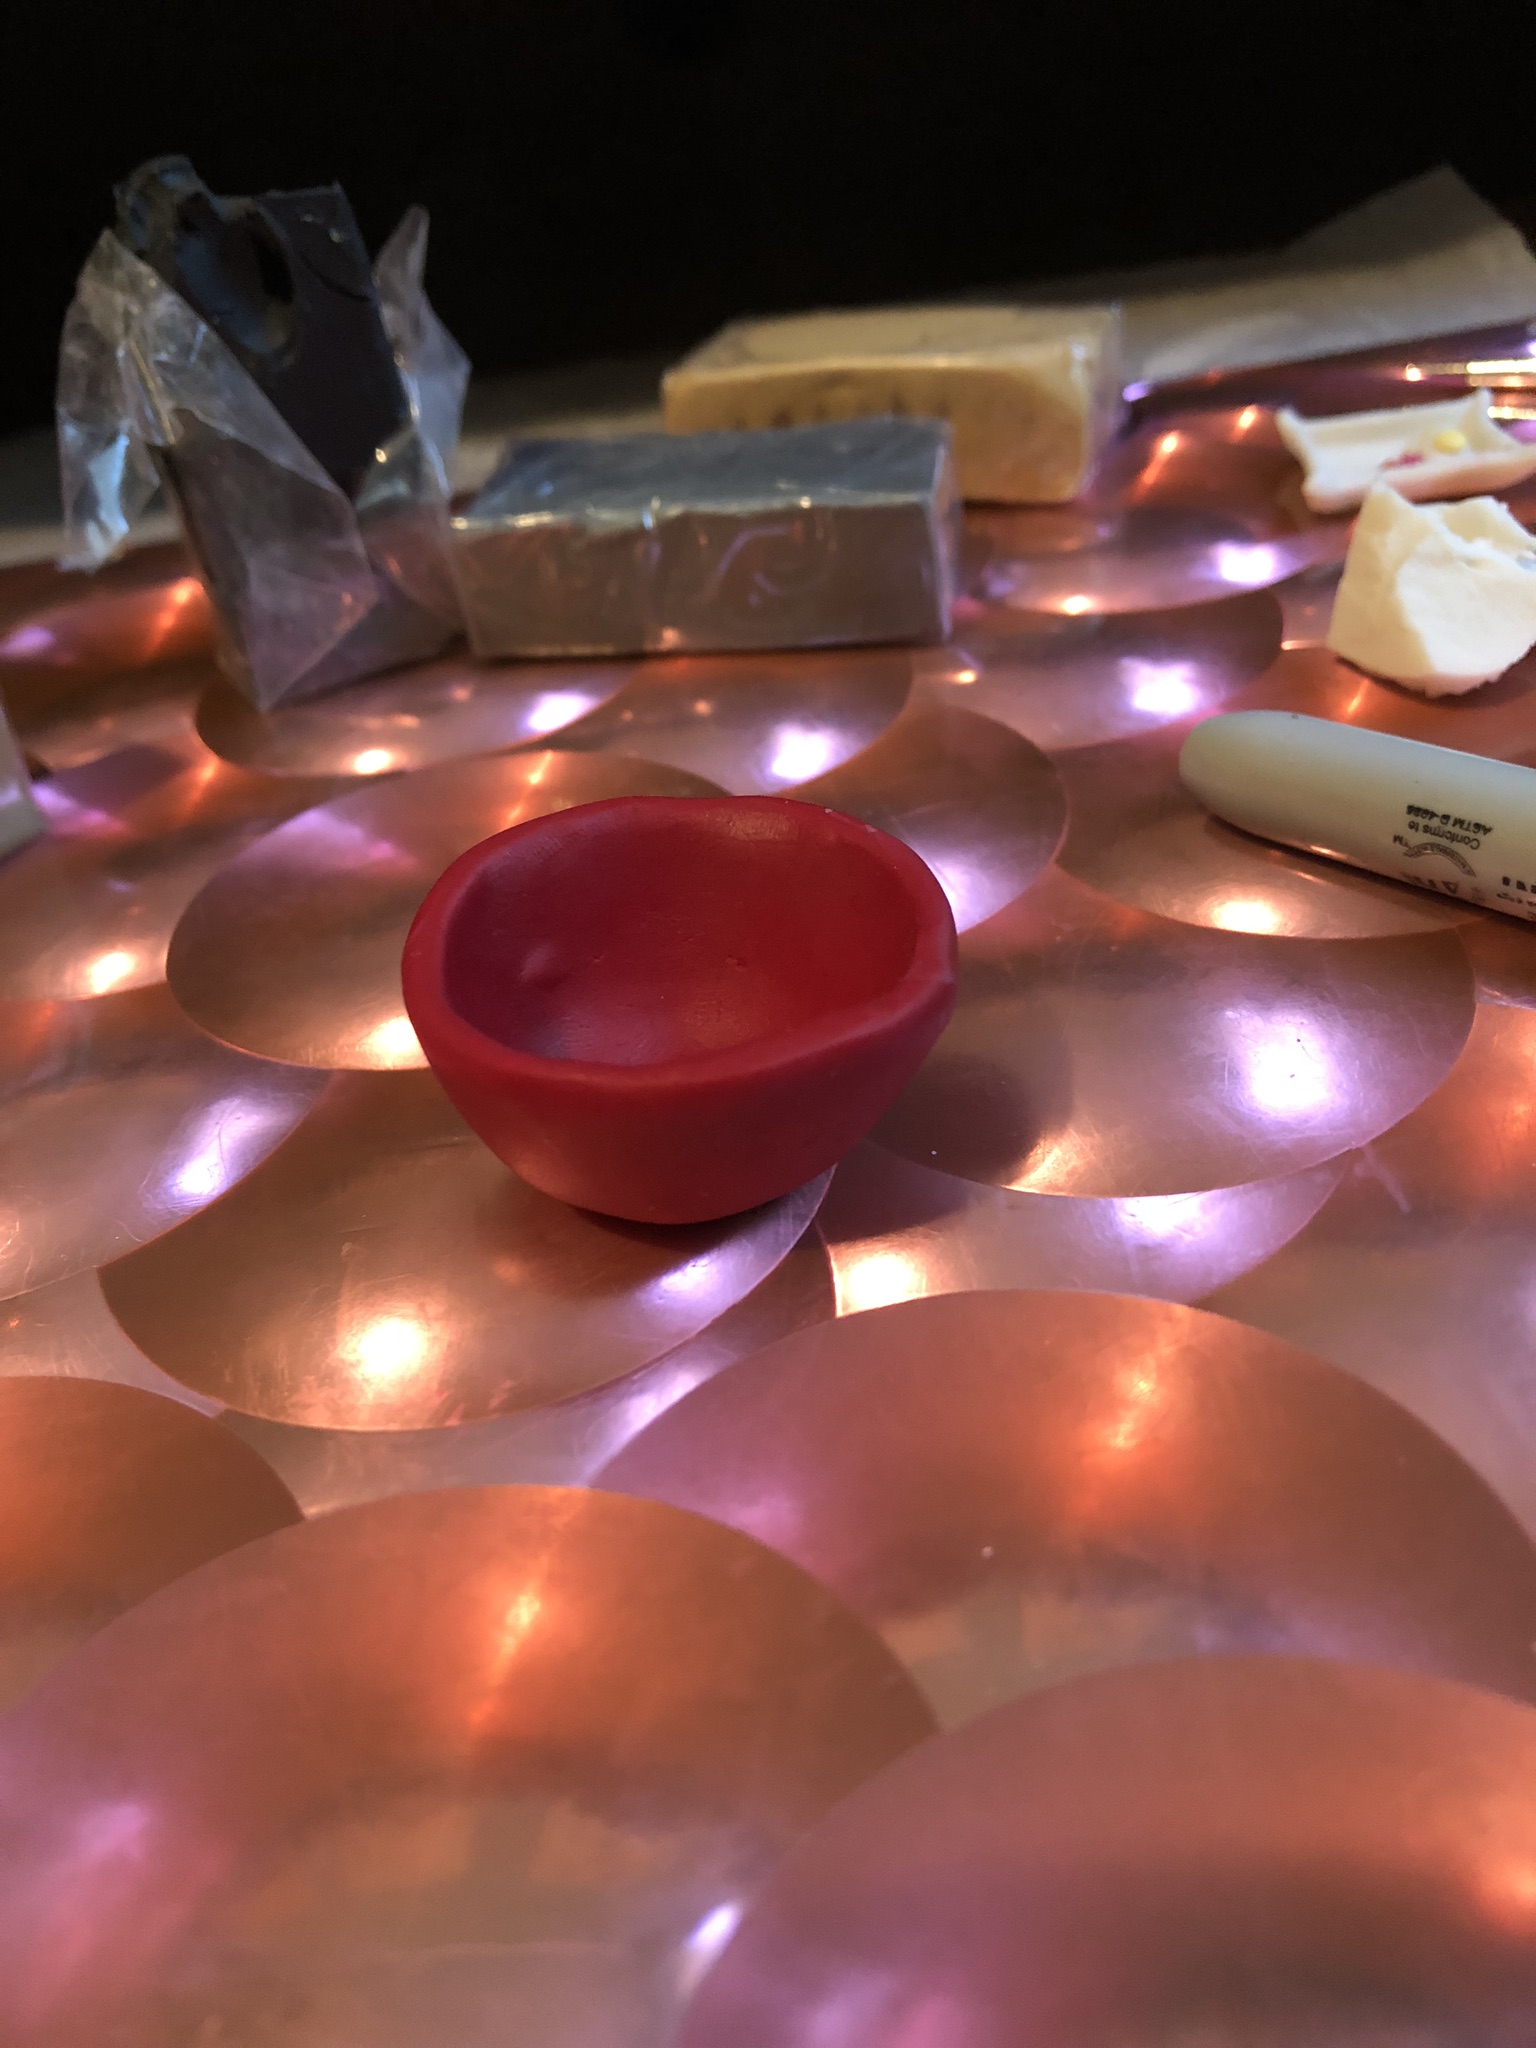
Start by conditioning a reasonably large size ball of red clay. Then use a large dotting tool to work out a hole in the middle of the clay, and roll it around until the clay is about an eighth of an inch thick and make the bottom slightly flat to hold the dragon and noodles up. Smooth the edges and fingerprints out as much as you can.
Sculpting the Polymer Clay Dragon Head
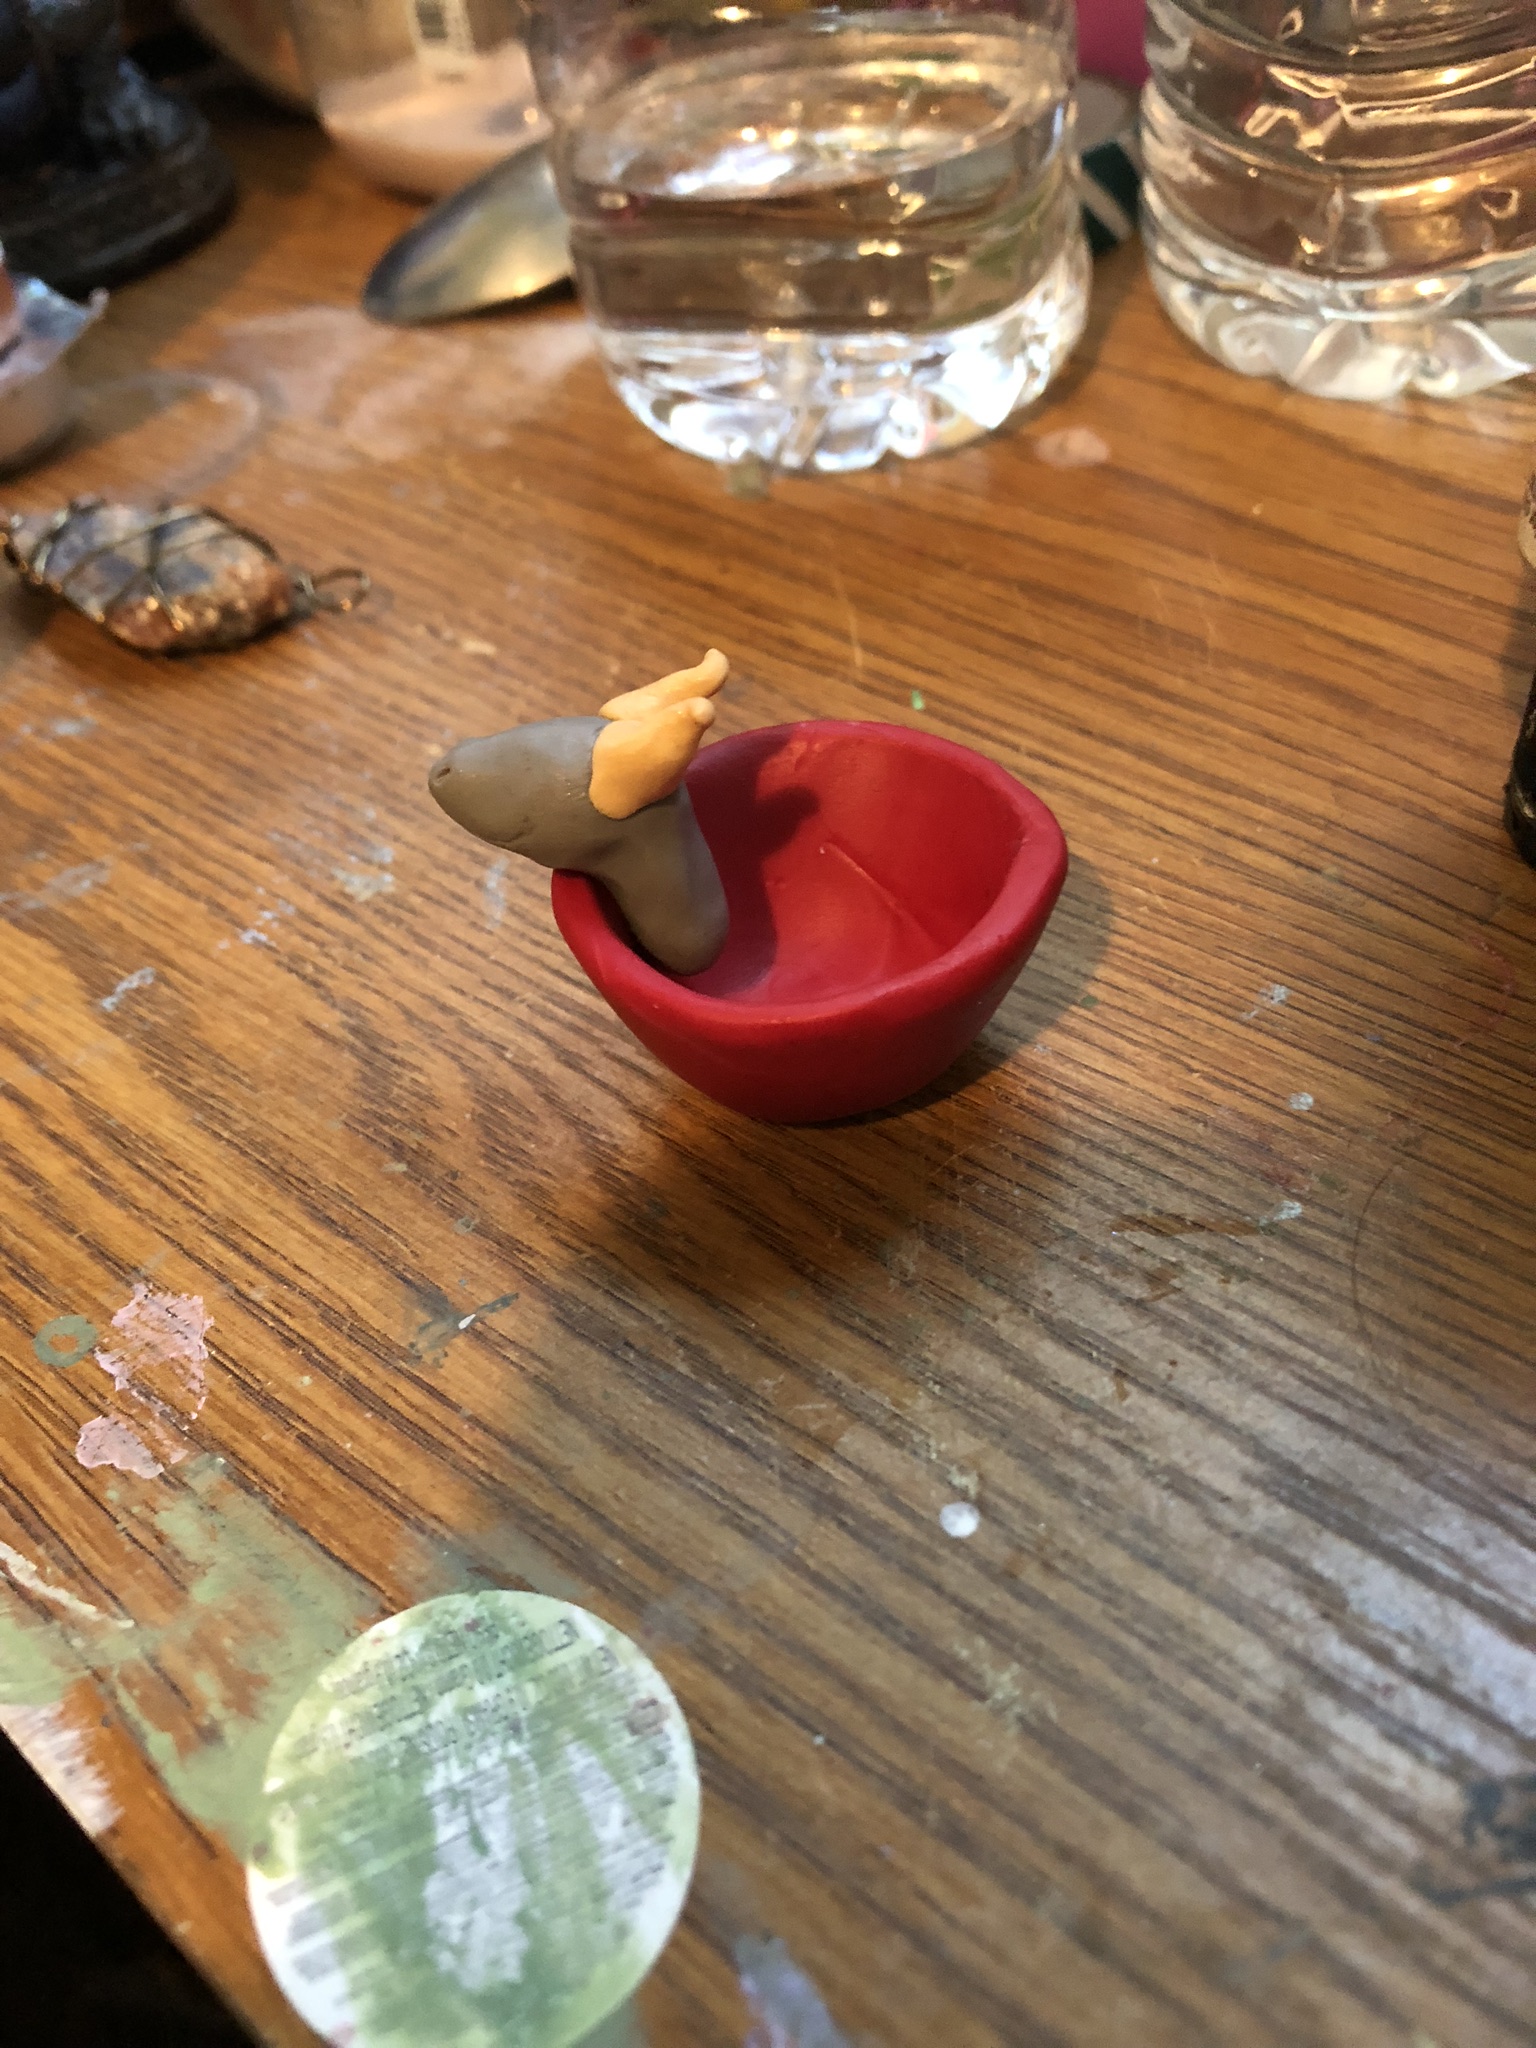
Make a teardrop shape out of grey clay and bend the rounded end to look sort of like a music note. Keep rolling out the face slightly to make it almost like a snake’s. Make two gold teardrops out of the gold clay and attach it to either side of the head to make horns. Add black dots of clay along the spine for back spikes and leave the face blank. I made the mistake of carving the face before baking, don’t do it.
Sculpting the Tail for the Polymer Clay Dragon Noodles
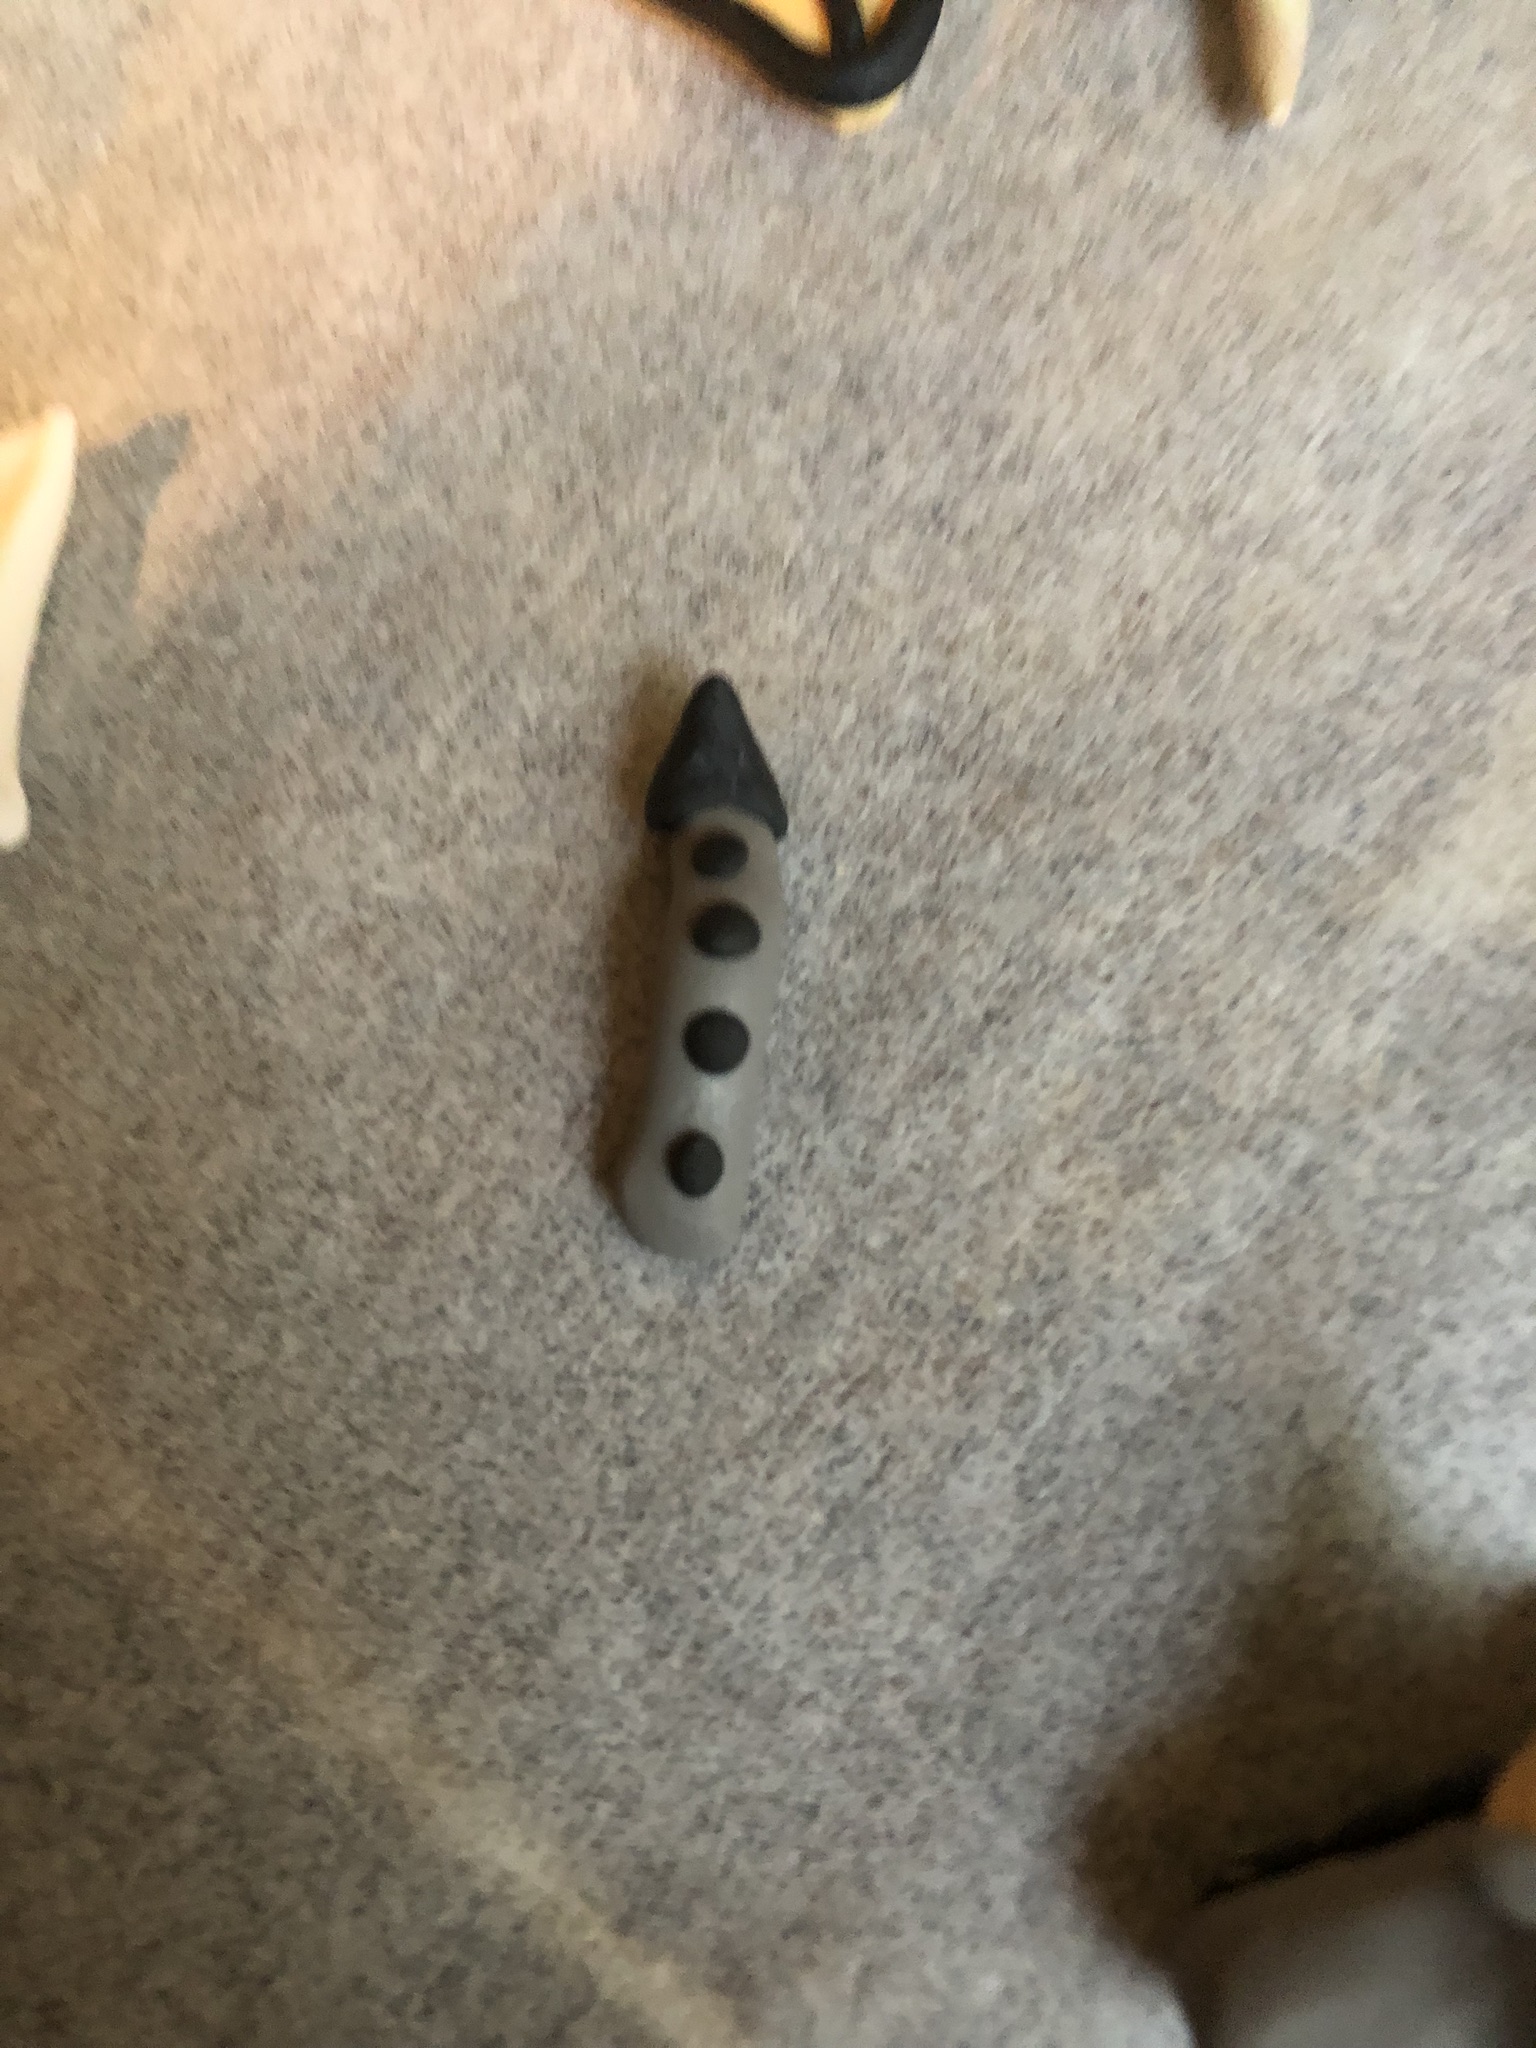
Roll out a grey piece of clay to the appropriate dragon thickness, or to about a fifth of an inch. Attach a small black triangle of clay to the end of the tail and add dots of black down the spine just like on the head.
Making the Middle Body Piece of the Dragon
My dragon didn’t need a middle piece because of how small the bowl was, however to make a middle piece just roll out a grey piece of clay the same thickness as the tail and bend it to look like a macaroni noodle. Add some black spines just like the head and tail to make it look like part of the body and not just a nasty noodle.
Making Polymer Clay Dragon Noodle Wings
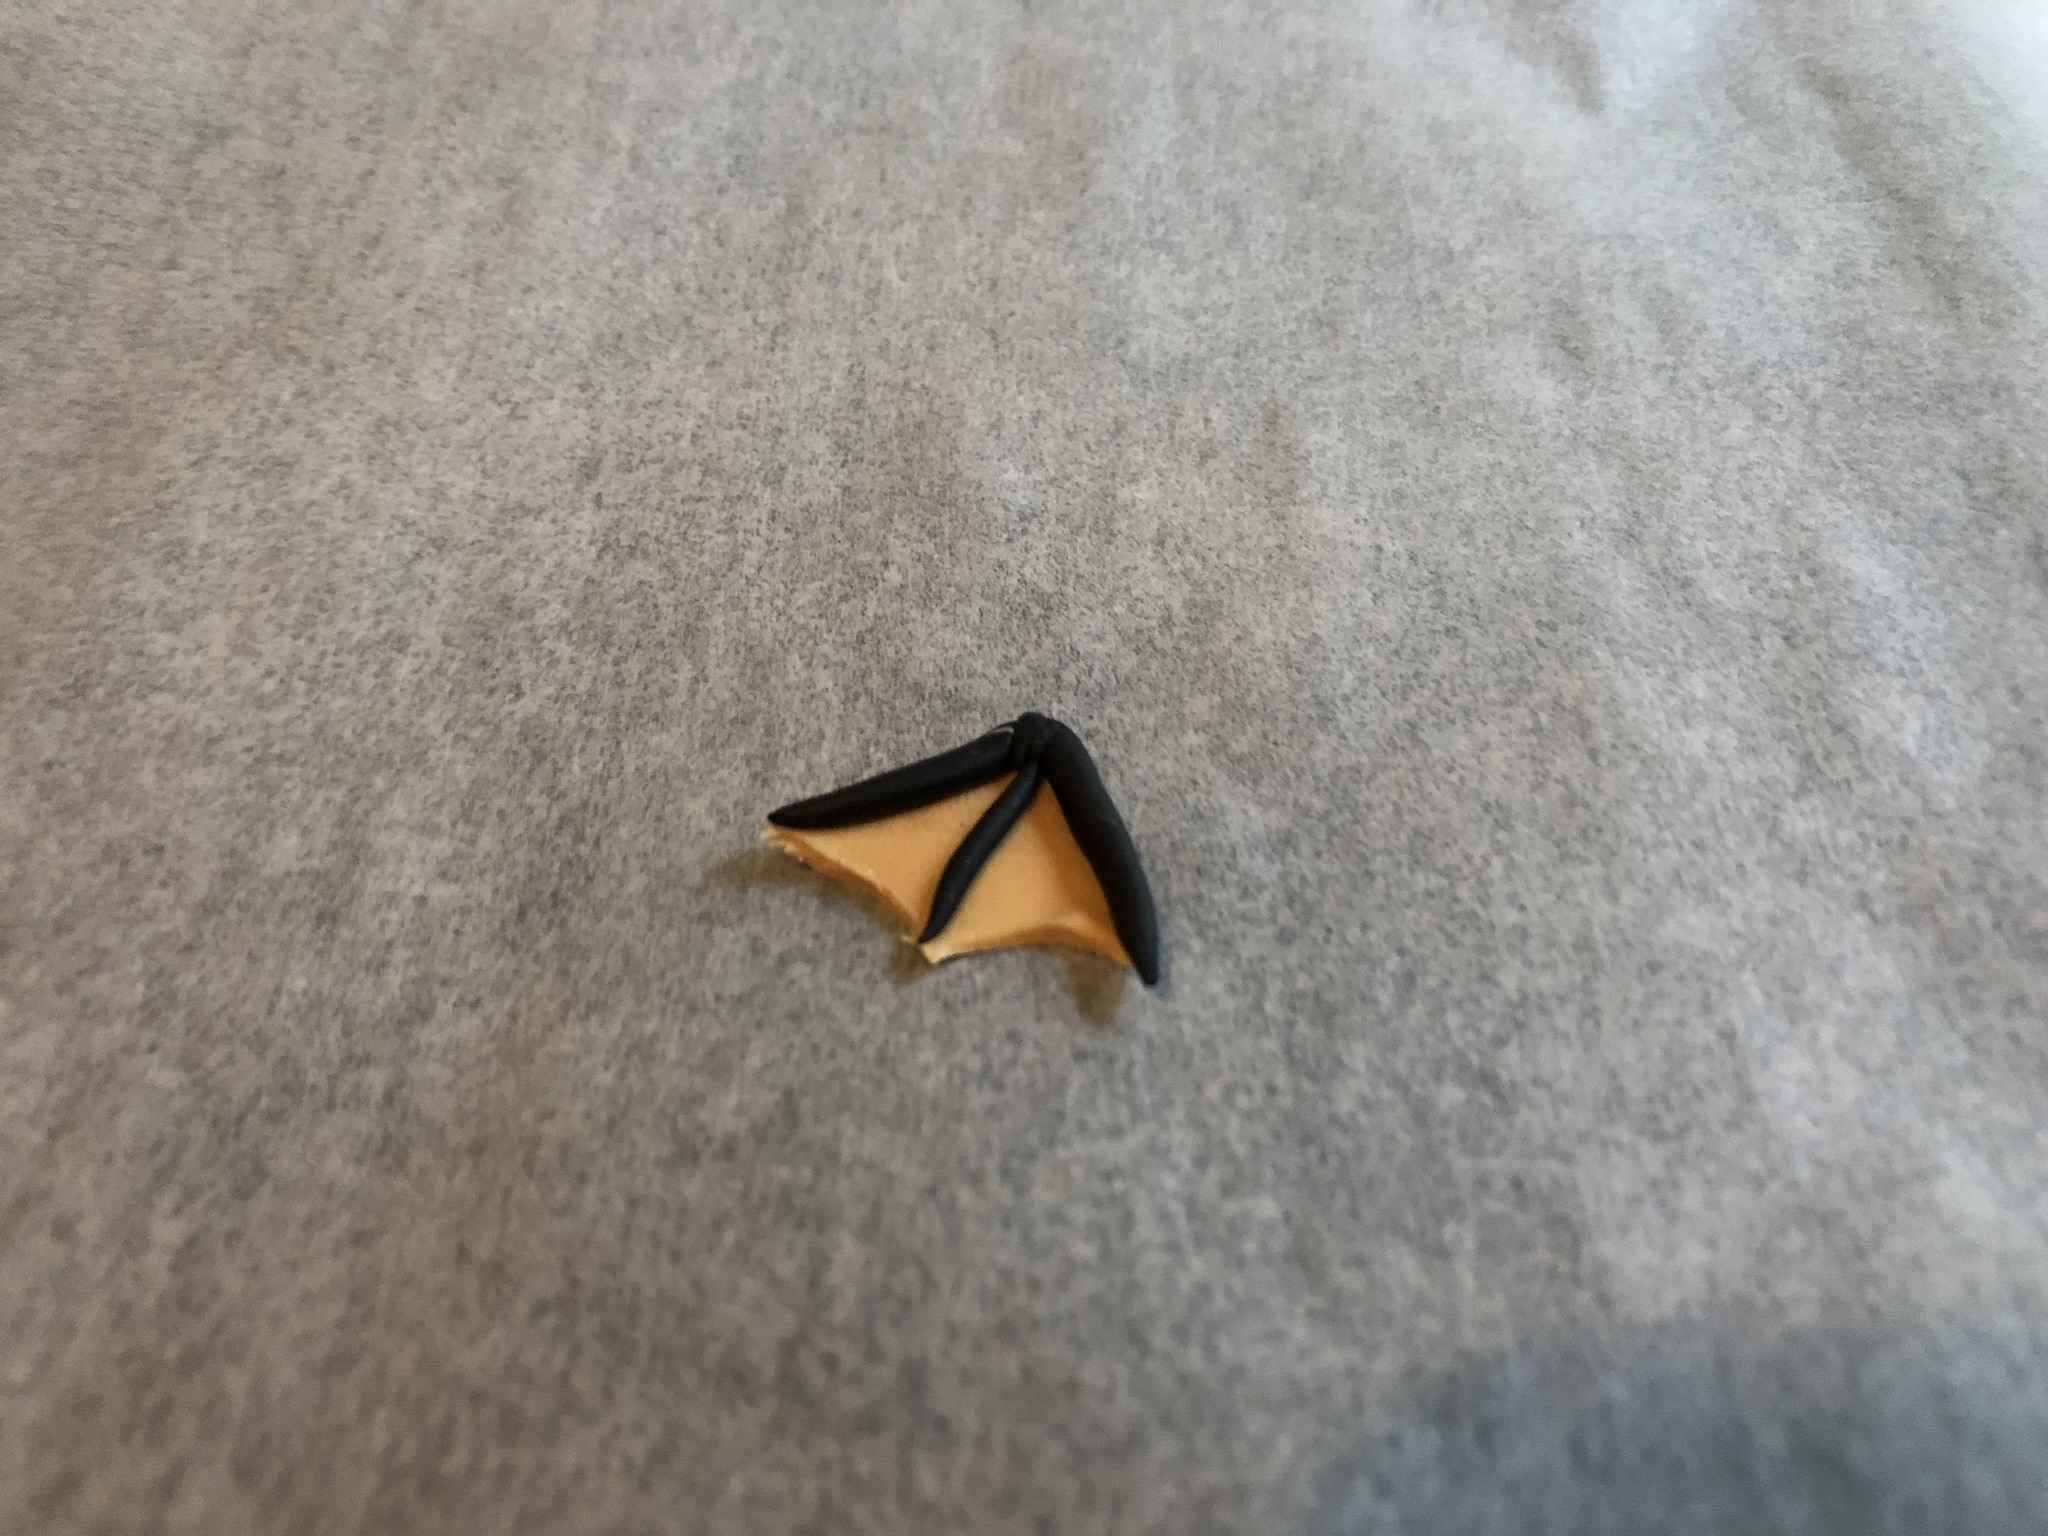
Using little bits of gold clay, make two small triangles and outline them in black clay along the back of the wing and a small piece in the middle. Smooth fingerprints if you can, but don’t worry too much because the clay can weaken if you apply too much rubbing alcohol to a thin piece.
Baking the Pieces
Throw everything in the oven at 275 for about 20 minutes. Don’t worry about the thinner pieces burning, they’ll be just fine. Set it aside to cool once finished.
Making the Polymer Clay Dragon Noodles
Mix a lot of gold, tan and yellow clay together. Roll it out really thin and set it aside for later.
Assembling the Polymer Clay Figurine
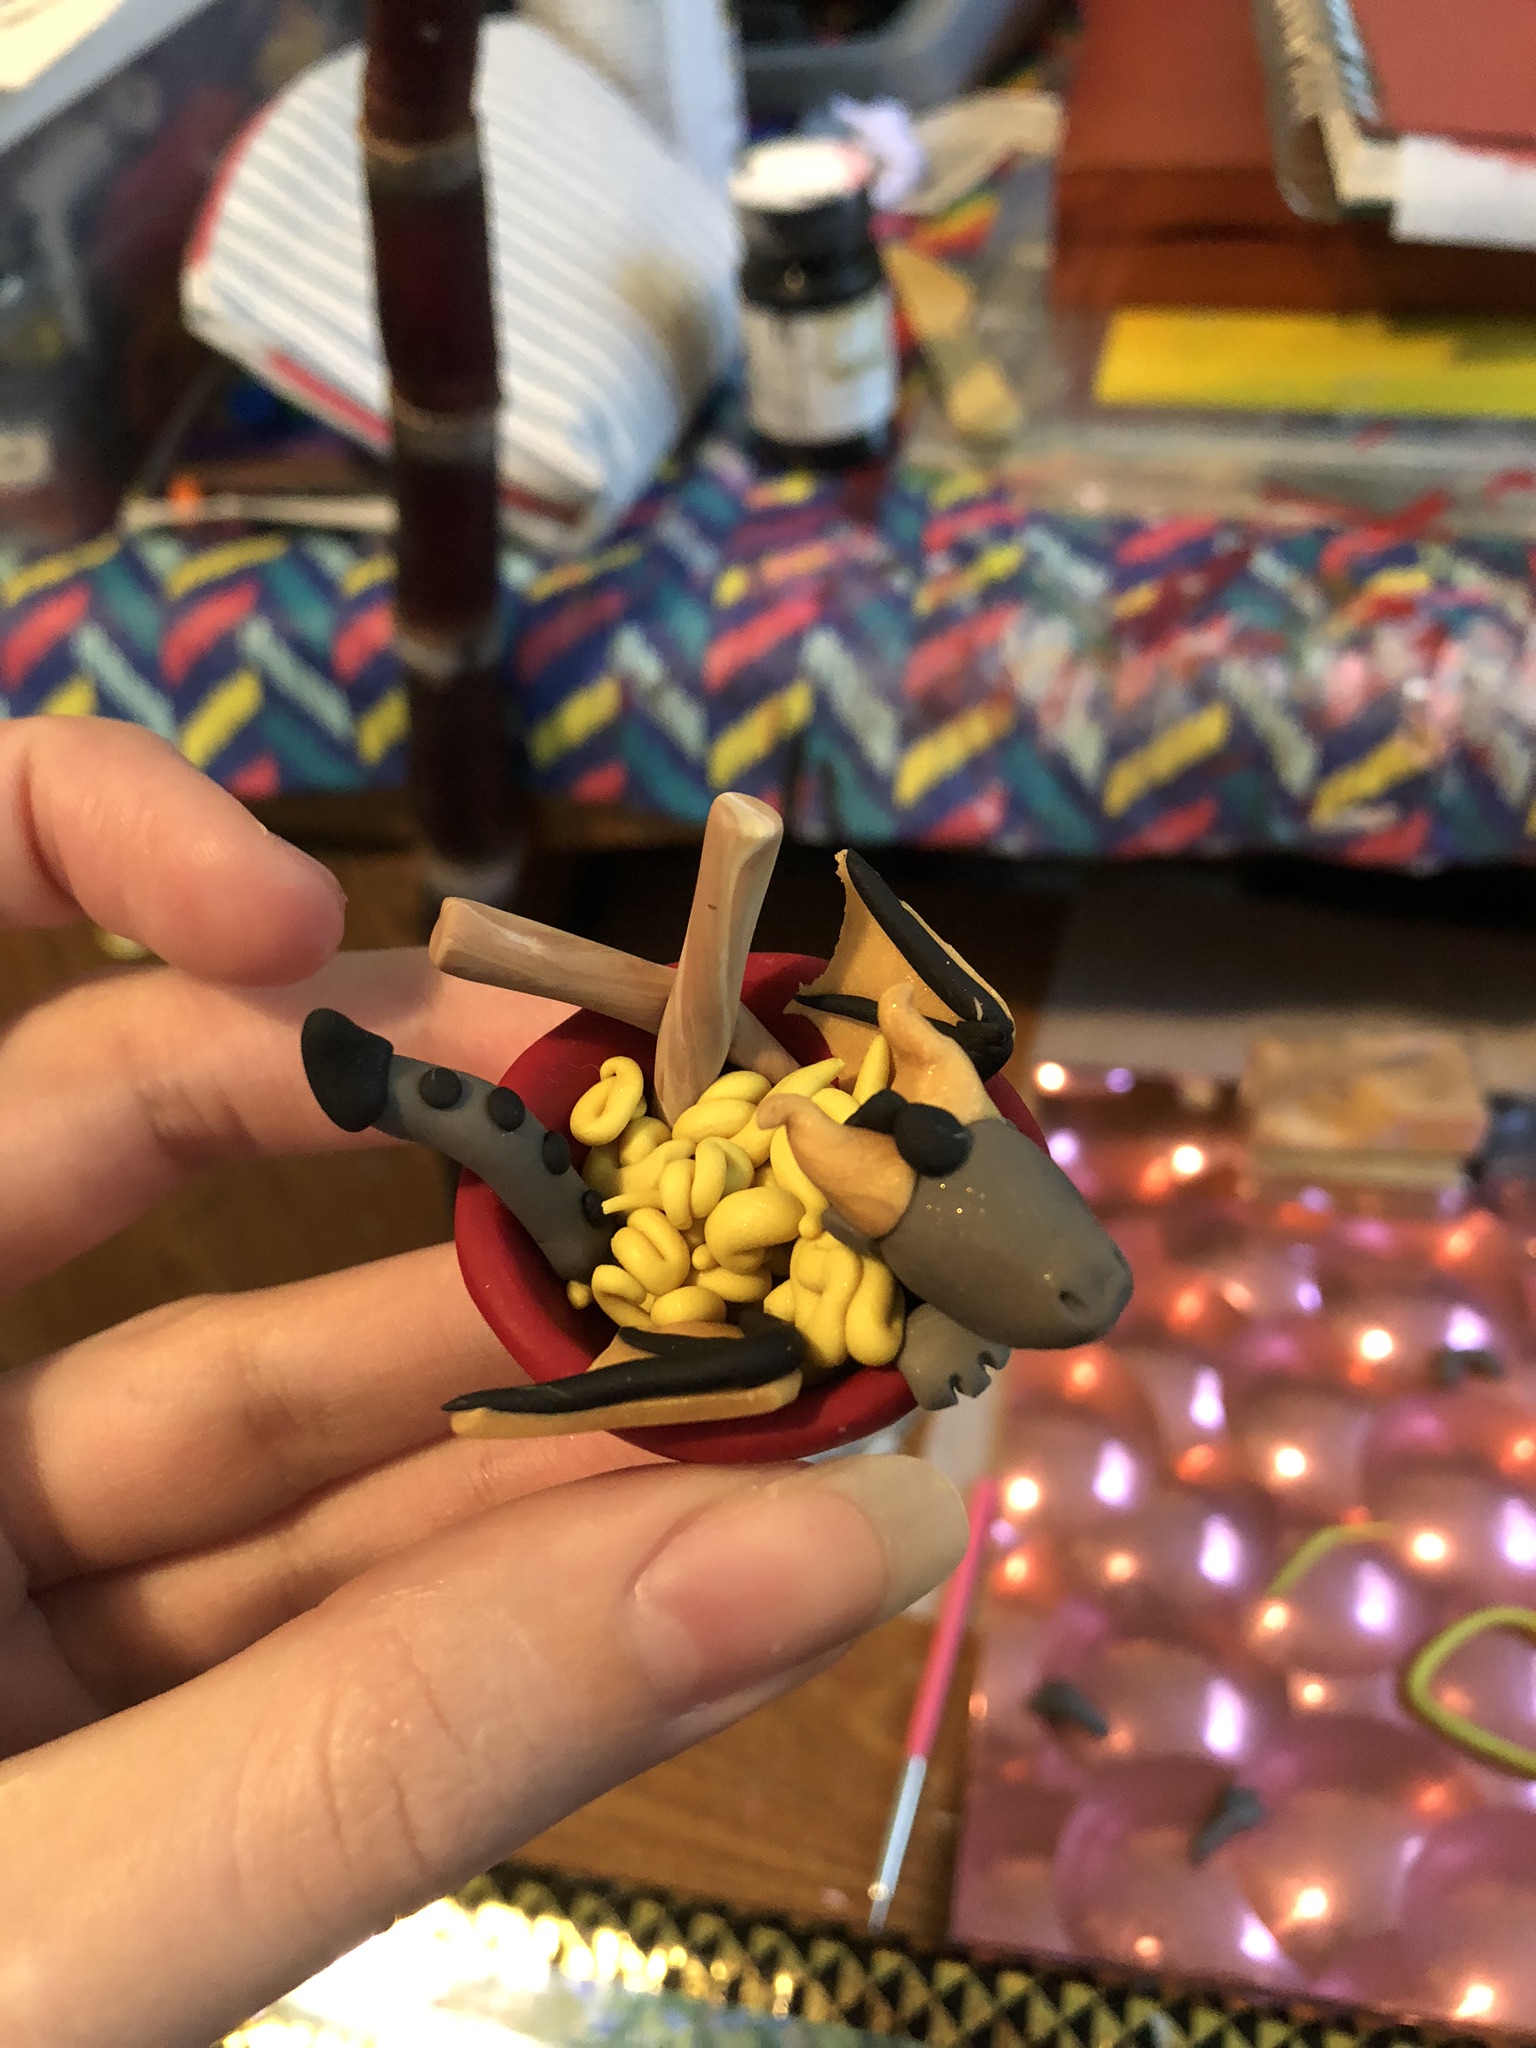
Using bits of clay, attach the head and the tail to the bowl on opposite sides. Don’t worry about them being too secure, just use enough clay to hold the thing while you make the noodles. I also added some small chopsticks on the side so you could tell what they were a little better.
Sculpting the Noodles
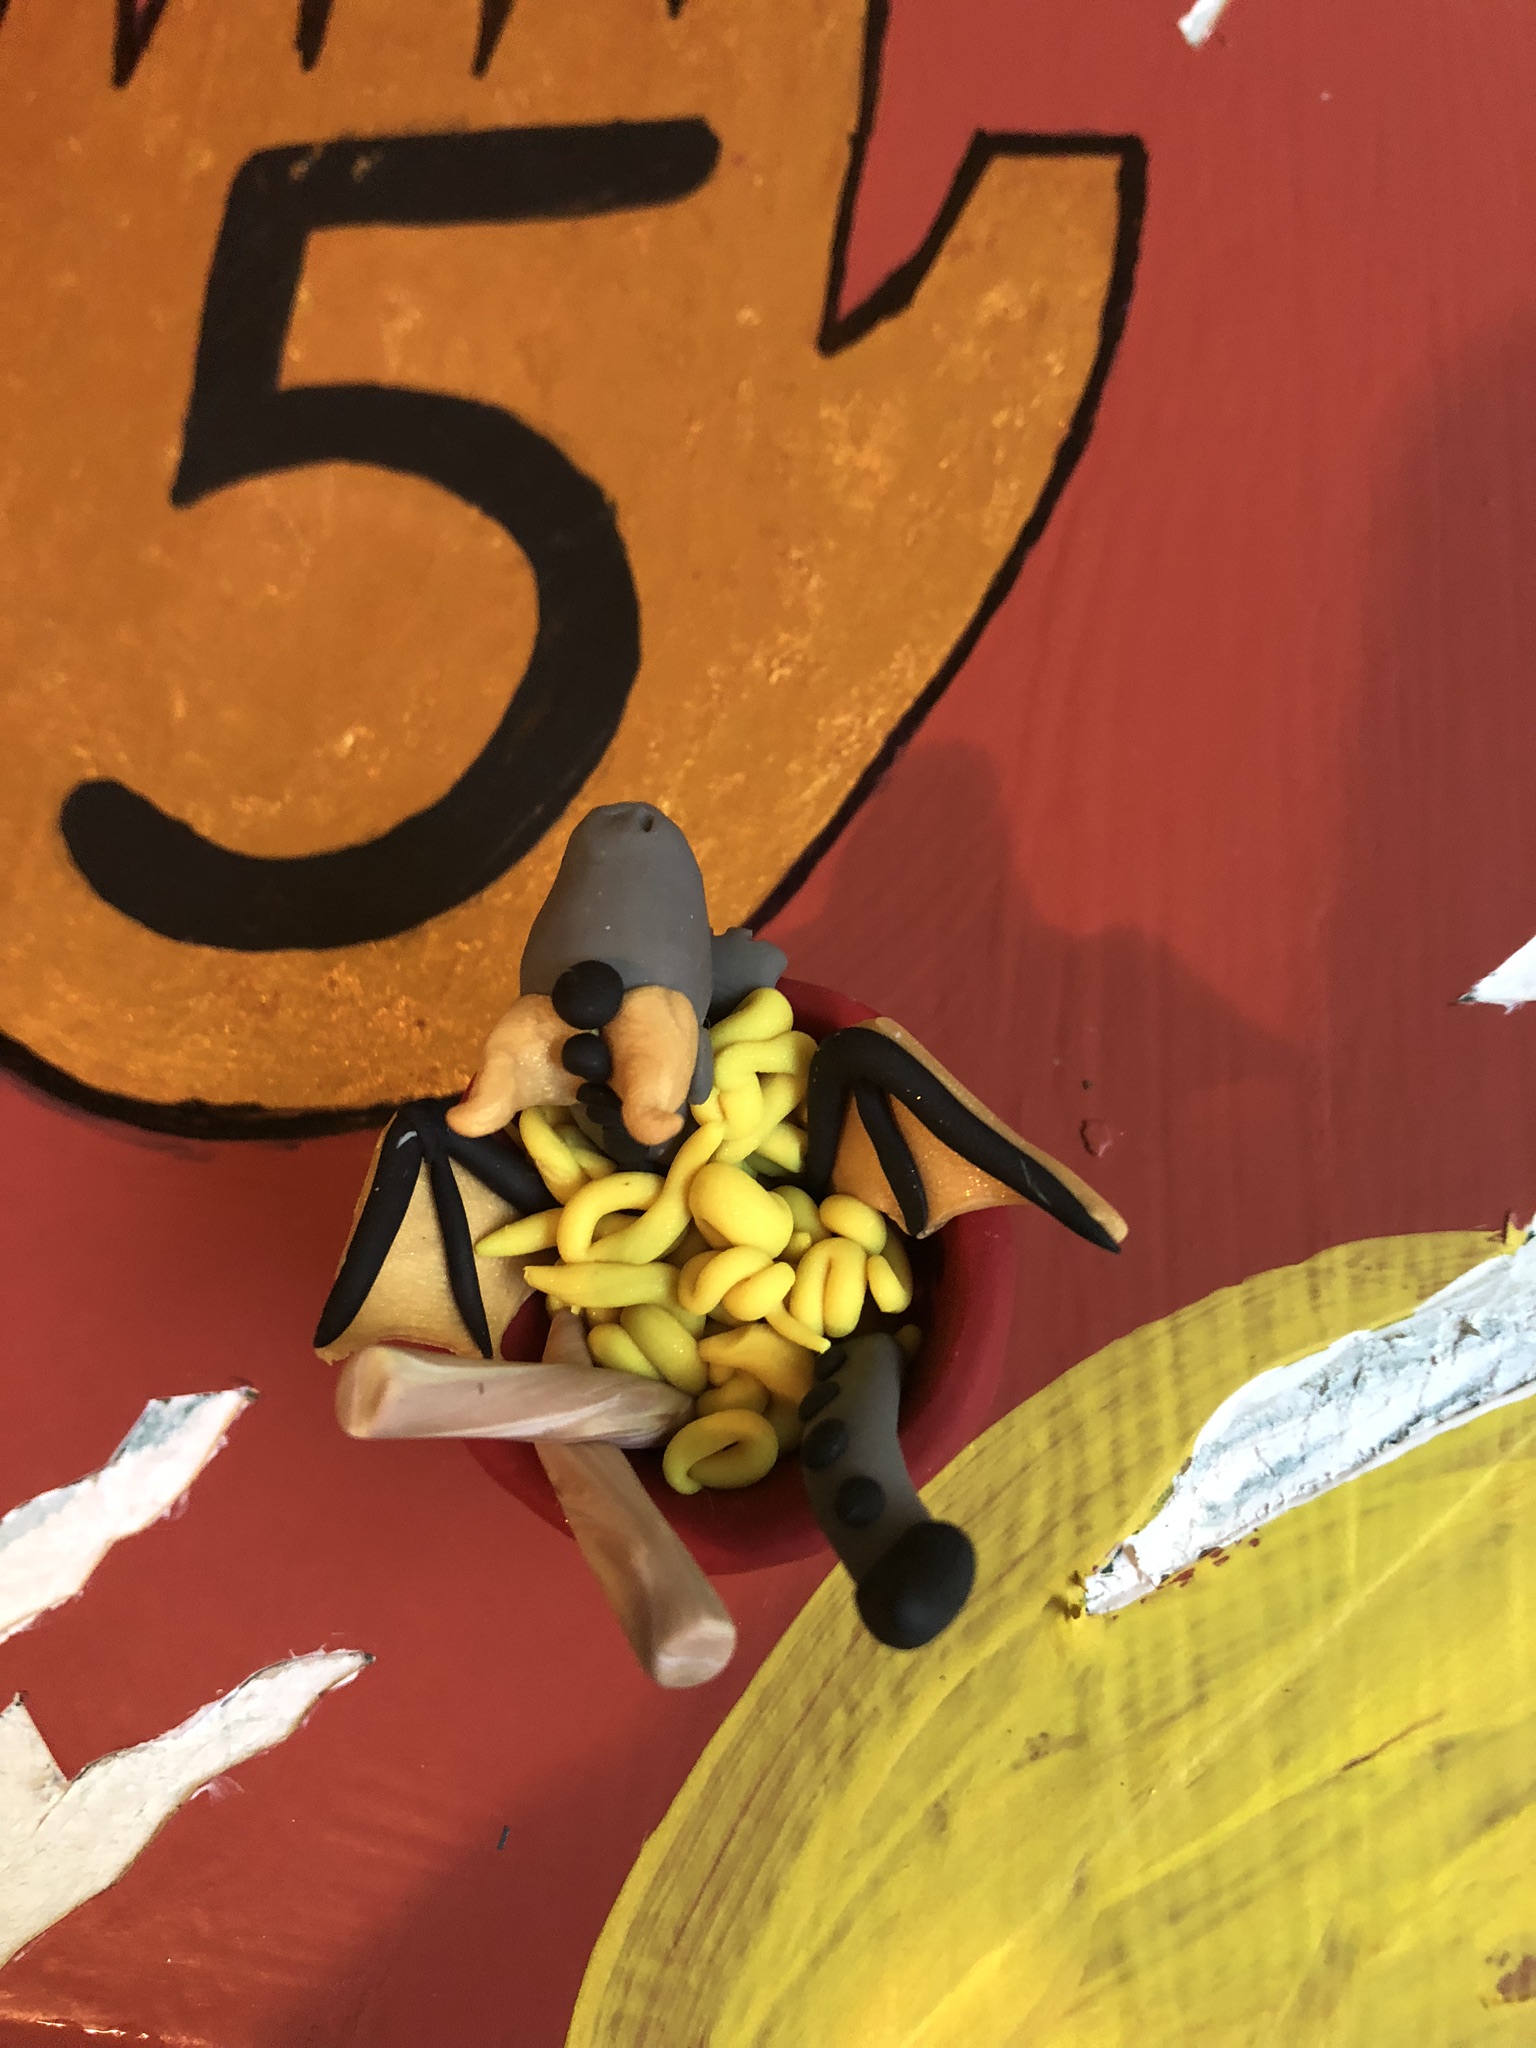
Rip off small strands of the yellow clay and swirl them into small noodle shapes. Make a few of these and set them to the side. Take the rest of the yellow clay you rolled out previously and make a mess out of it as you put it into the bowl, with lots of bends and curls just like real ramen. Make sure the clay is secure but not all clumped together in a gross wad of icky noodles. Add the little noodles on top here and there to make it look more realistic.
Rebaking the Polymer Clay Dragon Noodles
Next, throw the thing back in the oven for 15 minutes. Let it fully cool once finished, because the next thing we will do is acrylic paint work.
Painting the Dragon’s Face
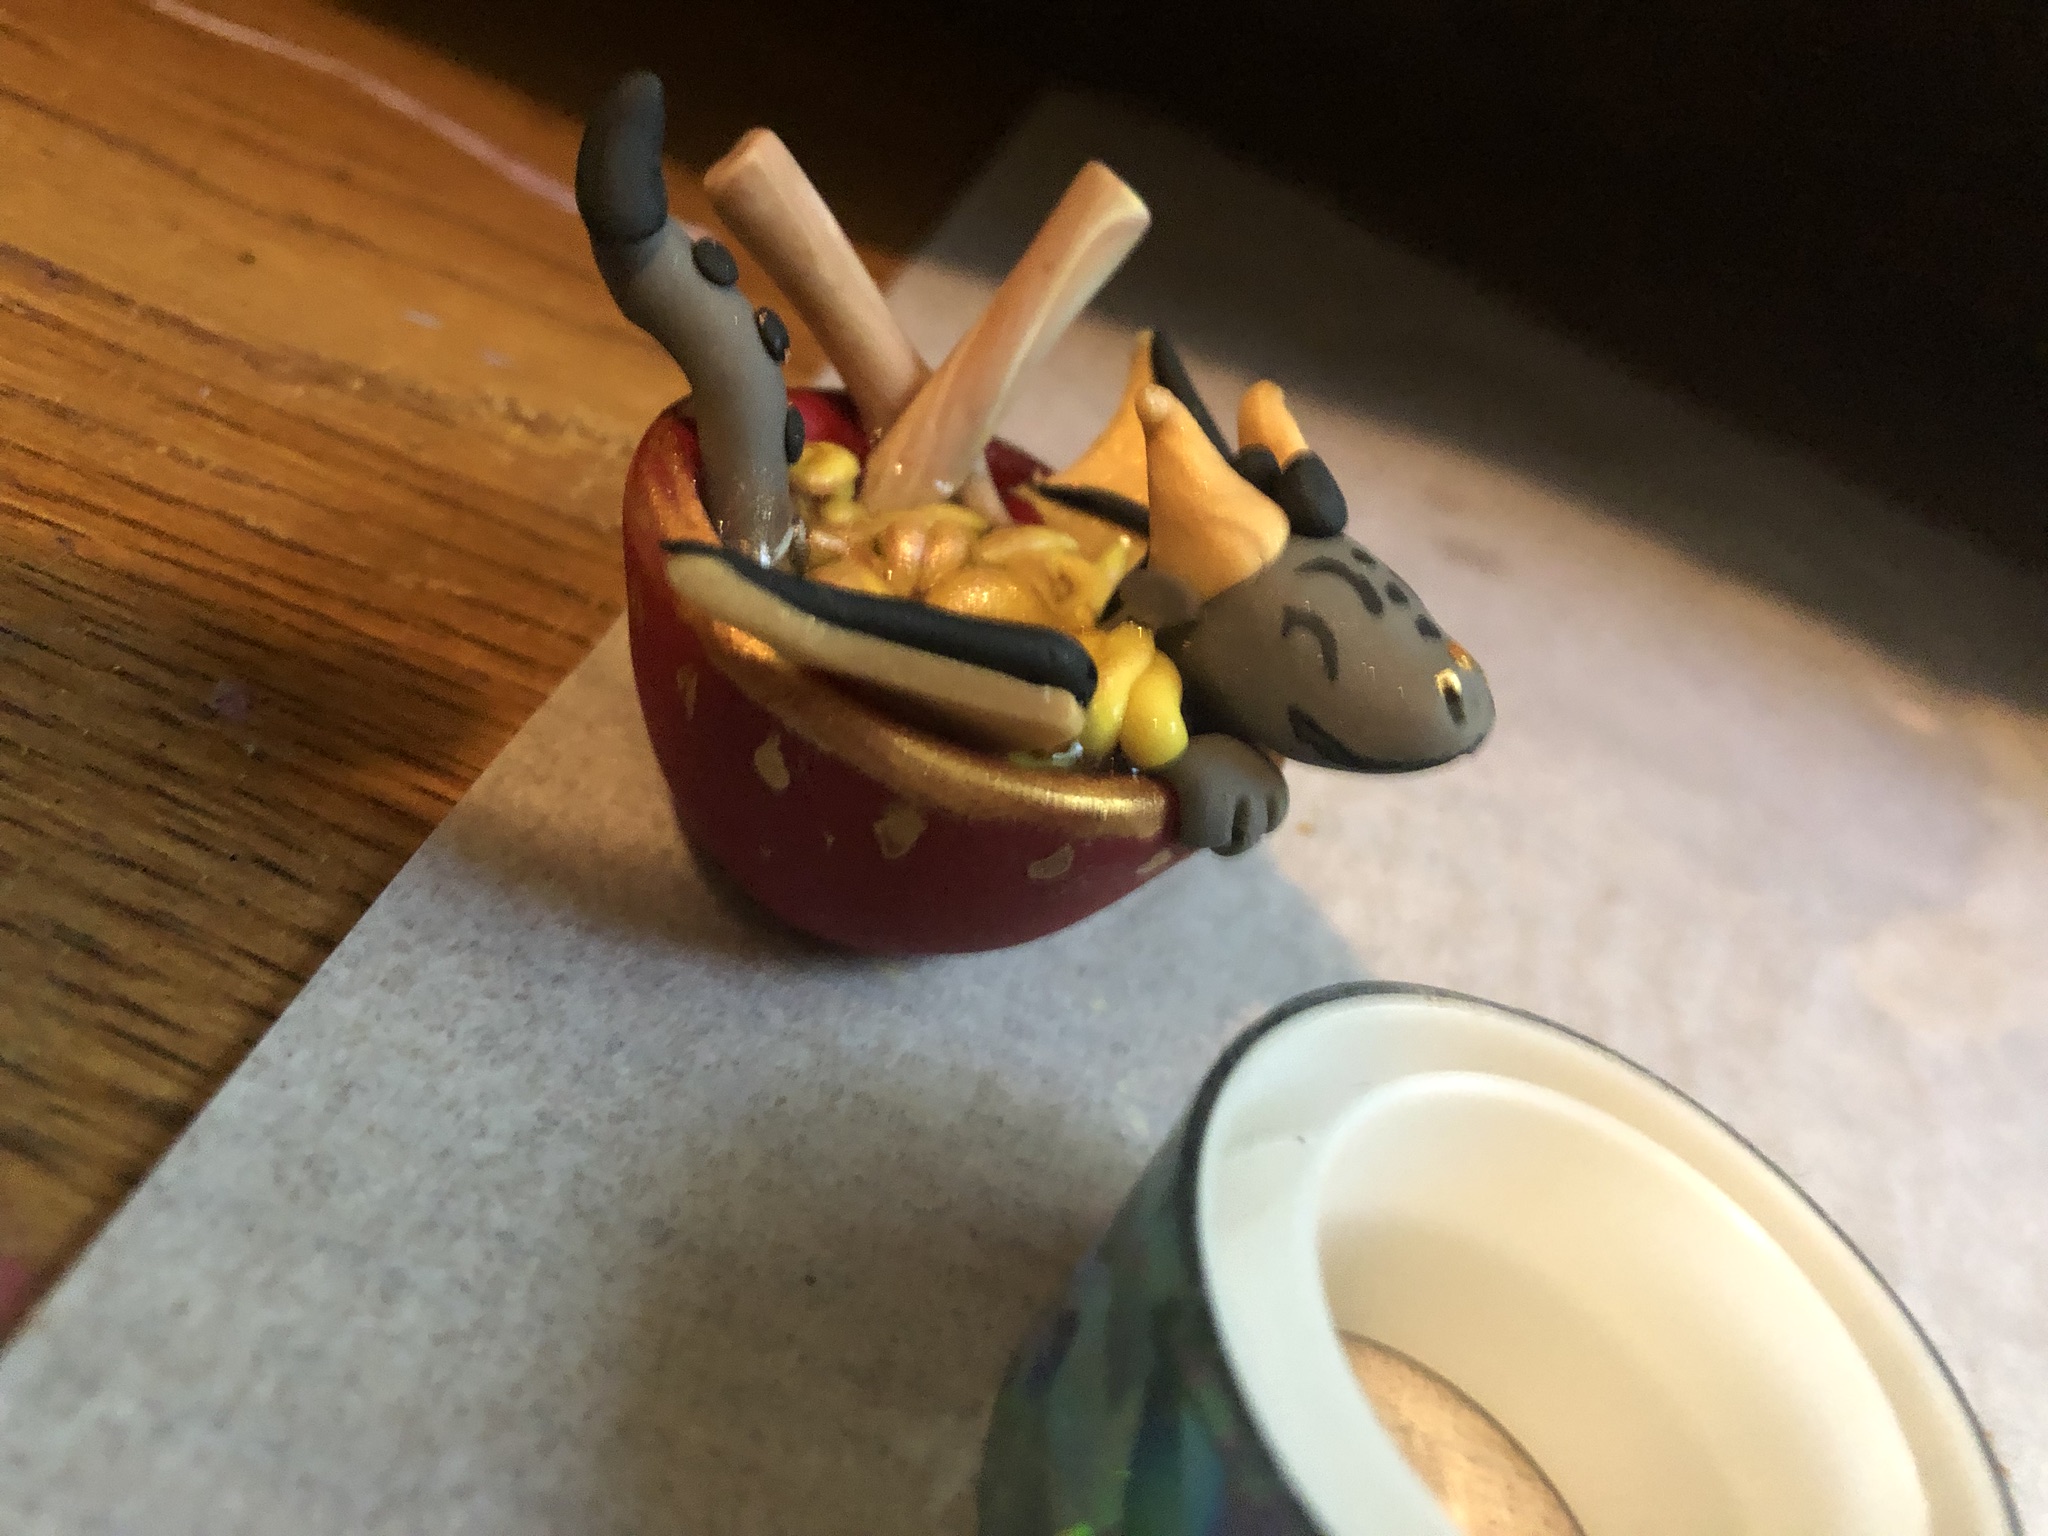
Using black acrylic paint on a very small paintbrush, make two very small eyes. I painted my dragon’s eyes closed, making an upside down U shape to give him a happy dragon look. Next I painted his smile on to look kind of like a snake’s face, with the lines extending back further down the face.
Painting the Bowl
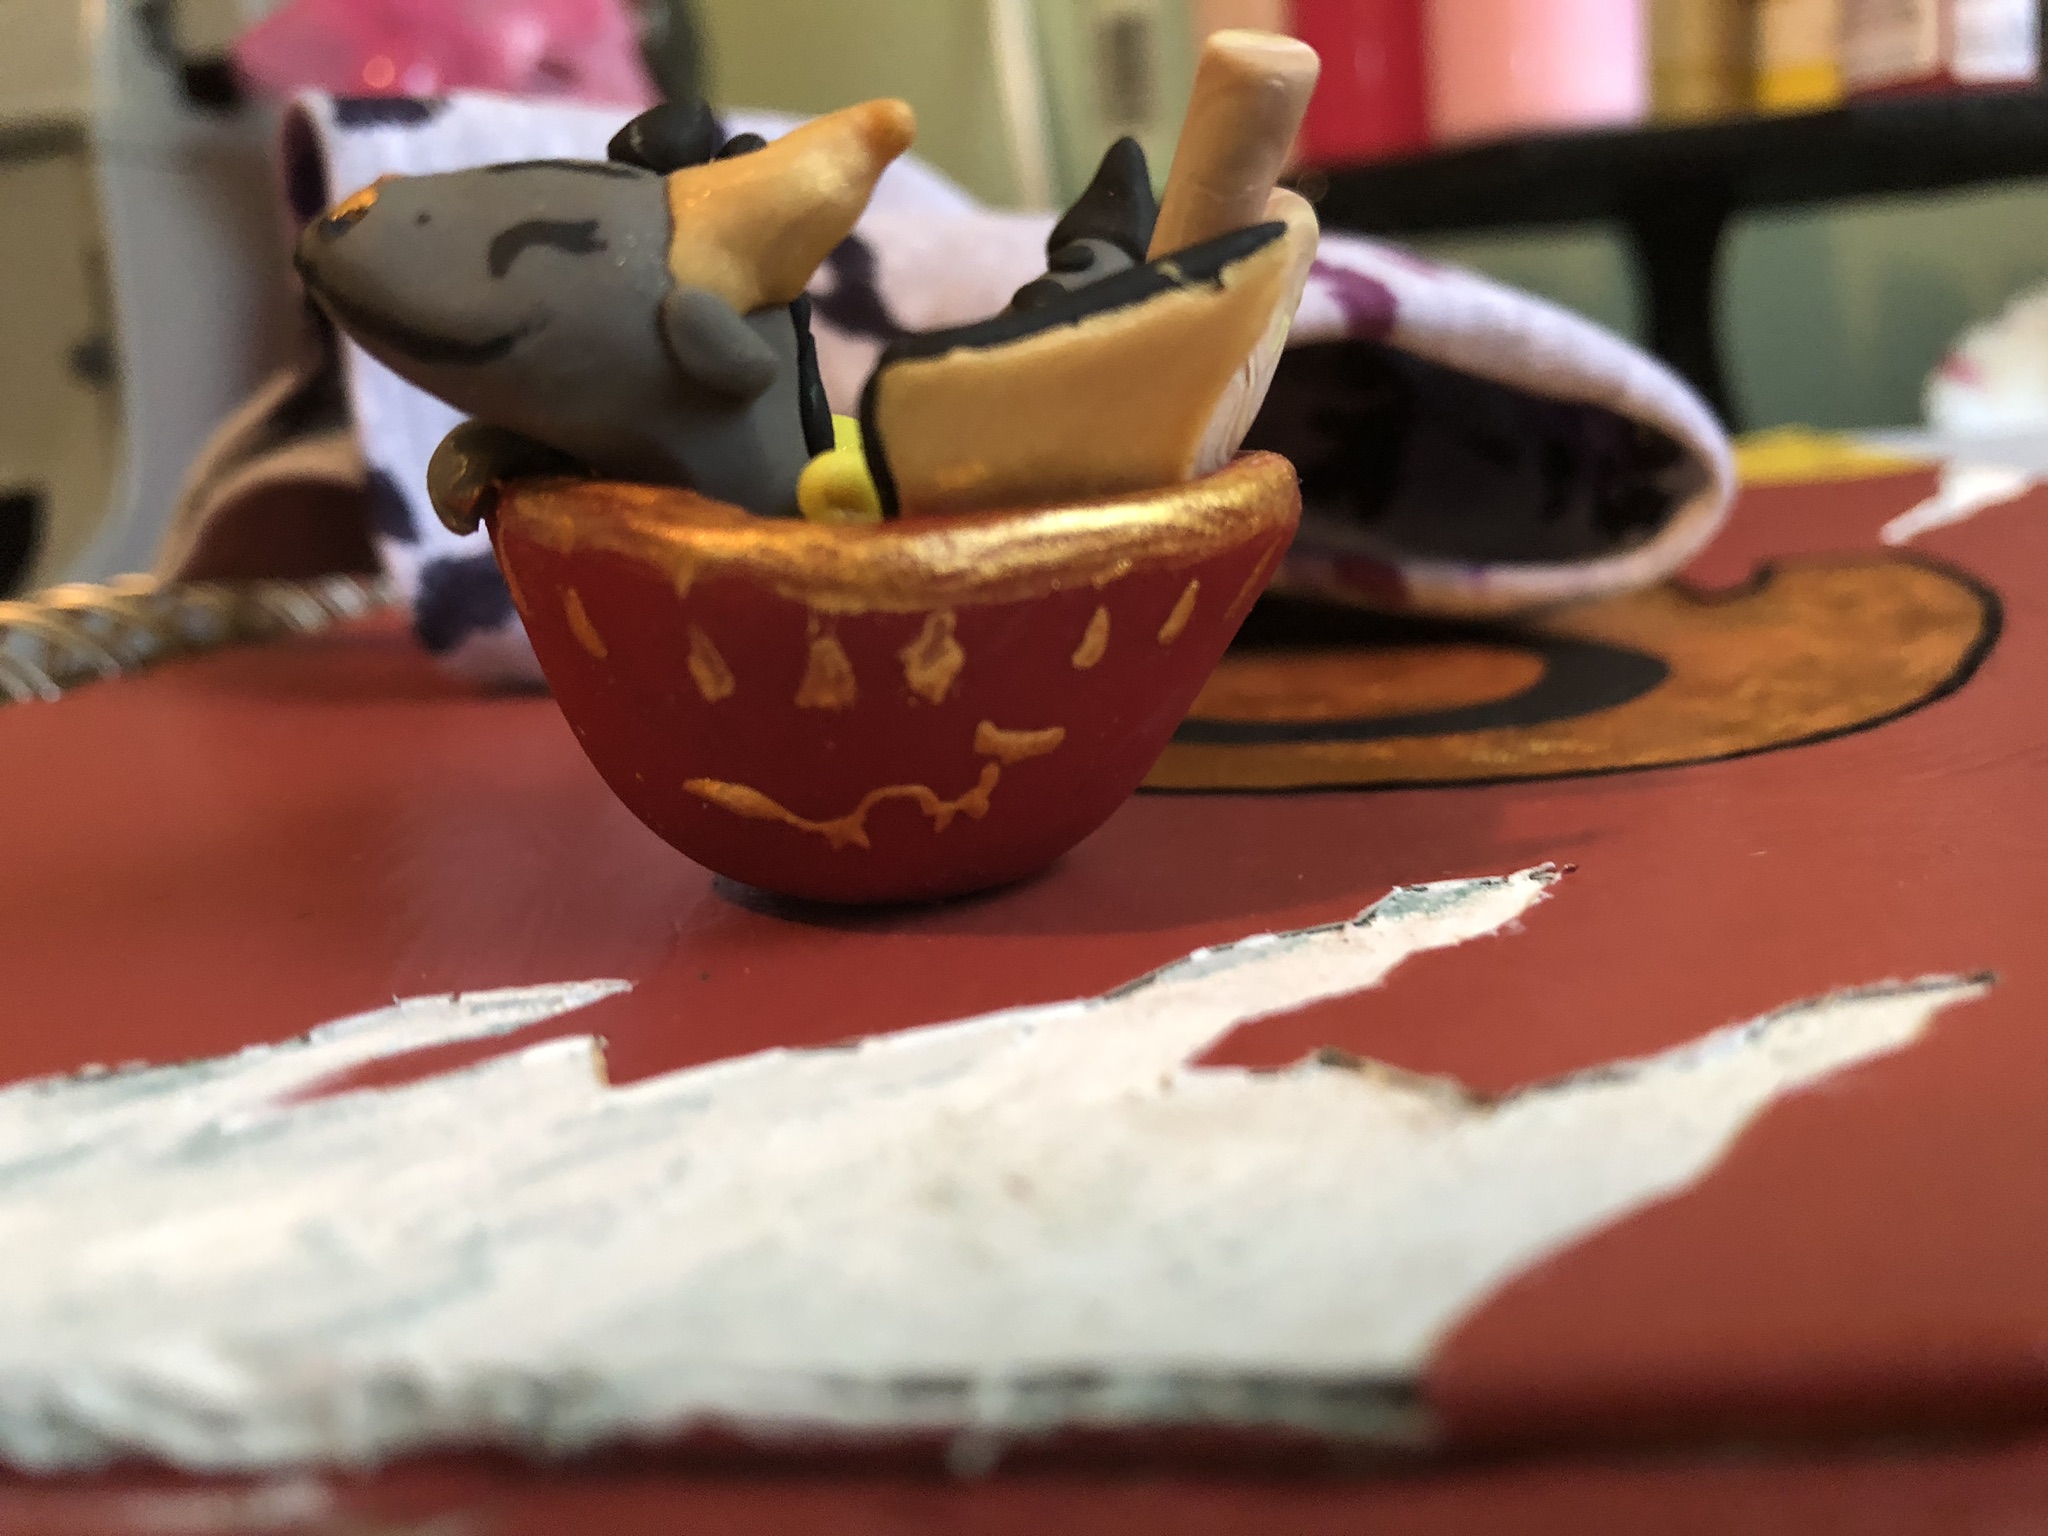
Mix some gold pigment and Elmer’s glue together, making a gold pastelike paint. Apply the gold to the rim of the bowl as smoothly as you can. I accidentally painted a little on his face so I added some more to make it blend in a little better. I also added some gold teardrops to just below the rim by using a dotting tool to apply the gold paint in blobs all along the rim, then going back and swiping up through each of them to make it look better. Using a very small dotting tool, I made a small dragon on the side of the bowl stick figure style. Draw a wavy line with a blob for a head and four blobs for feet.
Creating Depth
Stick some slightly darker brown eyeshadow into the crevices of the noodles. Be careful not to add too much or your noodles will look burnt and gross.
Making the Polymer Clay Dragon Noodles Shiny
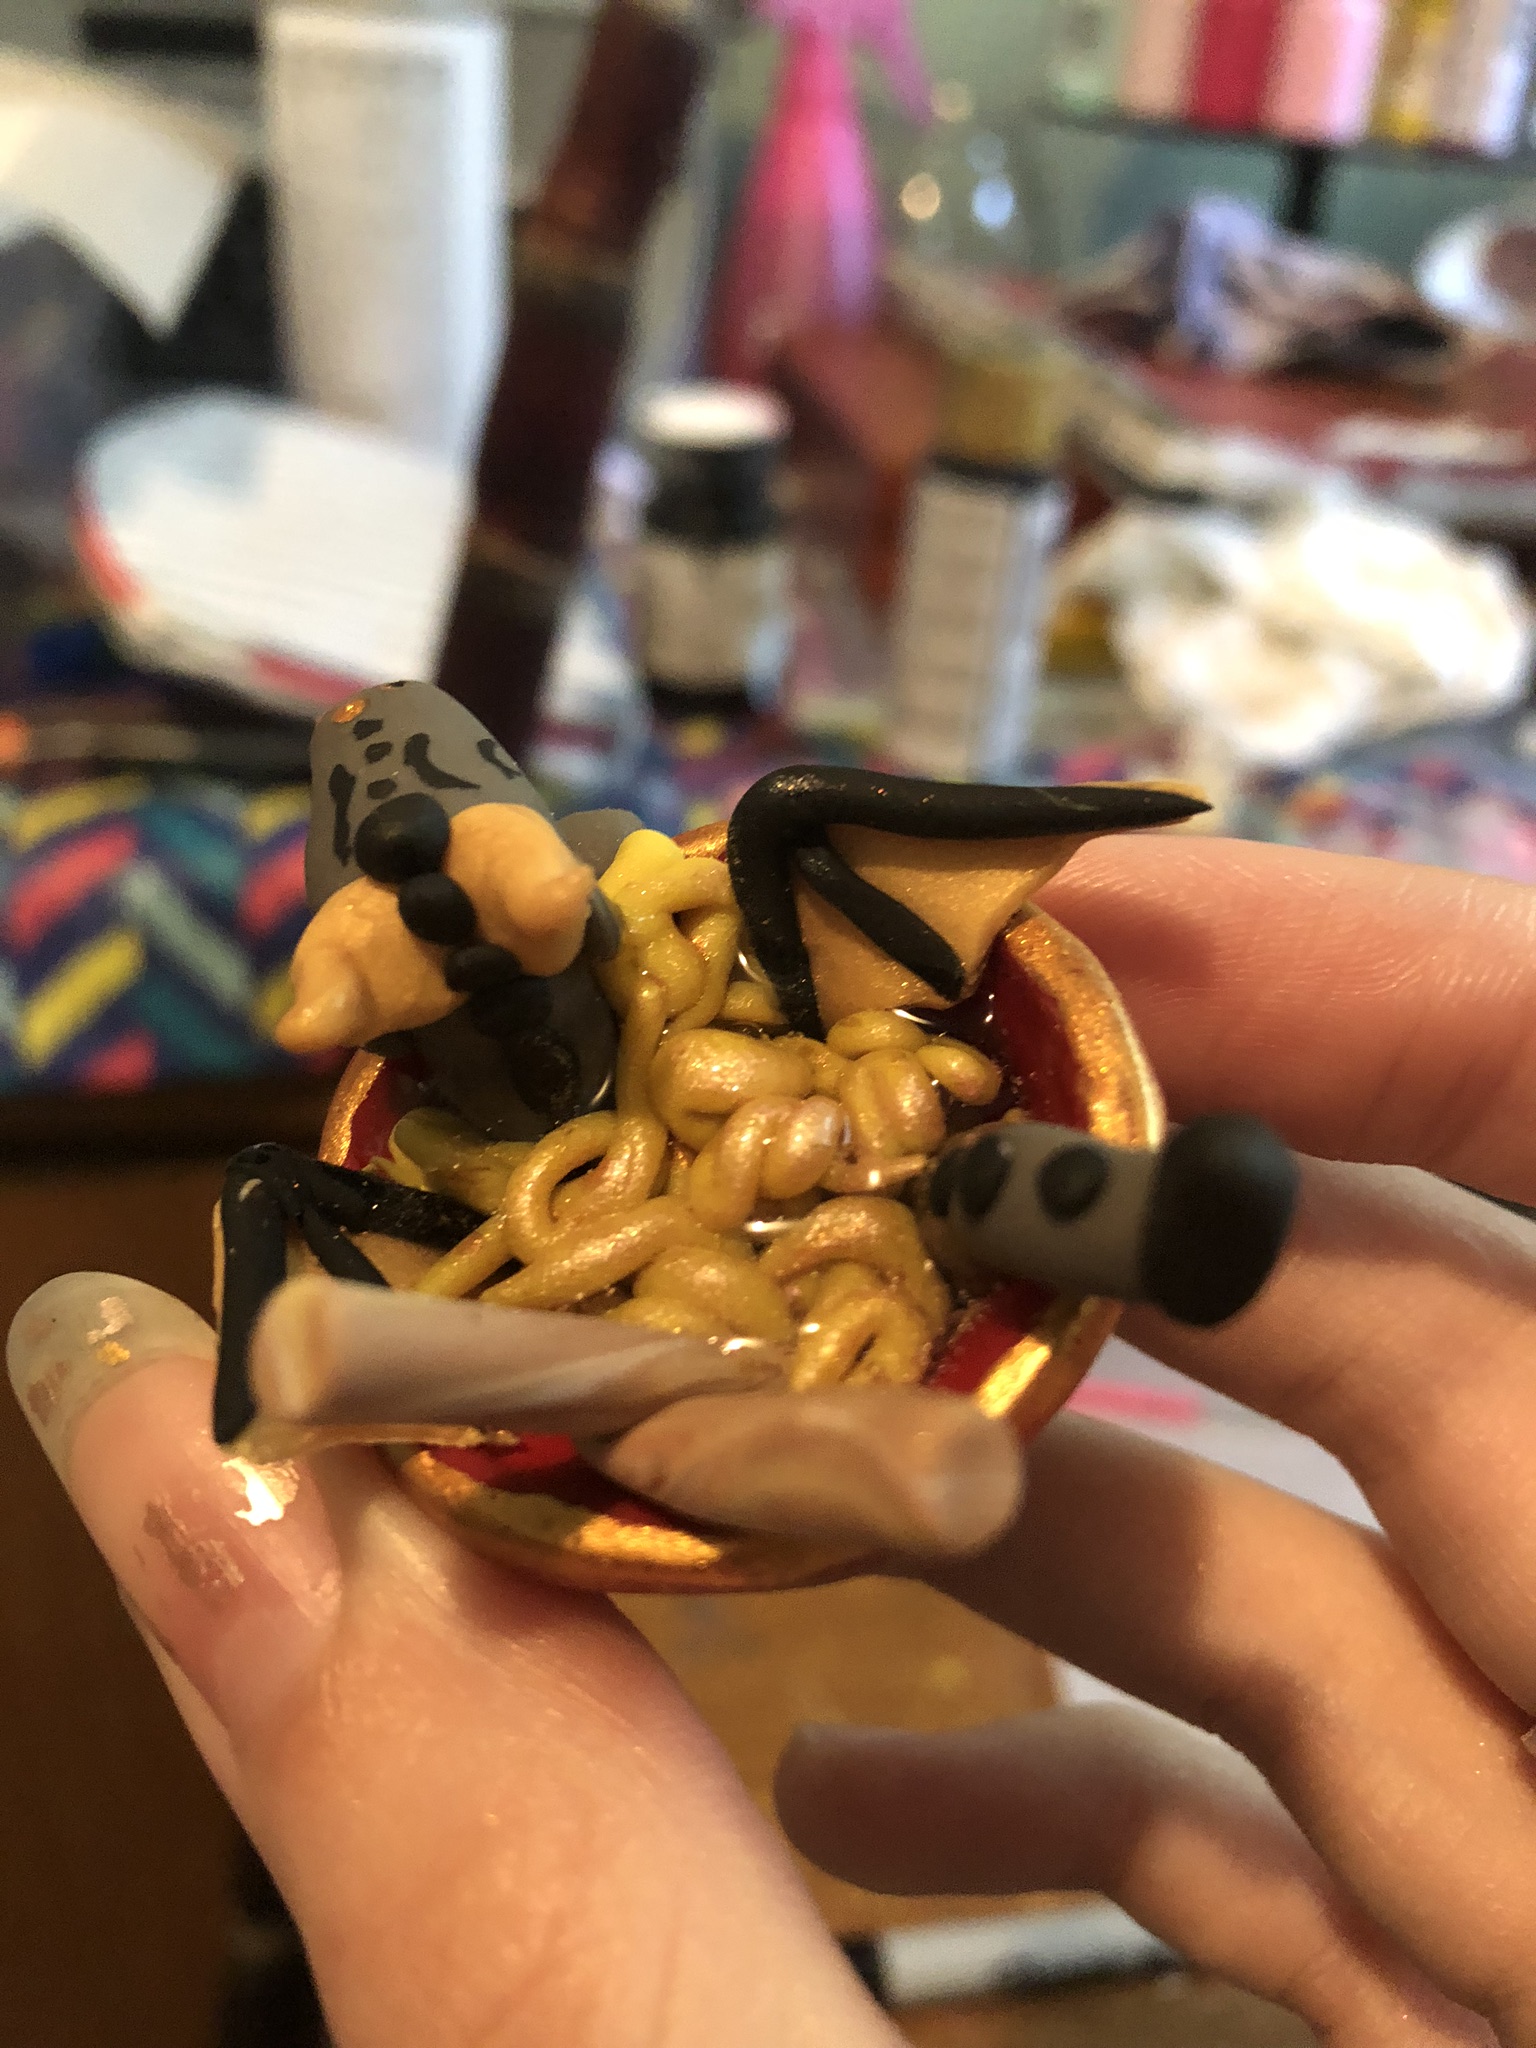
Using some old clear nail polish, fill the bowl up to make it look glossy. Allow this to sit by itself for a good day or two to make sure it is fully dry, and do not touch. The nail polish makes the clay soft, so touching it may result in a ruined piece.
Finish
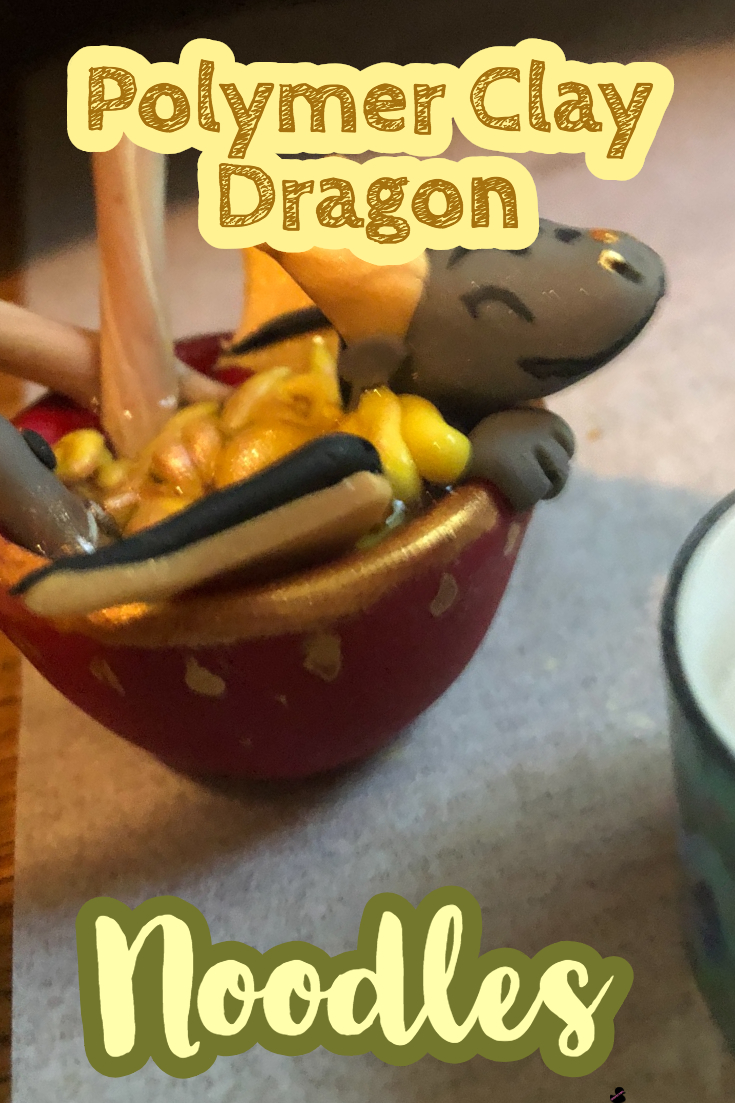
And your tiny Polymer Clay Dragon has a nice hot bowl of ramen to swim in. Happy Crafting!

