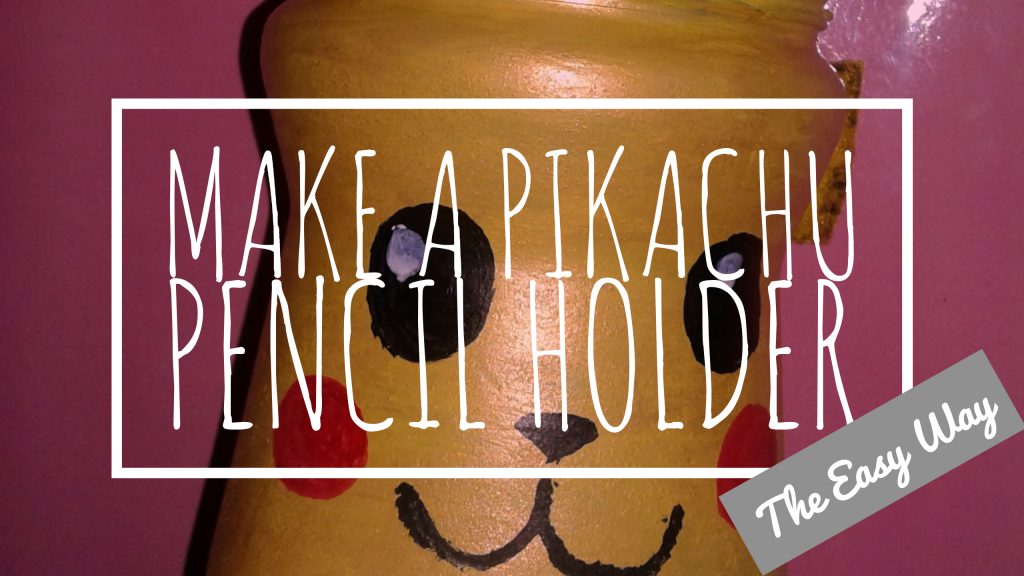
This Pikachu cup is easy to make, and will look so cute on your desk! It’s perfect as a gift or organization for your room.
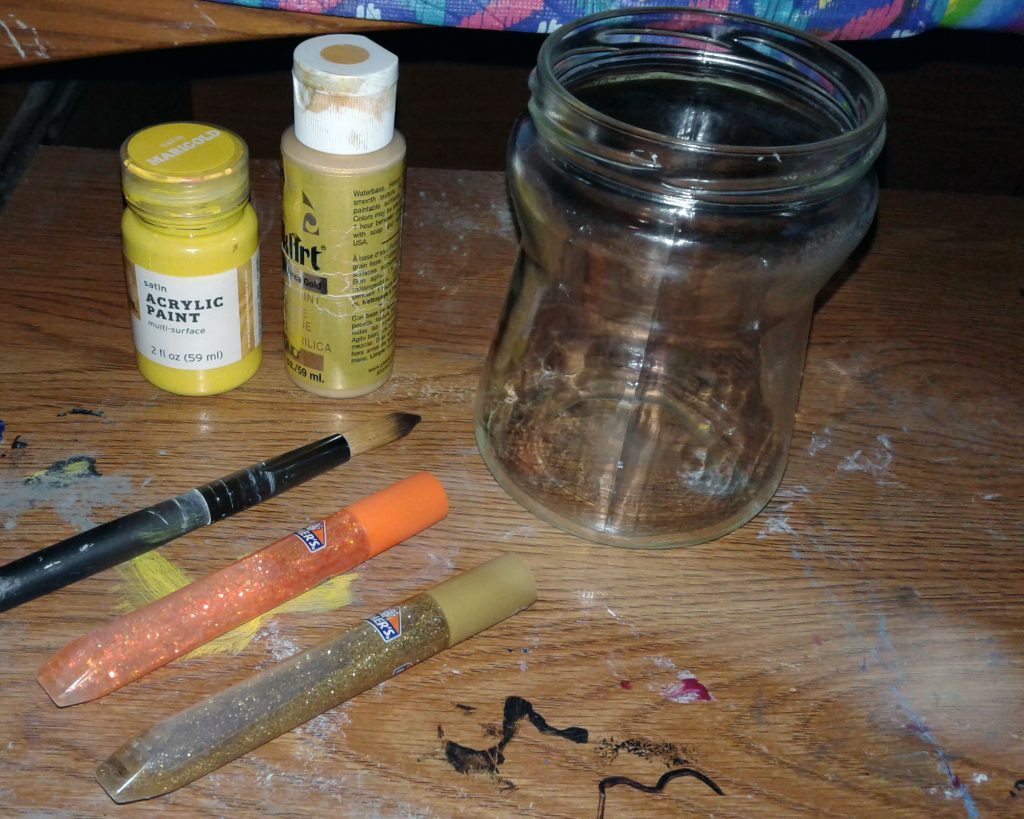
For this project, you only need a few supplies. It’s a low-cost project that’s ideal for working with younger crafters.
Disclaimer: A few of the supply links below are affiliate links. This means if you happen to buy something from clicking on the link, I will make a few cents from your purchase. I only link to products I’ve actually used and can recommend with a clear conscience.
Supply list:
- Folk Art acrylic paint in Inca Gold
- Marigold acrylic paint (I used a color from “kid made modern” art kit, but this one from Americana is similar.
- Copper or brown acrylic paint
- A paint brush (or a sponge, if you would like texture)
- A white paint marker
- A glass jar
- Black sharpie
- Red sharpie
- A small piece of yellow felt (you should not need more than 6 in by 6 in for any size jar)
- Hot glue gun (Use with care!)
- Fabric Scissors
- A container to mix the paint (Old Play-Doh containers work great)
Step 1: Mix the Paint
Start by mixing about one fourth of gold paint to three fourths yellow paint. This will make your yellow paint more shiny, for a metallic coloring. Then take your brush (or sponge) and coat the jar with your mixture of paint.
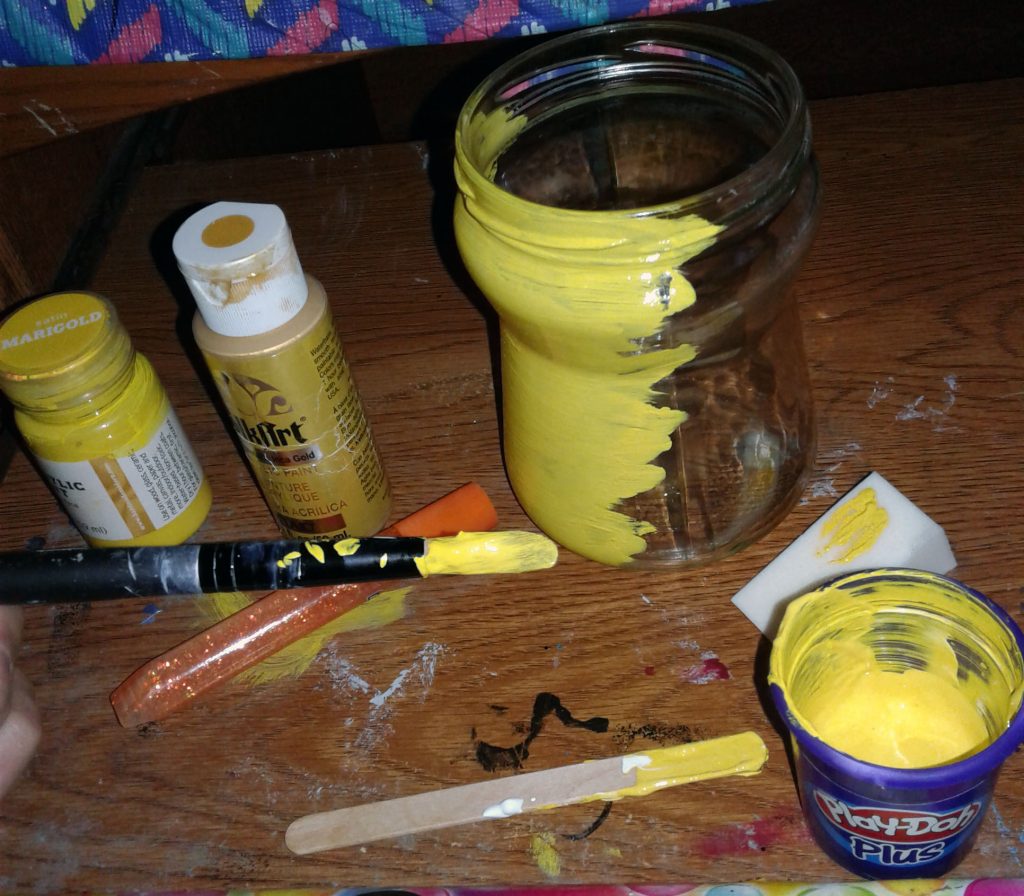
You will need to do 2-3 coats, depending on what kind of paint you prefer to use. If you would like, you could also do a thin coat of gold paint left over from your mix on top of the yellow paint once it is dried, and it will be even shiner.
Step 2: Painting Details on Pikachu
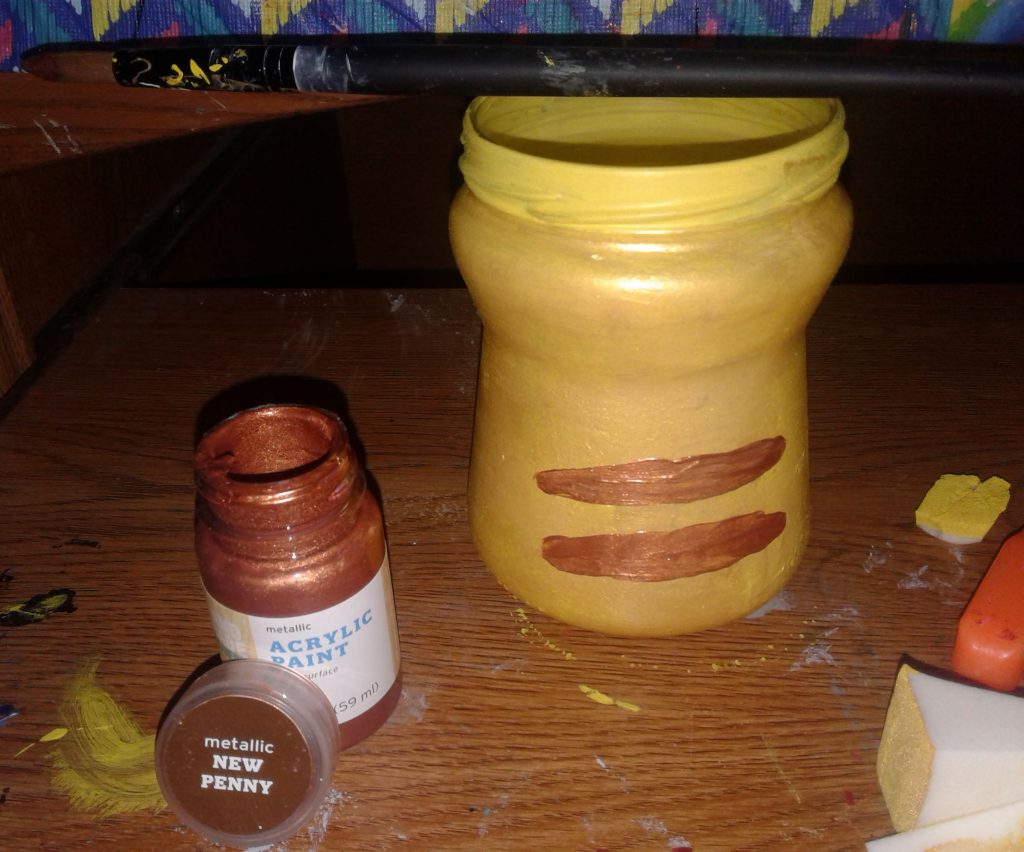
Next you will need to paint the stripes on Pikachu’s back. Take a pointed brush and in one movement, paint a line. Press harder as you go towards the middle and less on the ends. Do this twice for his back lines.
Step 3: Trace and Cut
Use a sharpie to draw Pikachu’s tail on the felt, and cut out carefully with scissors.
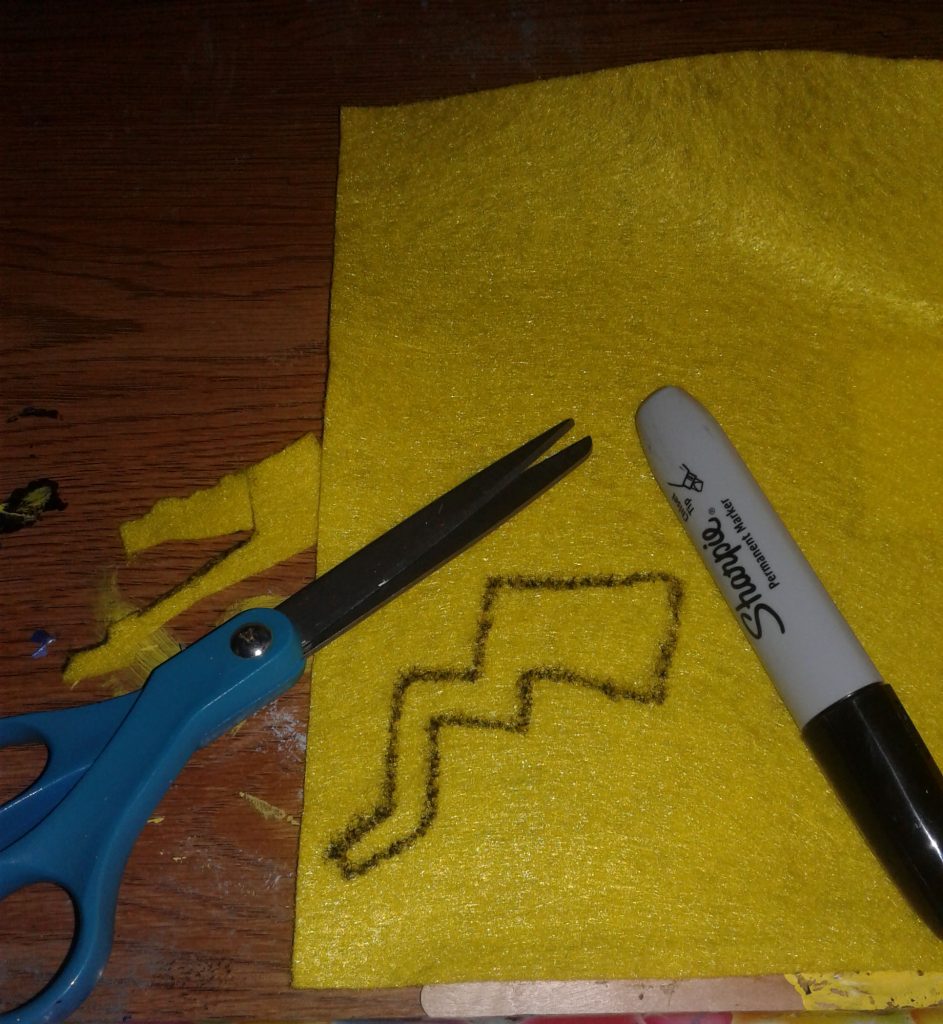
This may be easier if you use a template or search “Pikachu tail,” turn up the brightness on your device, put the felt on your phone or tablet, and vary carefully tracing. Be careful not to get Sharpie ink on your device!
Step 4: Glue
Get your hot glue gun ready! Next, we are gluing the tail onto the jar. Glue at the base, the middle, and a little at the top.
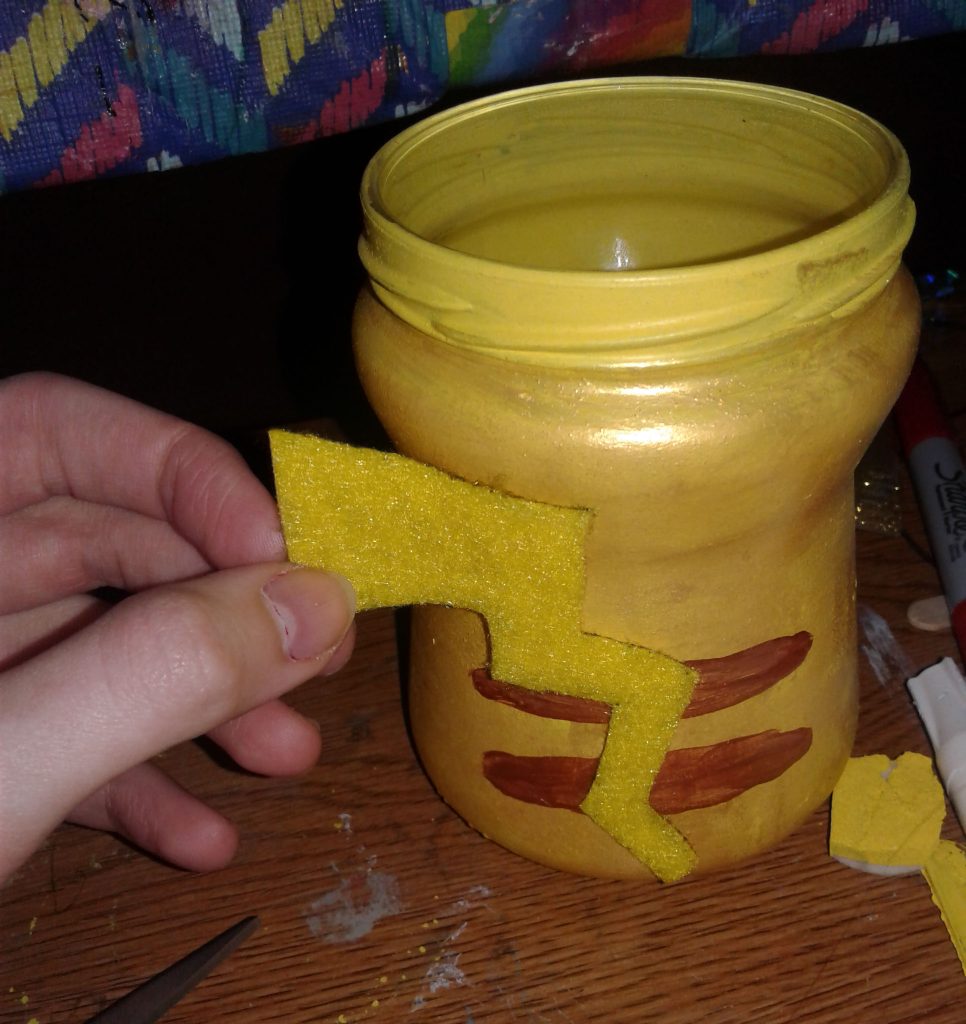
Make sure the tip of the tail is not glued down, you want that to stick out a bit.
Step 5: Final Steps
Next, draw on his face. Make sure your yellow paint is fully dry, or it could coat and ruin your sharpies. Do the eyes first, they are the trickiest. The white spot will turn grey once it is dried, so you will have to add a second coat on the white spot if you used a paint marker. After this dries, put a little copper or brown paint on the base of the tail.
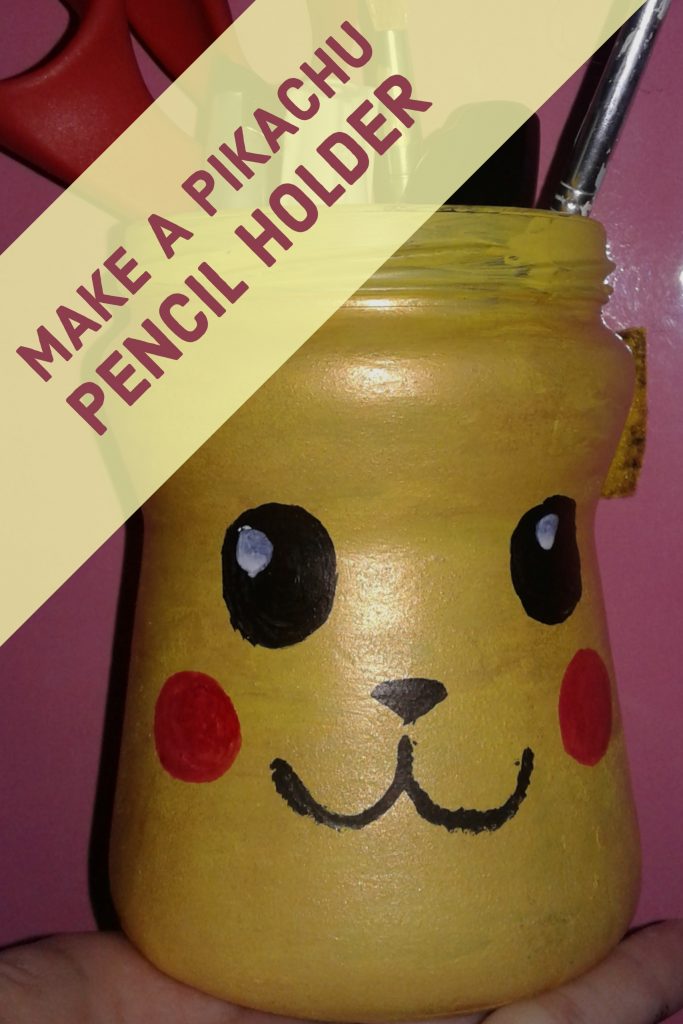
That’s it! you’re done! DO NOT VARNISH OR CLEAR COAT. The Sharpies will run and your Pikachu will be ruined!

