
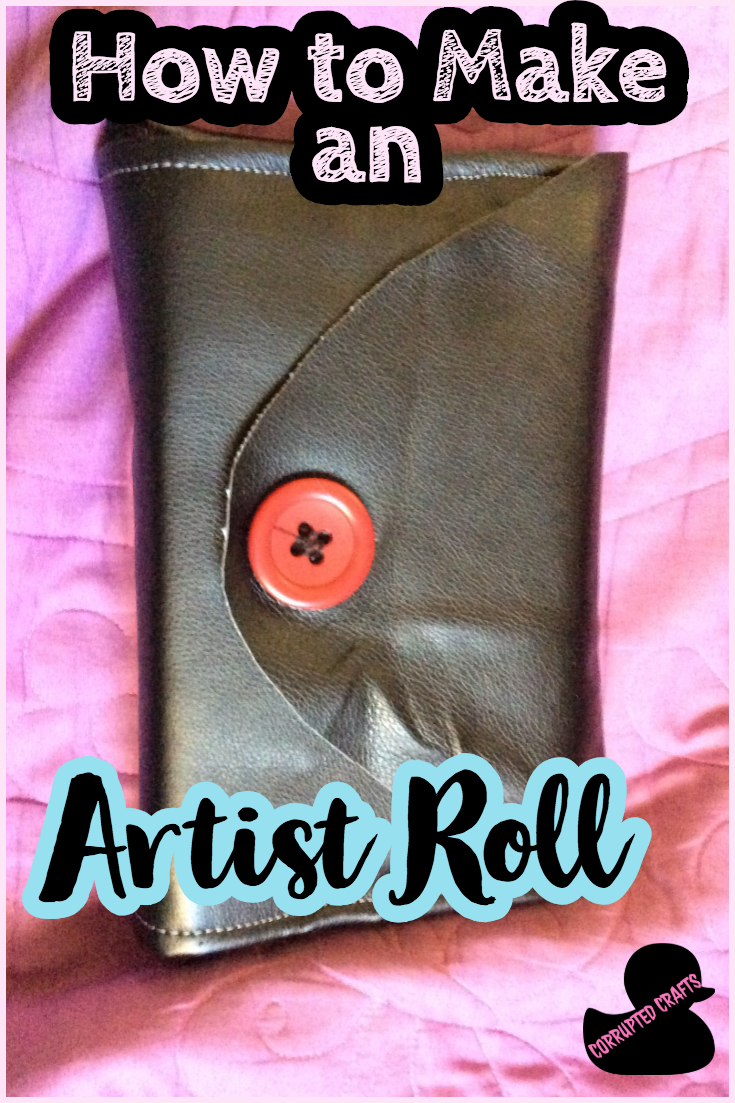
Disorganized pencils, missing markers, dull pencil sharpeners, and of course, trash cans full of rejected art attempts are all part of an artist’s life. But the clutter and chaos does not have to be such a huge problem. Gone are the days of not finding all of your stuff to take with you on a trip to draw scenery, or the struggle of your white pastel or pencil ruined by all the colors in your box. This Art Pouch is similar to that of the artist roll, or travel makeup carriers, in the way that you can quickly and easily access any of your supplies in a flash and pack them up just as well.
What you will need
- Art supplies, both loose pencils, pens, markers, etc. and art supplies in bags or tins
- Faux leather, a yard should do
- A sewing machine with a heavy duty needle
- Scissors
- Three to four hours
- Grey thread
- Seam ripper
- Scrap fabric
- Straight pins
- Quilting Clips, they do not leave holes in the faux leather
- Big button
- Needle and Thread
Making a Sort of Pattern for your Art Organizer

I was a little lacking on a pattern this time, and I chose to just lay out what I needed wrapped on the cloth with about an inch of space in between. This method seemed effective, as long as everything in the wrap is very straight.
Testing the Sewing Machine
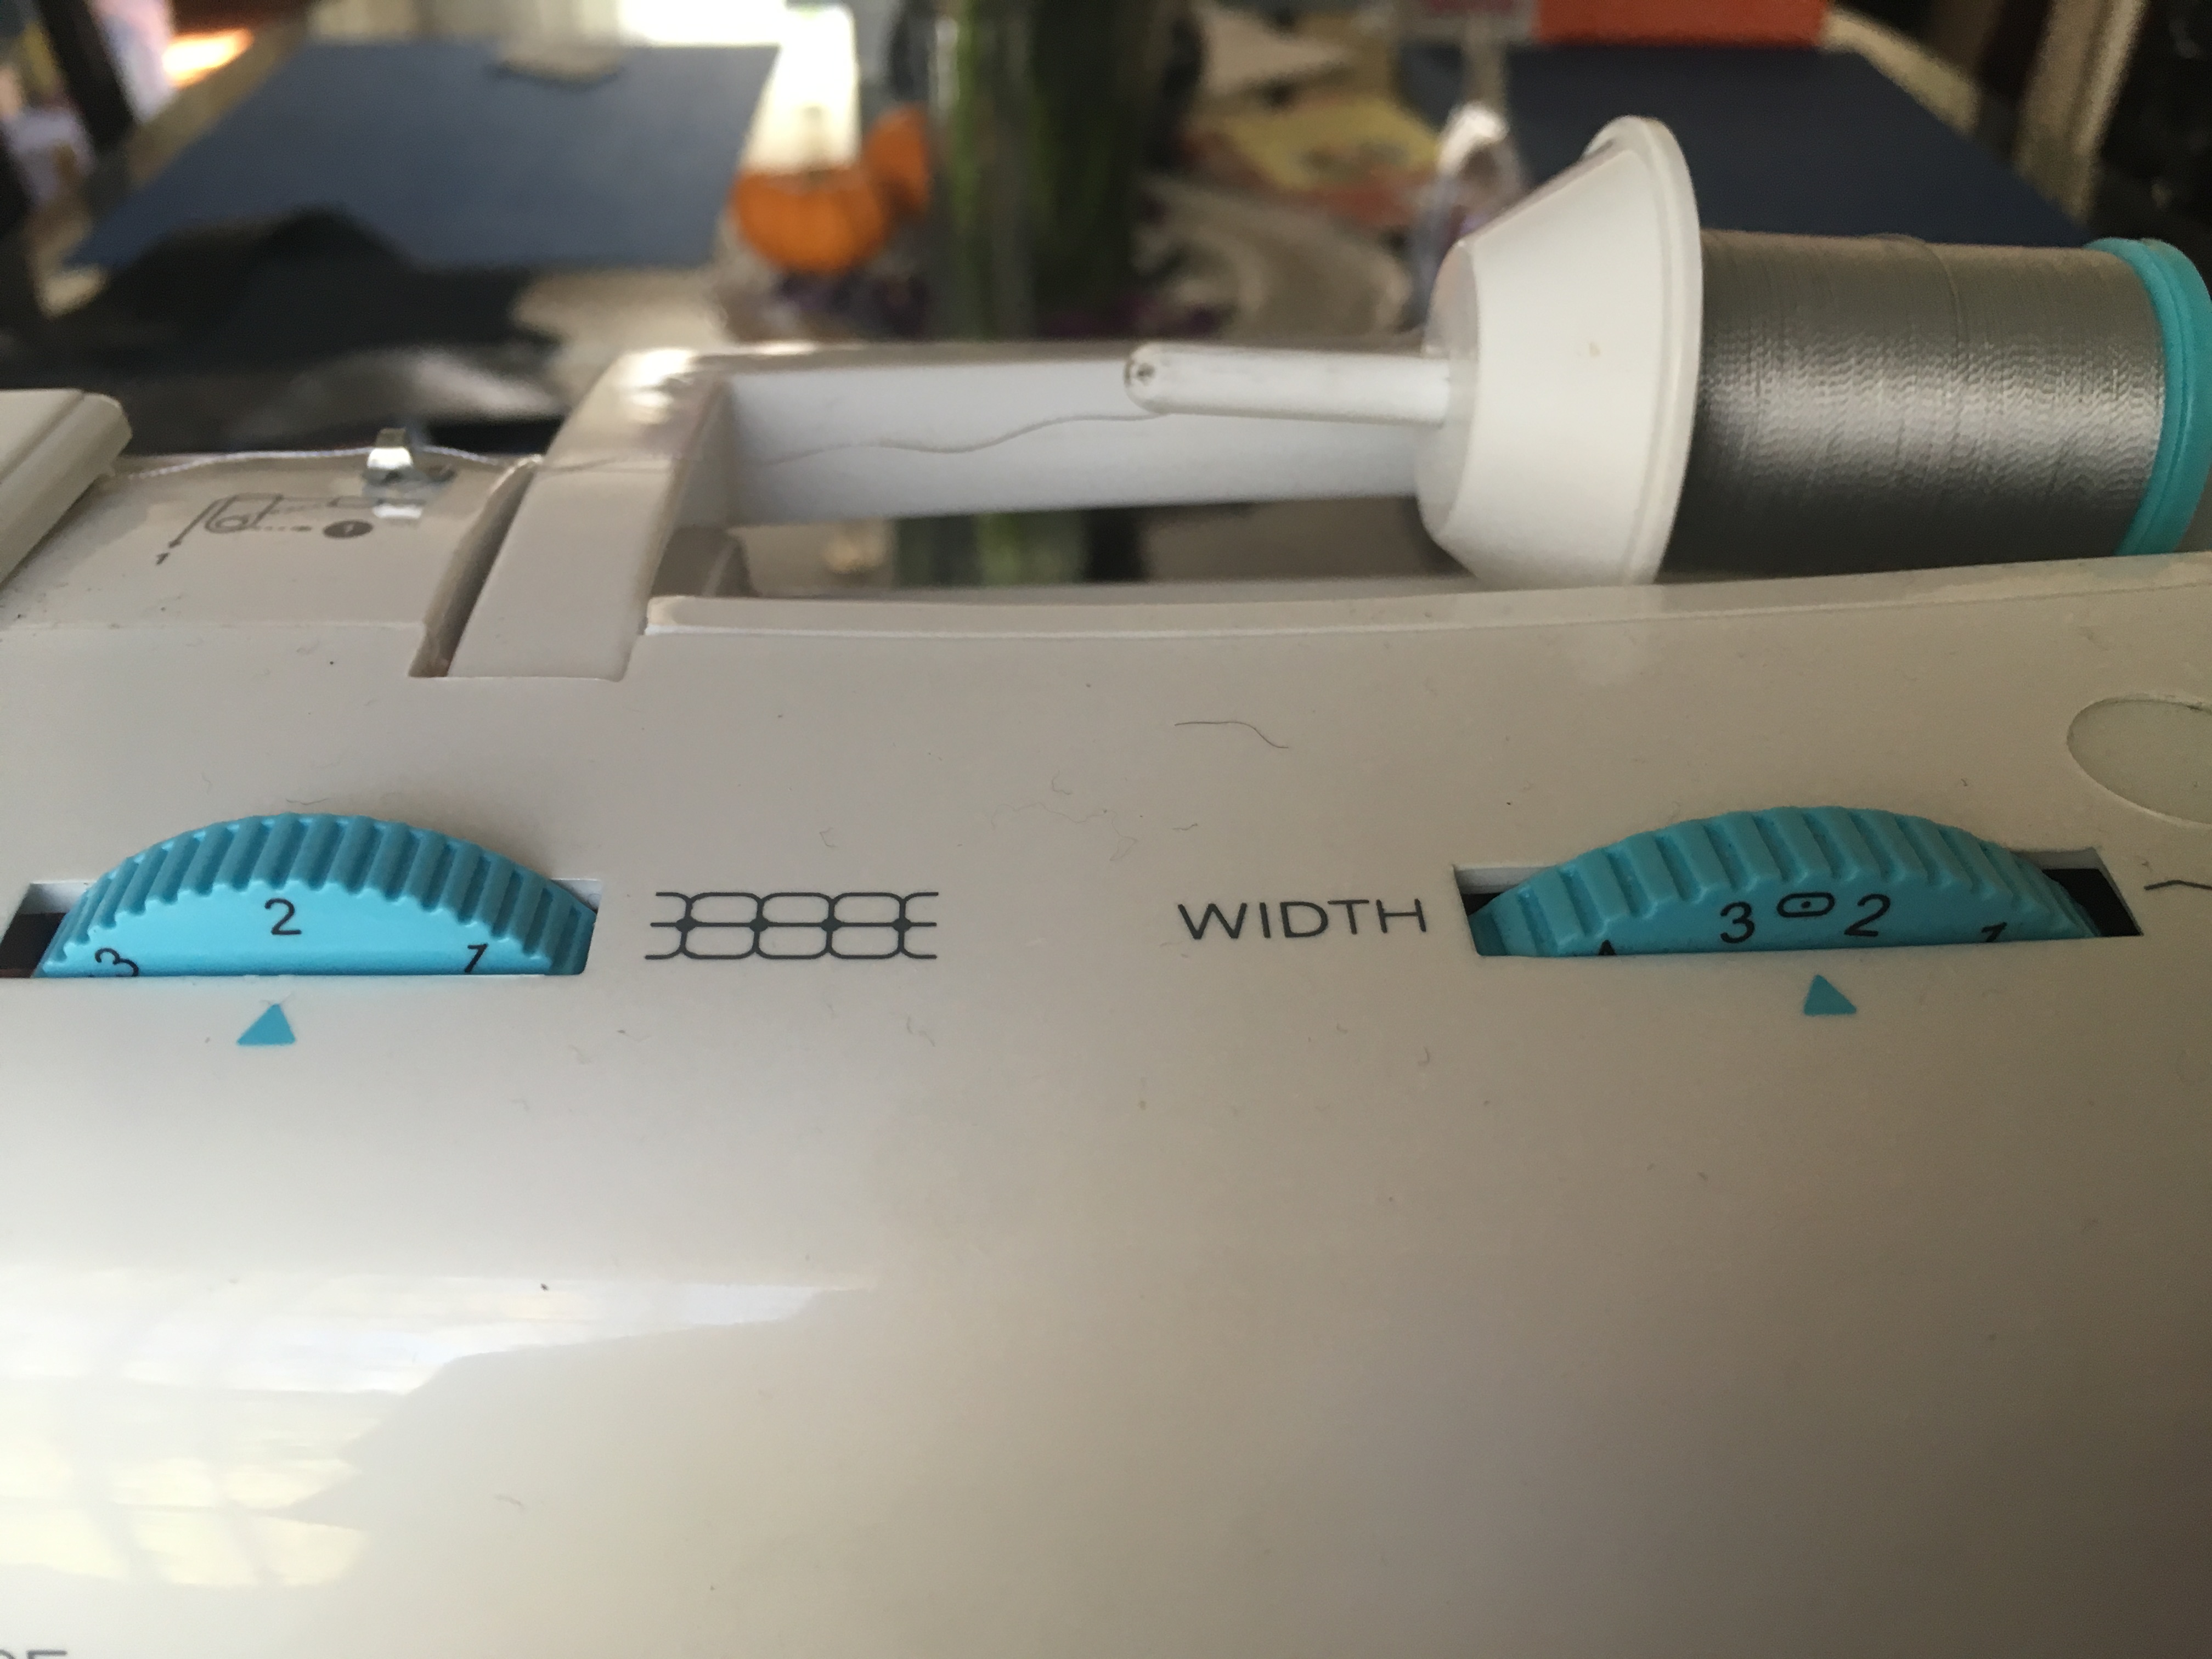
To test my sewing machine, I first used a piece of scrap cloth to test that it worked. After I knew it worked on a normal fabric, I doubled over the fake leather and ran a line of stitches, adjusting the tension and the stitch length as needed. I used a plain straight stitch for all of the work on this artist roll.
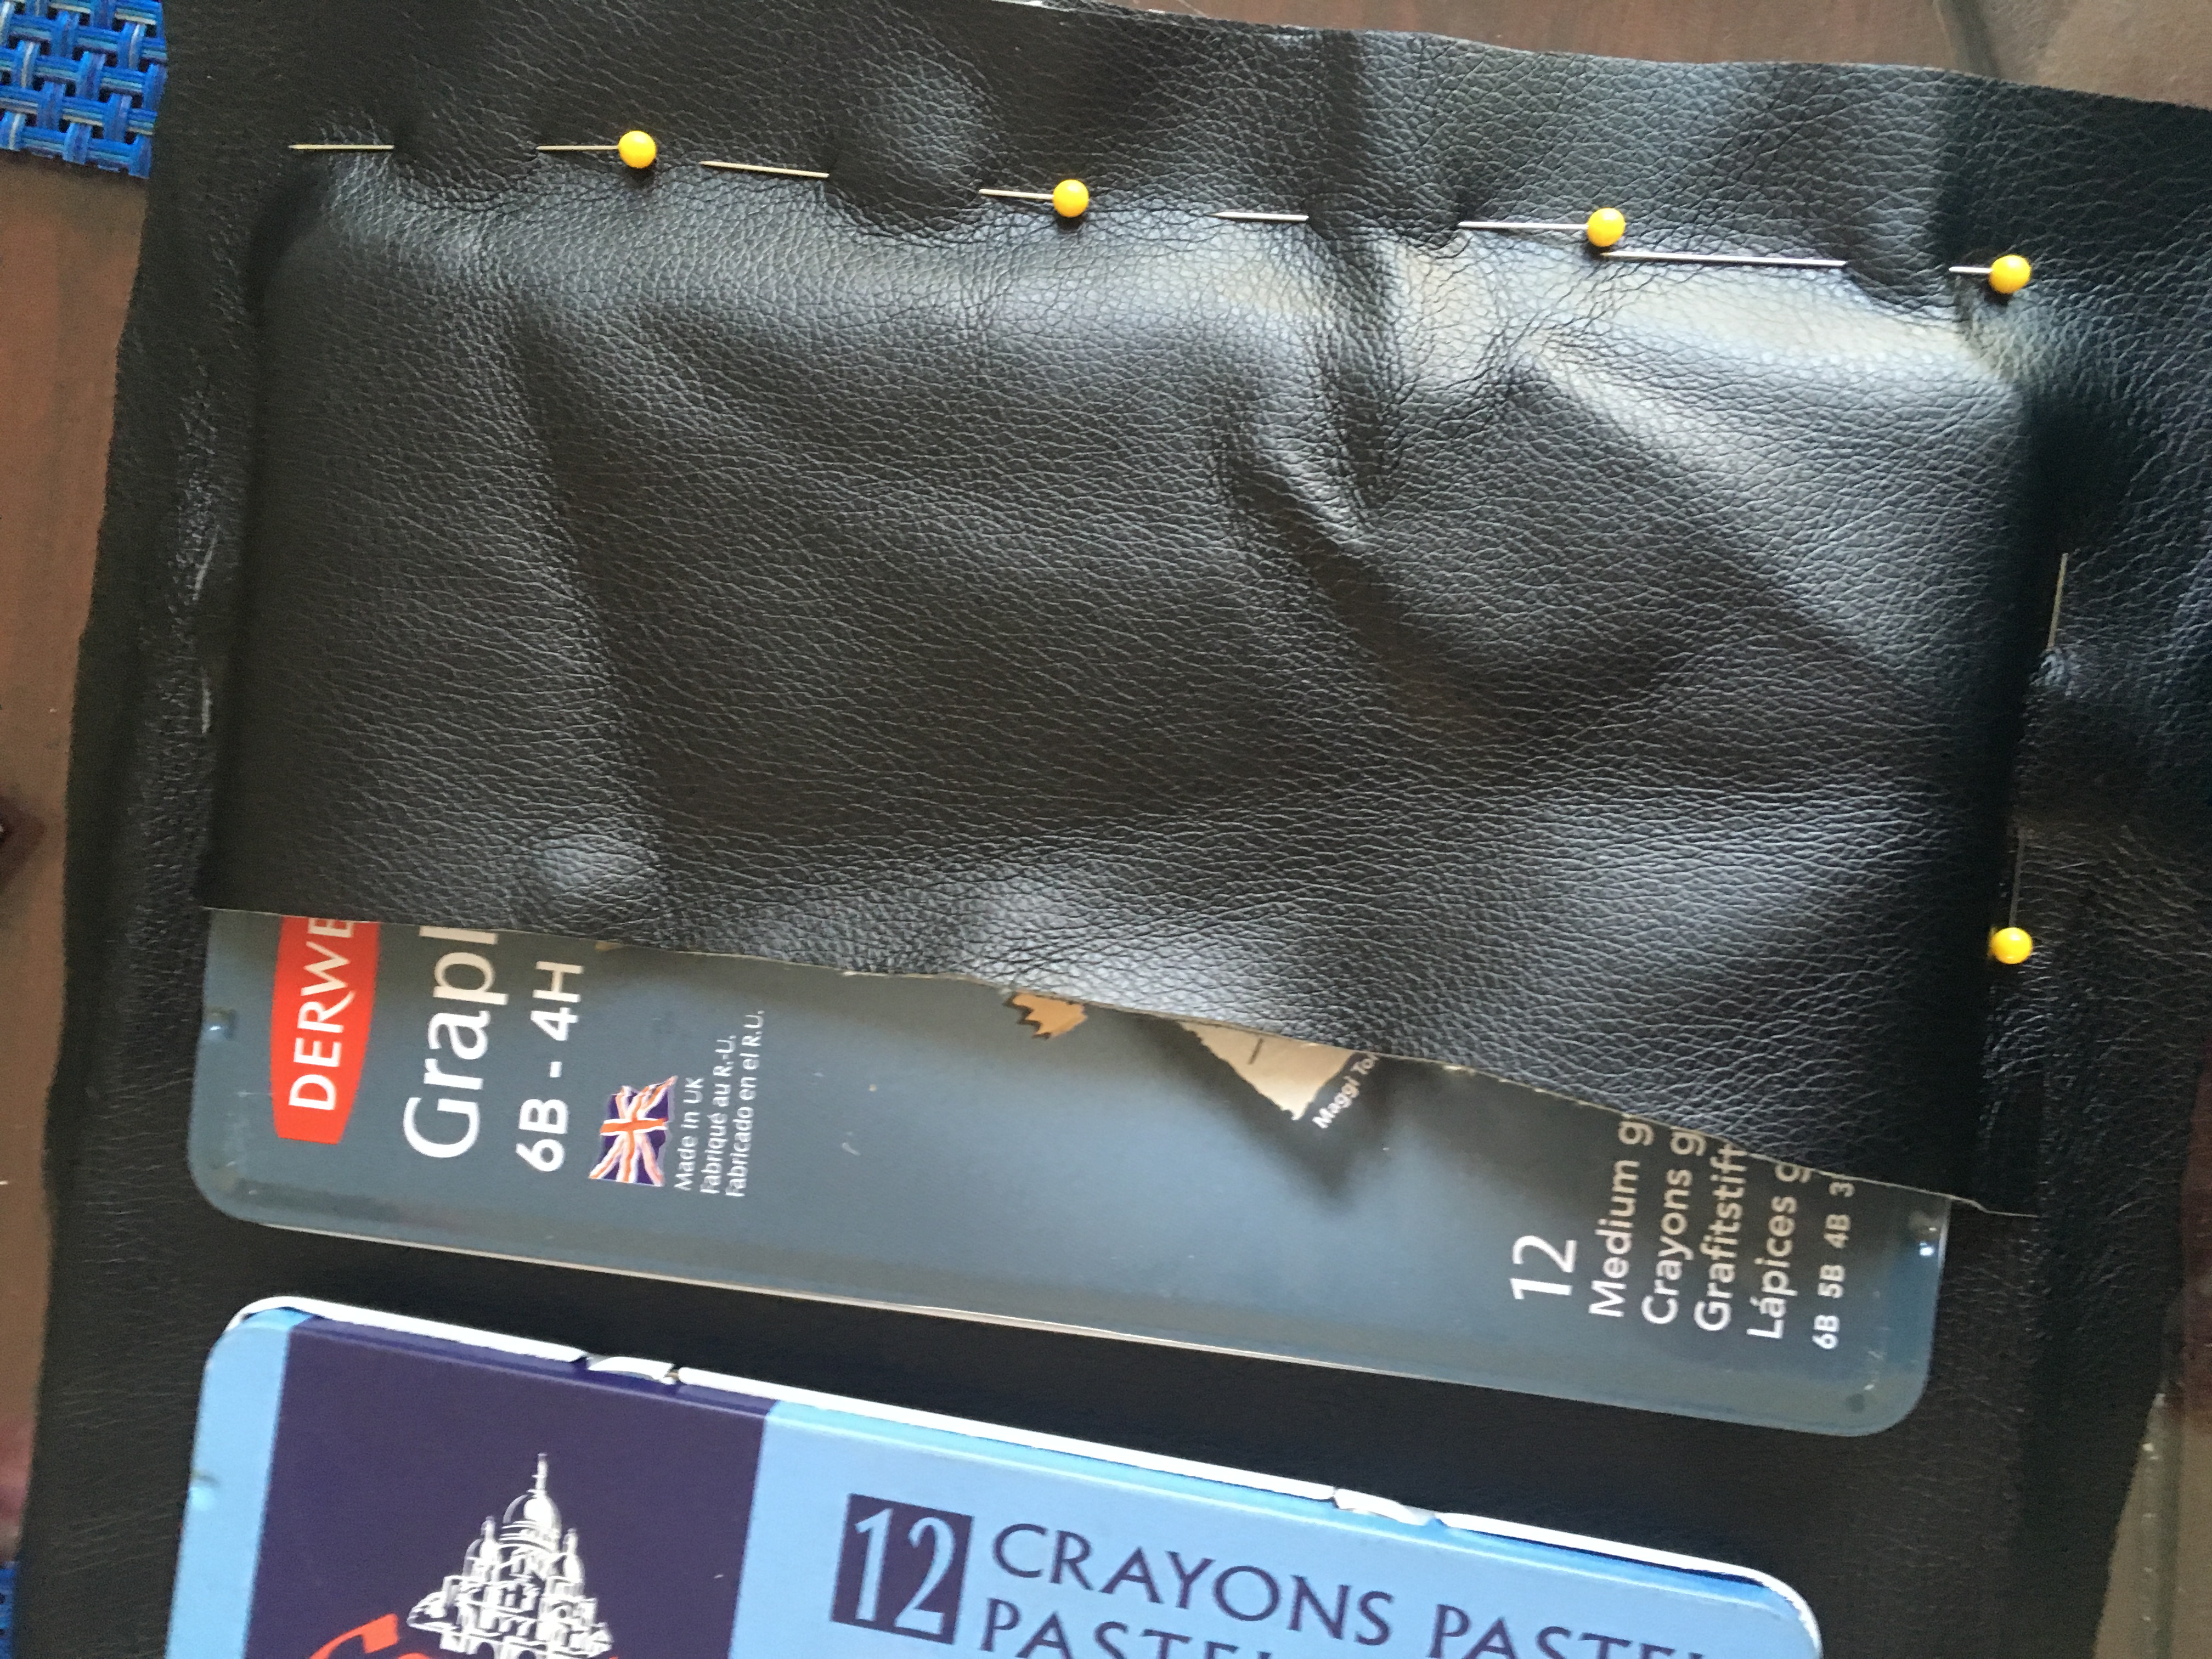
Cutting the Inside Piece
Once the machine is up and running, use a pair of scissors to cut around the row of loose supplies and the tins. Leave about an inch of wiggle room if possible.
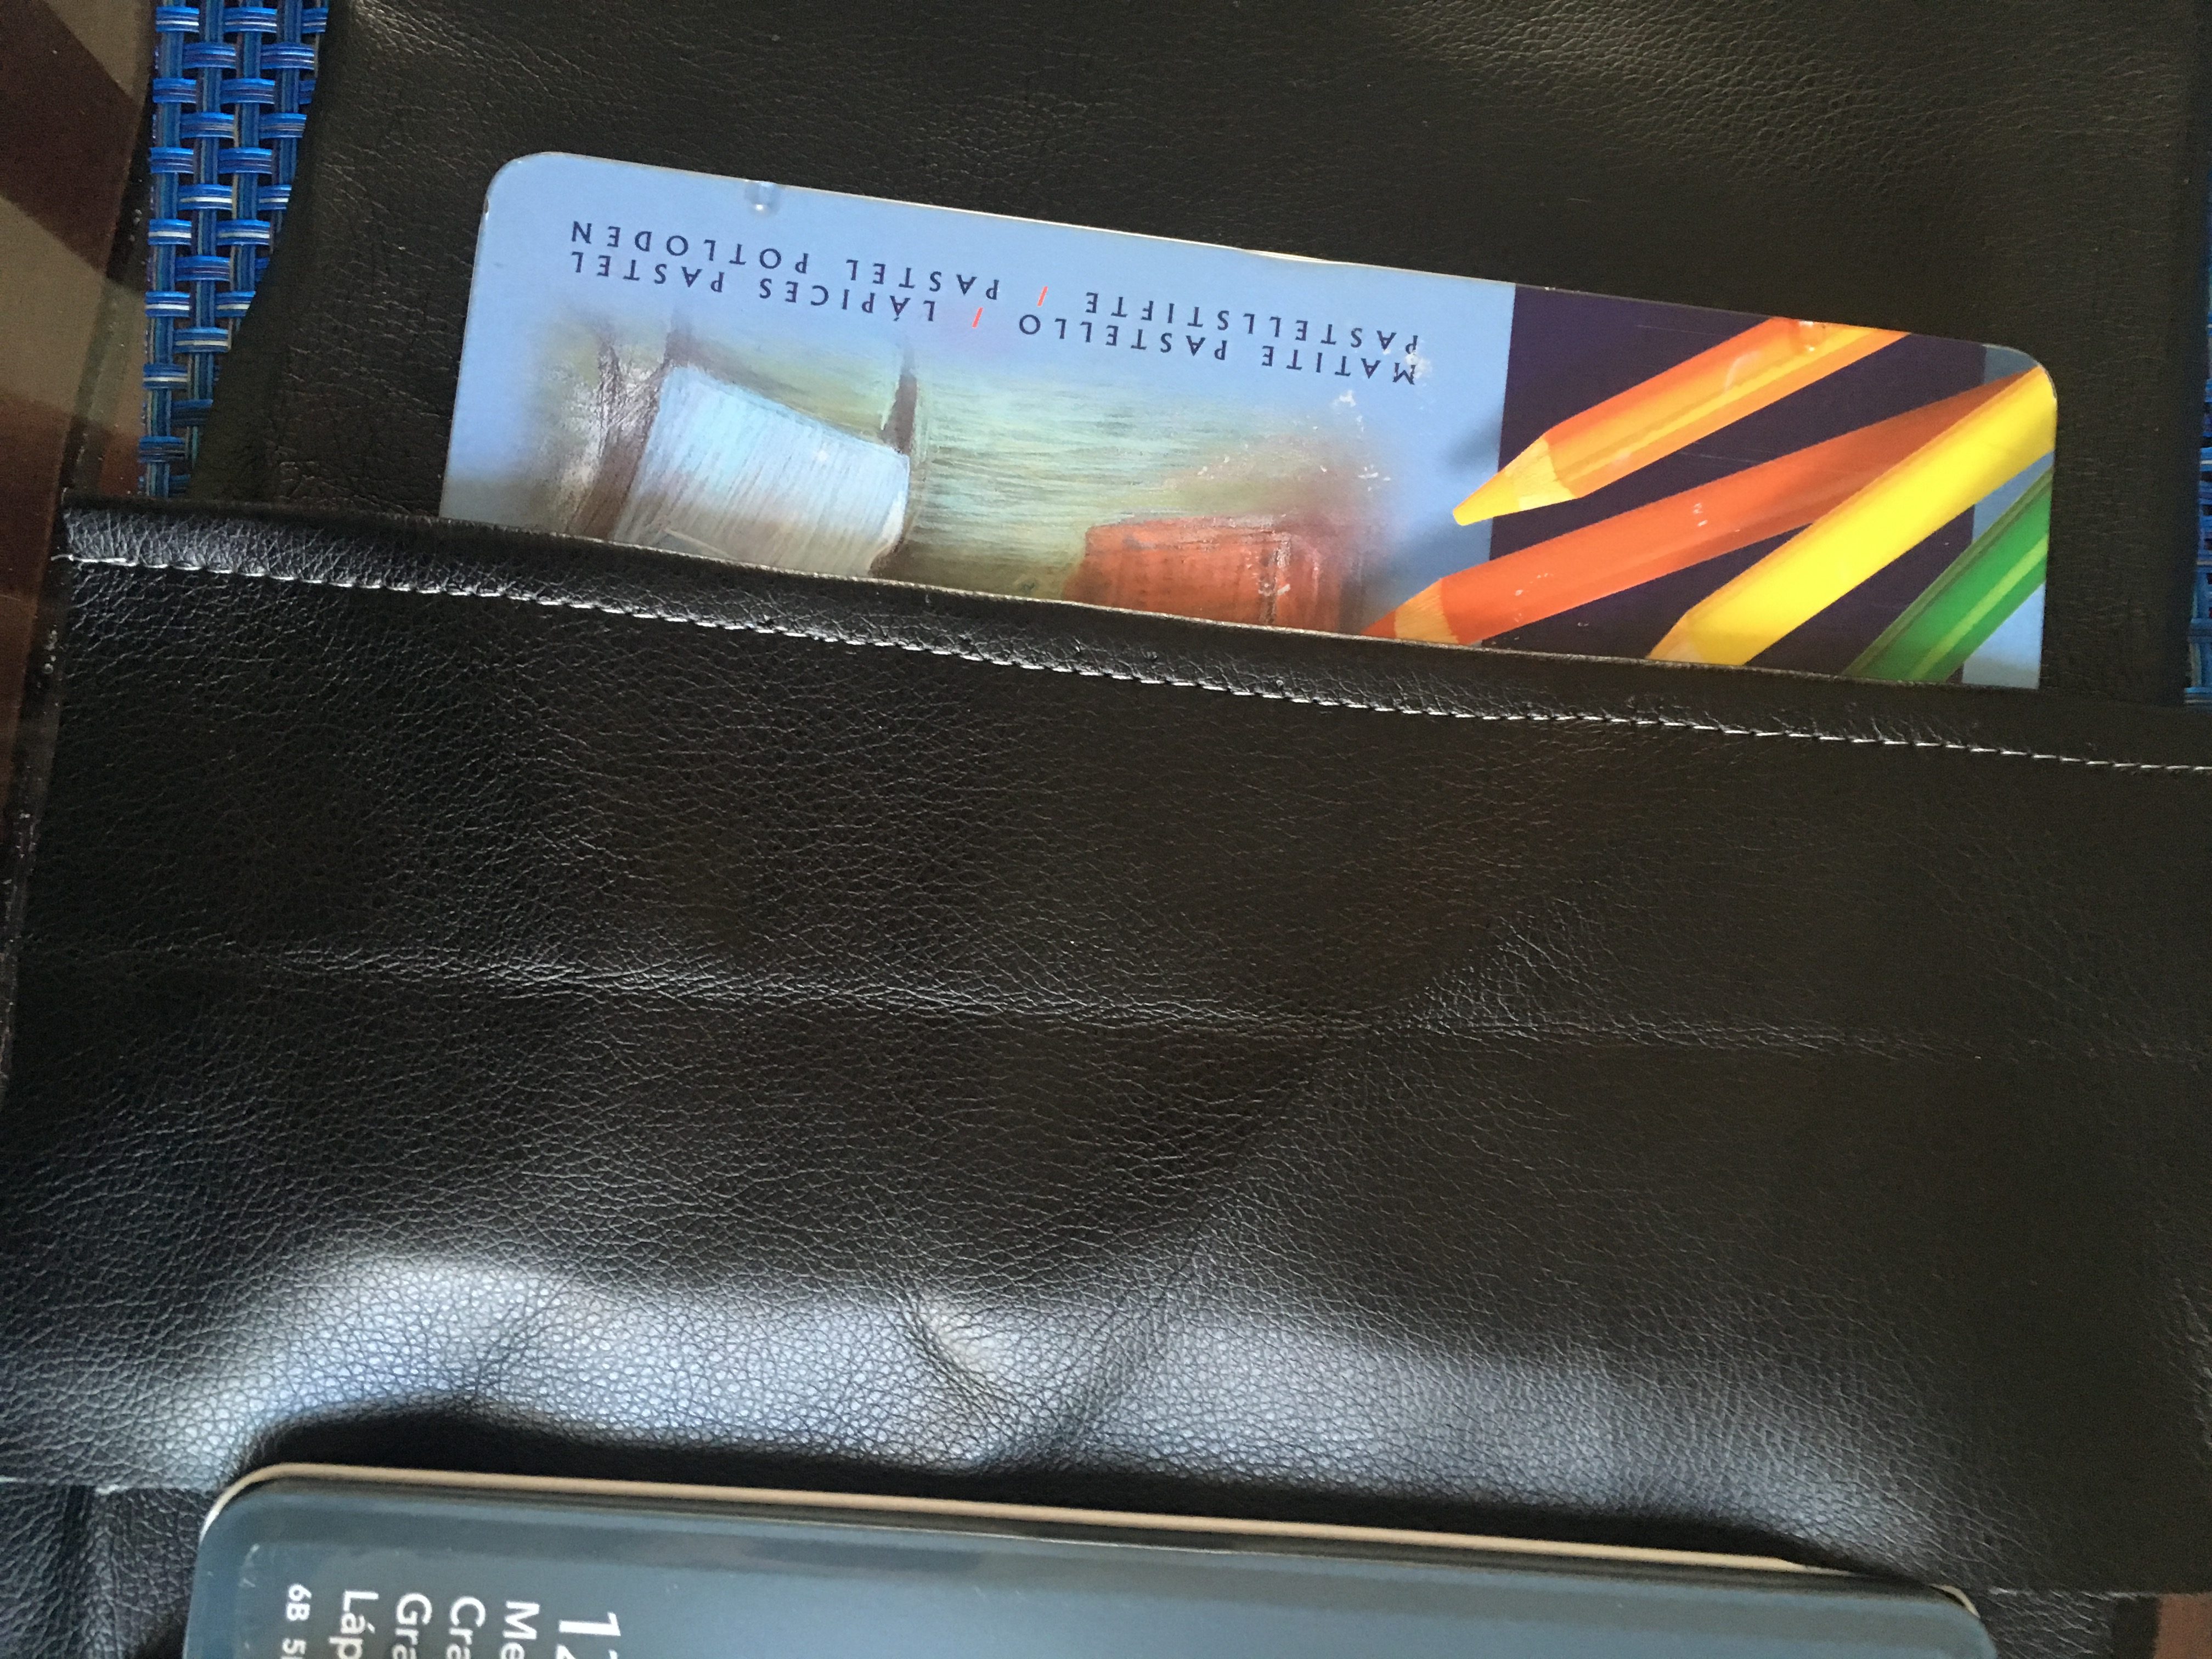
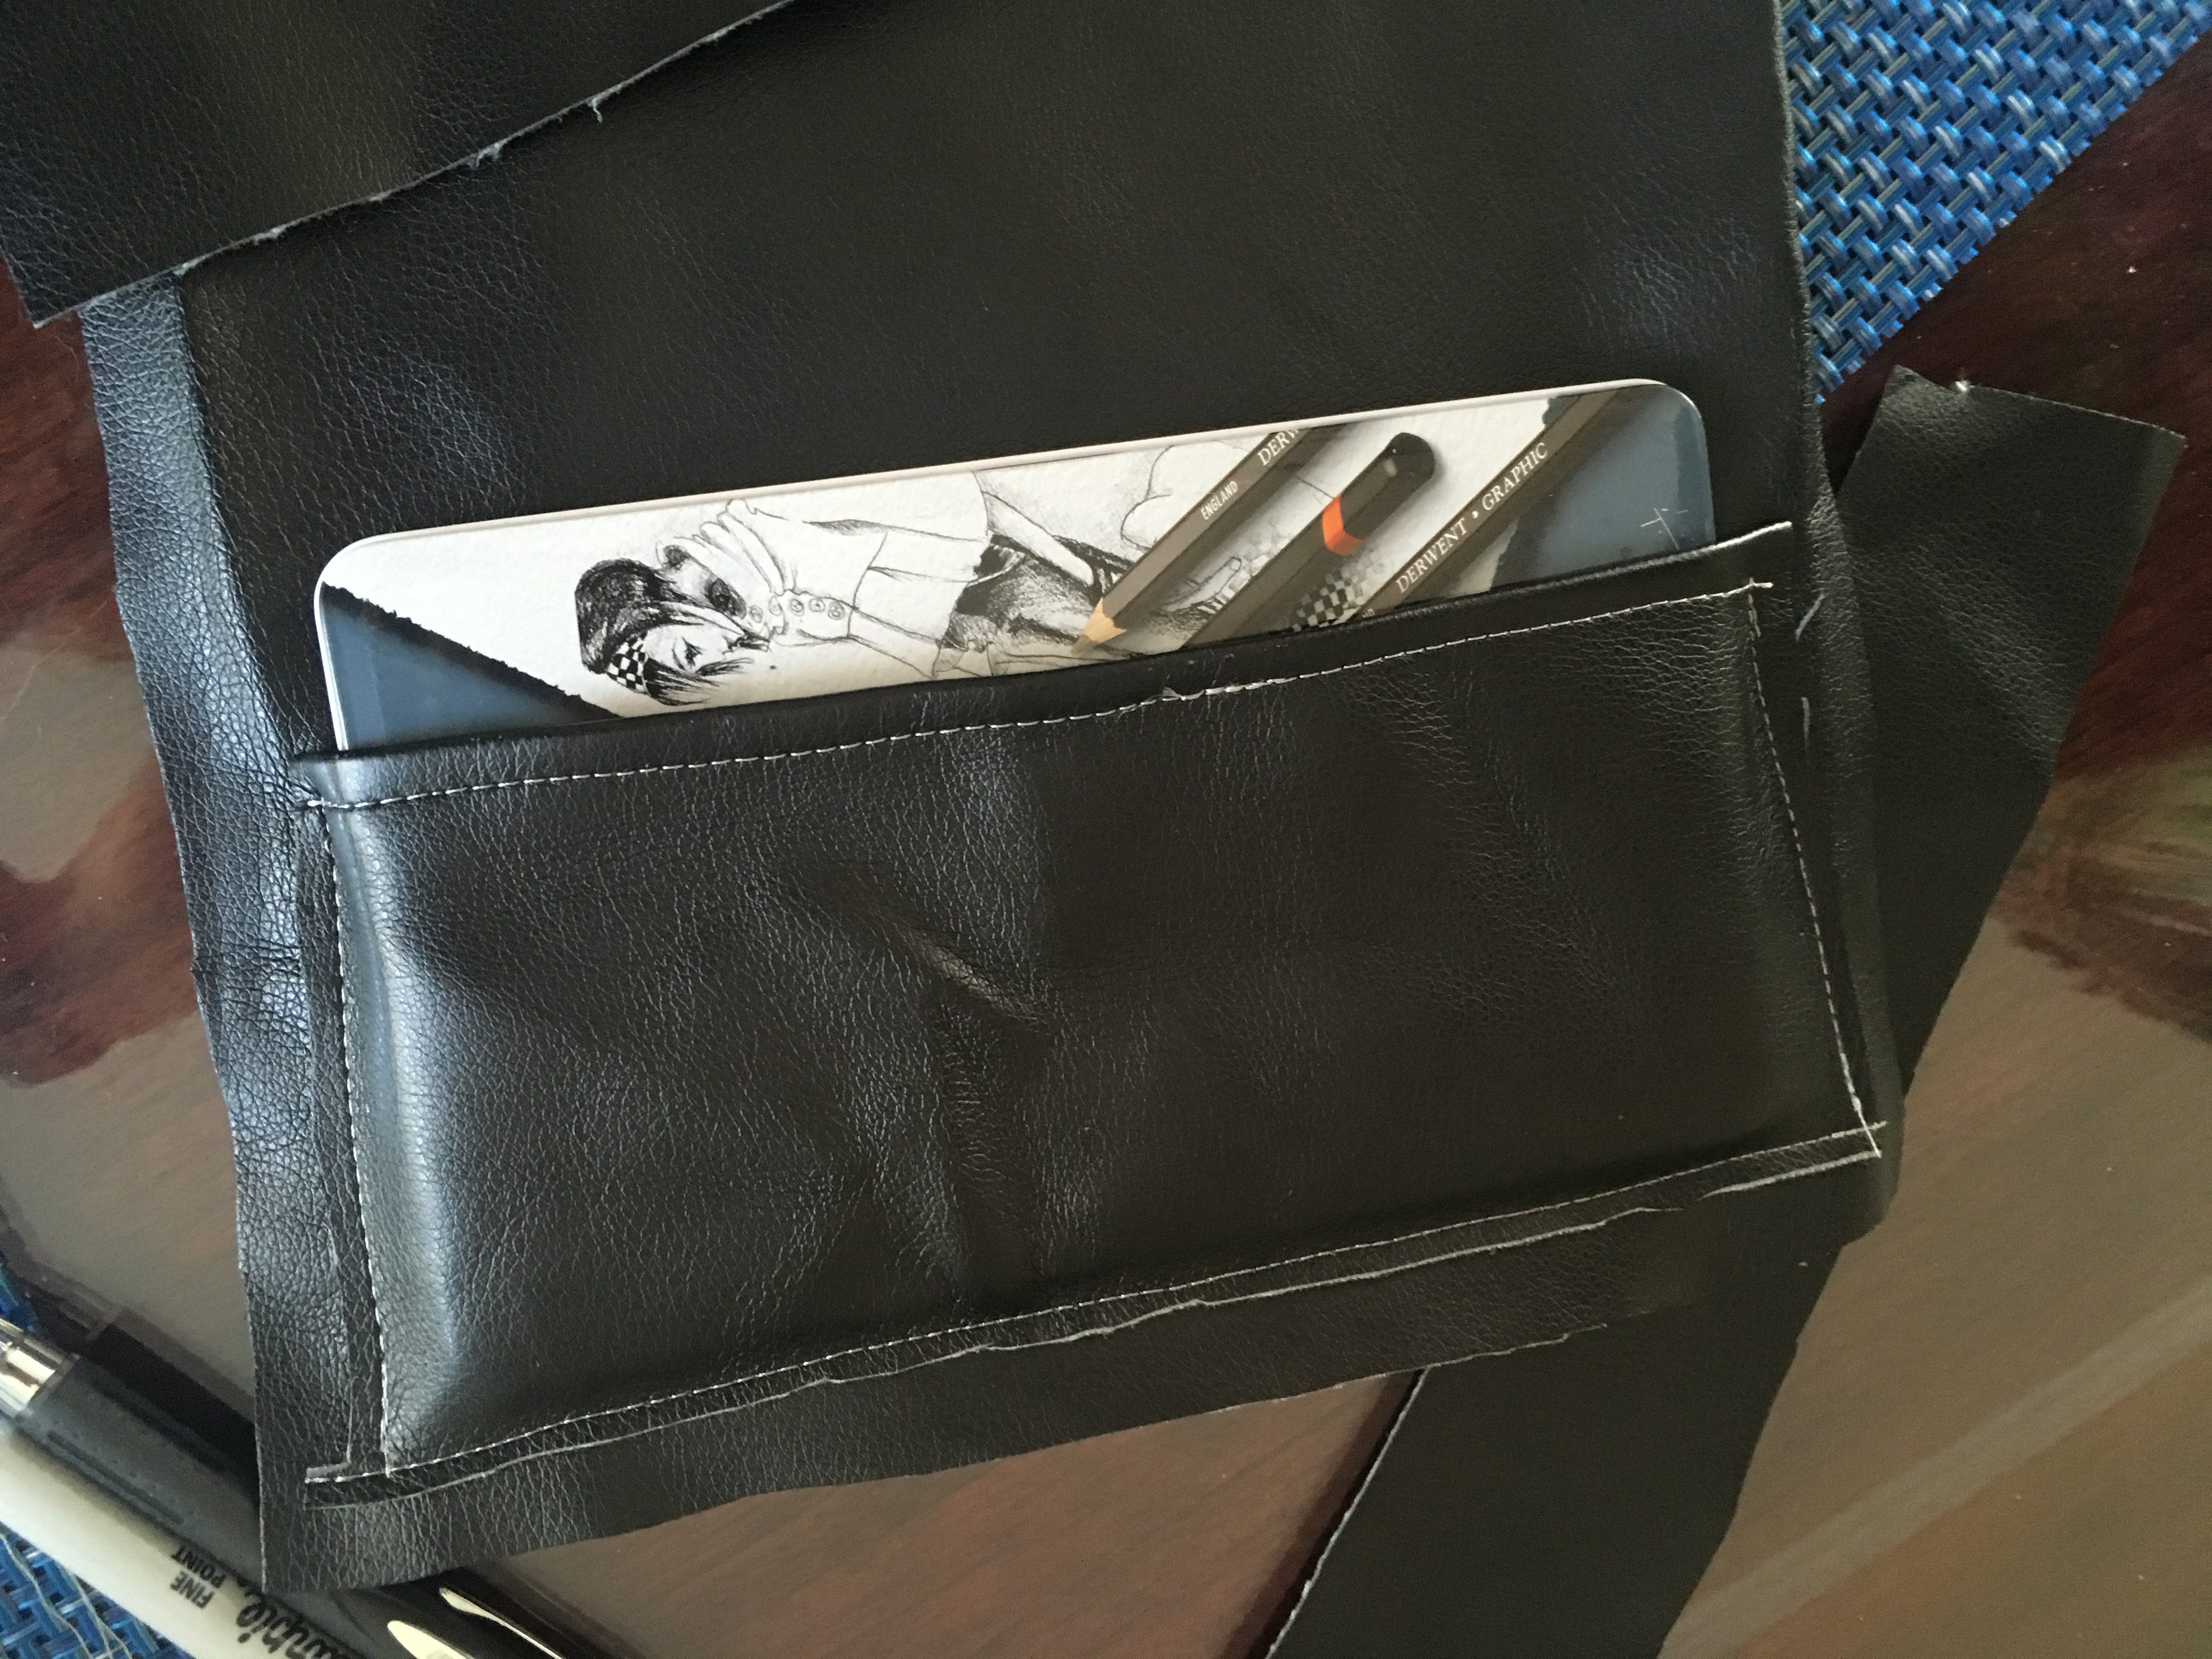
Cutting out the Pockets of the Art Roll
The pockets need to be snug on the tin but the tins still need to slide out easily. Cut out about the right size for the tin with a quarter inch seam allowance, and the edge of the pocket poking up a little.
Making the Edge of the Pockets Pretty
Fold over the top edge of the pockets you cut out and sew a line of straight stitches all the way over, a quarter inch down. This will make the pouch look much more professional.
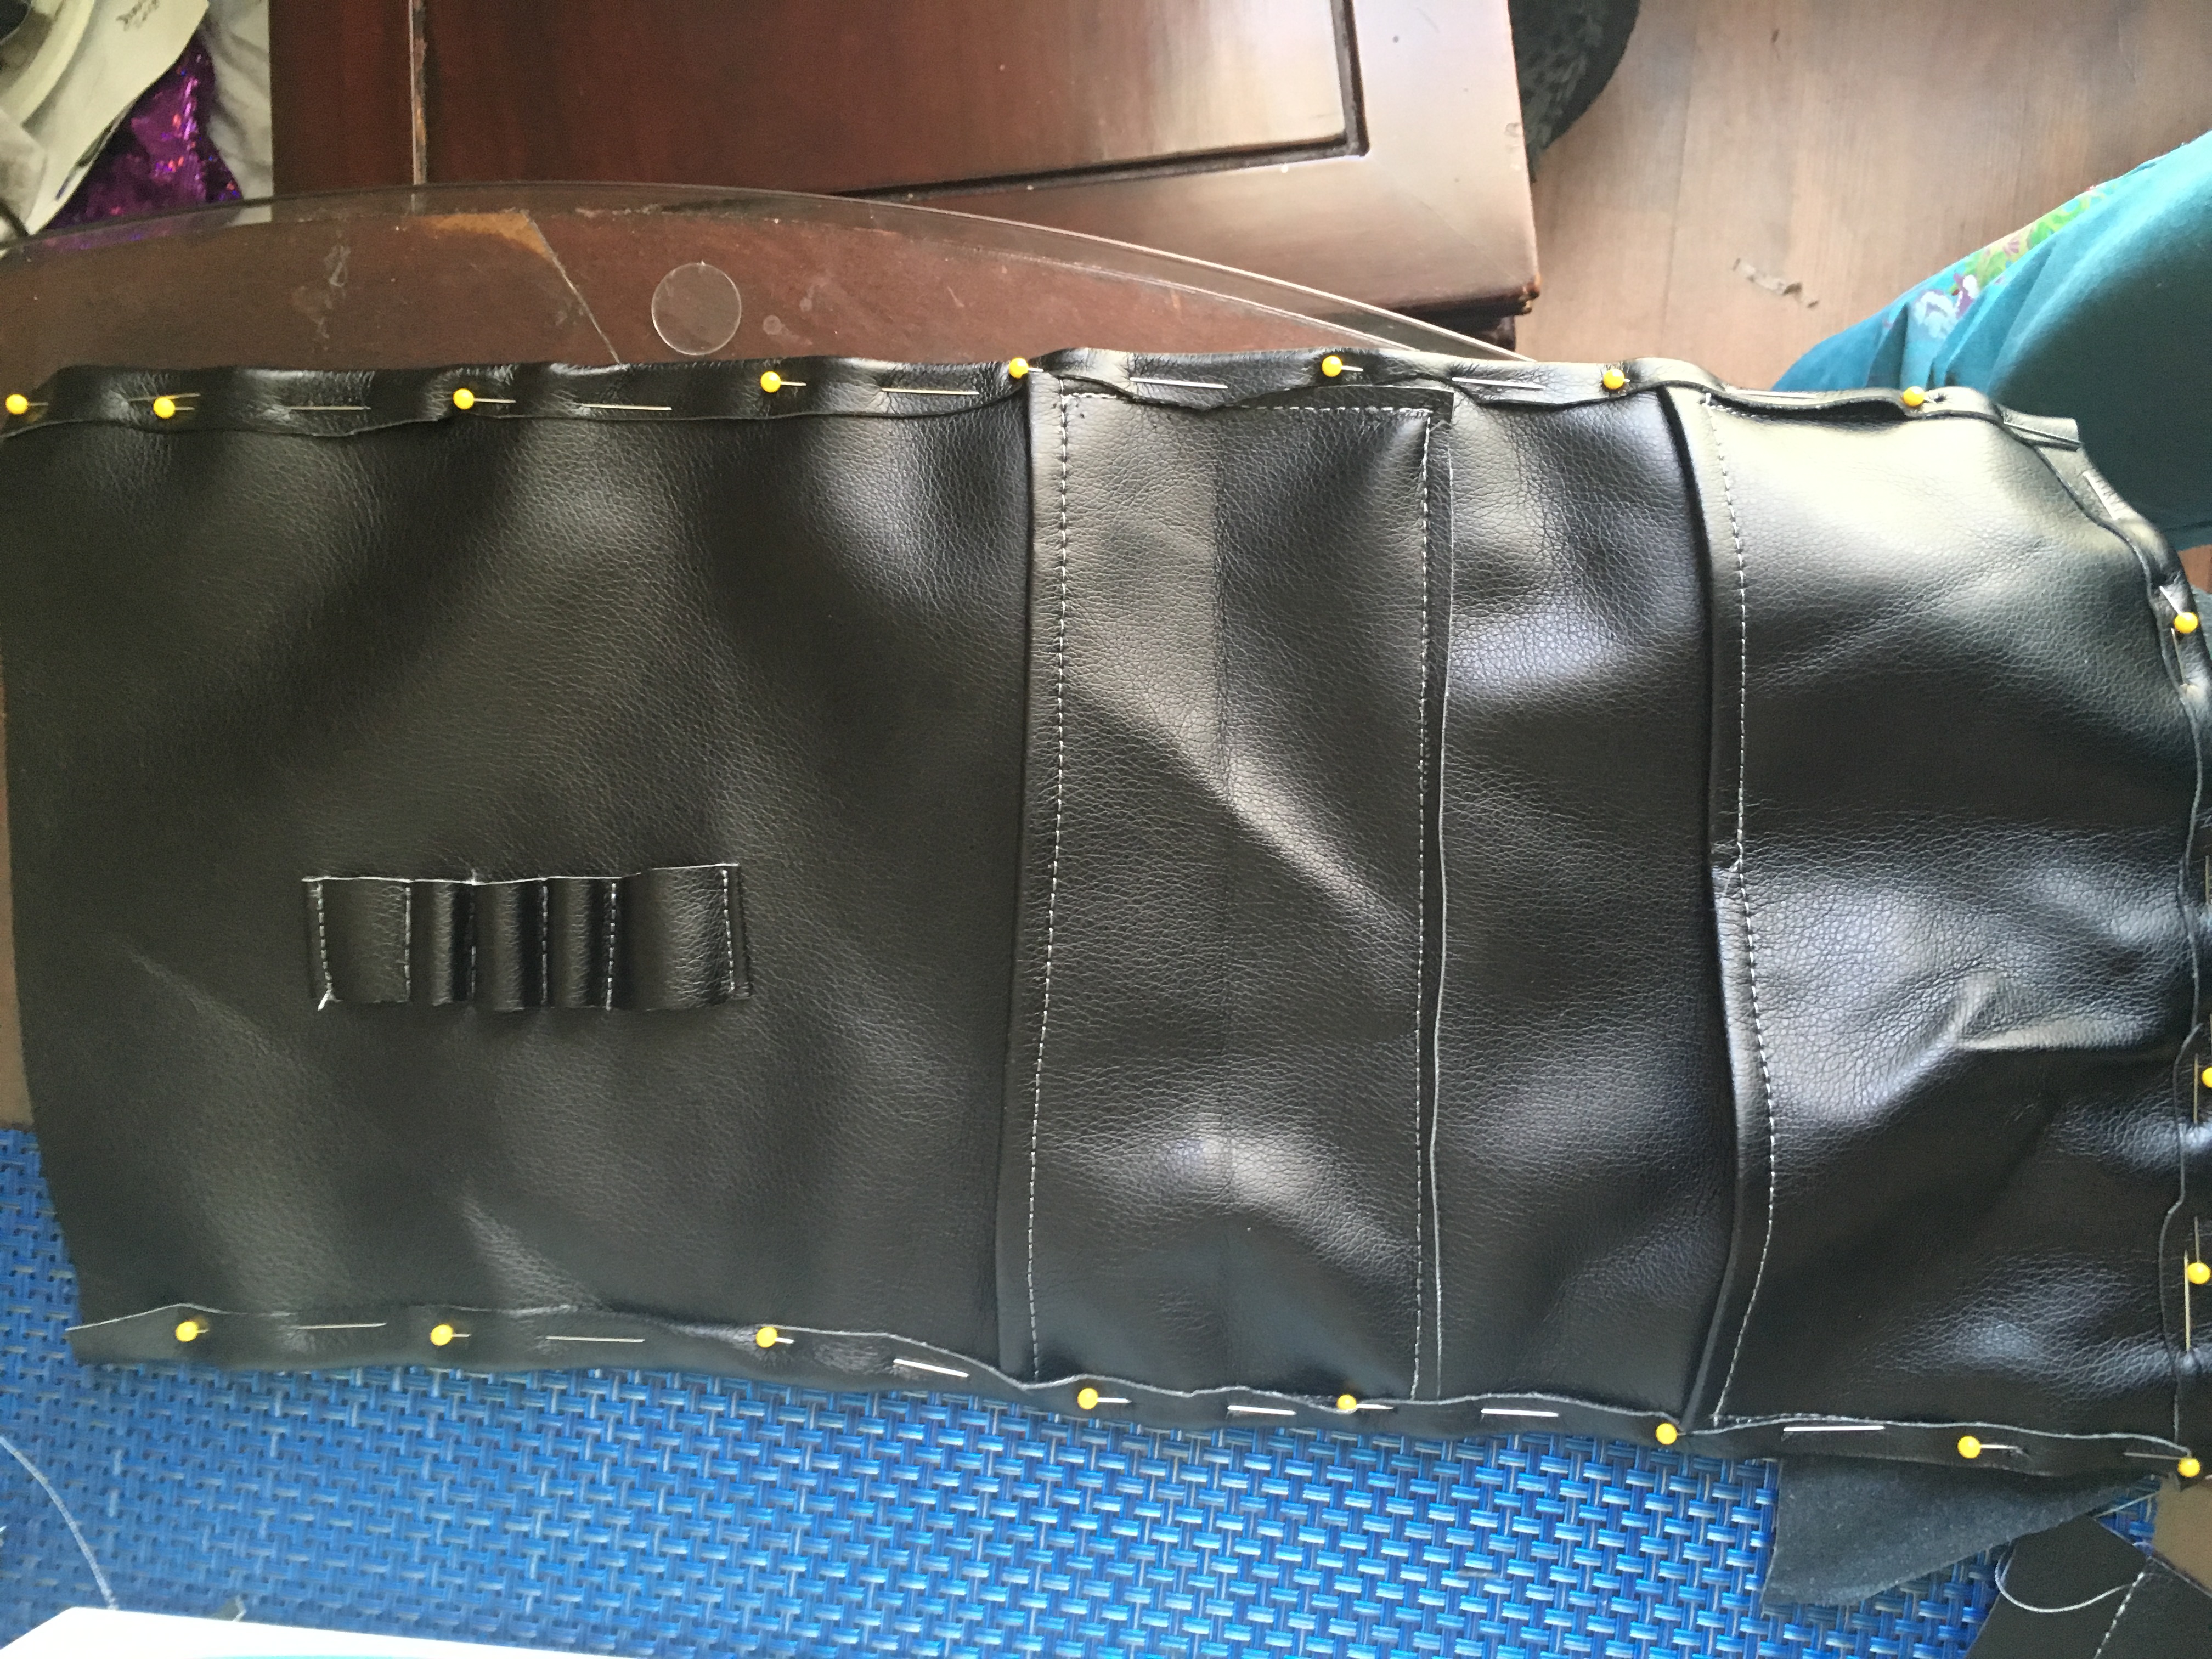
Pinning the Pockets to the Base of the Pencil Organizer Case
When pinning the pockets, remember to keep the tin in place and pin very snugly around the tin. Make sure the tin is straight, so it won’t fall out. Leave an inch of space between the pockets to allow room for folding the bag. Take the tin out after the pins are in place, and do not worry about the holes left behind as the stitches will cover that.
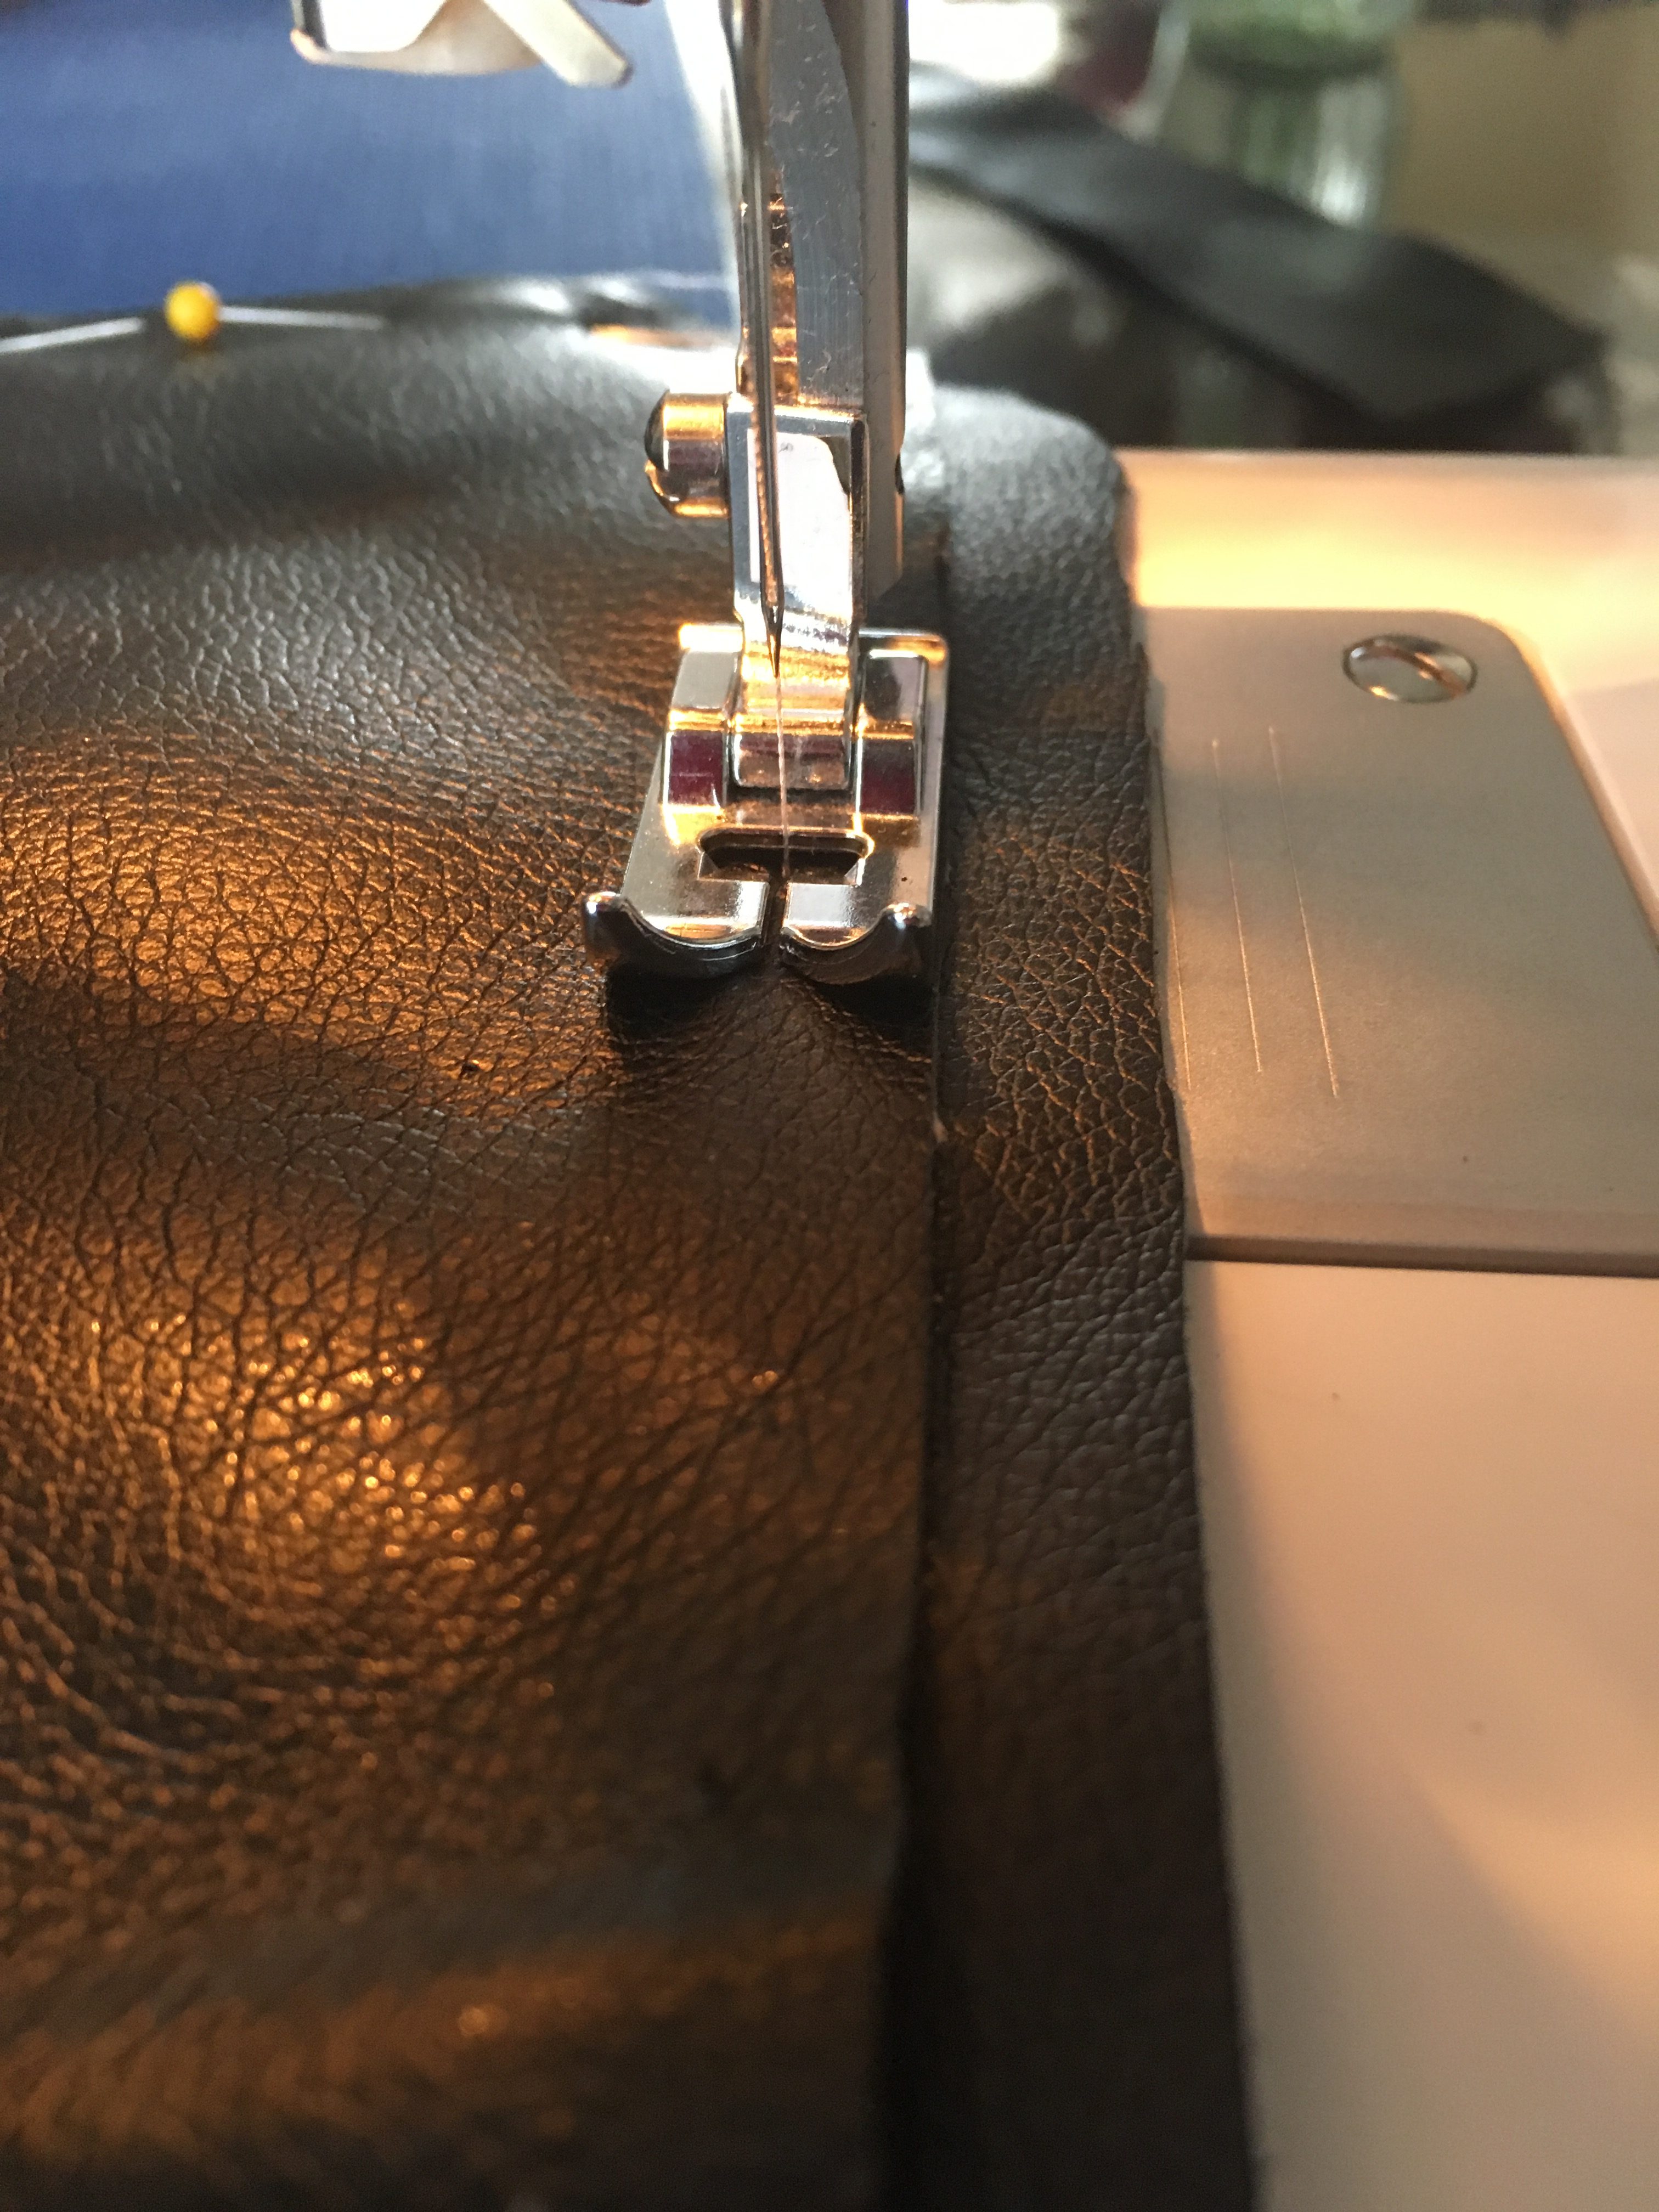
Sewing a Straight Line
Sew three lines per pocket, one on the base and one on each side. Reinforce corners as needed for durability.
Making Sure the Stuff Fits
Once the pockets are in place, put the tins in the pockets to make sure they fit. If you have to backtrack, be very careful not to hurt the fabric with the seam ripper.
Trimming Excess Fabric from the Art Pouch
The excess fabric along the outsides of the pockets can be trimmed with little scissors down to about a sixth of an inch from the stitches. Try to cut the line as straight as you can, so the pouch does not have snaggly cloth.
Evening out the Sides
If your edges on the outside of the art roll are not even, trim the edges so that the back piece will fit much better with less problems.
Making the Loops for the Pencils
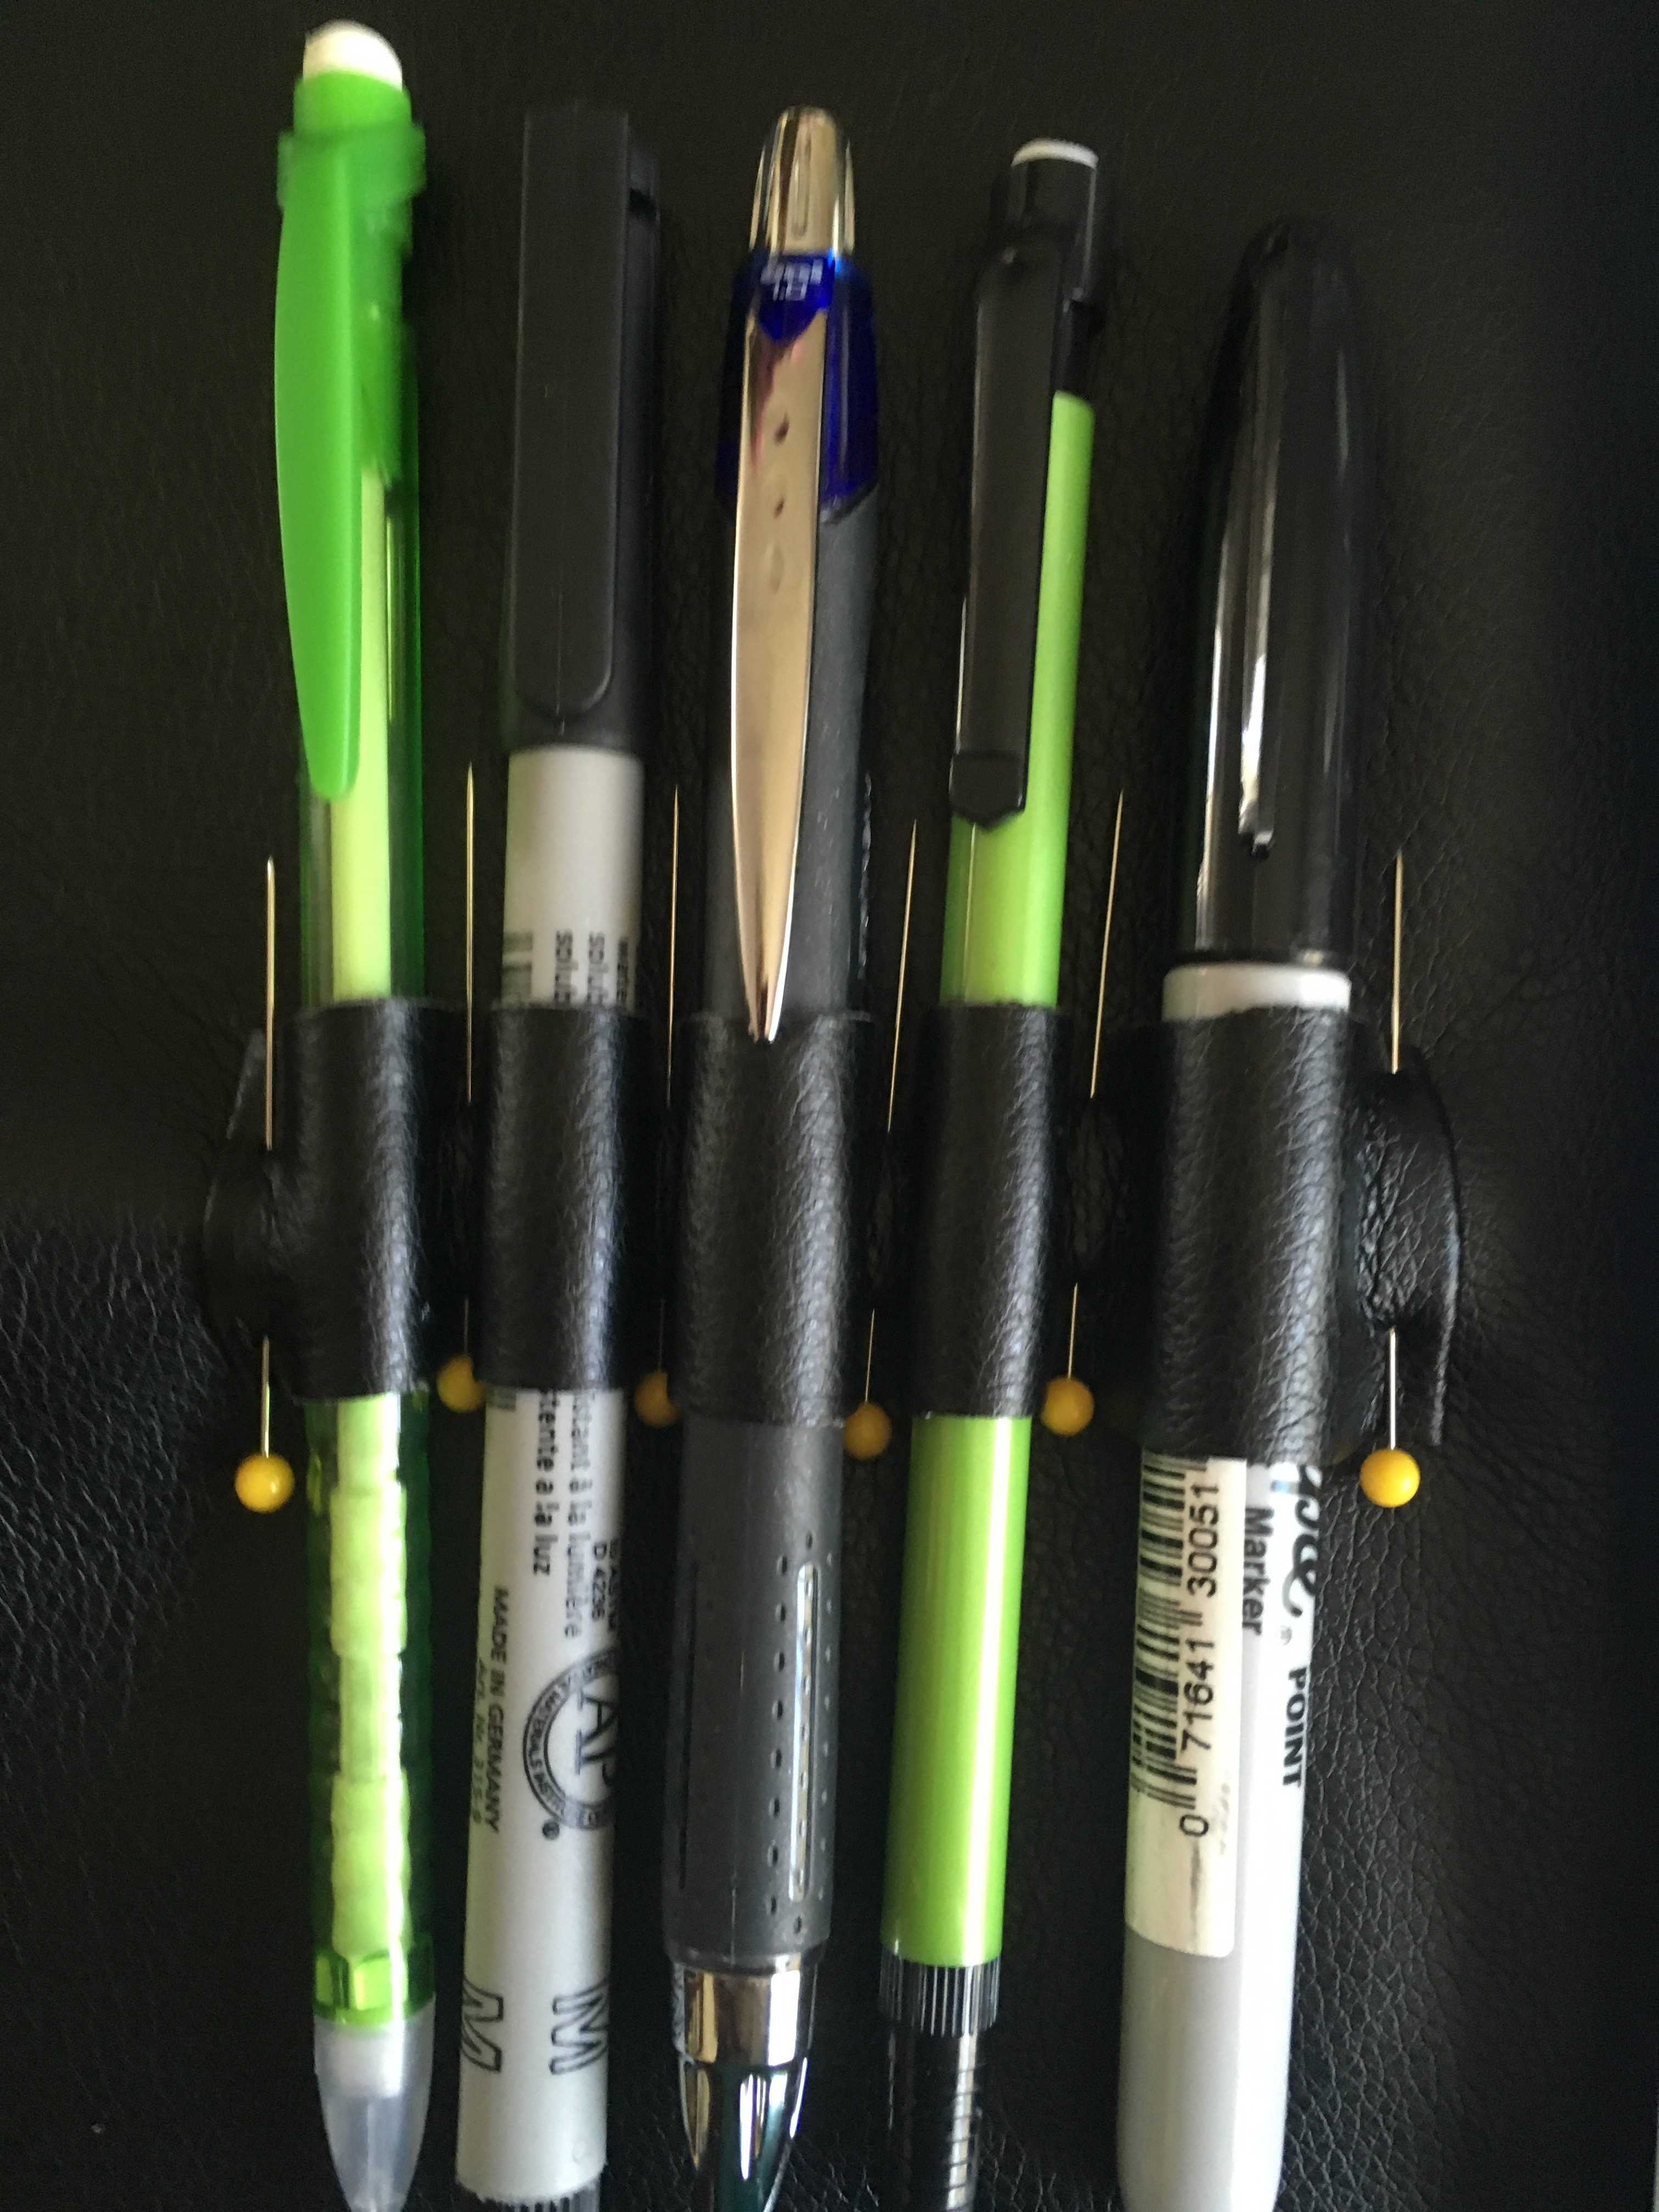
Cut a strip of the pleather out and lay it over the pencils and markers. Put a pin where a seam should be on either side of each pencil and marker so they can slide into the loops and stay there. Sew a small seam where each pen is carefully, and make sure the pens fit.
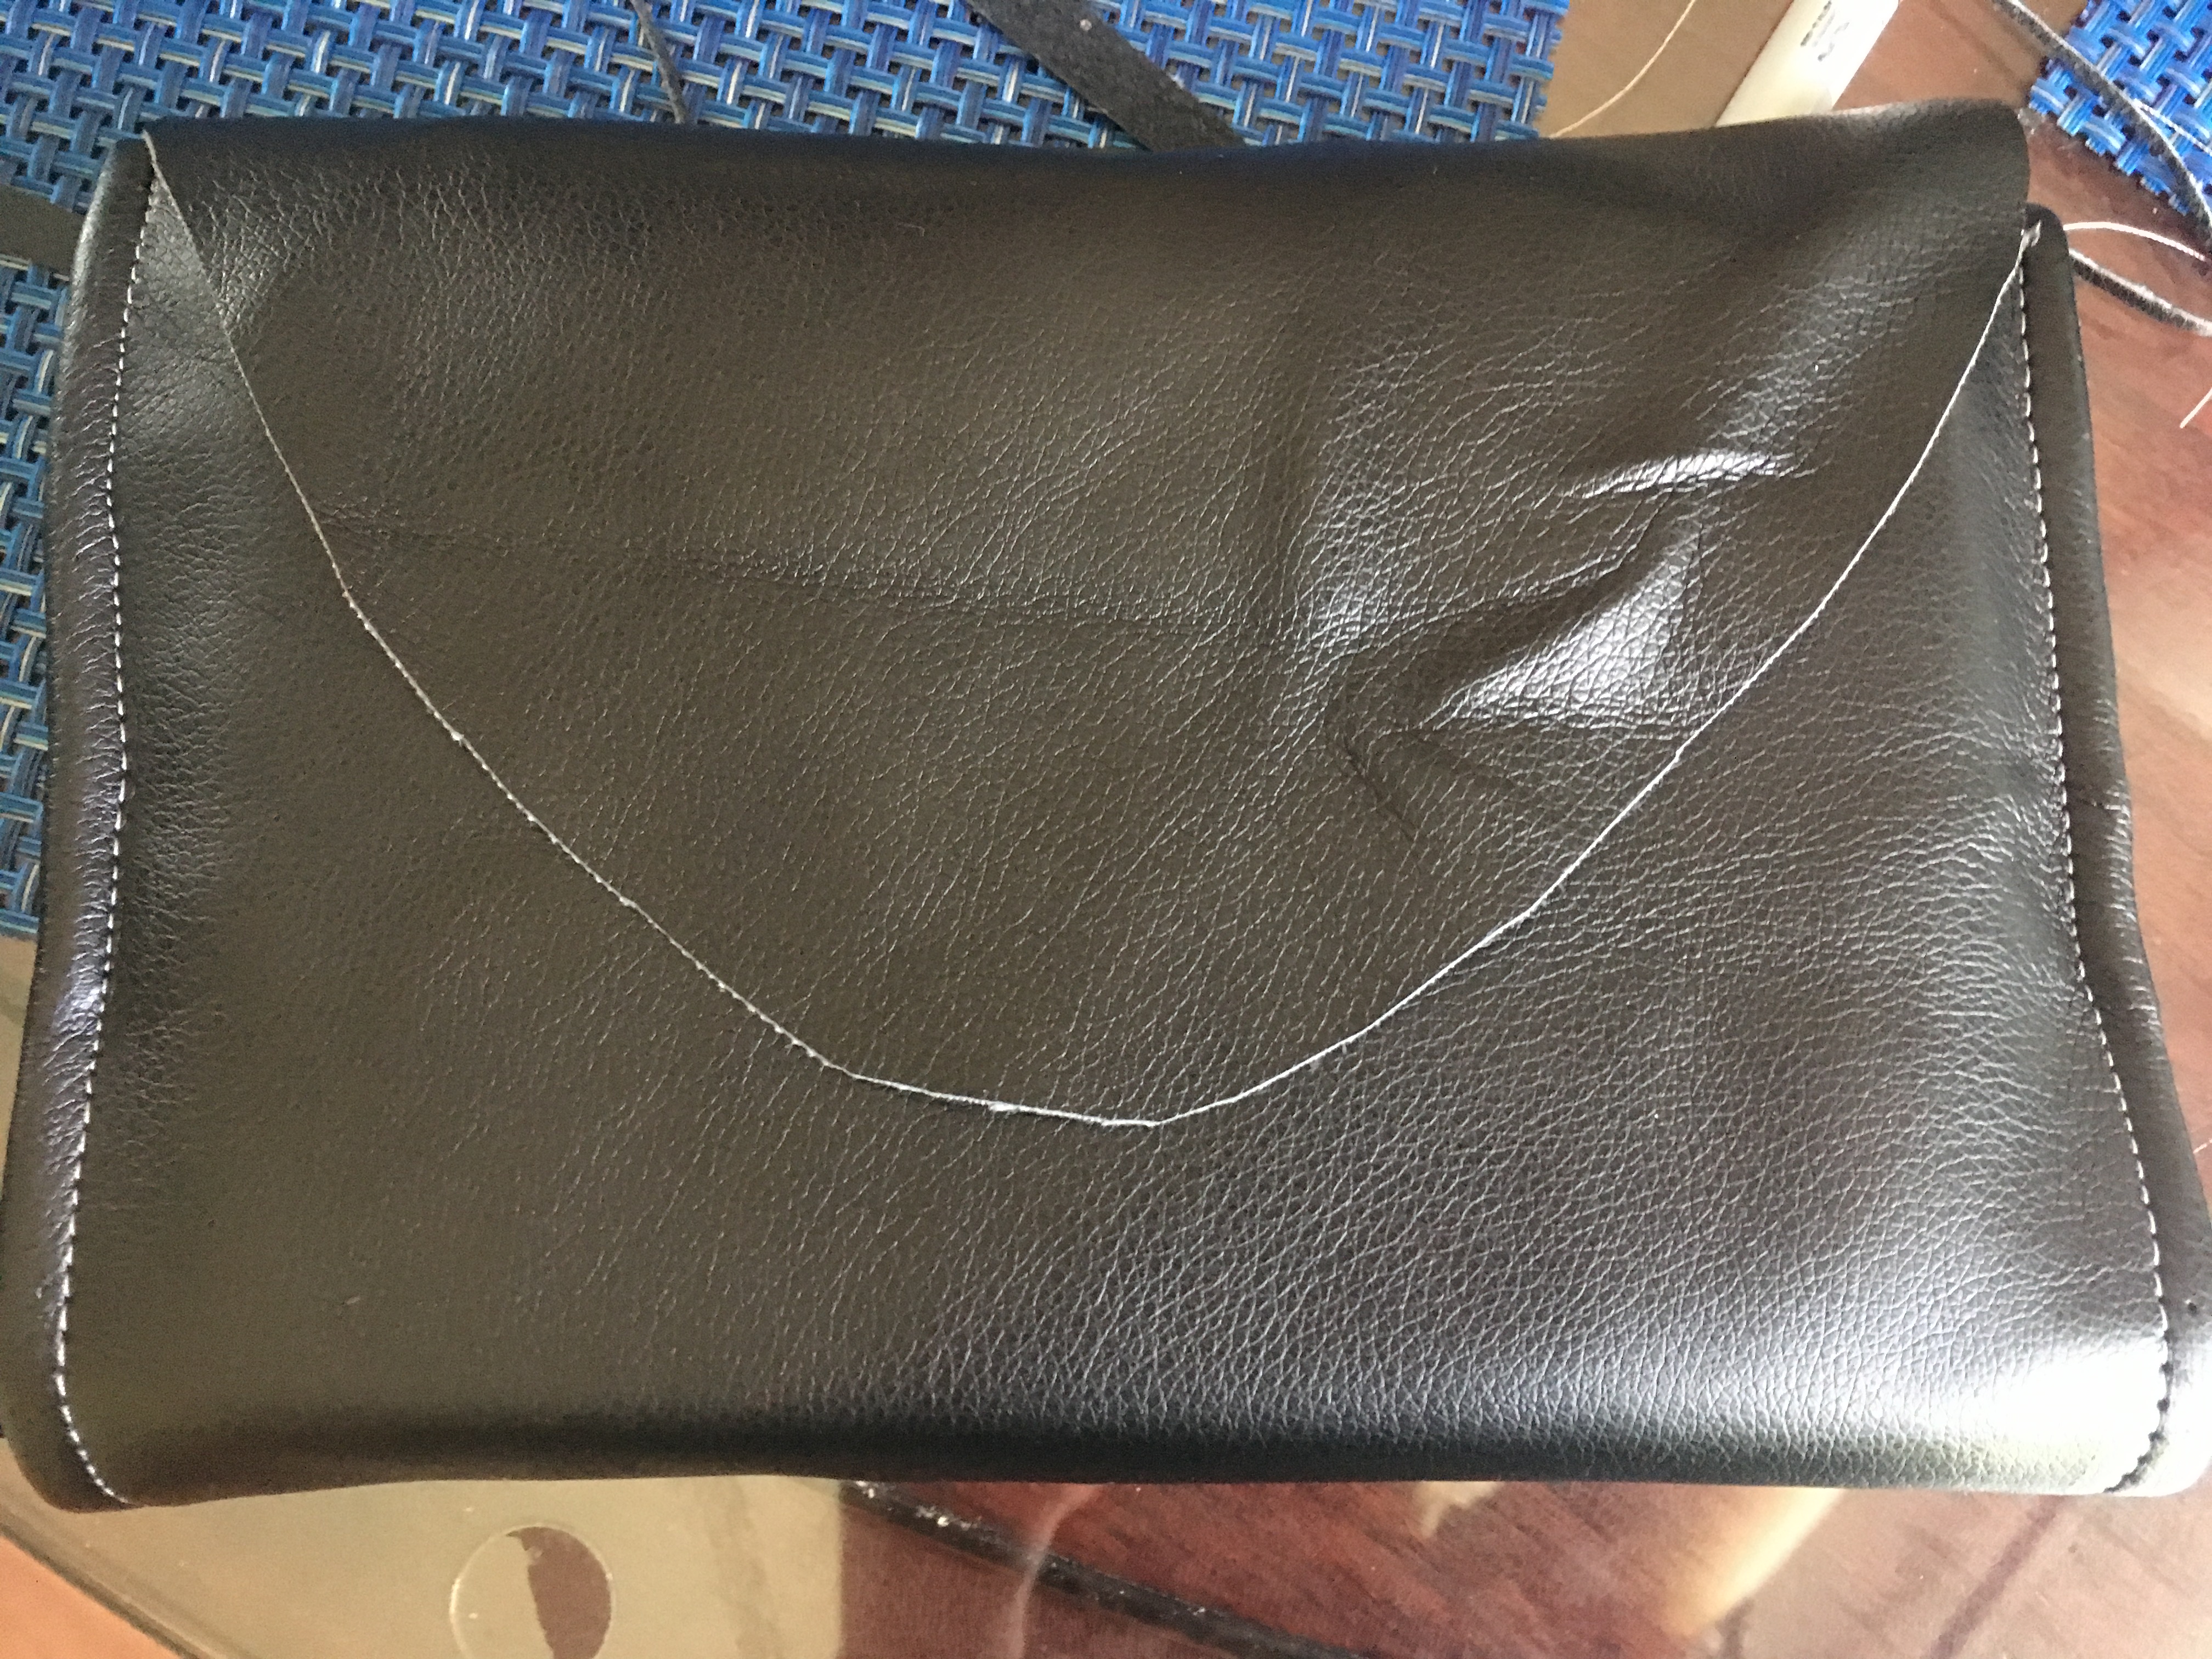
Figuring out the Flap
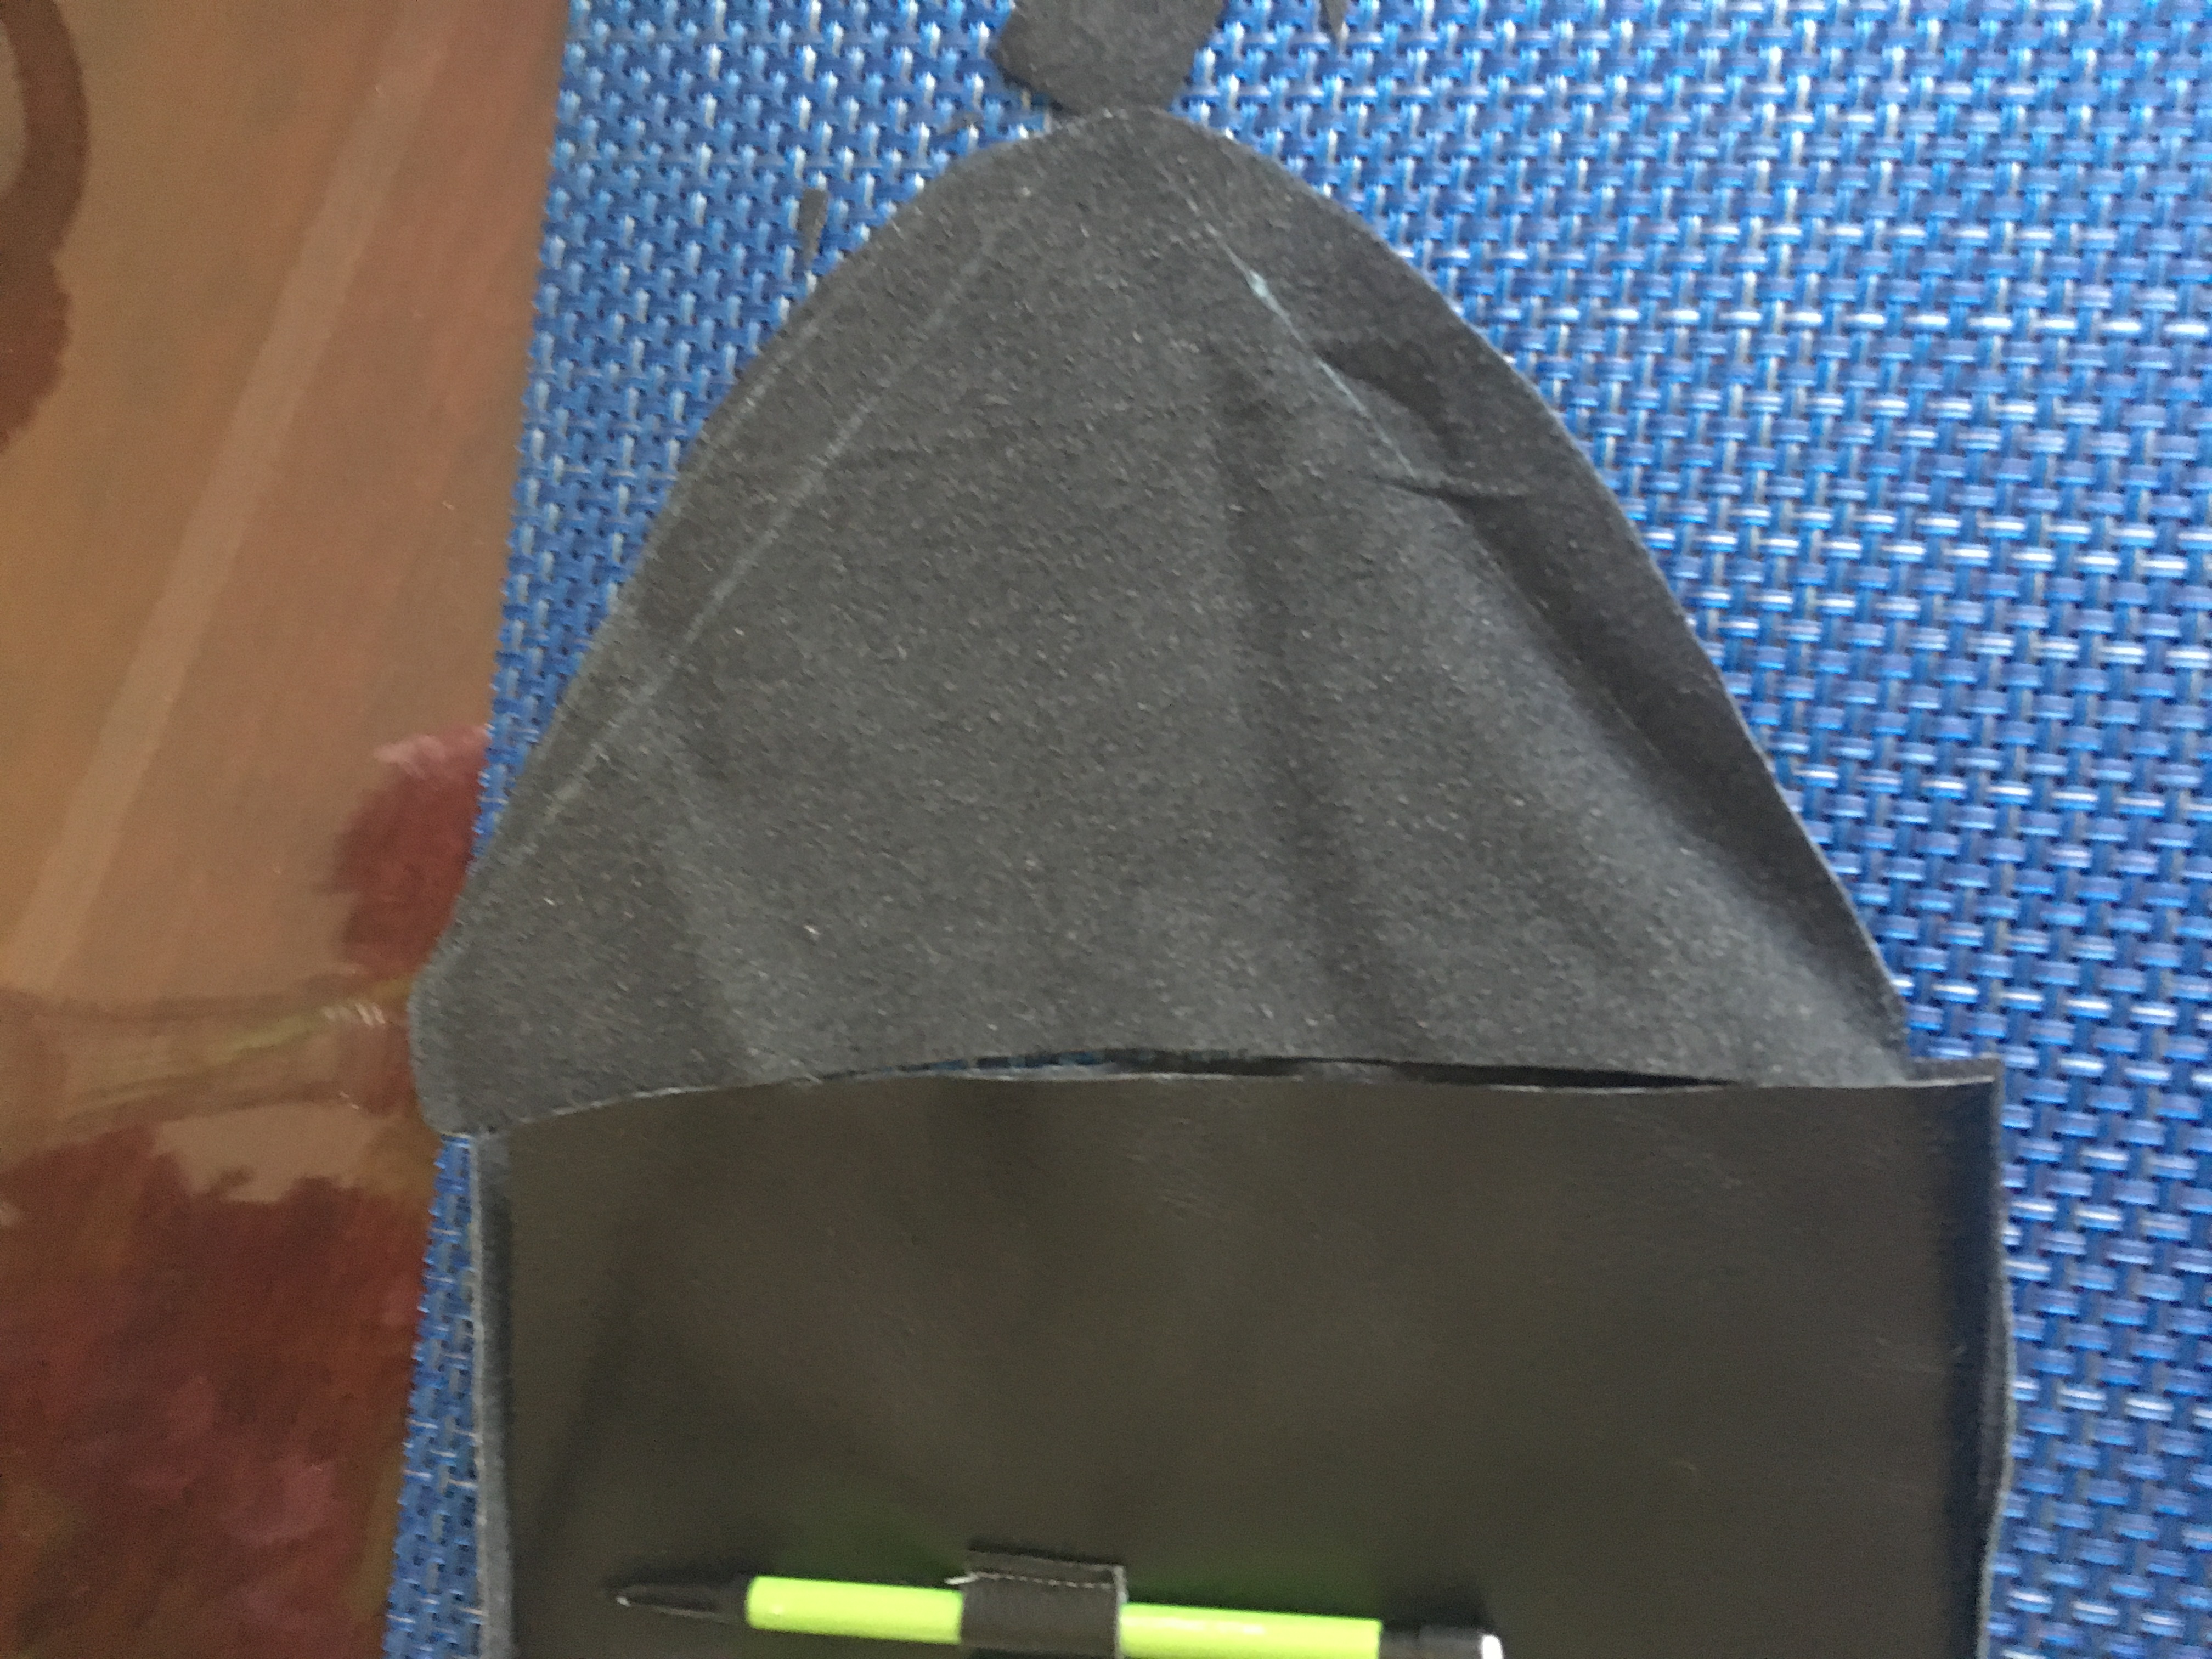
Draw lines on the underside of a piece of pleather in a triangle flap shape that can reach from the back of the bag down to the bottom of the other side of the bag. Leave it a little long so it can attach to the bag.
Pinning and Testing
The flap needs to be pinned to the underside of the fabric, on the other side of the pencils. Roll up the bag and make sure the flap can reach the front easily, and adjust as needed. The seam will run along where the pins are, so a seam allowance is not needed.
Measuring and Cutting the Back Piece
Lay the part with the pockets and pencils right side up on the underside of the pleather. Cut out the back piece with half an inch of extra, as this will be sewn over the inside panel. Do not make an extra piece on the back for the flap, the flap is only one layer for mobility.
Folding and Sewing
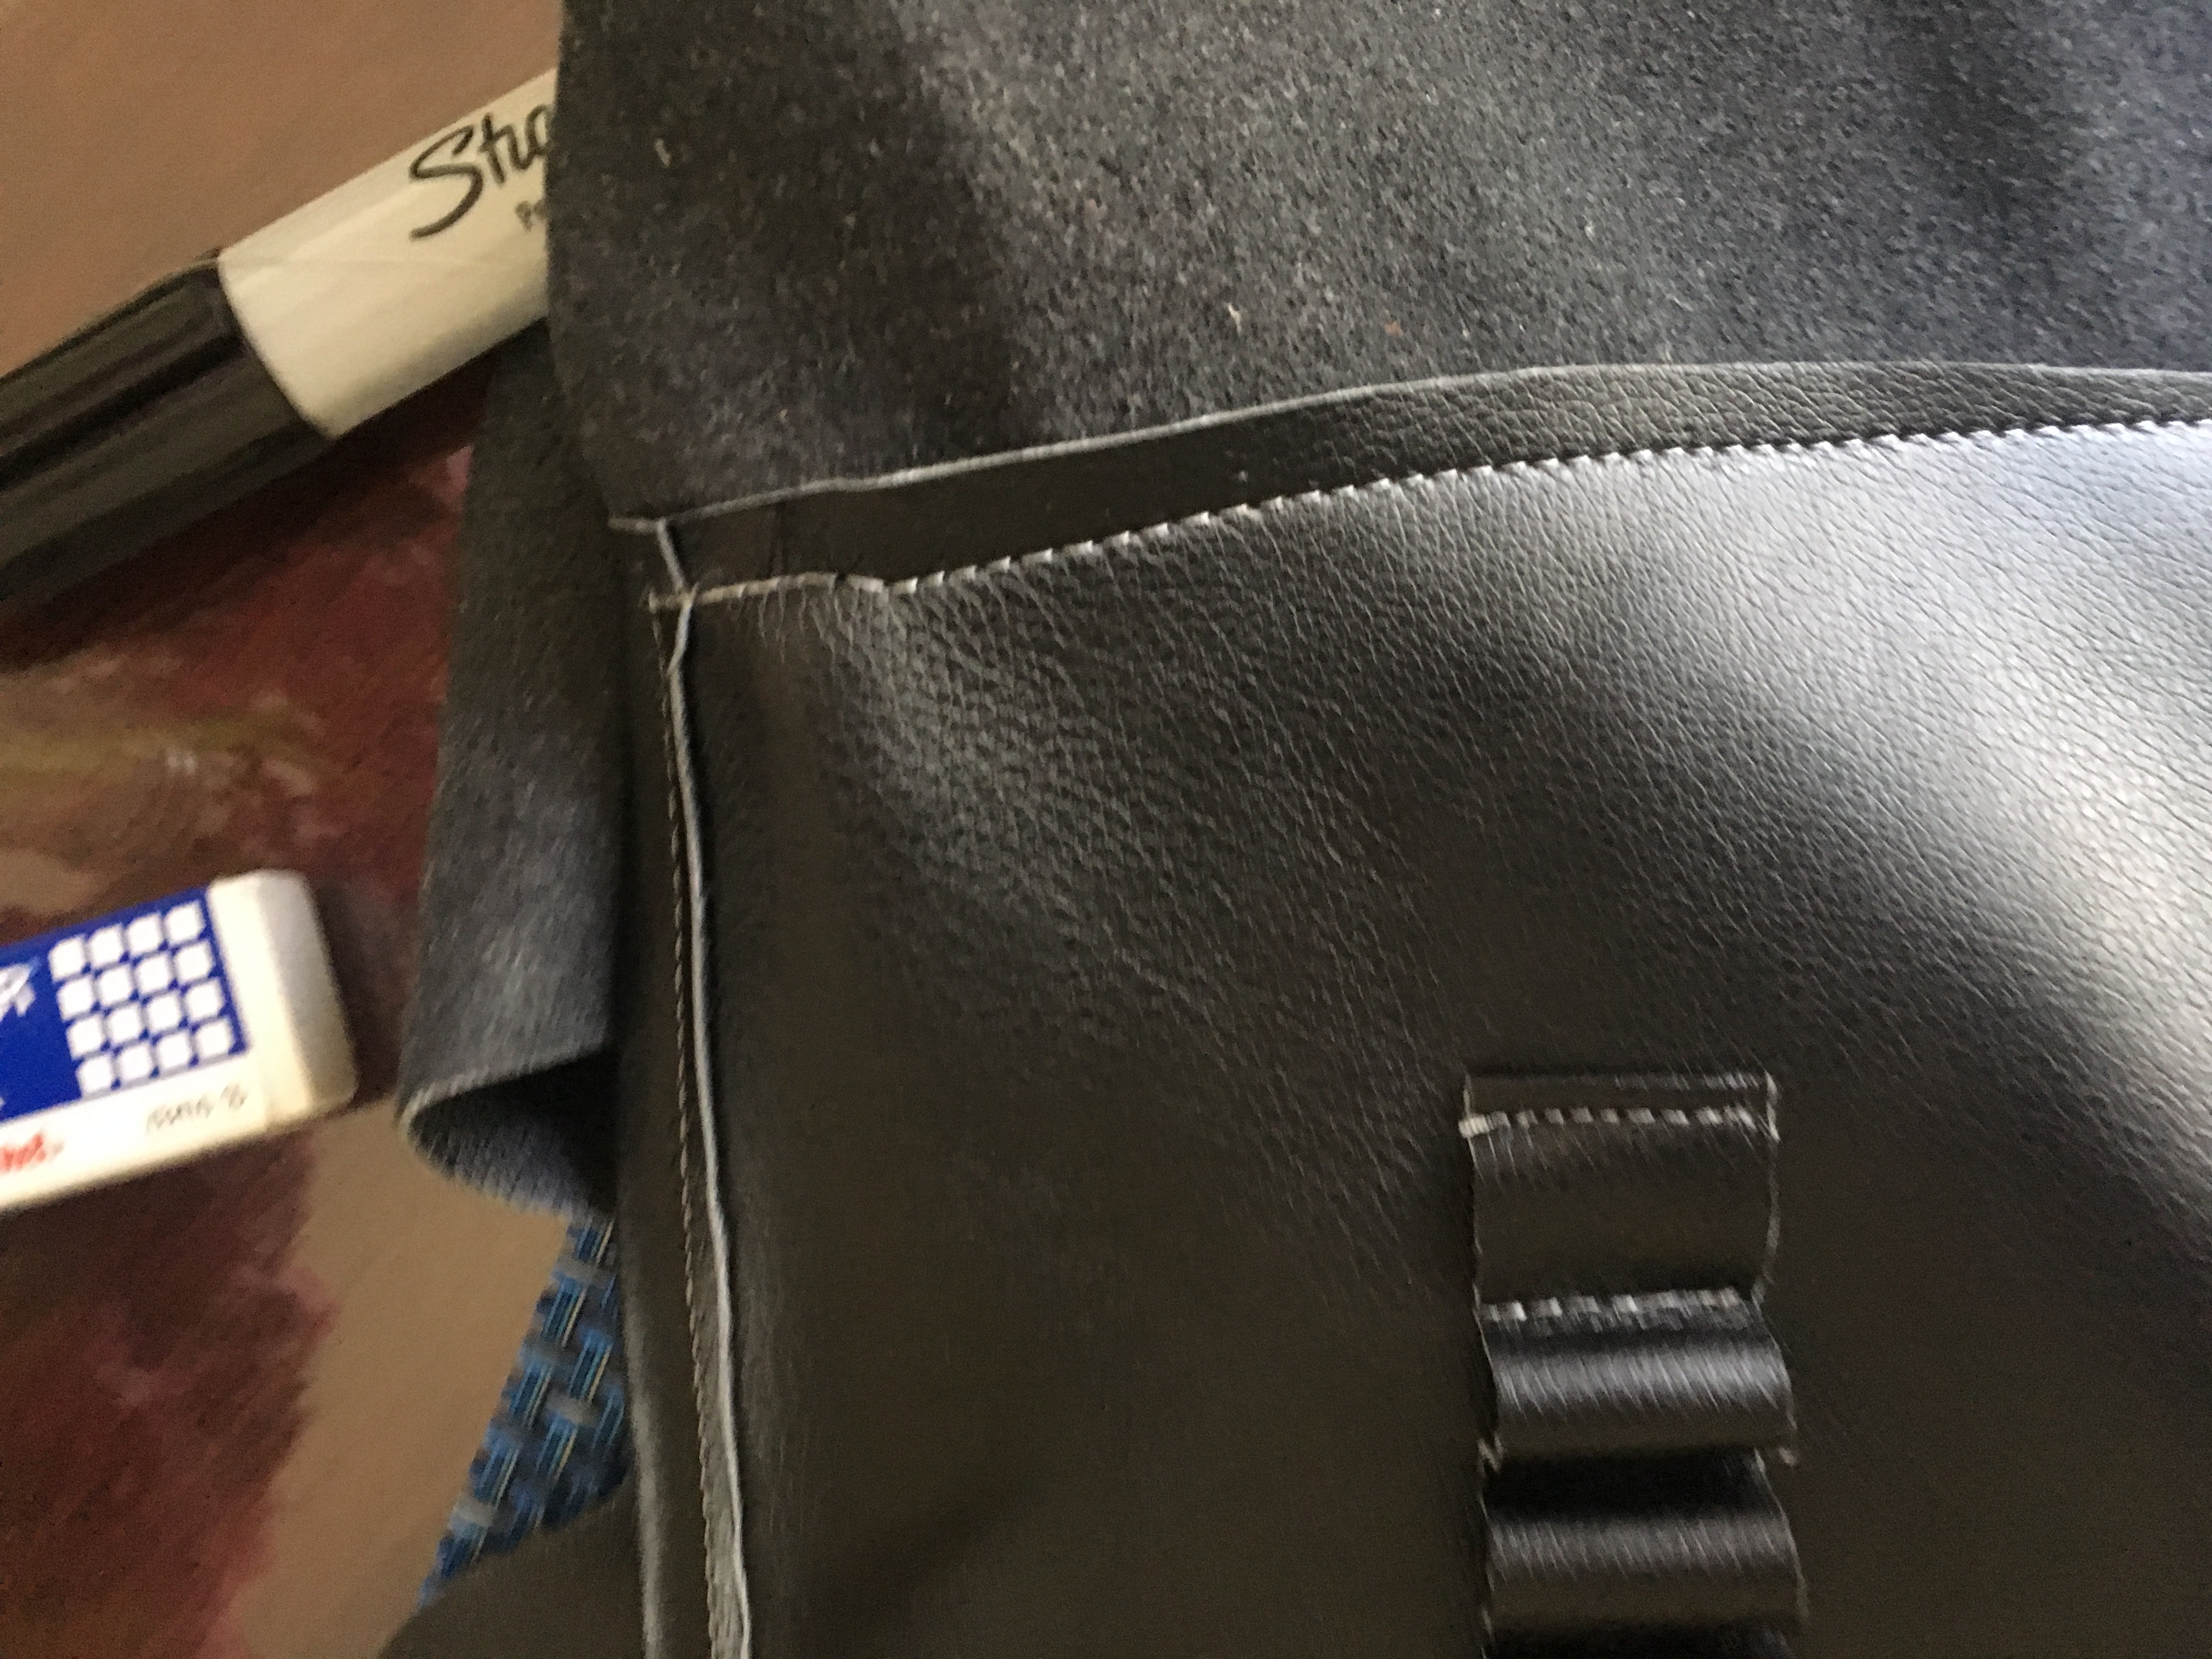
Next, fold the extra material on the back piece over the edge of the inside panel. Put clips on to hold the two pieces together without leaving holes like pins. Sew three sides, the bottom, left, and right, being careful not to run over and ruin the pockets with stitches.
How to make the Flap sit Just Right on the Art Pouch
Once both layers are on, repin the flap so that it fits and can fold over the front of the bag appropriately. Sew the seam on top to hold the flap in place securely.
Testing
Once the seams are all in place, put everything in the bag and make sure it all fits perfectly. Your sewing machine can be put up at this point, as its job is complete.
Marking the Button hole and Where the Button Goes
Buttons are a good way to keep things closed. Cut a button hole on the flap and mark a place to sew the button on the outside of the bag using sewing chalk.
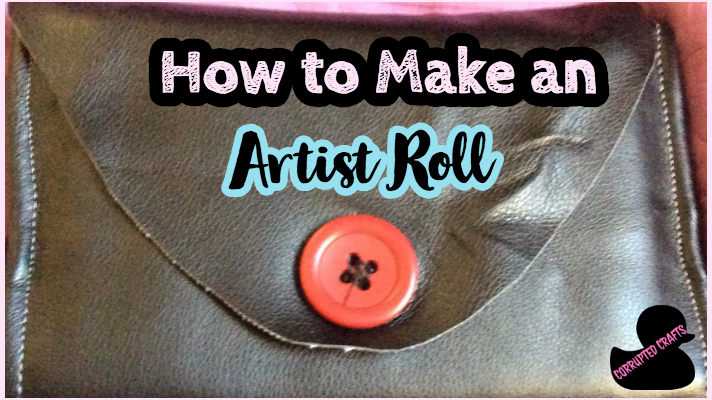
Picking the Perfect Button for your Art Pouch
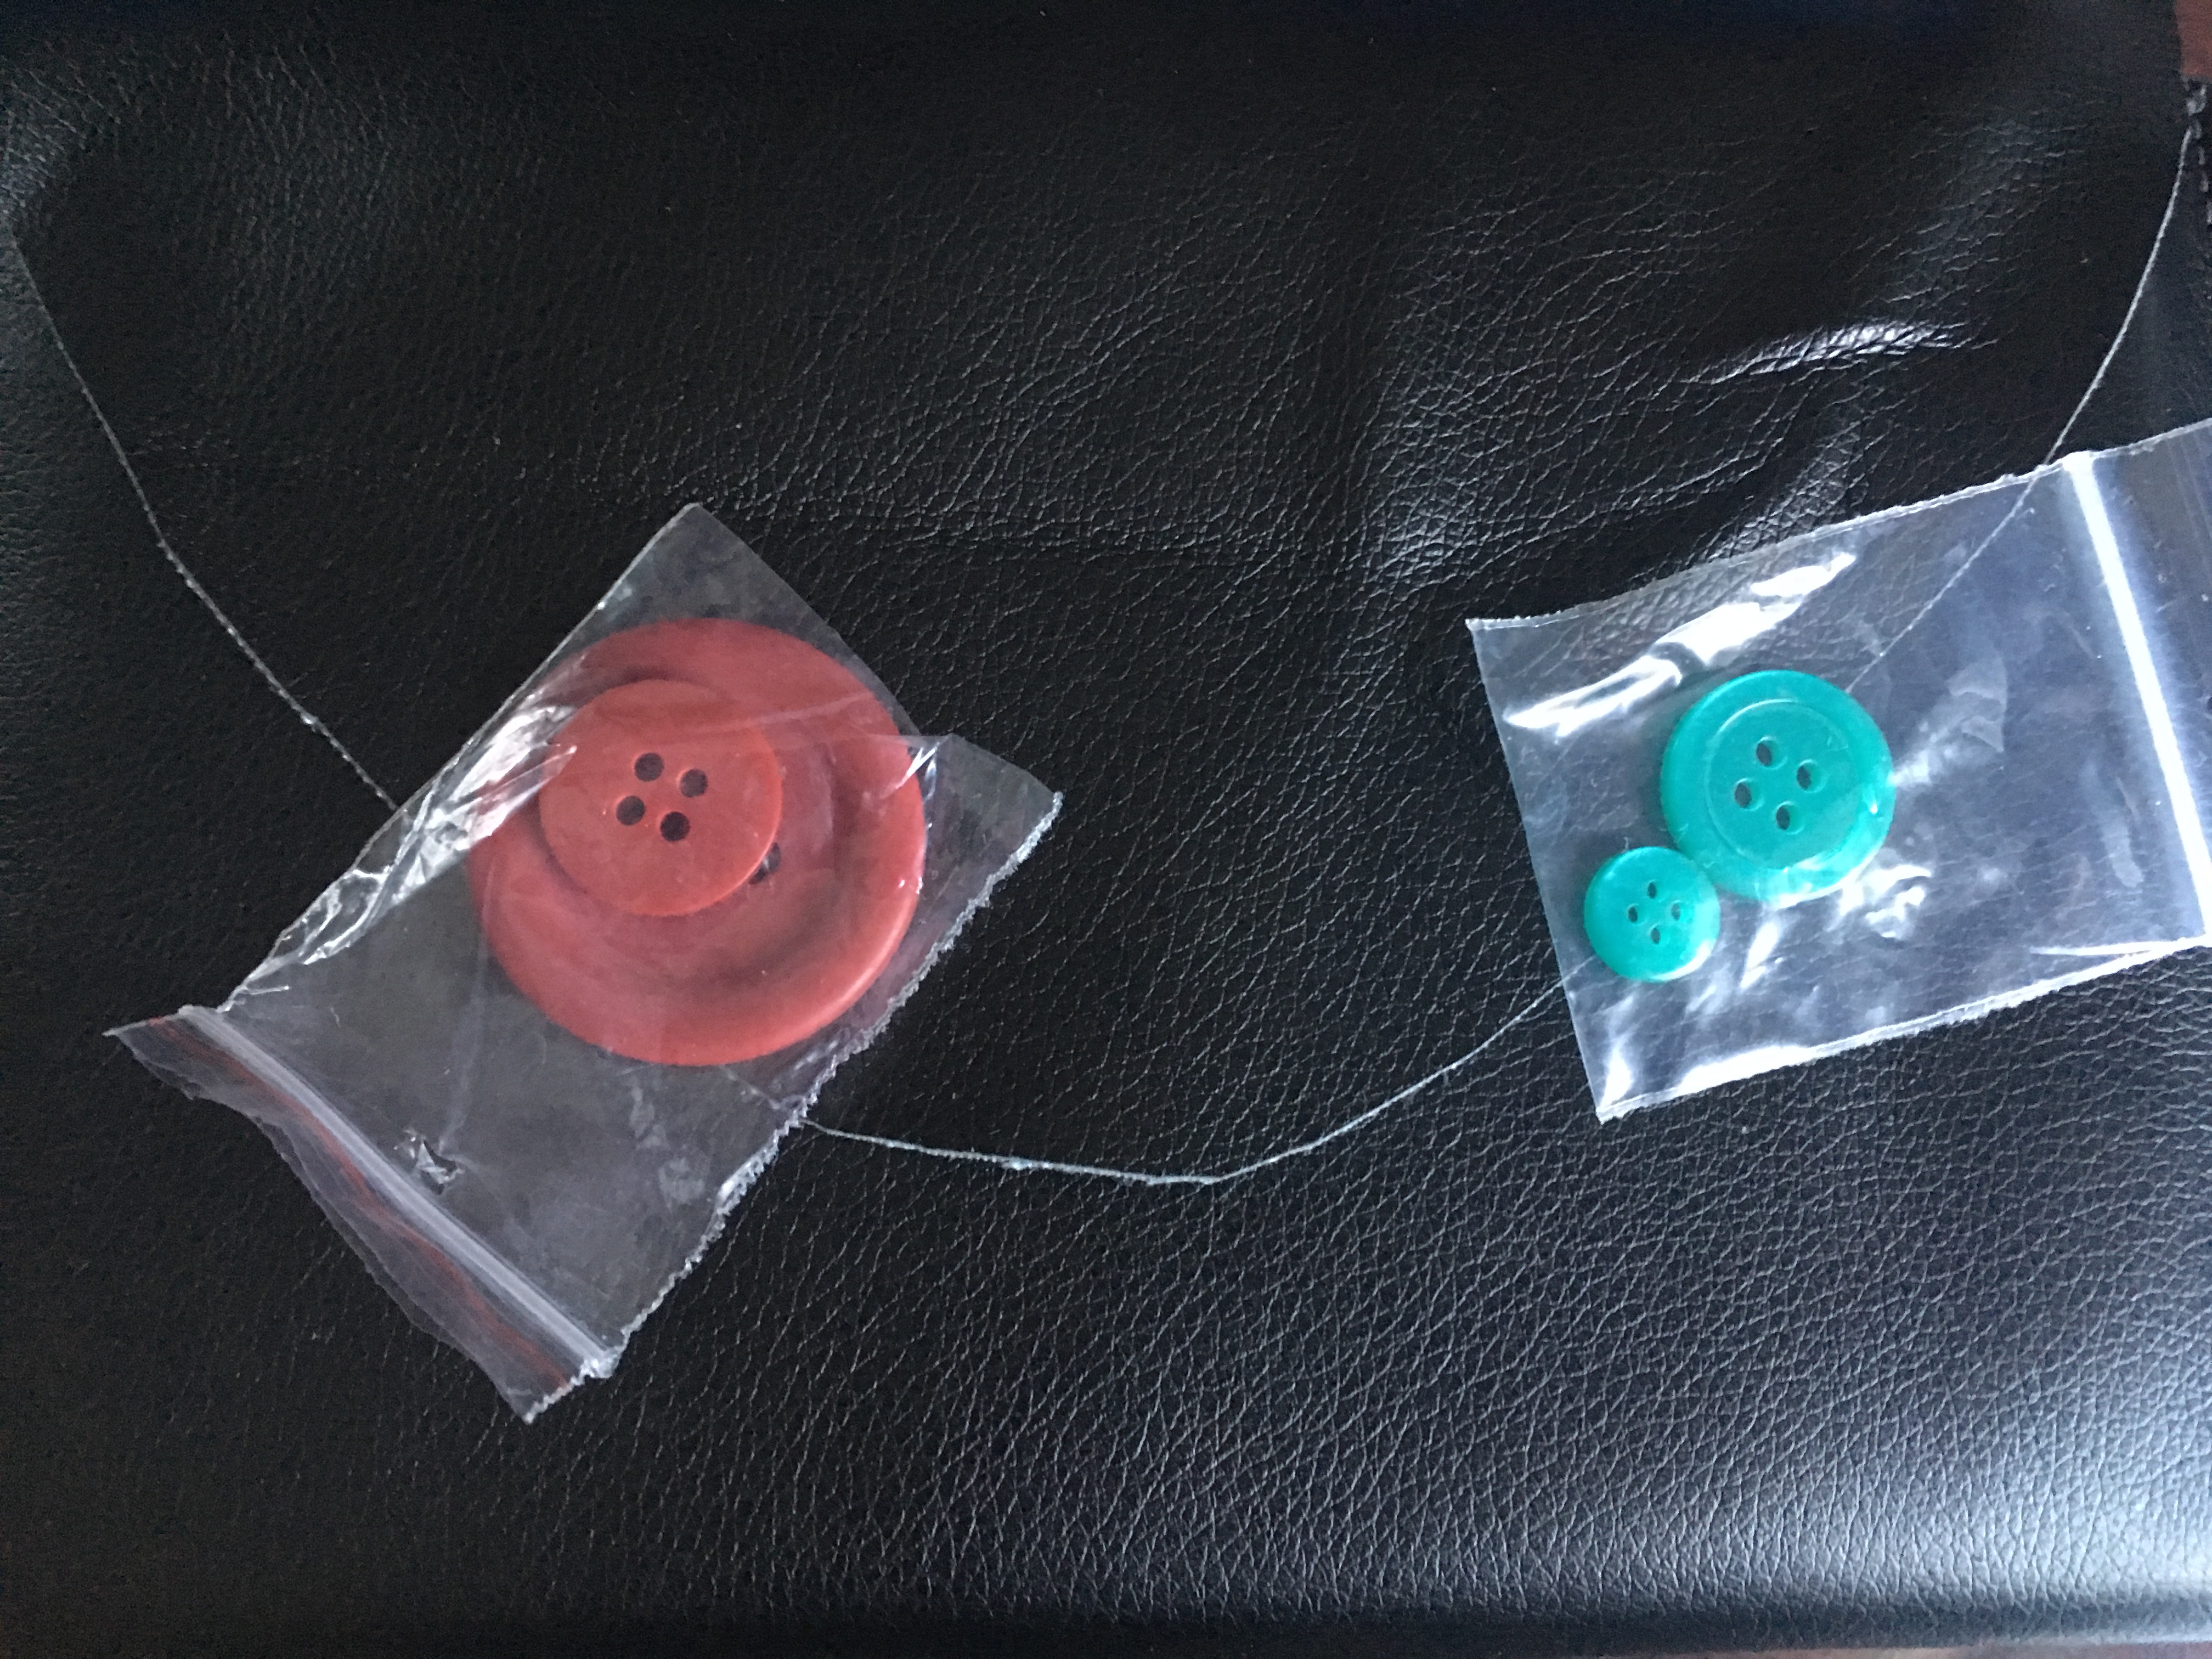
Finding a good button can be tough. This big red button seemed perfect, but so did five other buttons. I chose a big bad red button for a pop of color as well as to keep things simple. Do not pick a button with a lot of stuff on it, as that is ugly and unfitting for the pouch you spent all afternoon working on.
Sewing on the Button
Using a needle and strong thread, sew that button on with all your might. Don’t give that button a chance to get away. It is your slave button and it will keep your stuff from falling out forever.
Additional Touch of Personality to the Art Pouch
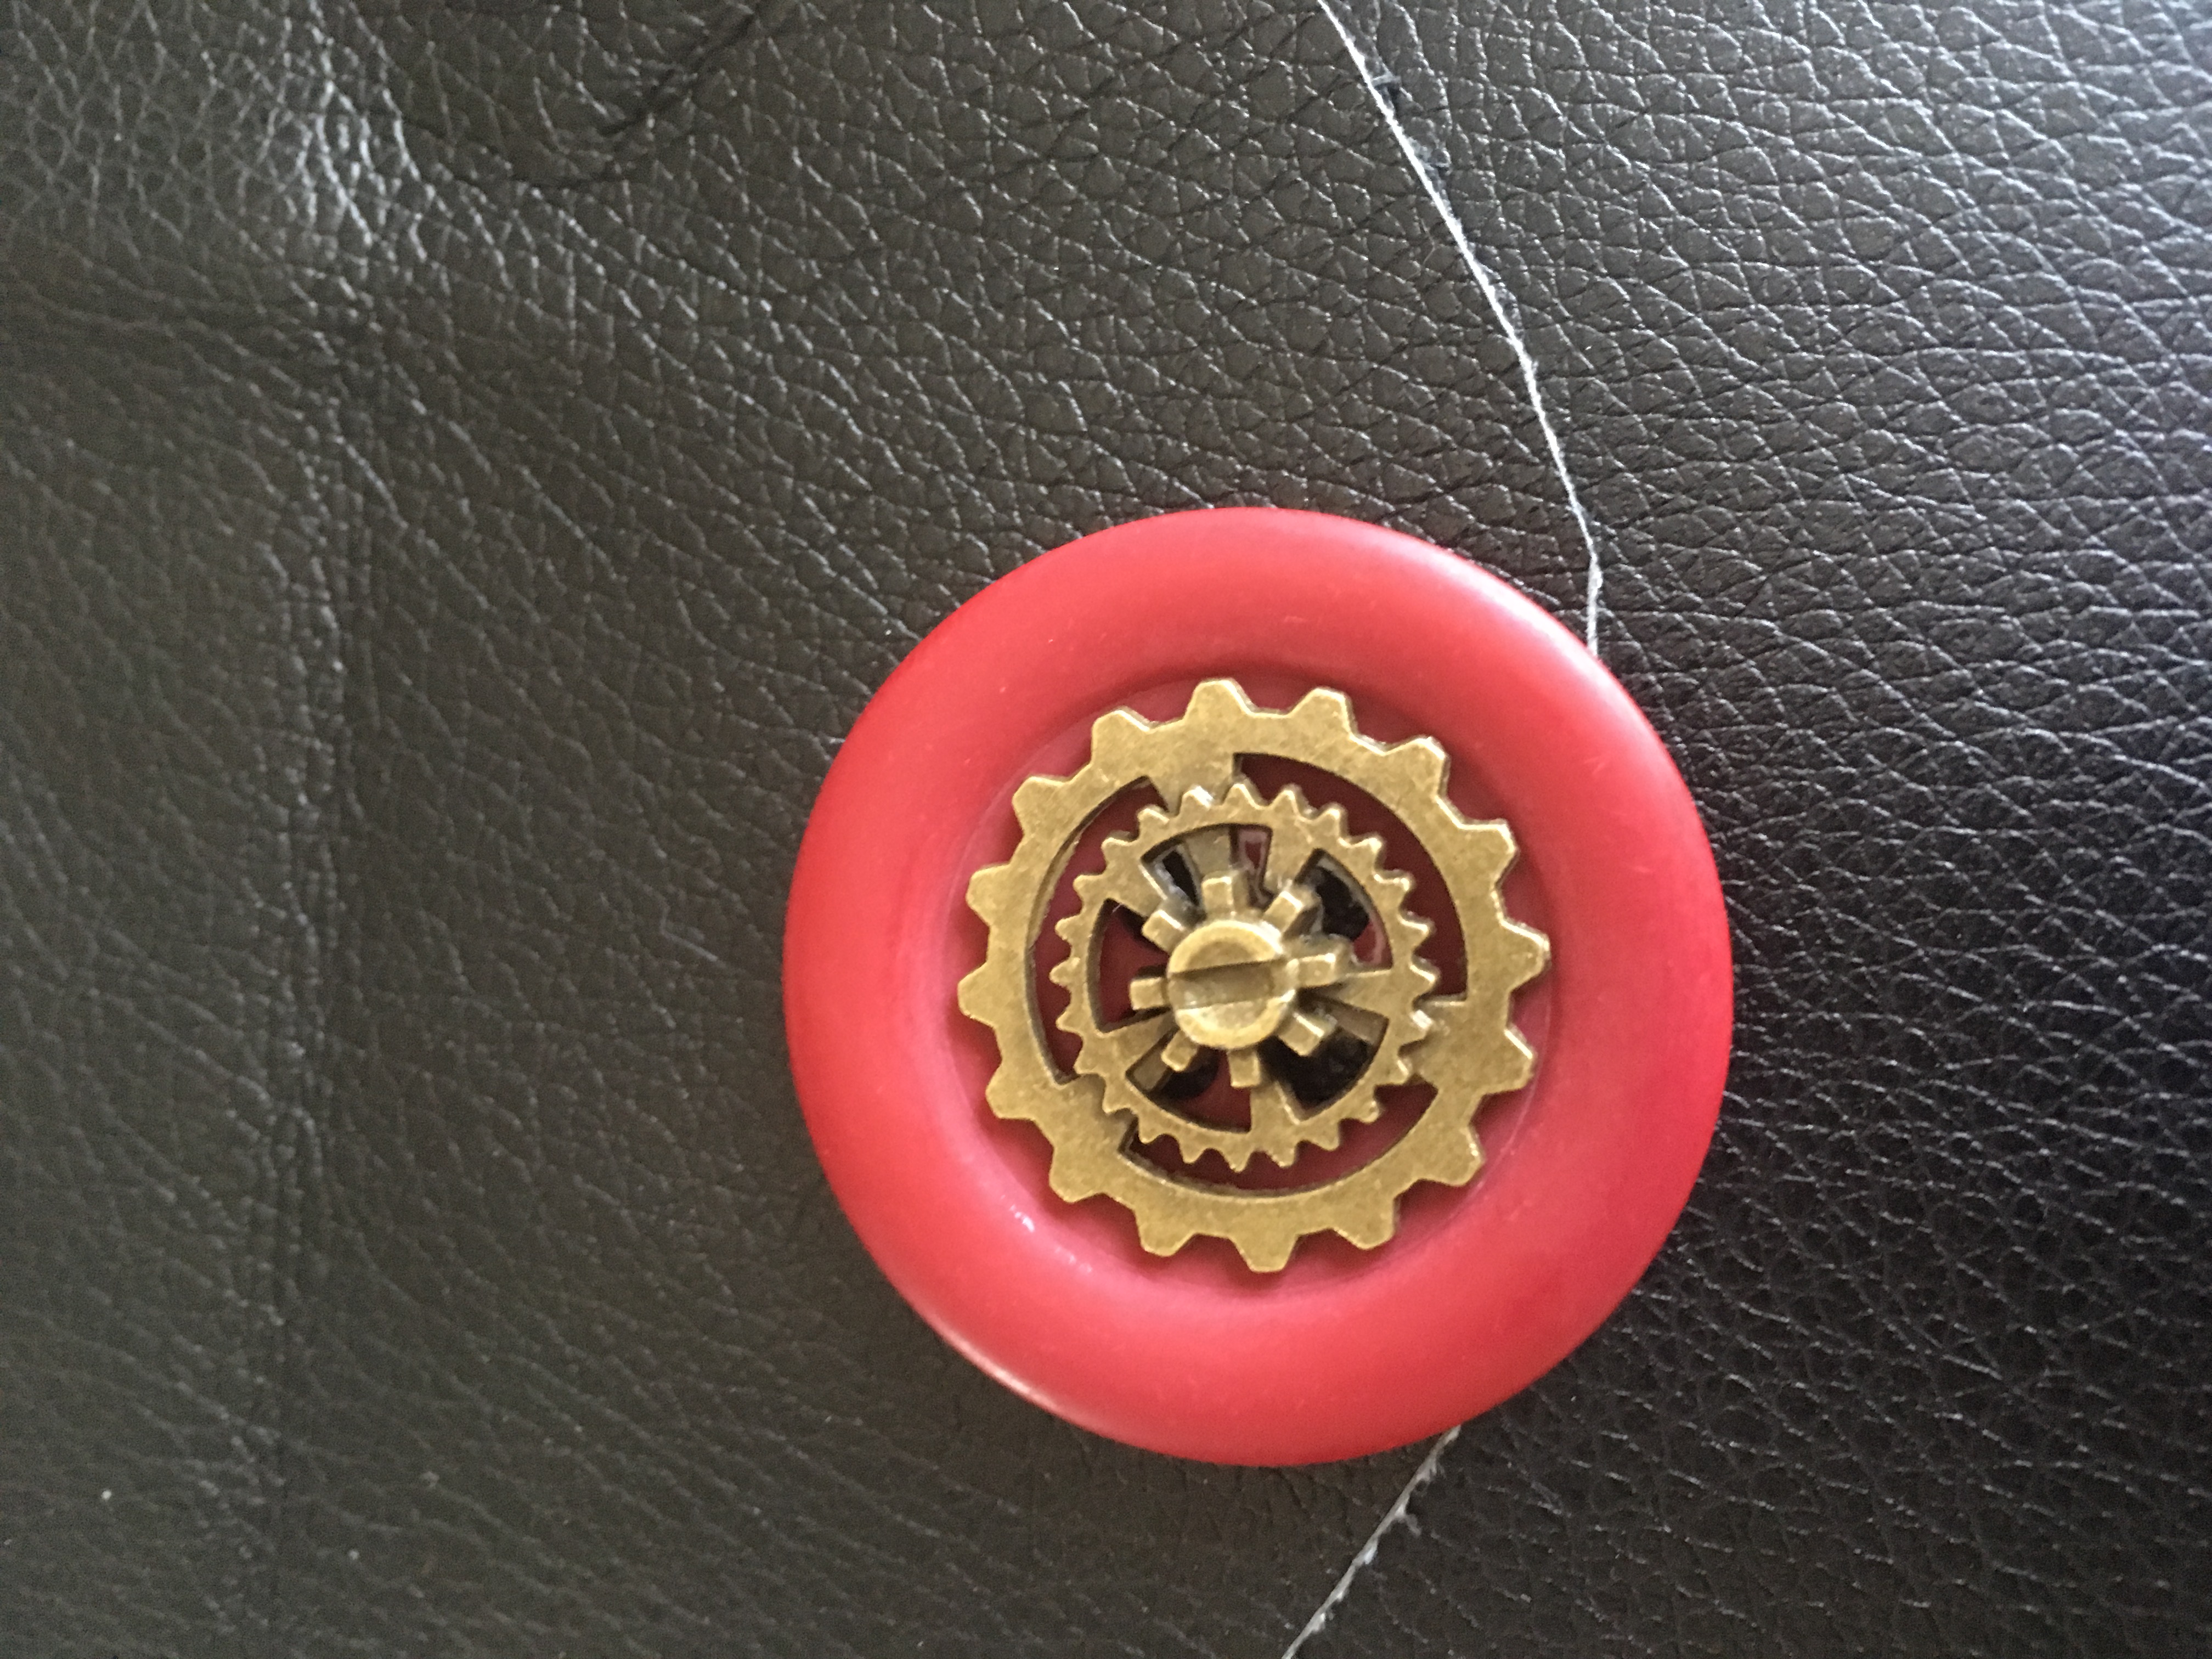
Remember the whole no fancy buttons thing? Steampunk doesn’t count. I used superglue to put this cool gear on the front of the button to help the button stay put and hide the strings.
Finish
After a full afternoon of sewing, you now have no reason to be missing your favorite pencil. Happy crafting!