Last time we saw Mettaton EX, he was in pieces in the oven and has no facial features to speak of. We will be finishing up Mettaton, painting his body and face and sculpting those lovely boots he is known for.
What you will need to finish up
Preparing to Finish Mettaton EX
Put down fresh parchment paper and clear off a decent amount of space to work. Get a cup of water to wash your brushes in. Sit down and stare at the blank face of the creature you have created.
Painting the Base of Mettaton EX’s Face
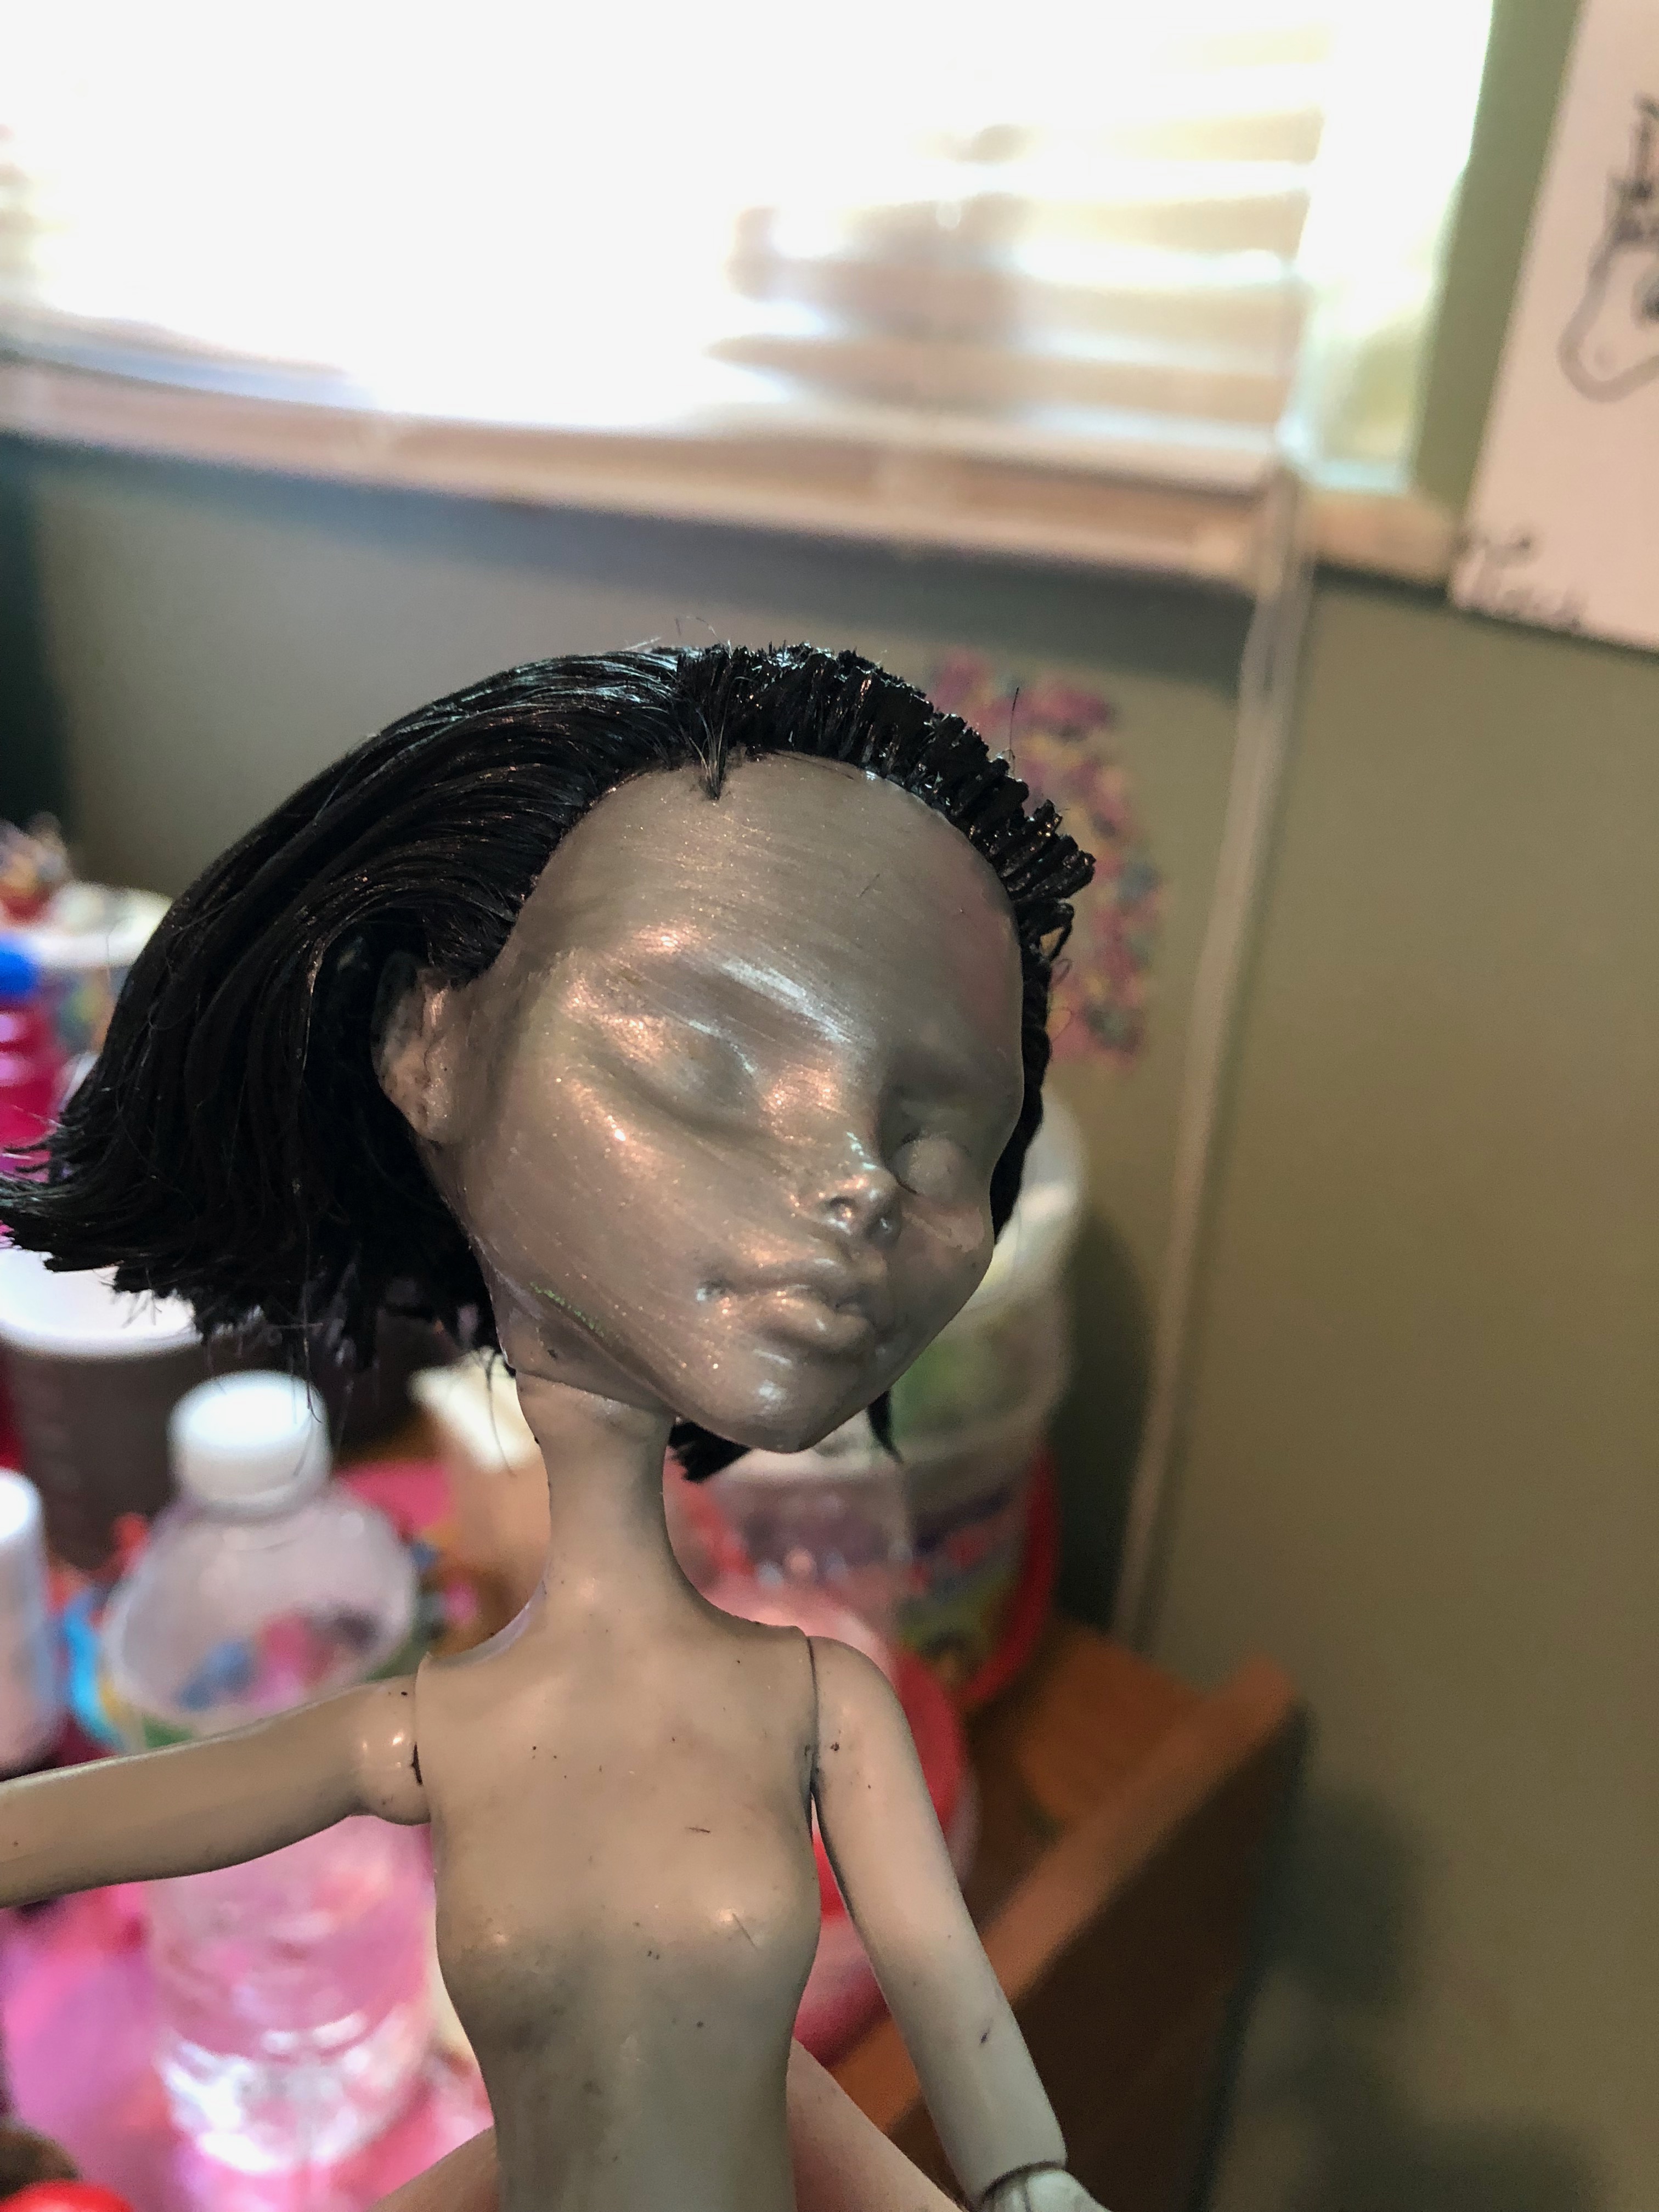
Paint the face with a really good white paint. This will keep you from making the same mistake I did and save you plenty of time.
Drawing the Facial Features
Use a pencil to mark the eyes and the eyebrows. This will make his eyes much easier to paint when the time comes by giving you workable guidelines. If you mess up, paint over it with white paint. Never ever erase markings from your doll’s face, it will ruin your work.
Starting the Boots
Start by making two triangles from hot glue on the parchment and gluing them just below the leg joint. This will create the illusion of the top part of the boots. Smooth the glue down with the tip of the hot glue gun as much as possible.
Repainting the Face
Keep layering white paint around the facial features you defined. Use a fine brush and thin coats of paint to make sure all of the paint is even.
Drawing and Painting the Eyes of the Mettaton EX Doll
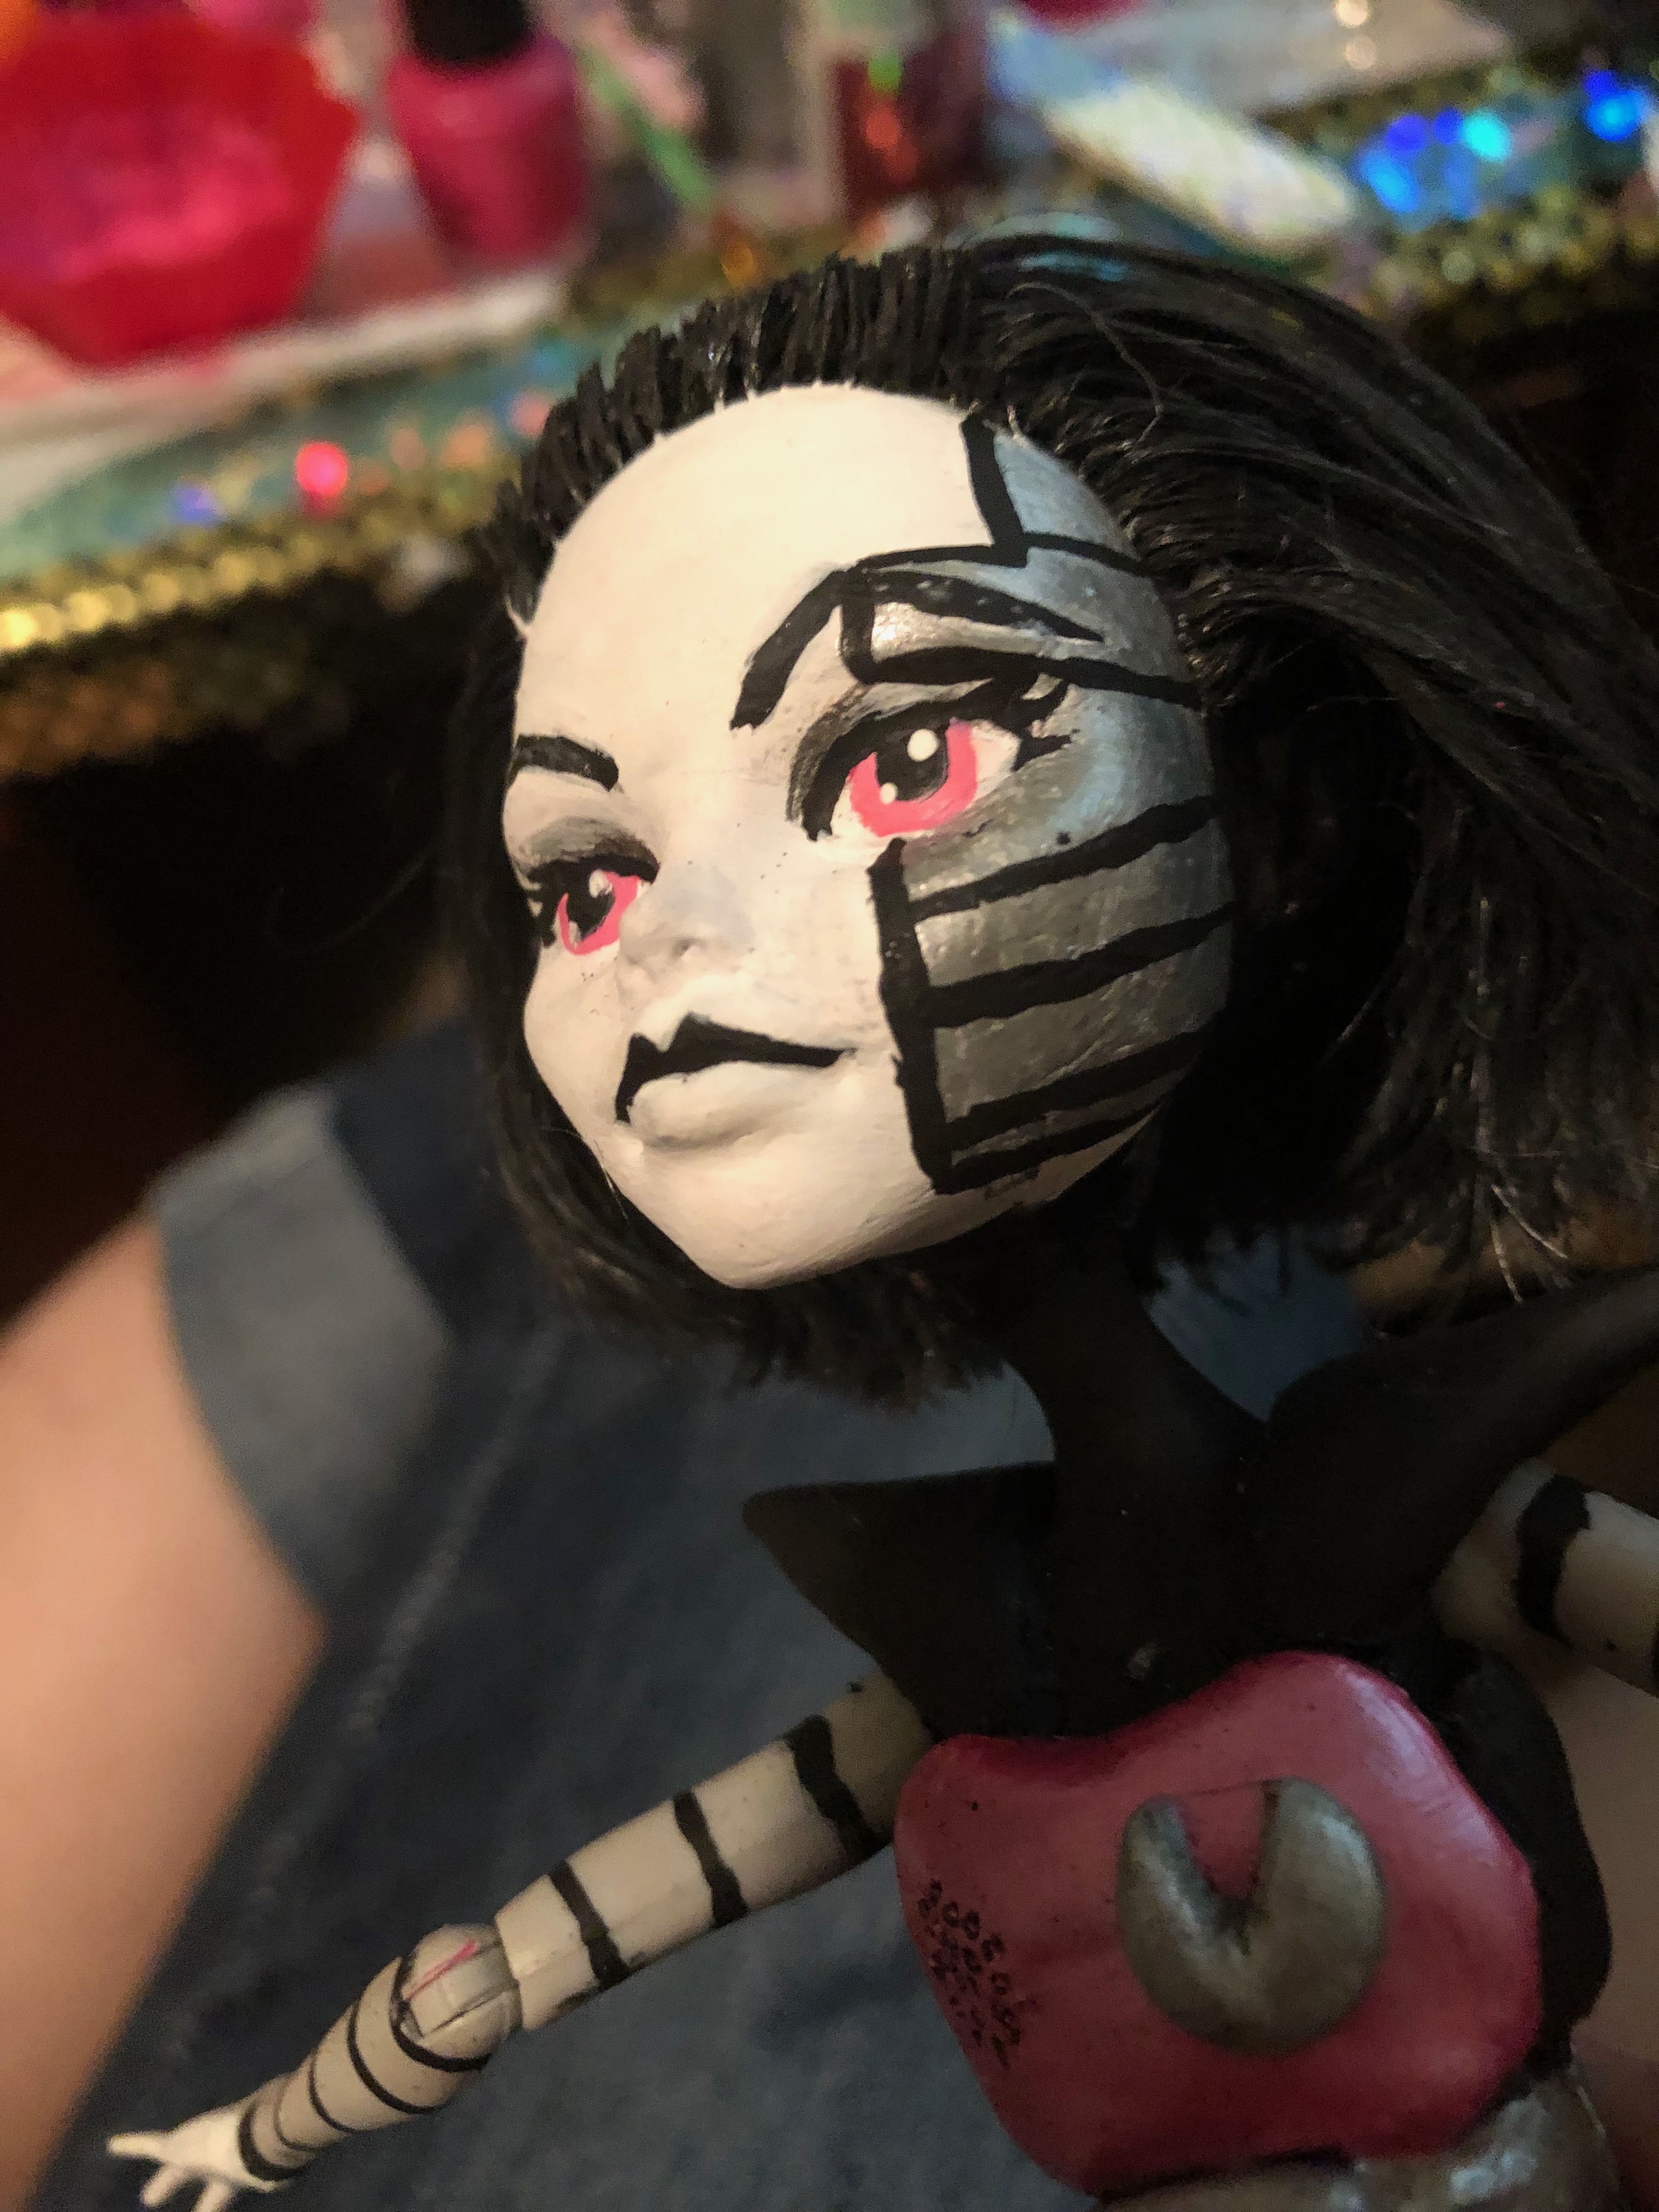
I chose to use a light pink pastel to draw the color in the eyes. I realized this would not work after drawing the eyes on, and instead used a light coral pink to paint the color of the eyes and black paint for the pupil. Don’t forget to paint the white of the eyes and fabulous eyeliner.
Making the Sole, Heel and Base of the Boot
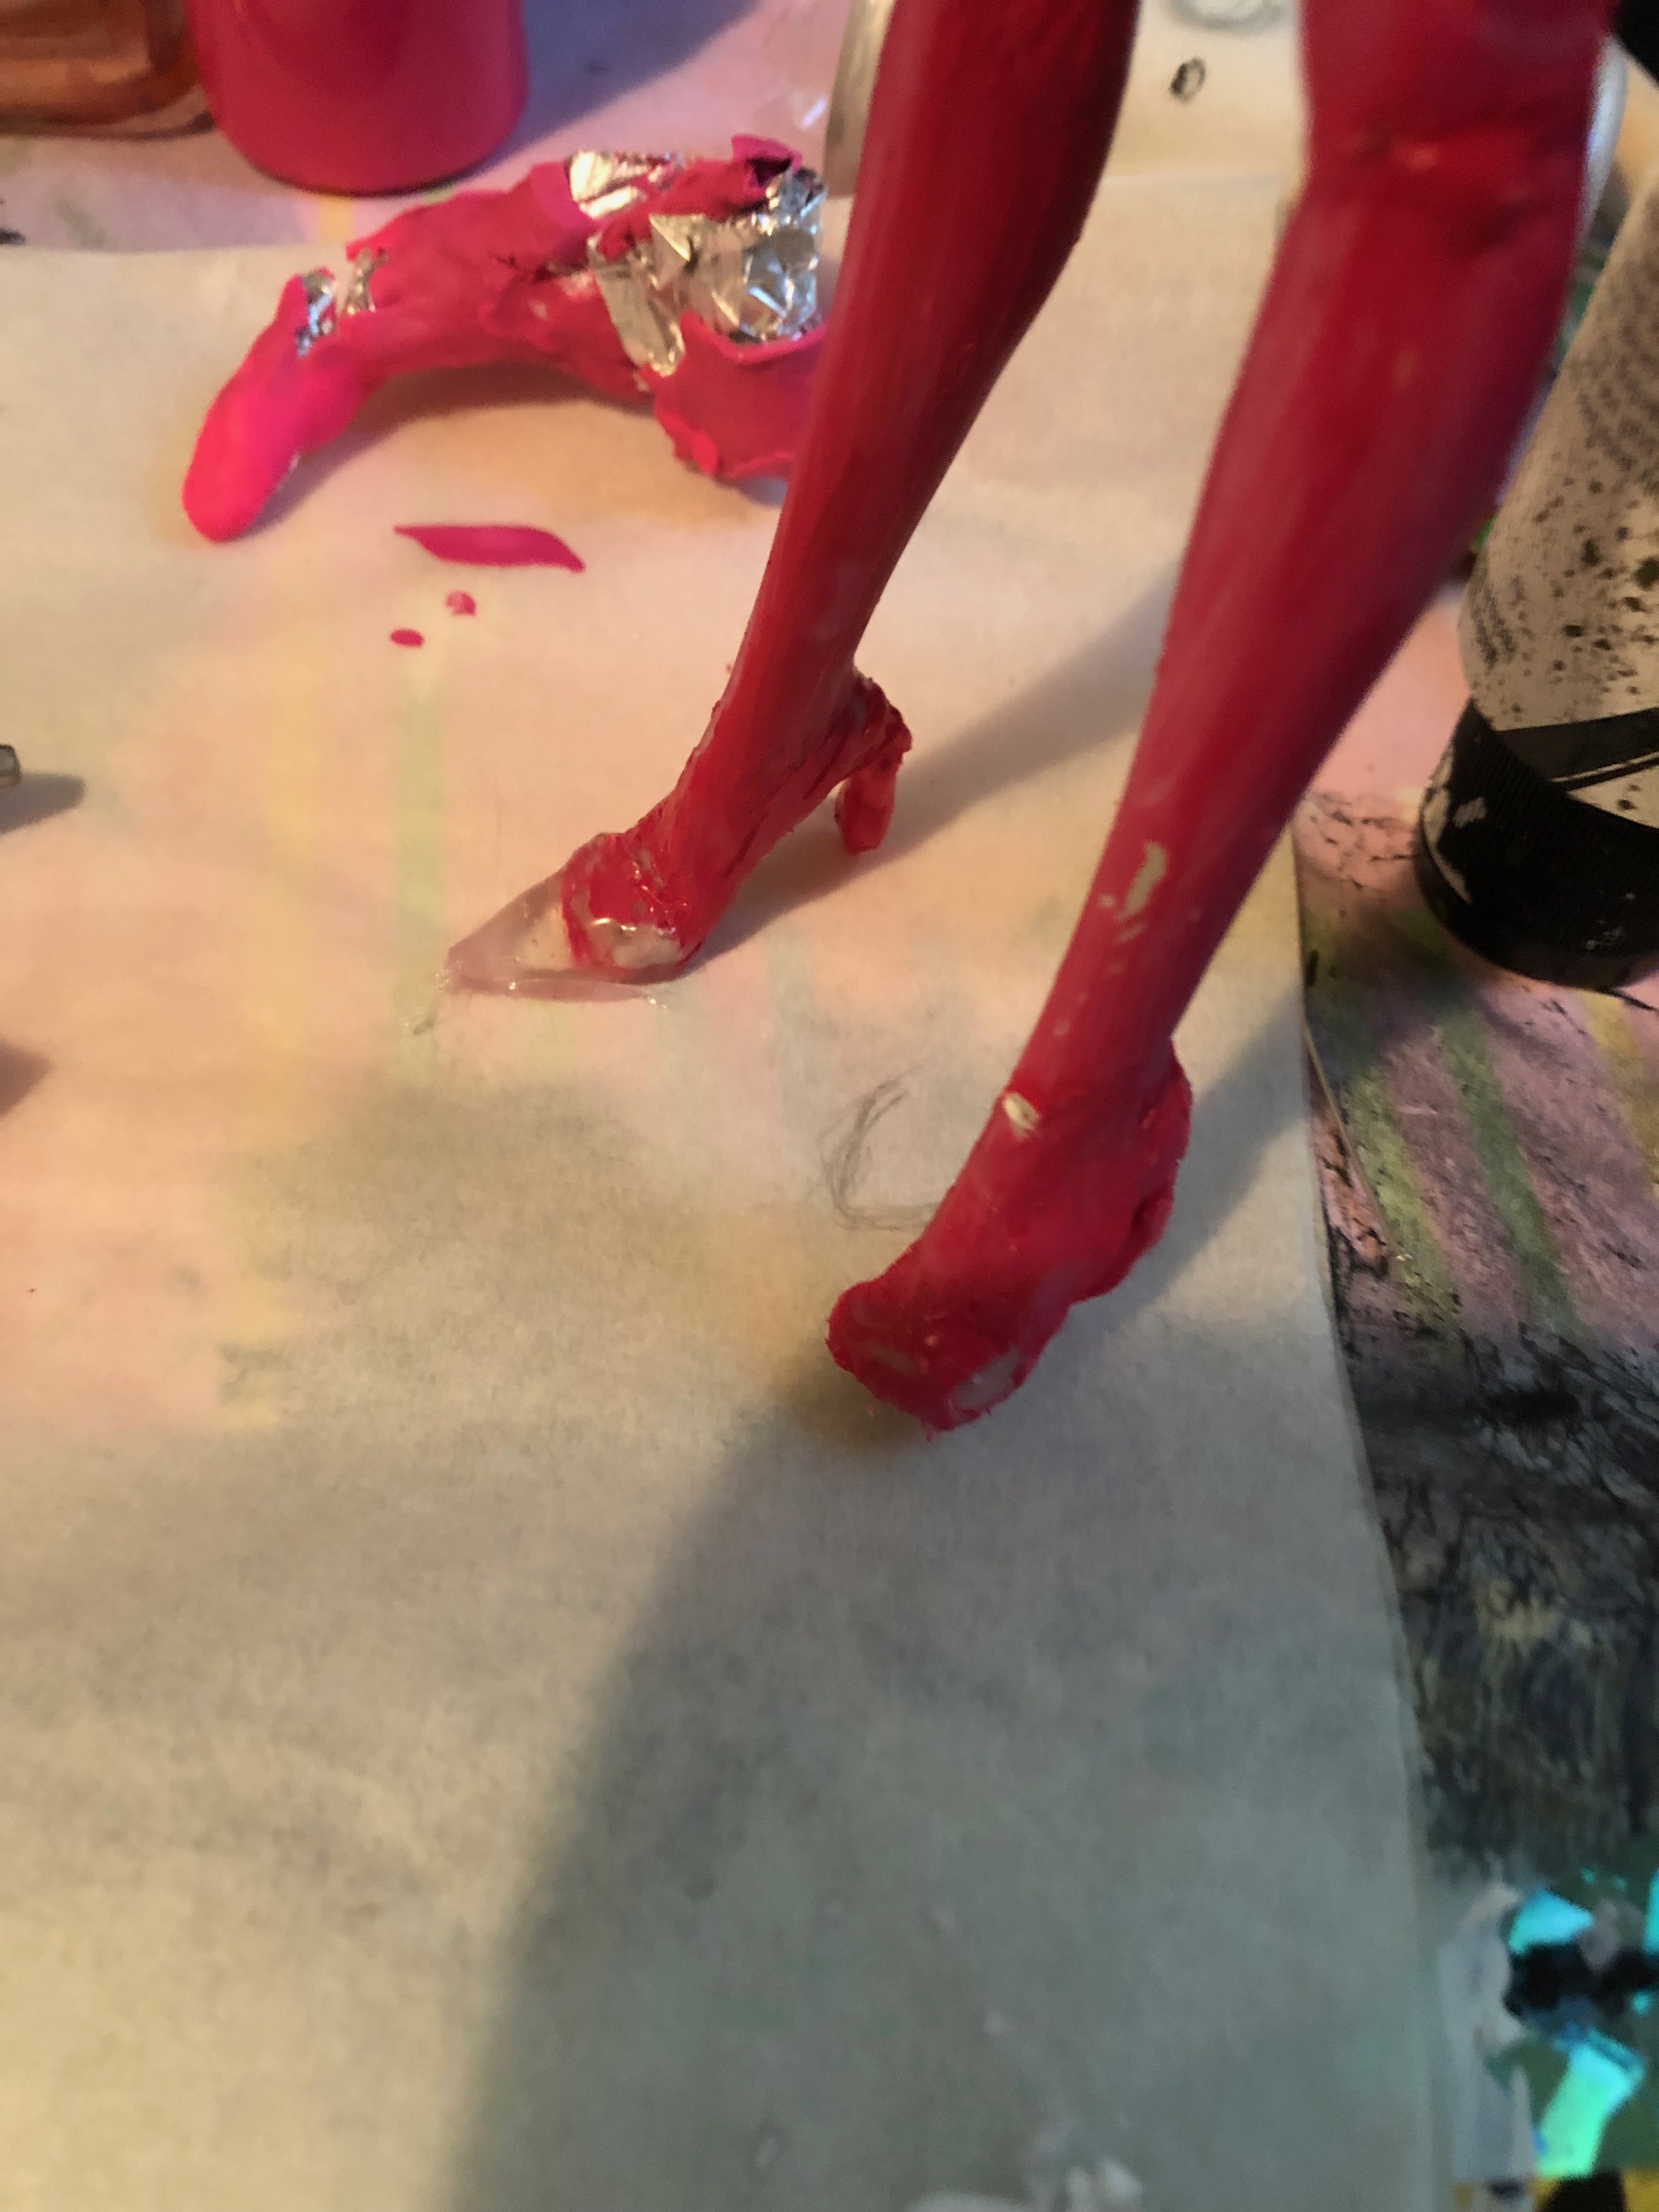
Place the doll’s foot on the parchment paper. Draw around the front of each foot and move the doll aside. Draw the point of the toe of Mettaton’s boots about half an inch out from the foot and make sure it makes sense by putting the doll’s foot in the space. Pour hot glue all over the template and set the doll’s foot on the glue. Do this for both sides and wait for the glue to dry. Put more hot glue on top of the doll’s toes and smooth it down with the tip of the hot glue gun, blending it into the plastic as much as possible. Make two thick lines of hot glue for the wedge of heel and attach it to the heel of the doll. Fill and smooth it as needed.
Attaching the Polymer Clay Pieces
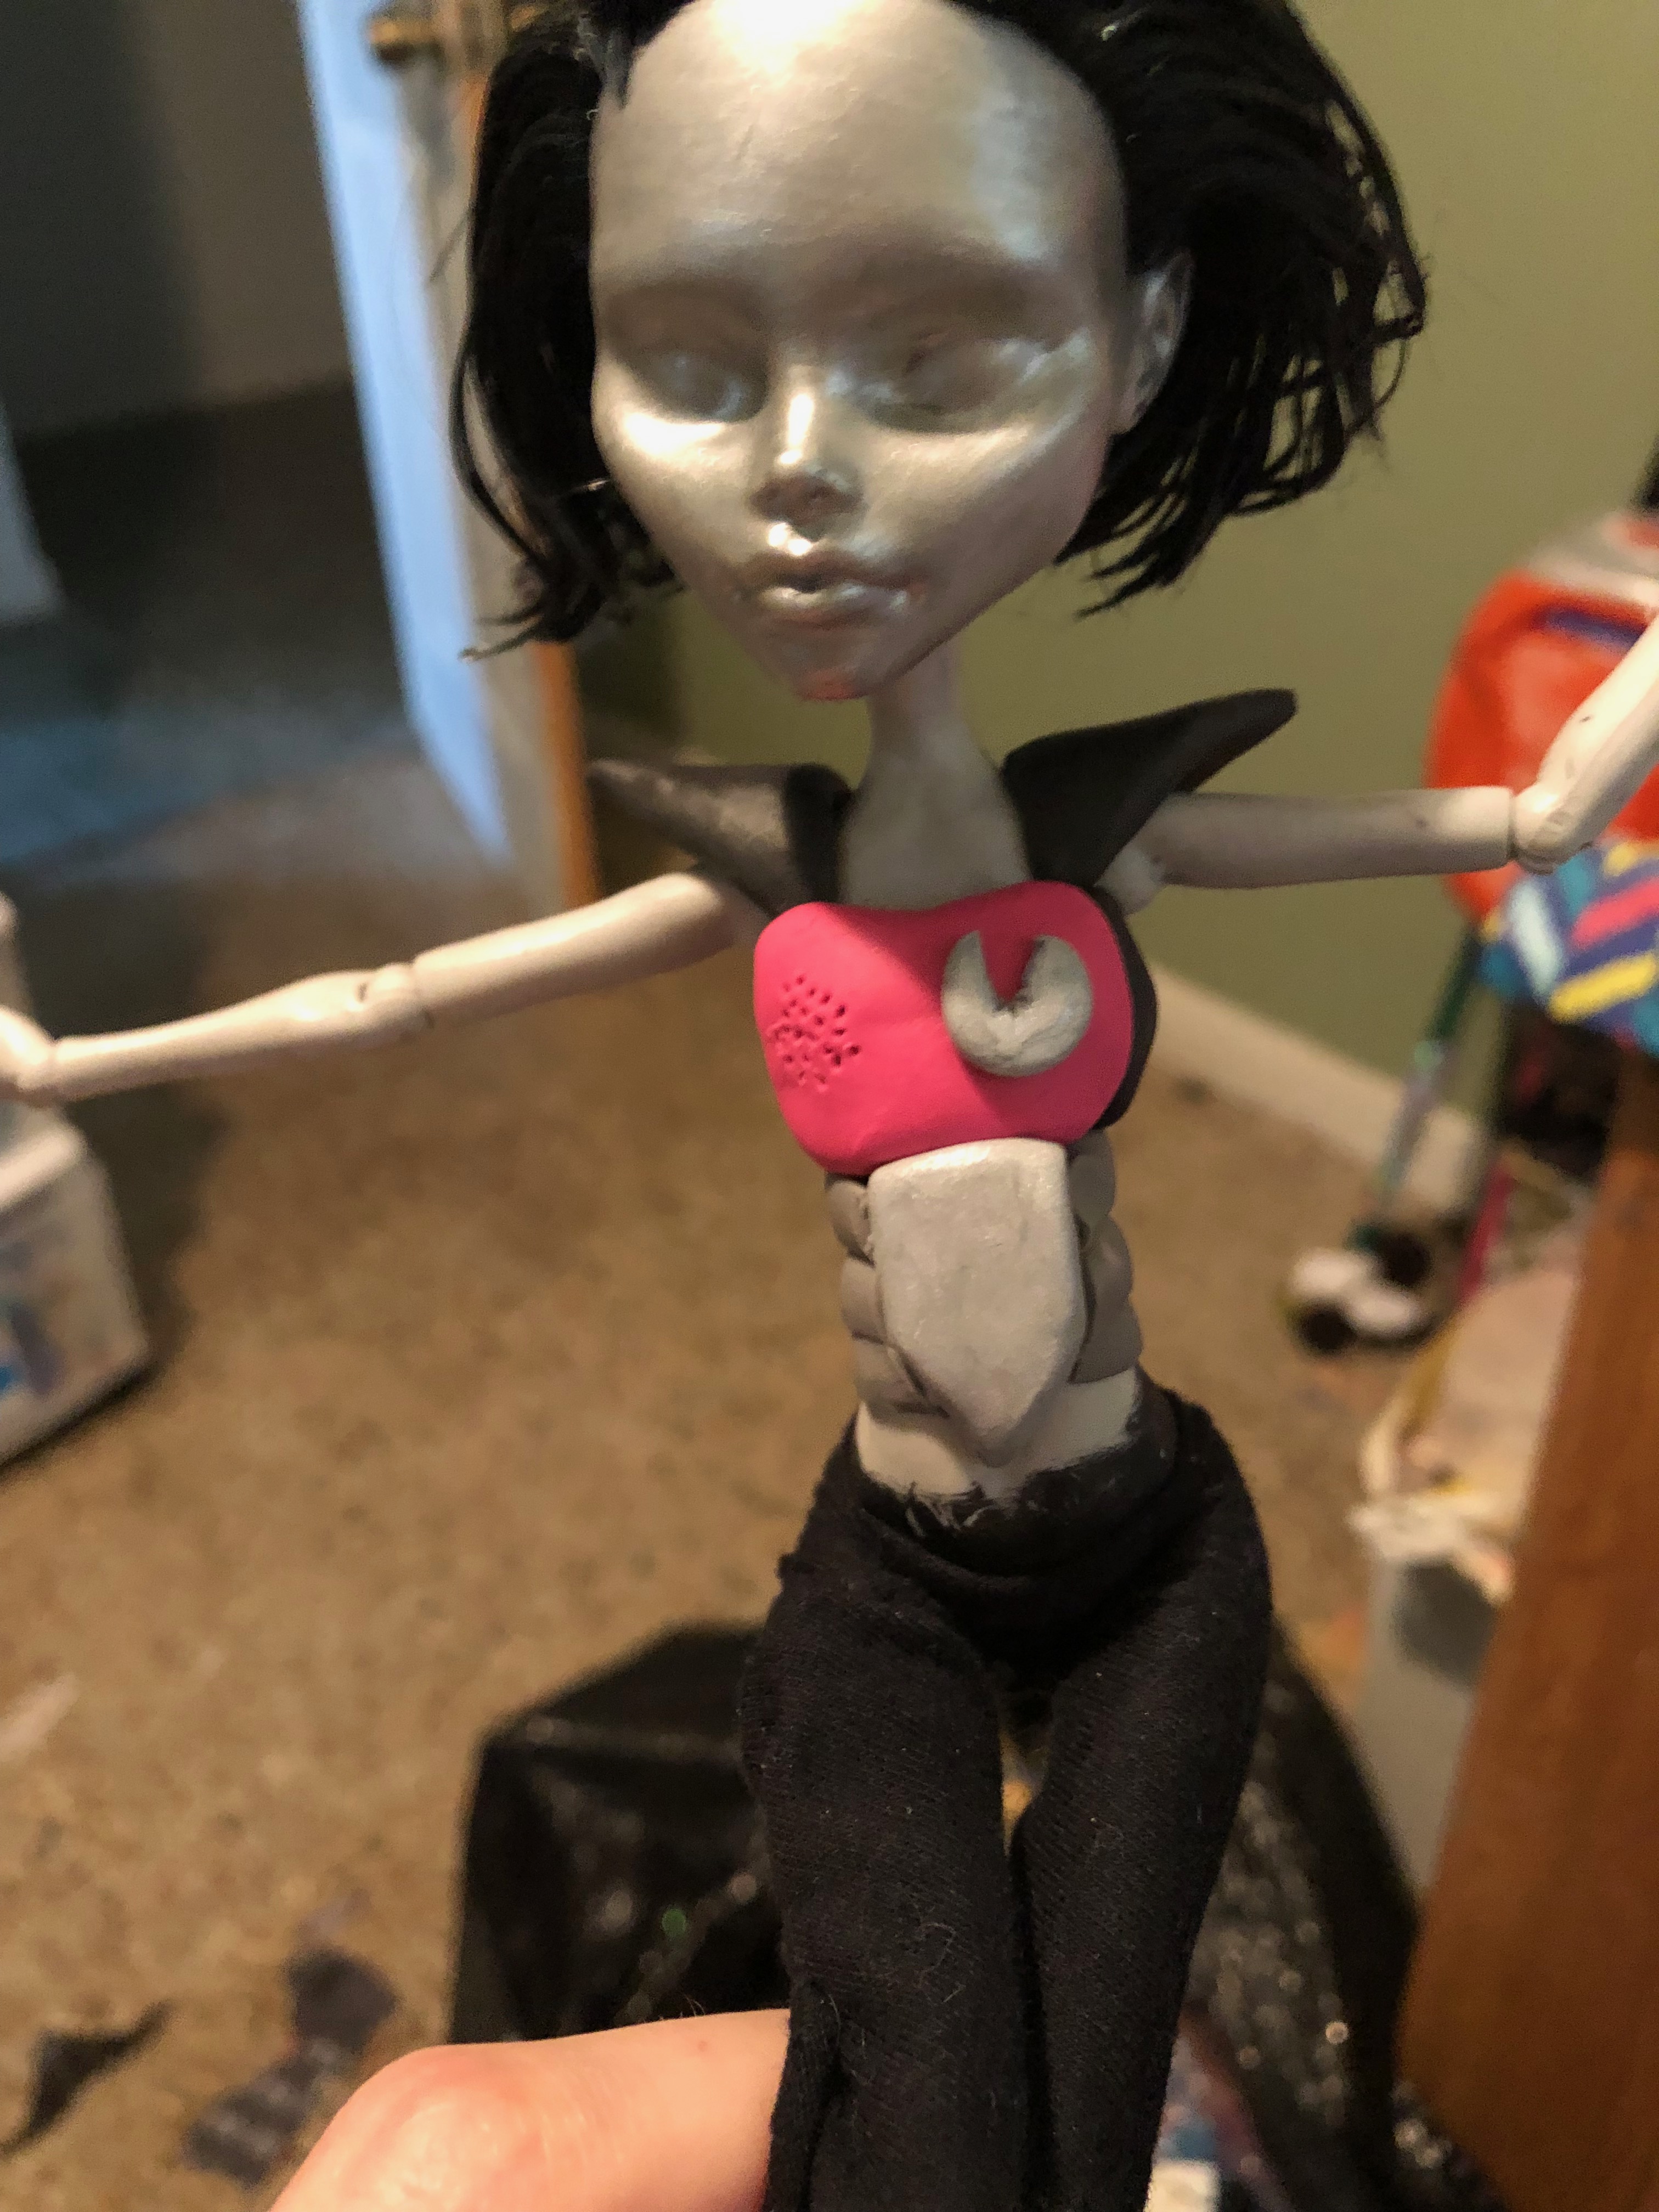
Hot glue all the pieces back on the doll and seal the edges with hot glue. This will ensure it looks much cleaner and professional once its done. The grey stomach pieces had a bit of a gap, so I patched it with hot glue to make it blend in a bit more like welding.
Filling in the Spaces in Mettaton’s Armor
Cover the neck, gaps in the armor, and hot glue with black paint. Paint silver and black on the silver panels around his waist and the silver thing in front for the heart.
Covering Details in Paint

Paint the heart on the panel and outline it in sharpie. Do not seal the sharpie with nail polish, it will run and ruin everything. Paint the ears and the parts of the legs that go into the boots with black paint to make it blend in better.
Filling in the Gaps in the Hot Glue Boots with Nail Polish
Paint over the boot pieces several times with thick coats of nail polish. Give the polish a lot of time to dry before continuing with the next layer, as super thick nail polish can easily get chunky and ruin your doll.
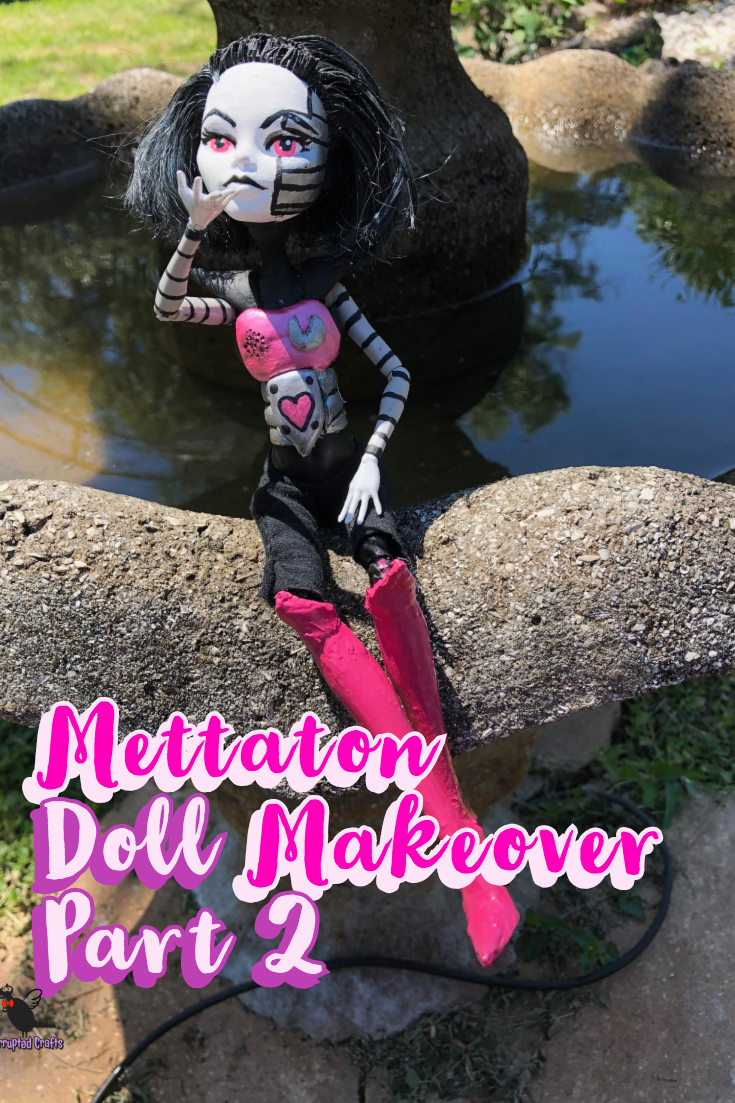
Painting Mettaton’s Boots
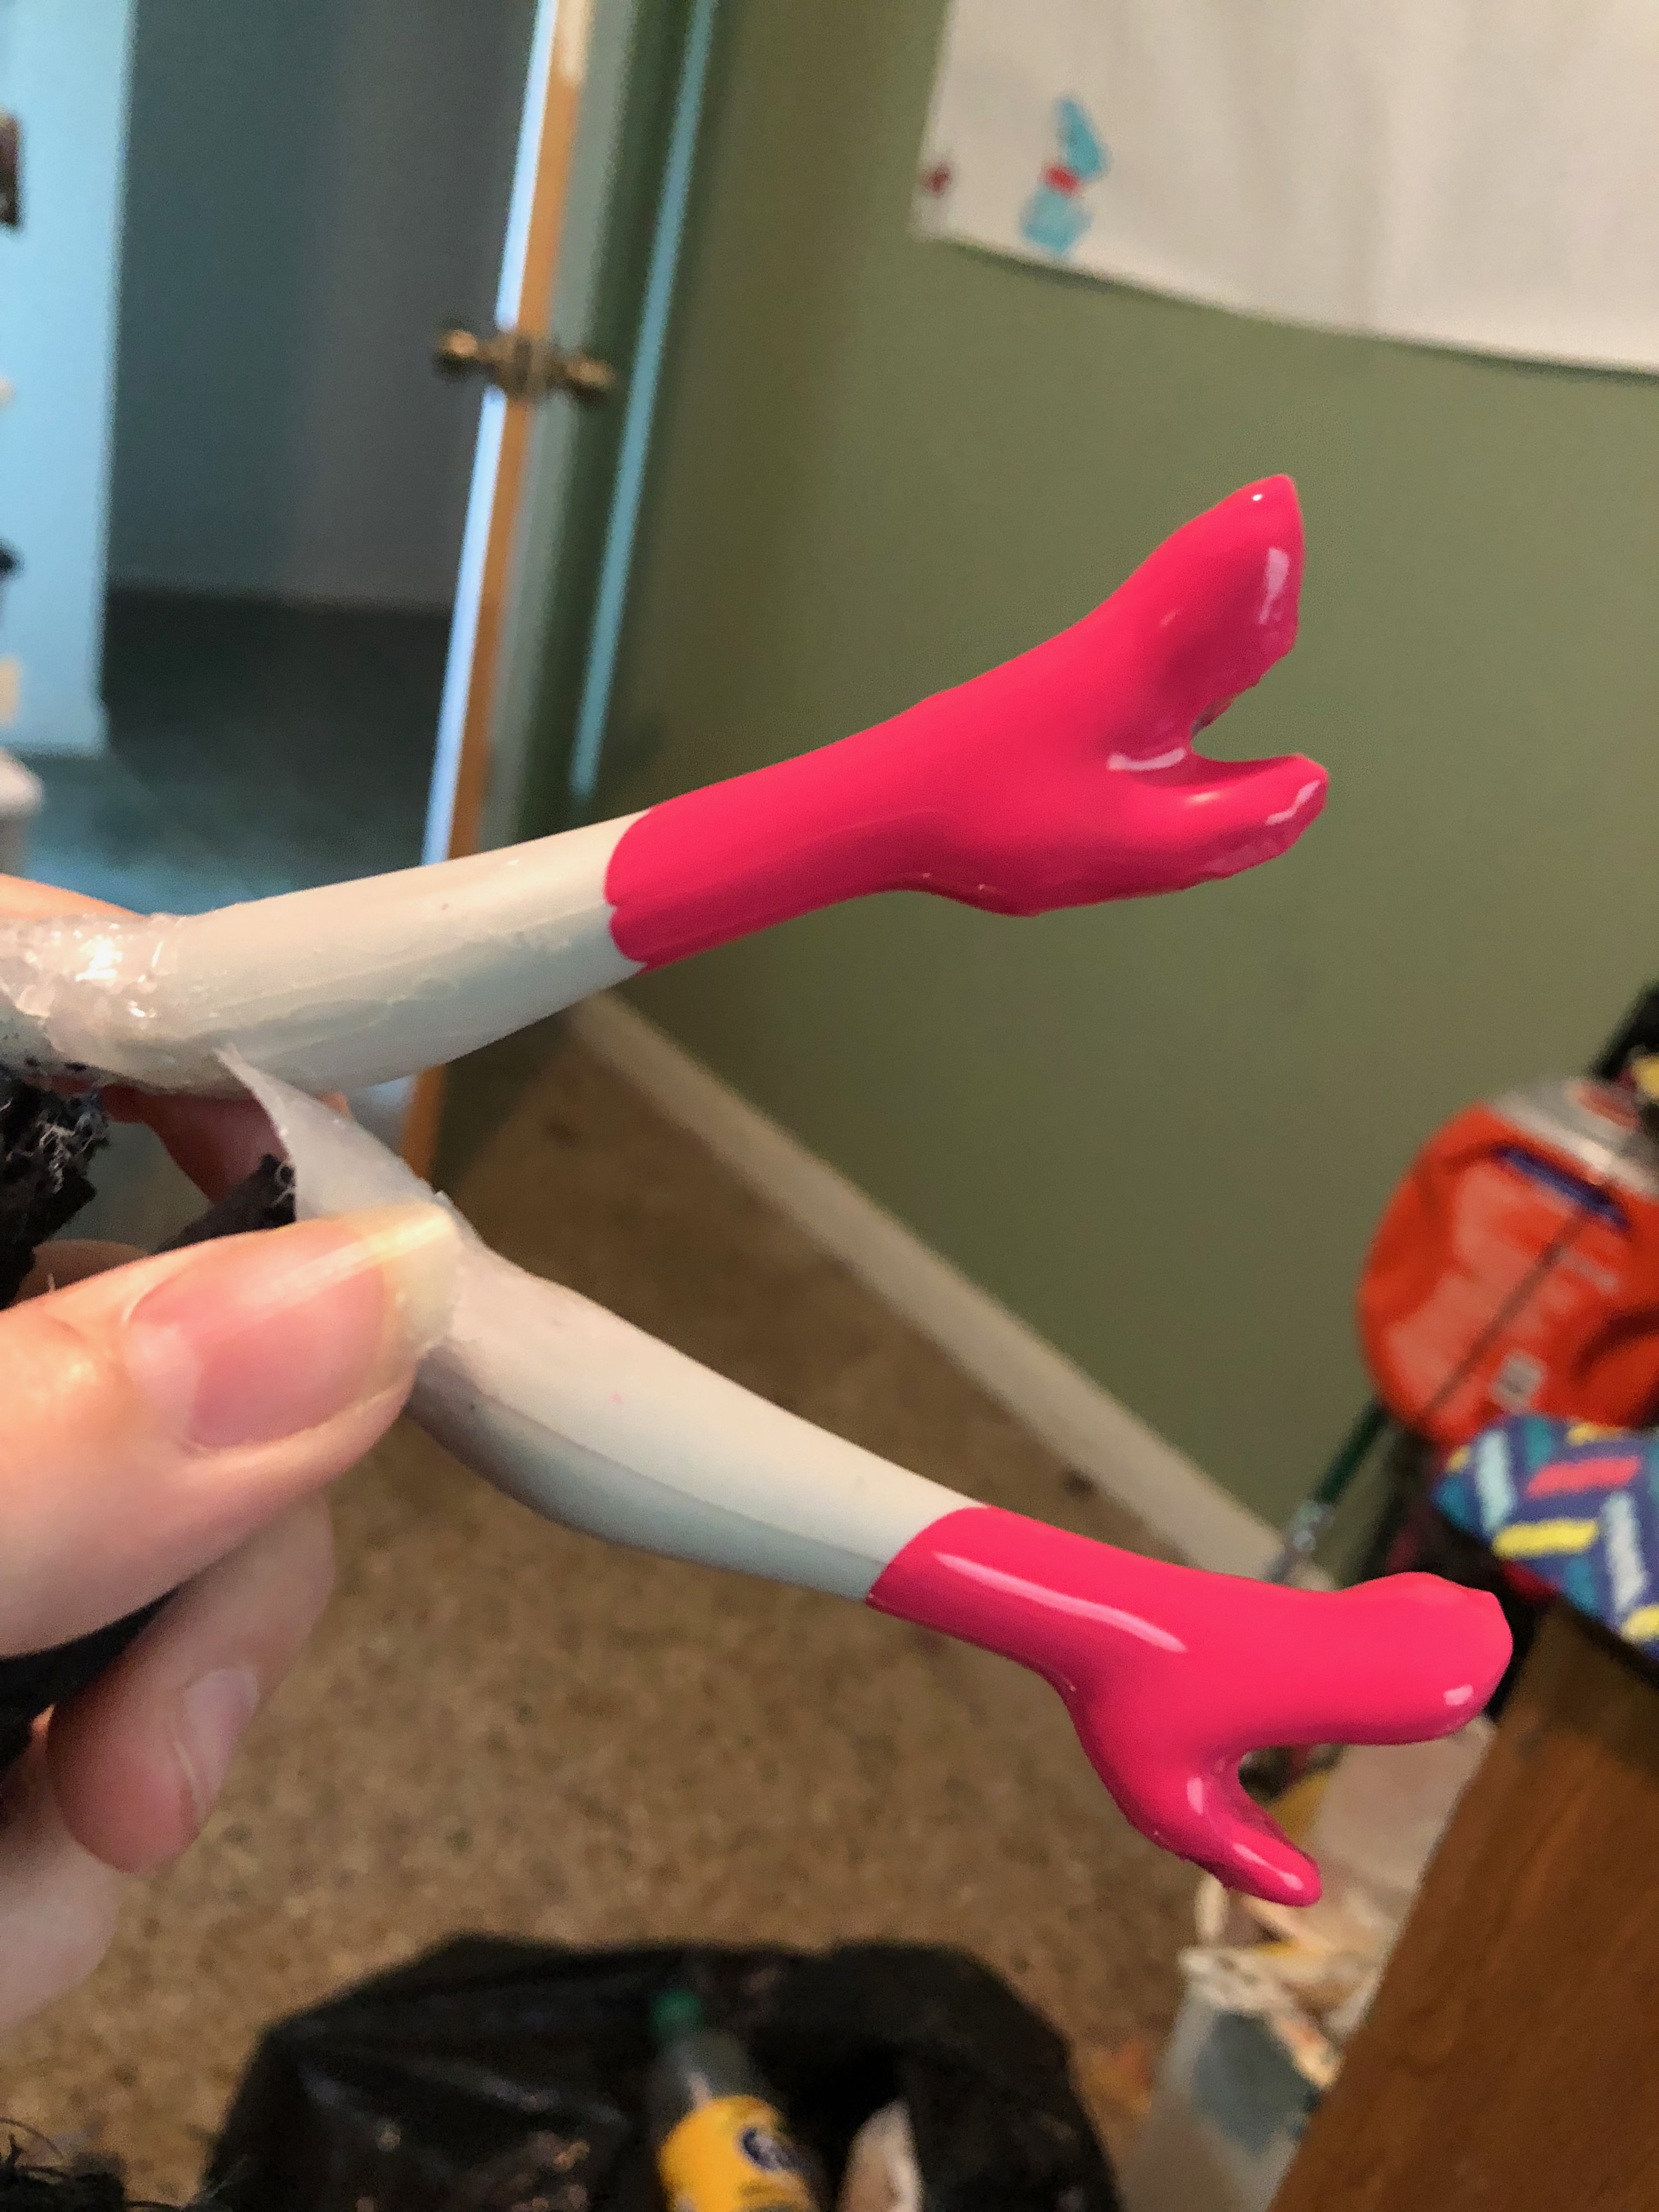
Coat the boots in several coats of fabulous hot pink paint. I also added layers of metallic pink to the chest plate and heart to make them shinier.
Repainting the Doll’s Hands
Pop the hands off the doll and paint them with lots of white paint. This will take at least two coats to get all of the nooks and crannies.
Coating the Hands
Cover the hands in a thick clear coat of nail polish to make everything sealed and protected. Hands are really important to be preserved since they often hold props or are visible.
Painting Mettaton’s Lip
Paint only the upper lip black and make the top of the two points extra pointy. It should look almost like a mustache.
The Metal Faceplate and Details
Paint half of his face with silver paint as shown in the picture. Add black lines to the paint to make the edges look sharp and clean. This is easy to do but very precise, so use a small brush to really get in there.
Touch ups
Paint black stripes on the arms and stick the hands back on. Paint anywhere that needs touch ups, like on the belly under the chest pieces but before the pants.
Glazing the Boots
Because this doll may be going to pose outside, I felt it was needed for his feet to be varnished to hold up to the elements. A clear spray coat was enough to take care of that, I chose a Valspar spray coat that can be obtained at a hardware store or Walmart.
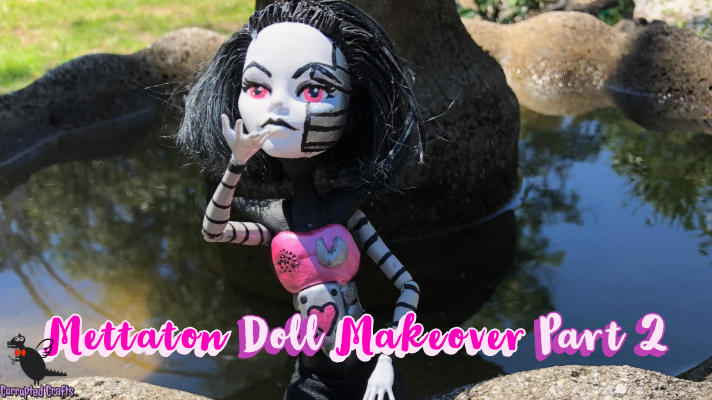
Finish
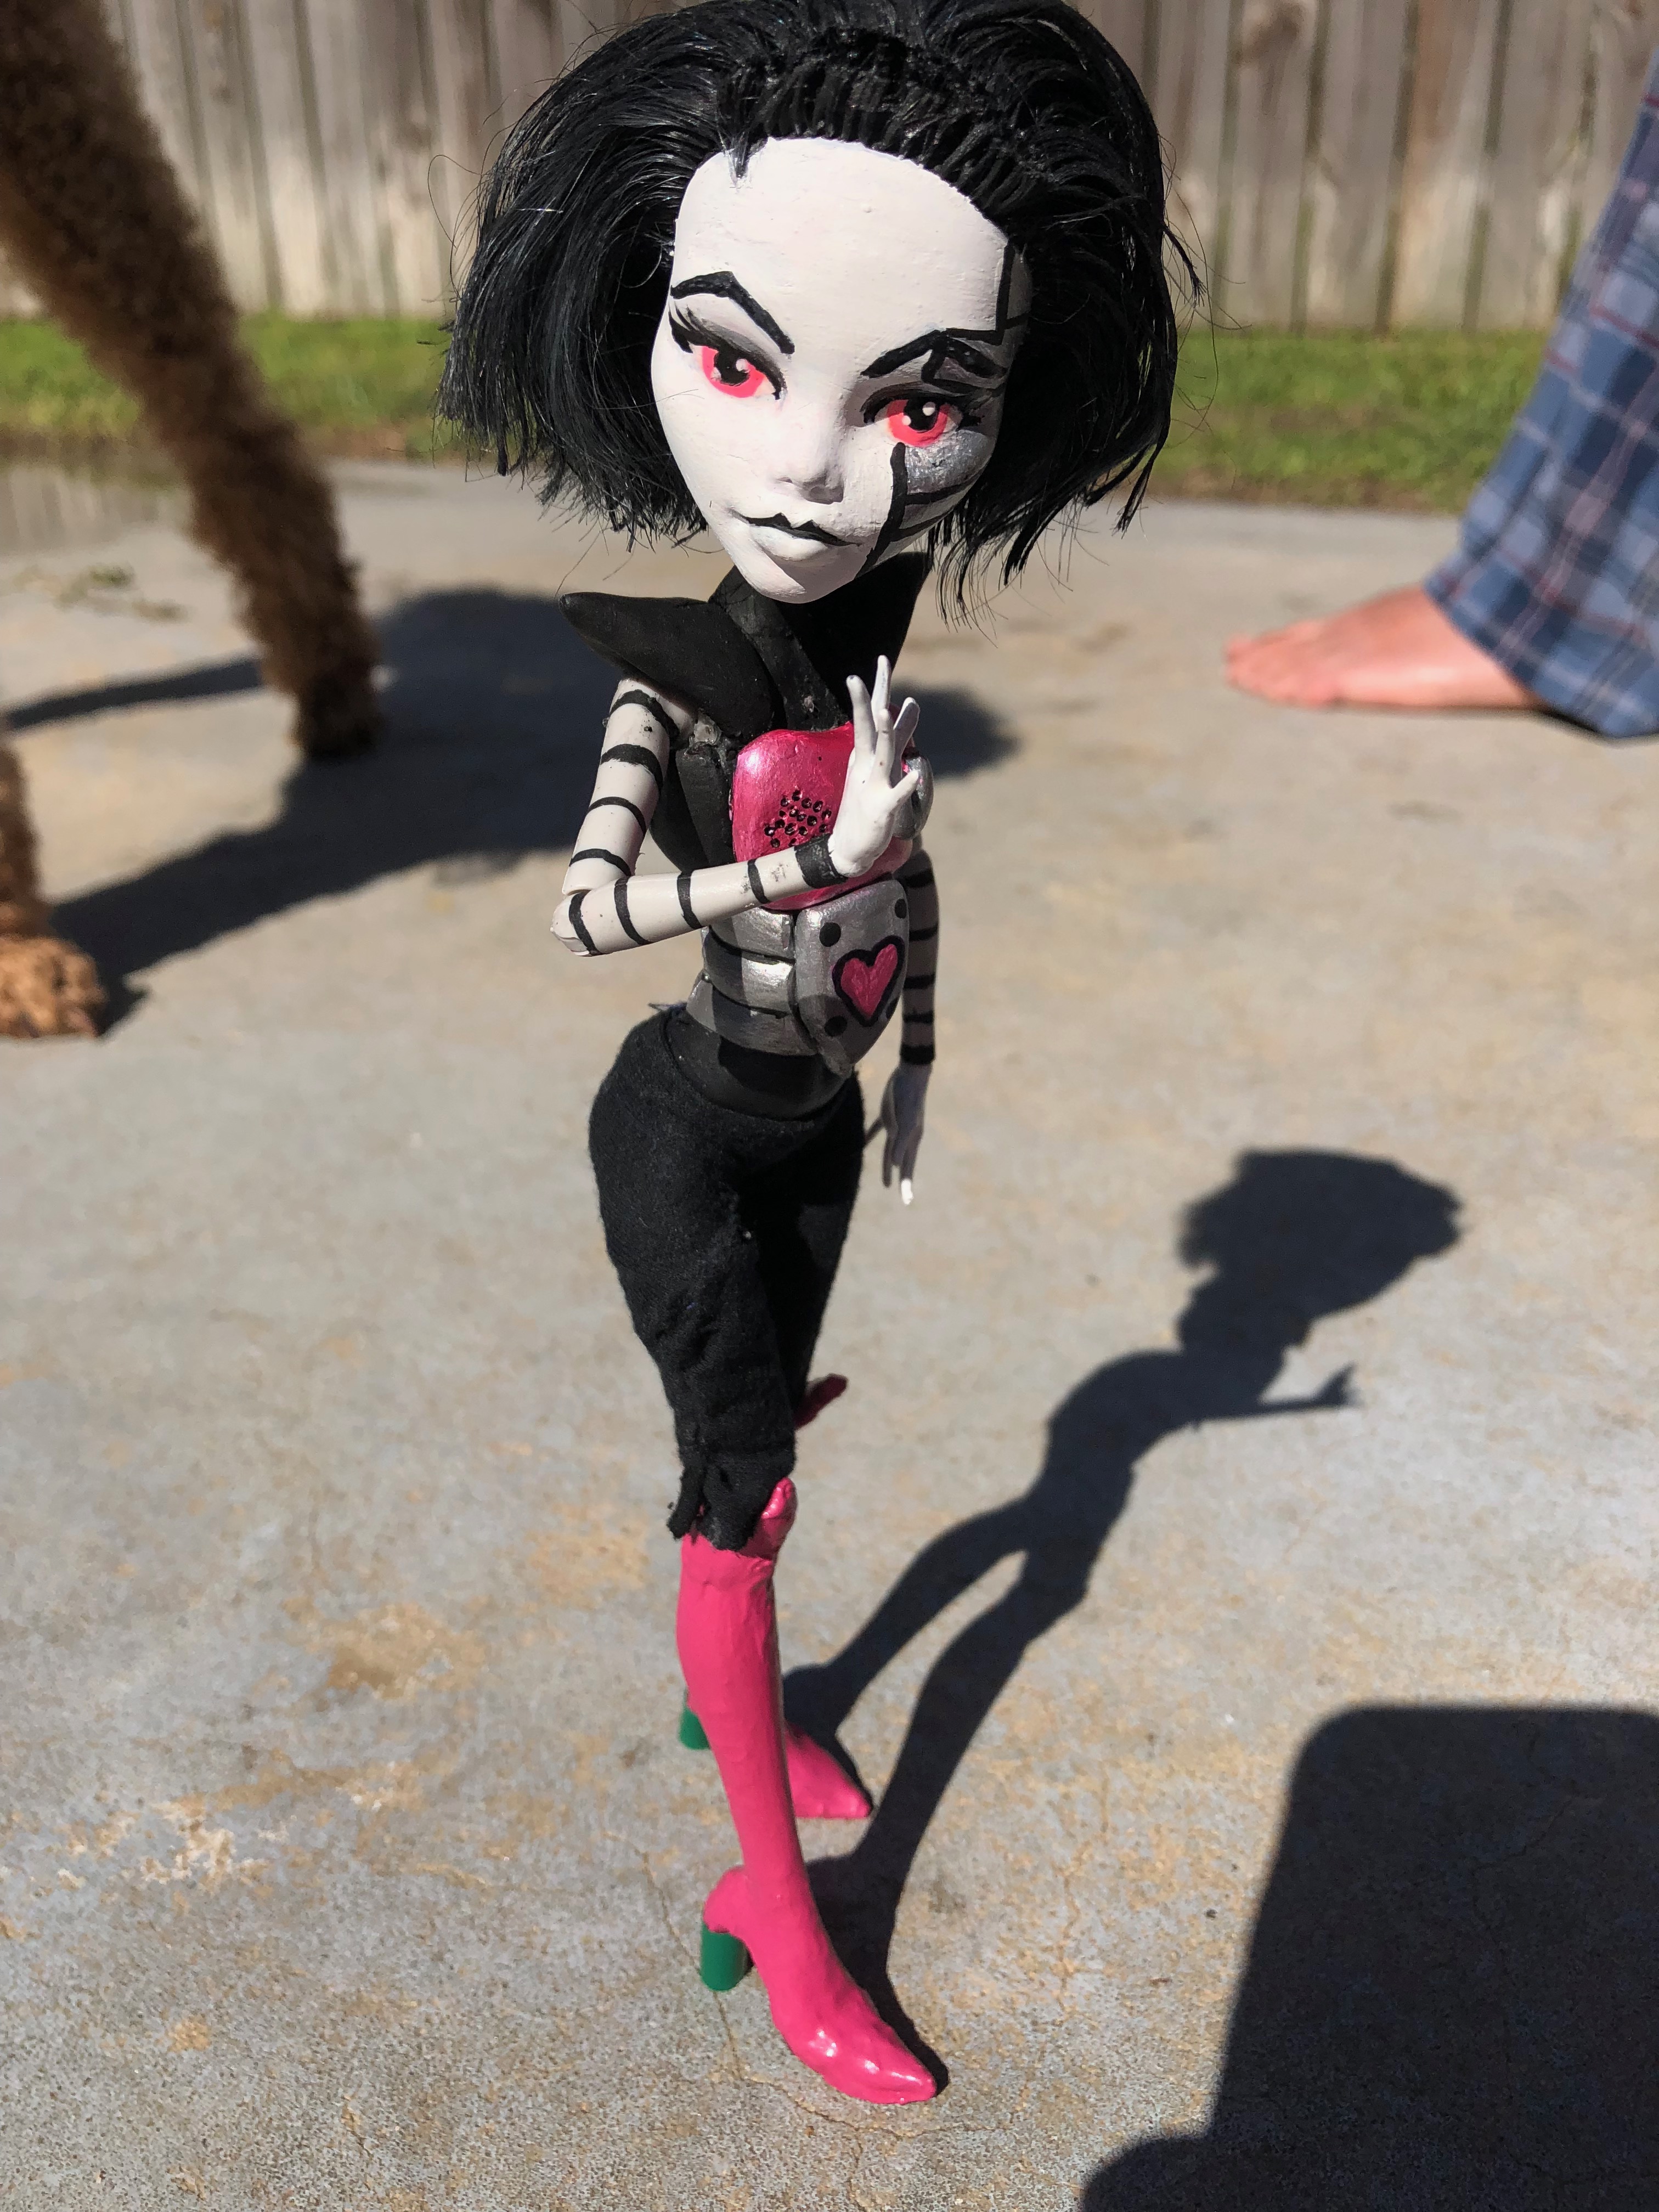
And your Mettaton EX Doll has been repainted. If you liked this post, you may enjoy my LPS Bird Repaint, or some of my other Repaints. Happy Crafting!