
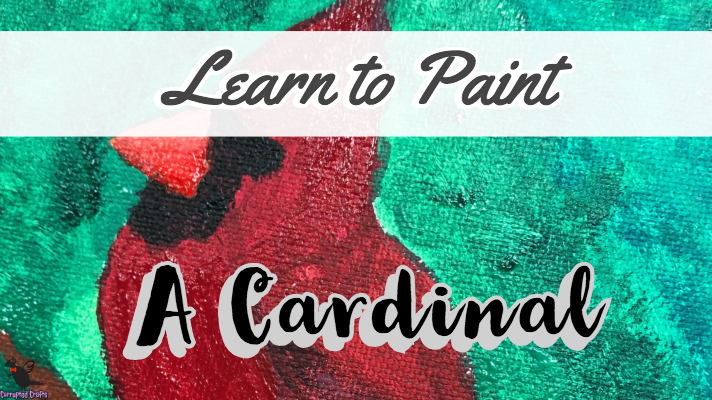
Cardinals are known for being vividly red and gorgeous. This cardinal in particular was really fun to paint because of his derpy legs. This tutorial is sort of a “figure it out as you go” tutorial, I had no idea what I was doing and just sort of shaped the blobs the way I needed.
What you will need
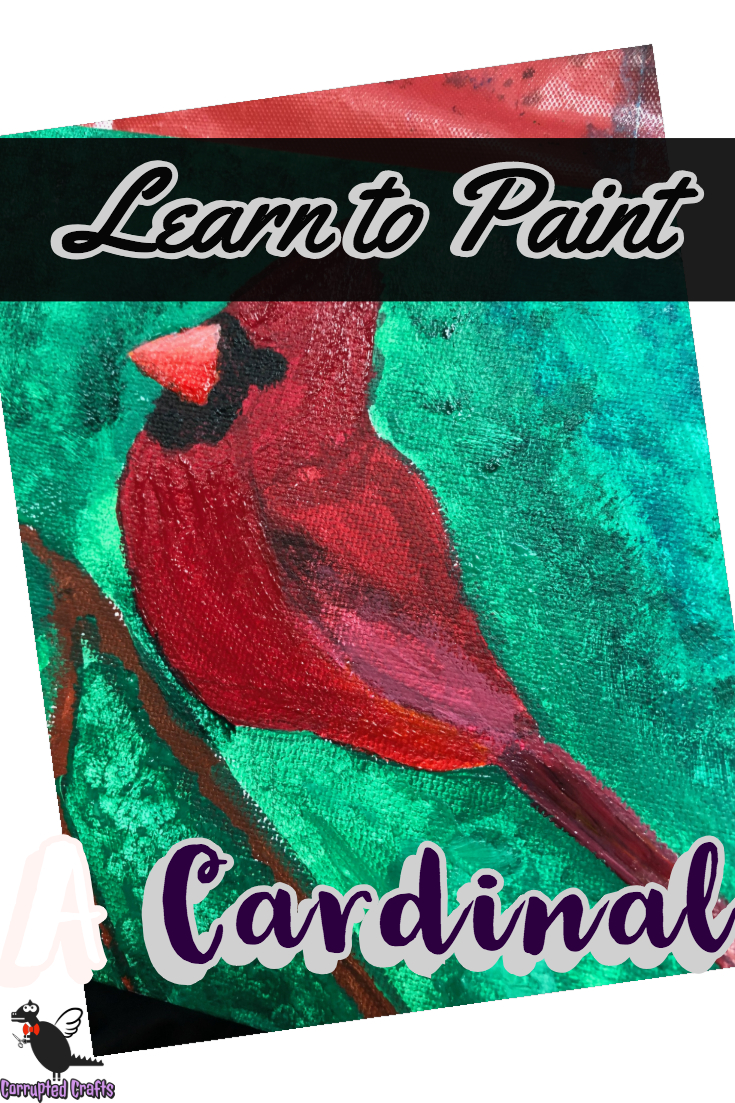
Sketching the Colorful Cardinal Painting
Start by sketching out the base of the bird. The bird should have a rounded underbelly, a straight tail, a straight back with a dent for the wing to poke out just a little, with a slight lump under the tail to hold it up. Sketch the branch out too, with little twigs coming off it to make it look extra sticky.
Putting down Base Colors of the Cardinal Painting
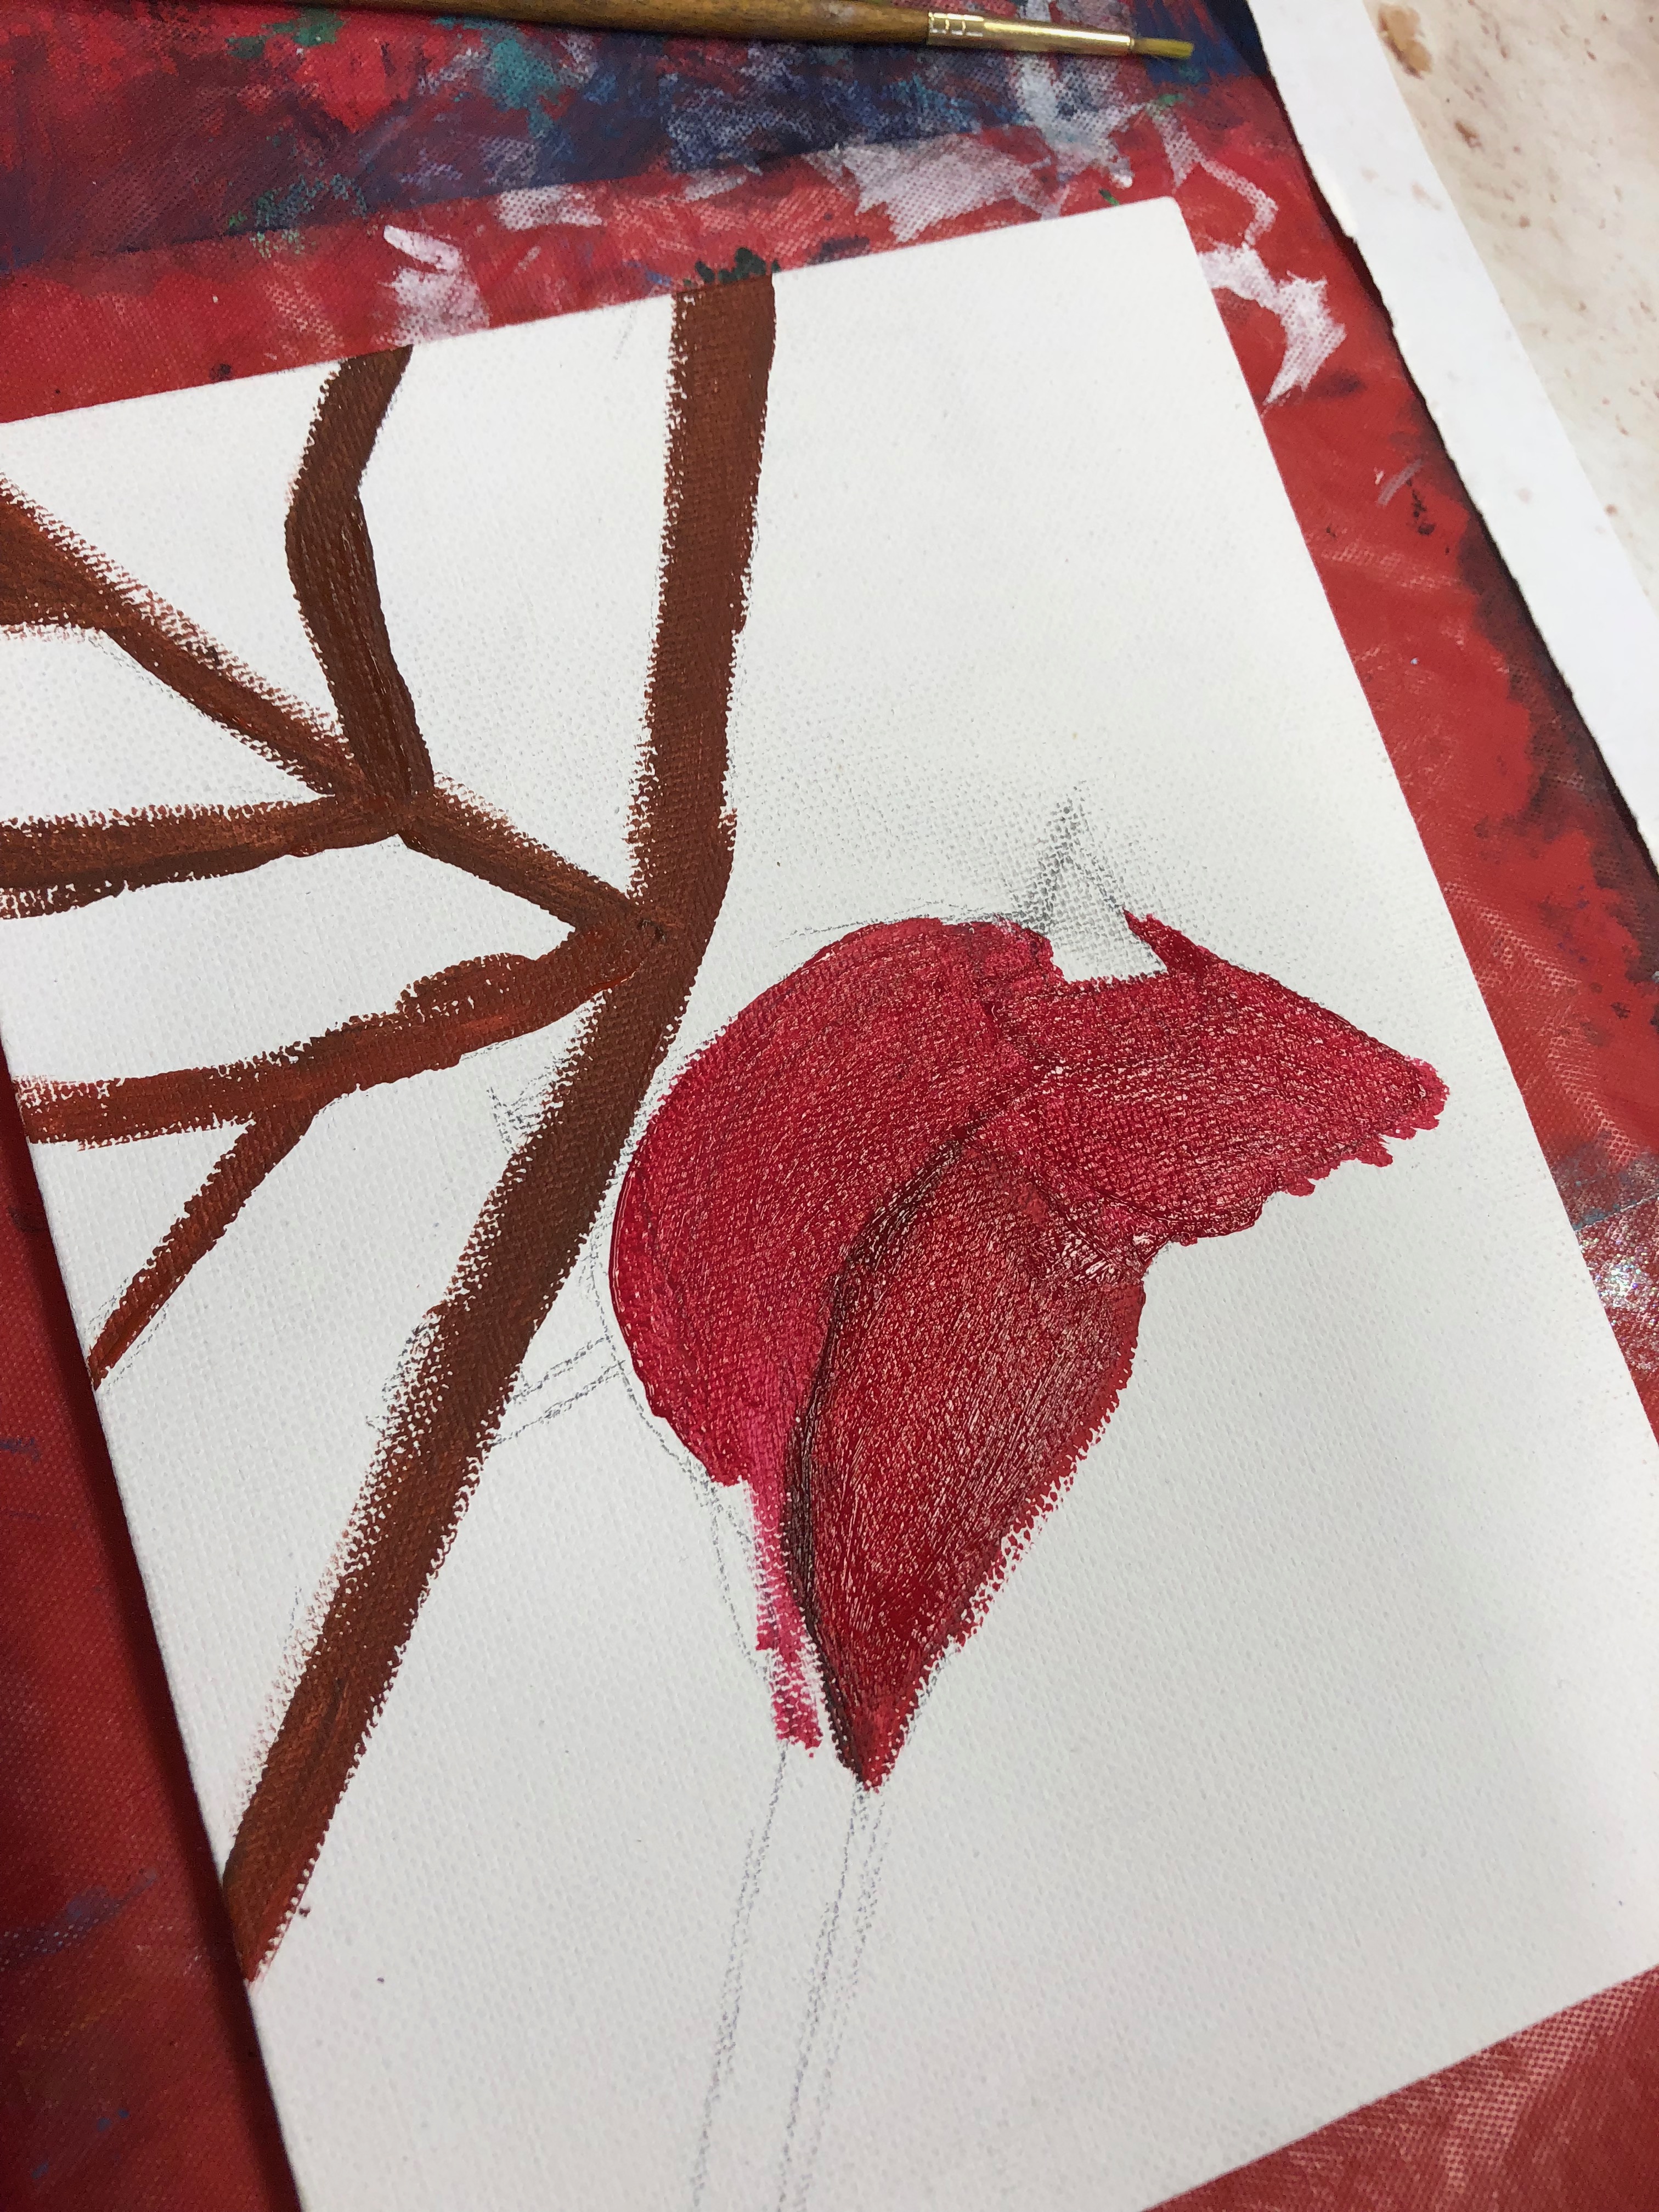
Plop some red on the canvas. Stay inside your lines, or don’t. It does not matter how neat your lines are, since we will be pulling the shape of the cardinal out from it.
Painting the Stick
Pick up several shades of brown paint on your brush and brush it all on the canvas. This will give all of your variation in one clean swoop. Blend the colors just a little, enough that it makes sense without being overly blended into one shade of brown. The bird is perched on a branch, not a poop.
Painting the Background of the Cardinal
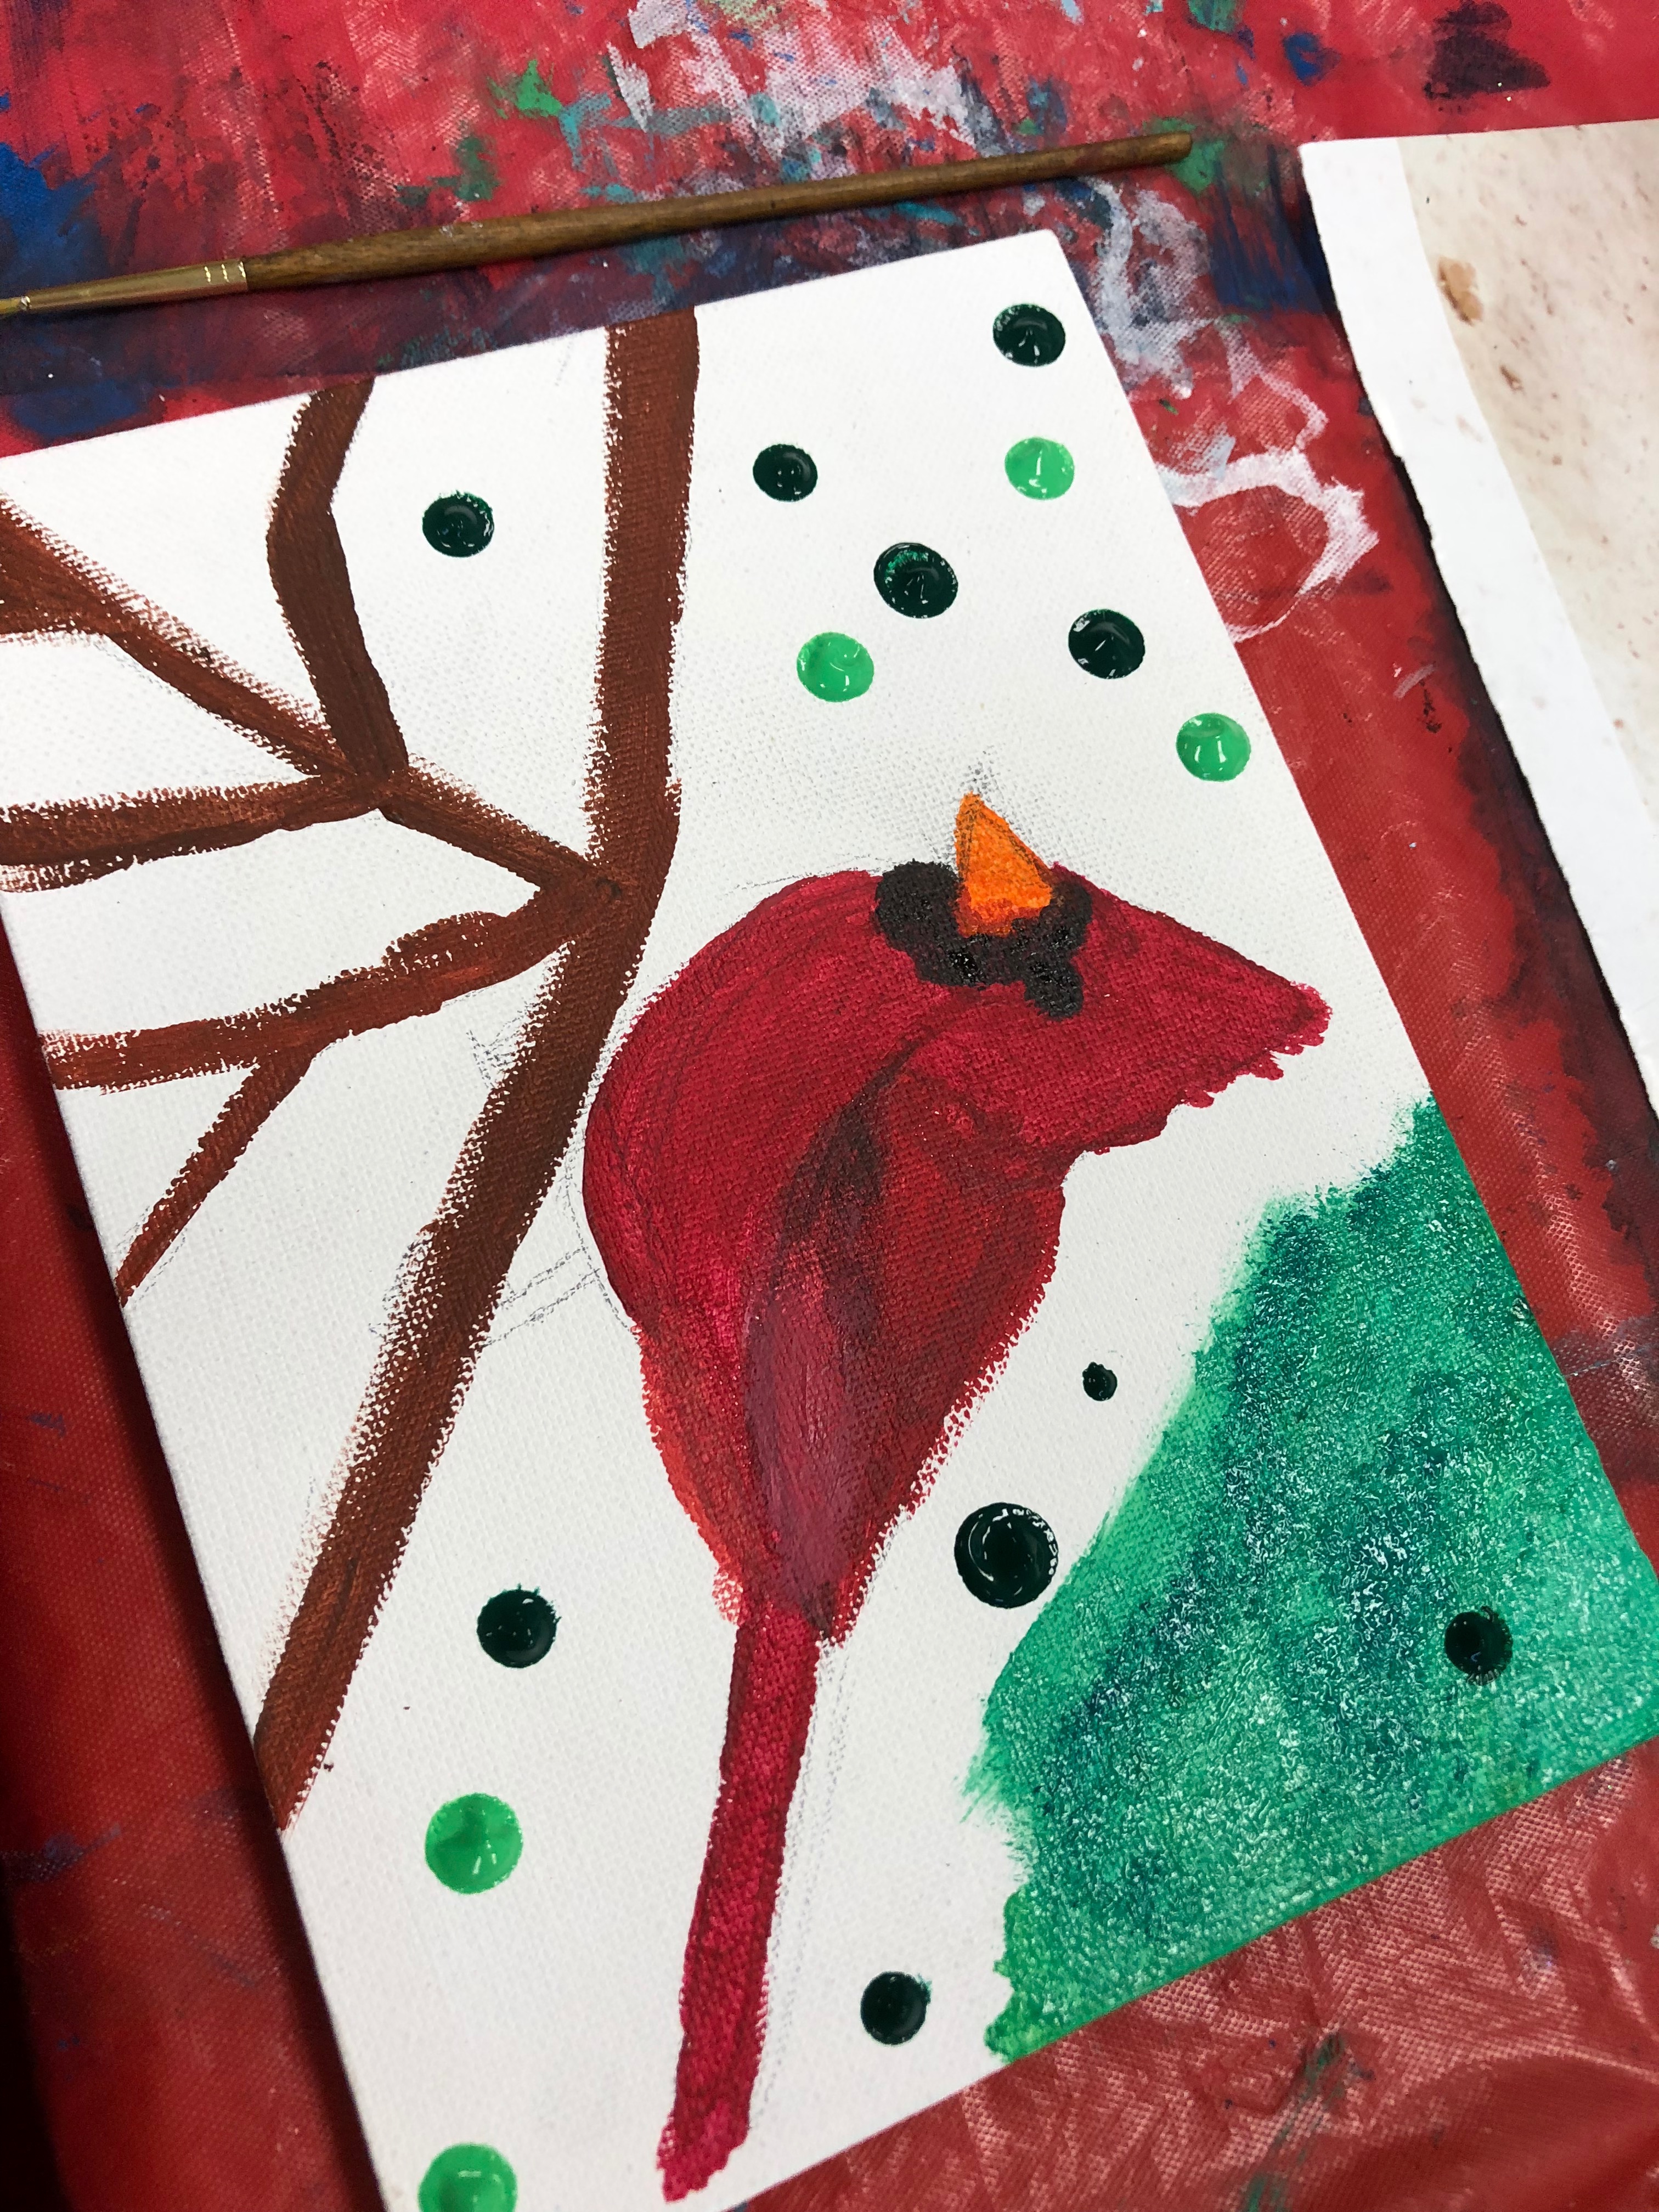
Get a big brush and pick up green and white. Dab that paint all over the canvas to make the treetop background. Go around the cardinal with a smaller brush to define the bird and apply dark green under the bird like a shadow. I chose to use a lot of dark and light and a little neon green to achieve my desired look, but this is completely optional.
Defining the Wings
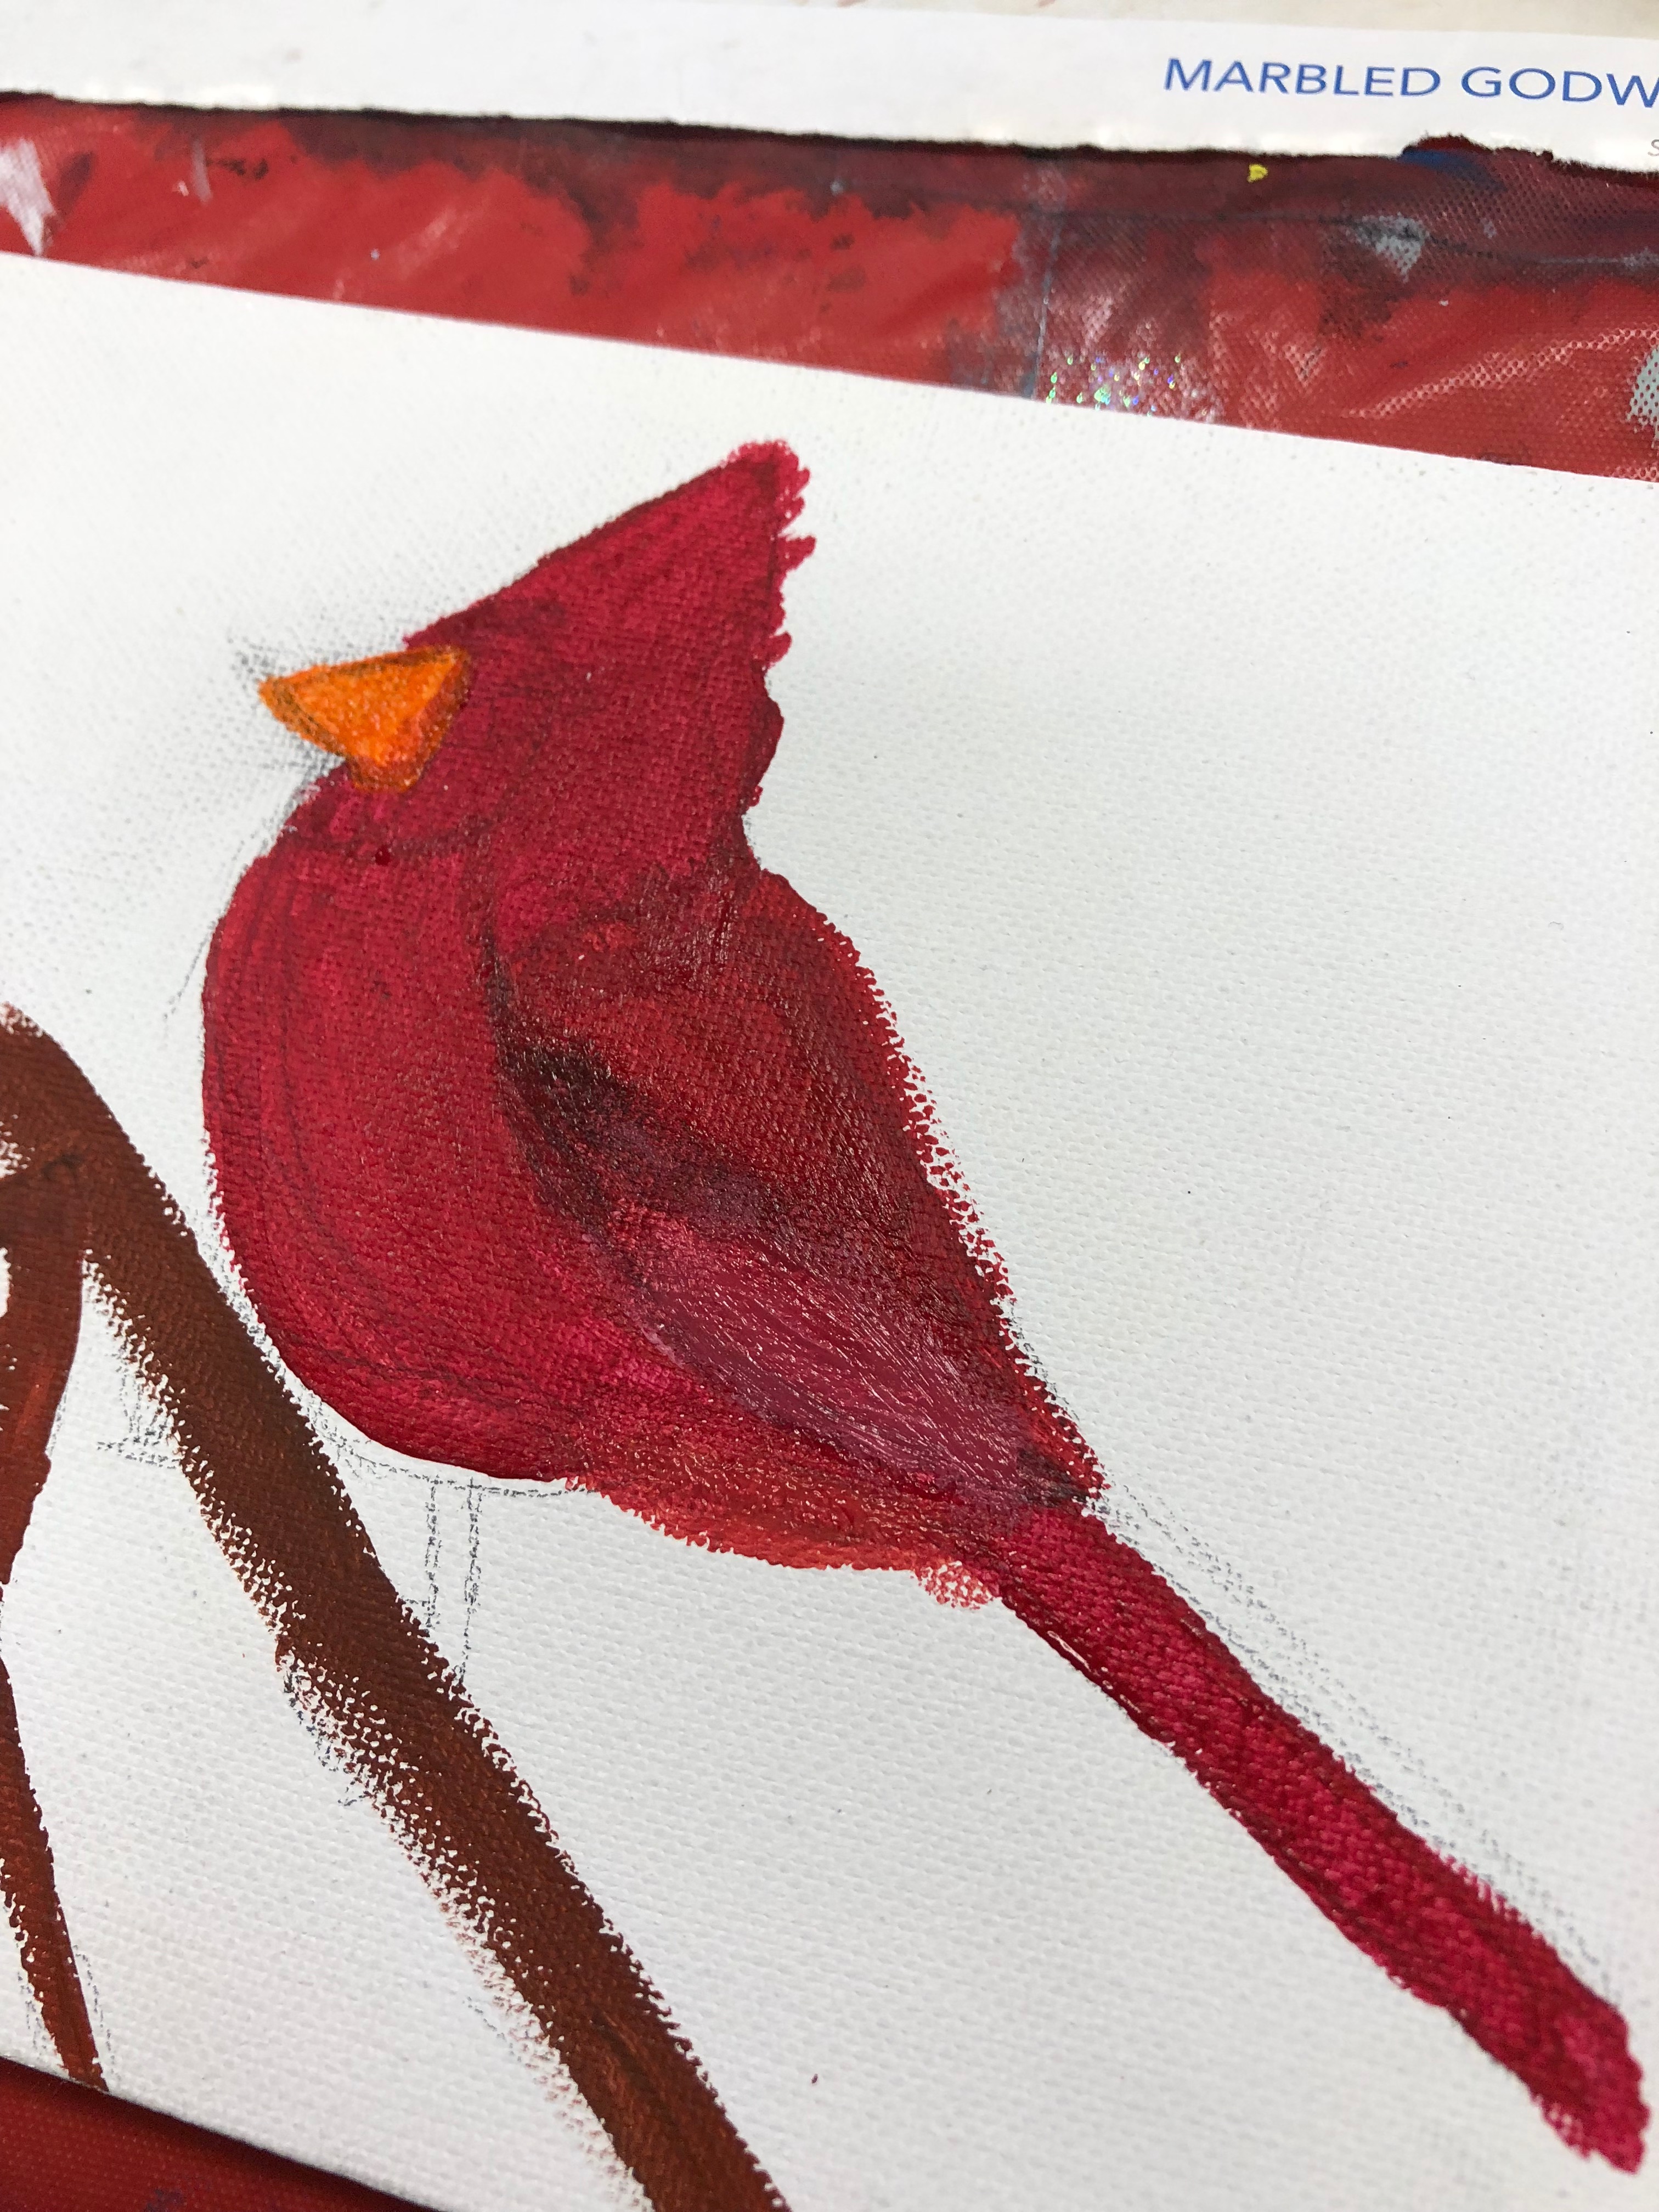
Use a red that is either darker or mixed with a little black and paint the back underwing part of the bird. Leave the wing lighter, and add highlights to it to make it look like shiny feathers. Continue adding light and dark colors as needed to make the bird as colorful as possible.
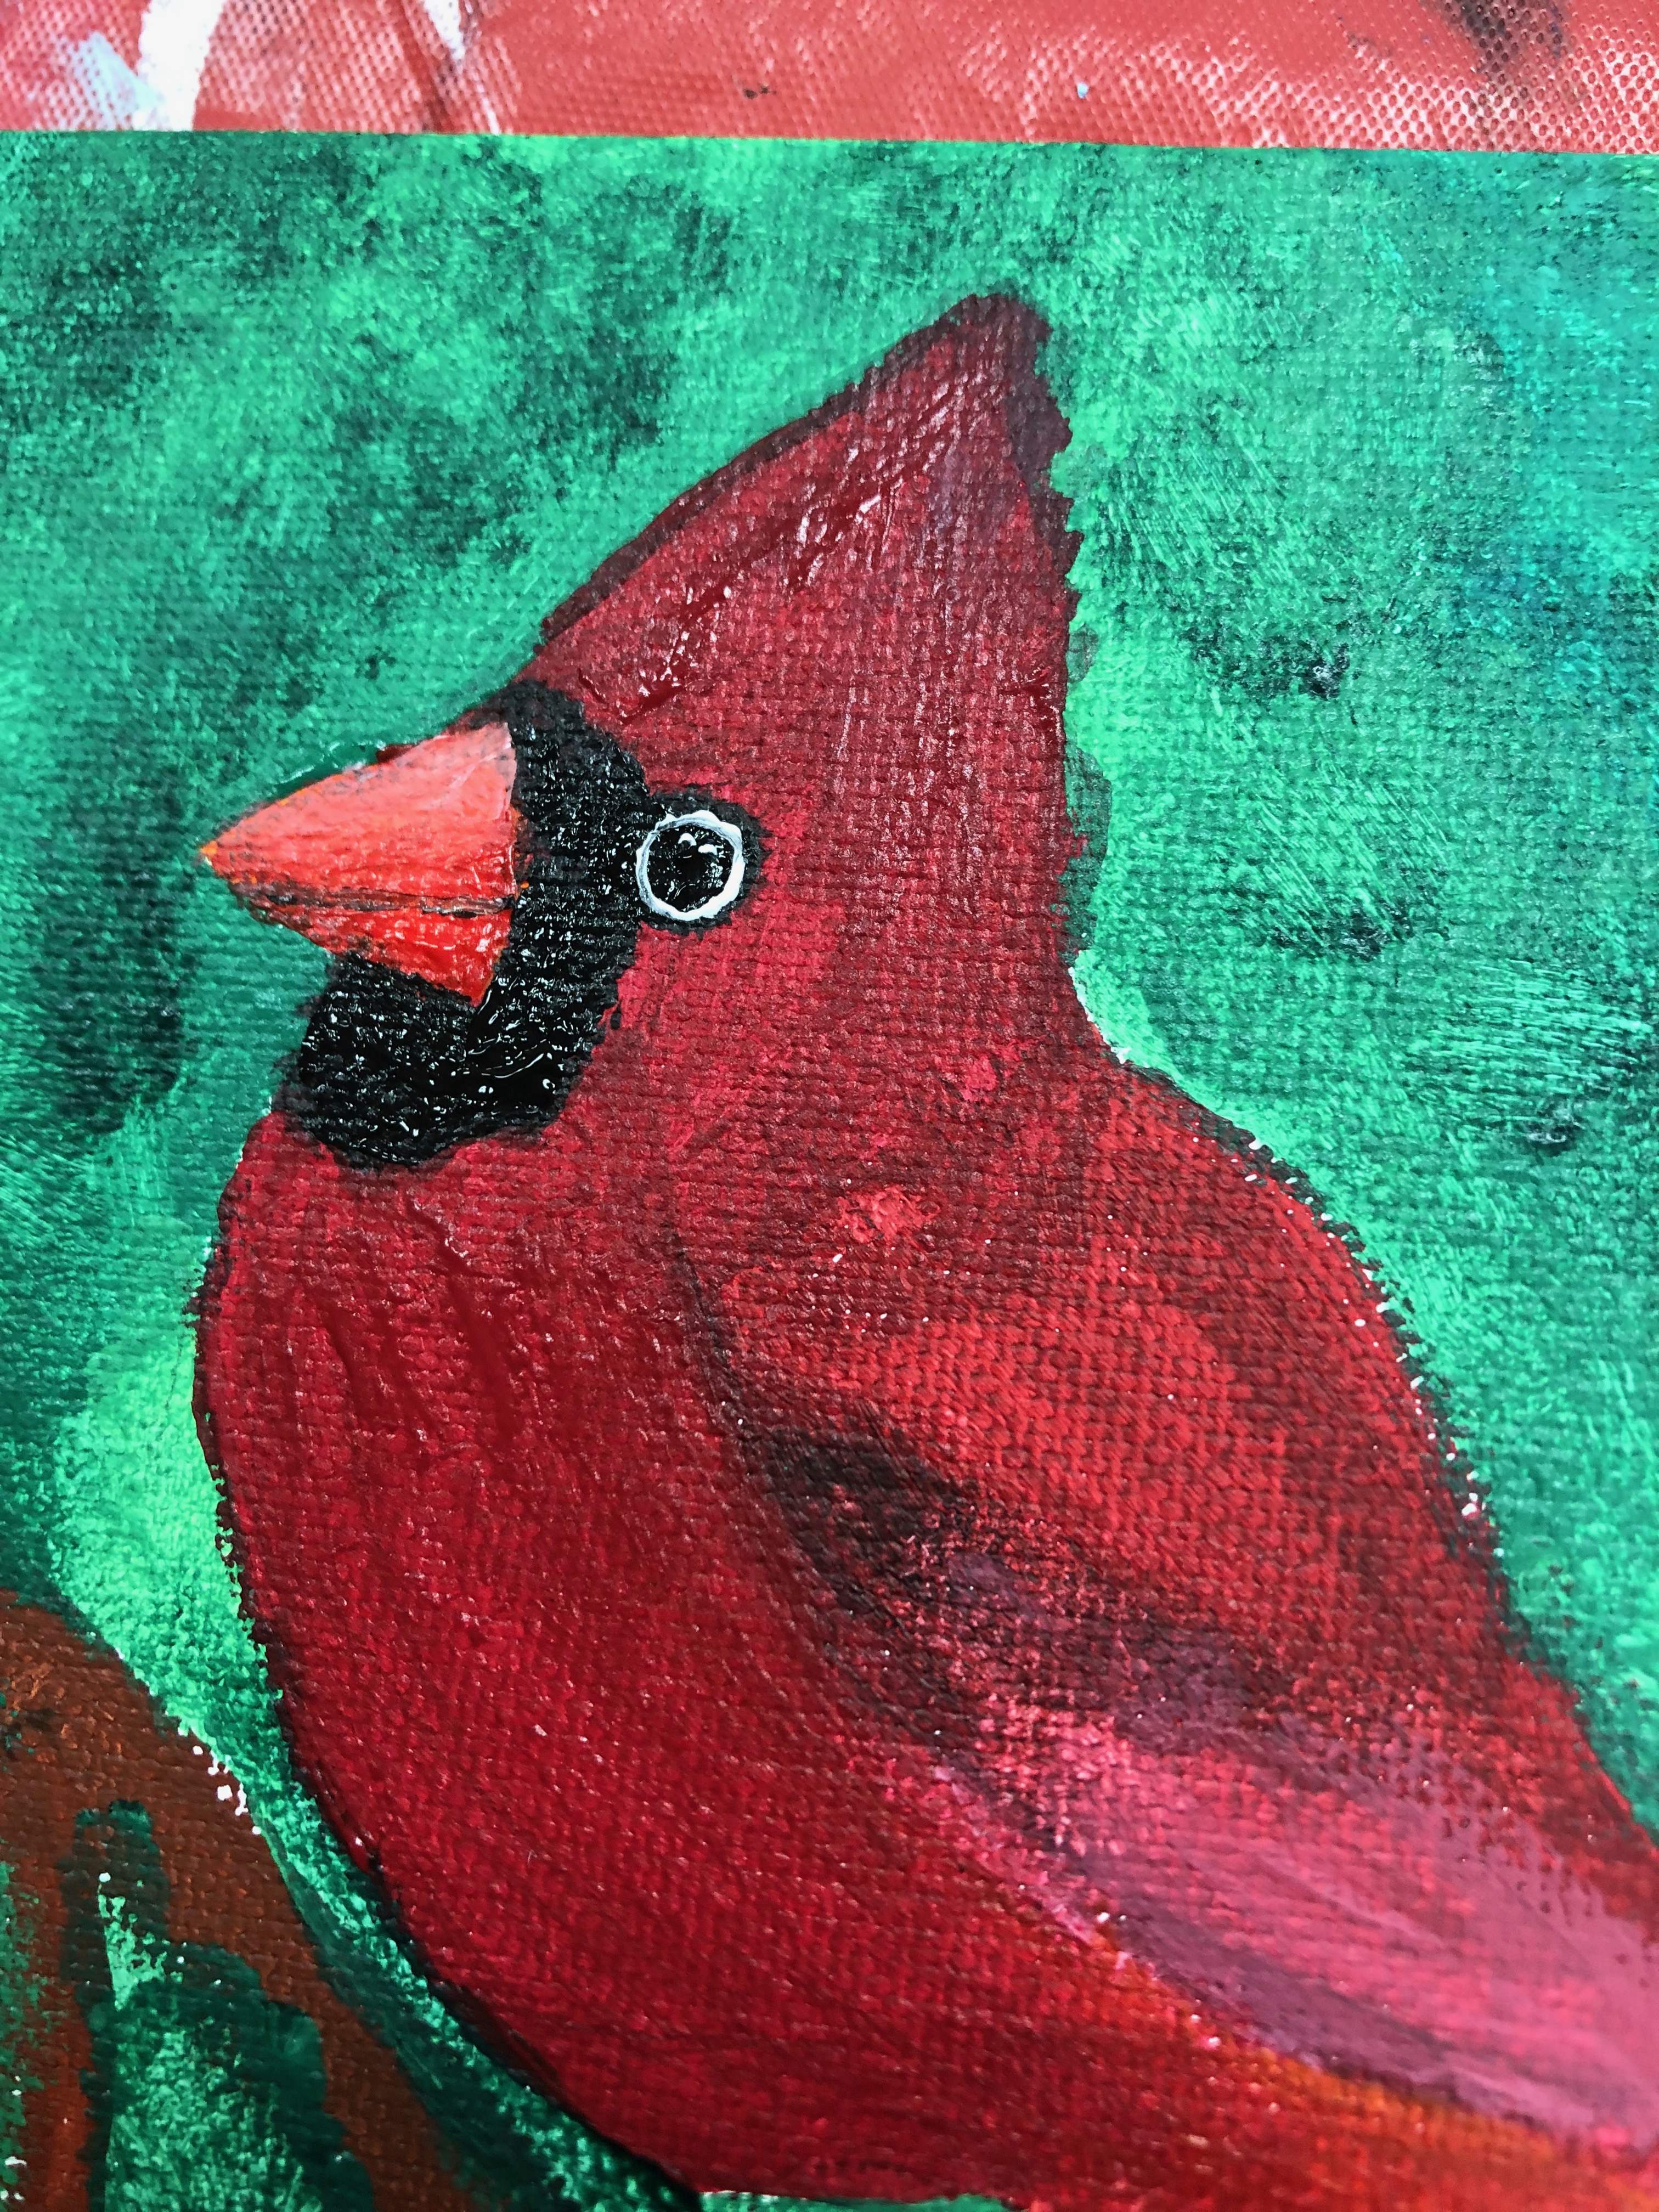
Painting the Face of the Cardinal
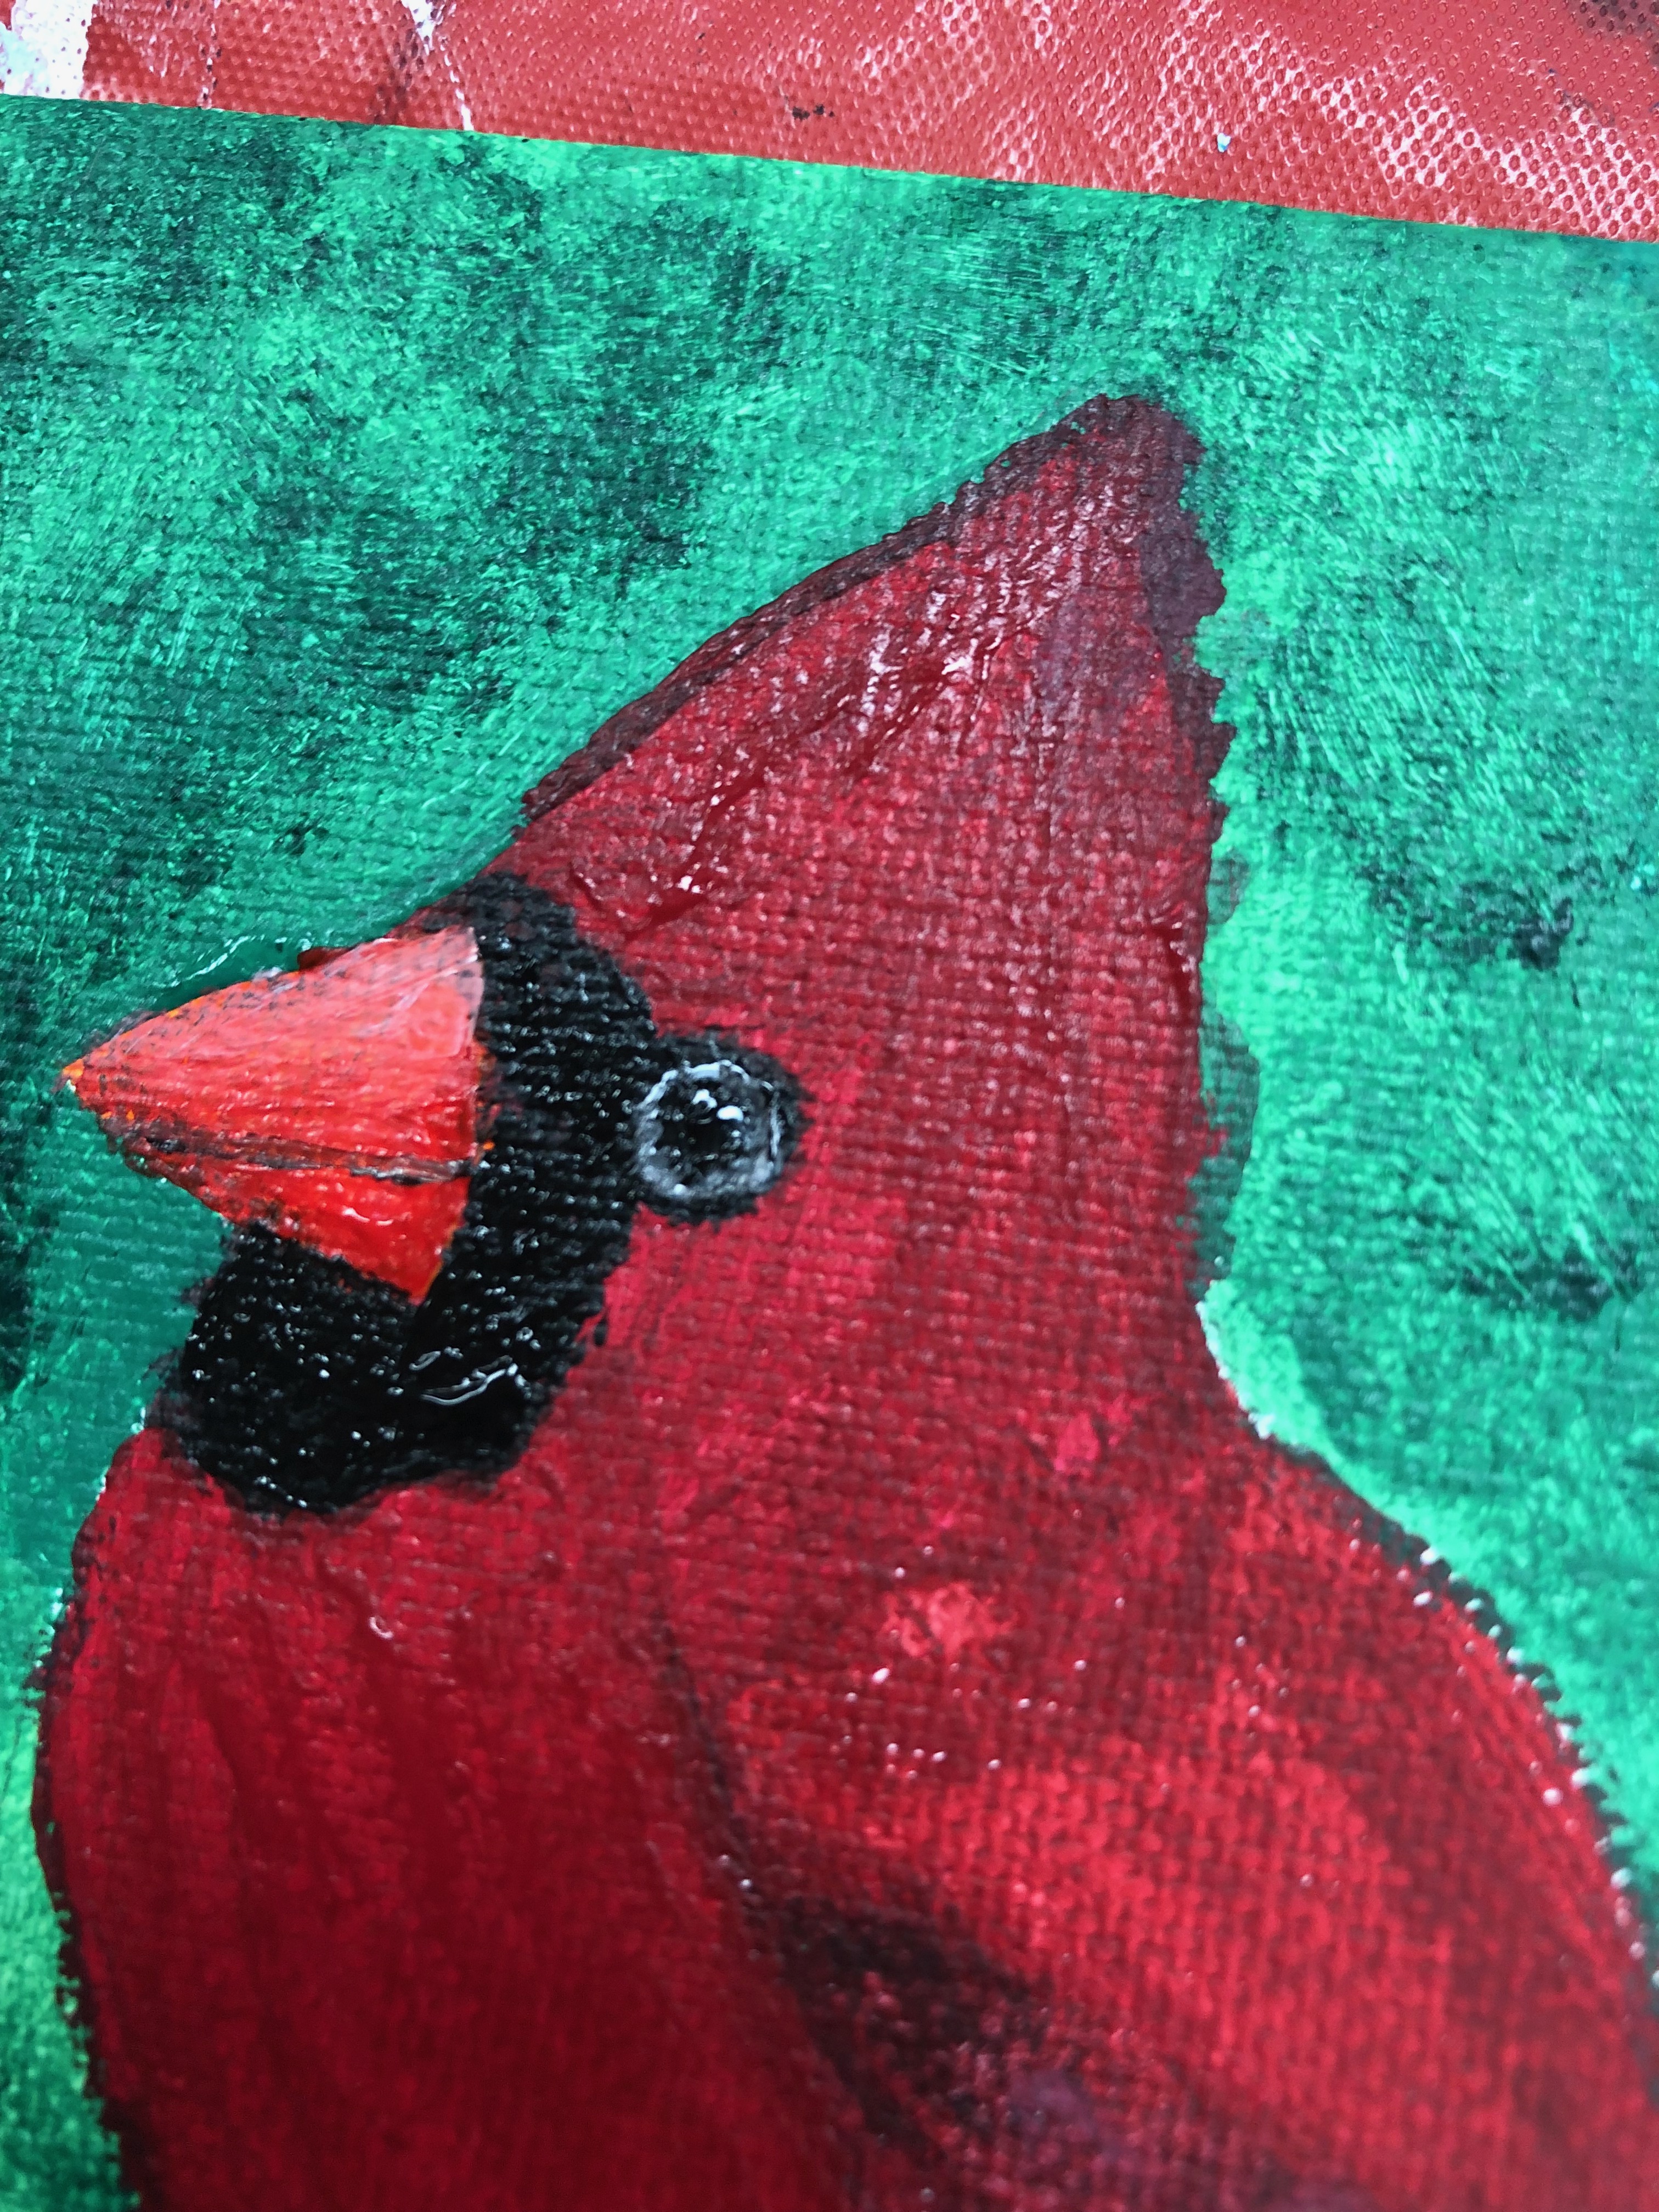
Paint the black face of the cardinal first, to have a base down. Add orange paint for the beak and let that dry. Thin out some white paint, and paint a little circle for the eye. Add white highlights to the eyes to make them seem more lifelike. It’s okay if you have to repaint the eye, I had to redo mine twice to get it to be the way I wanted.
Adding Highlights
Streak in more thin white paint to the underbelly and the wings. This will make your bird seem extra glossy. Do not overdo the white paint, as this can easily ruin your drawing. If you would like, you can dip a fan brush in the watered down white and press it on the painting for more detail. This trick also works for coral reefs.
Painting the legs of the Cardinal Painting
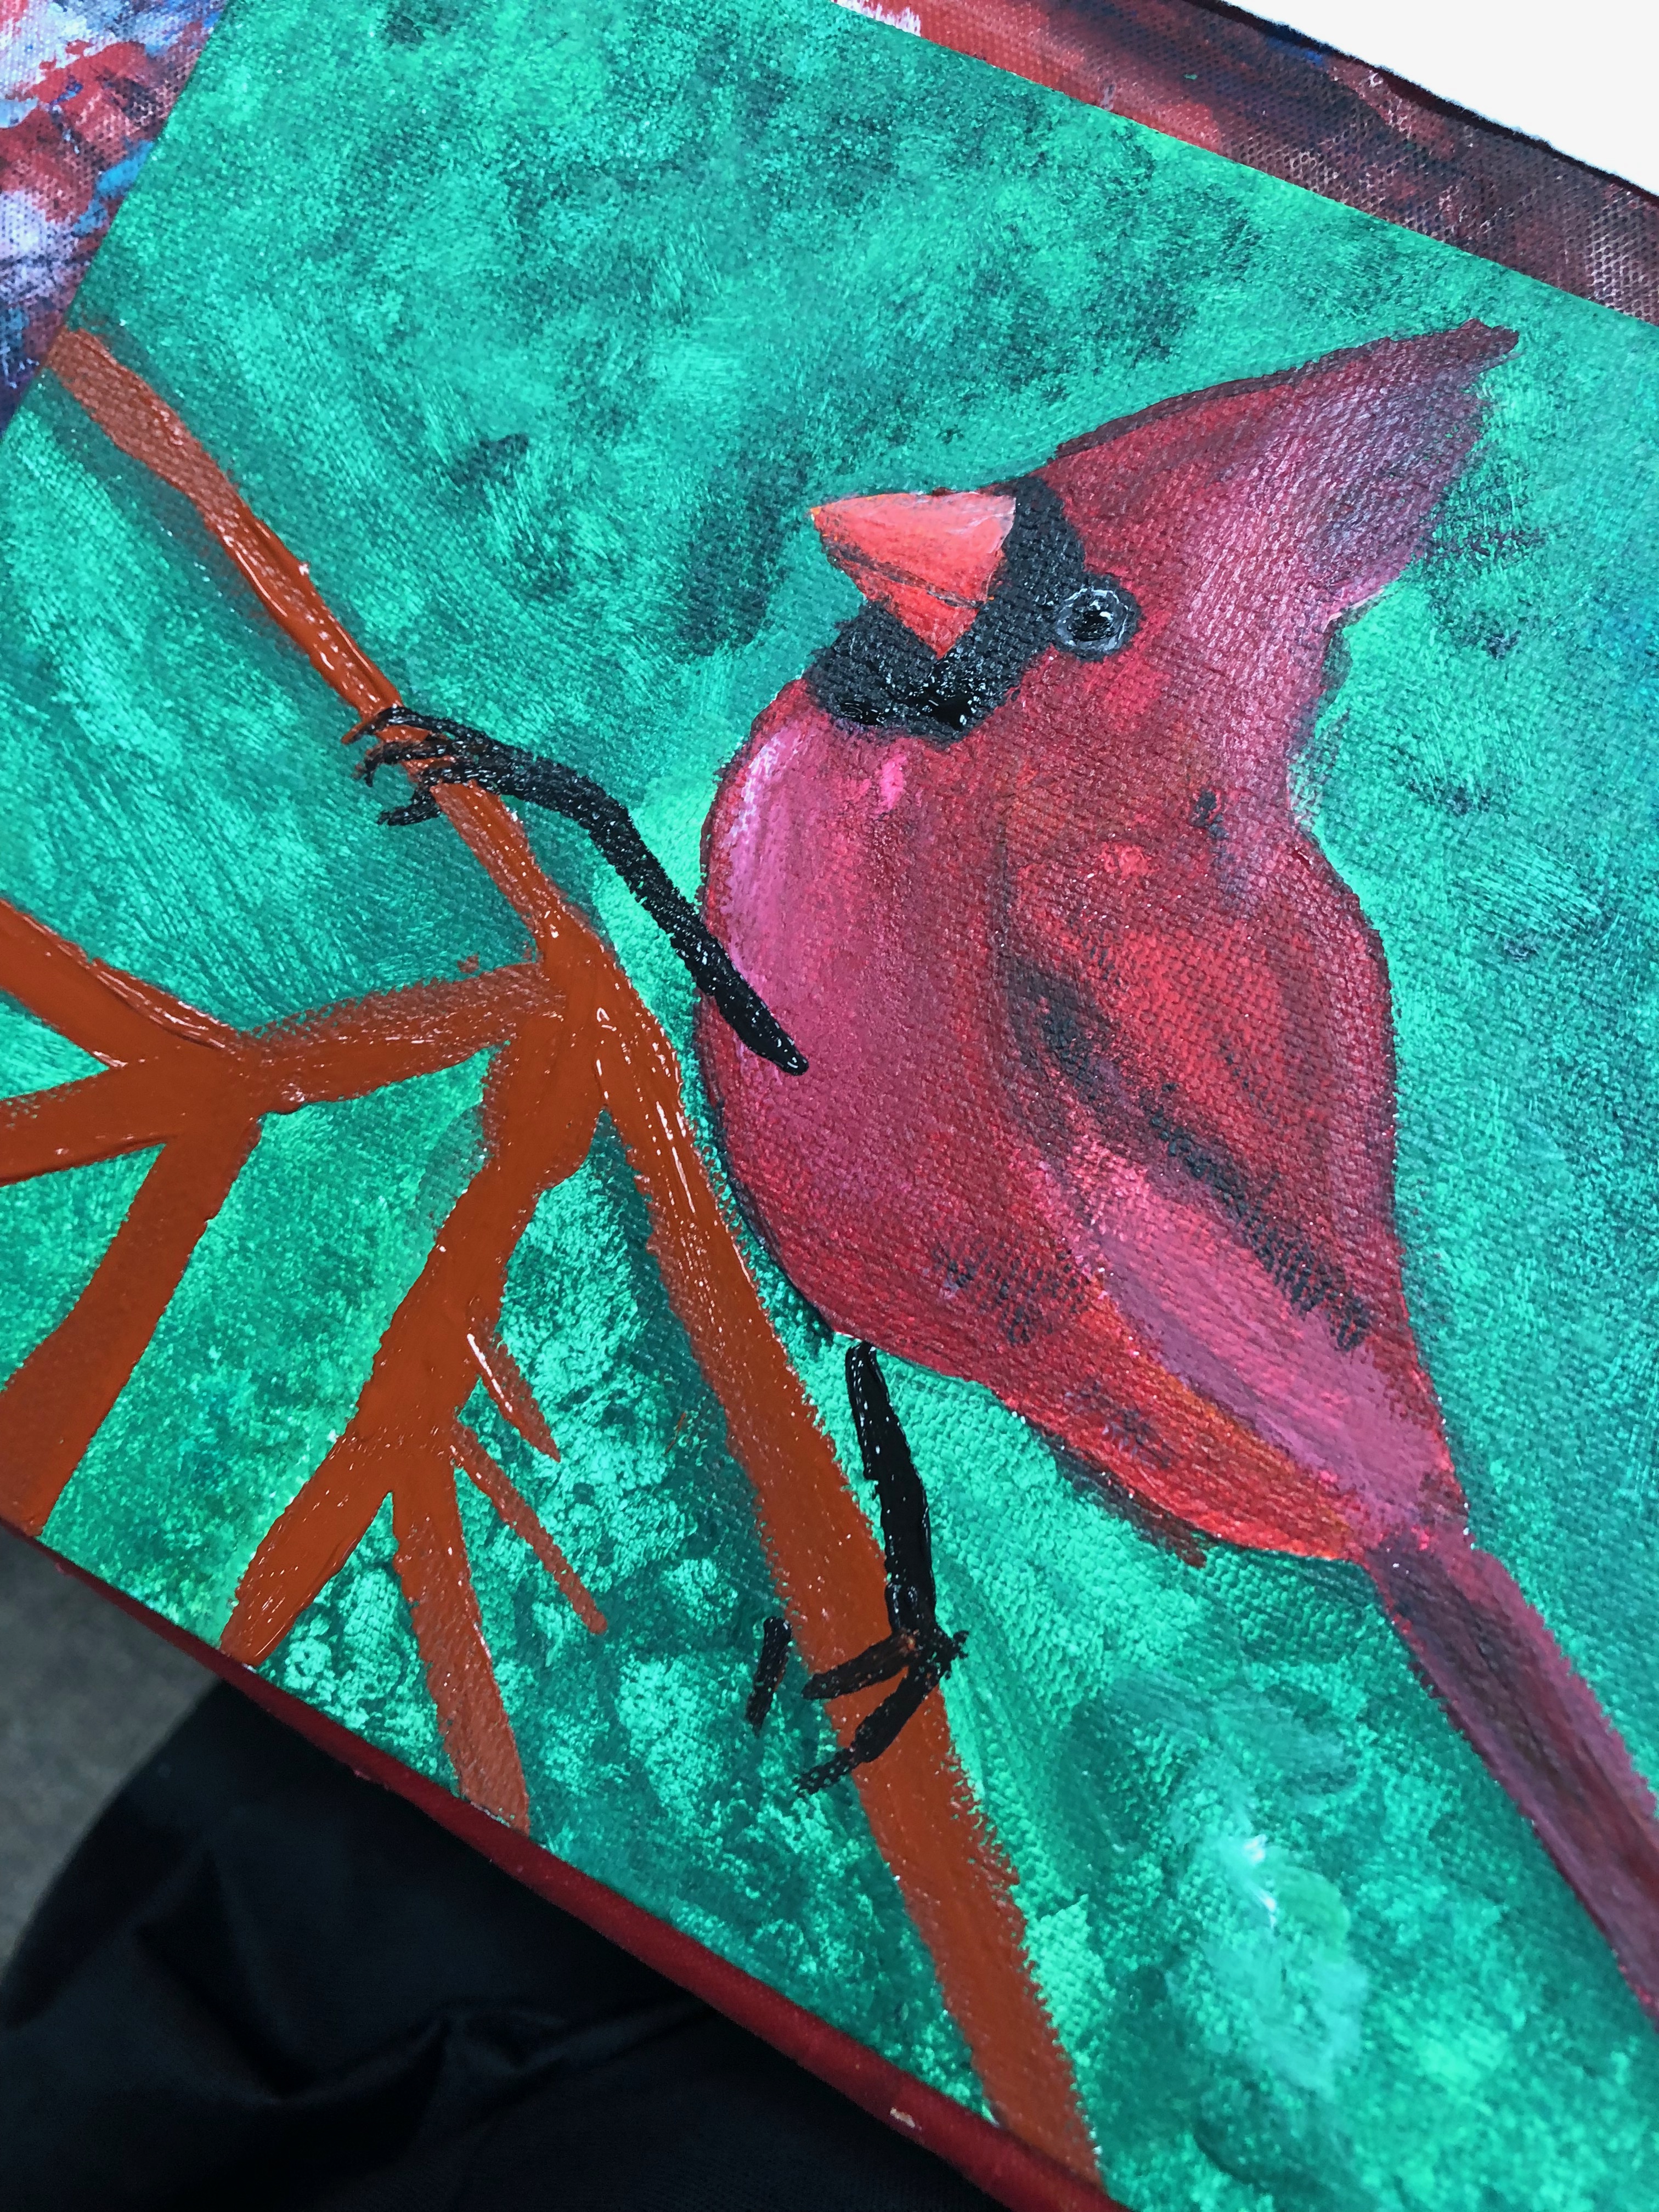
Ah, yes. The most important part of the cardinal painting. Use some black paint to make two legs spread apart as if the bird is running on the branch. Remember this is not supposed to be the focus of the painting, but rather an… artistic touch.
Finishing Touches
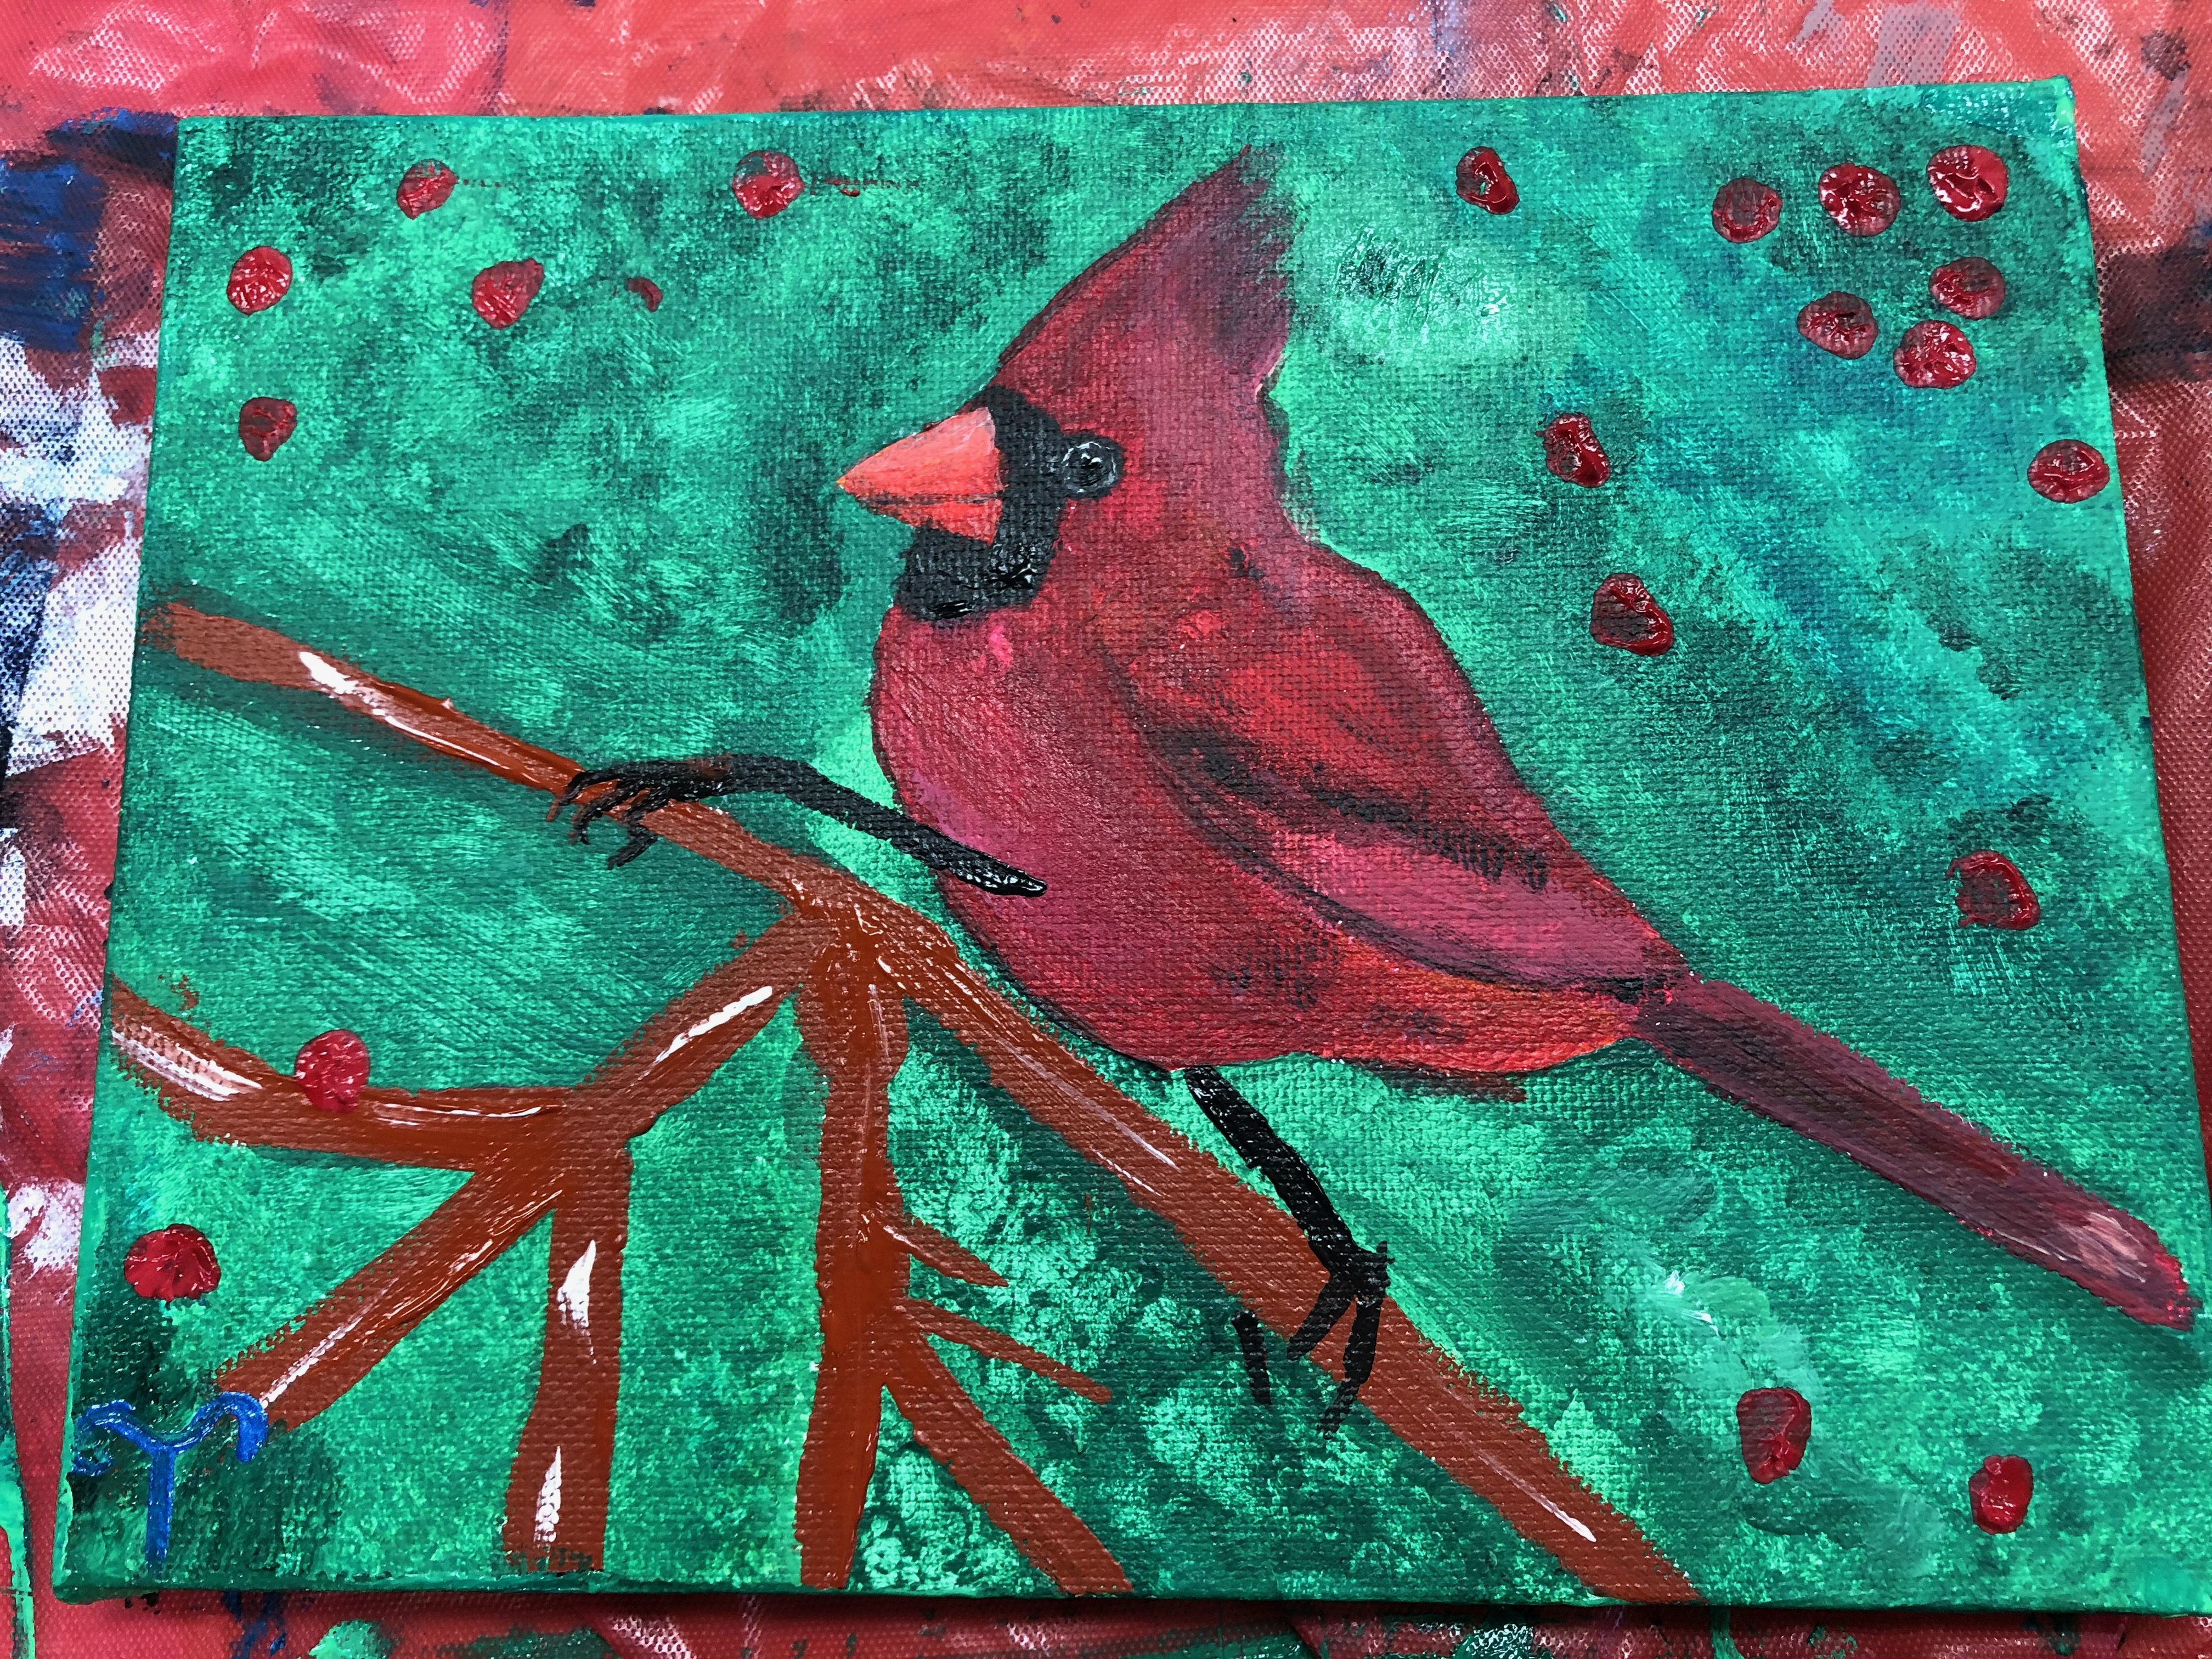
Define the claws and paint any spots that seem awkwardly out of nowhere. This could take an hour or more, make sure your art is the best it can be.
Optional Clear Coat
If you want to, you can spray a clear varnish to seal in your design. This will help the paint stand up to the test of time, but is completely optional.
Finish

And now you have a half derpy, half serious cardinal. If you enjoyed this post, you may also enjoy the Creation of Polly, one of my newer posts and the first in Littlest Paint Shop. Happy Crafting!