
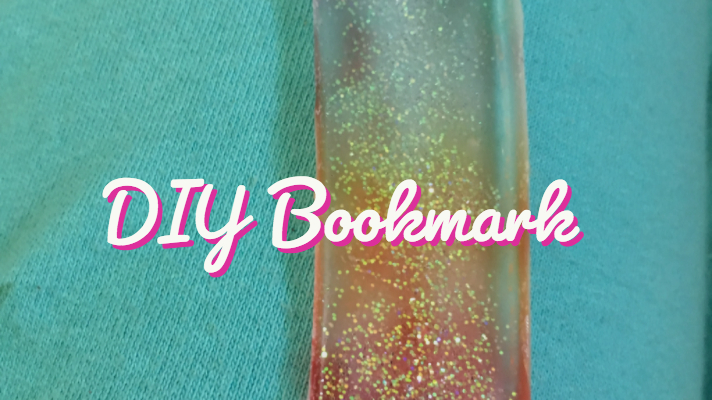
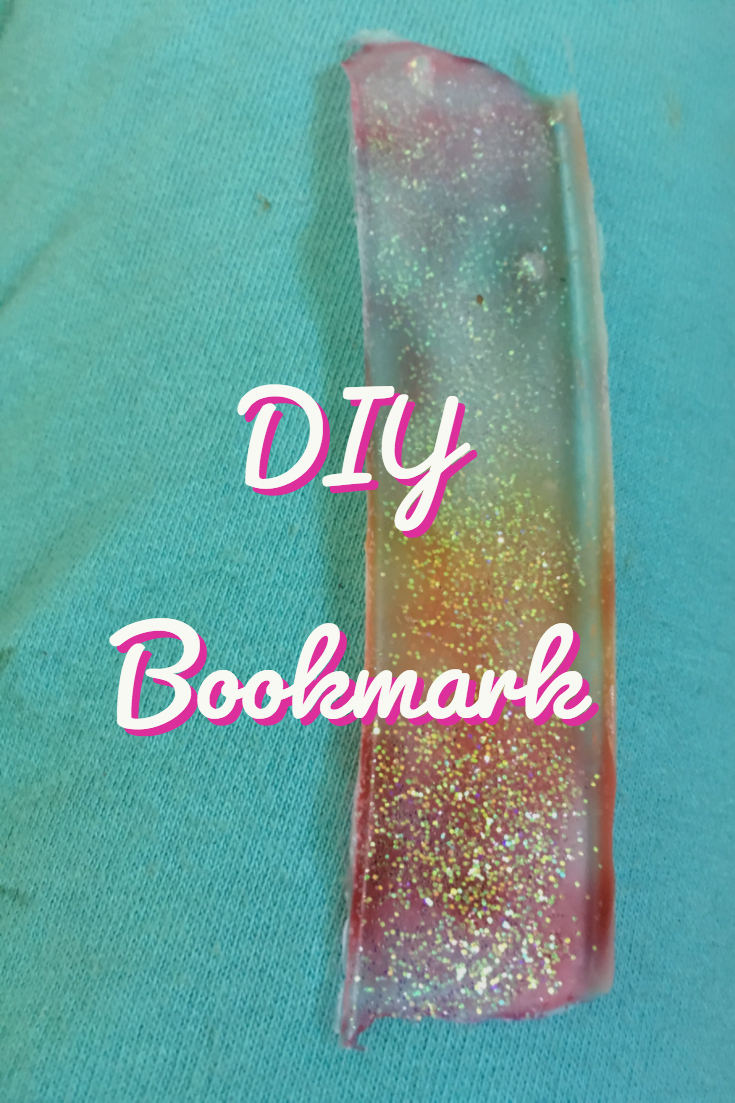
Reading is very fun, and most people nowadays read on their phones, Ipads, or some sort of e-reader. But for those of us who still enjoy the smell and feel of a real book but can never find their bookmarks, here is a cheap, easy and fun way to make one with simple, recycled, and non-toxic materials.
Bookmark Materials
Step 1: Prepare the Lid for your DIY Bookmark
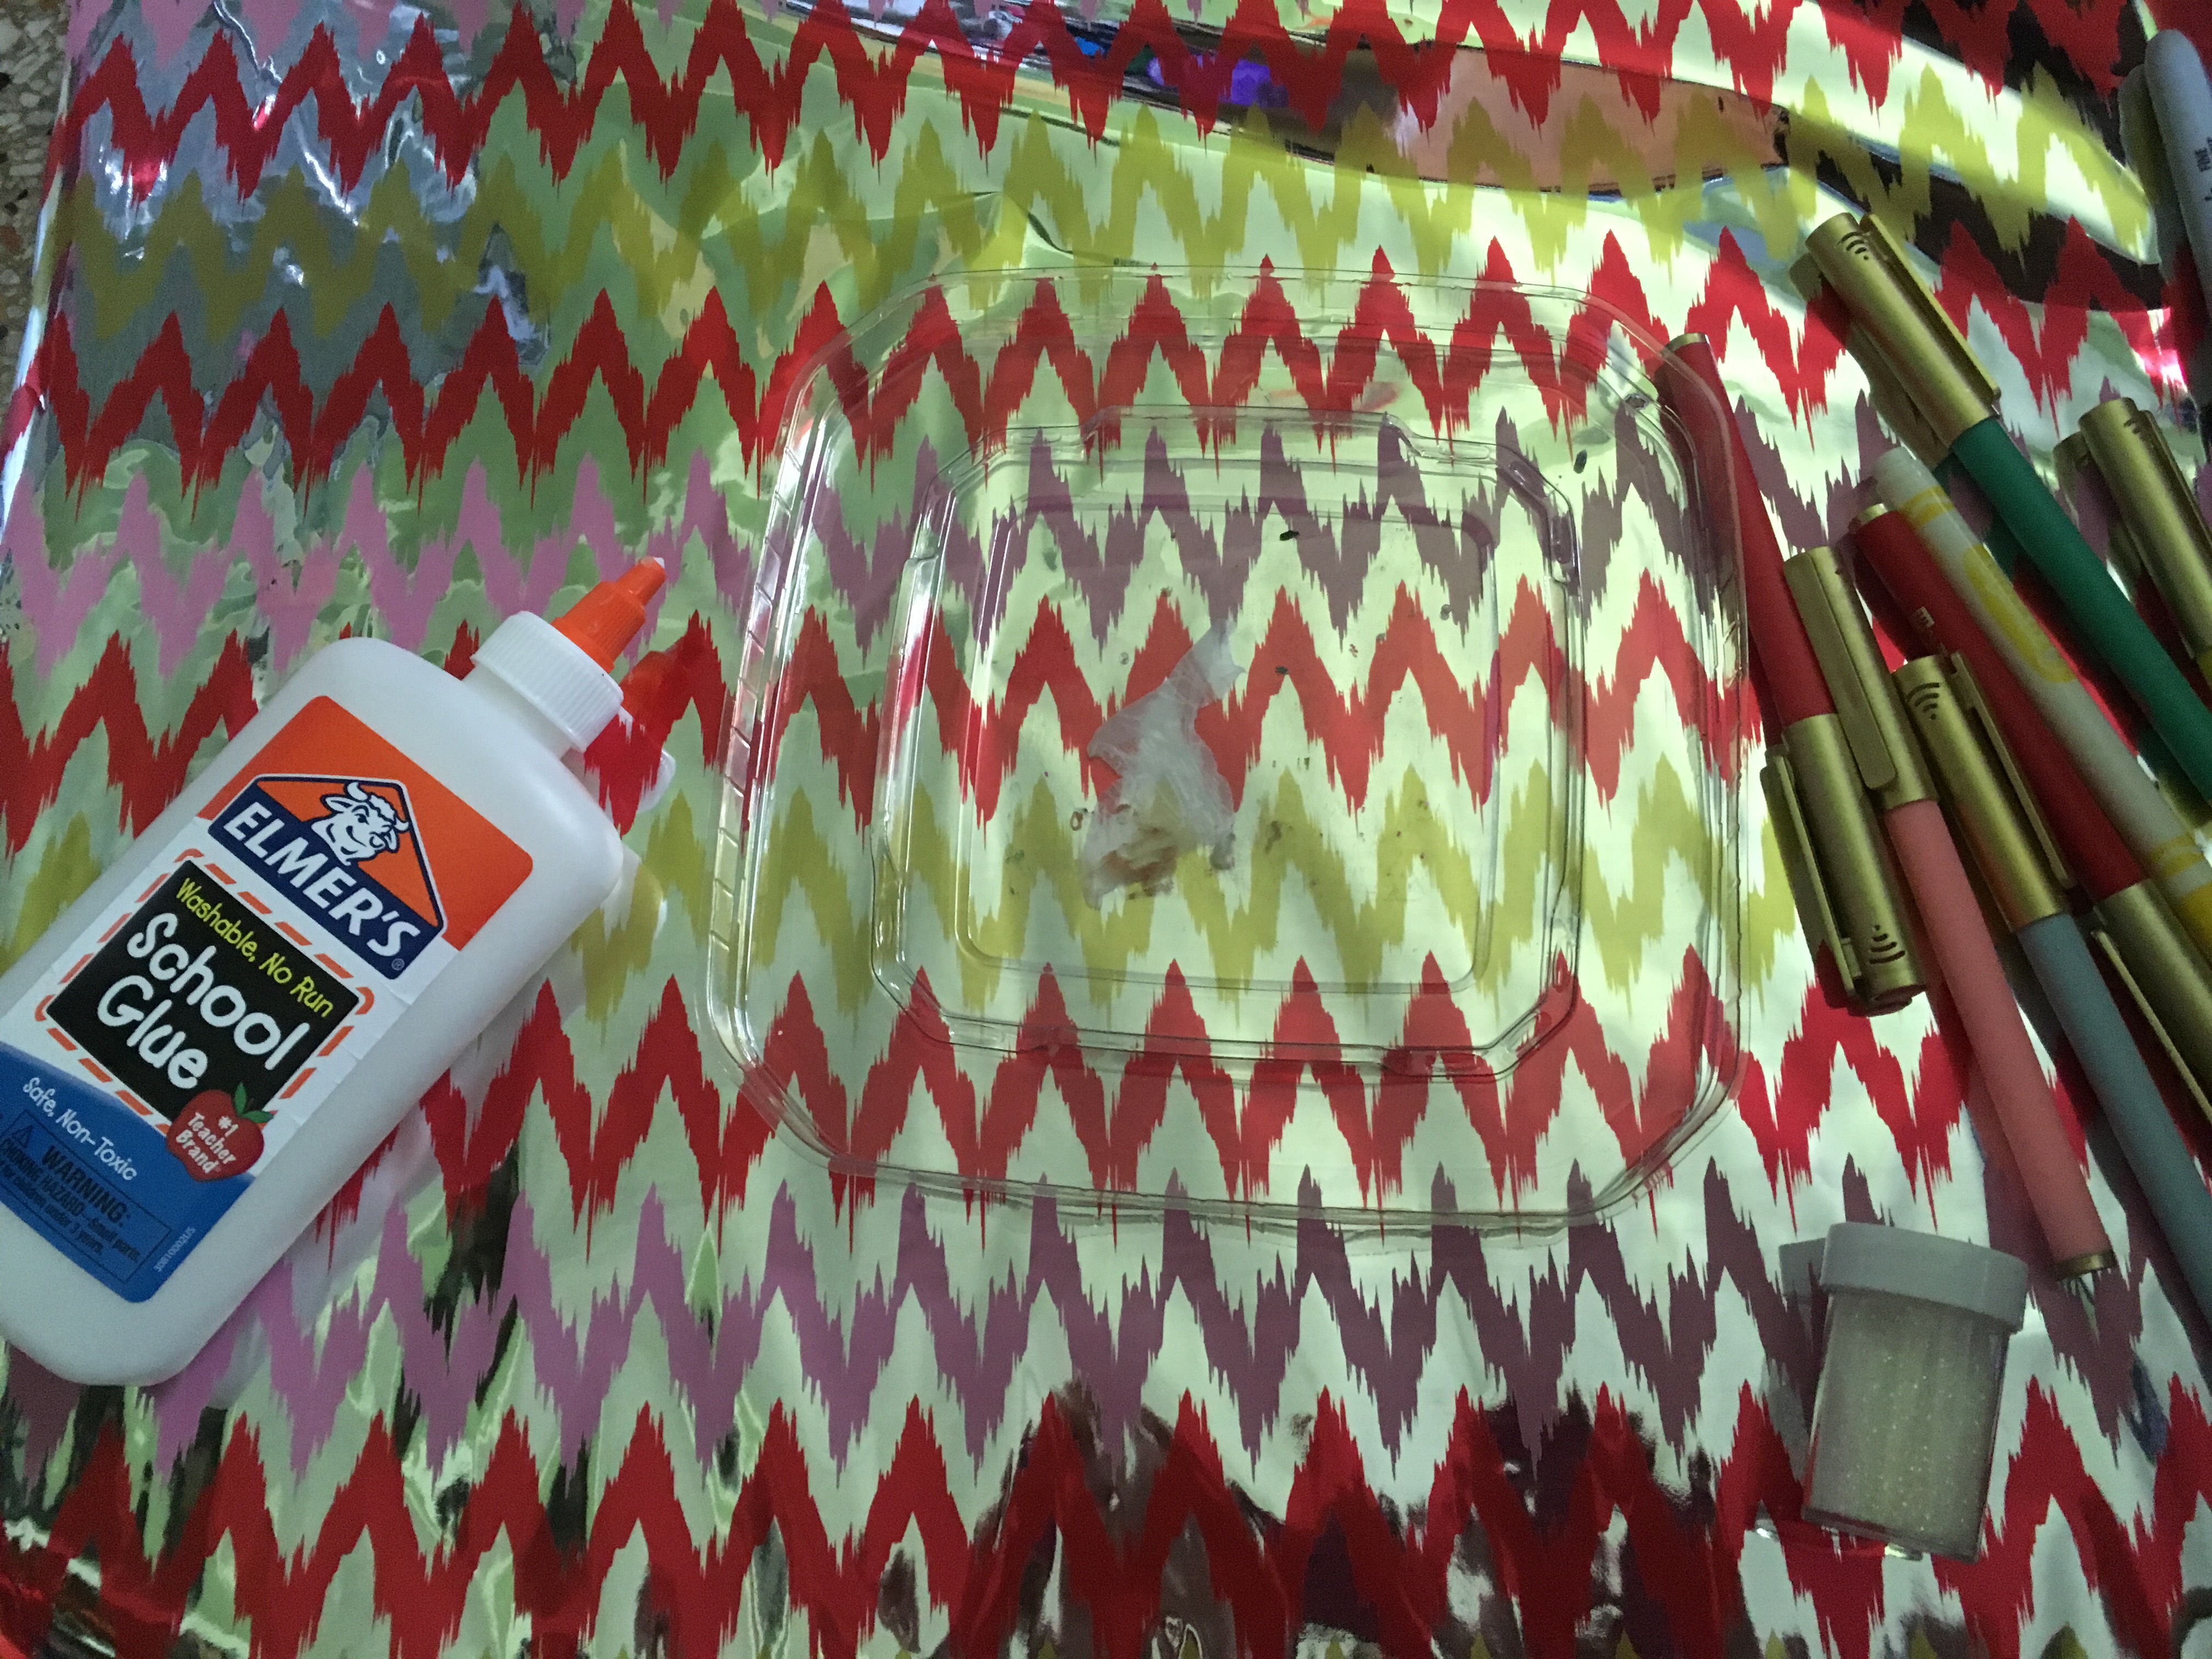
Start by cleaning your lid with a wipe or rinse and dry. Pick three colors or more of washable markers, not permanent markers, sharpies or colored pencils under any circumstances, as the color will not transfer.
Step 2: Color the Lid
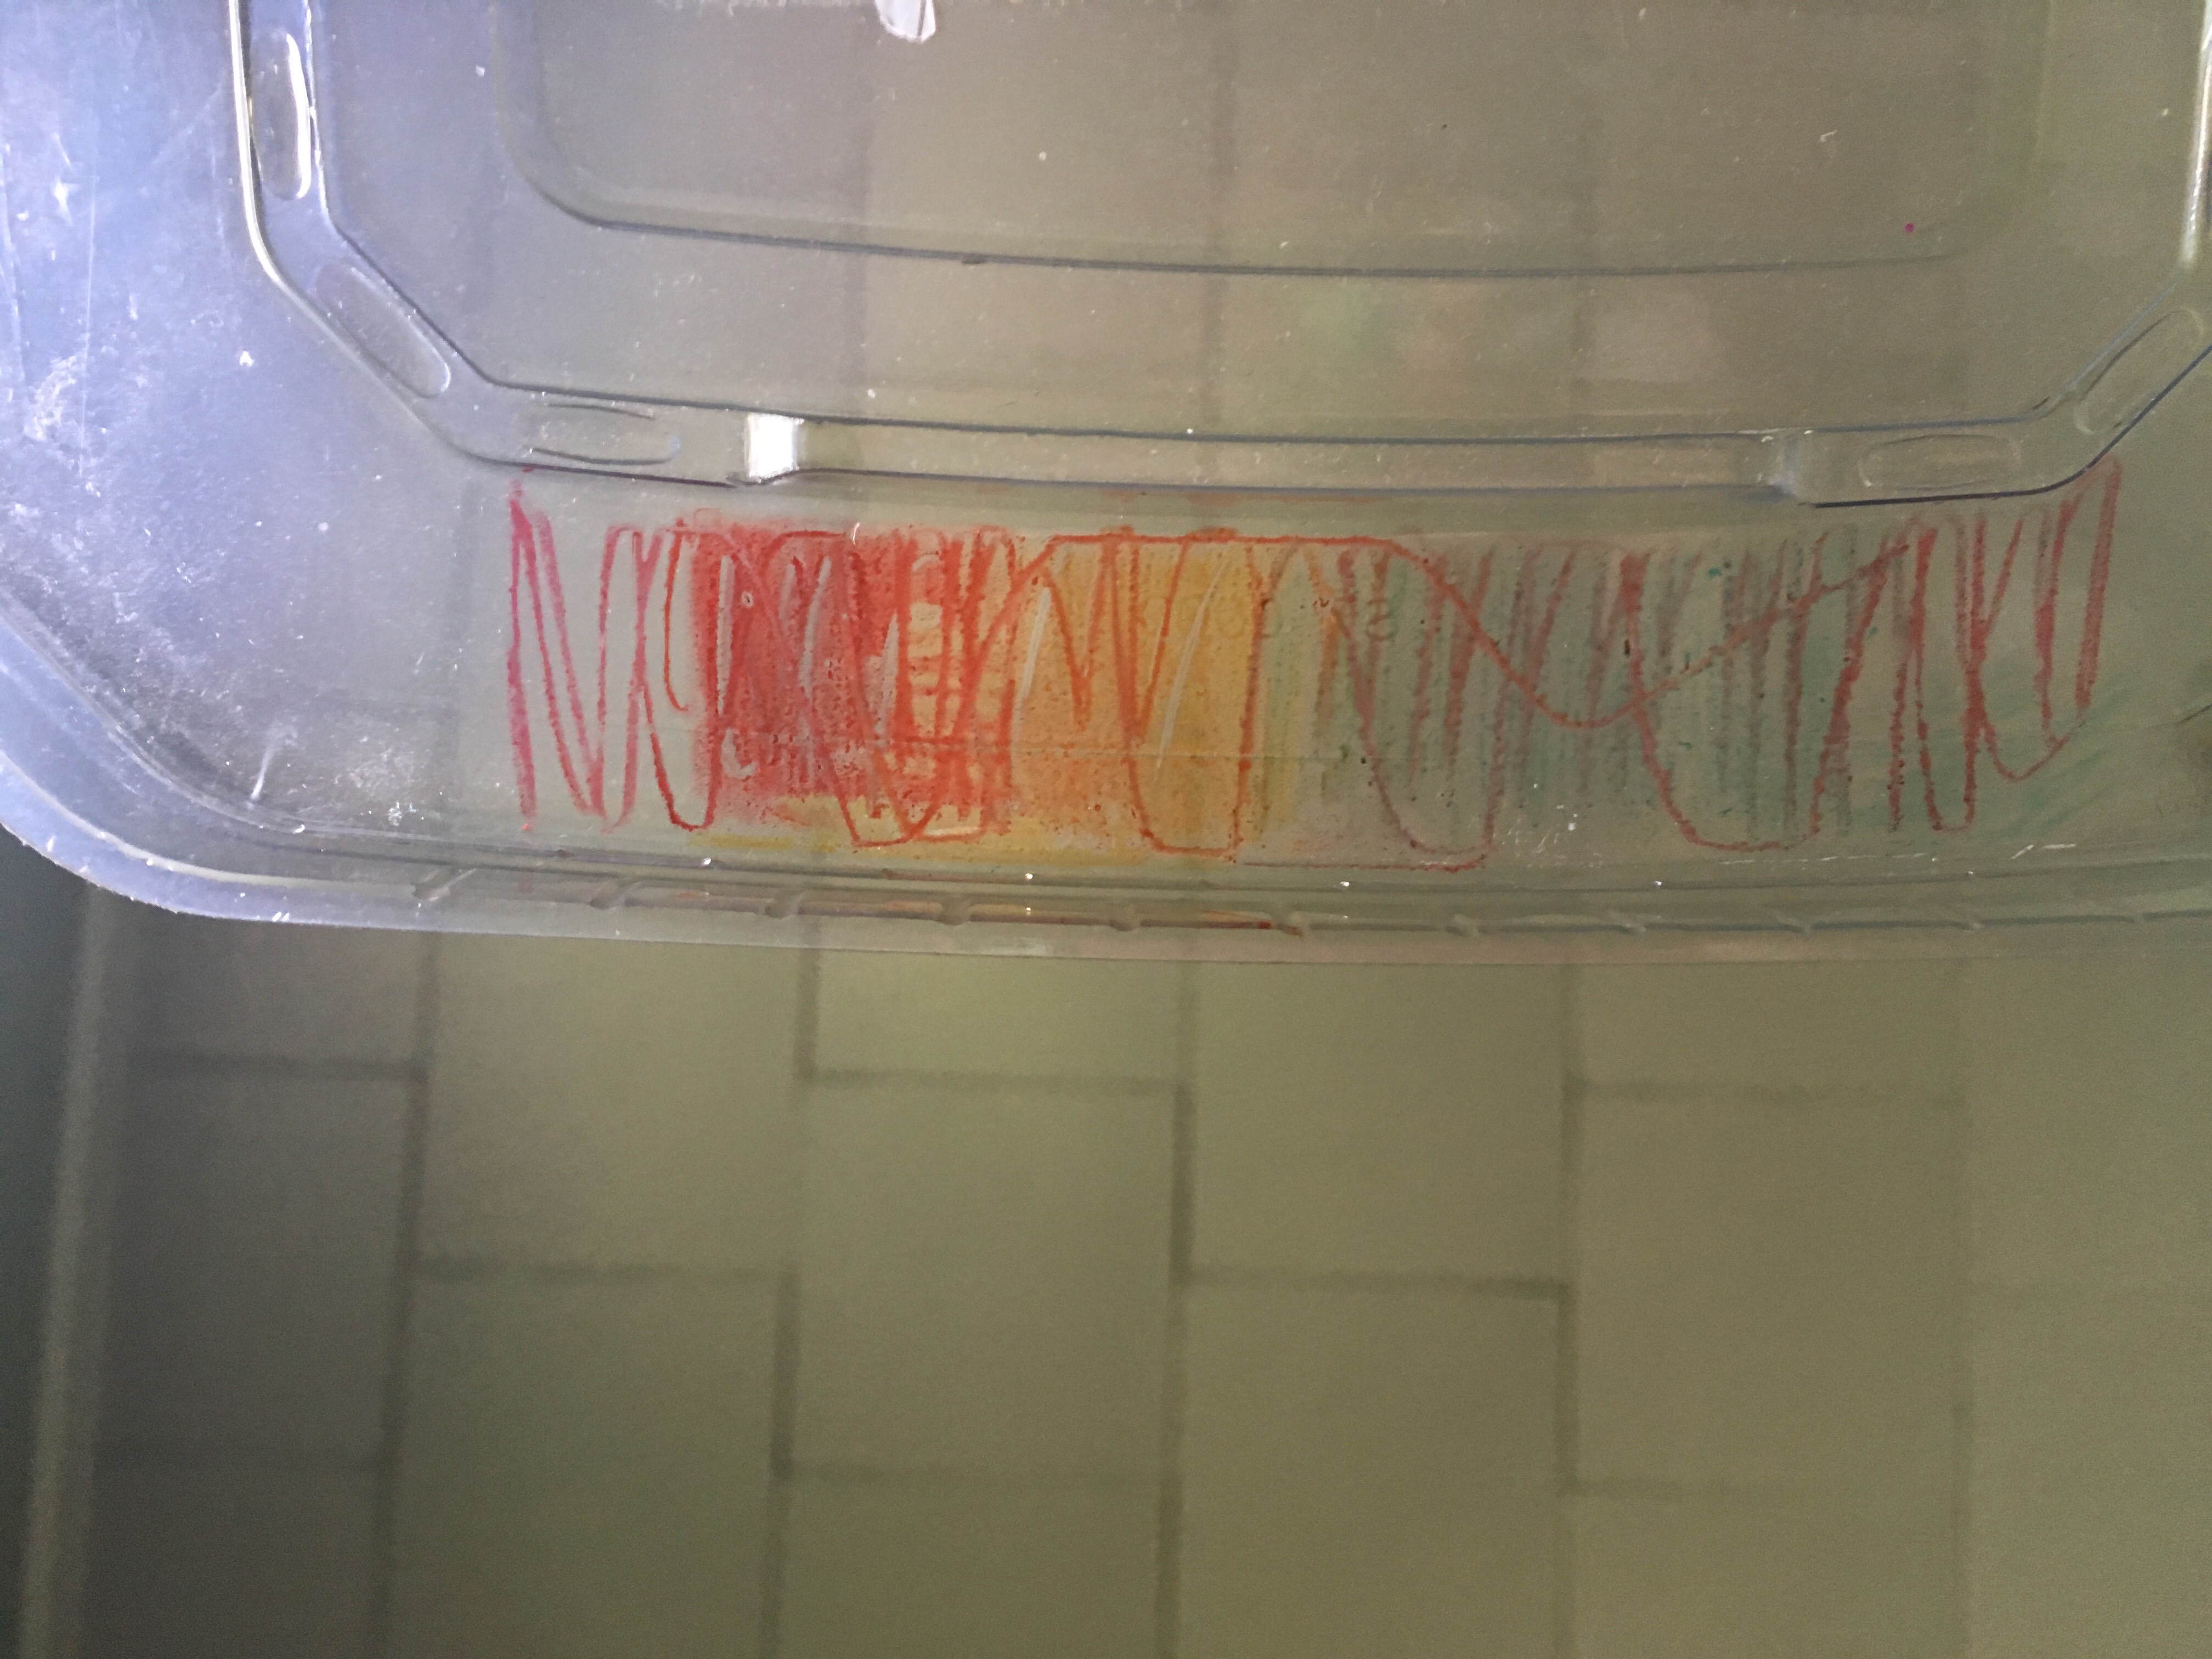
Next, using your markers, color all over the lid, as long and wide as you want your bookmark to be, being aware that any drawn designs will likely be a bit smeared by the time the bookmark is finished. Carefully fill in all the gaps and allow it to dry, adding just a pinch of glitter if desired on top to make it more unique and pretty.
Step 3: Add Glue
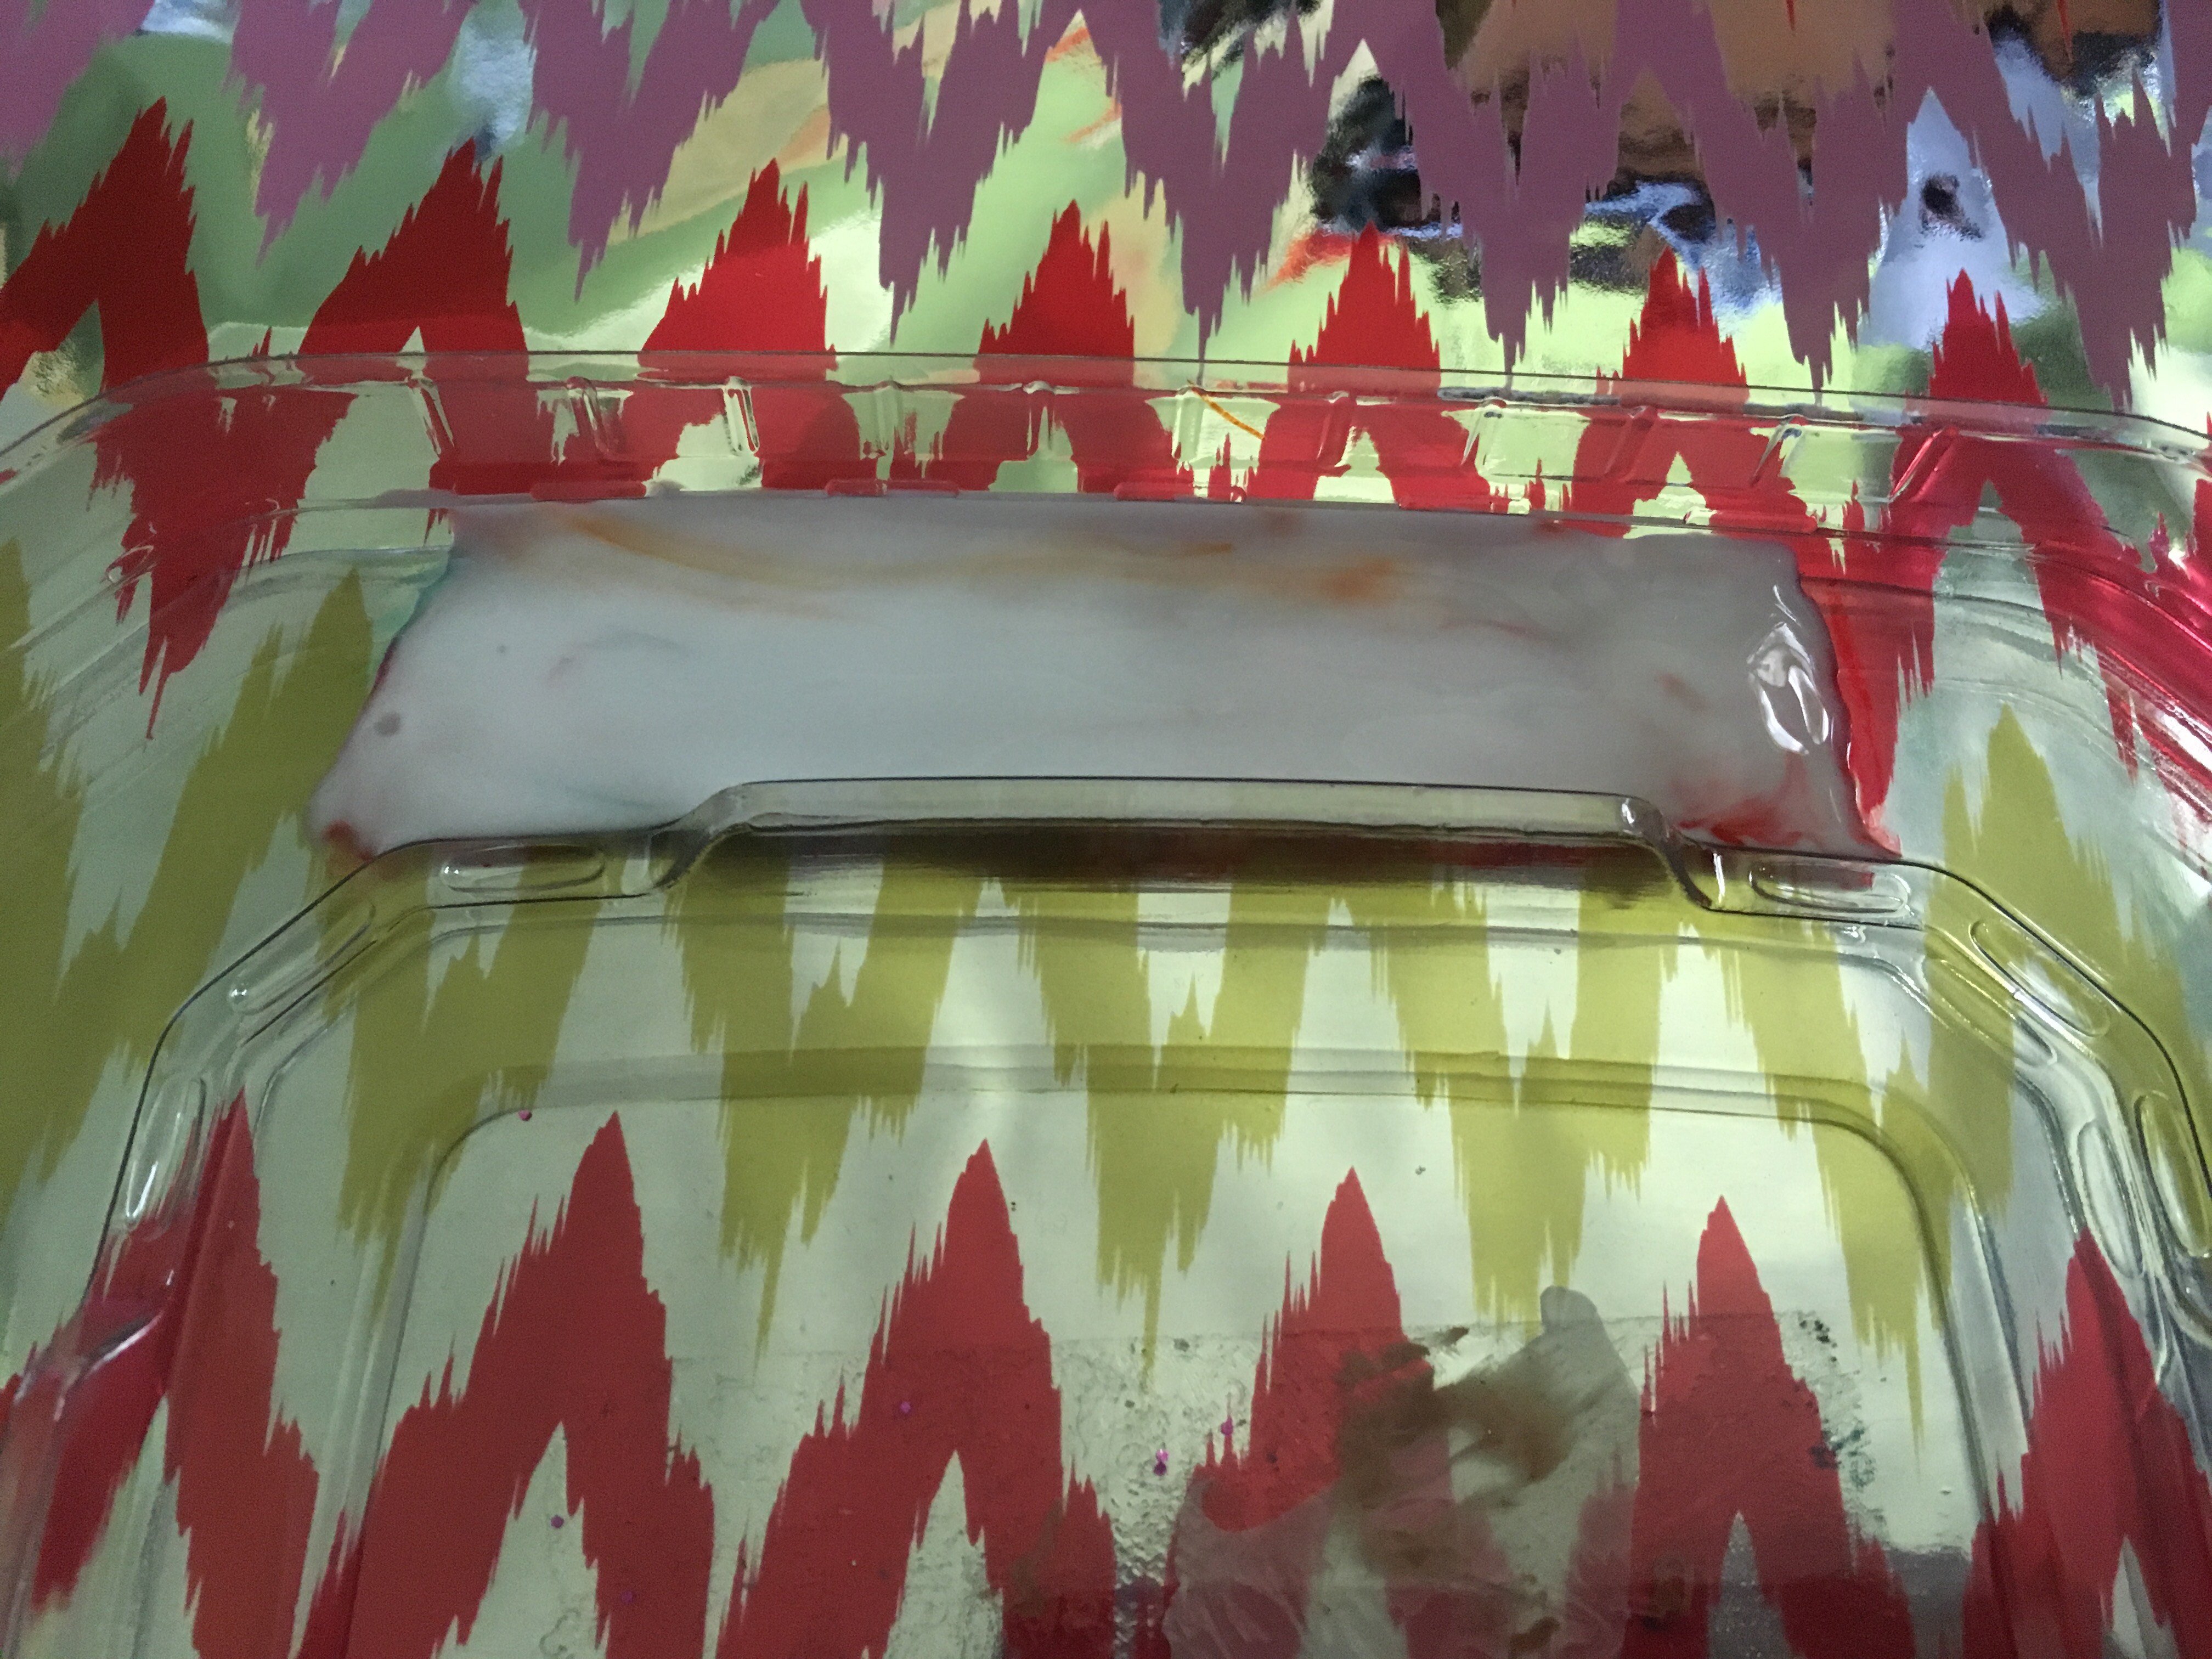
Taking your white Elmer’s school glue, carefully pour a thin layer over all of your colored marker marks. Use a toothpick to gently smooth it out over the color, being careful not to disturb the bottom layer of color too much as this may blend the colors too much and make a muddy looking mess.
Step 4: Decorate (Glitter) Your DIY Bookmark
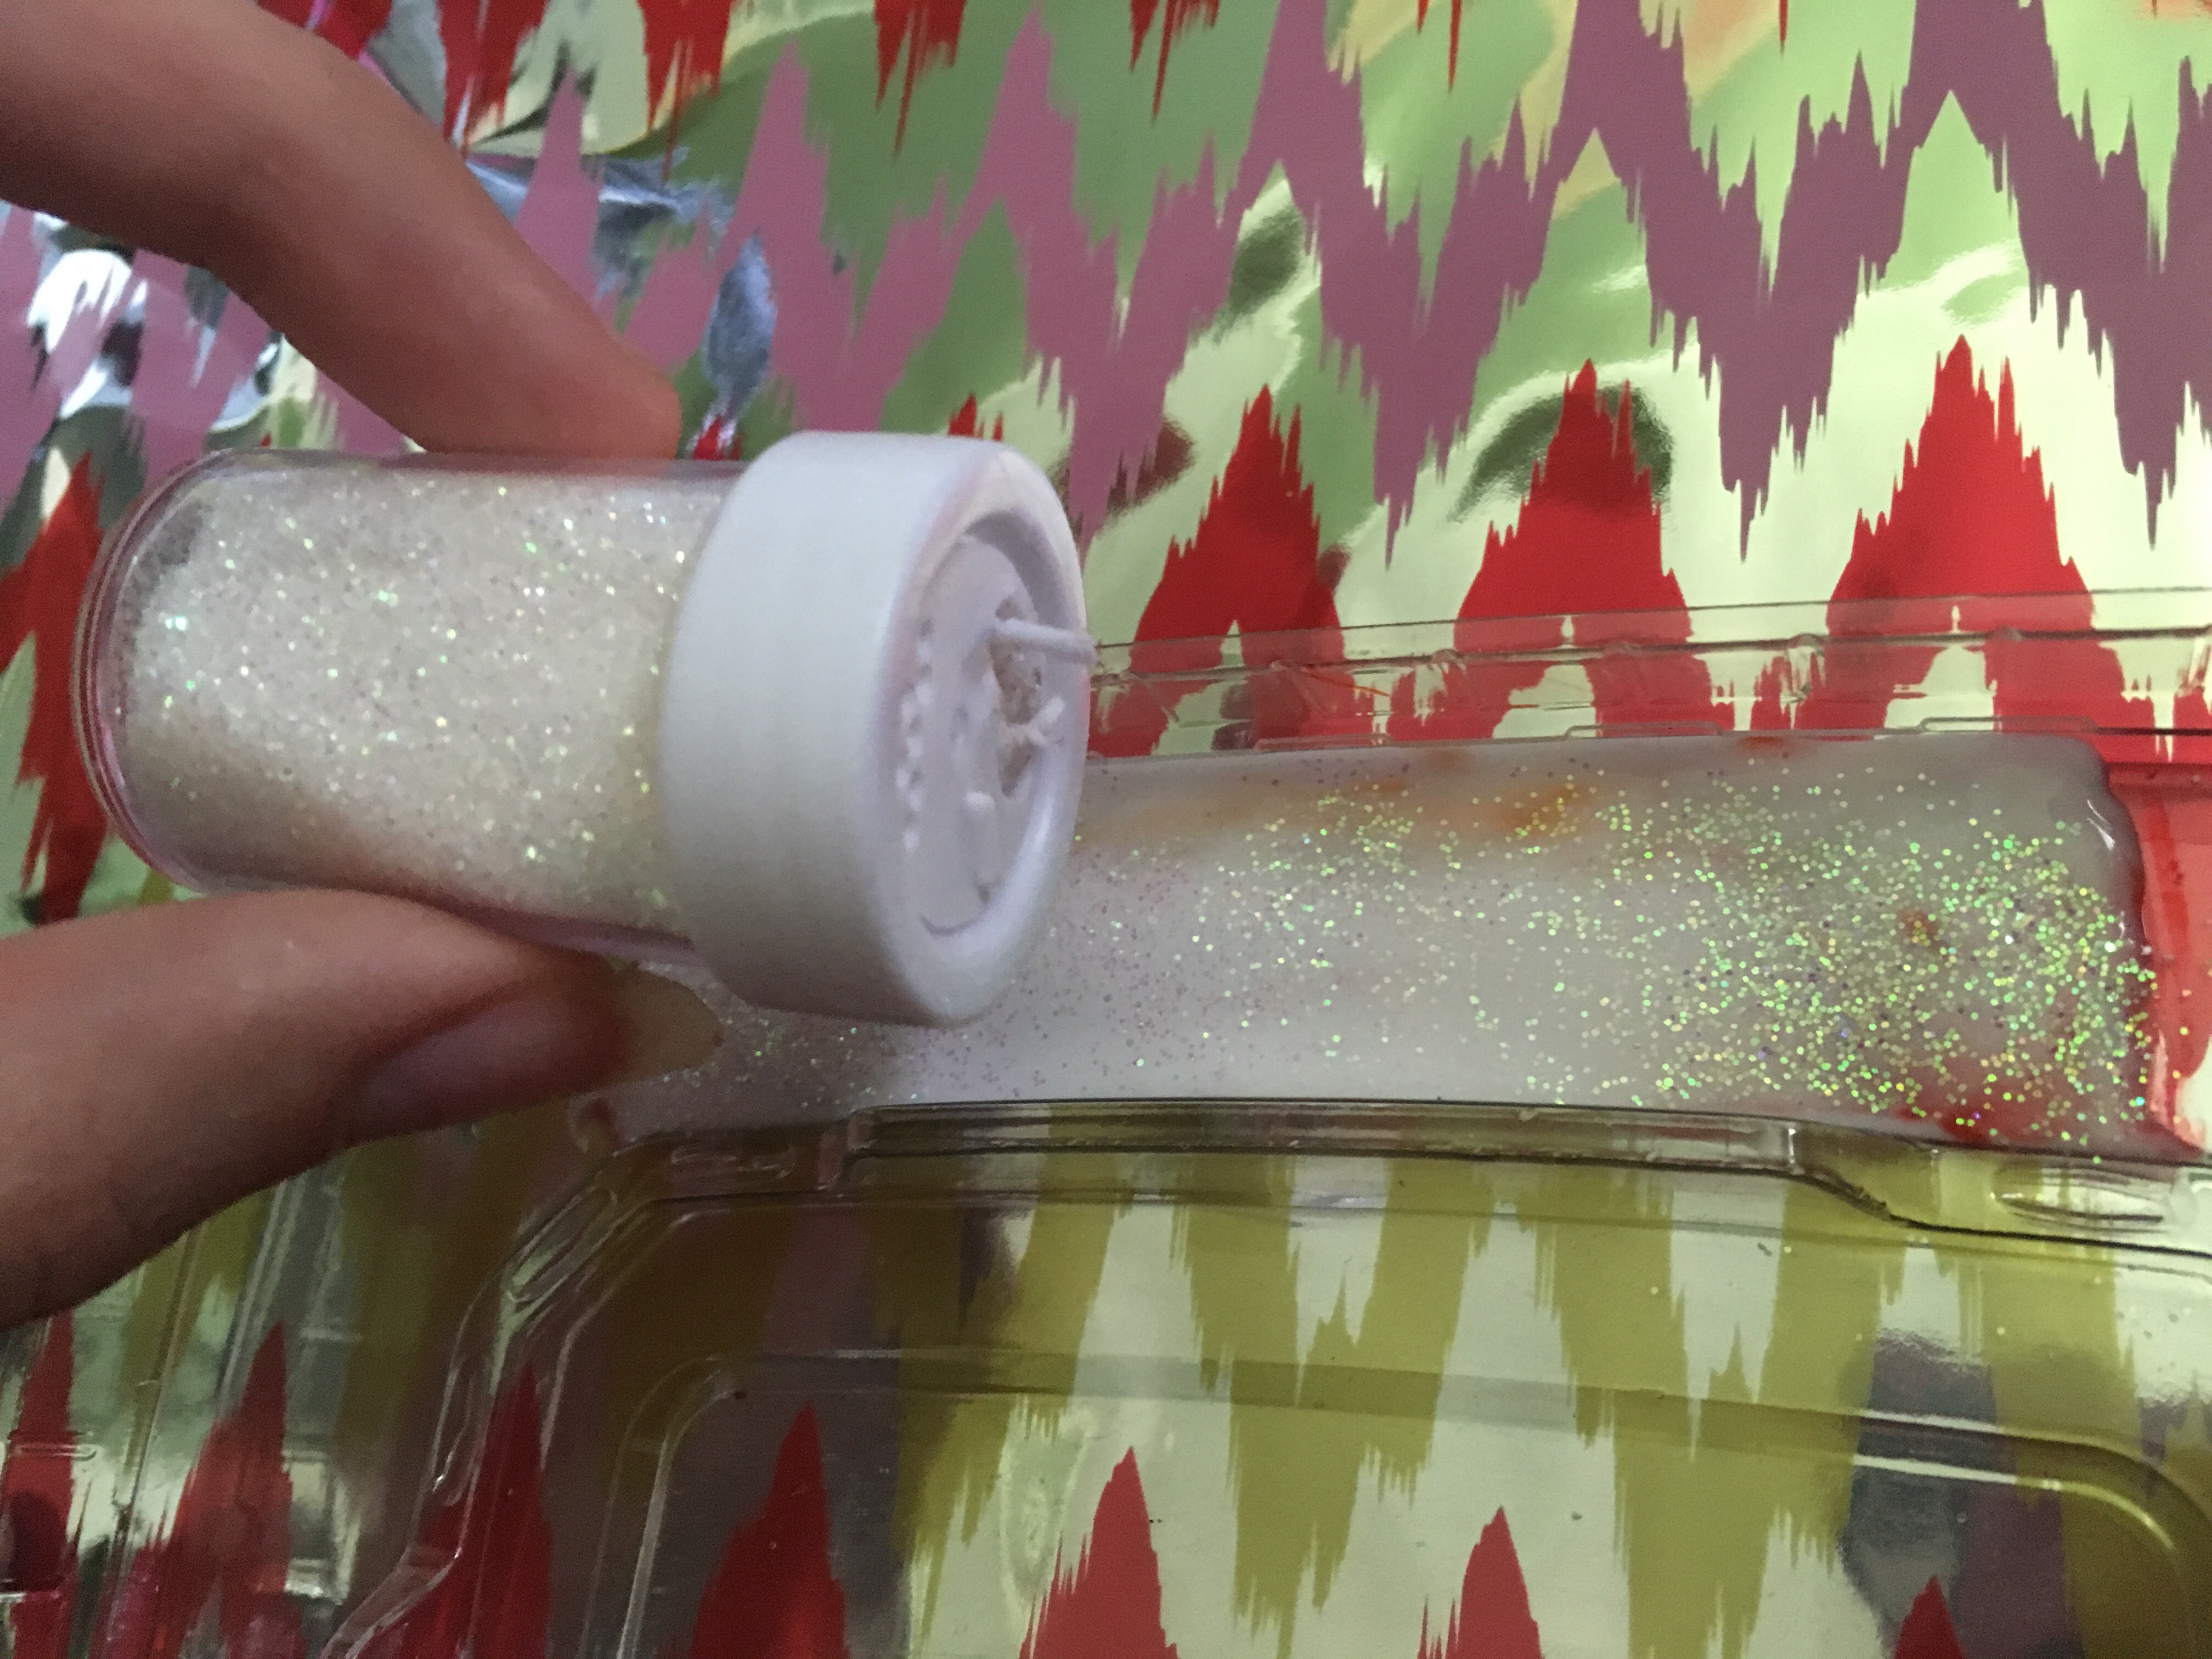
You may add small gems, confetti, or extra glitter to your glue on top to make it more dazzling and special. I would recommend adding some chunkier glitter and gently sinking it into the glue with a toothpick so it has a bit of variation.
Step 5: Dry for Two Days
Leave your bookmark in the sun or in a dry place to set, which should take between two to three days for the glue to turn clear, and the reason we used school glue instead of clear is because it makes it easier to tell when it is dry.
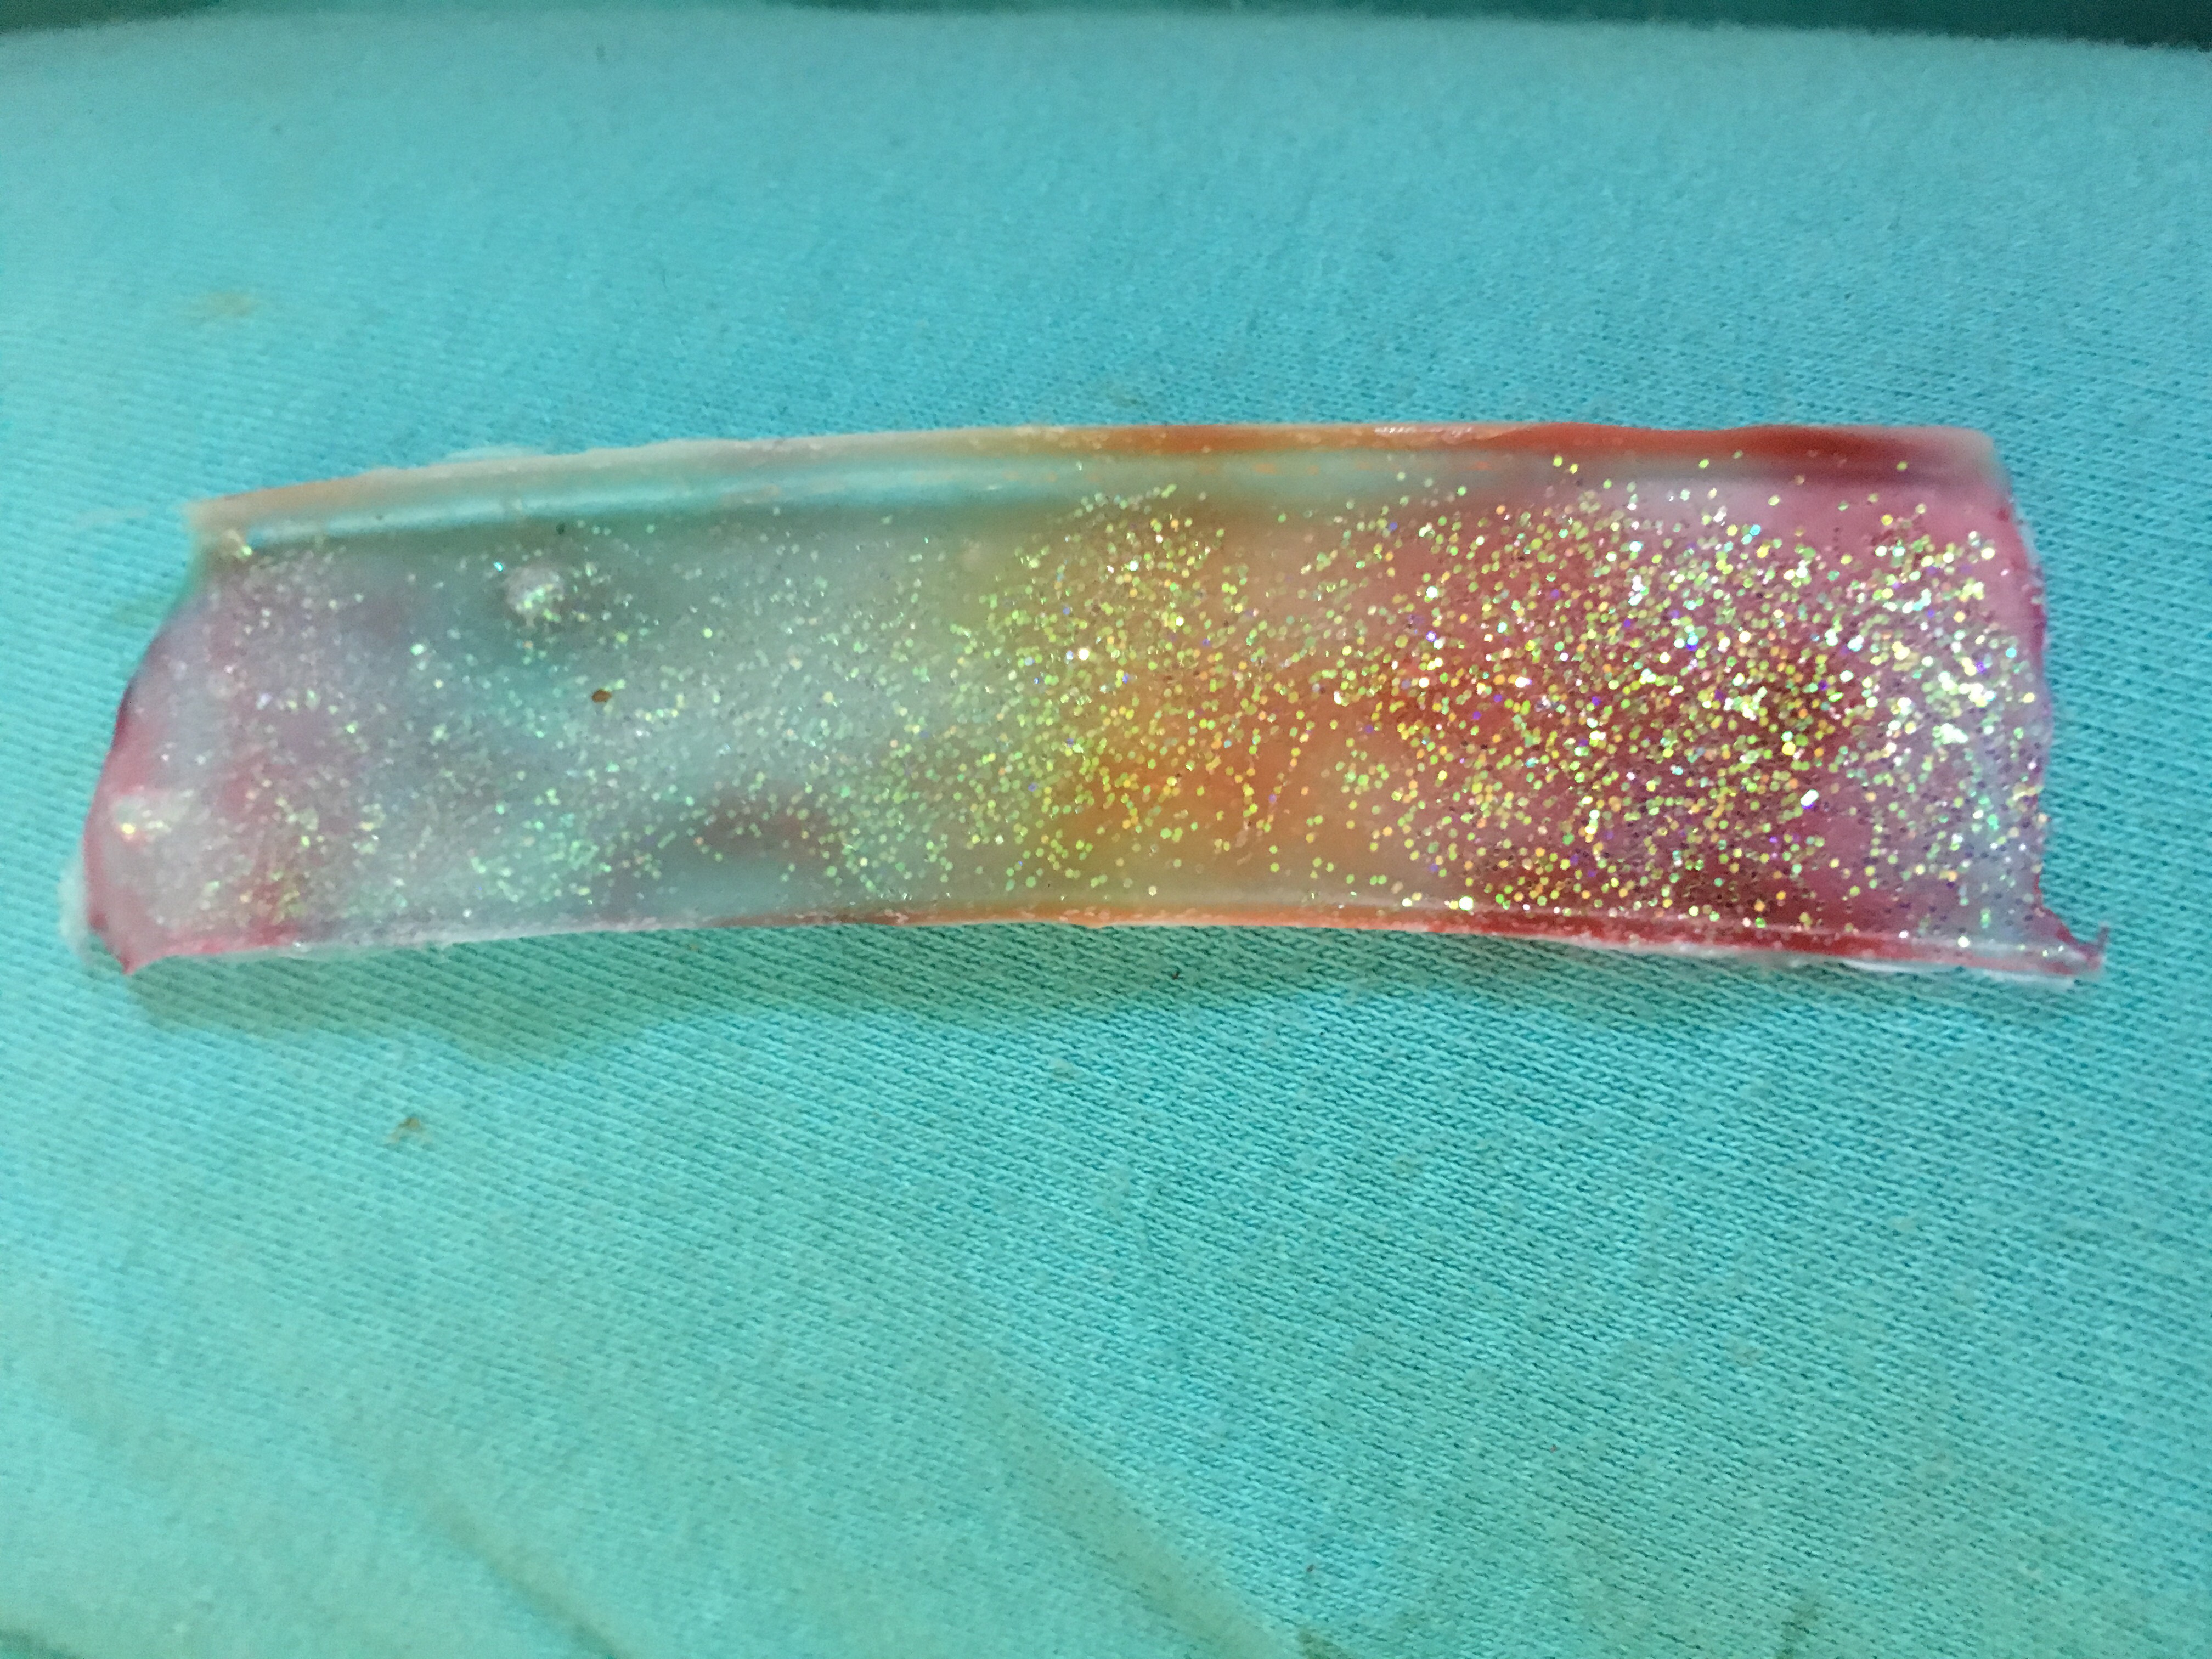
Step 6: Finish Your Bookmark
Once fully hardened, carefully pry it off of the plastic. If your bookmark was between a quarter of an inch and an eighth of an inch, this should be fairly easy.
Cleaning up

Using a pair of scissors, cut the excess glue off the sides and ends of the bookmark, being careful to cut straight, I recommend having an adult do this part as it is difficult to cut it correctly. And your pretty bookmark is done. Happy crafting!