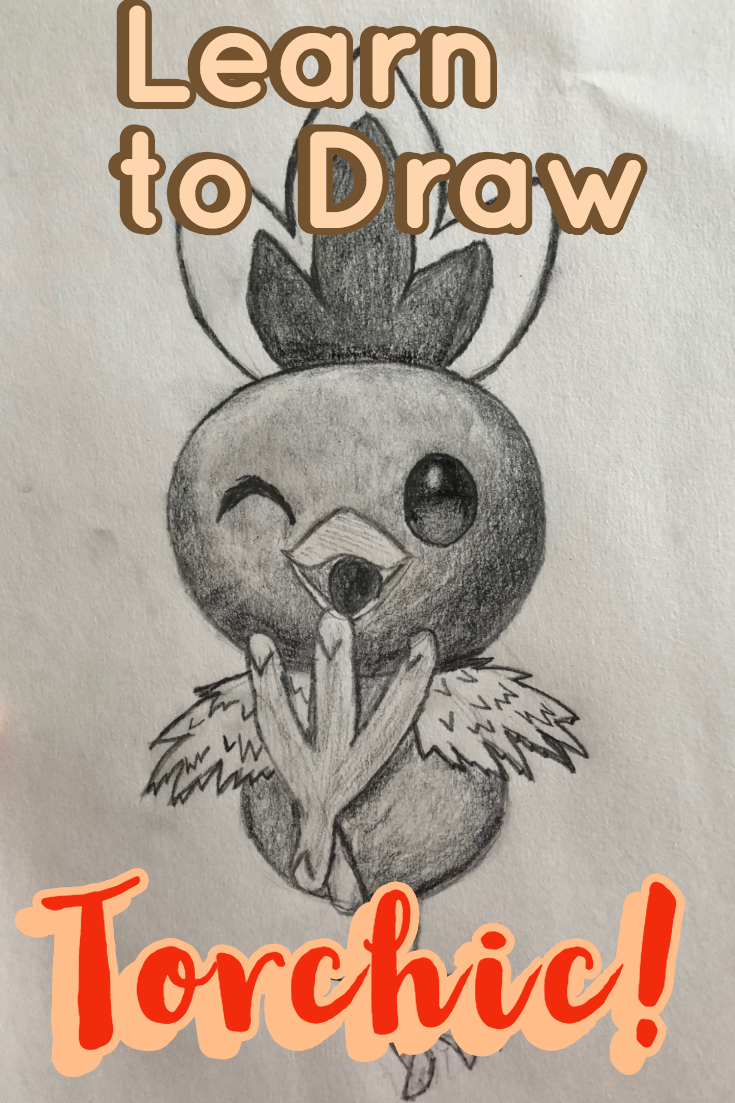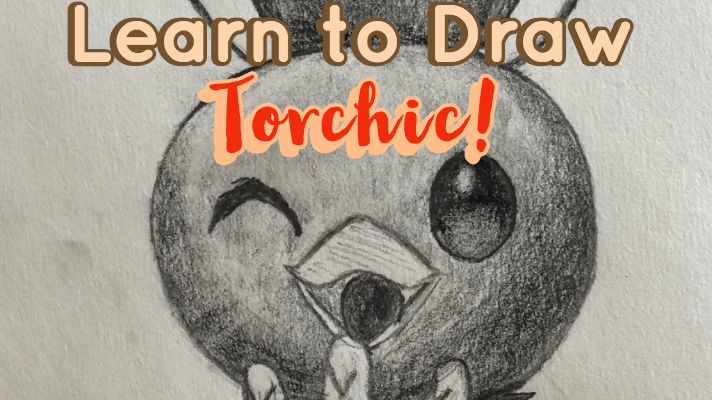
Pokemon is a super fun game that has been around since the original handheld Gameboy. It has evolved over many years, and during the Gameboy advance SP stage, Pokemon Ruby, Emerald and Sapphire were released. In Pokemon ruby, three new starter pokemon were introduced—including none other than Torchic. And wow, that was some kickin’ chicken. Here is how I drew Torchic, broken down into easy to follow steps.
What you will need
Drawing the Base Sketch
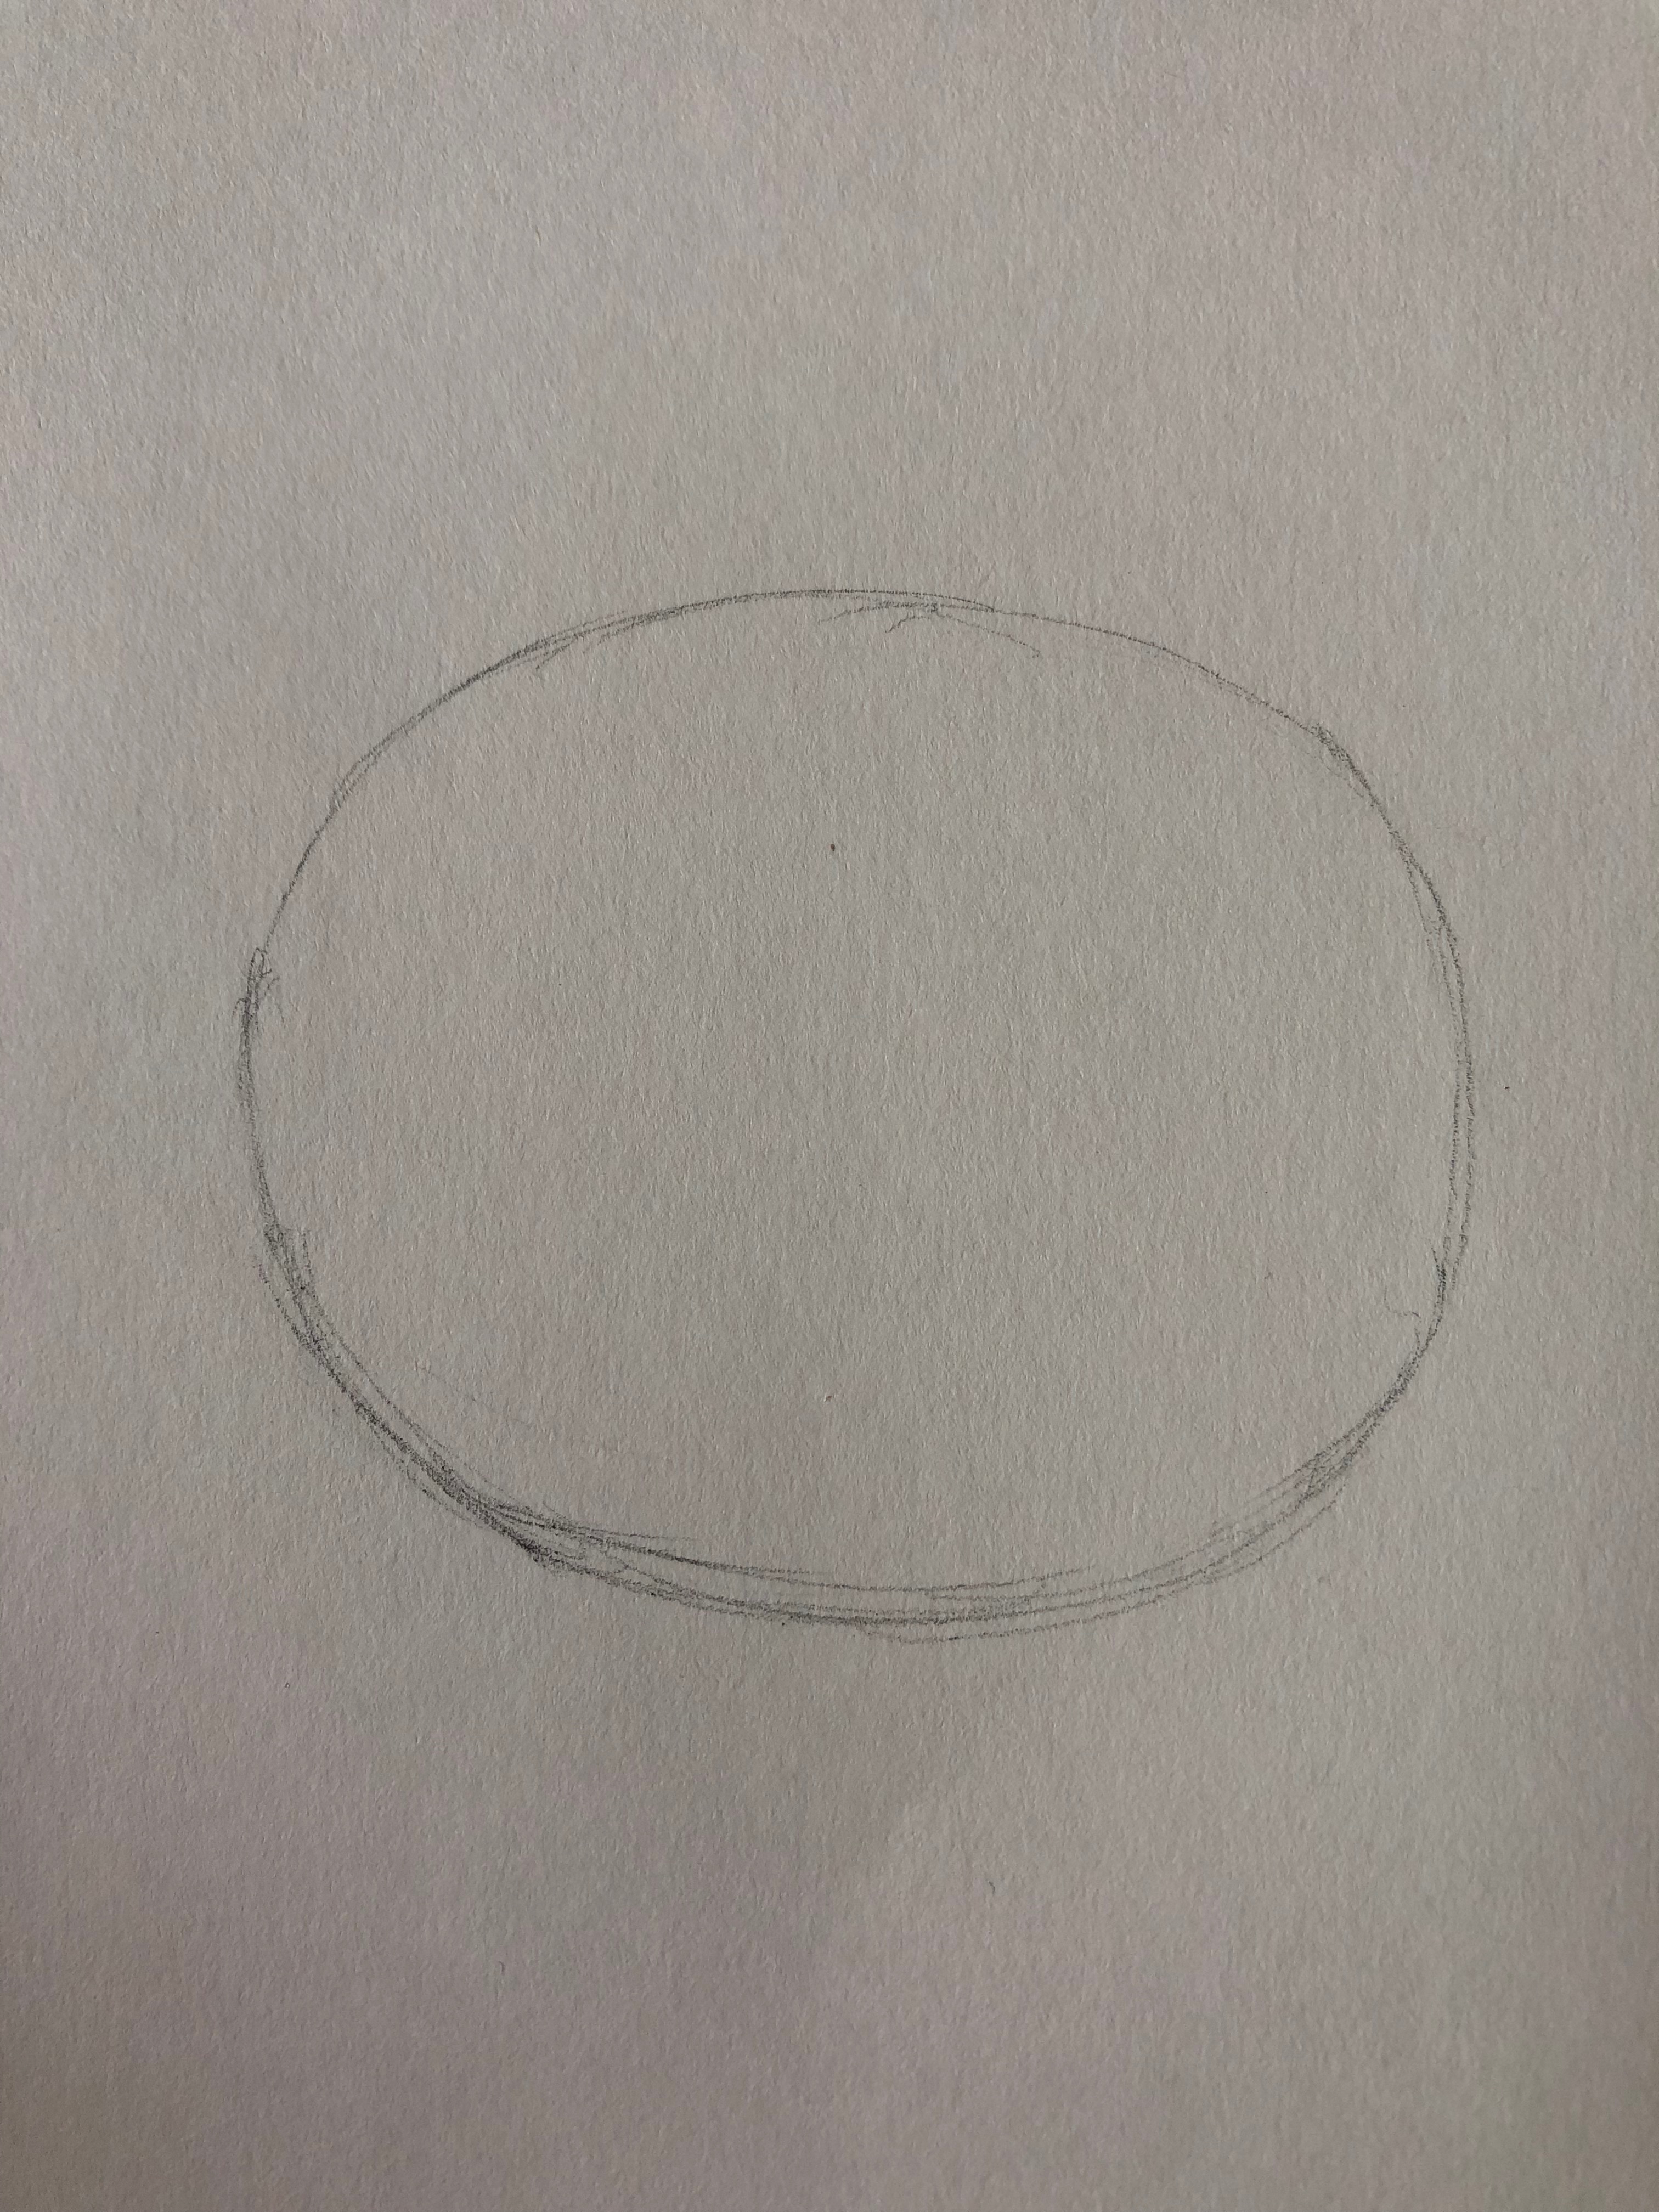
Start with a simple basic circle. It’s fine if it takes you awhile to get the circle right, you can freehand it or try to trace around something like a cup or a CD.
How to Draw Pokemon Faces
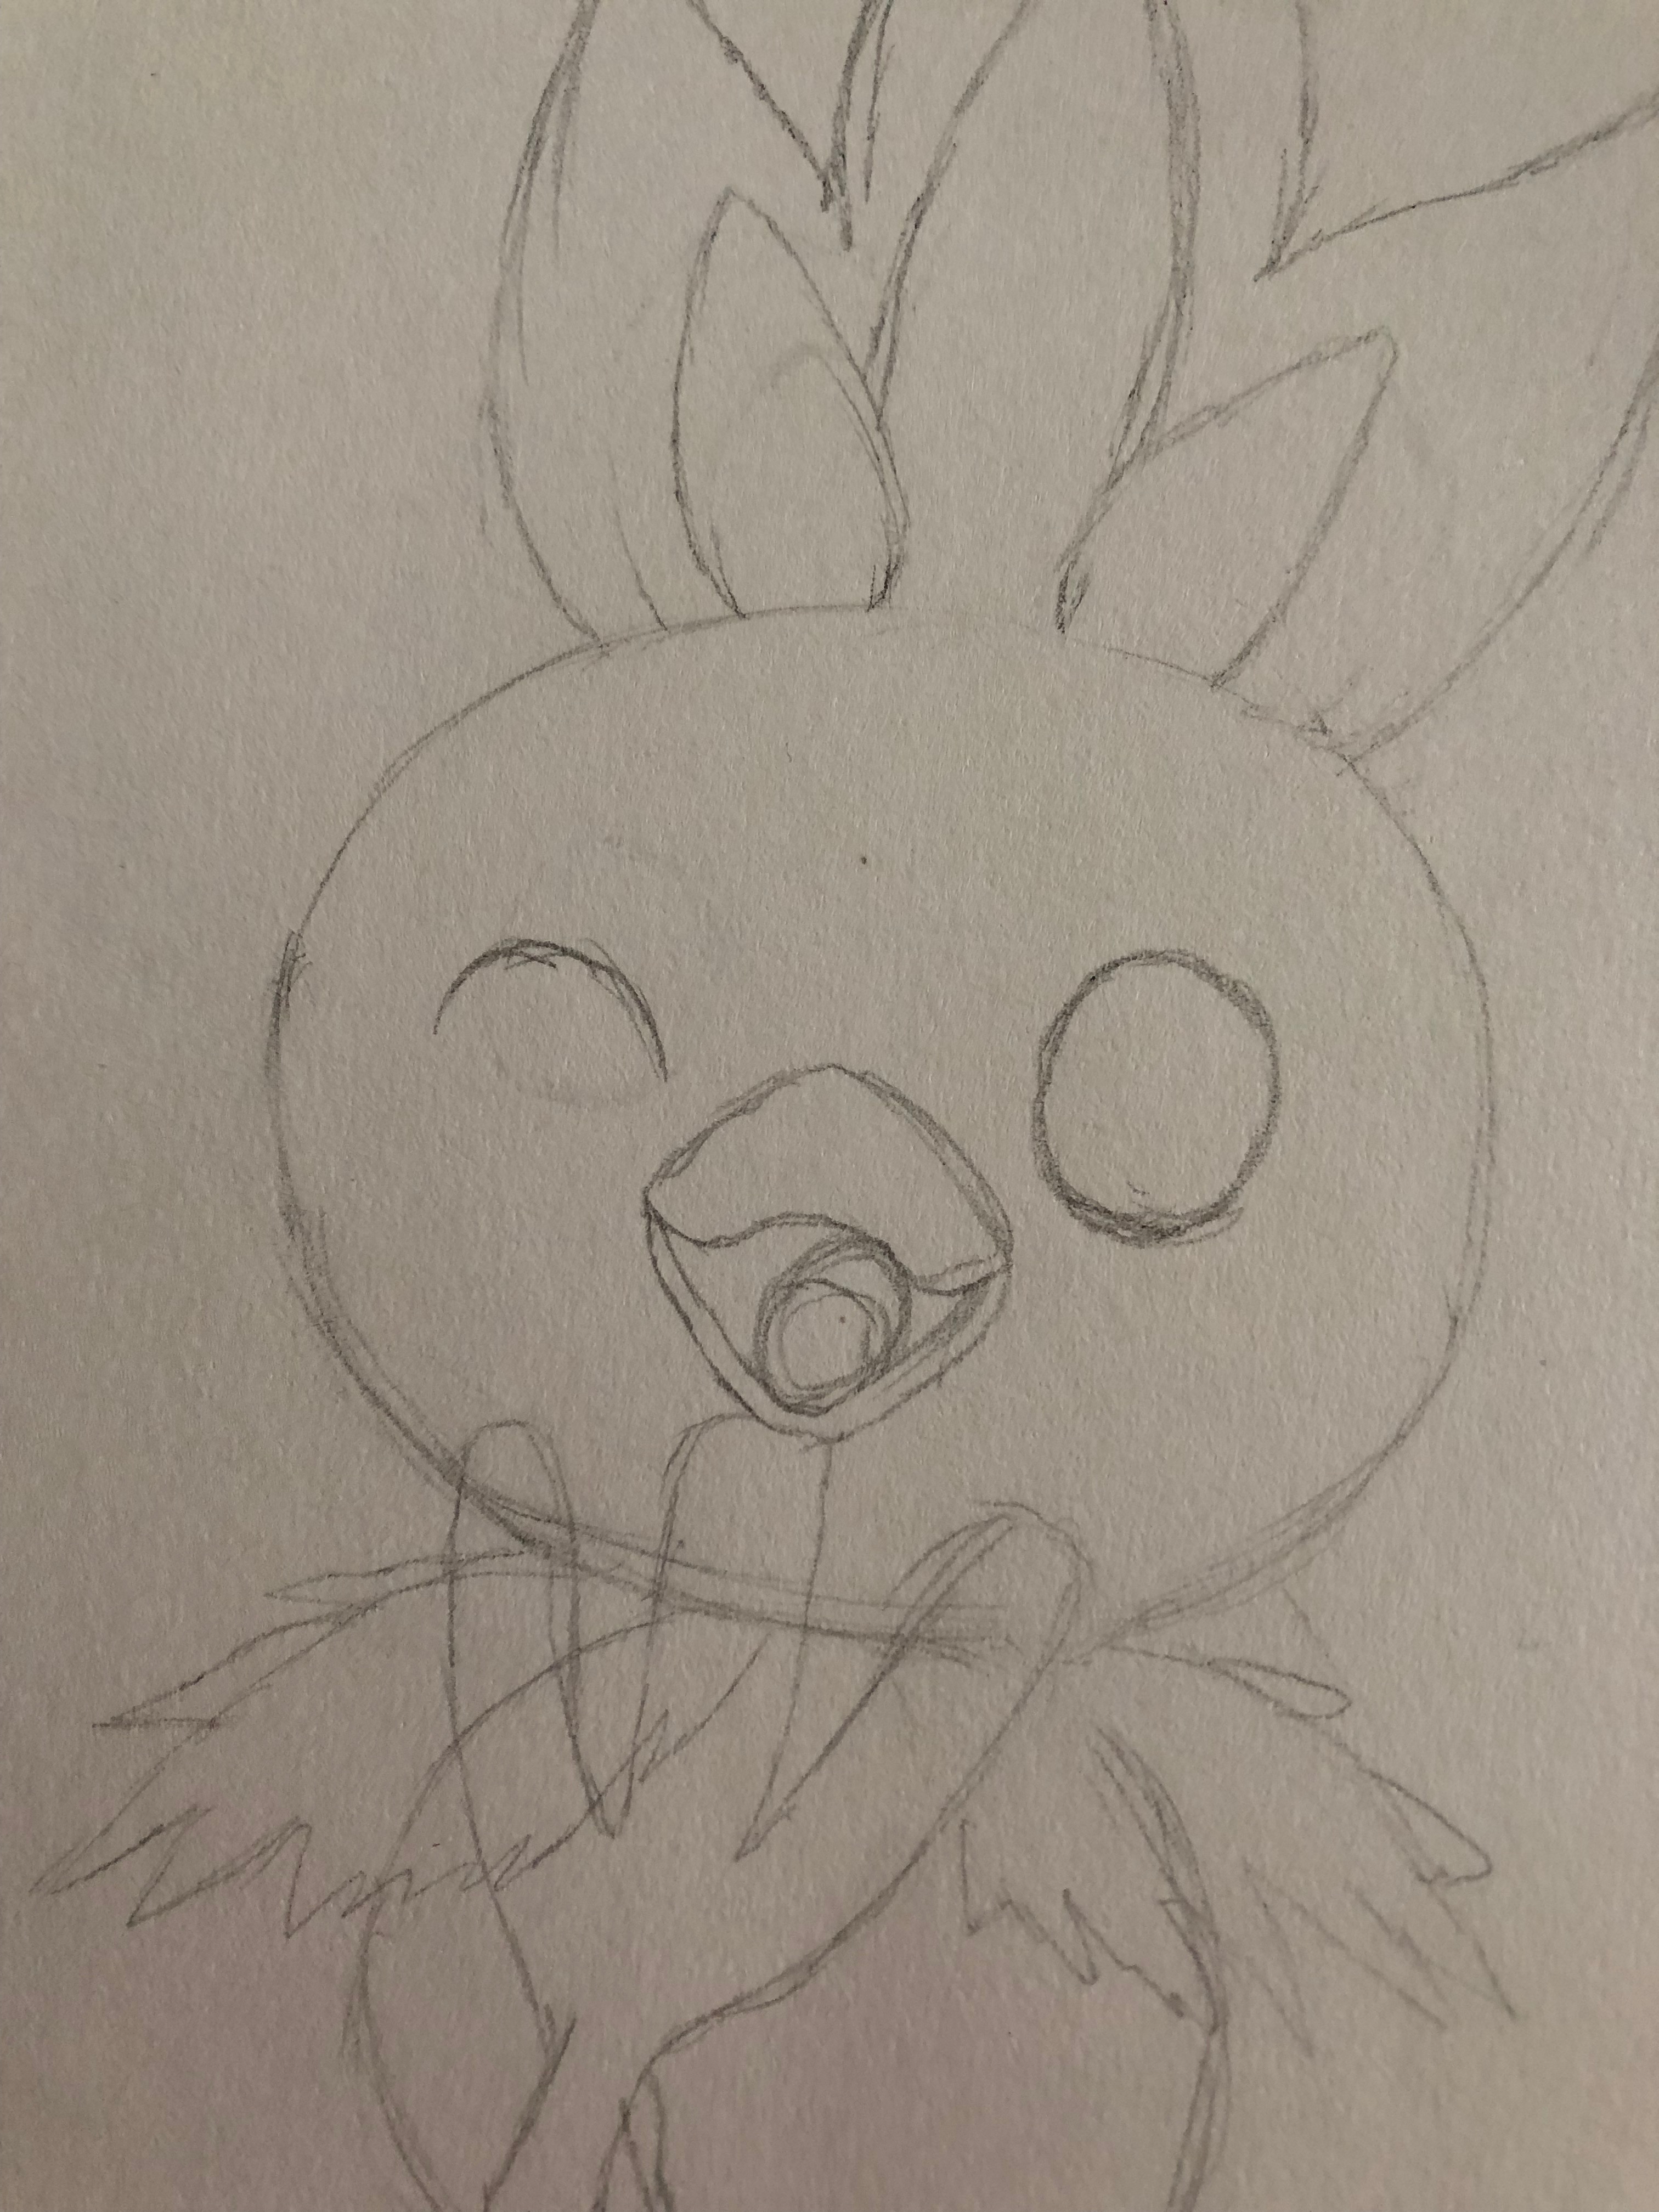
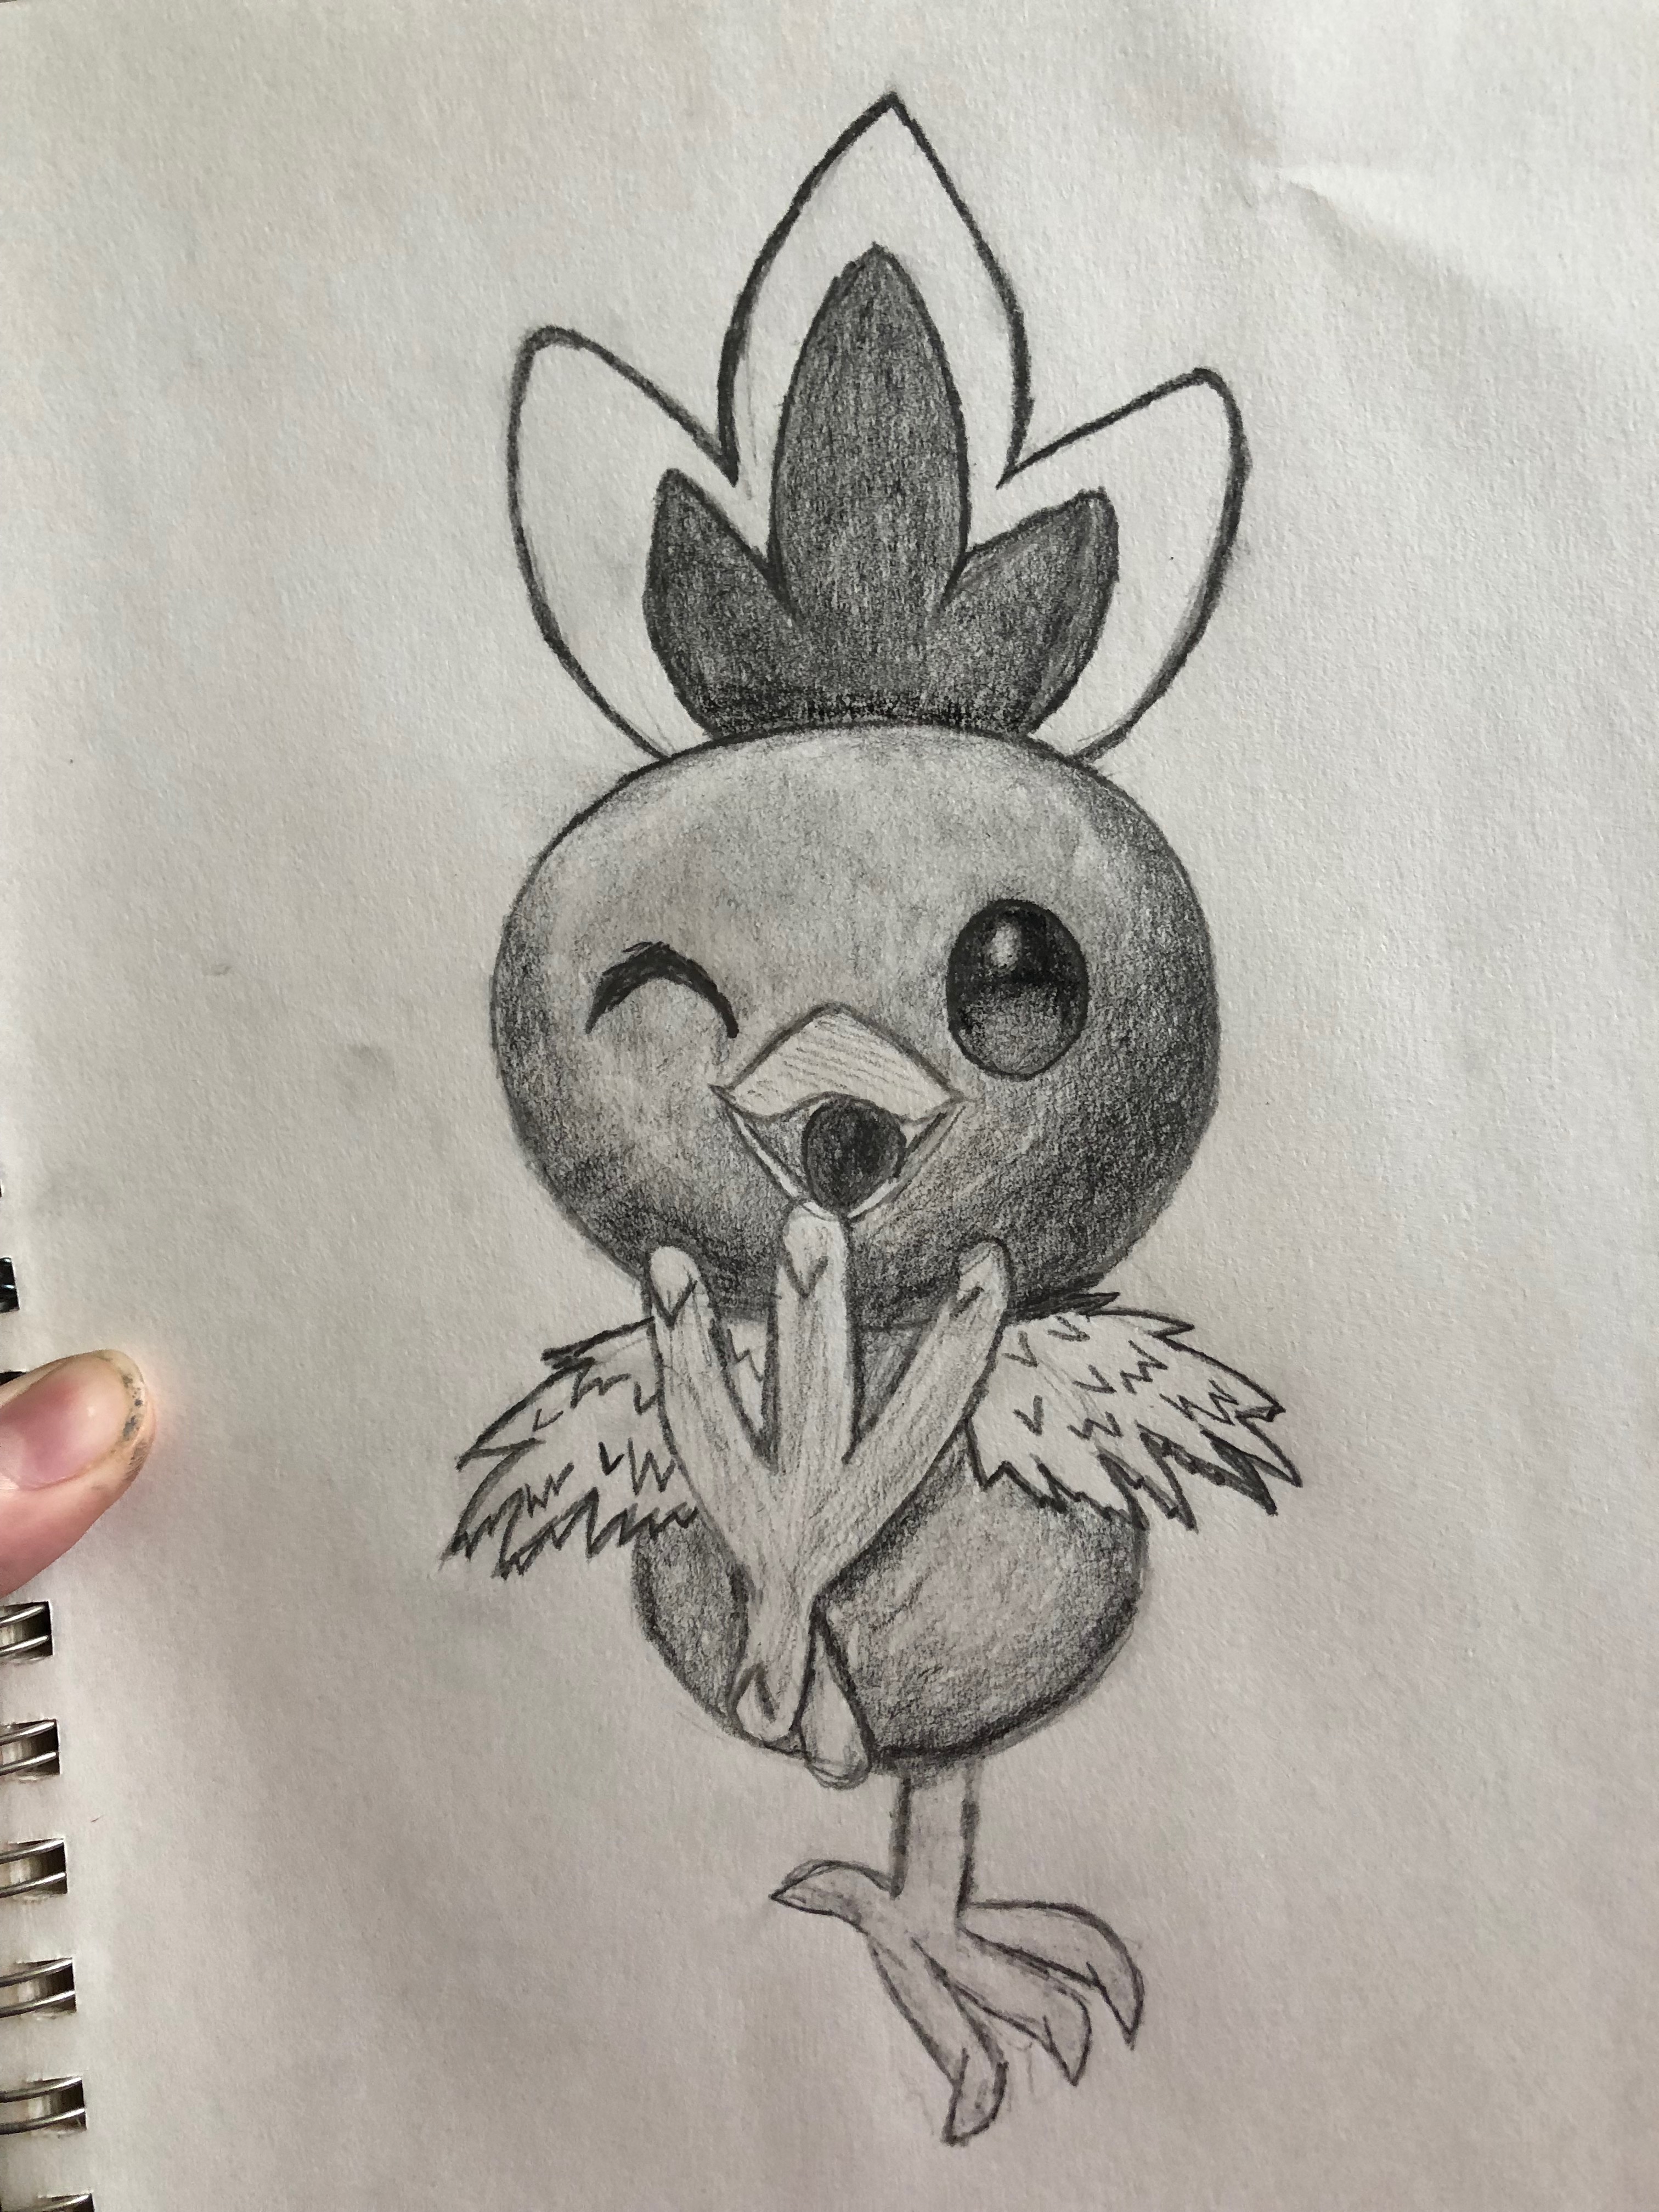
Torchic has a simple face. After drawing the horizontal and vertical lines, draw two large oval eyes, and do not color them in yet. Leave it as a light, delicate sketch. Add the beak, which is a sort of squished diamond shape, and add the tongue as a little round shape in his mouth. Curve the top of the beak, inside the diamond, to look like his mouth is open.
How to Draw Pokemon Top Feathers
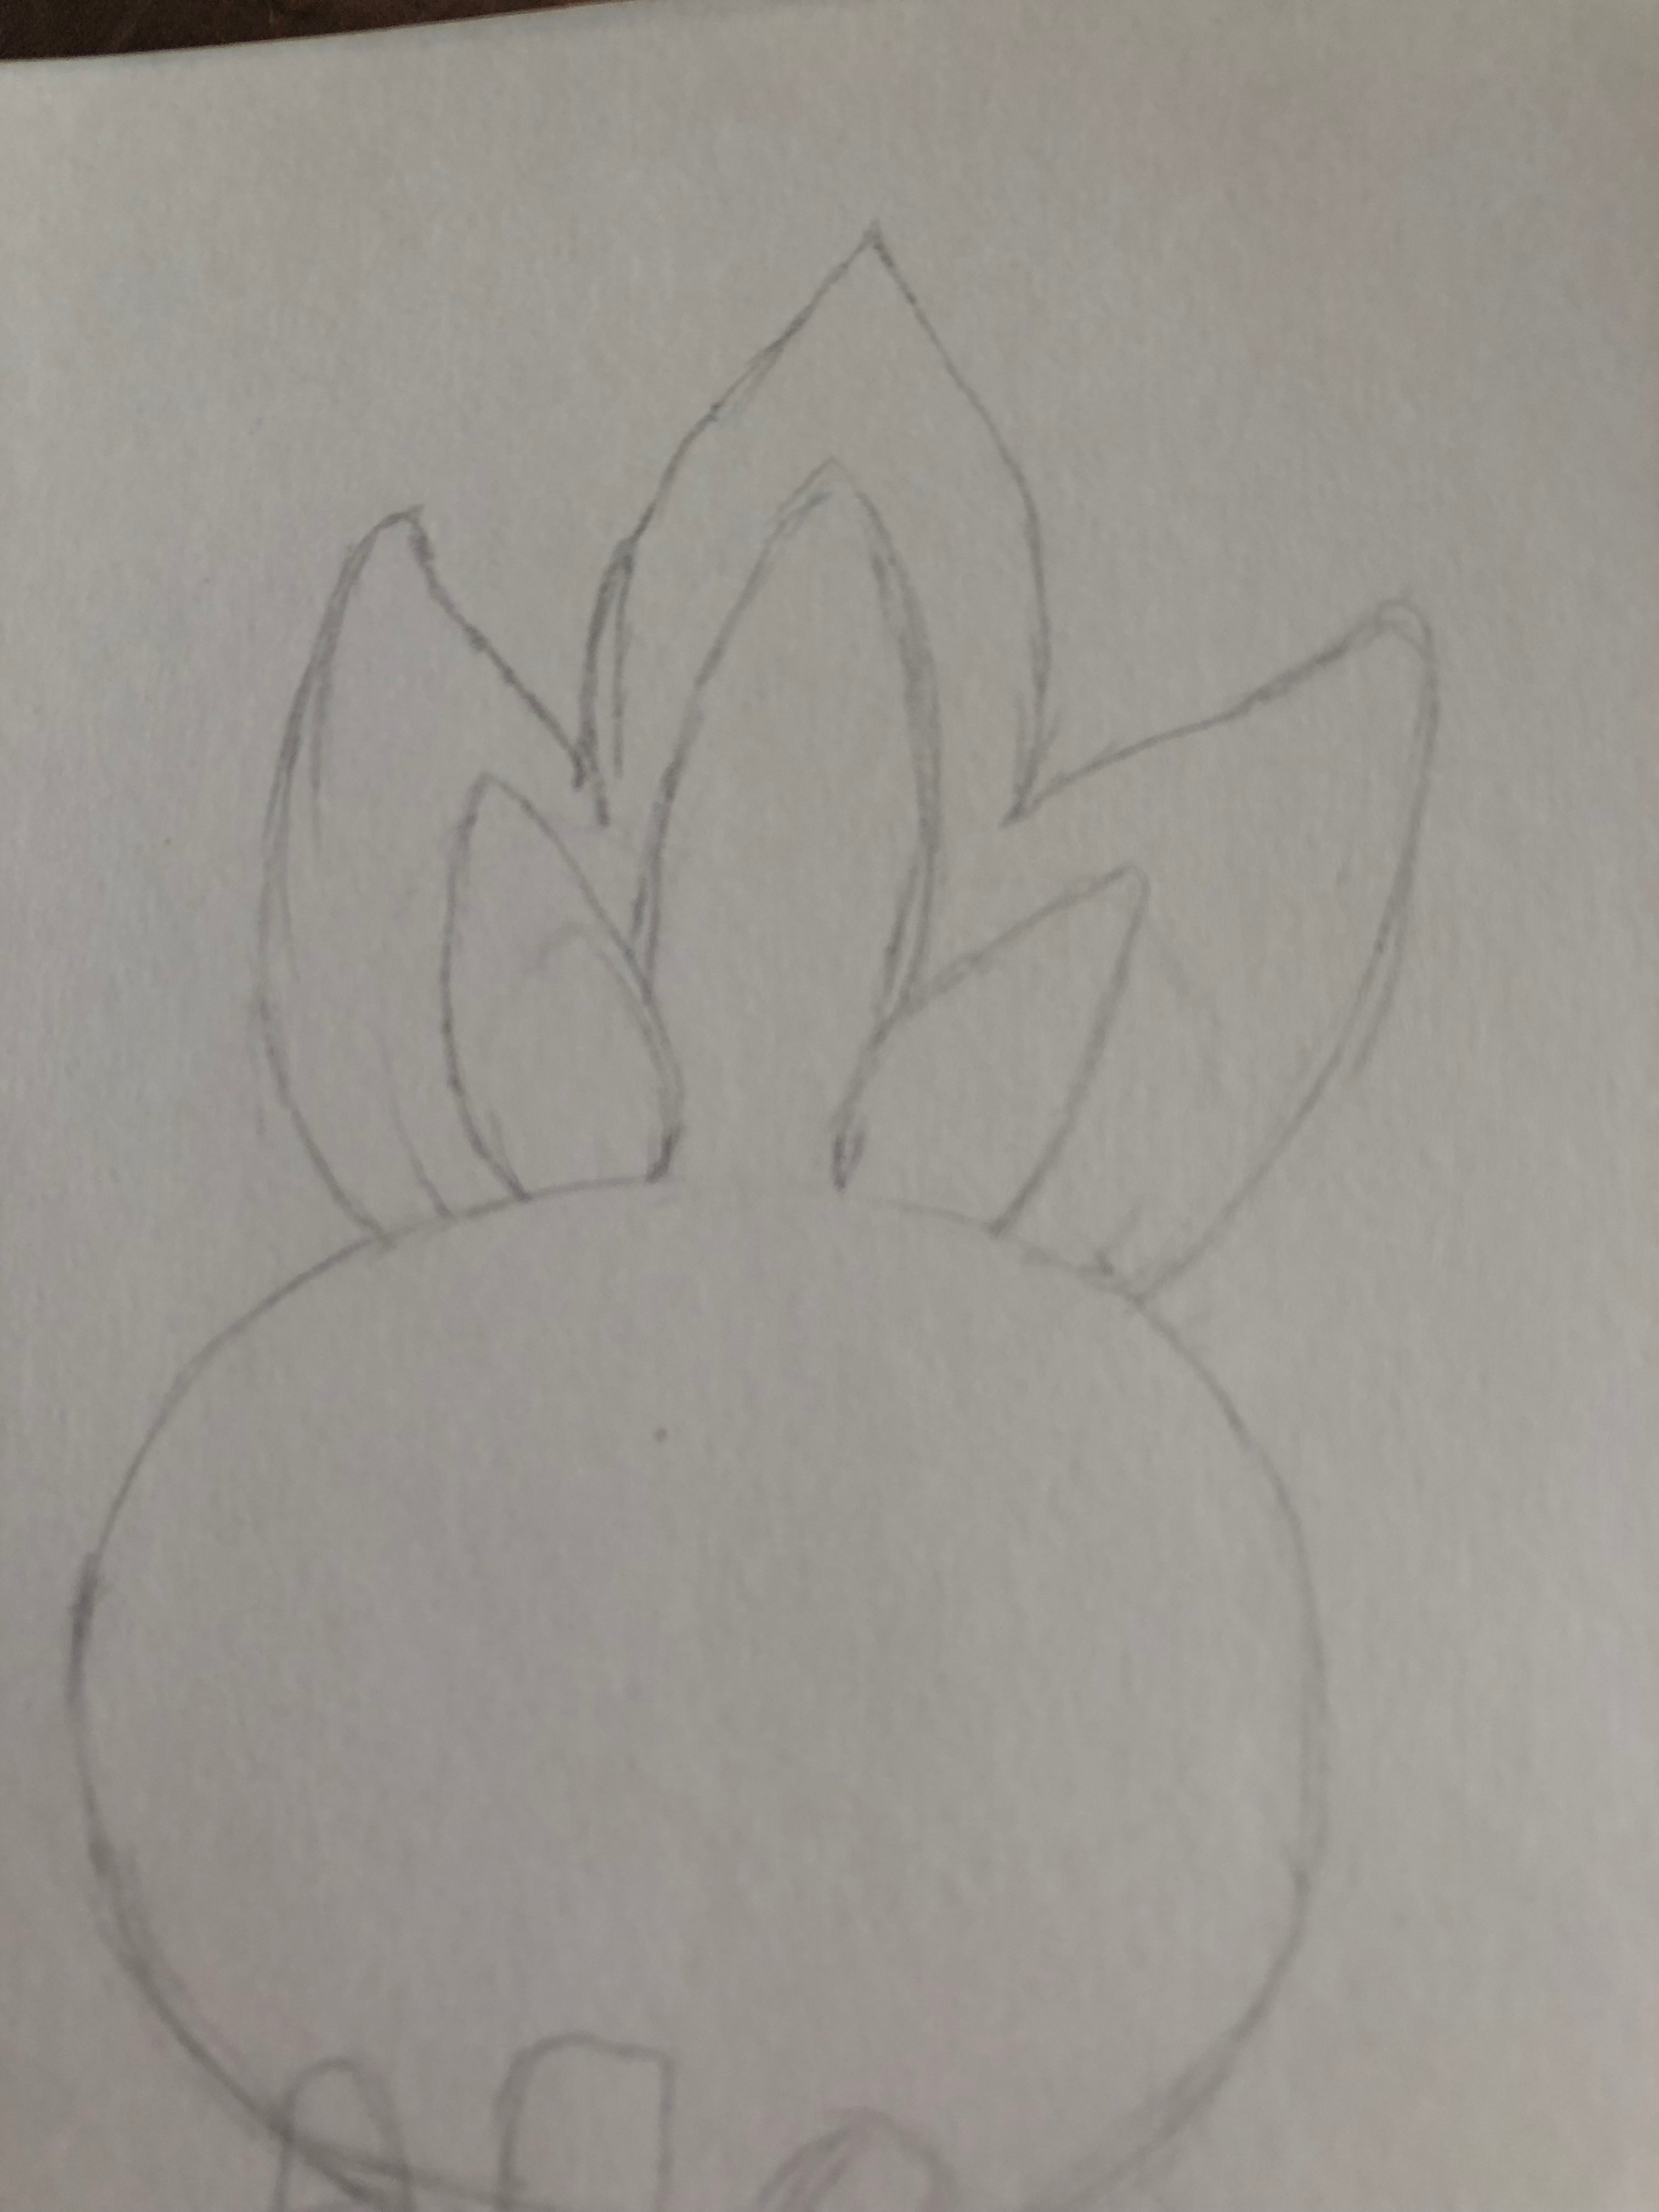
His head feathers are the most difficult part of his body, and will likely take a bit of time. Be patient, and go slowly. Start by drawing the inside pieces, by lightly sketching a big leaf in the middle, and adding little more rounded leaves on either side. Sketch around it, mimicking the shape, about half an inch all the way around, going a bit closer at the bottom where it connects to the head.
How to Draw Pokemon Torchic’s Body

Torchic’s body is just a disproportionately small oval in comparison to the head. Make sure it is more rounded on the bottom, because Torchic is a squishy jelly bean.
How to Draw Pokemon Claws
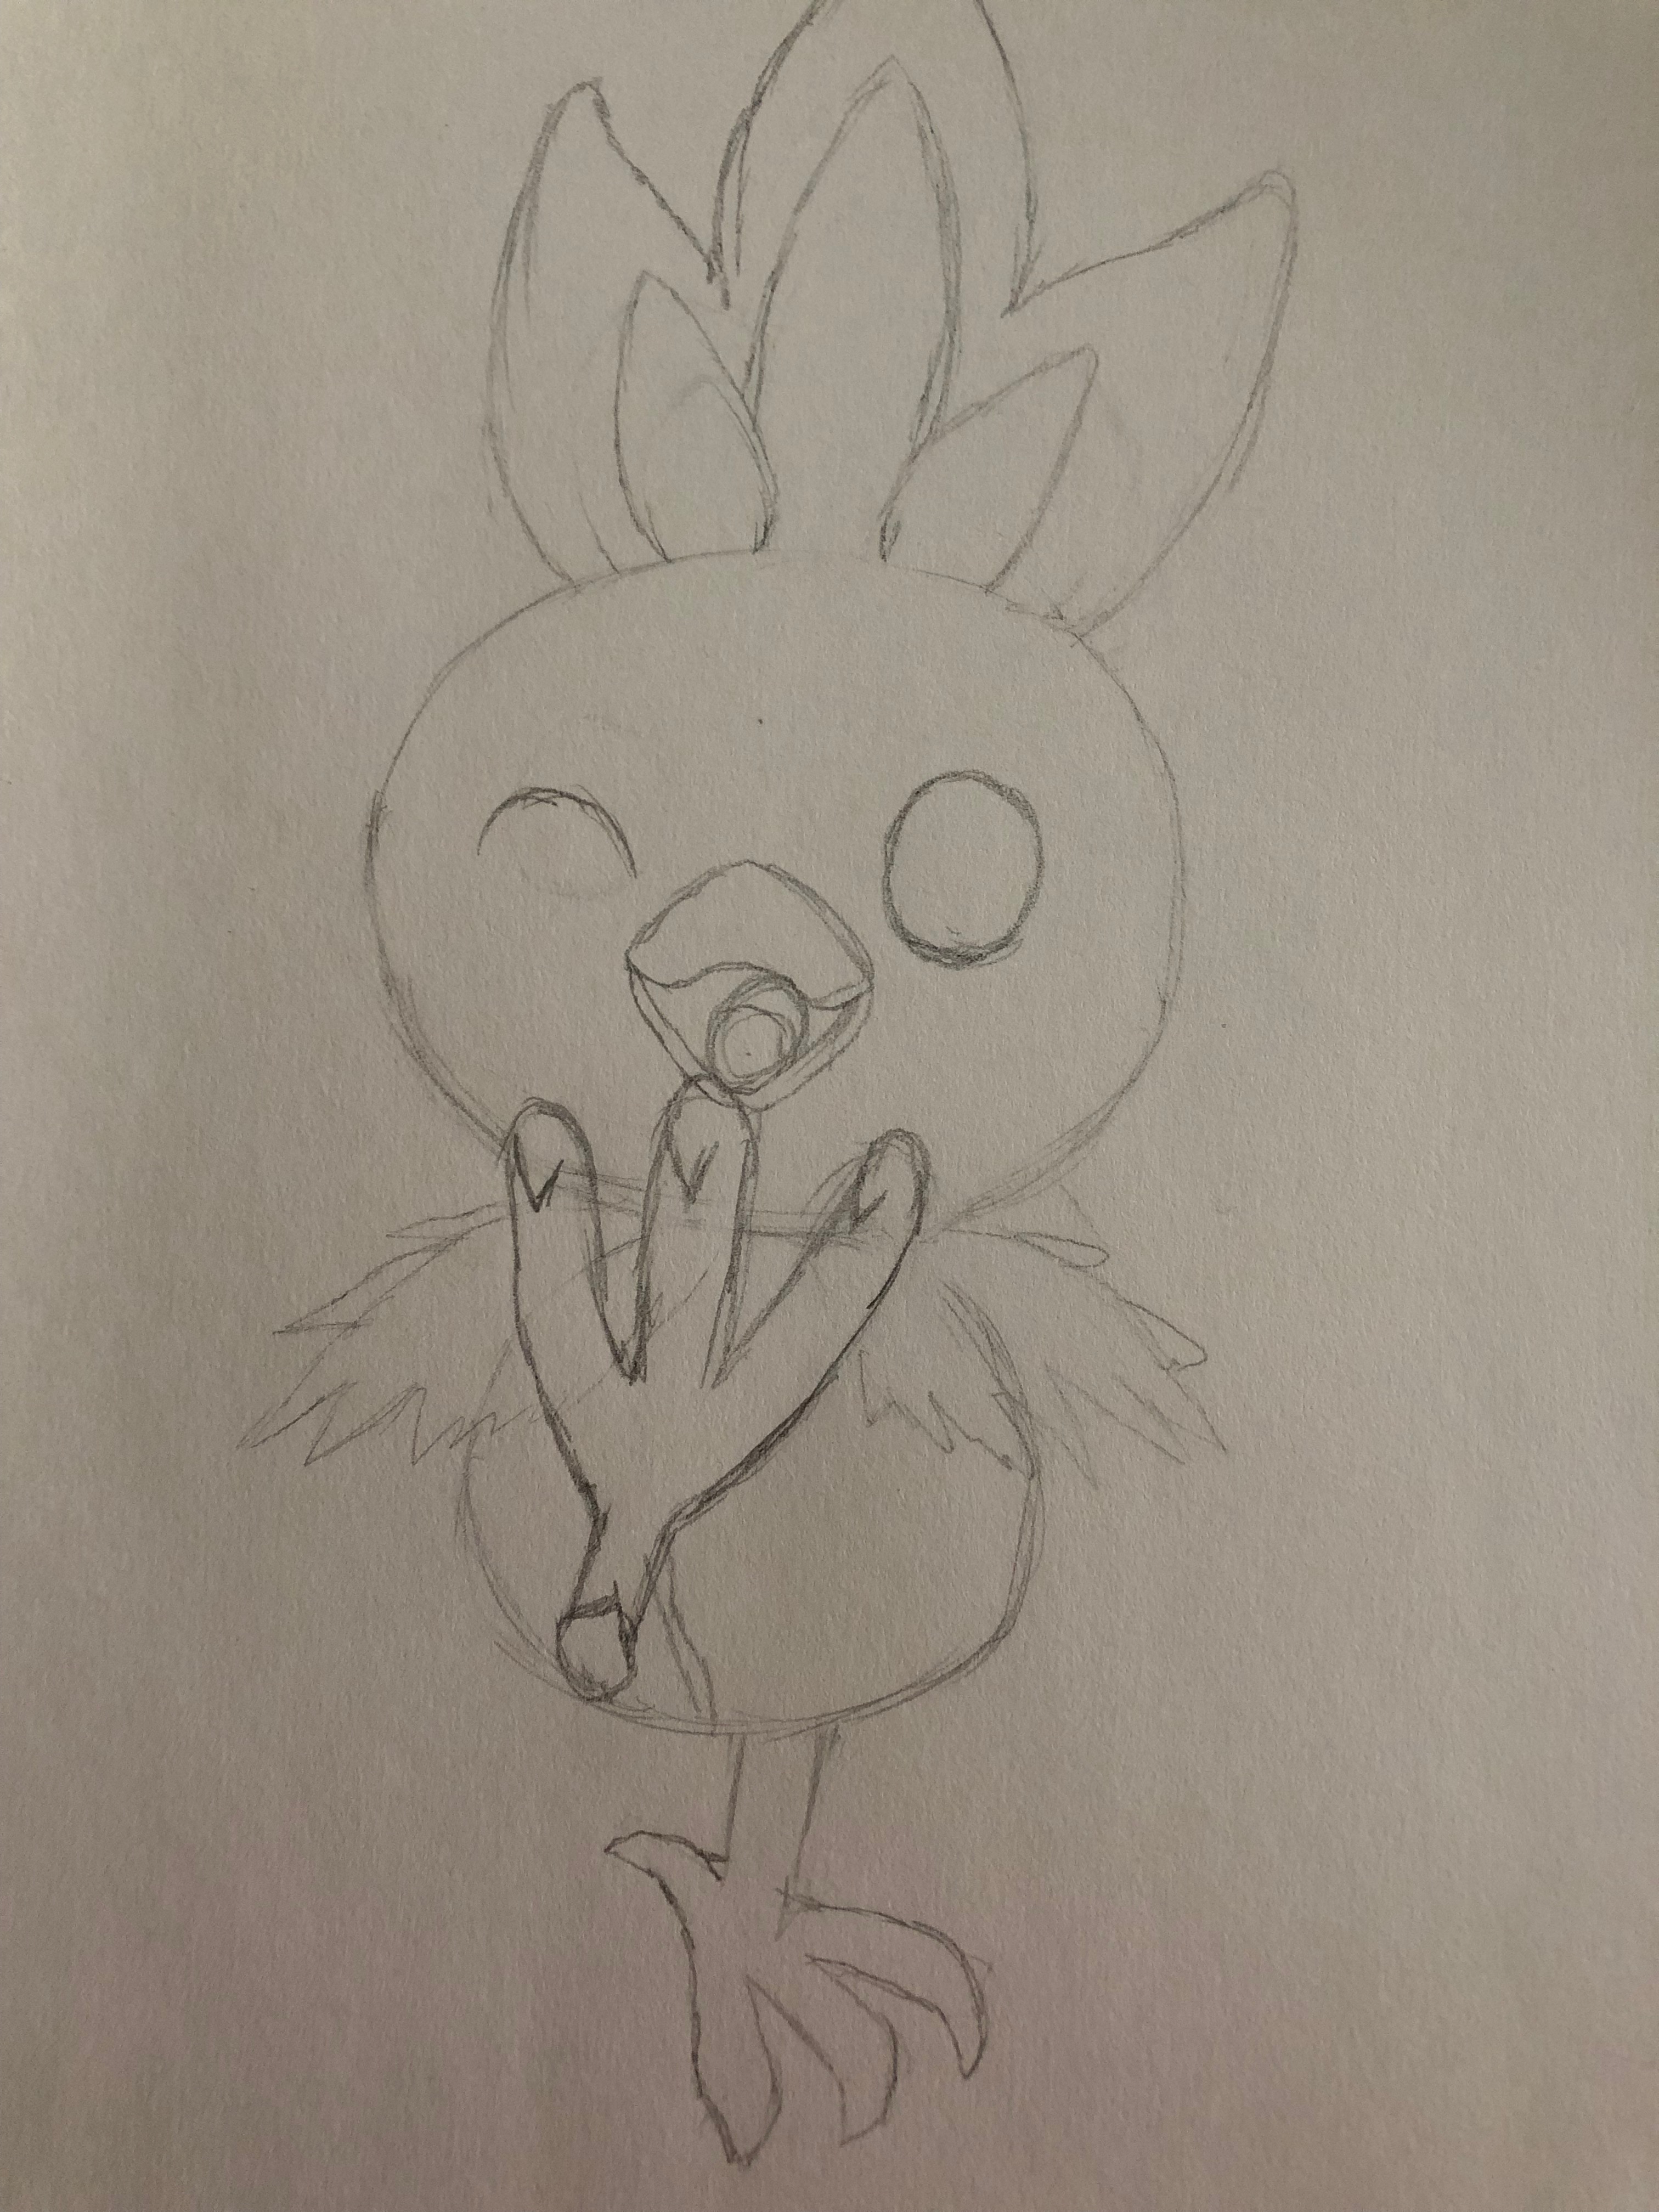
The claws are easy if properly broken down. Use chicken feet as a reference for this. Start by drawing one claw coming down to the ground, and position the claws off to the side a little closer than you would normally. Make the claws simple by drawing the tip of the claw and having it curve in over slightly where the toe is.
The kicking claw is a little harder. Draw a big chicken foot from the bottom, with three long toes extending toward you and the back claw about to gouge your eyes out. Make the ends of the toes more rounded, and do the claw facing you as shown above. Add lines to make it seem more 3D, making sure to curve them slightly on the edges.
Sketching the Feathery Wings
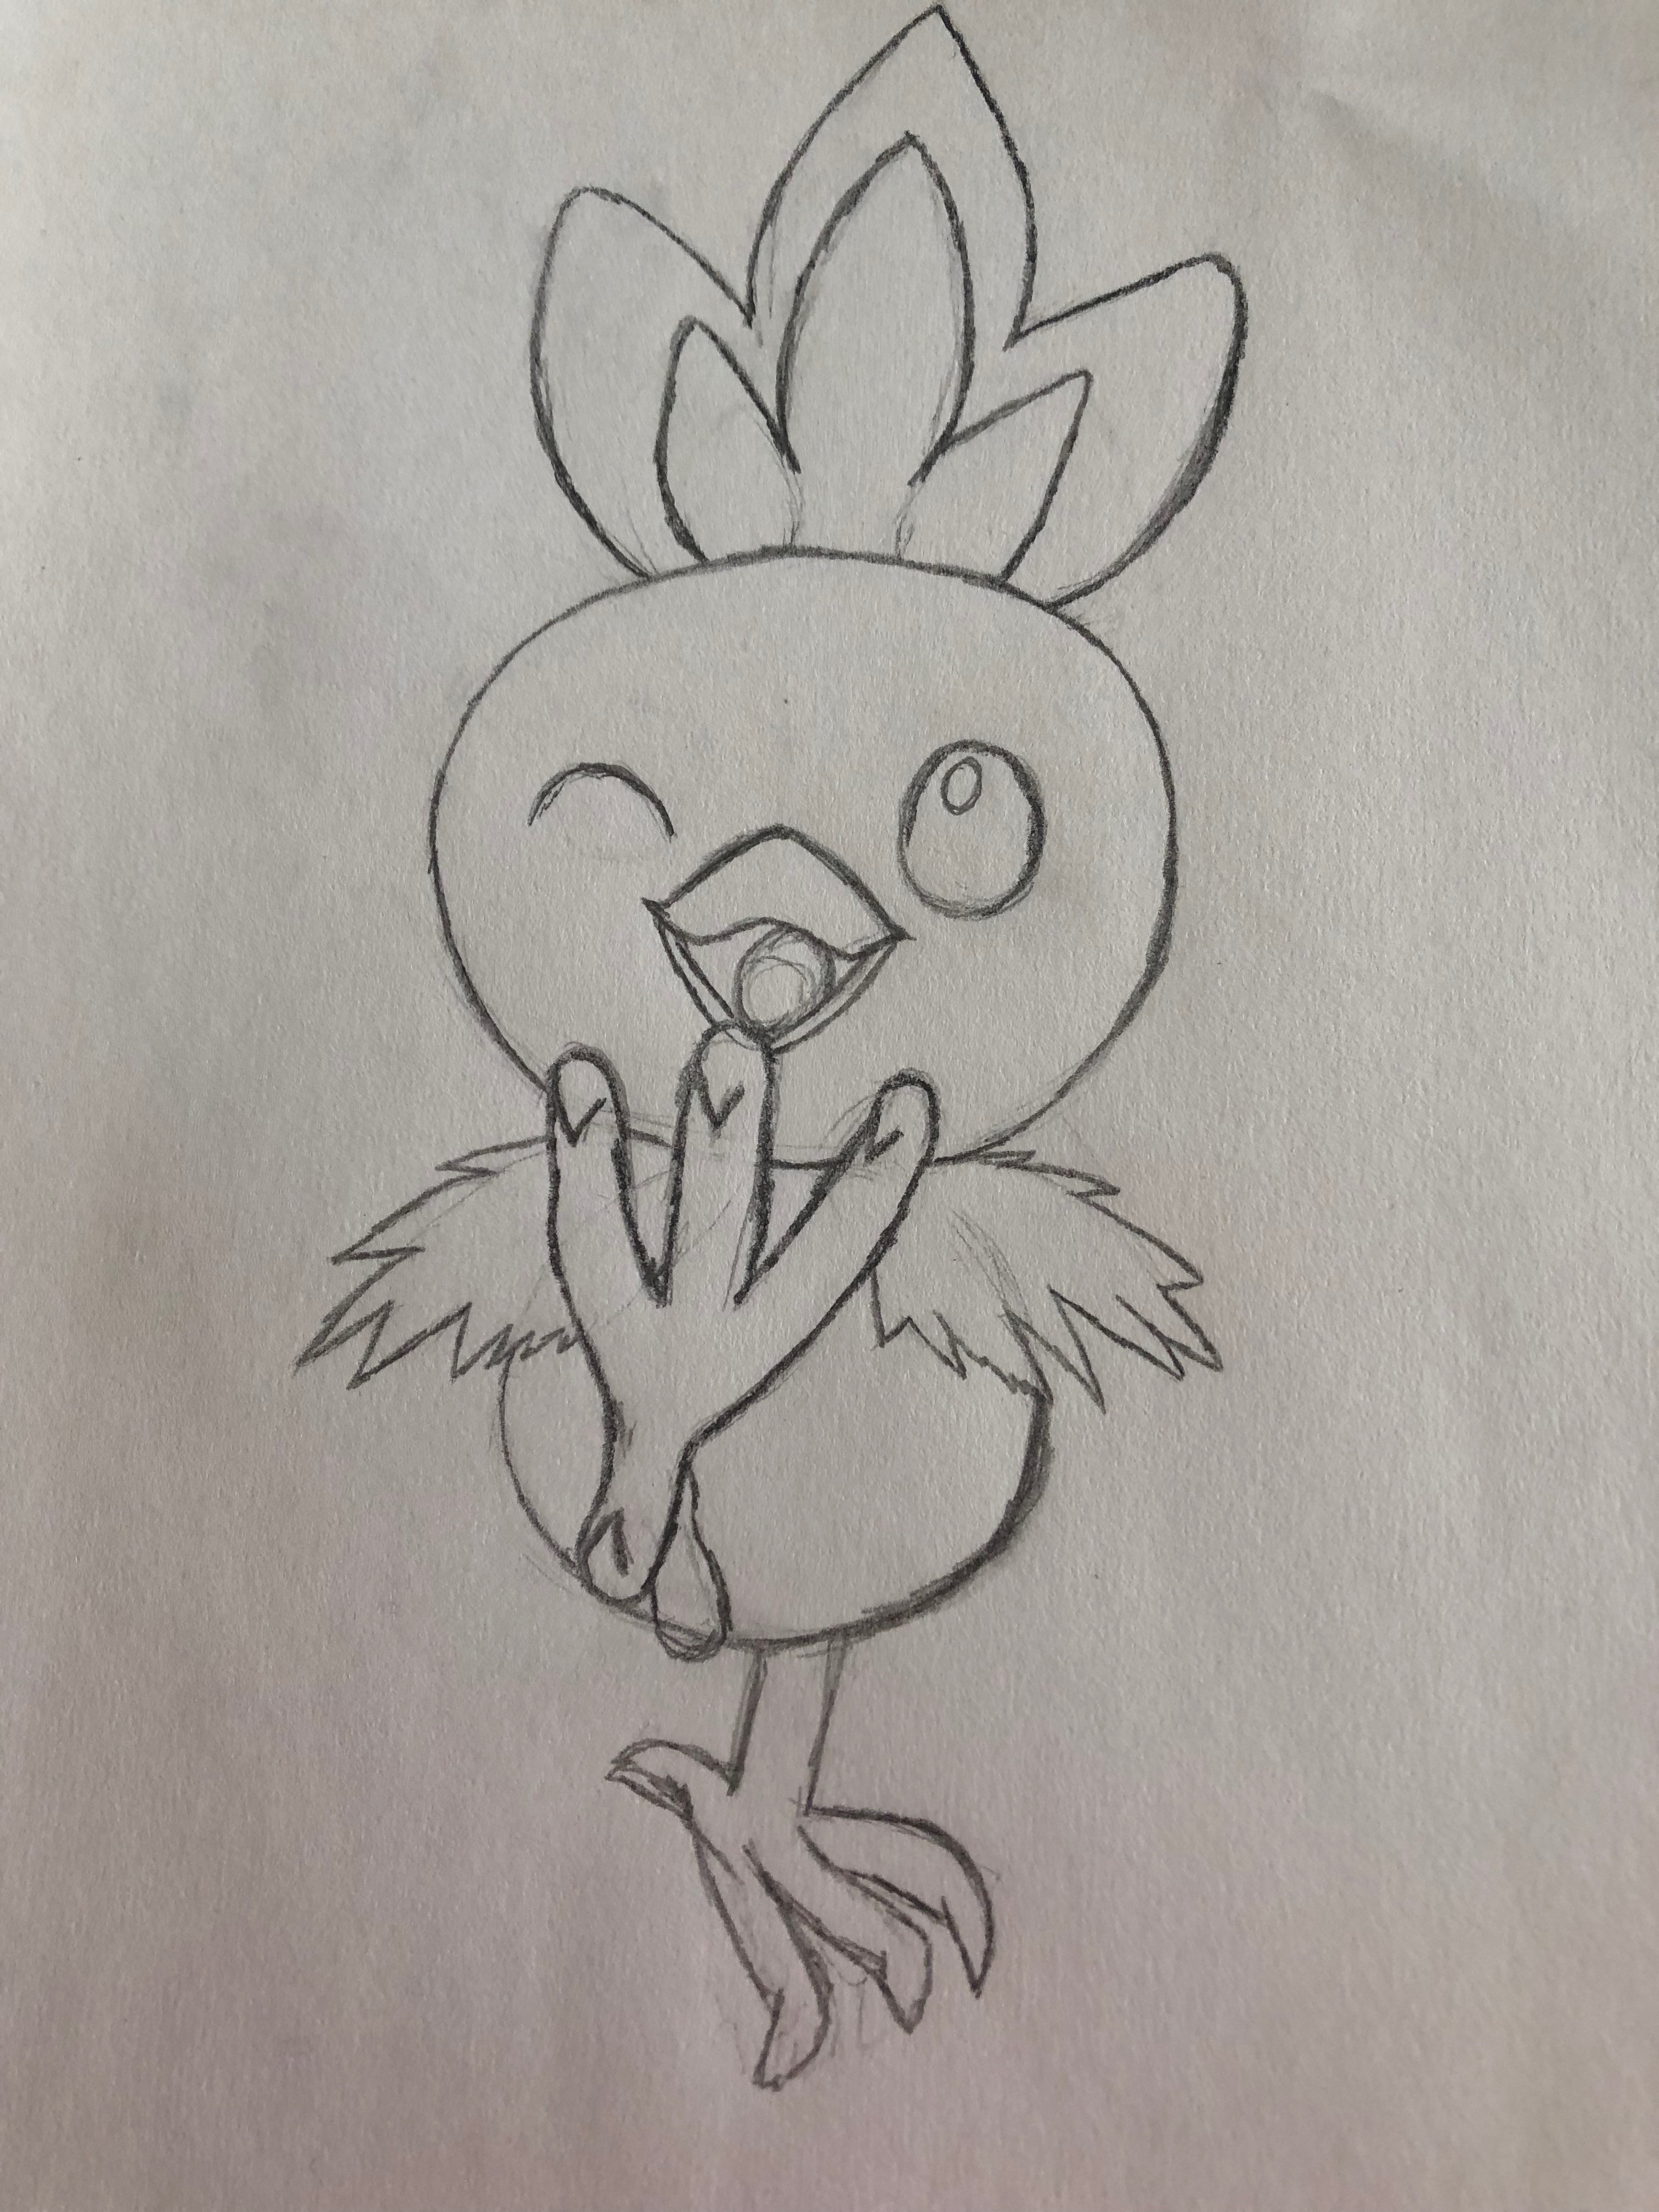
Using your pencil lightly and make little feathery lines and Vs to be sort of like downy wings. Don’t overdo the lines, keep it to the edge and keep it light and fluffy. Feel free to use a picture of Torchic as reference for this, as the wings are a huge part of him and easy to mess up.
Coloring the Eyes and Beak
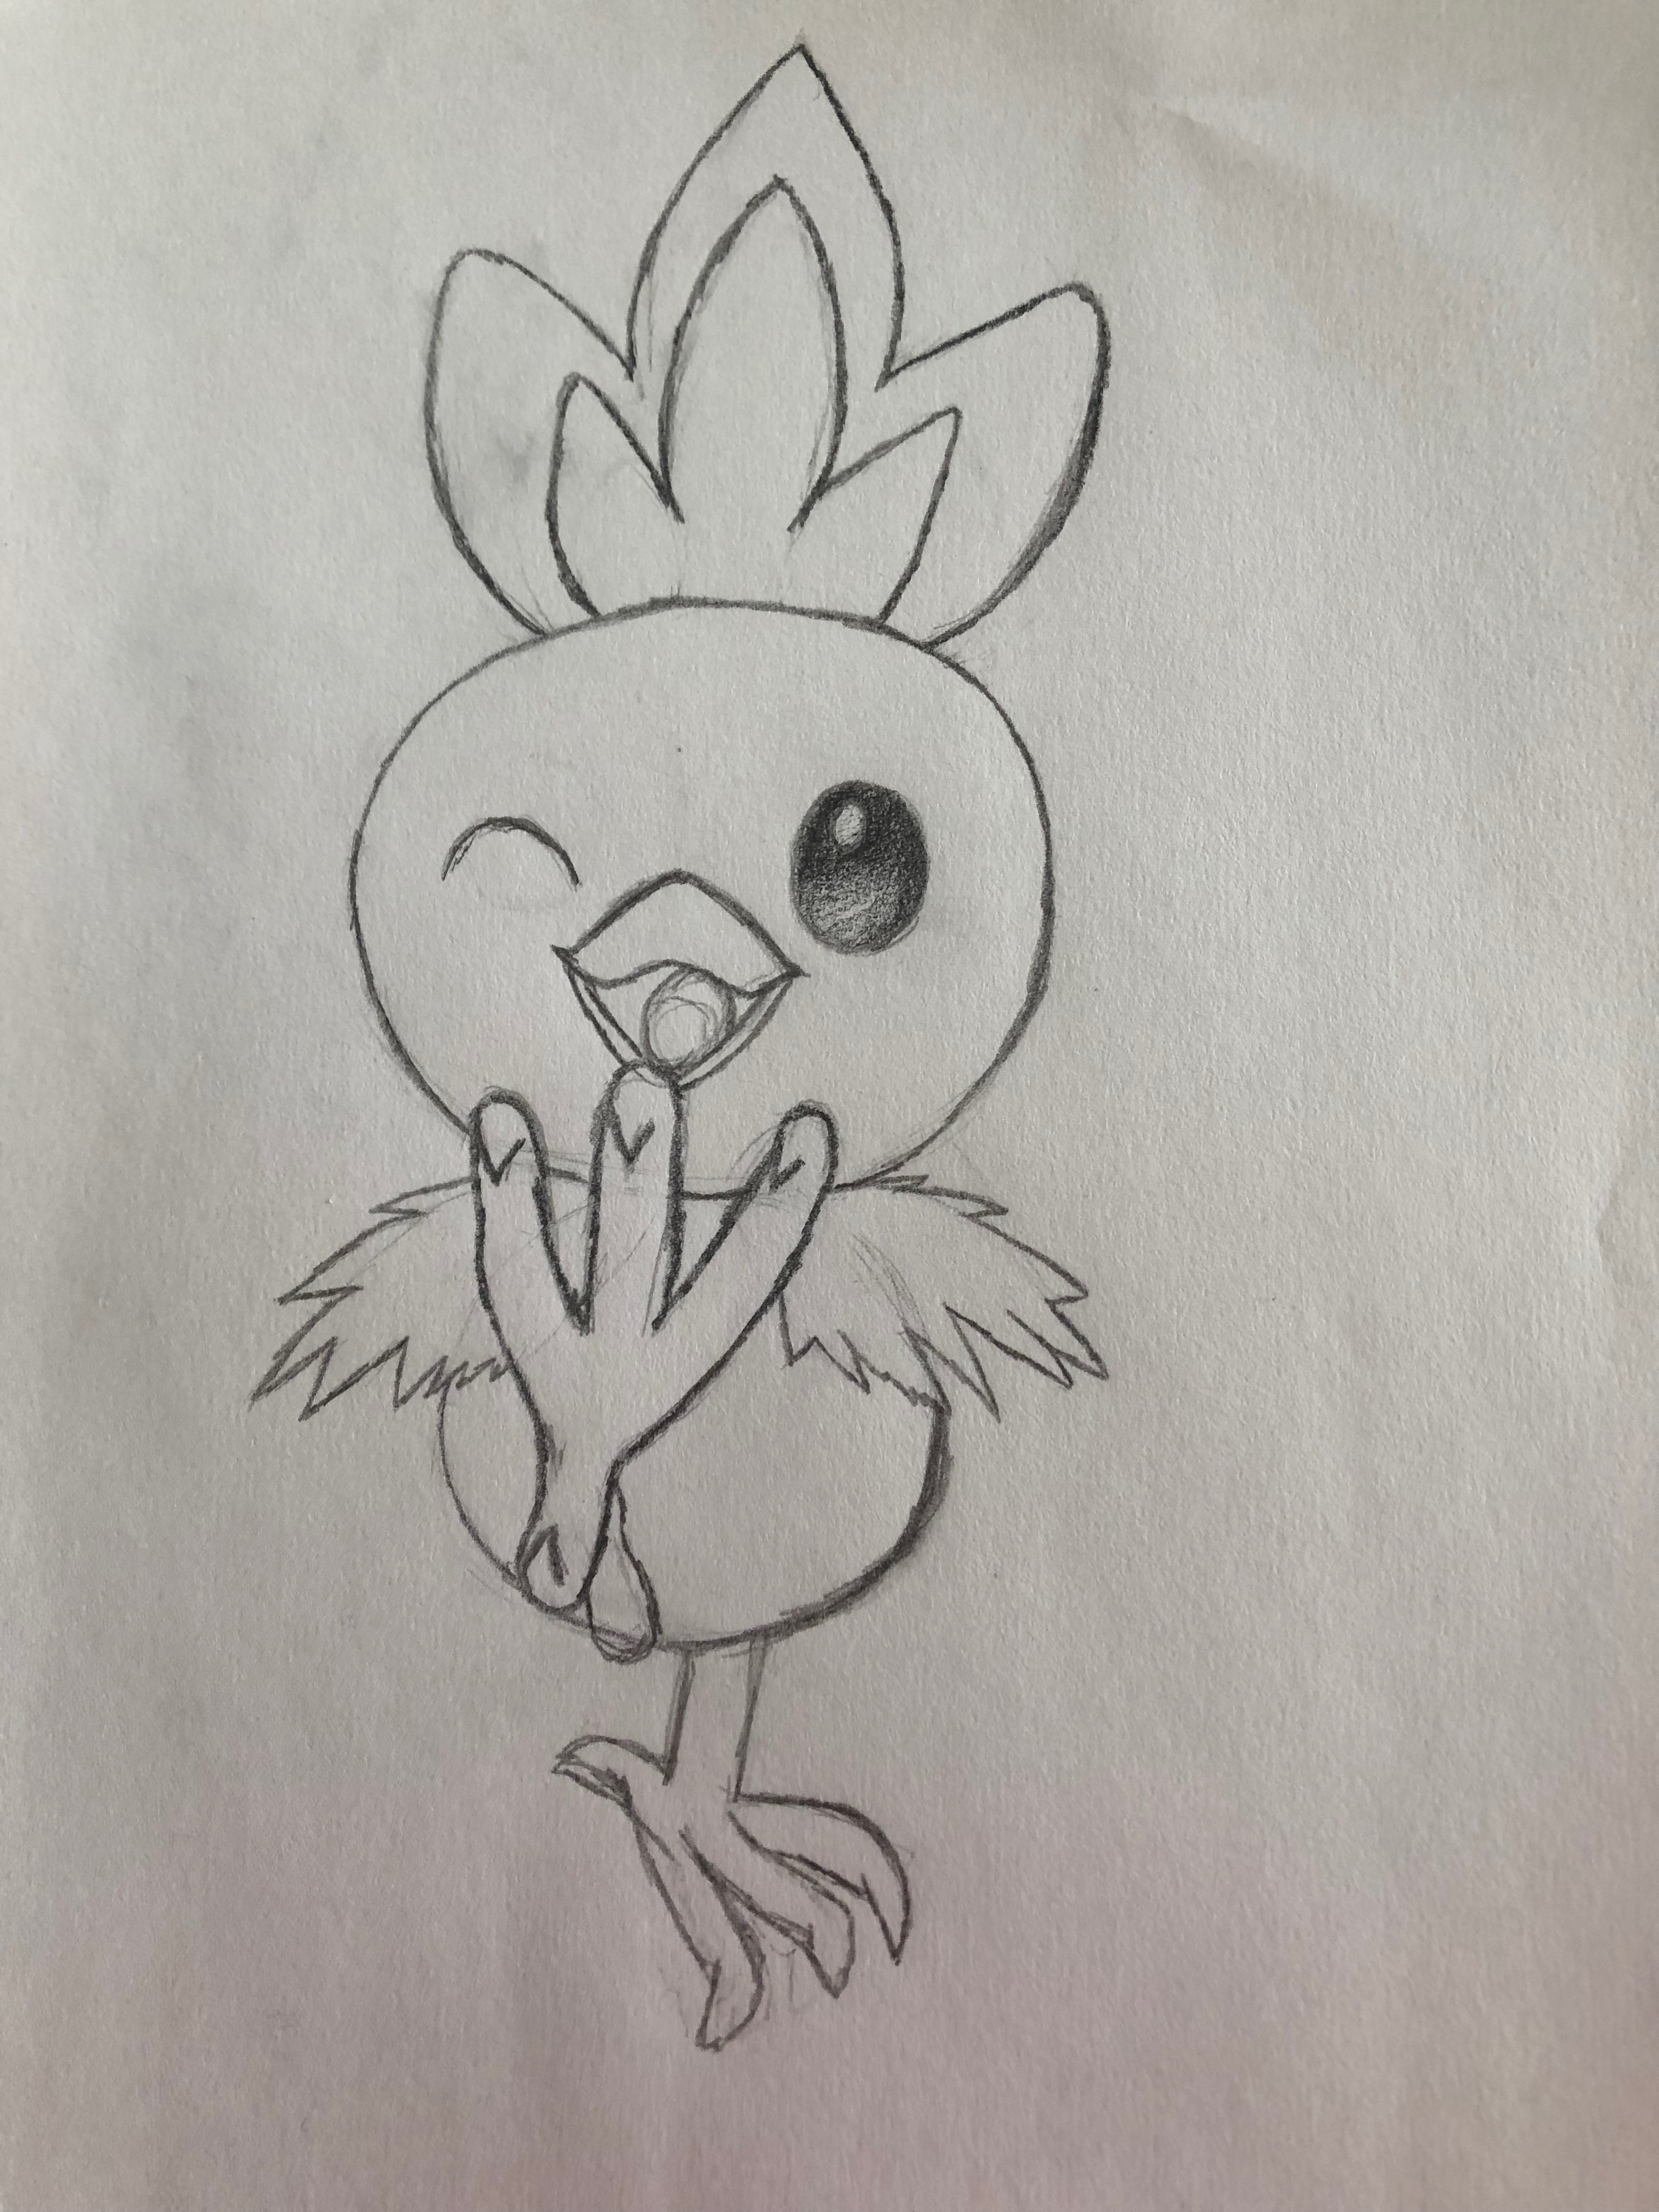
Fill in the eyes with a little shading here and there, choose your light source at this point, and reflect it in the eyes. Lightly color the beak, and make the inside of the mouth dark. Don’t color the tongue, as this needs to stay white so it is visible in the mouth. You can, however, add a small line down the middle to make the tongue look like two small hills.
Adding Details
You can erase the guidelines for the most part now, besides in the places that will become dark. Darken some of your lines around the feet, head, head tuft, beak and wings to hide any mistakes. Darkening your lines is an important part of this kind of drawing, as it helps the good parts stand out more and the mistakes to fade into the background.
Shading the Pokemon Drawing
Using your light source in the eyes as a reference, add shading anywhere that the light would not be hitting completely. Under the body, by the claw on the ground, under the wings, under the face, anywhere the lighting wouldn’t be the best.
Finish
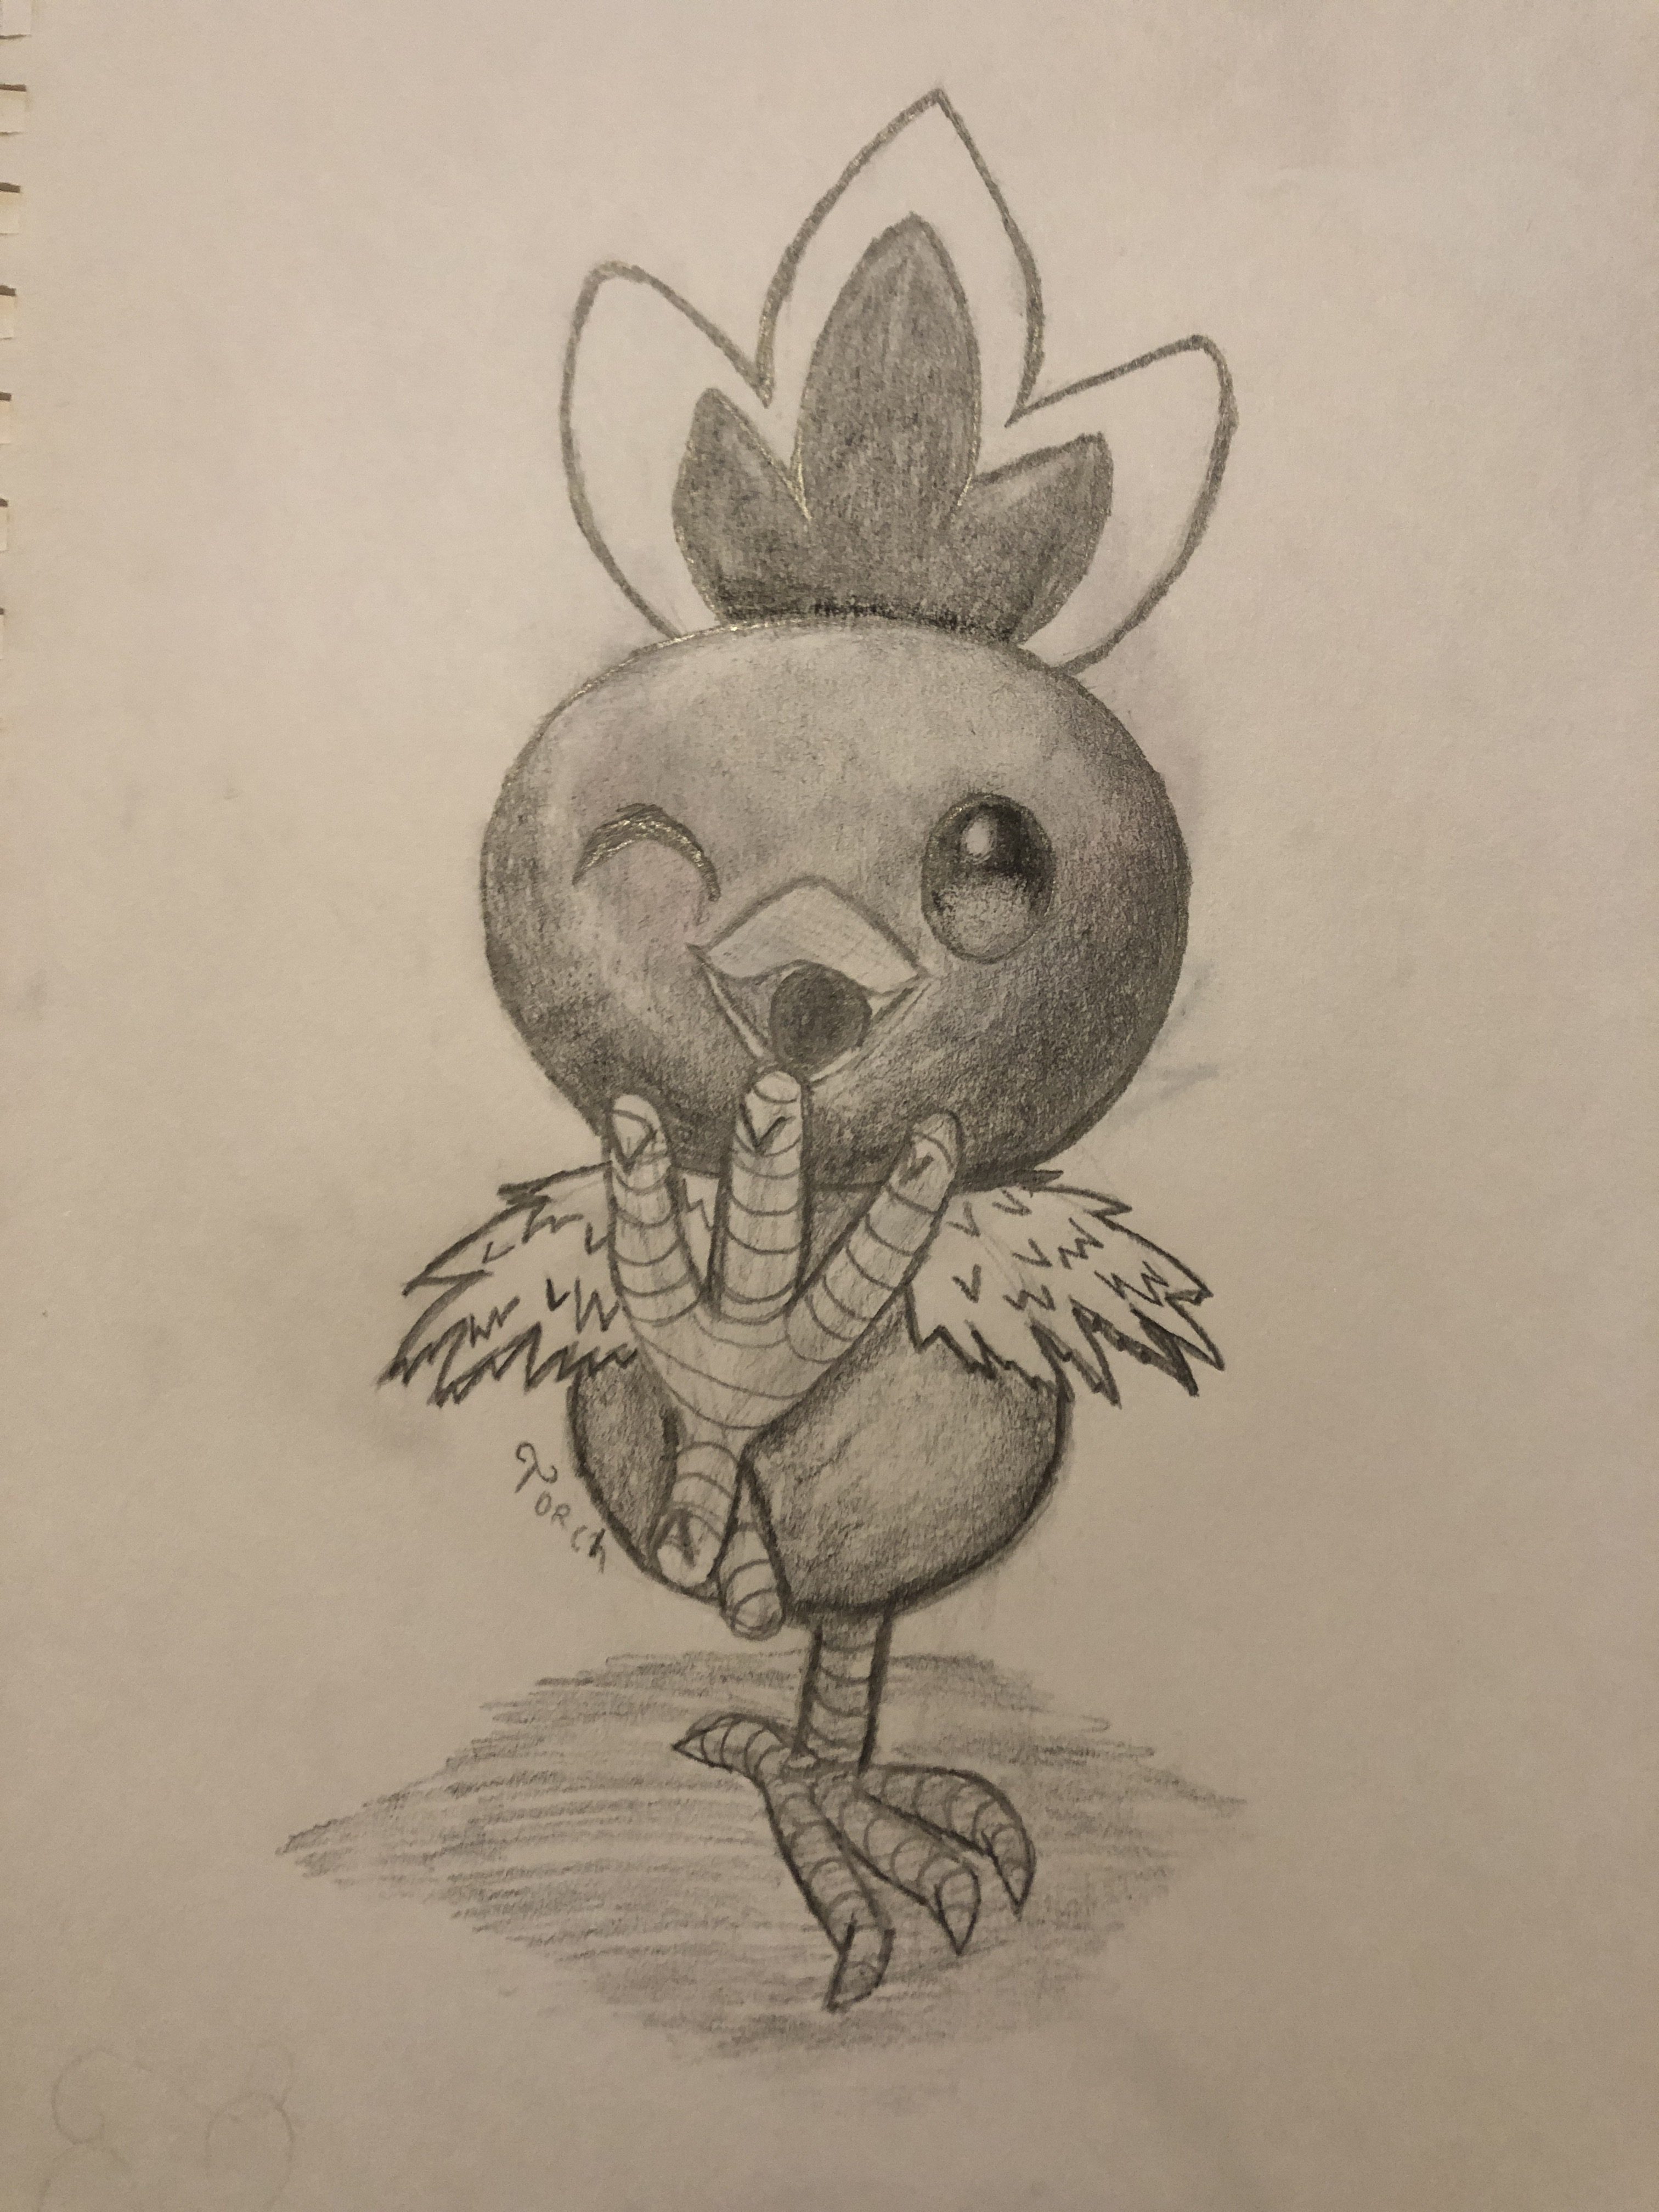
And you’re done. This little chicken is well on his way to making the potential of his trainer shine, to become the very best like no one ever was. If you enjoyed this post, and would like to read about more pokemon projects I have done, here is a pokemon pencil cup I made. If you enjoy drawing, this little fox was super fun and easy to draw. Happy Crafting!