
Where we Left off on the Lion Mosaic
We last glued the gems to the crown of the beast. Once the glue cures, pull the lion mosaic back out to the crafting table to be worked on. If you have not read part one and two, please go read those before reading this final post.
Make sure the Gems are Secure
Very gently wiggle them around to make sure they are secure as possible. Do not work on the glass if any pieces are still loose.
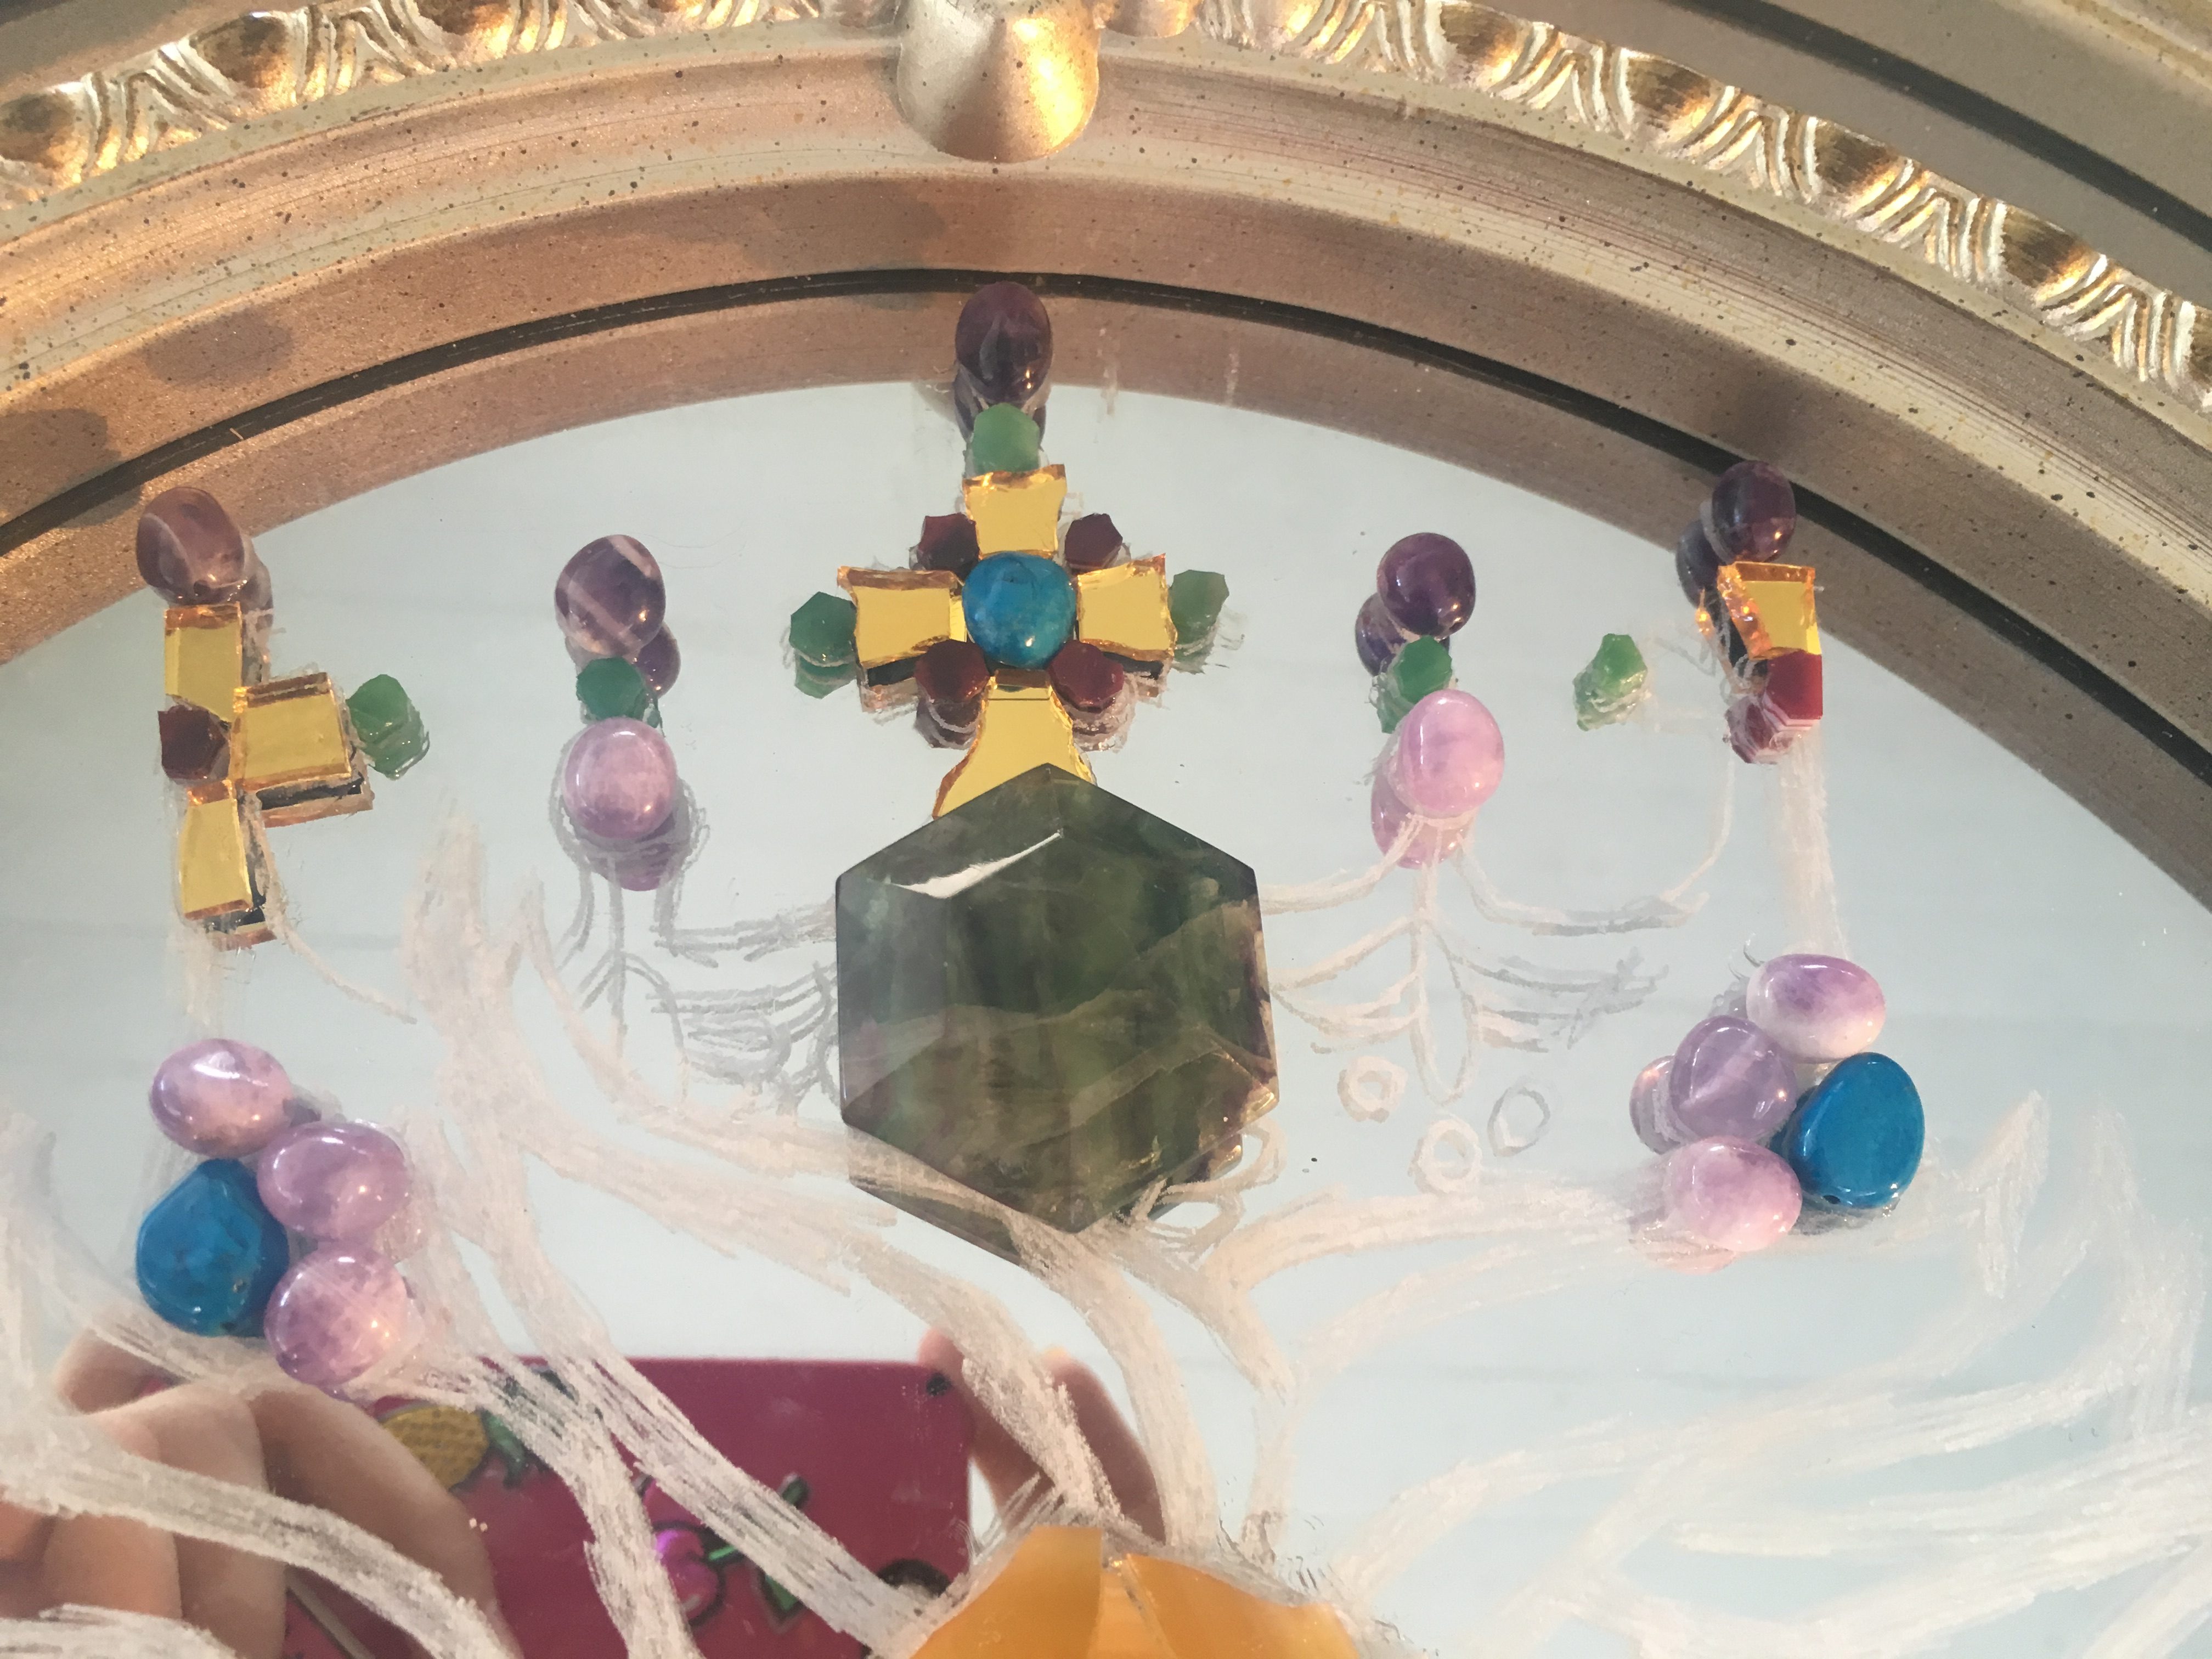
Nipping the Glass for the Small Stones
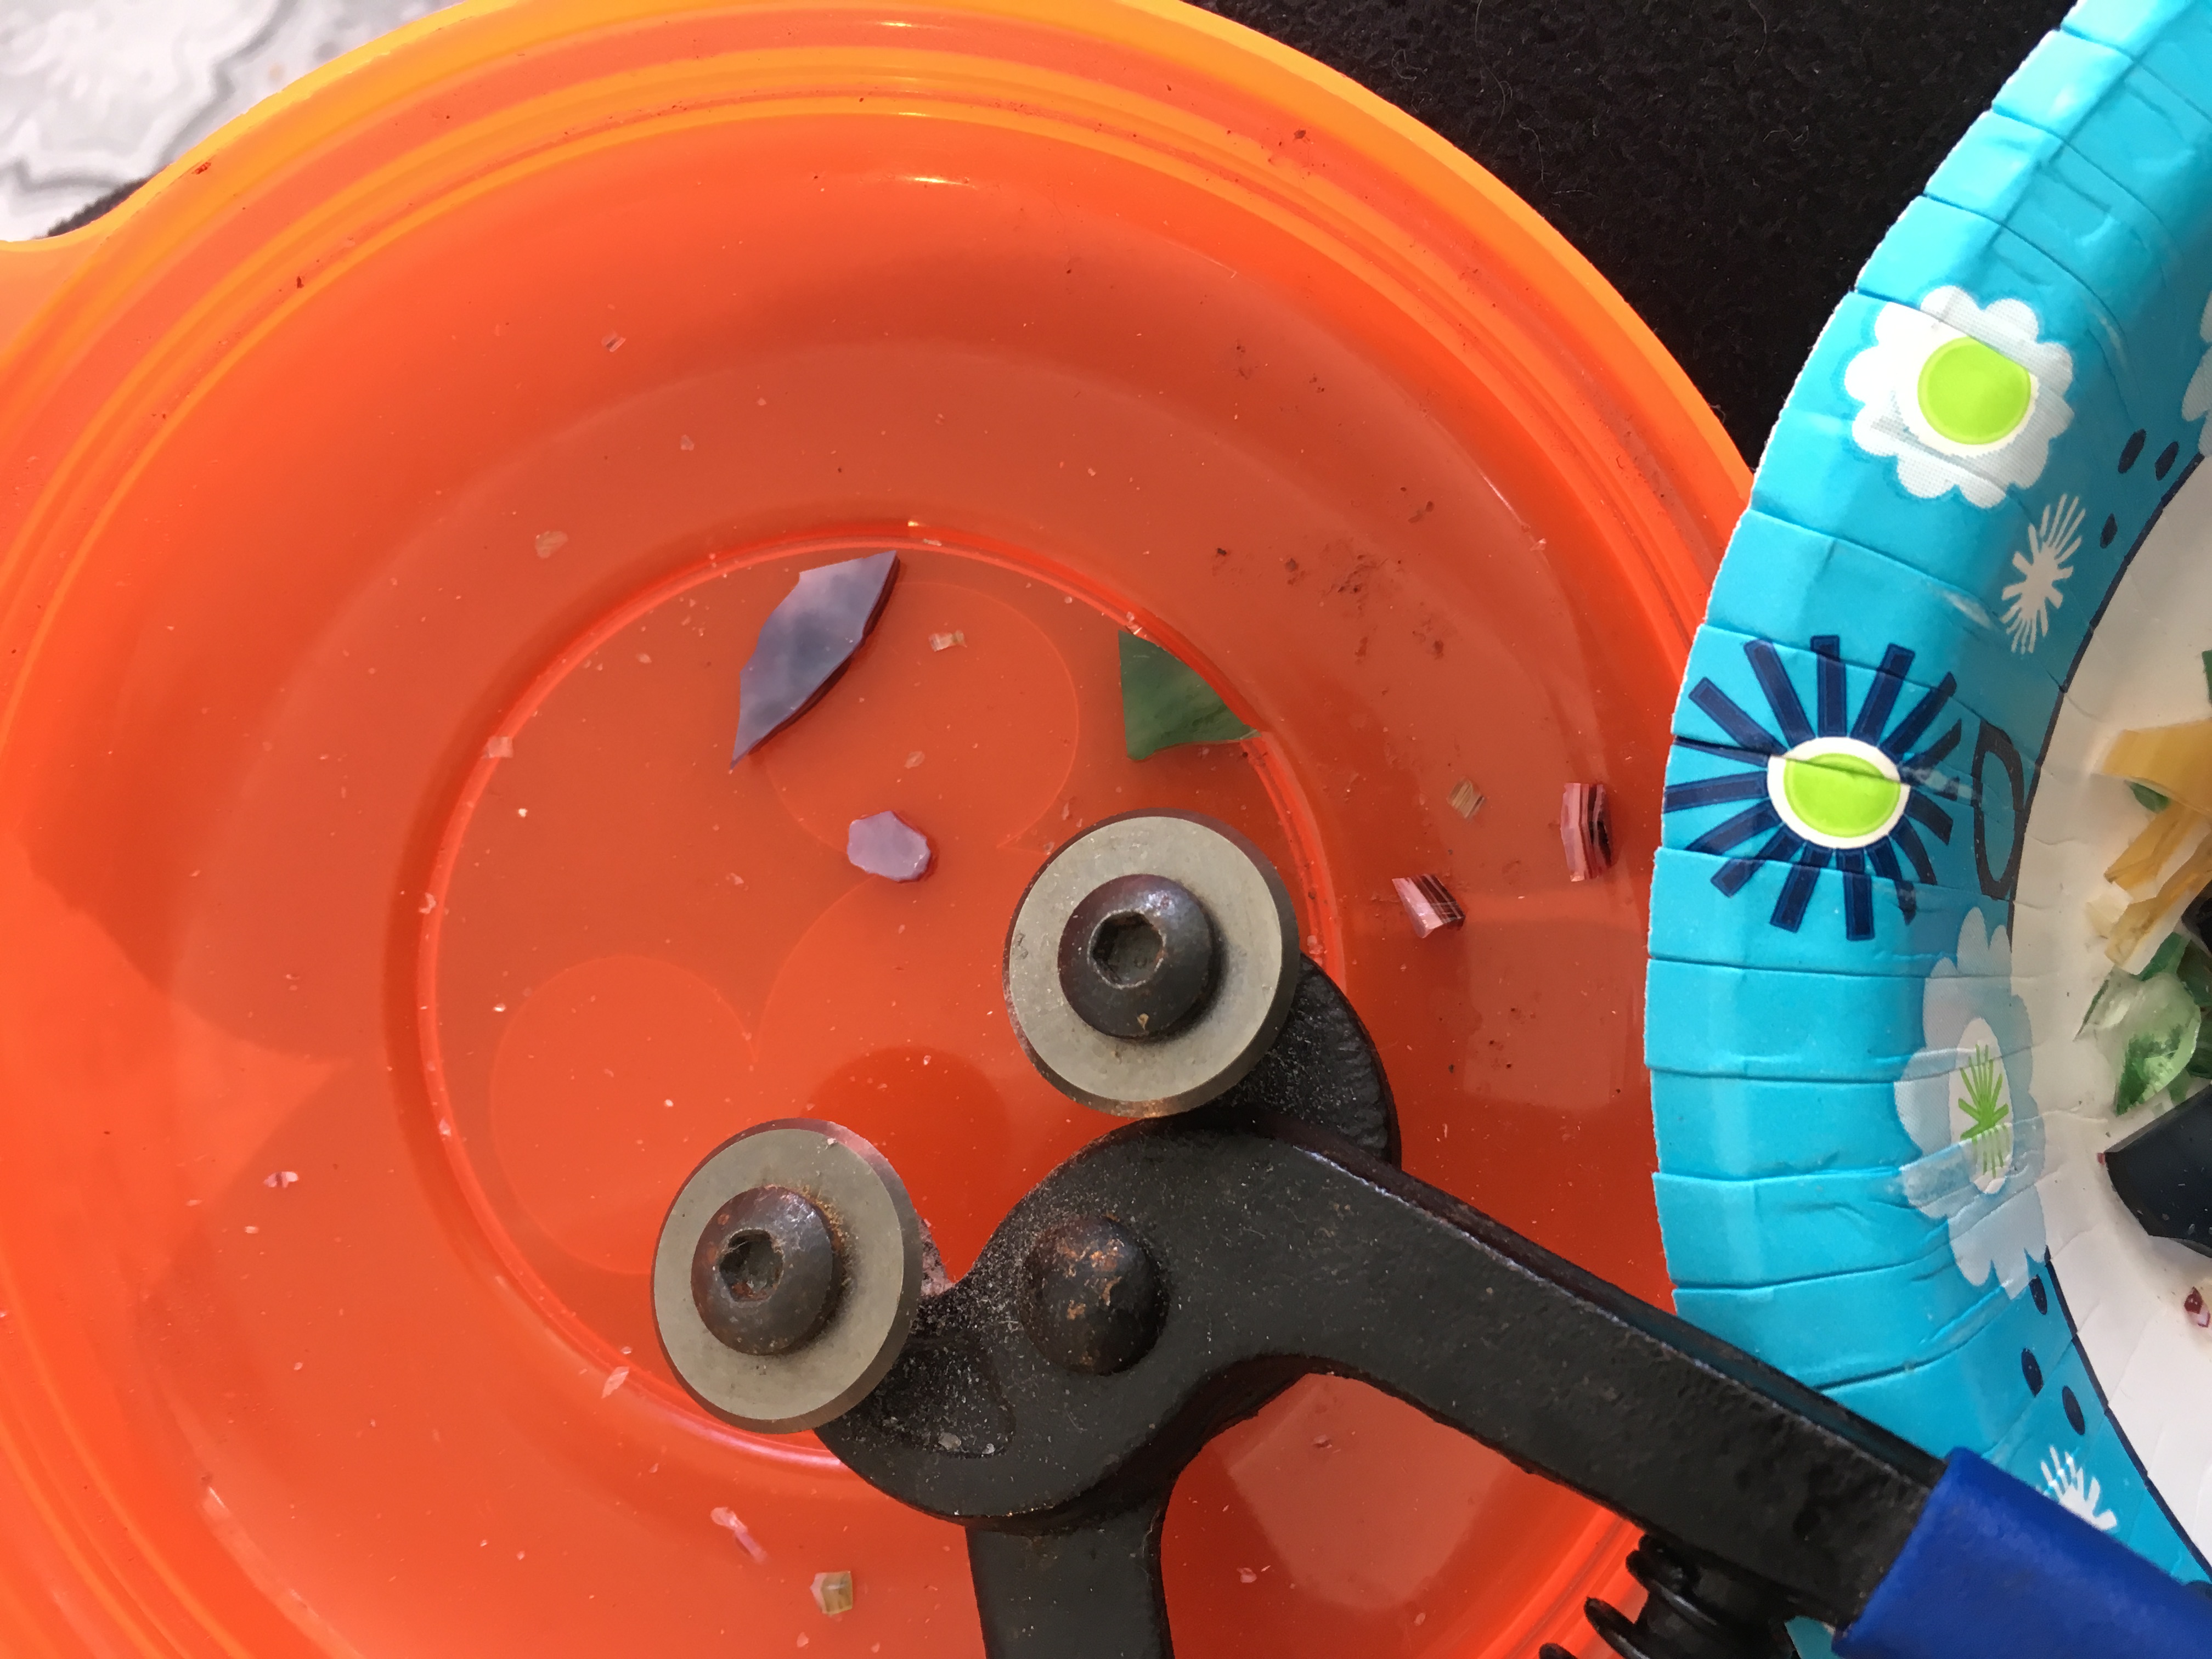
Using some emerald green and ruby red glass and a pair of nippers, nip very small oval shapes for gems and add them to the crown.
Glue and Allow to Set
Glue the gems down in their spots once they are nipped down to the perfect size. It is important that you are satisfied with your gems before you apply any glue, as this will make your gem unnippable.
Scoring the Gold: Important
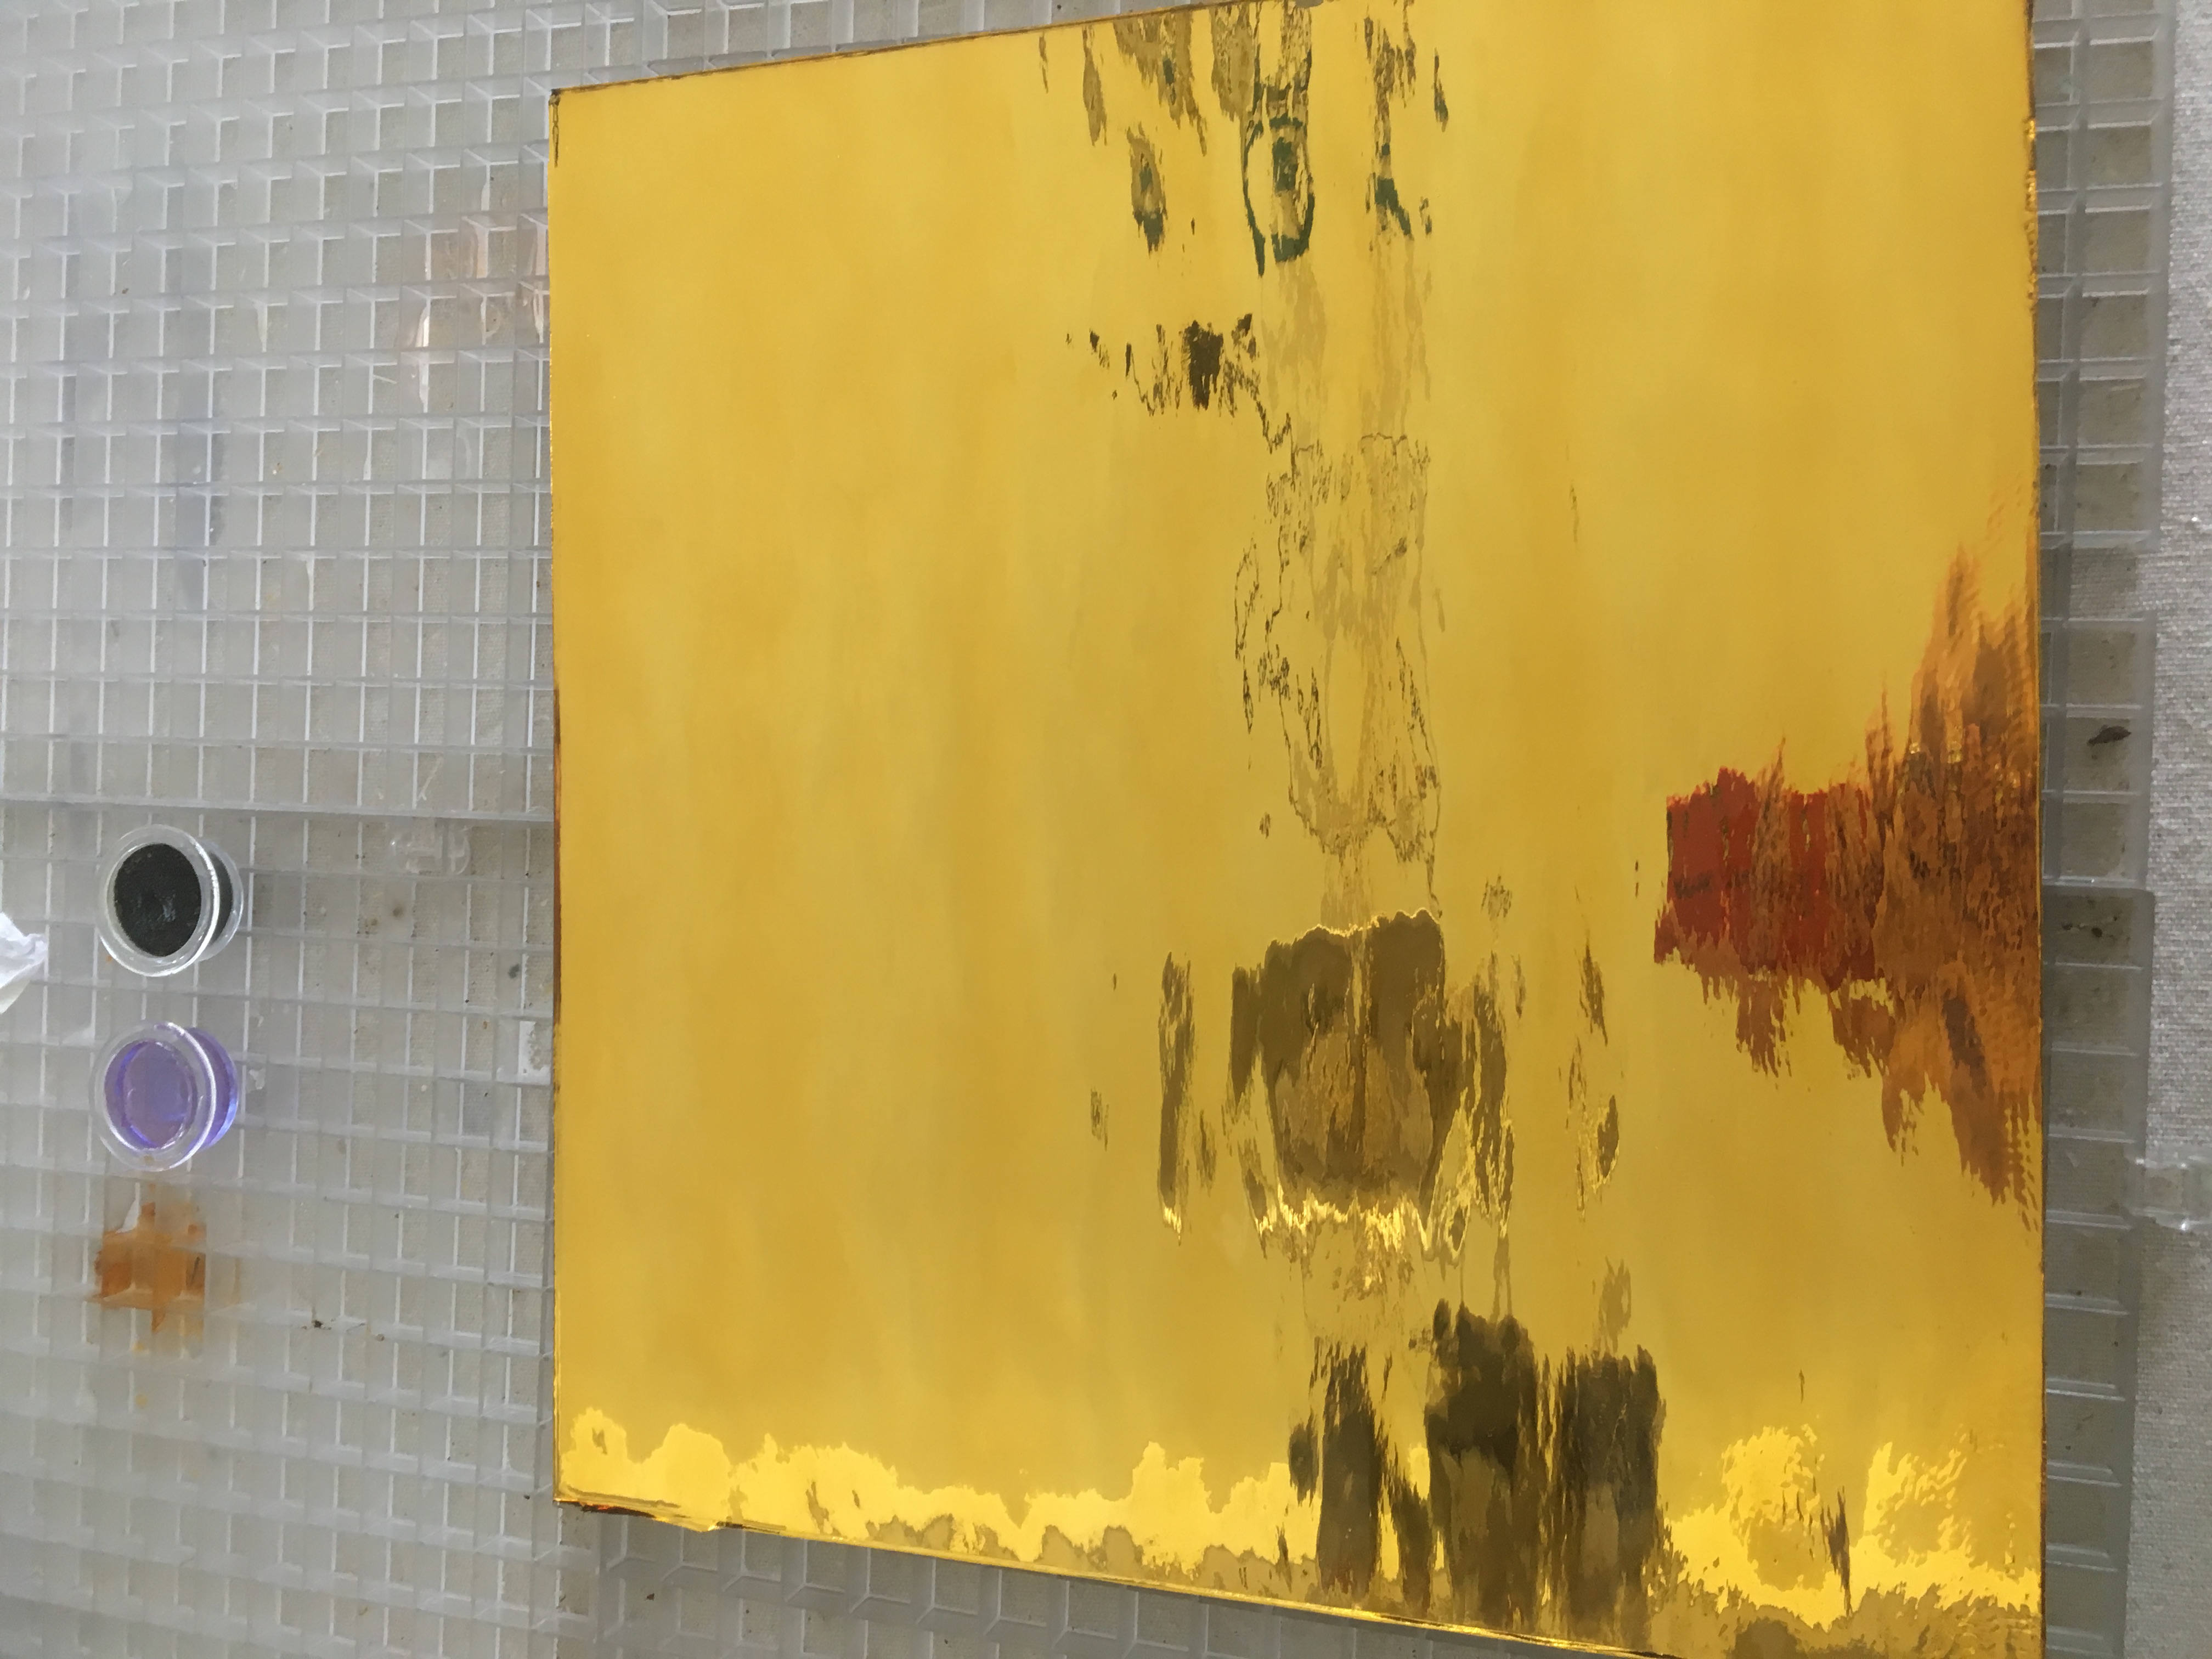
When scoring the mirrored gold glass, always score glass side up. The glass will not break if the back of the mirror is scored, the shiny gold will simply be scratched off and it will be ruined.
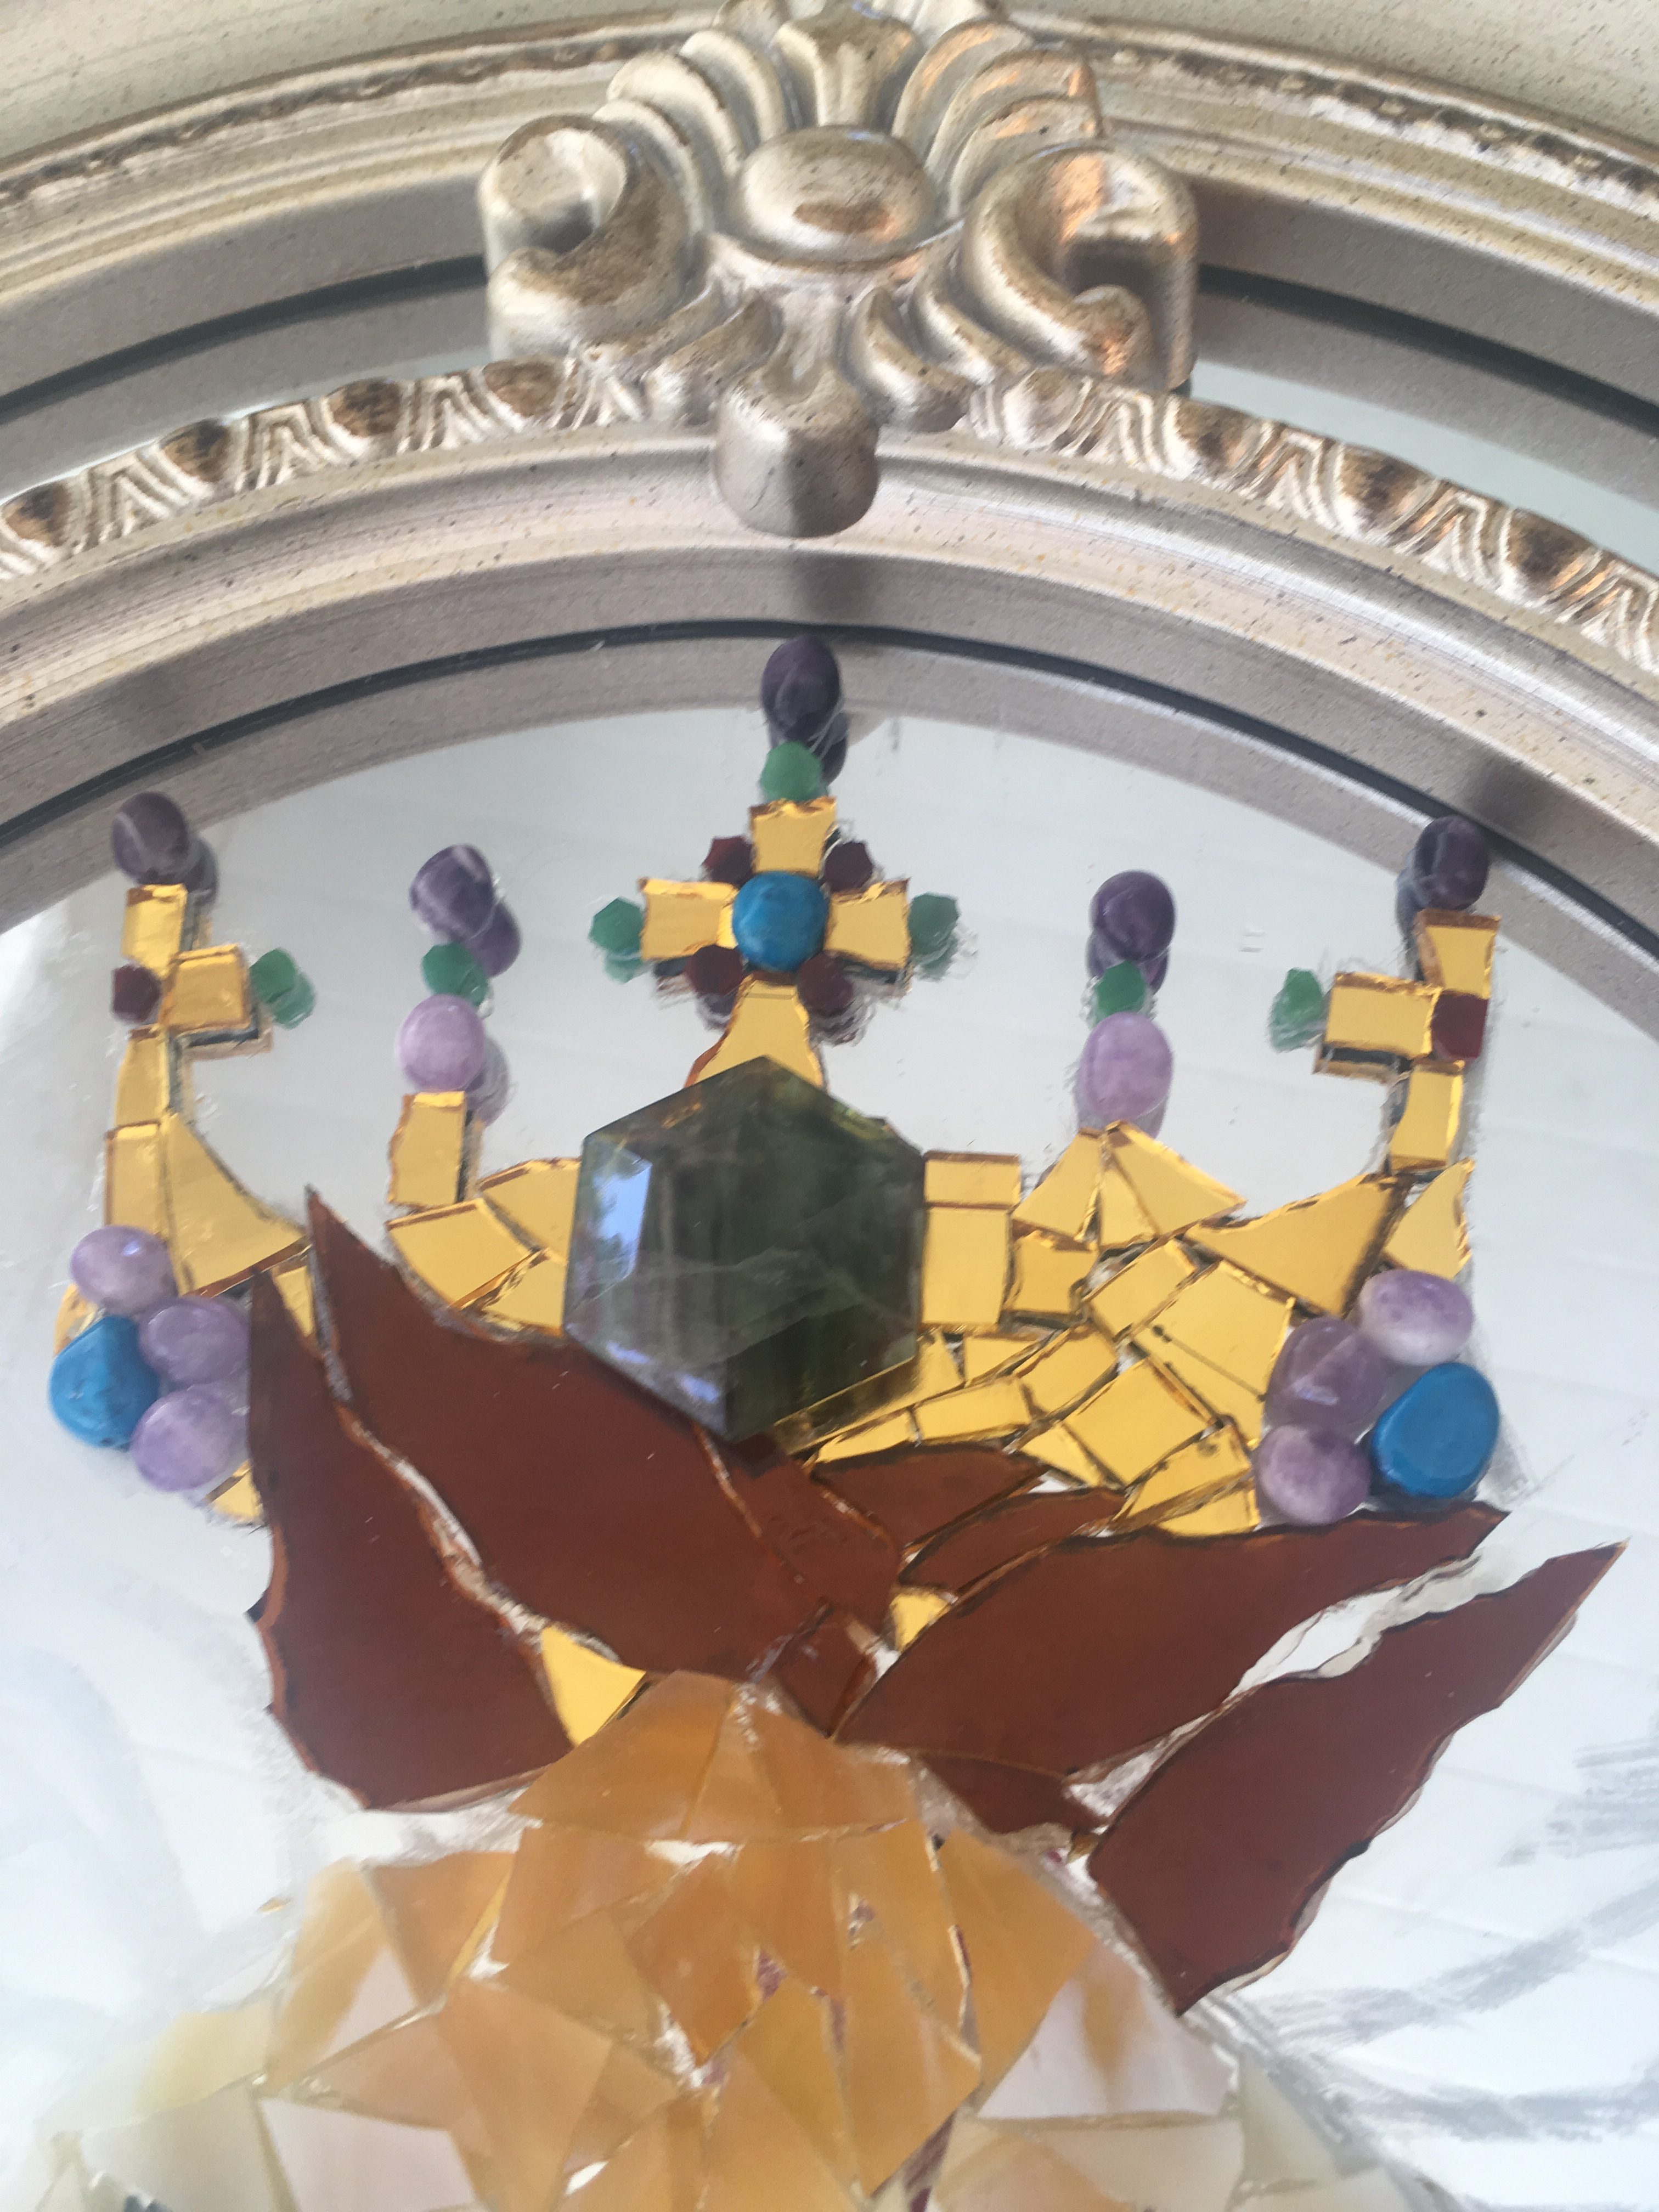
Making the Crosses
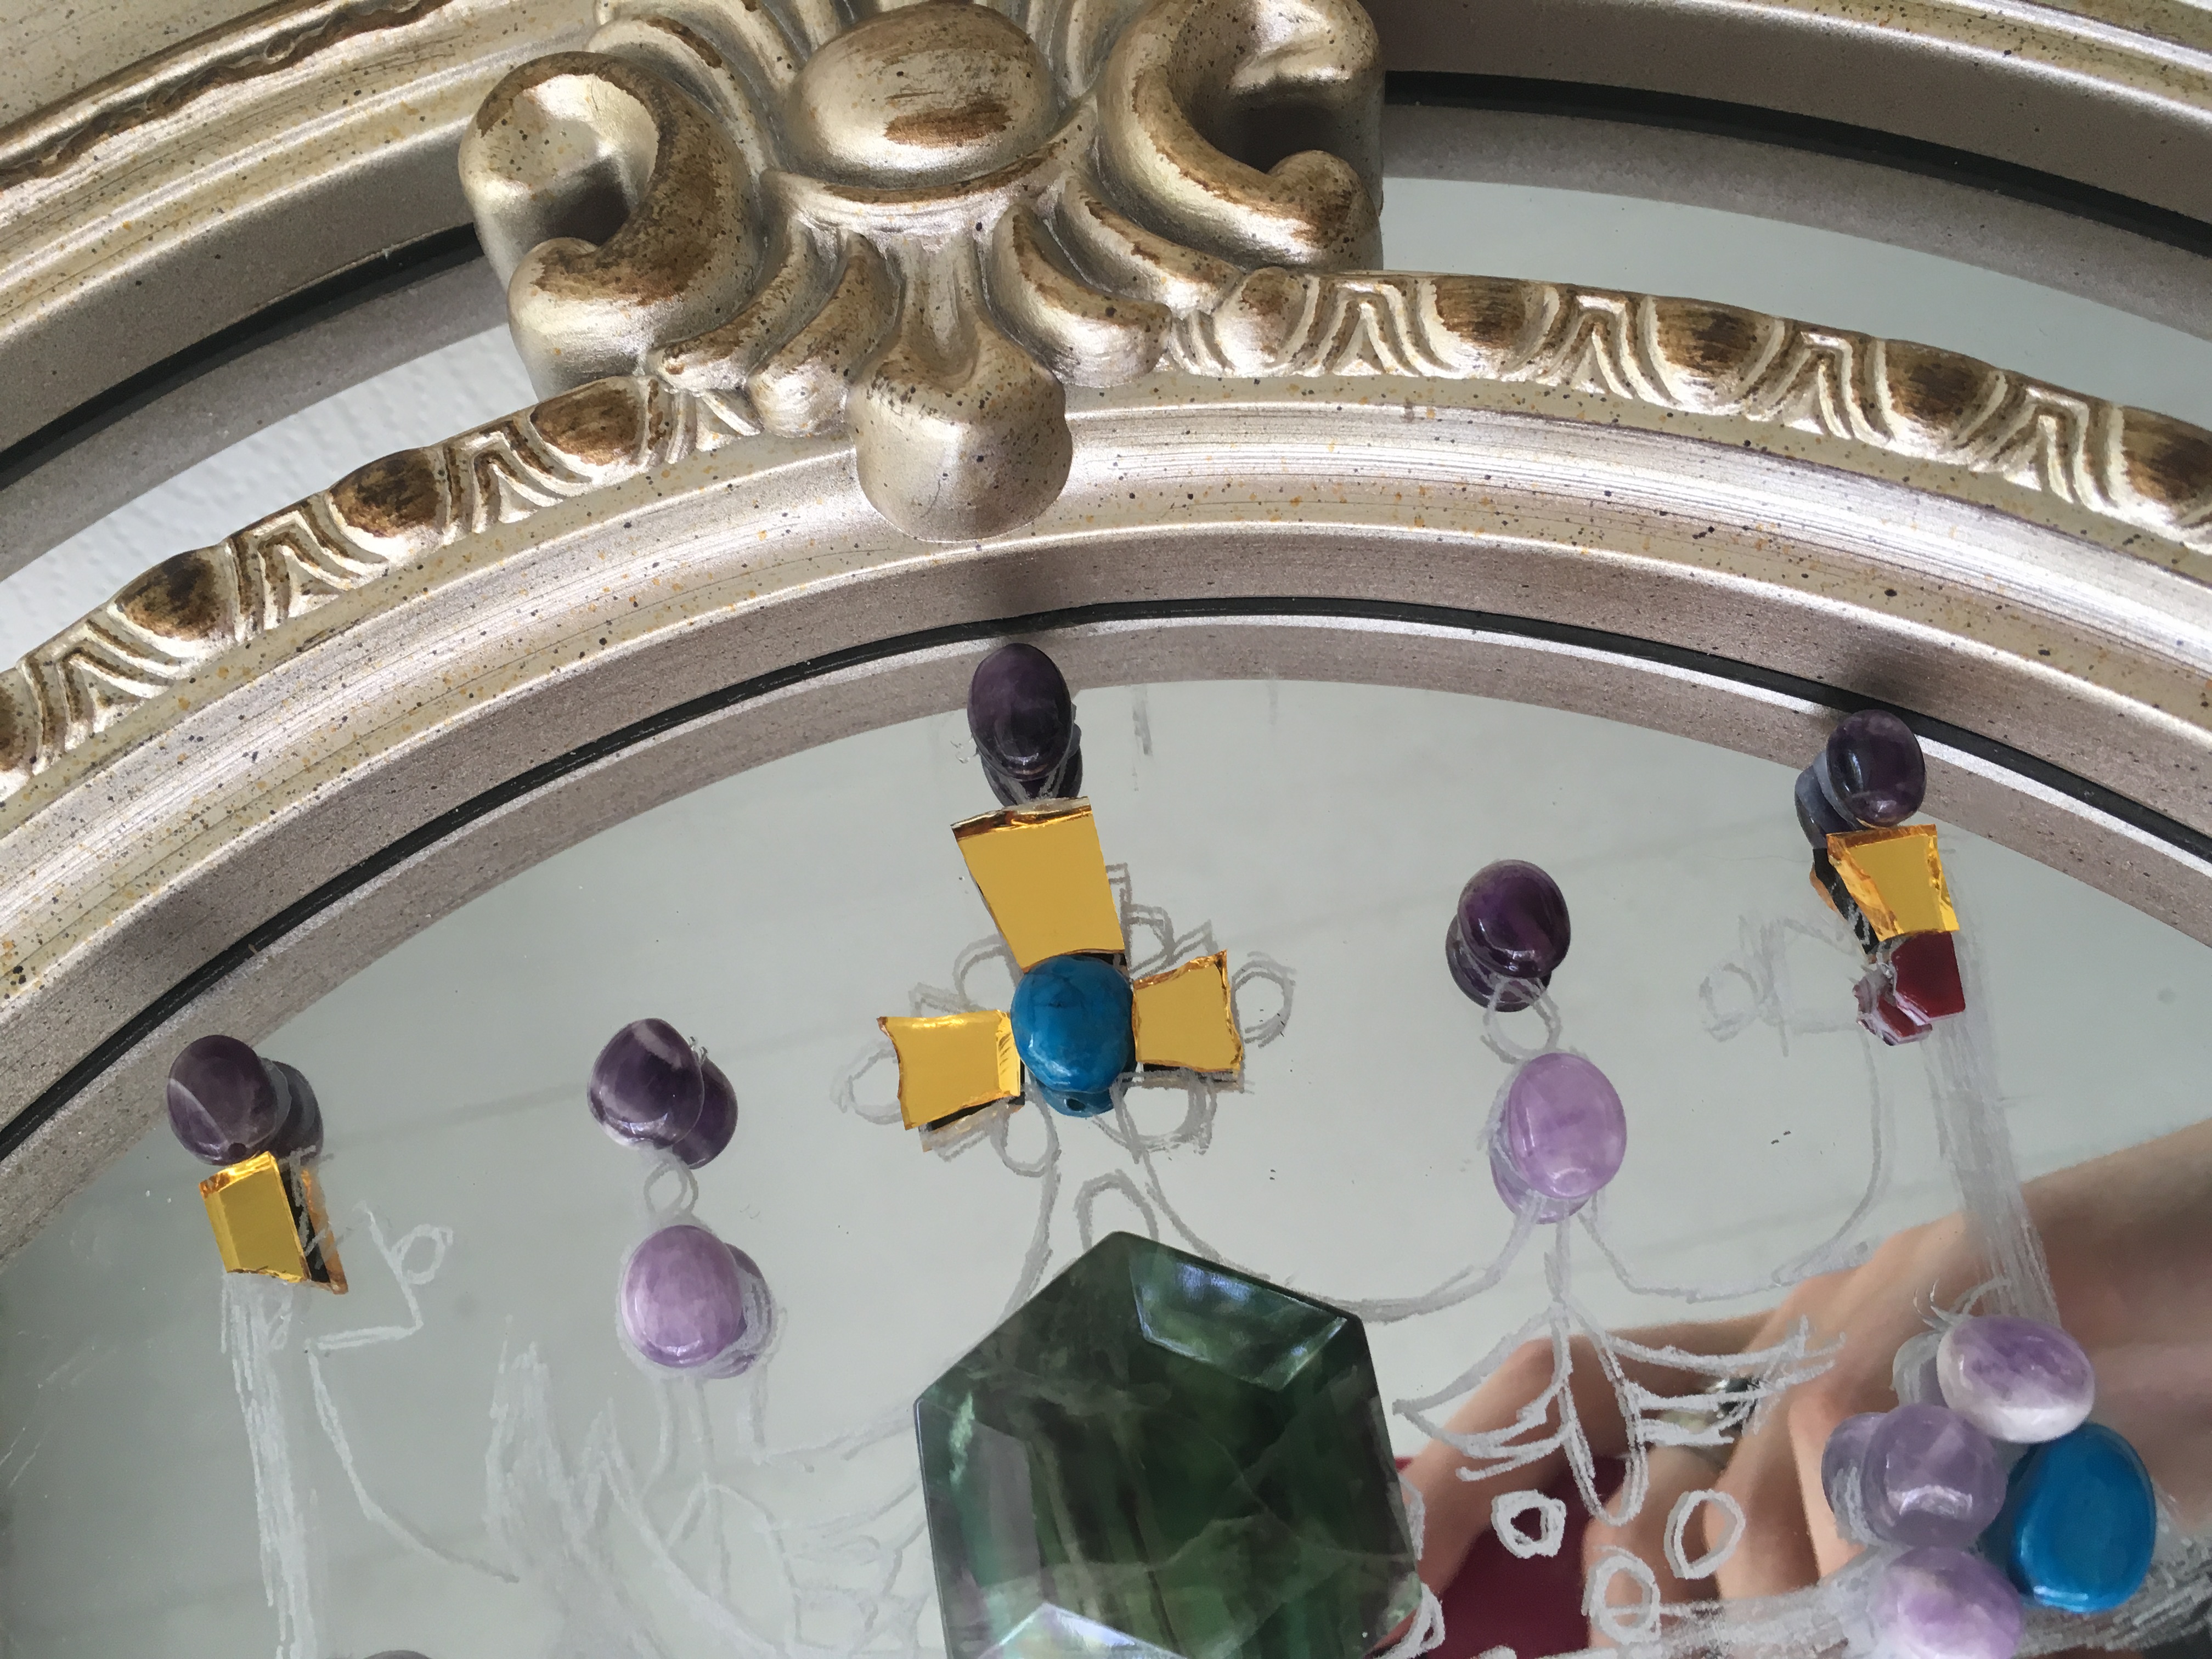
After you have the gold strips, nip the glass to make rectangles and curve the sides to fit around the gems. Glue and repeat for all of the crosses.
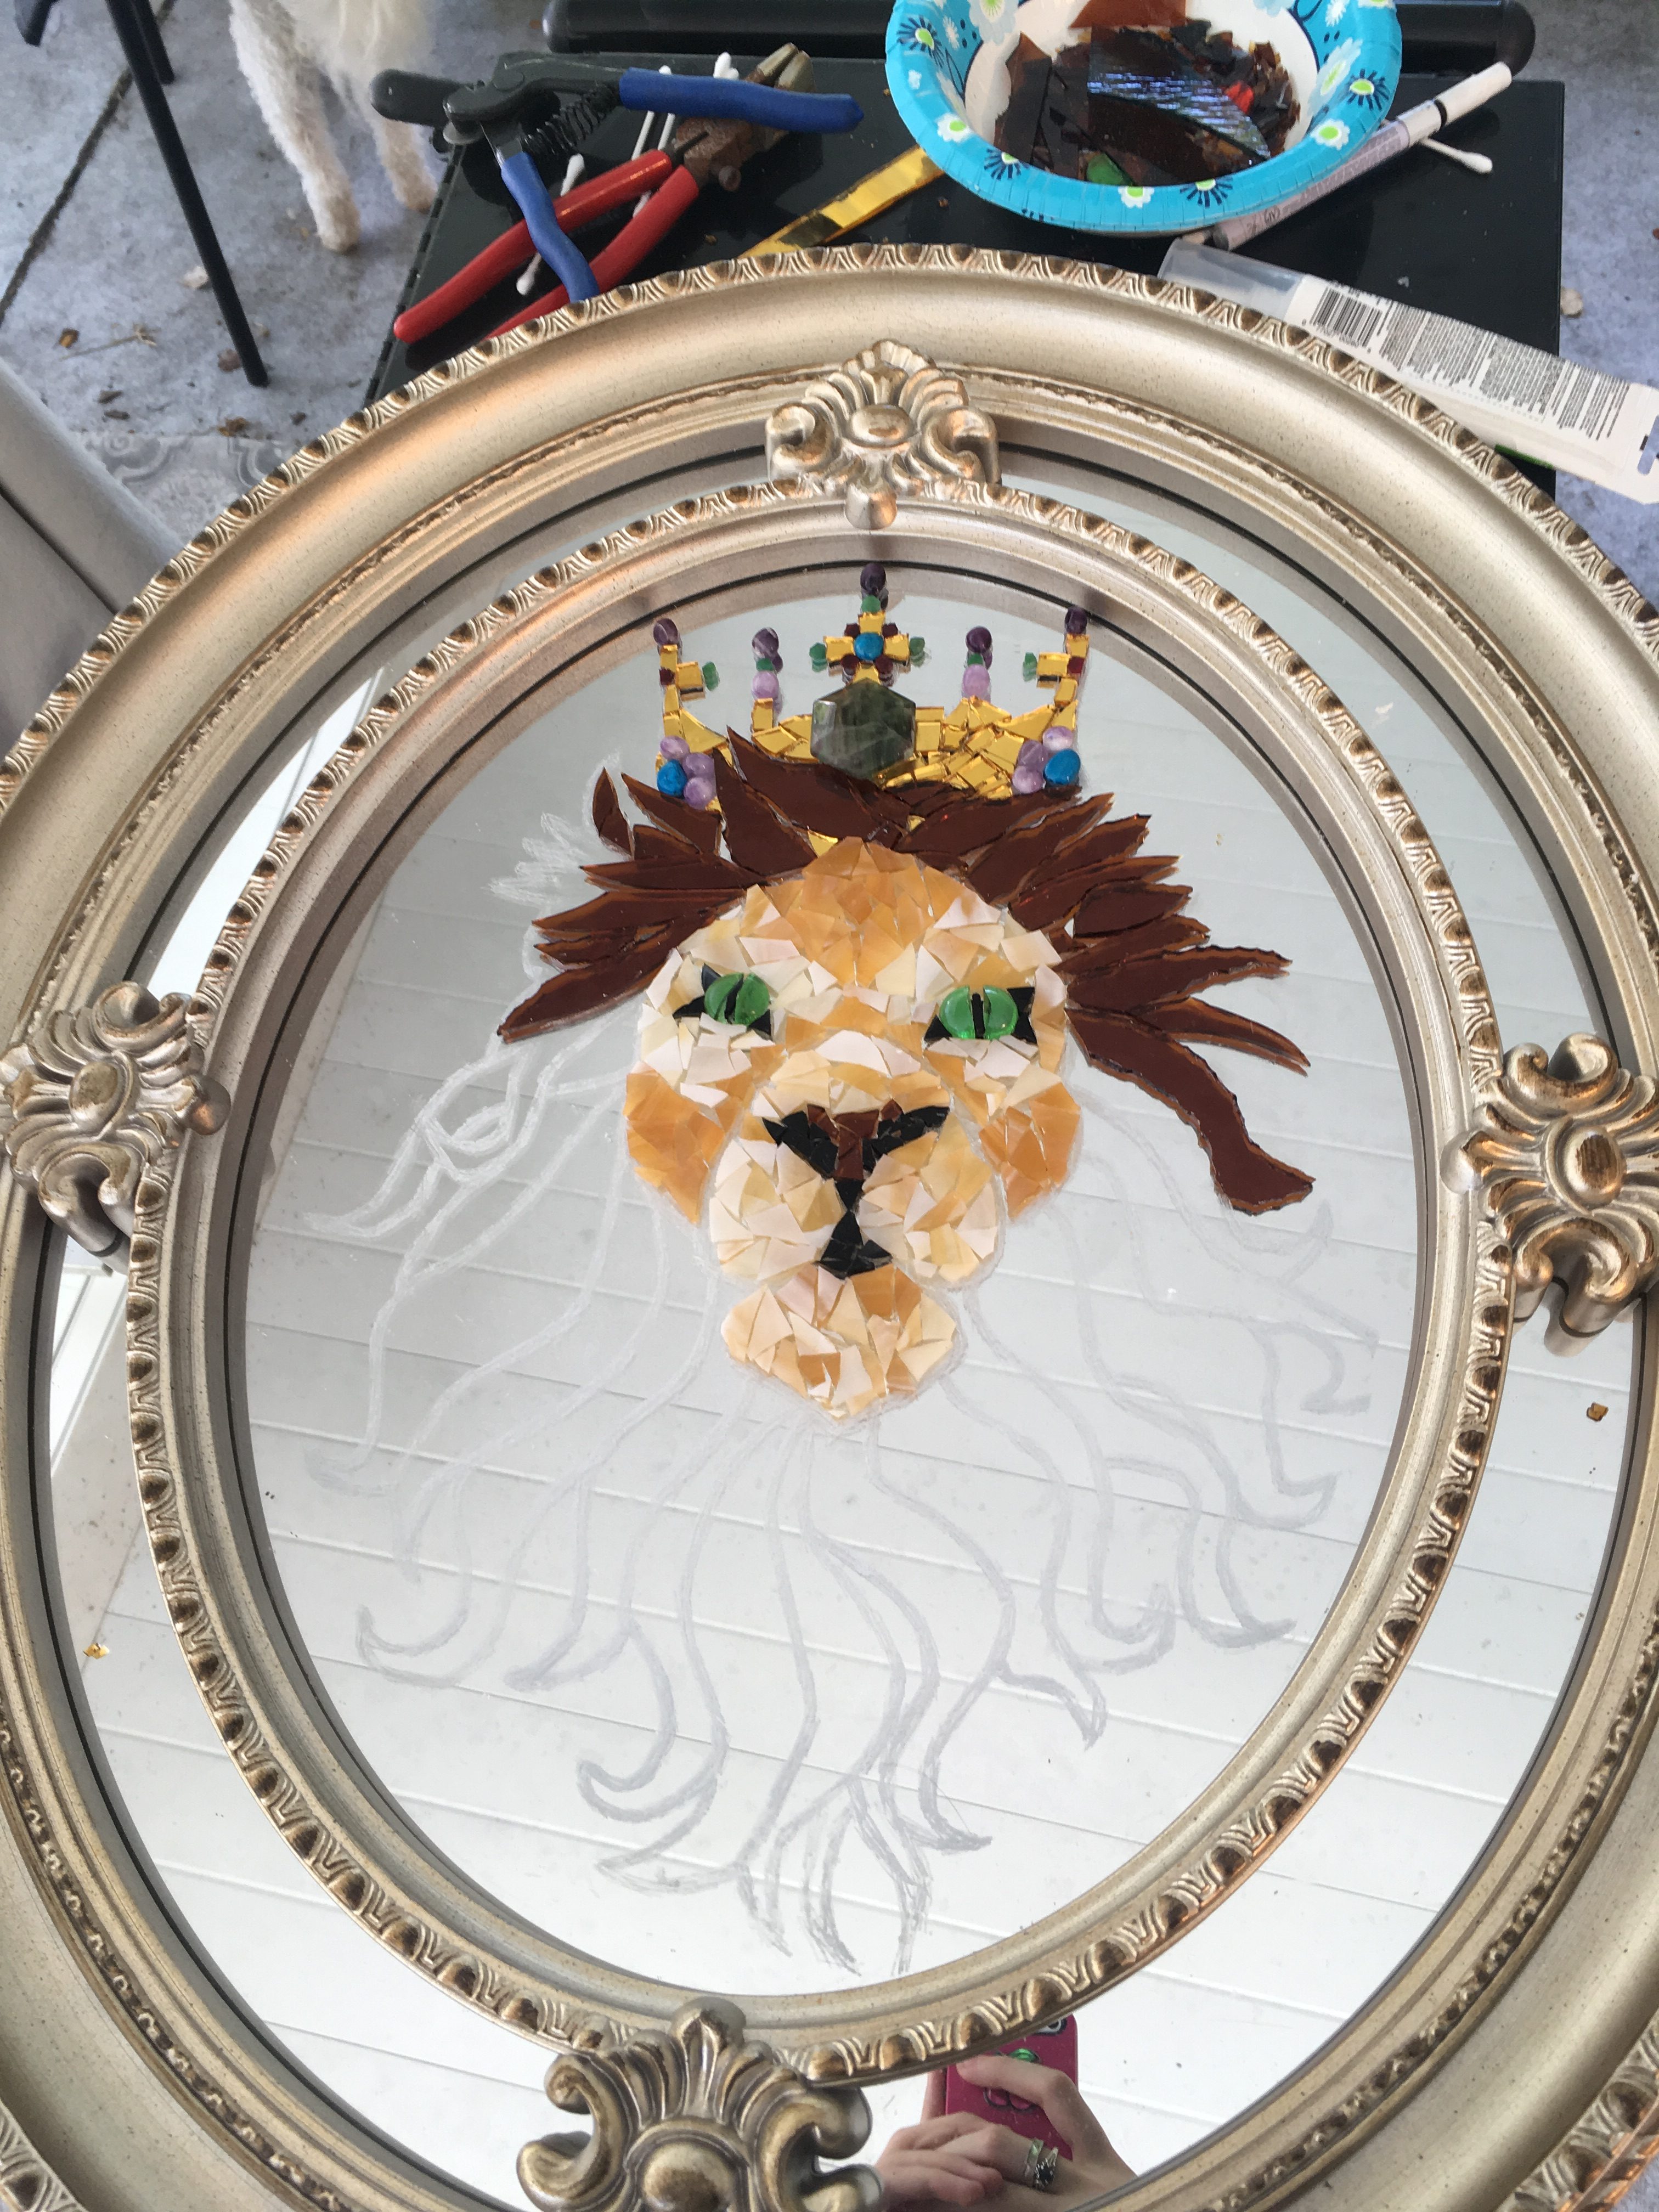
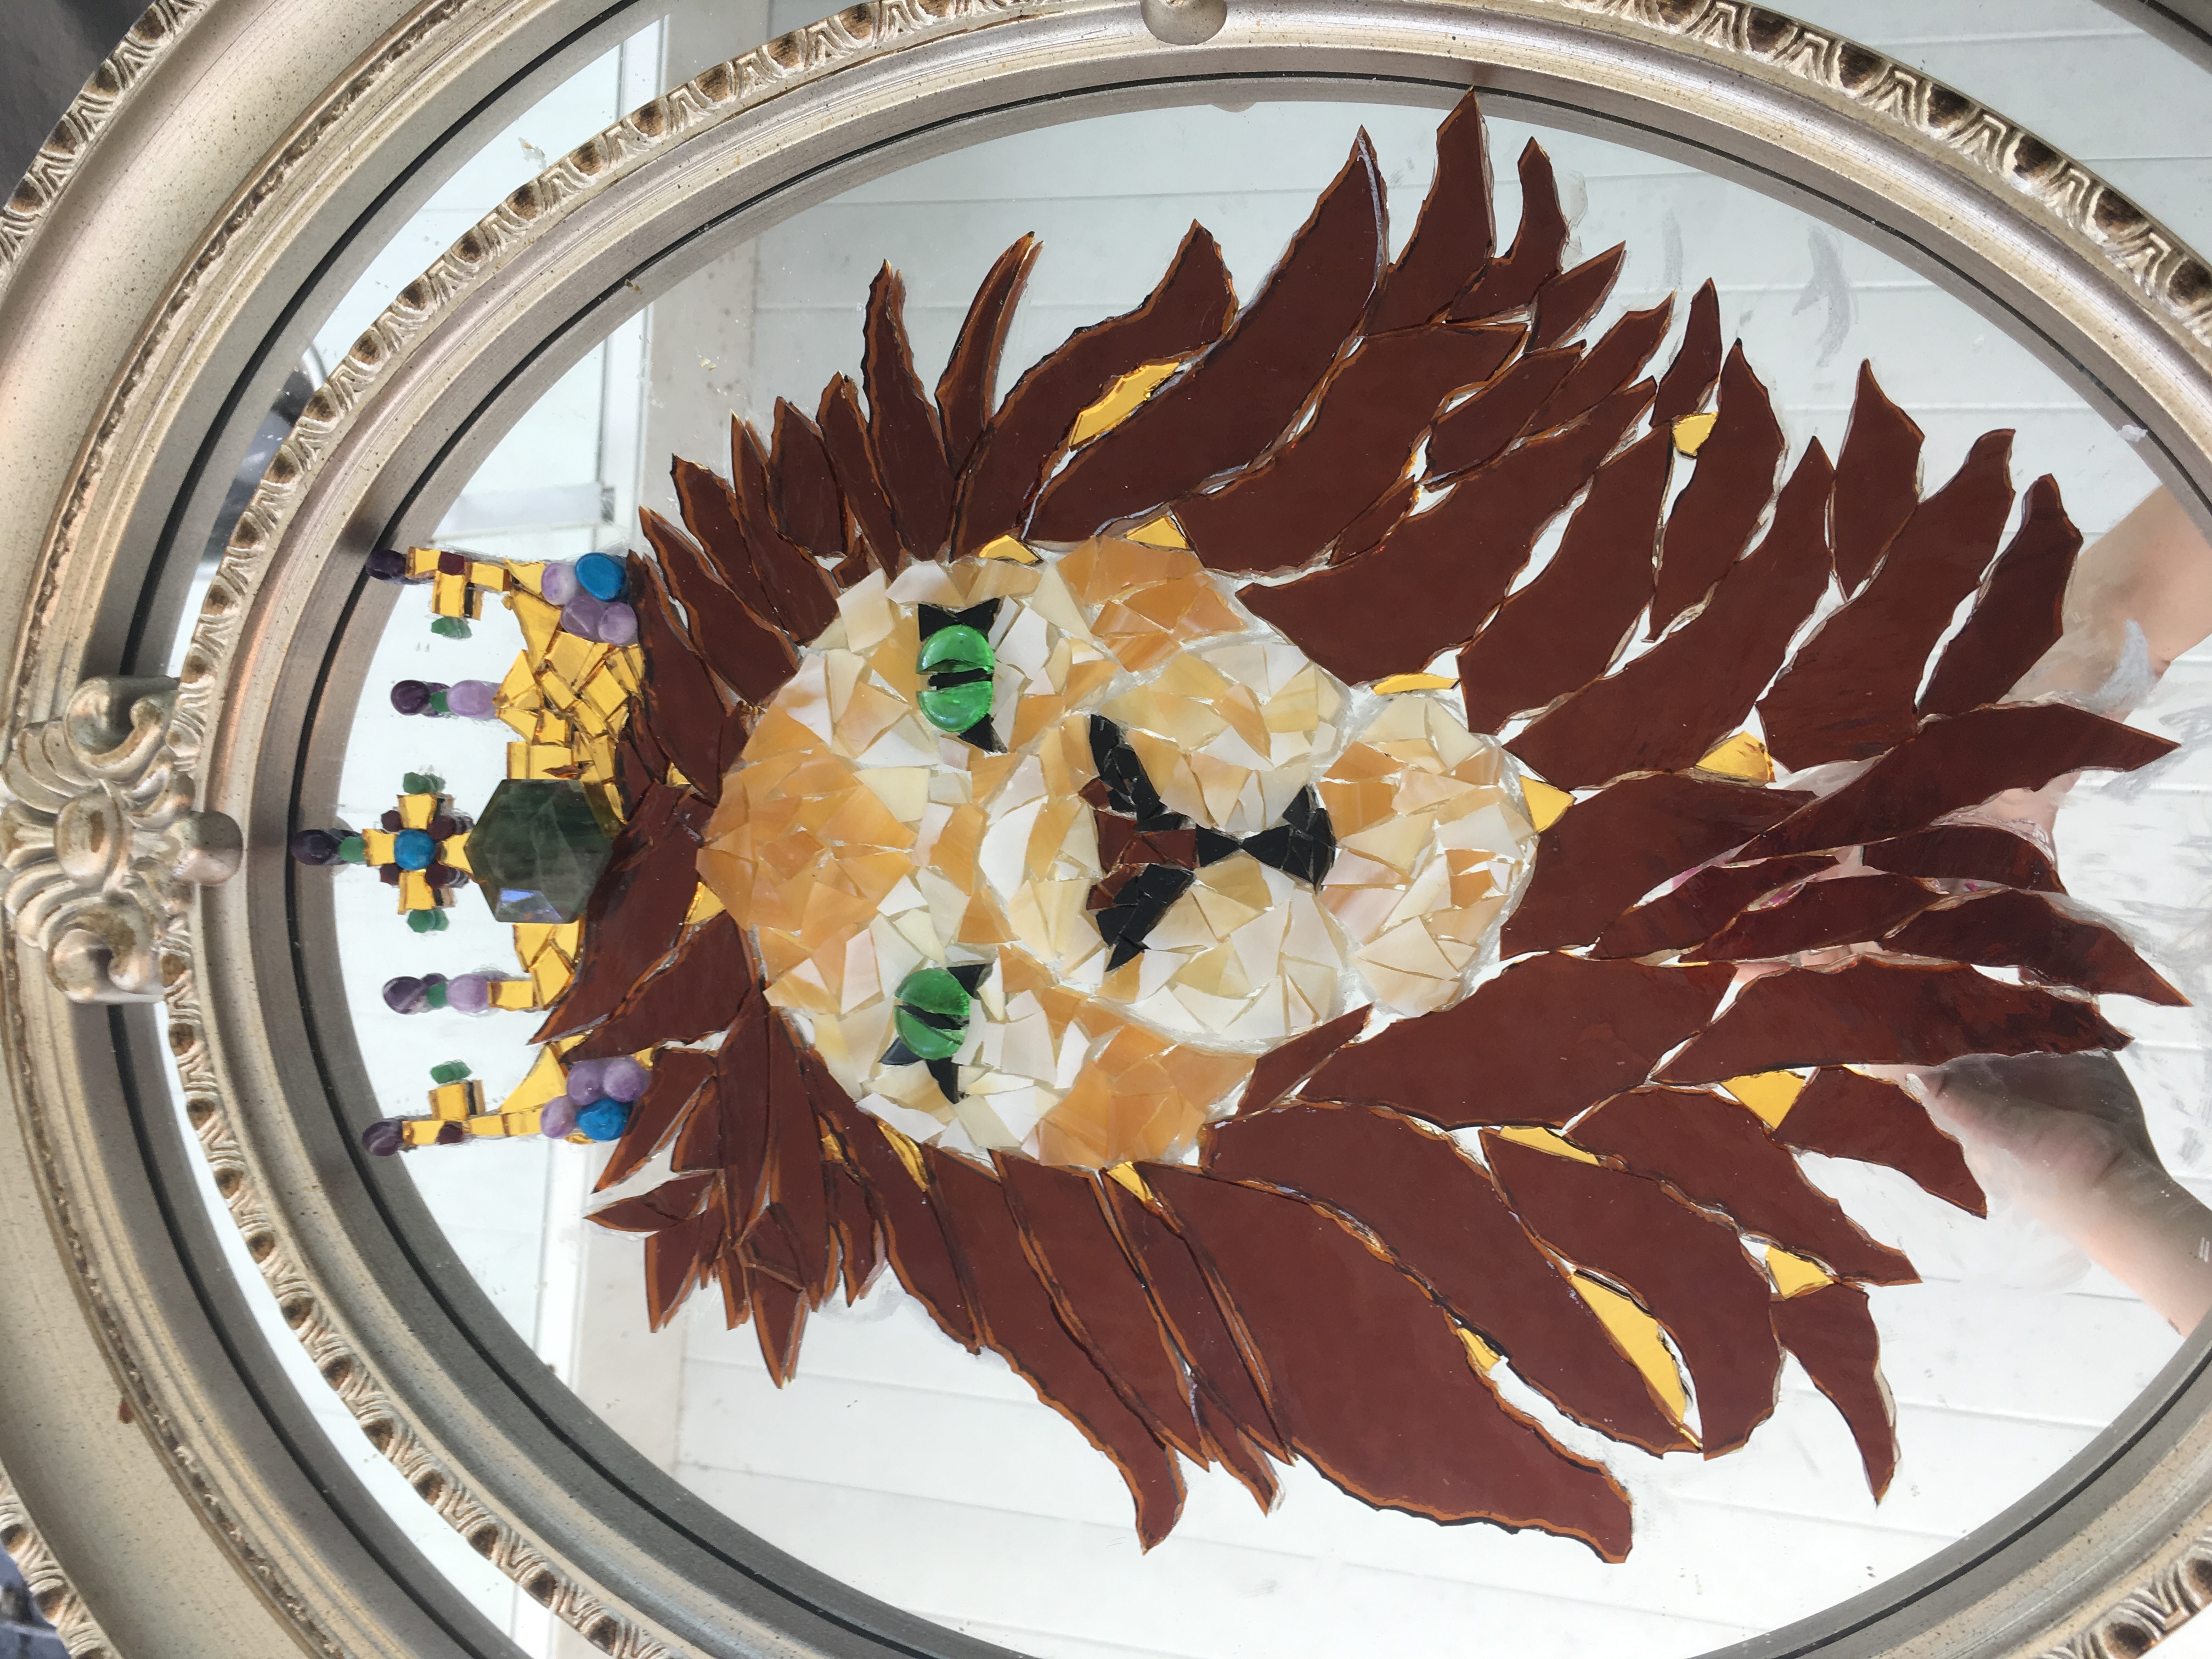
Starting the Mane of the Lion Mosaic
The mane goes over the crown slightly, and therefore the mane pieces must be done before the bottom of the crown. Score and break the dark brown glass to make the mane pieces, clean off the white marks off the glass with a Q-Tip, and cover the whole back part of the lock of hair in glue. Glue it down securely, pressing firmly.
Finishing the Crown

Add more gold pieces around the mane hair, where the marked white areas for the crown are.
Cutting the Pieces for the Mane
I don’t know why, but I found this picture funny. The dark brown glass I used liked to break in curves. This made it super easy to make the flowing locks of hair. Do the entire mane the way it was started, cleaning the glass and gluing it down securely. This will take about an hour and a half.
Filling in Gaps with Gold Glass
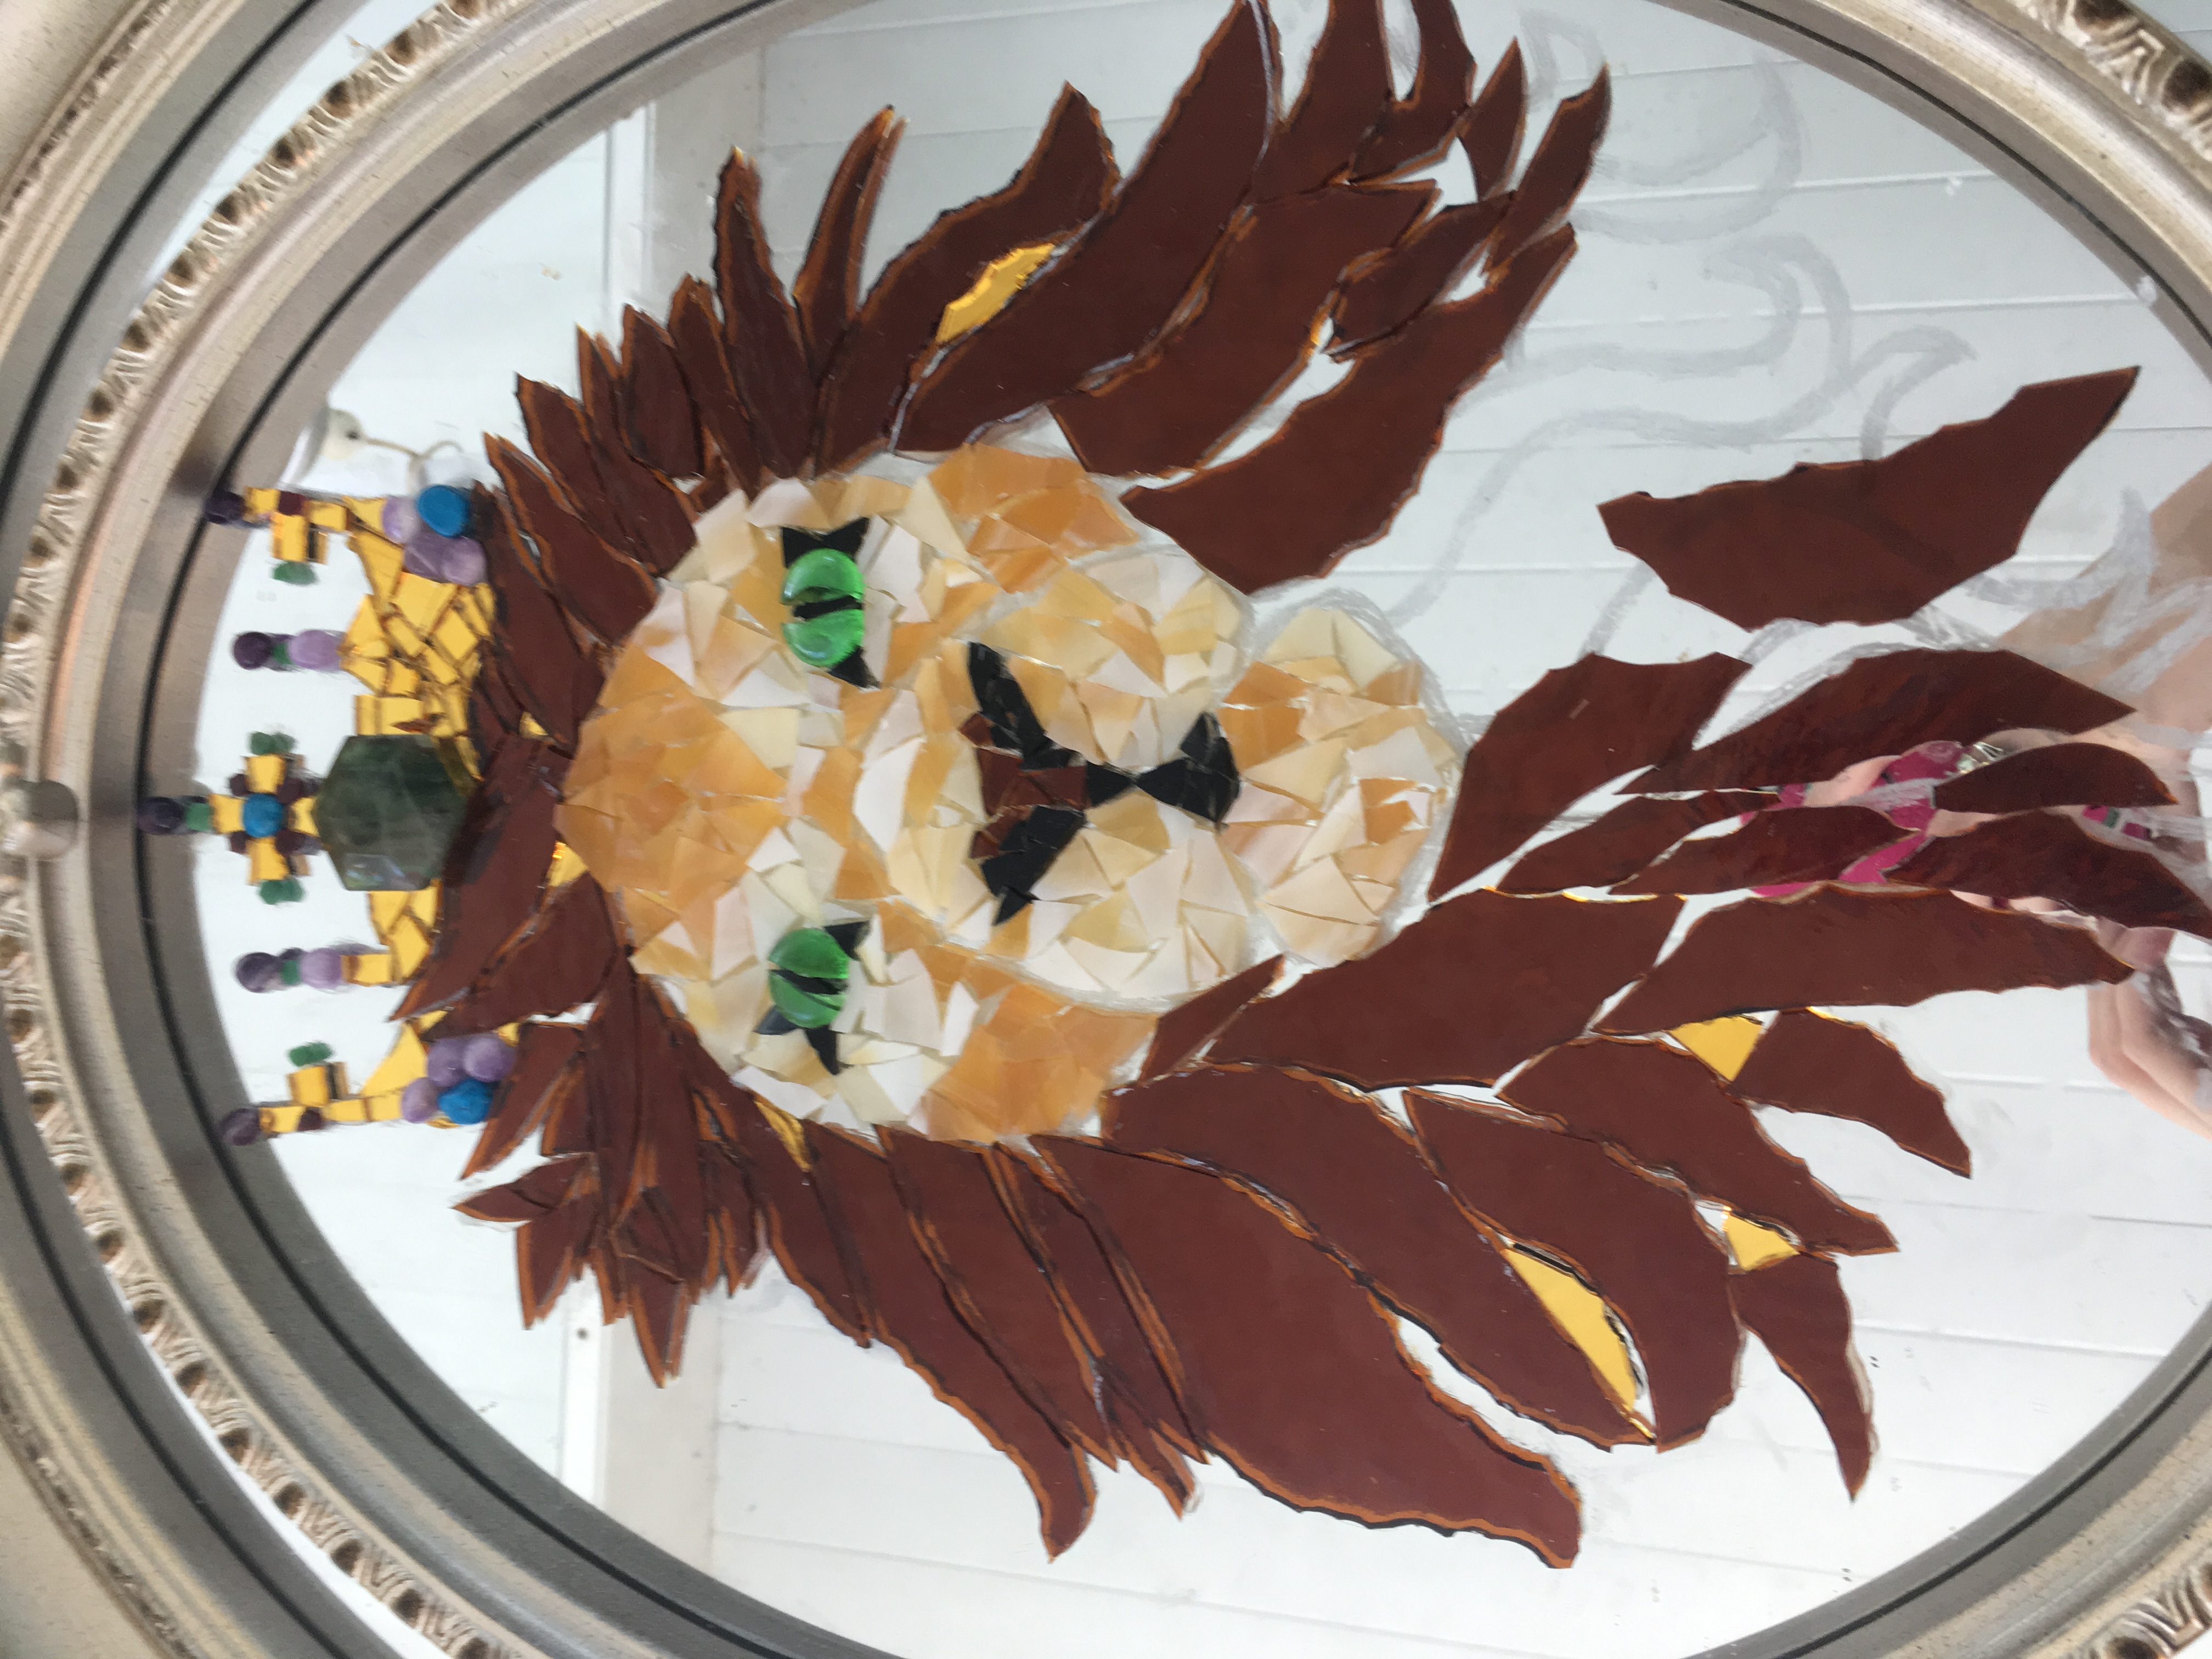
Add extra pieces of the gold glass to the gaps in the mane. This will make it stand out and shimmer brightly in the light.
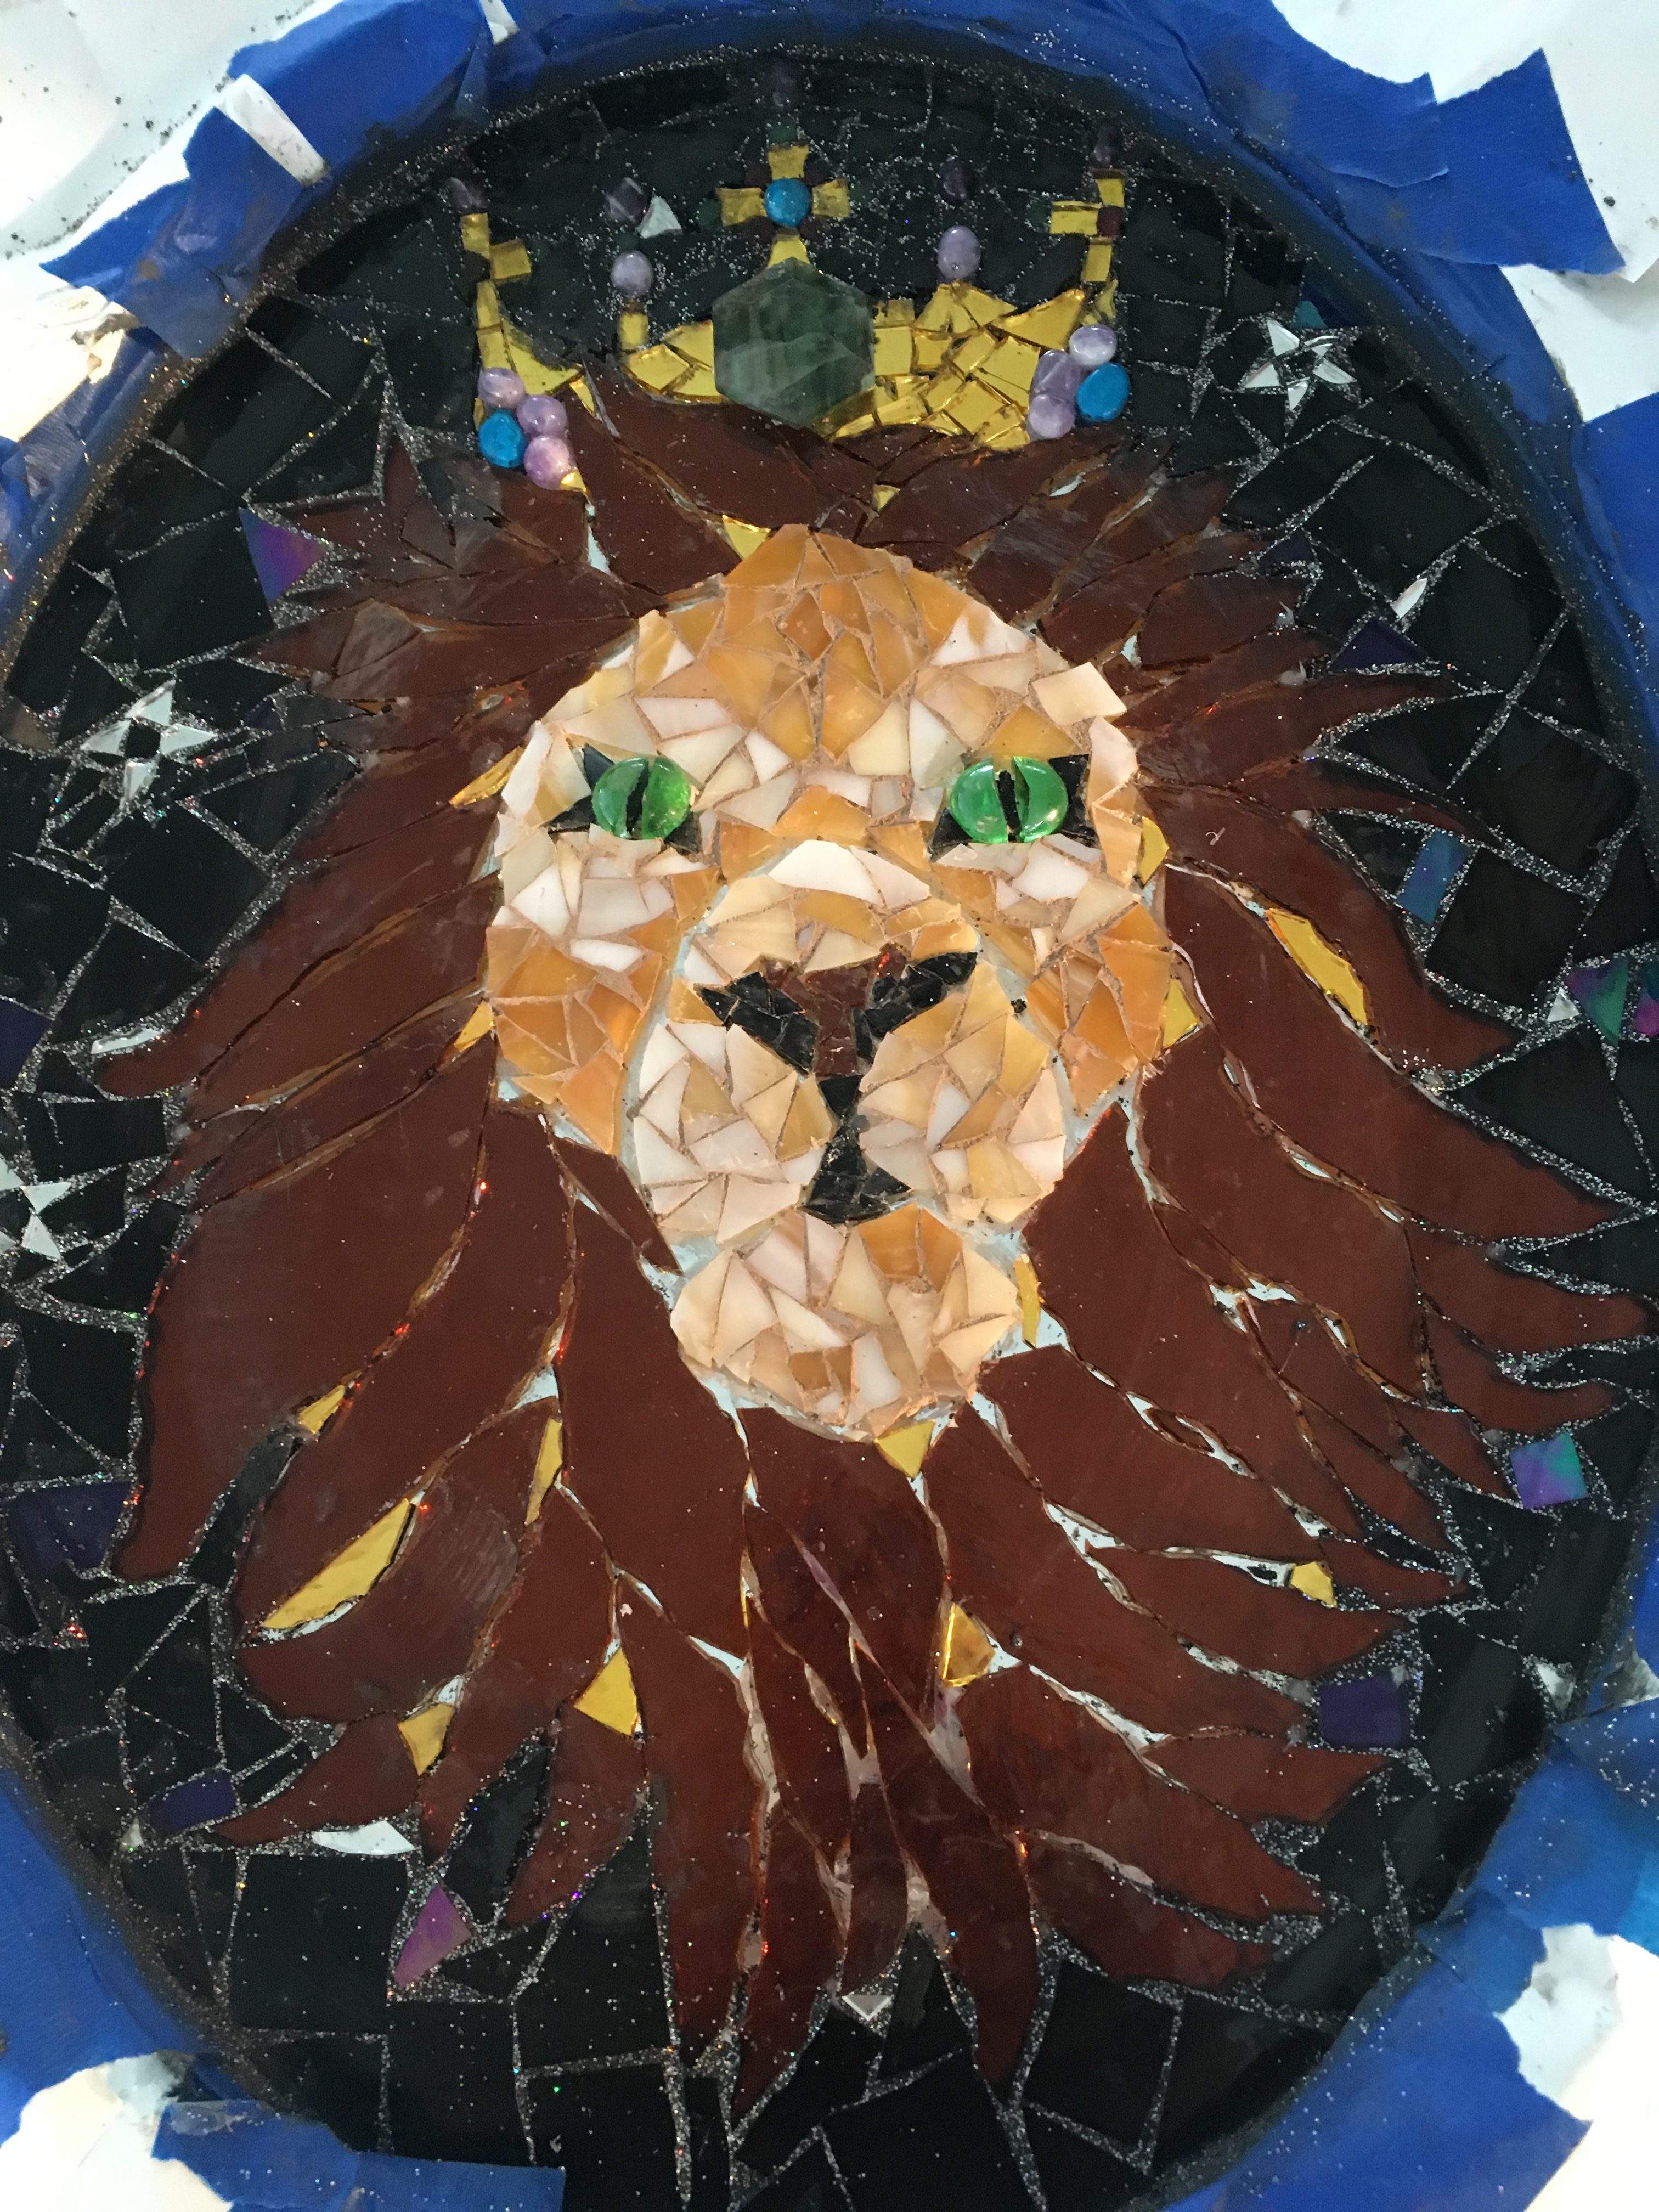
Keeping the flow of the Mane
Make sure all of your glass on the mane is flowing outwards. This will make your lion look like he is soulfully staring into the deep depths of a leaf blower.
Background Glass
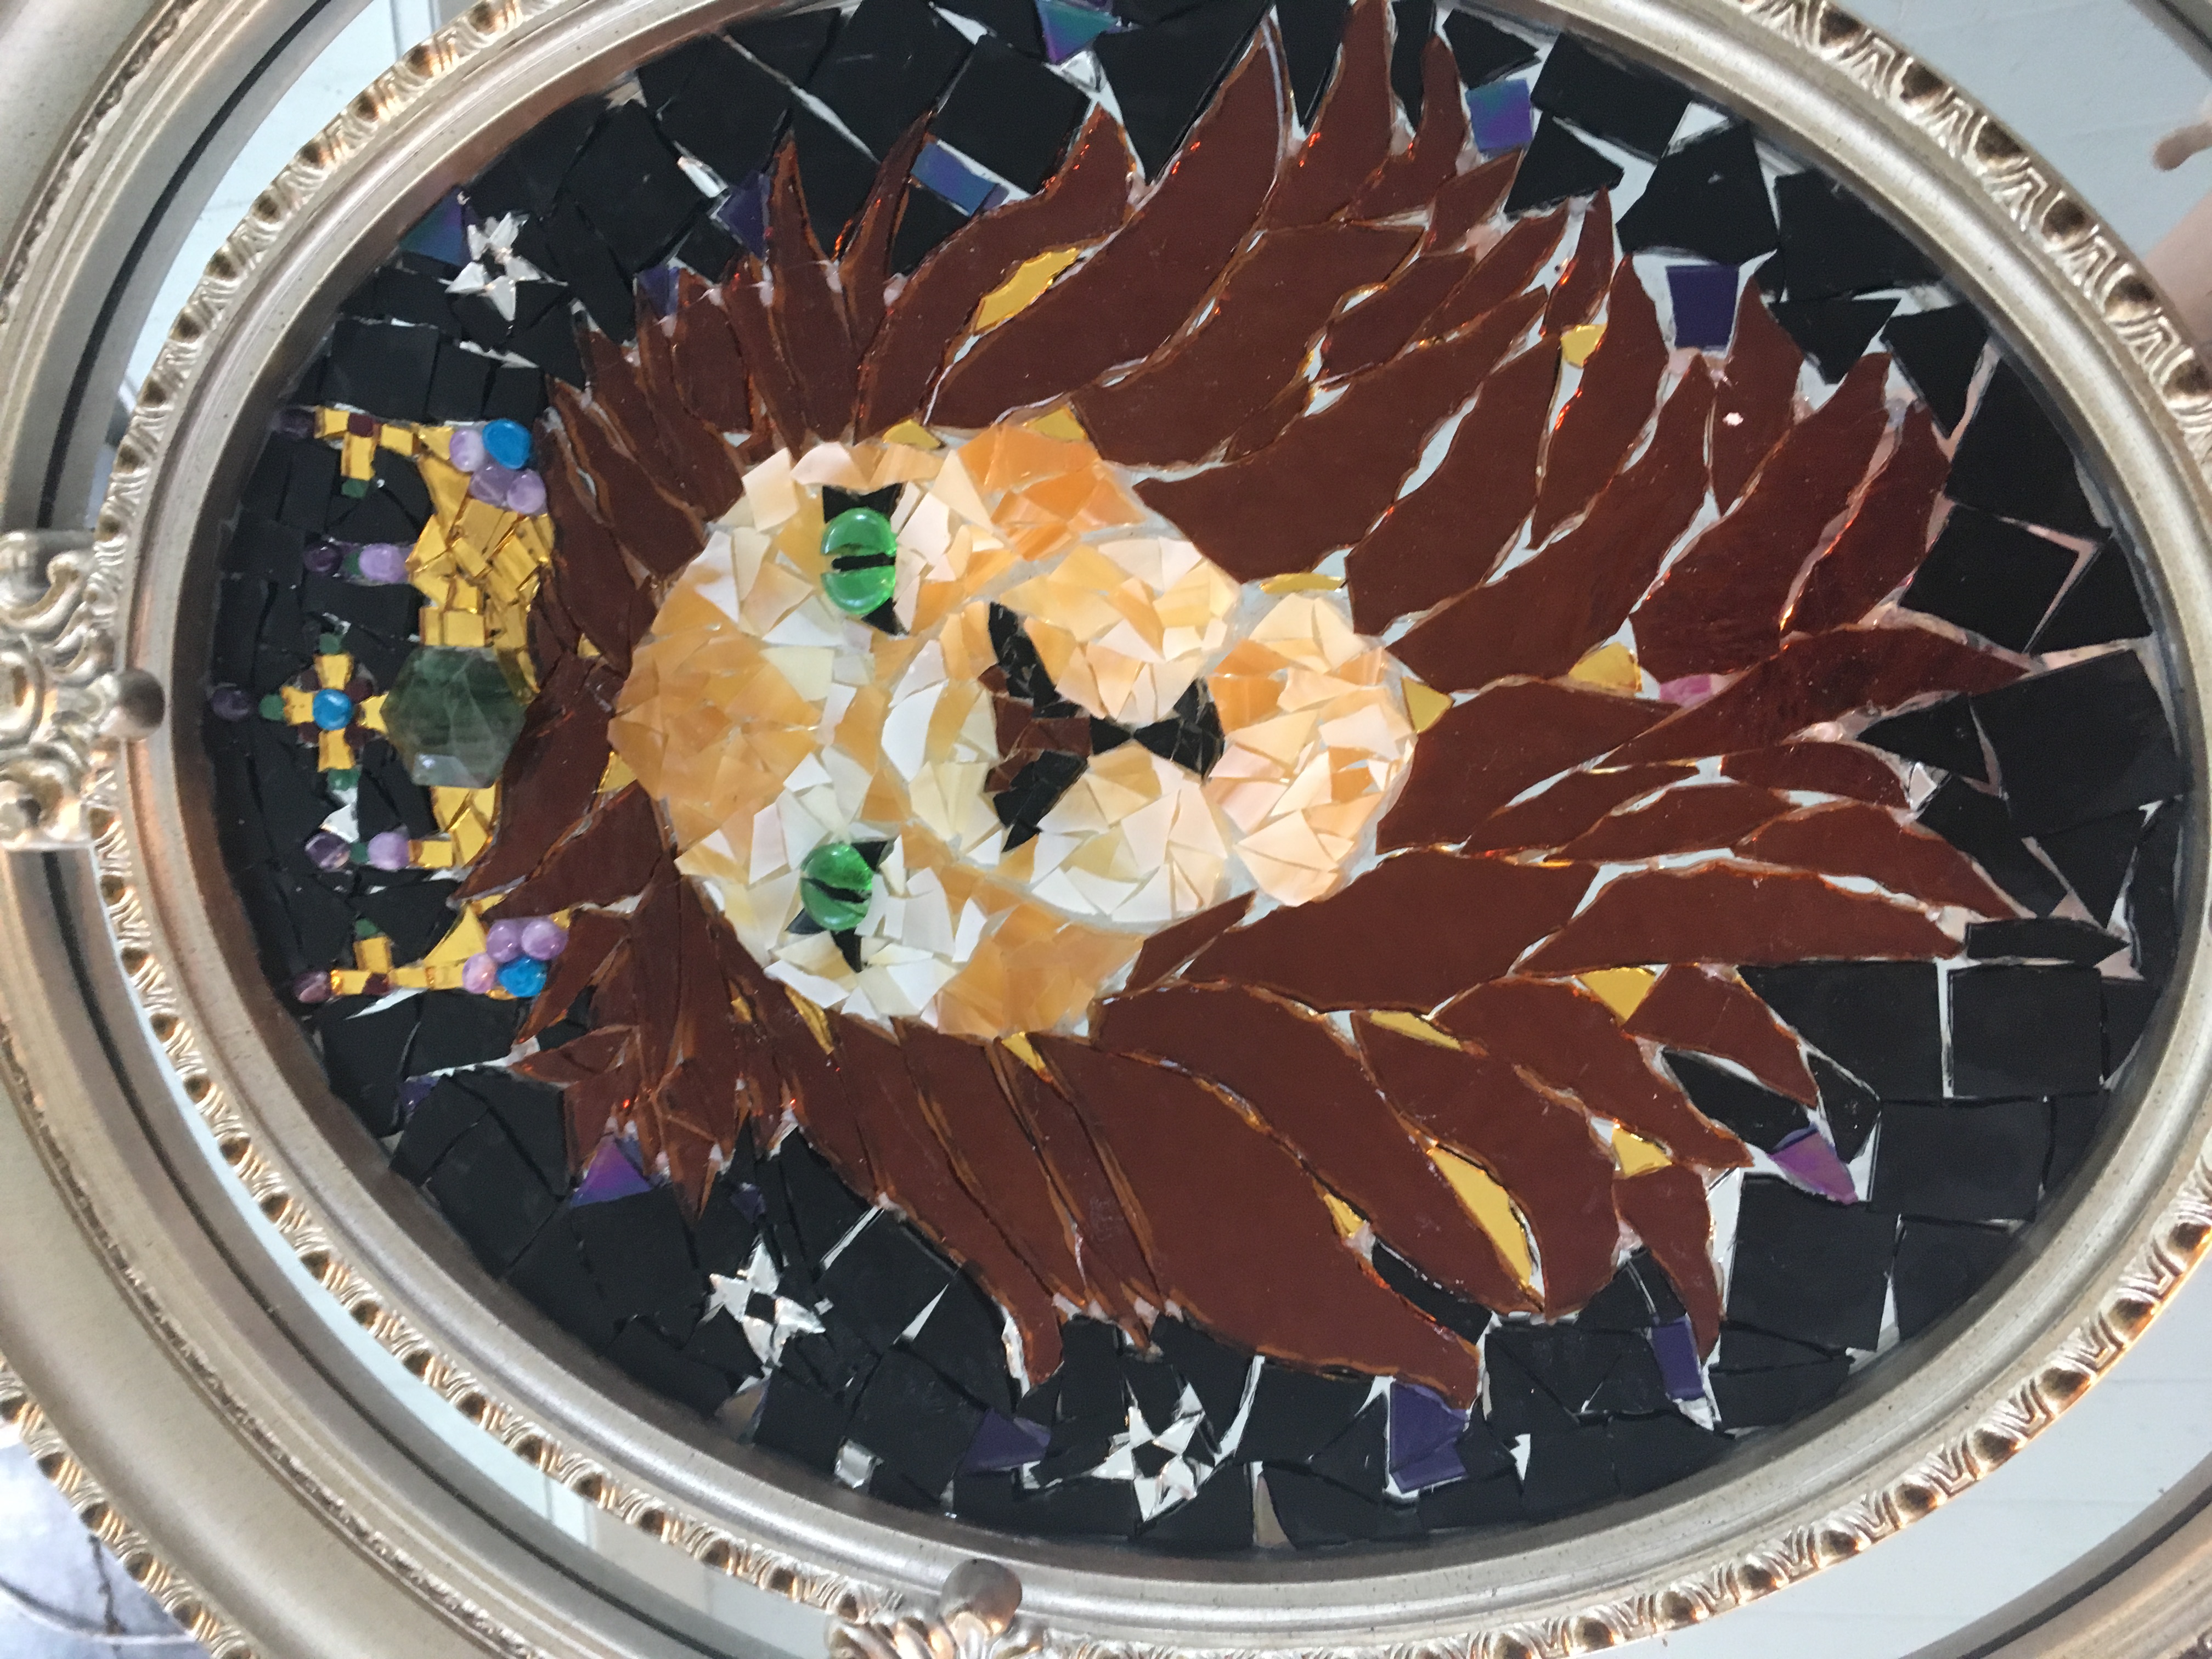
Score and break glass about an inch thick this time. Break the glass into large squares and glue them down in the big gaps, leaving space to make stars.
Scoring and Breaking Small Purple Pieces
Using dark purple glass, score a strip off and glue them down randomly. Do not use more than 10 pieces of purple glass, because the background should mostly be black.
Adding Stars to the Lion Mosaic
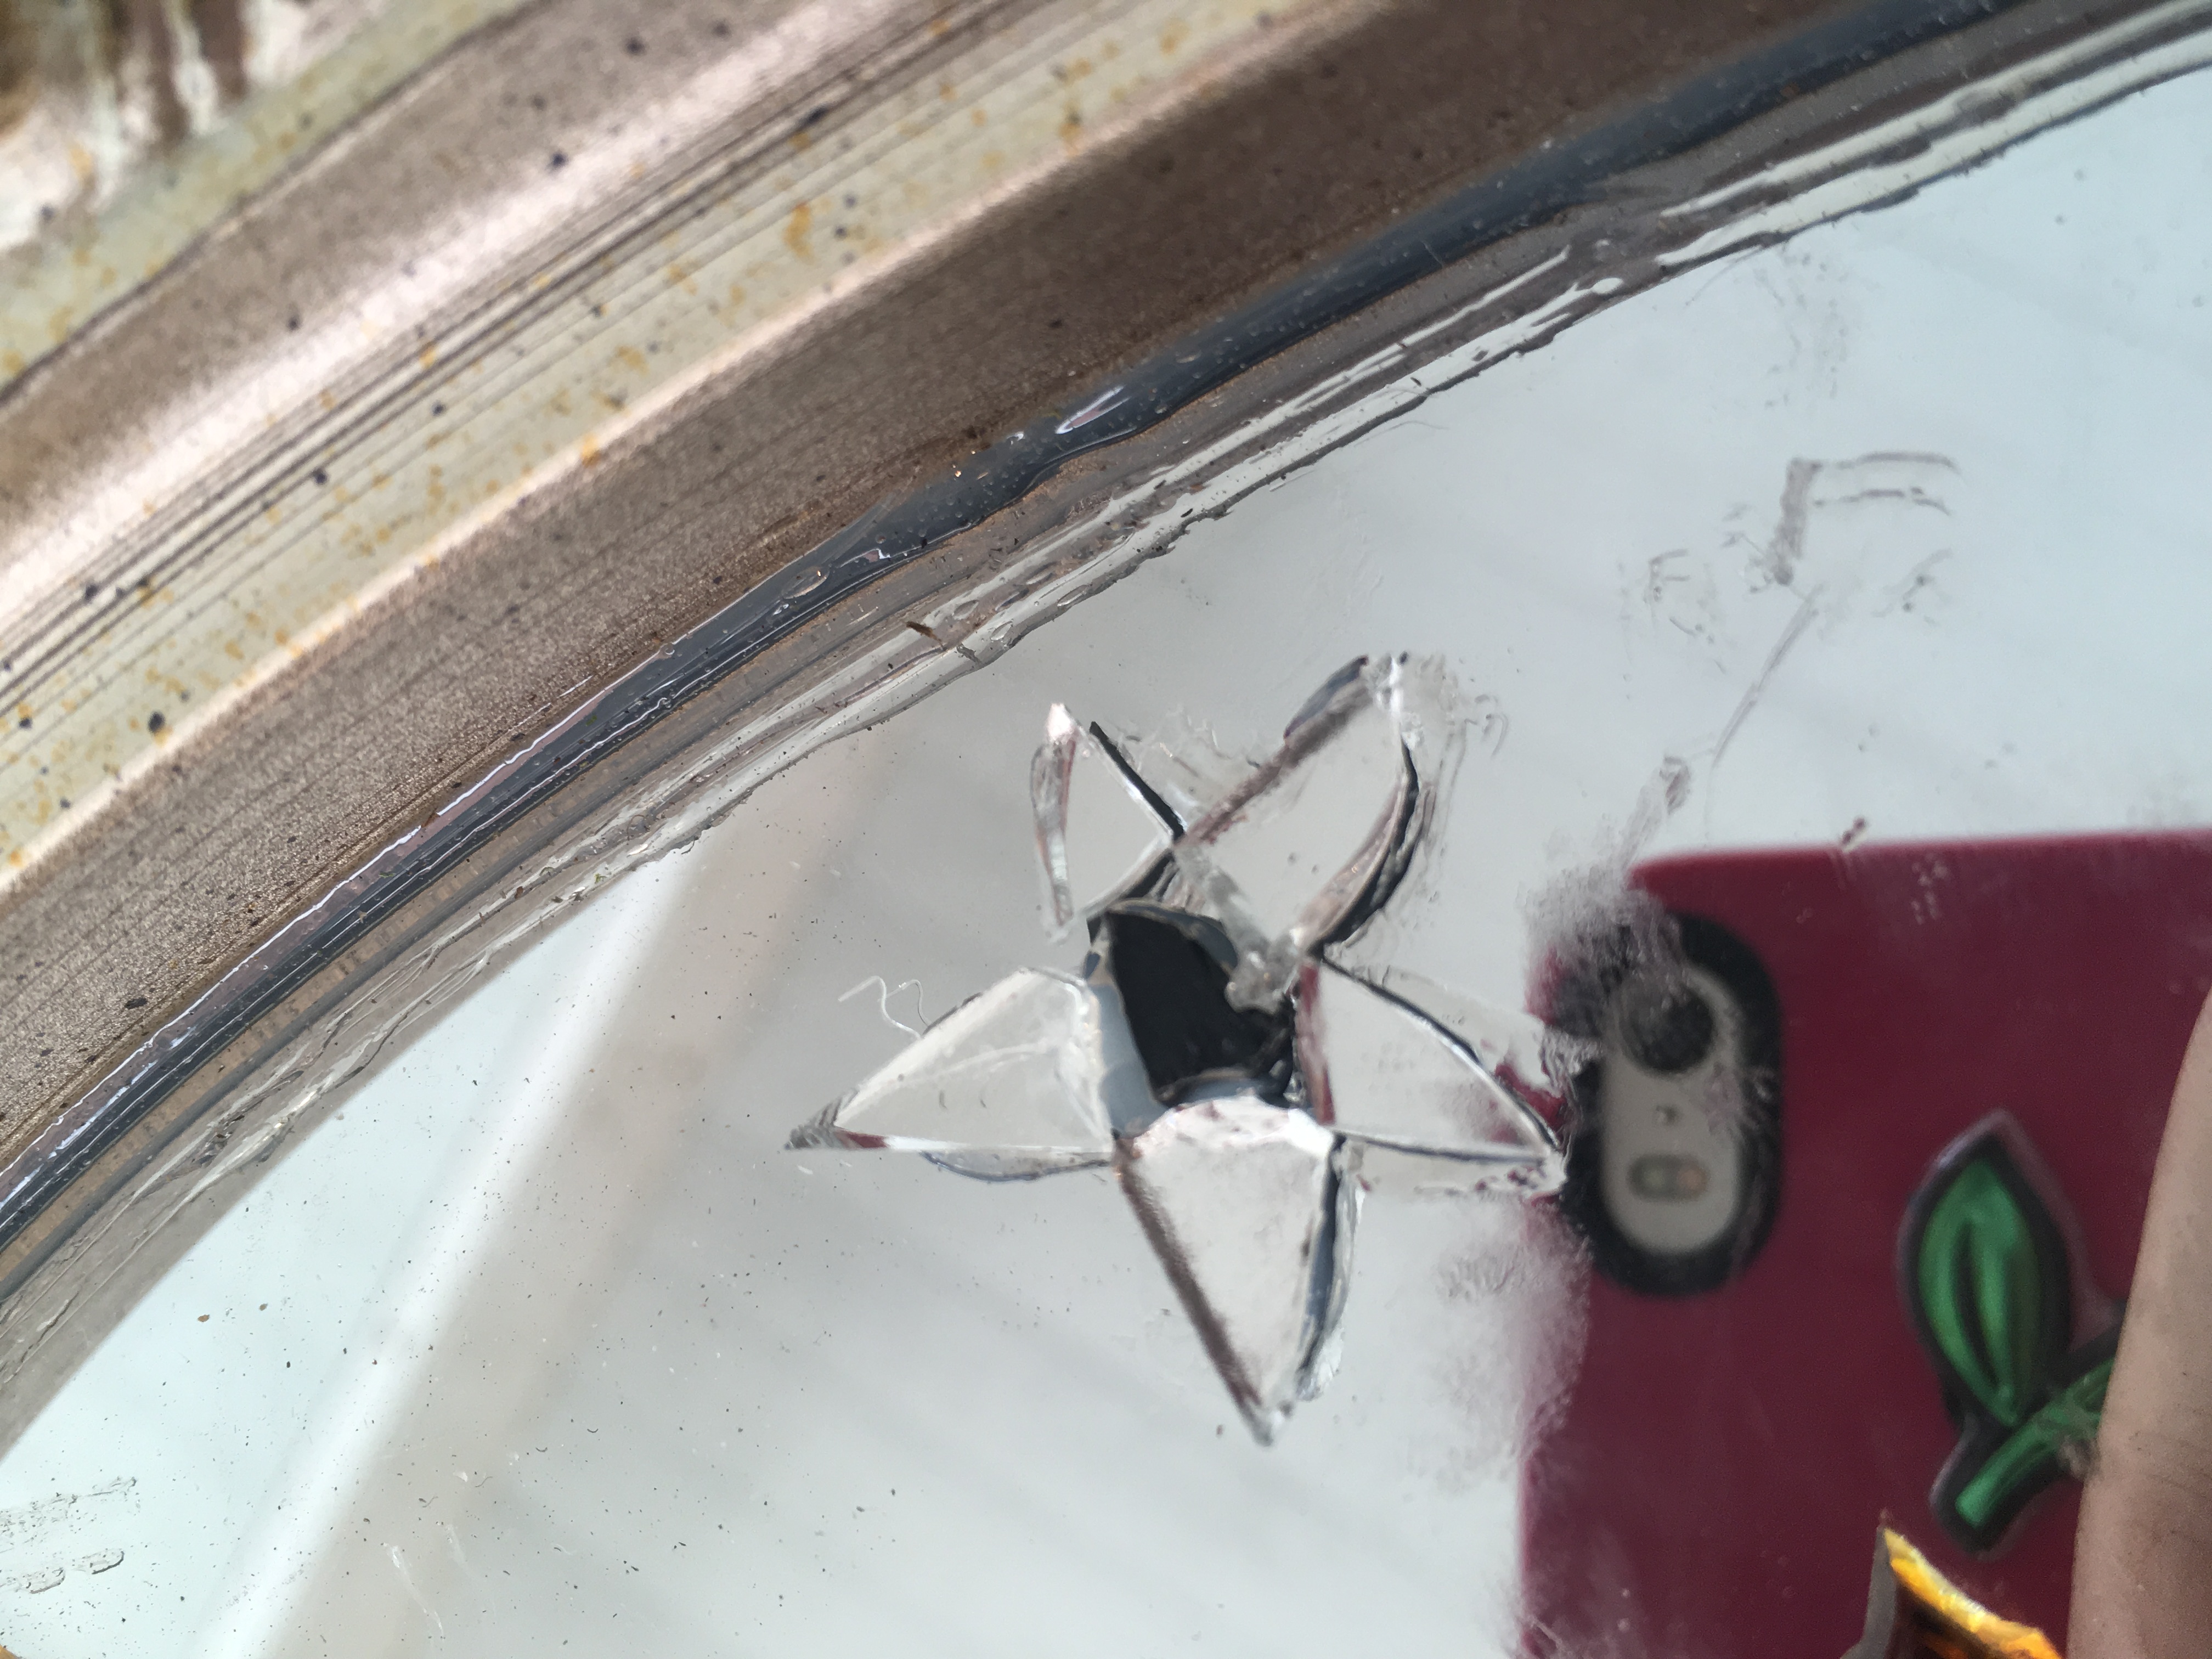
Using pieces of regular mirror glass, nip small triangles and put them together to make stars. Add a small black piece on the middle and scatter the silver all throughout the background. Use very small pieces and use very minimally.
Allow to Cure Fully: Important
After all of the glass has been put down and the background is finished and there is absolutely nothing else that can be done on the glass, set it aside to fully cure before grouting. If the glue is not cured, the grout will not stick and your mosaic will become a mess.
Finding the Grout
At a hardware store, find tan, dark brown, and black sanded grout. Always use sanded grout, as it will clean off of the glass easily.
Preparing the Lion for Grouting
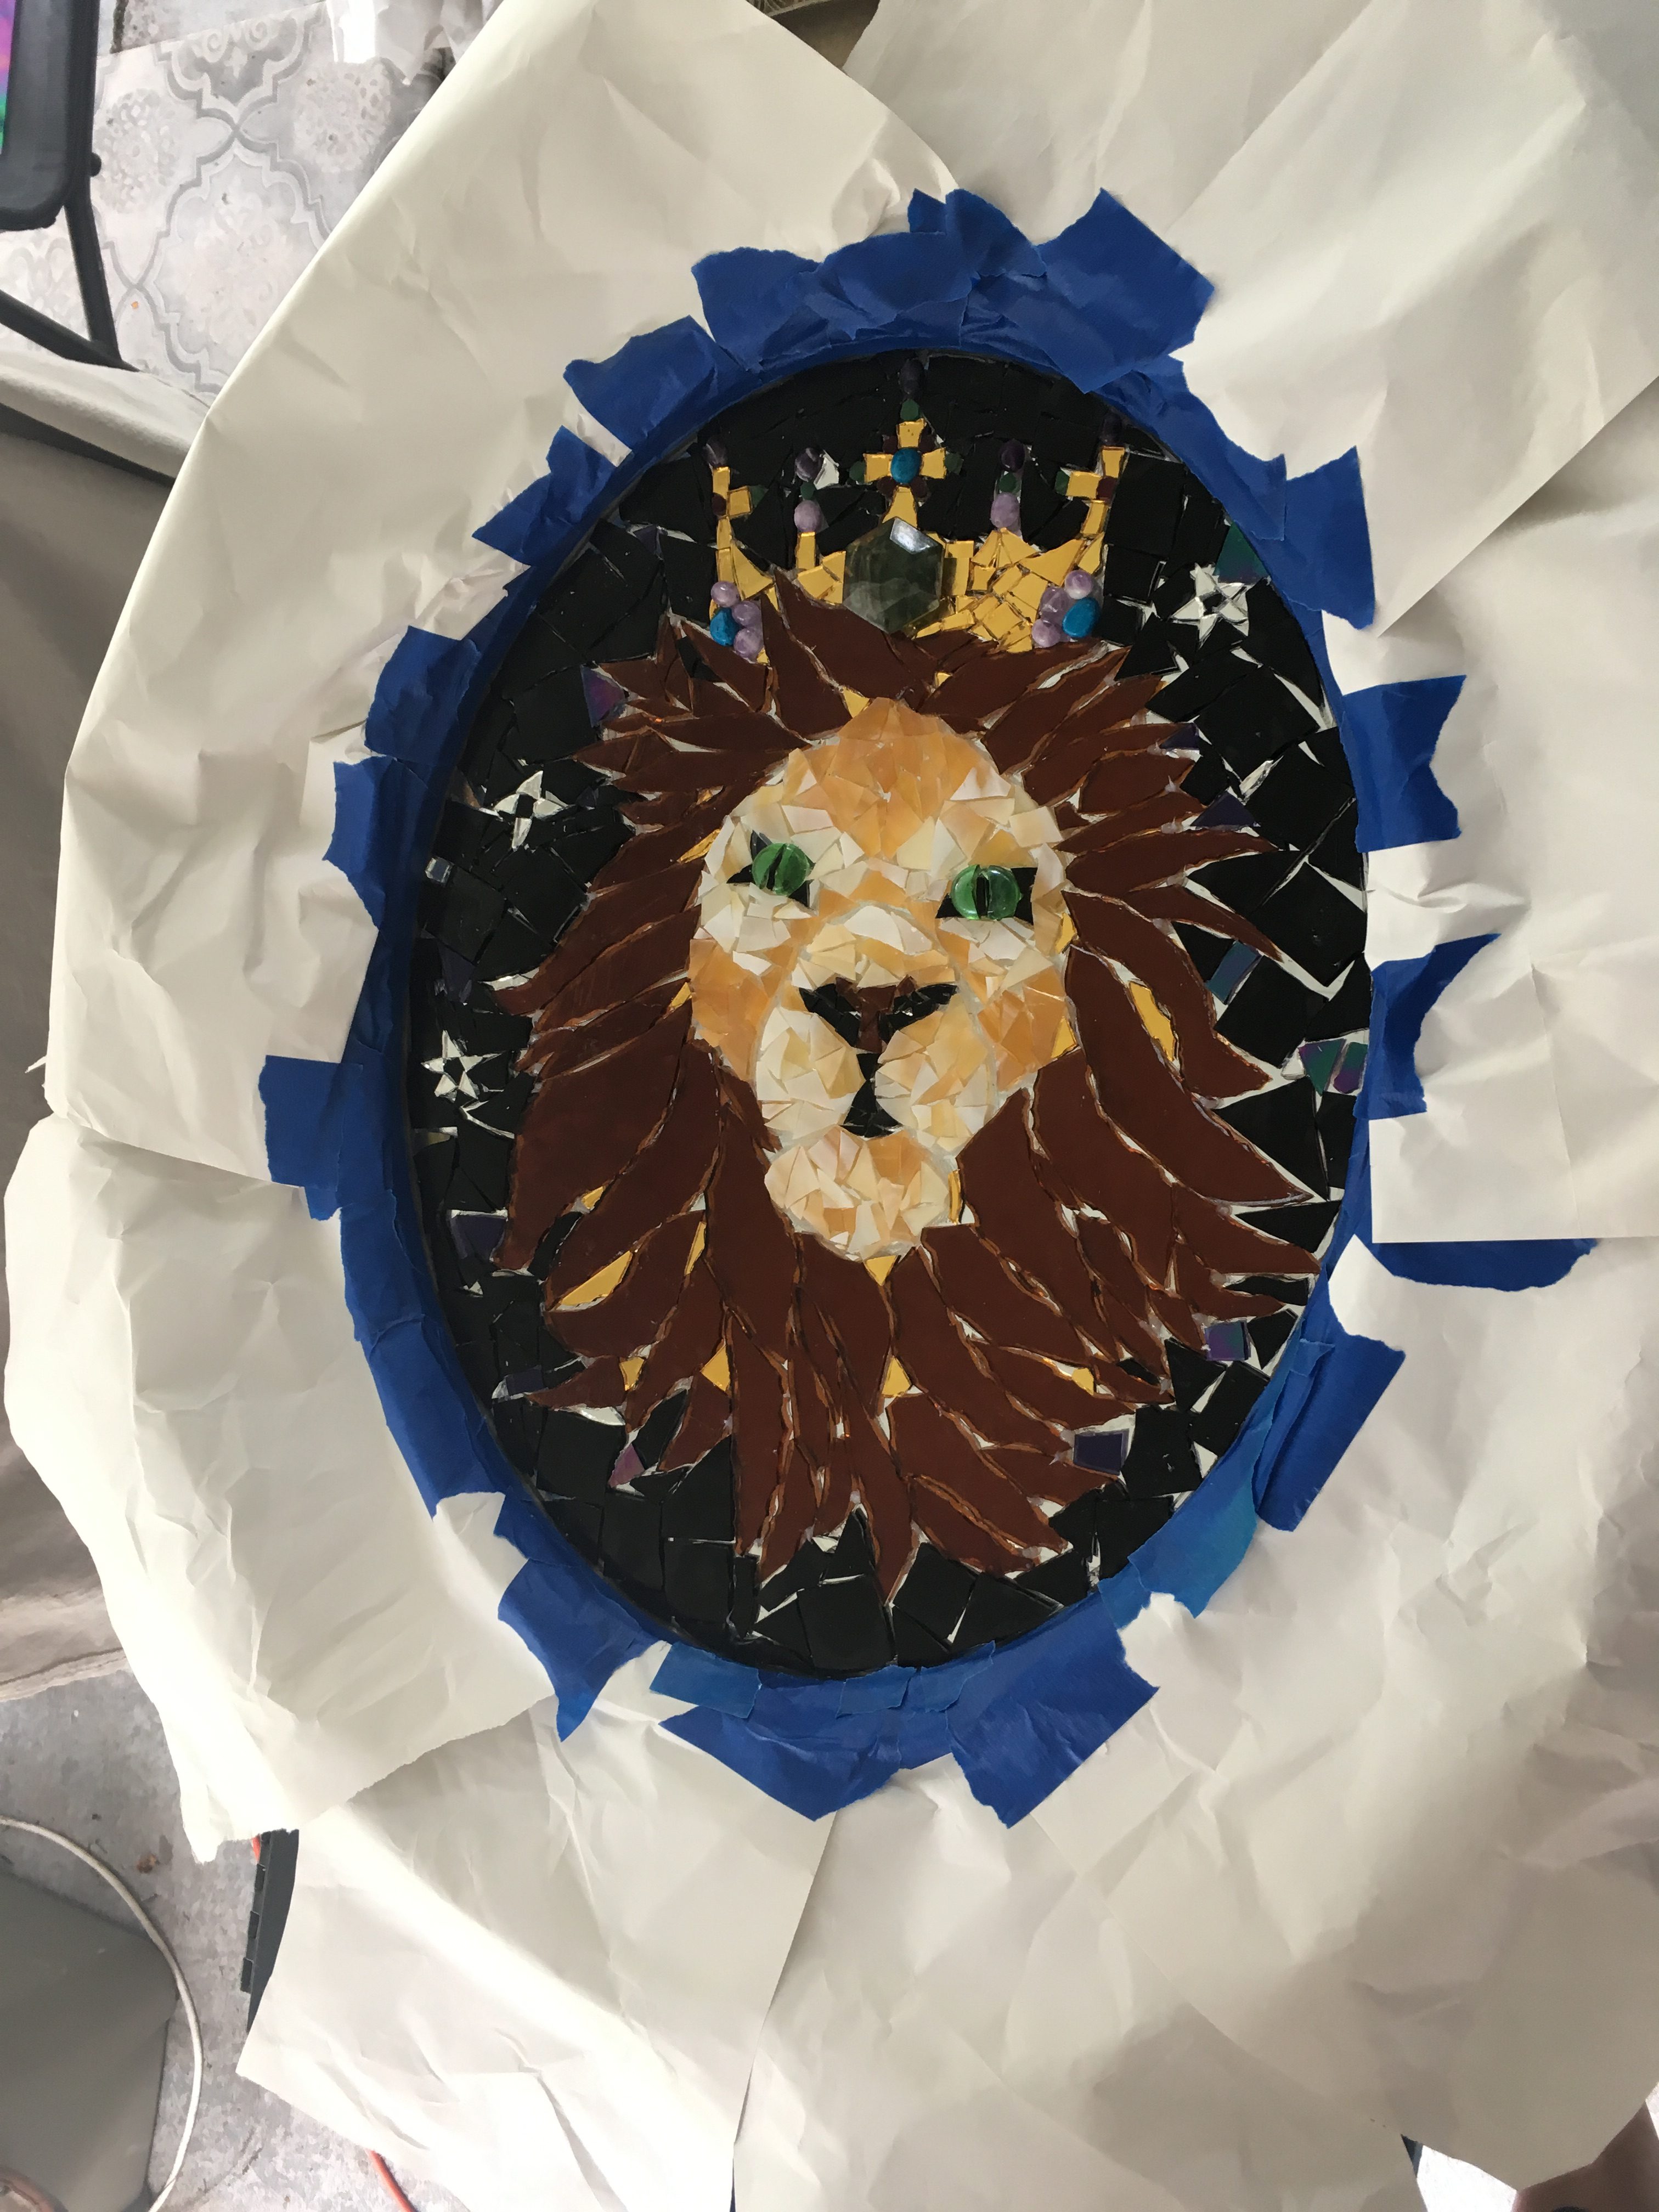
Next, put painter’s tape on the frame to protect it, about the same depth of the glass. Use newspaper to tape down to protect the rest of the frame.
Neat Trick for Applying Different Colors of Grout

Pick out three hair color bottles at a beauty store for grout applicators. Also use a funnel to get the grout into the bottle.
Mixing Grout
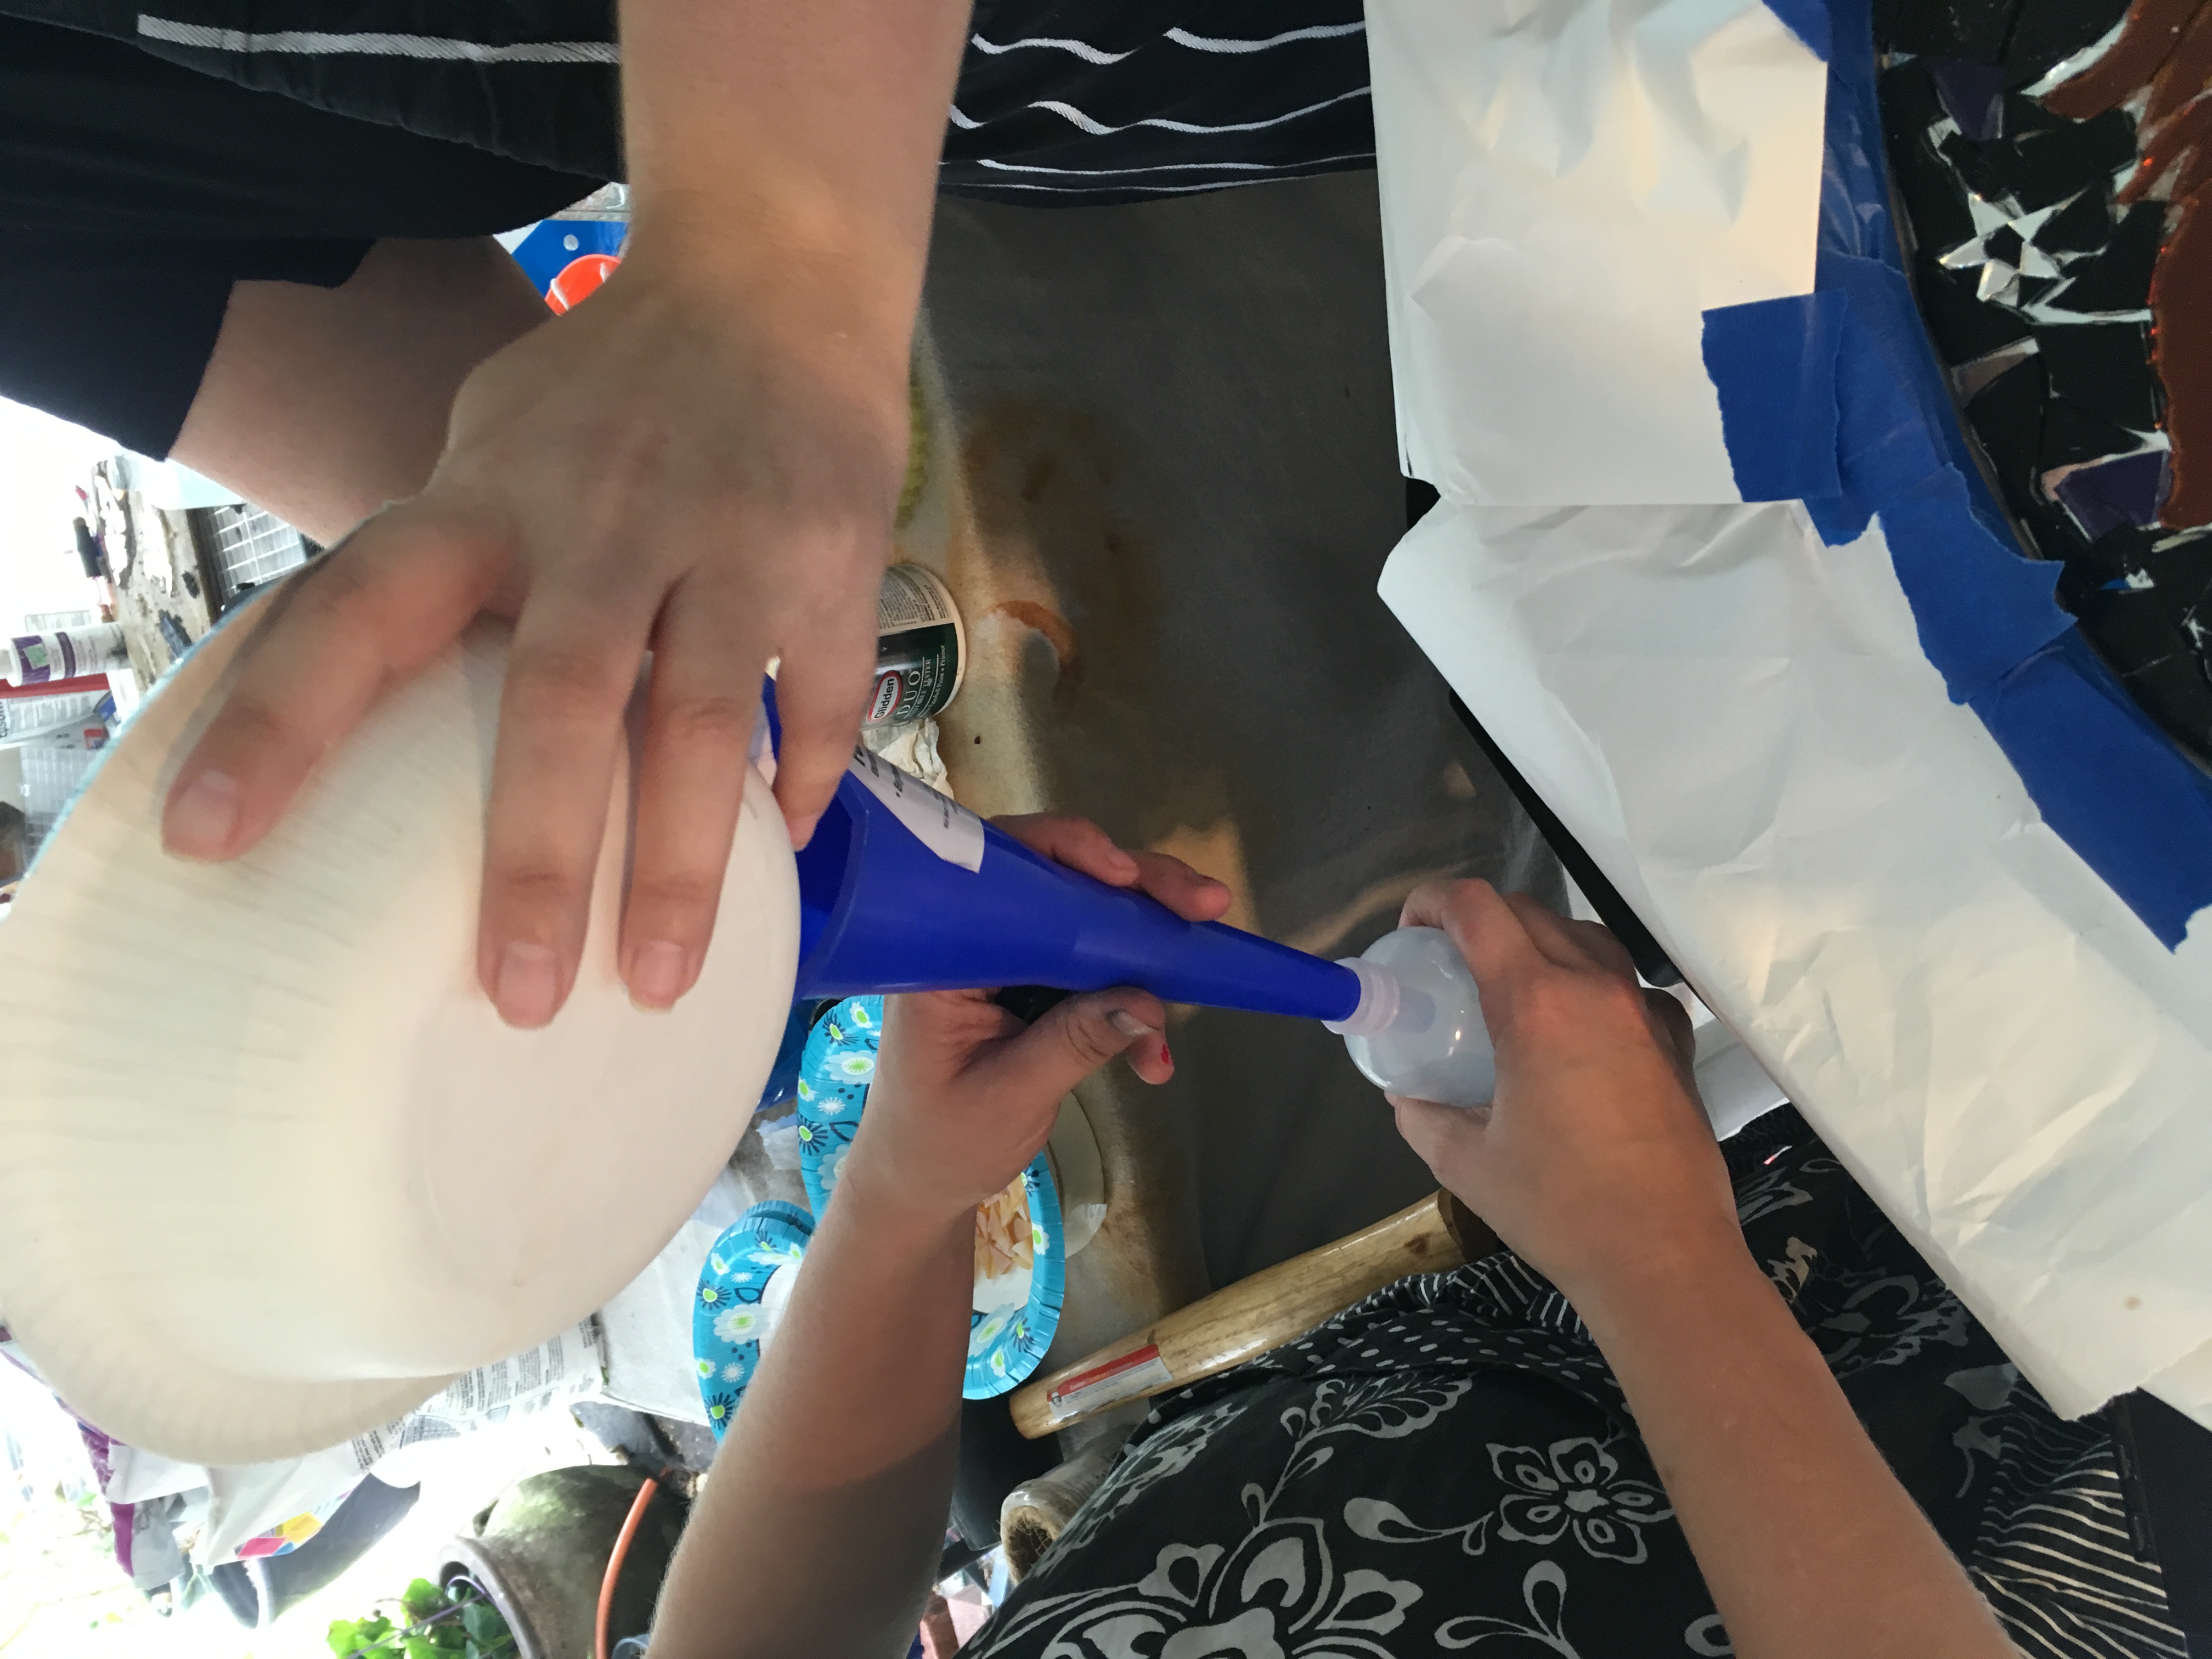
Next, start with the tan grout in a paper bowl with a plastic spoon. Make a very small batch, about three spoonfuls of the grout powder and very slowly mix in small amounts of water until the grout is the consistency of pudding. Use the funnel to get it into the hair applicator bottle and cut the tip slightly to allow the grout to come out faster.
Doing the Face, Avoiding the Nose and Eyes
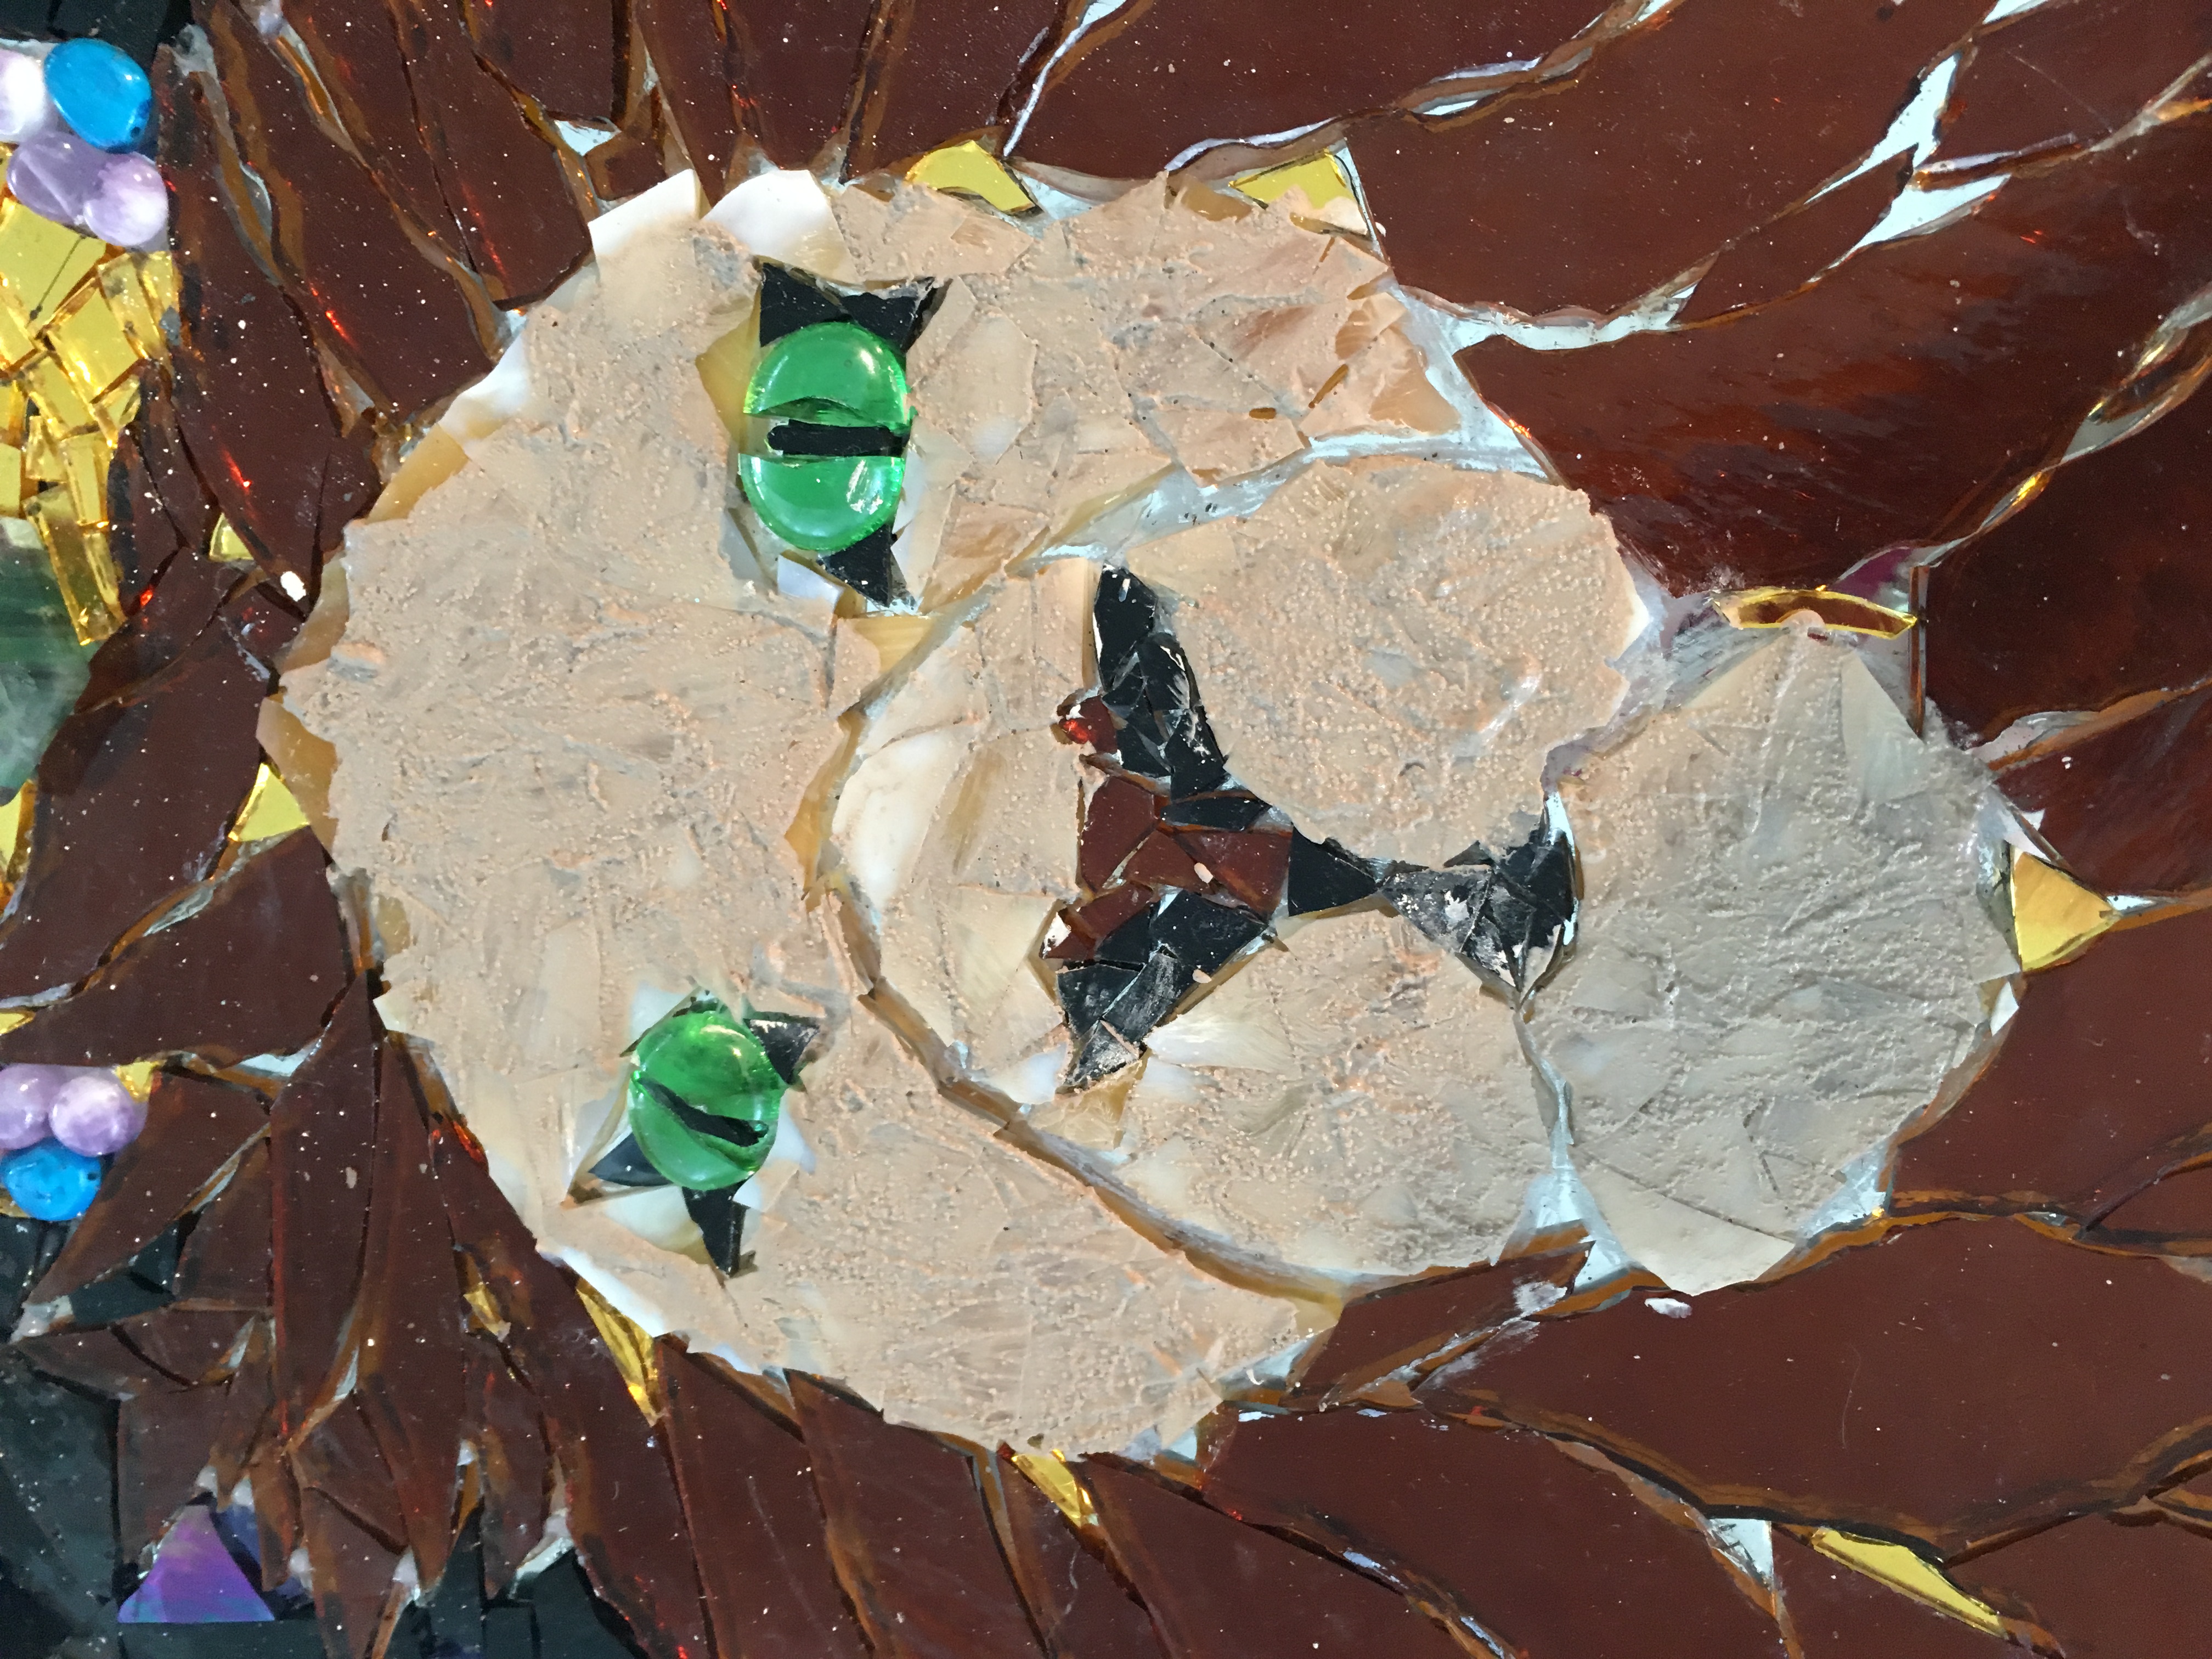
Do the forehead, cheeks, and chin in the tan. Avoid the eyes and the nose, as these will be done last. Squeeze the grout out into the cracks and make sure to fill all of the gaps. Allow it to sit for about 30 minutes or until the grout seems to be getting lighter in color.
Wiping the Face, still Avoiding the Nose
Using a paper towel or damp cloth, wipe the excess grout off of the face, away from the nose and the eyes. Clean up as much as you can without damaging the grout in the cracks. Patch up and allow to cure longer if needed.
Adding a Lot of Glitter to the Black Grout
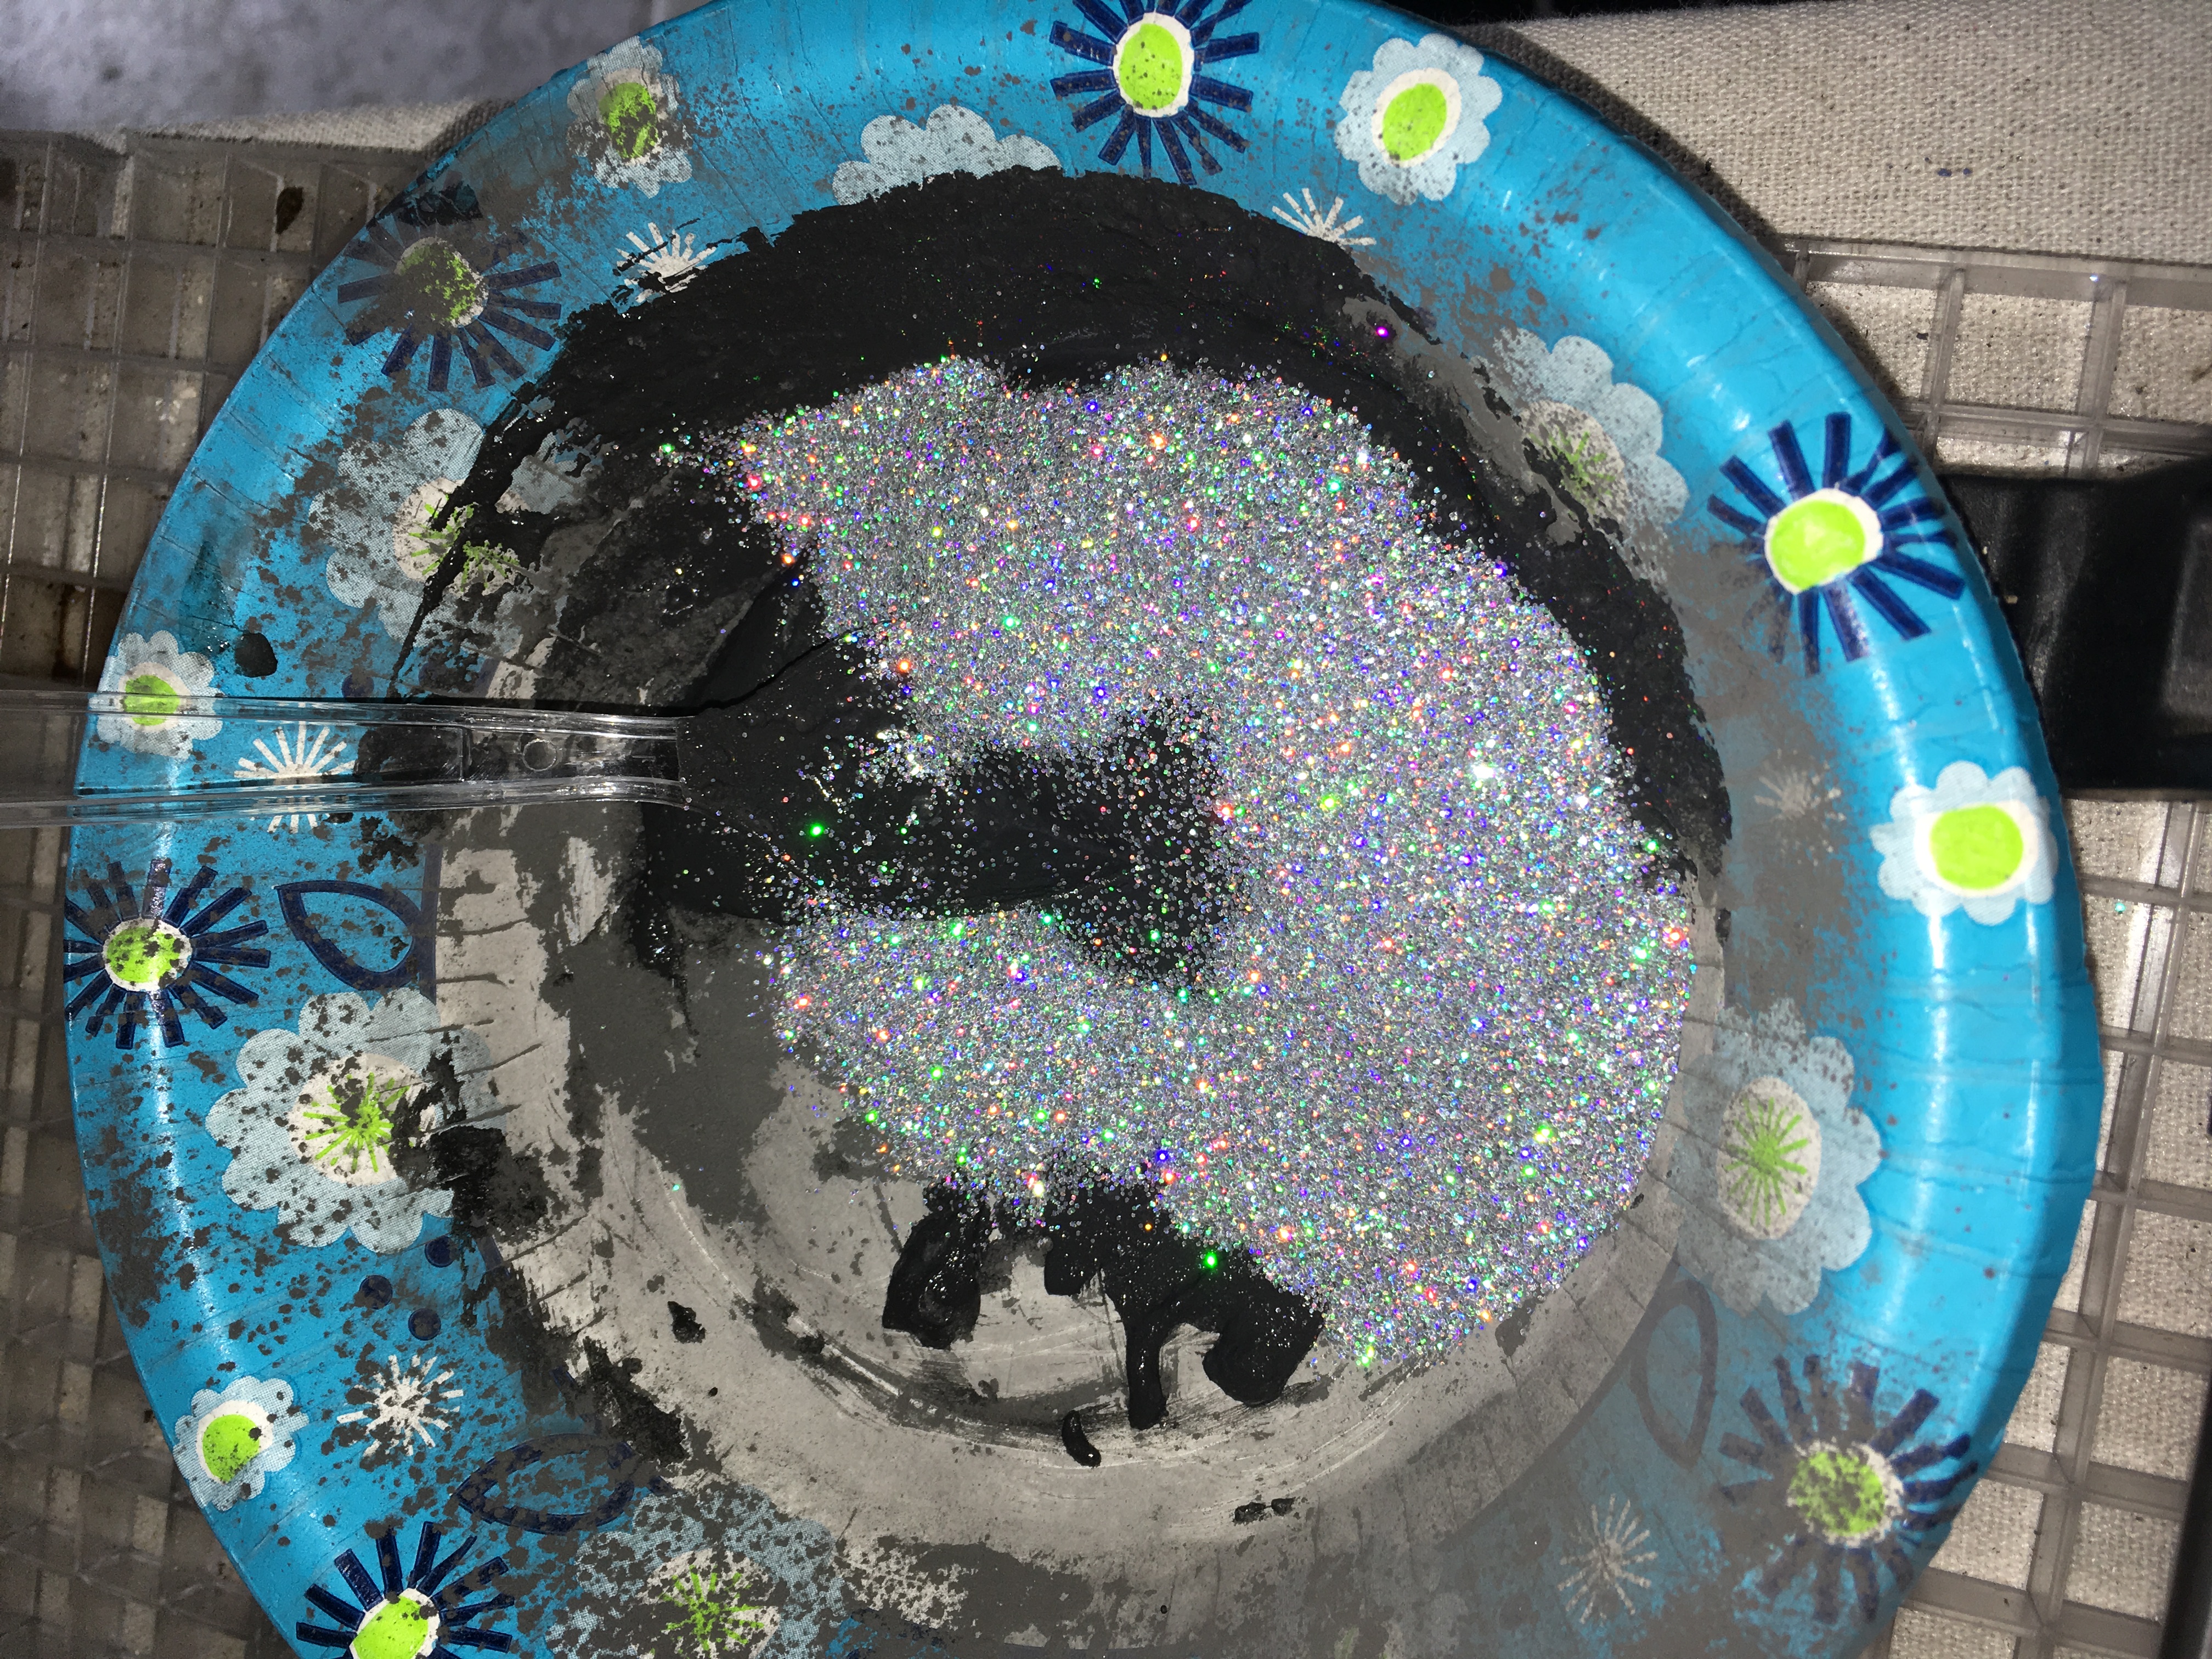
The ratio of glitter is about 3 scoops of black to one and a half scoops of glitter. Cut the tip of the applicator a lot more because the glitter is chunky. Rinse out the tan bottle once you are done, which should be easy because the applicator has a special coating that allows it to easily wash out. Use the water hose so the pipes do not get clogged in the house.
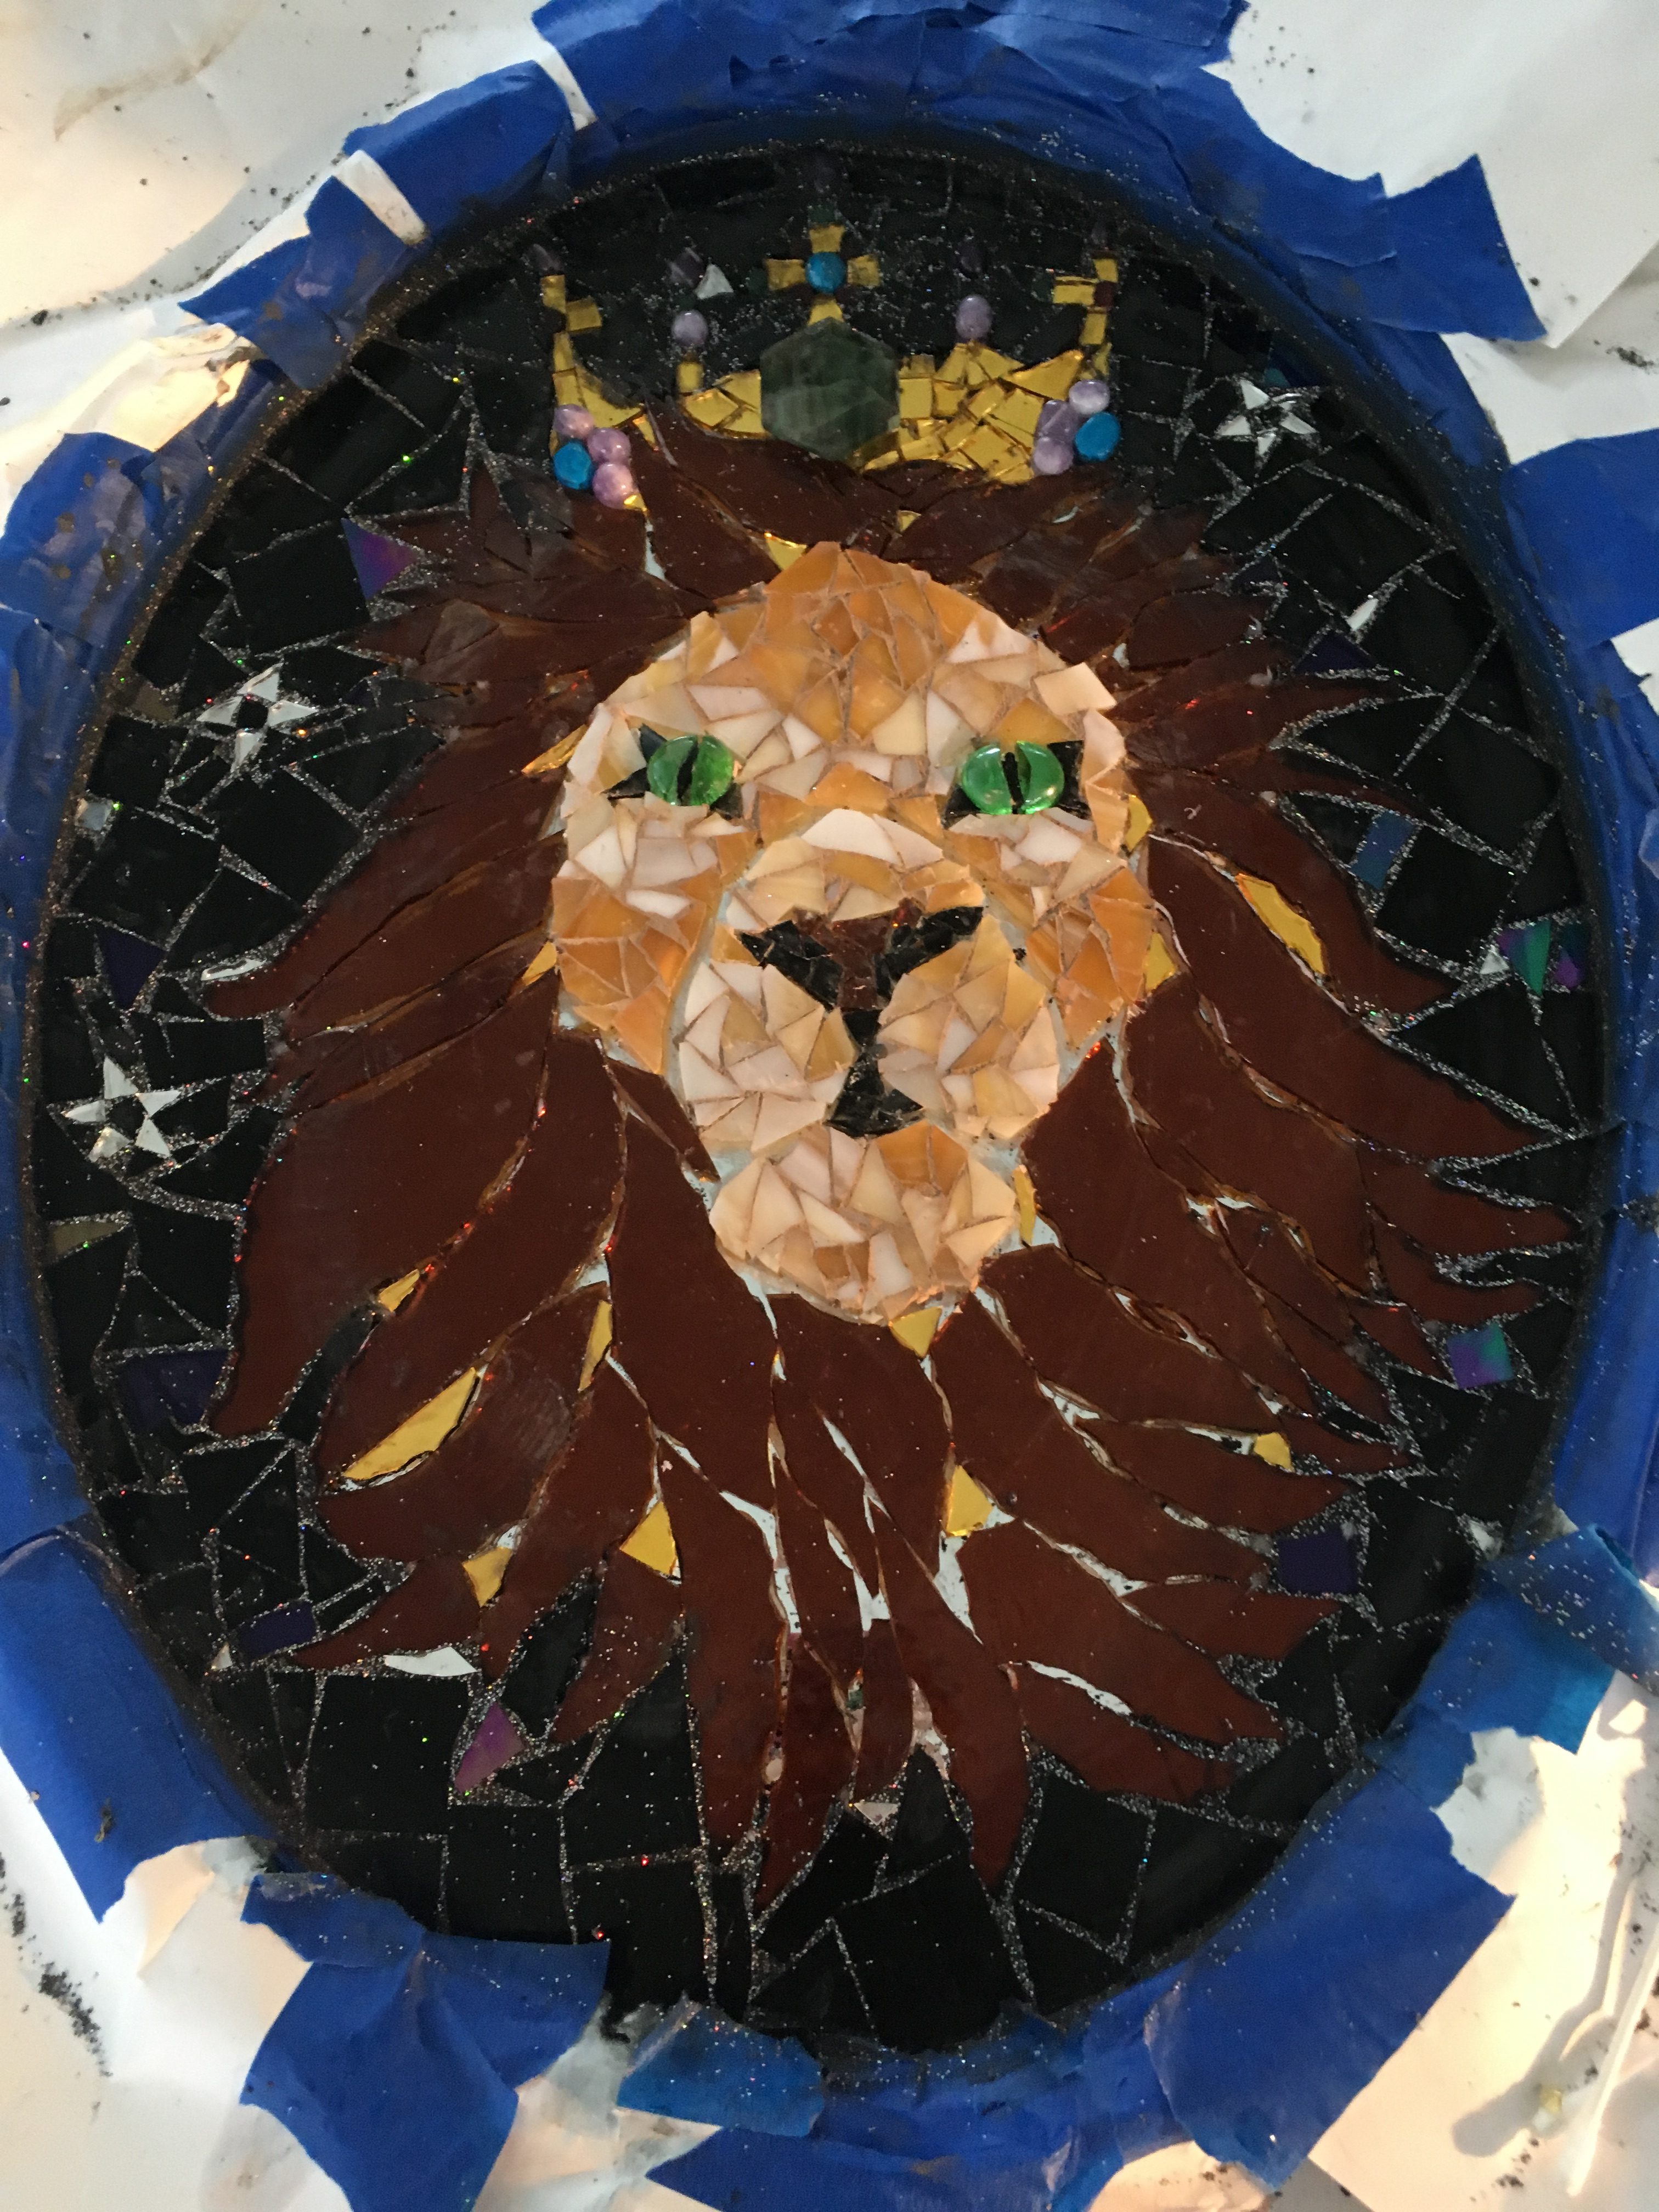
Applying the Background
Use the holographic glittery grout to go all around the outside of the mane and crown. Do not touch the black grout to either of these places, as a different grout will be used there. Allow to set for 30 minutes.
Wiping the Background
Using a different clean rag, wipe the excess grout off the lion’s background. Be careful to make sure the paper is still staying down and protecting the paper.
Doing the Mane
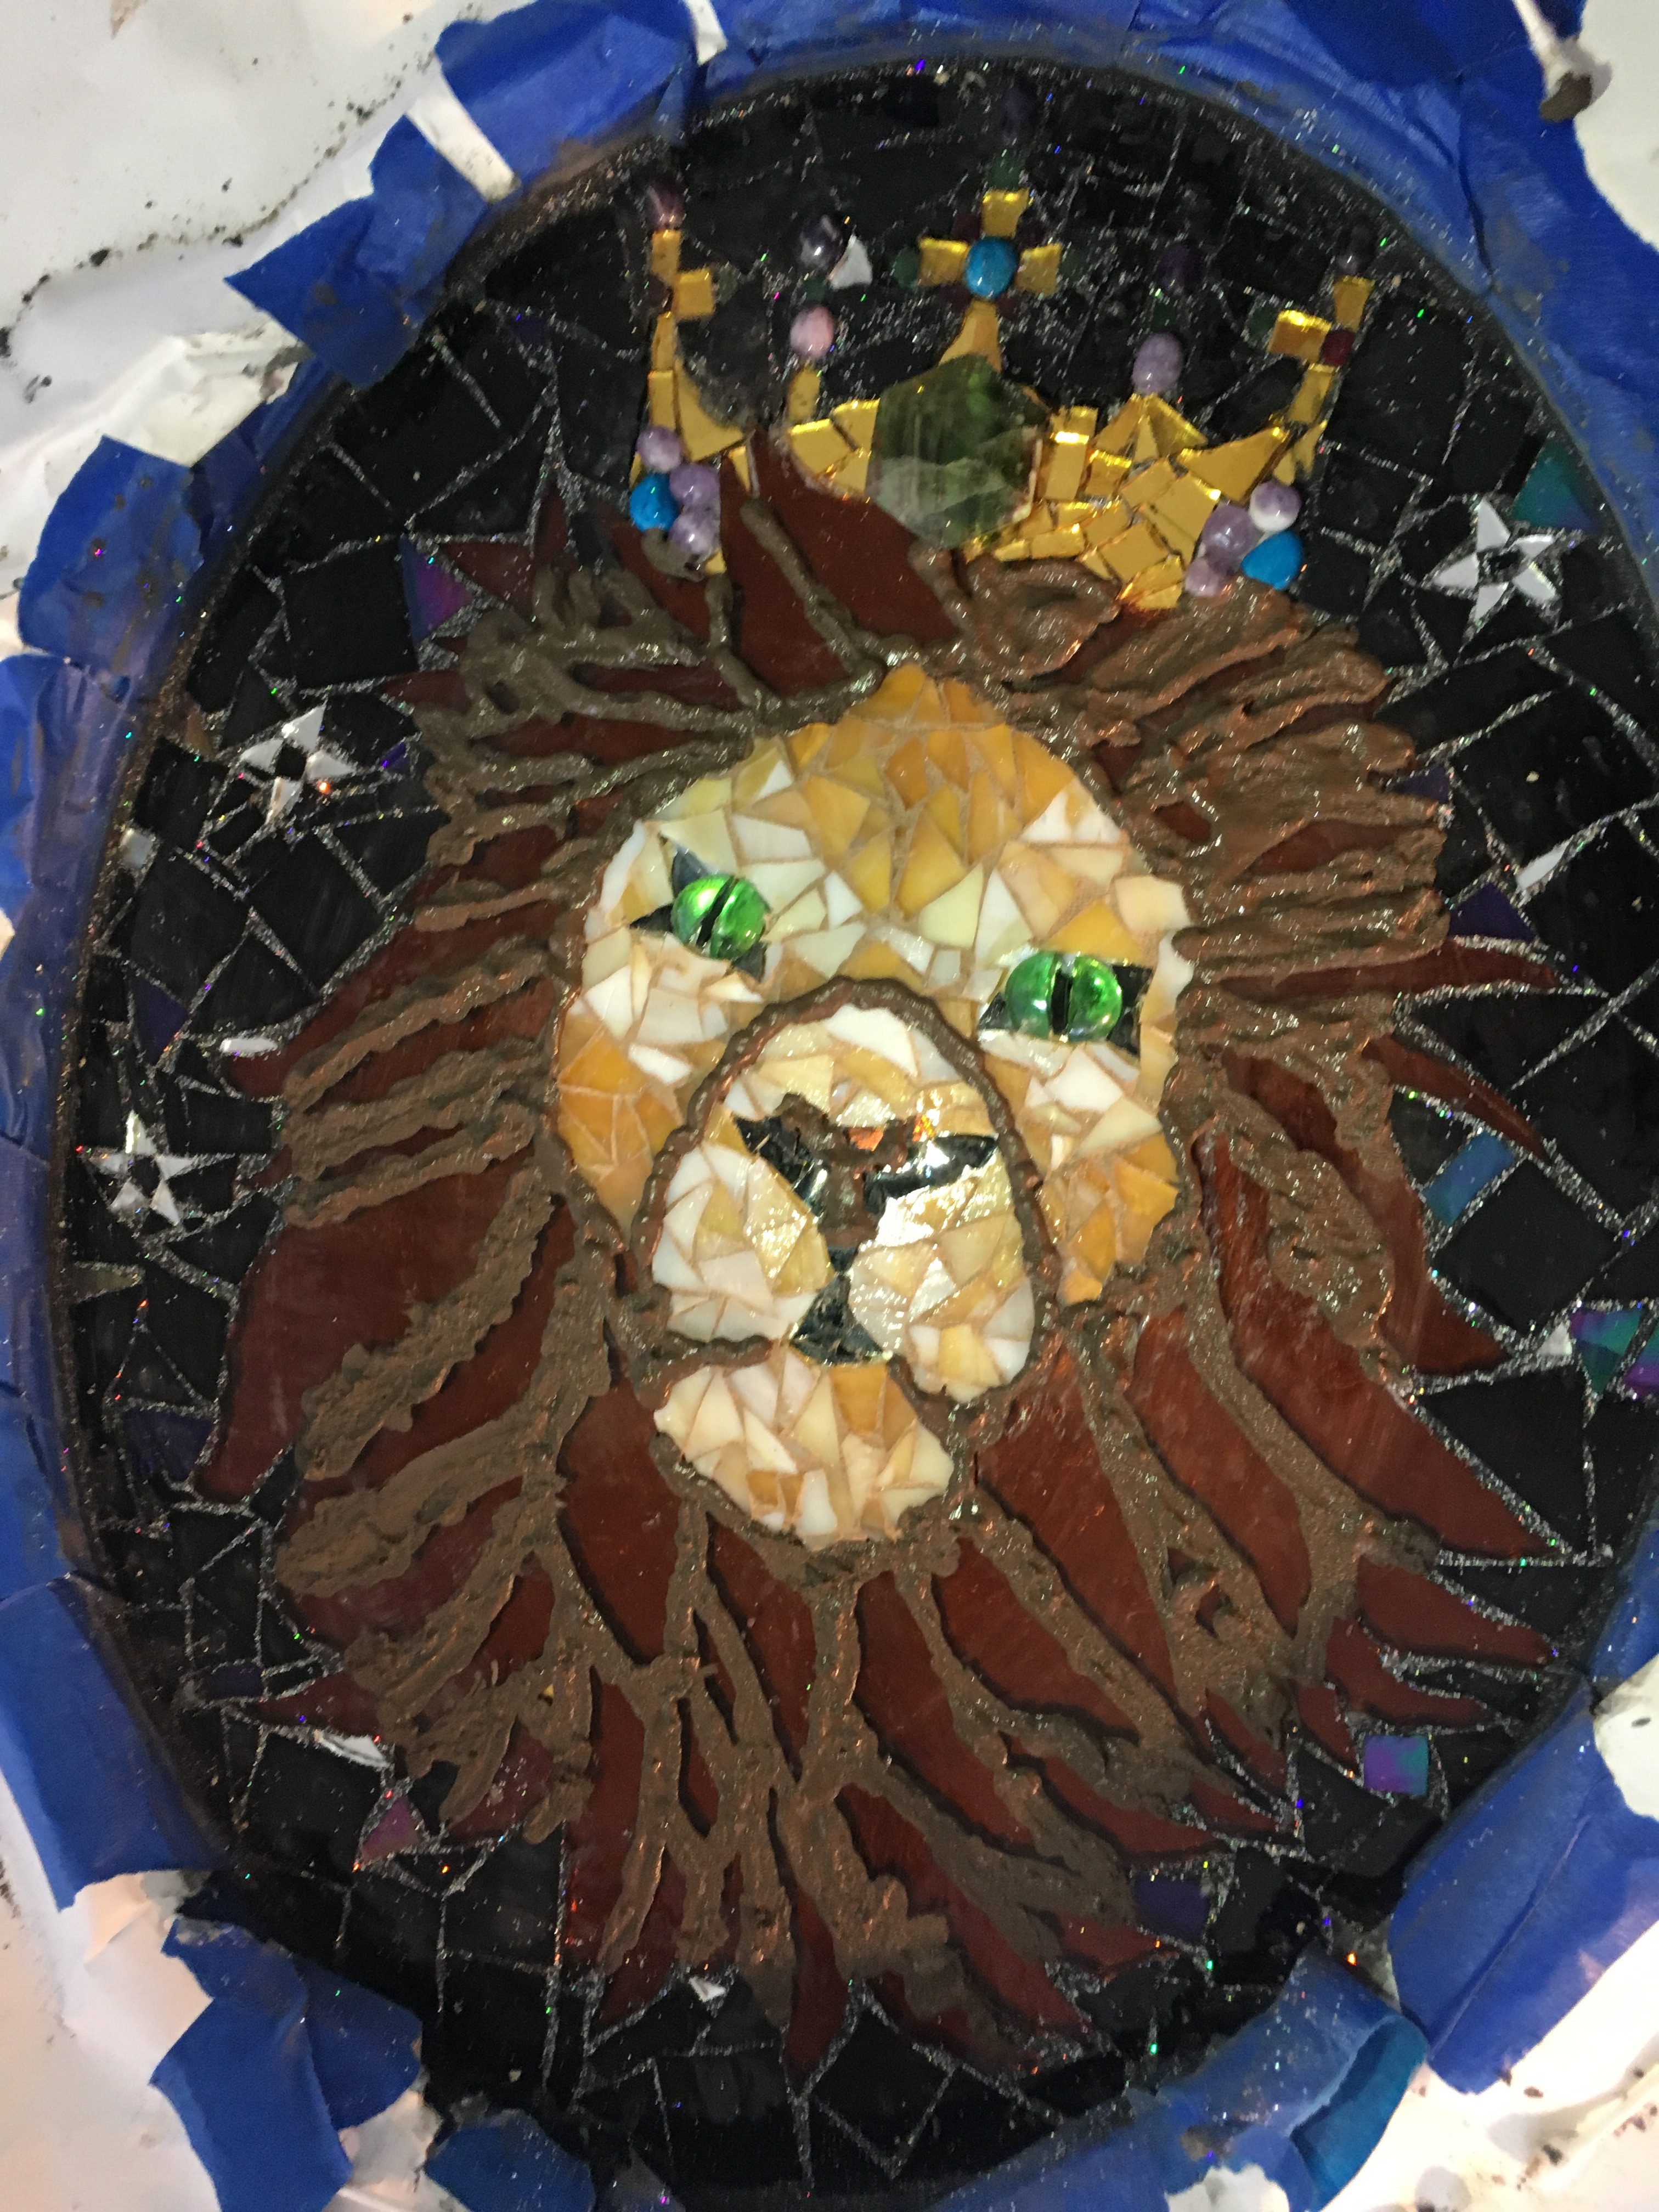
Mix up a batch of dark brown as was done for the black and tan without glitter, and put it into the bottle. Apply to all areas of the mane carefully and make sure all gaps are filled. Let sit for 30 minutes.
Wiping the Mane
You know the routine by now. Use a clean rag to wipe off excess mane grout, wiping towards the black and away from the tan.
Doing the Crown in Glitter Tan
Mix a tan batch the same way as the black grout, with the same ratio of glitter, and carefully apply. Make sure to tuck it under all of the gems to seal them in well. Let sit for… Guess how long? 30 minutes. Wow, who would have thought?
Wiping the Lion Mosaic
Wipe the crown off carefully. Q-tips may be required to make sure the black does not get effected.
Adding Black Grout to the Nose and Eyes
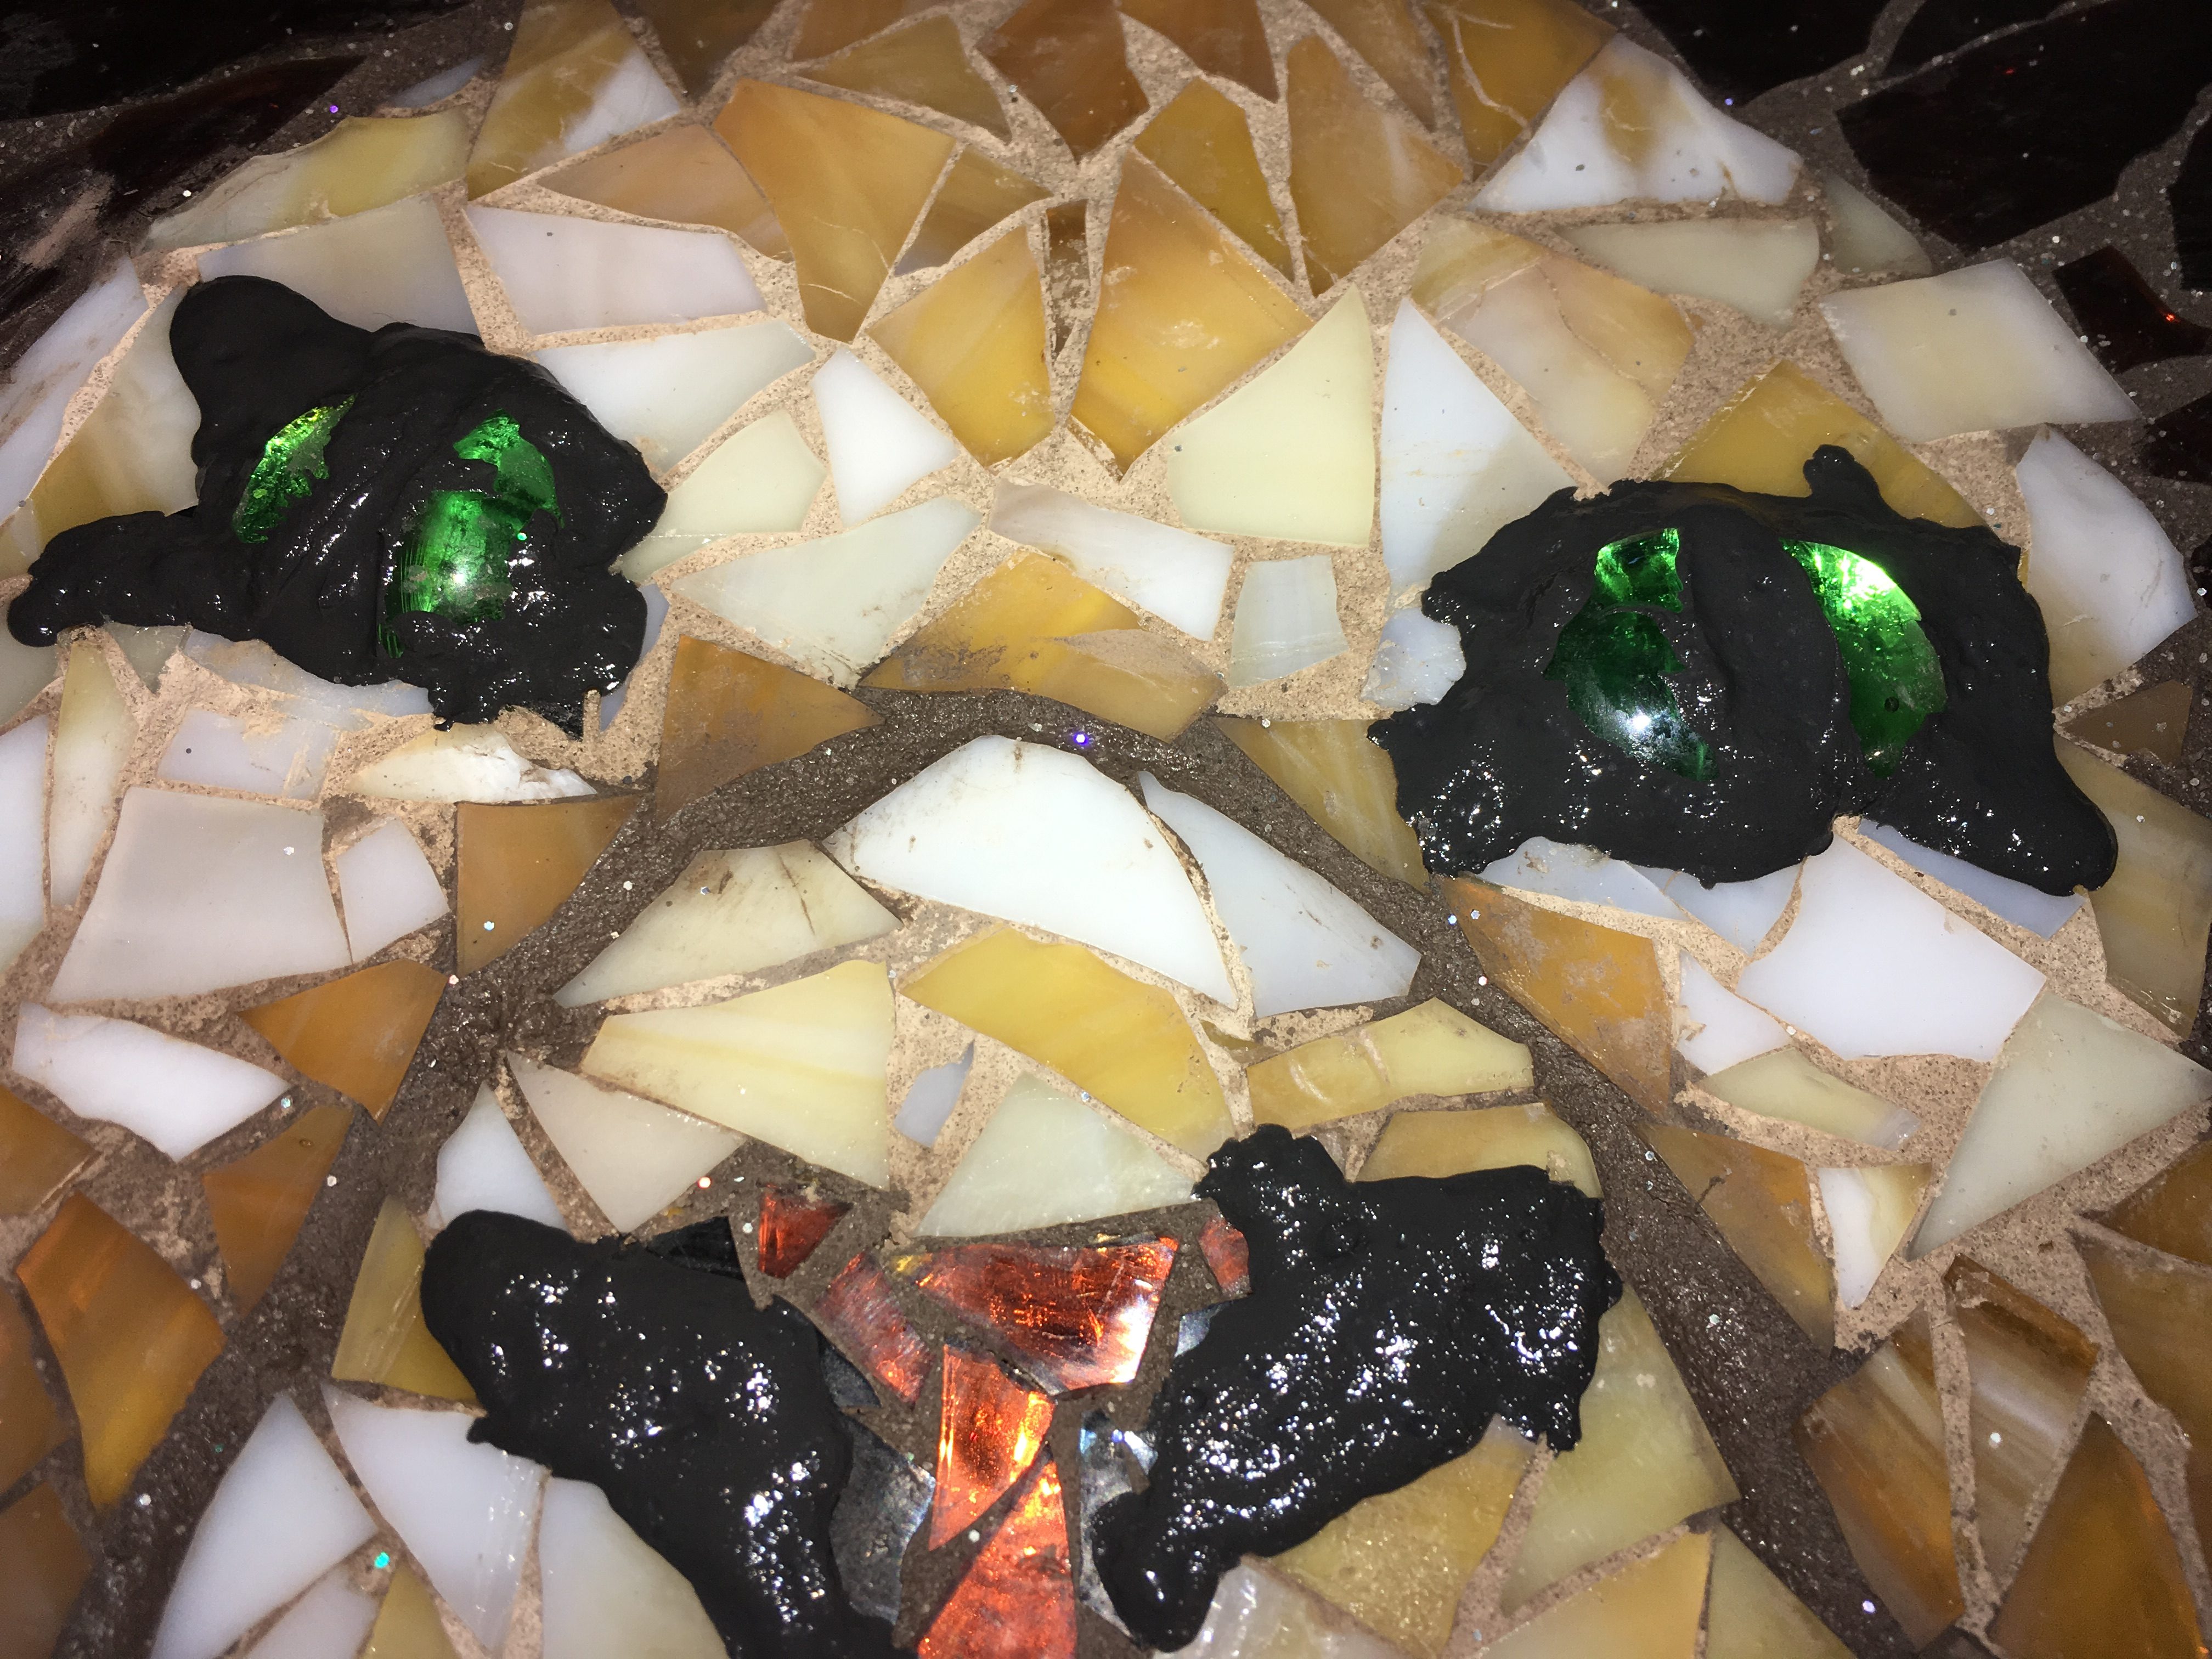
This is the scary part. Mix up a plain and small batch of black grout and put it in the bottle. Apply it to the nose and the eyes, being careful not to get the black grout on the tan. Allow to sit.
Very carefully Wipe it off
Use a Q-tip to wipe the eyes and nose. DO NOT GET THE TAN BLACK. This is extremely important.
No Touchy Lion, let Cure
Do. Not. Touch. The. Lion. Let the grout completely cure for no less than two days. Admire it, stare at it, brag about it, but for the love of potatoes, do not touch. For any reason. Even if your table catches fire. No touch. I’m watching you.
2 Days Later: Whiting
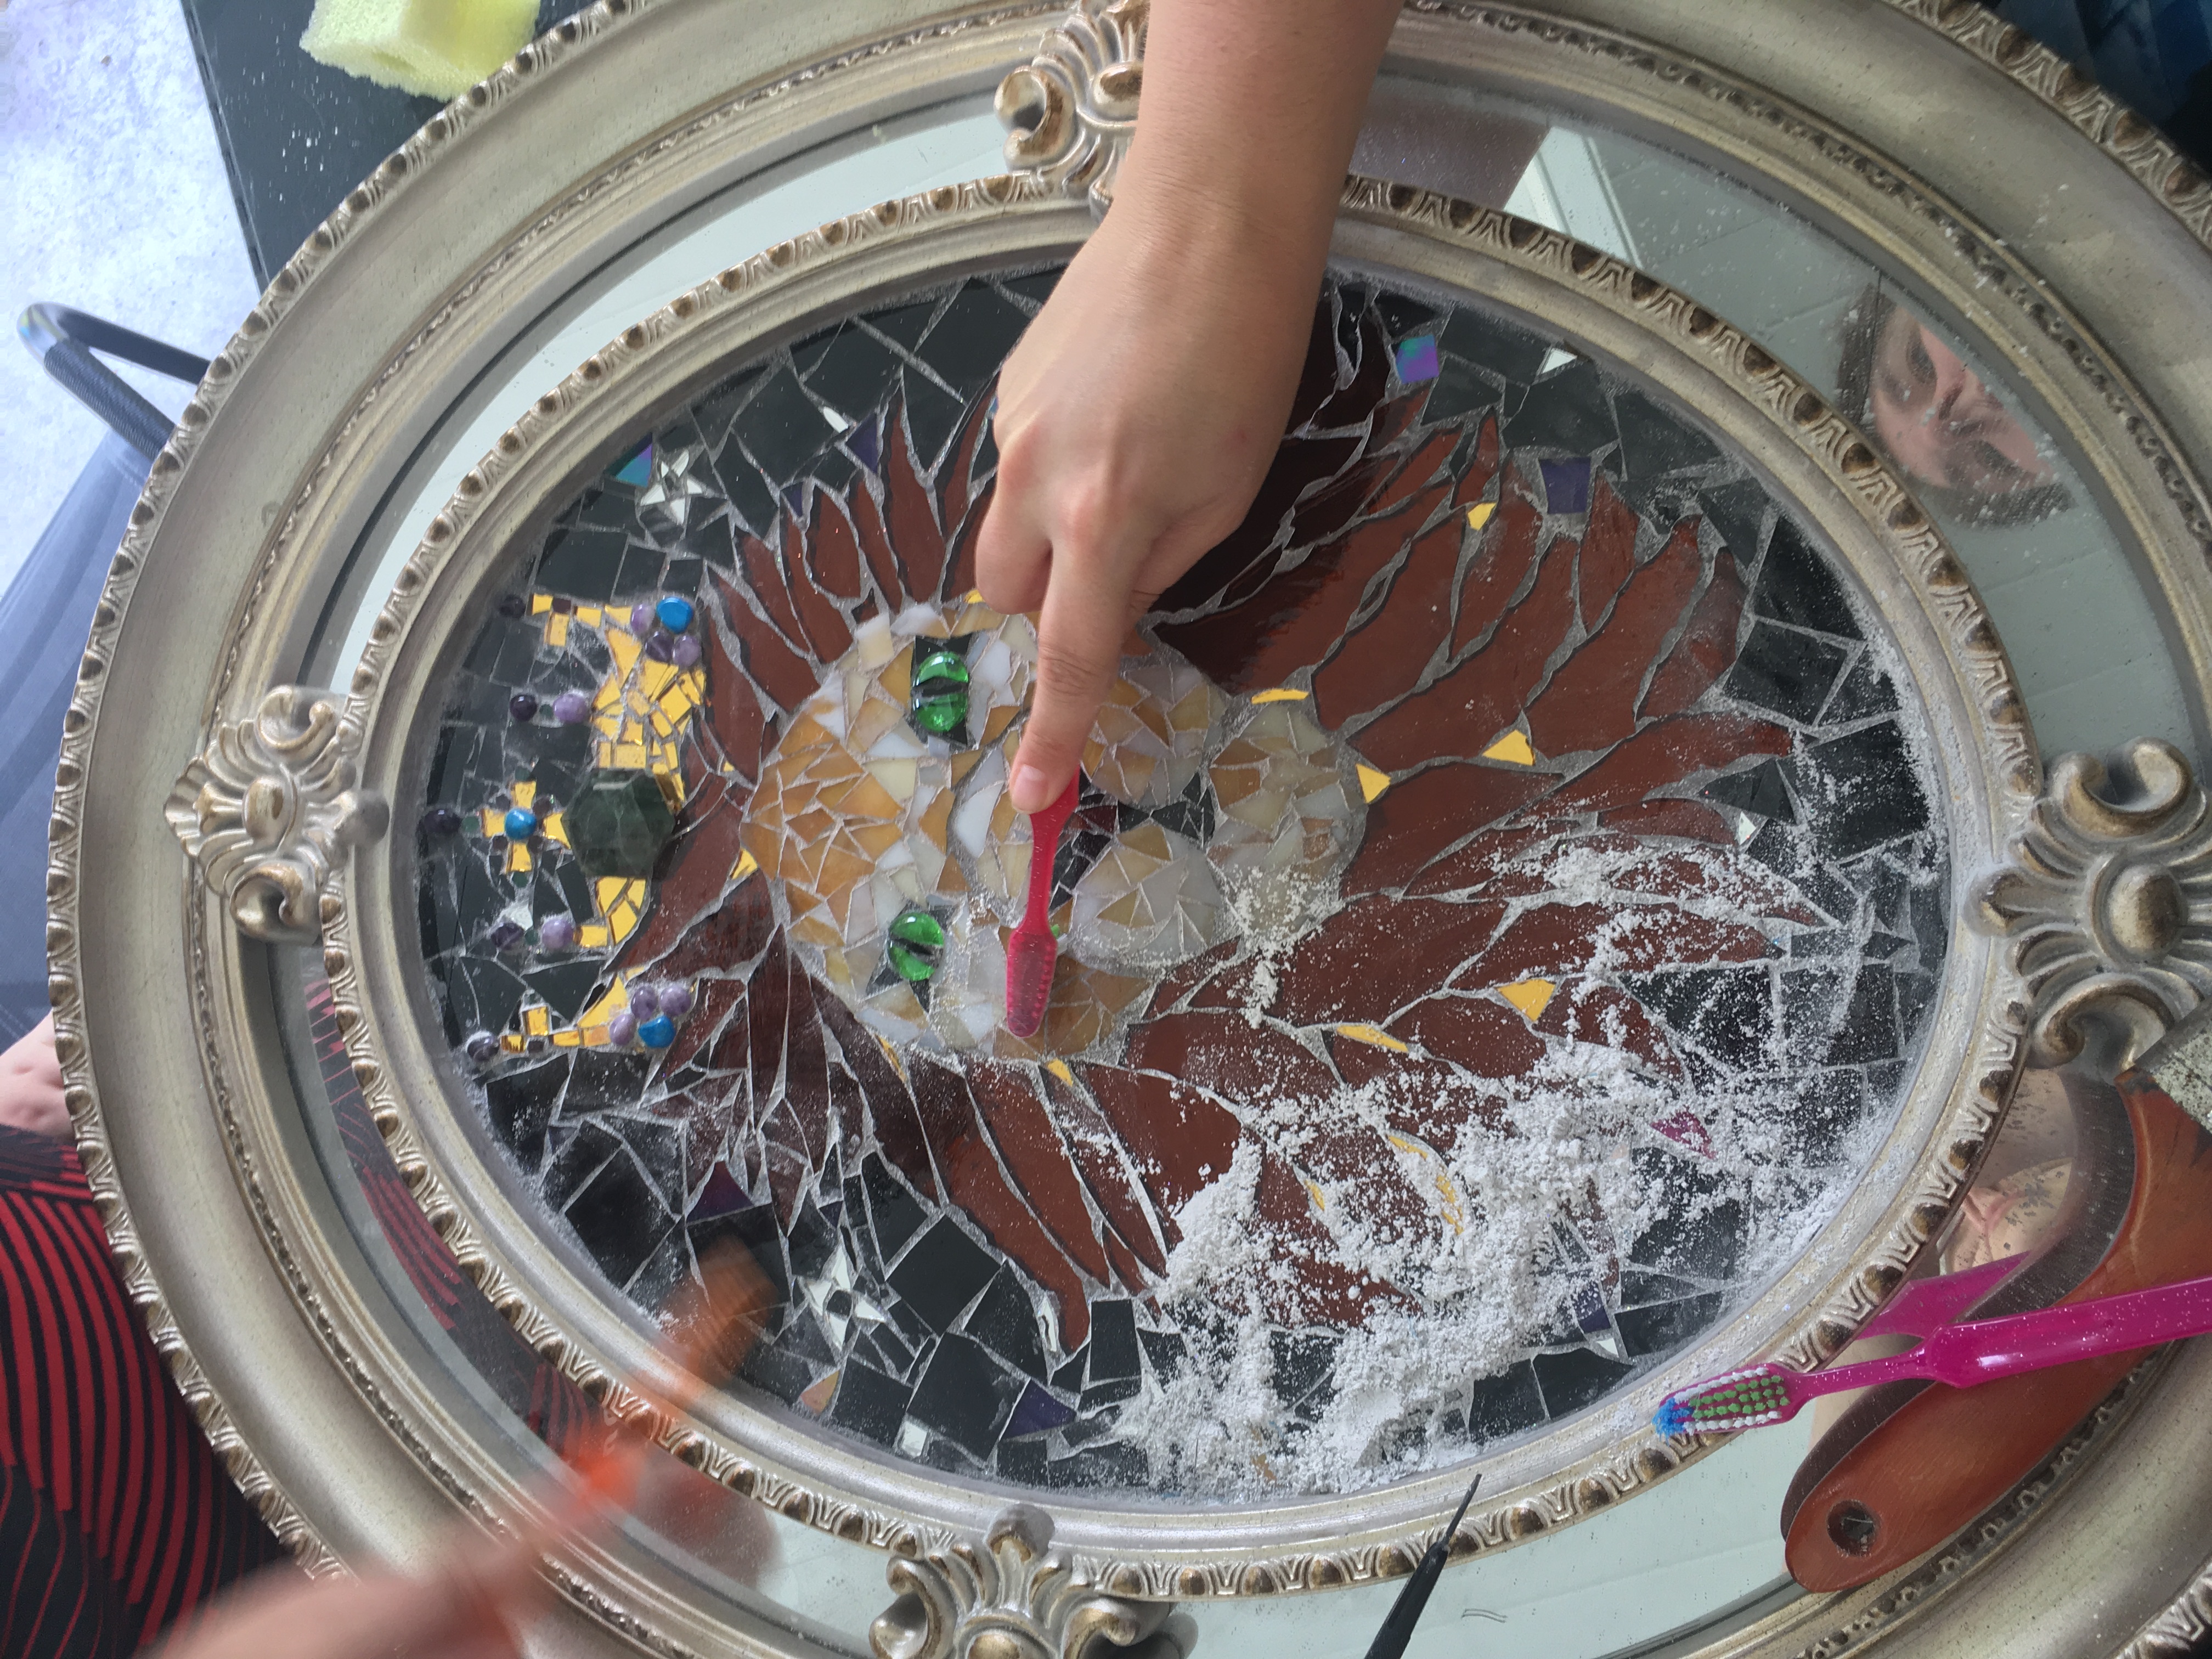
After you have successfully not touched the lion, take it outside with a rough toothbrush and scrub the glass clean with the whiting. Whiting is magical white powder that is a glass polisher. Any extra grout will be cleaned off.
Finish
If you made this project, please send me pictures and tell me how it went, I would love to see how it turned out. Happy crafting!
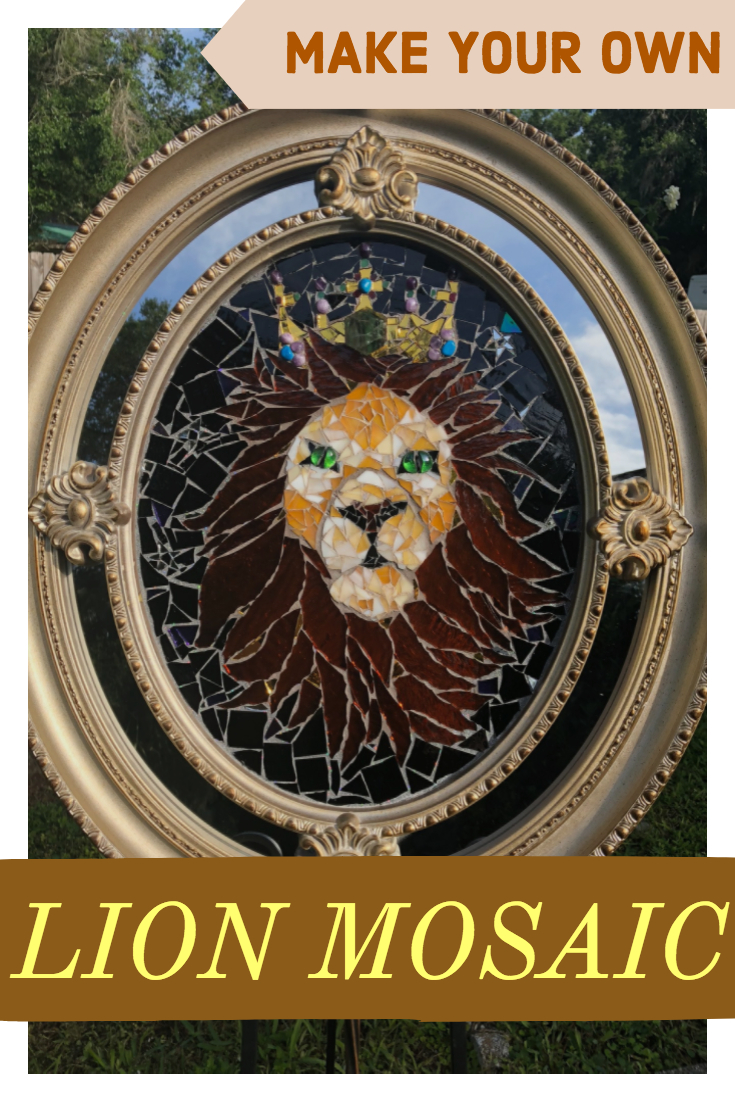
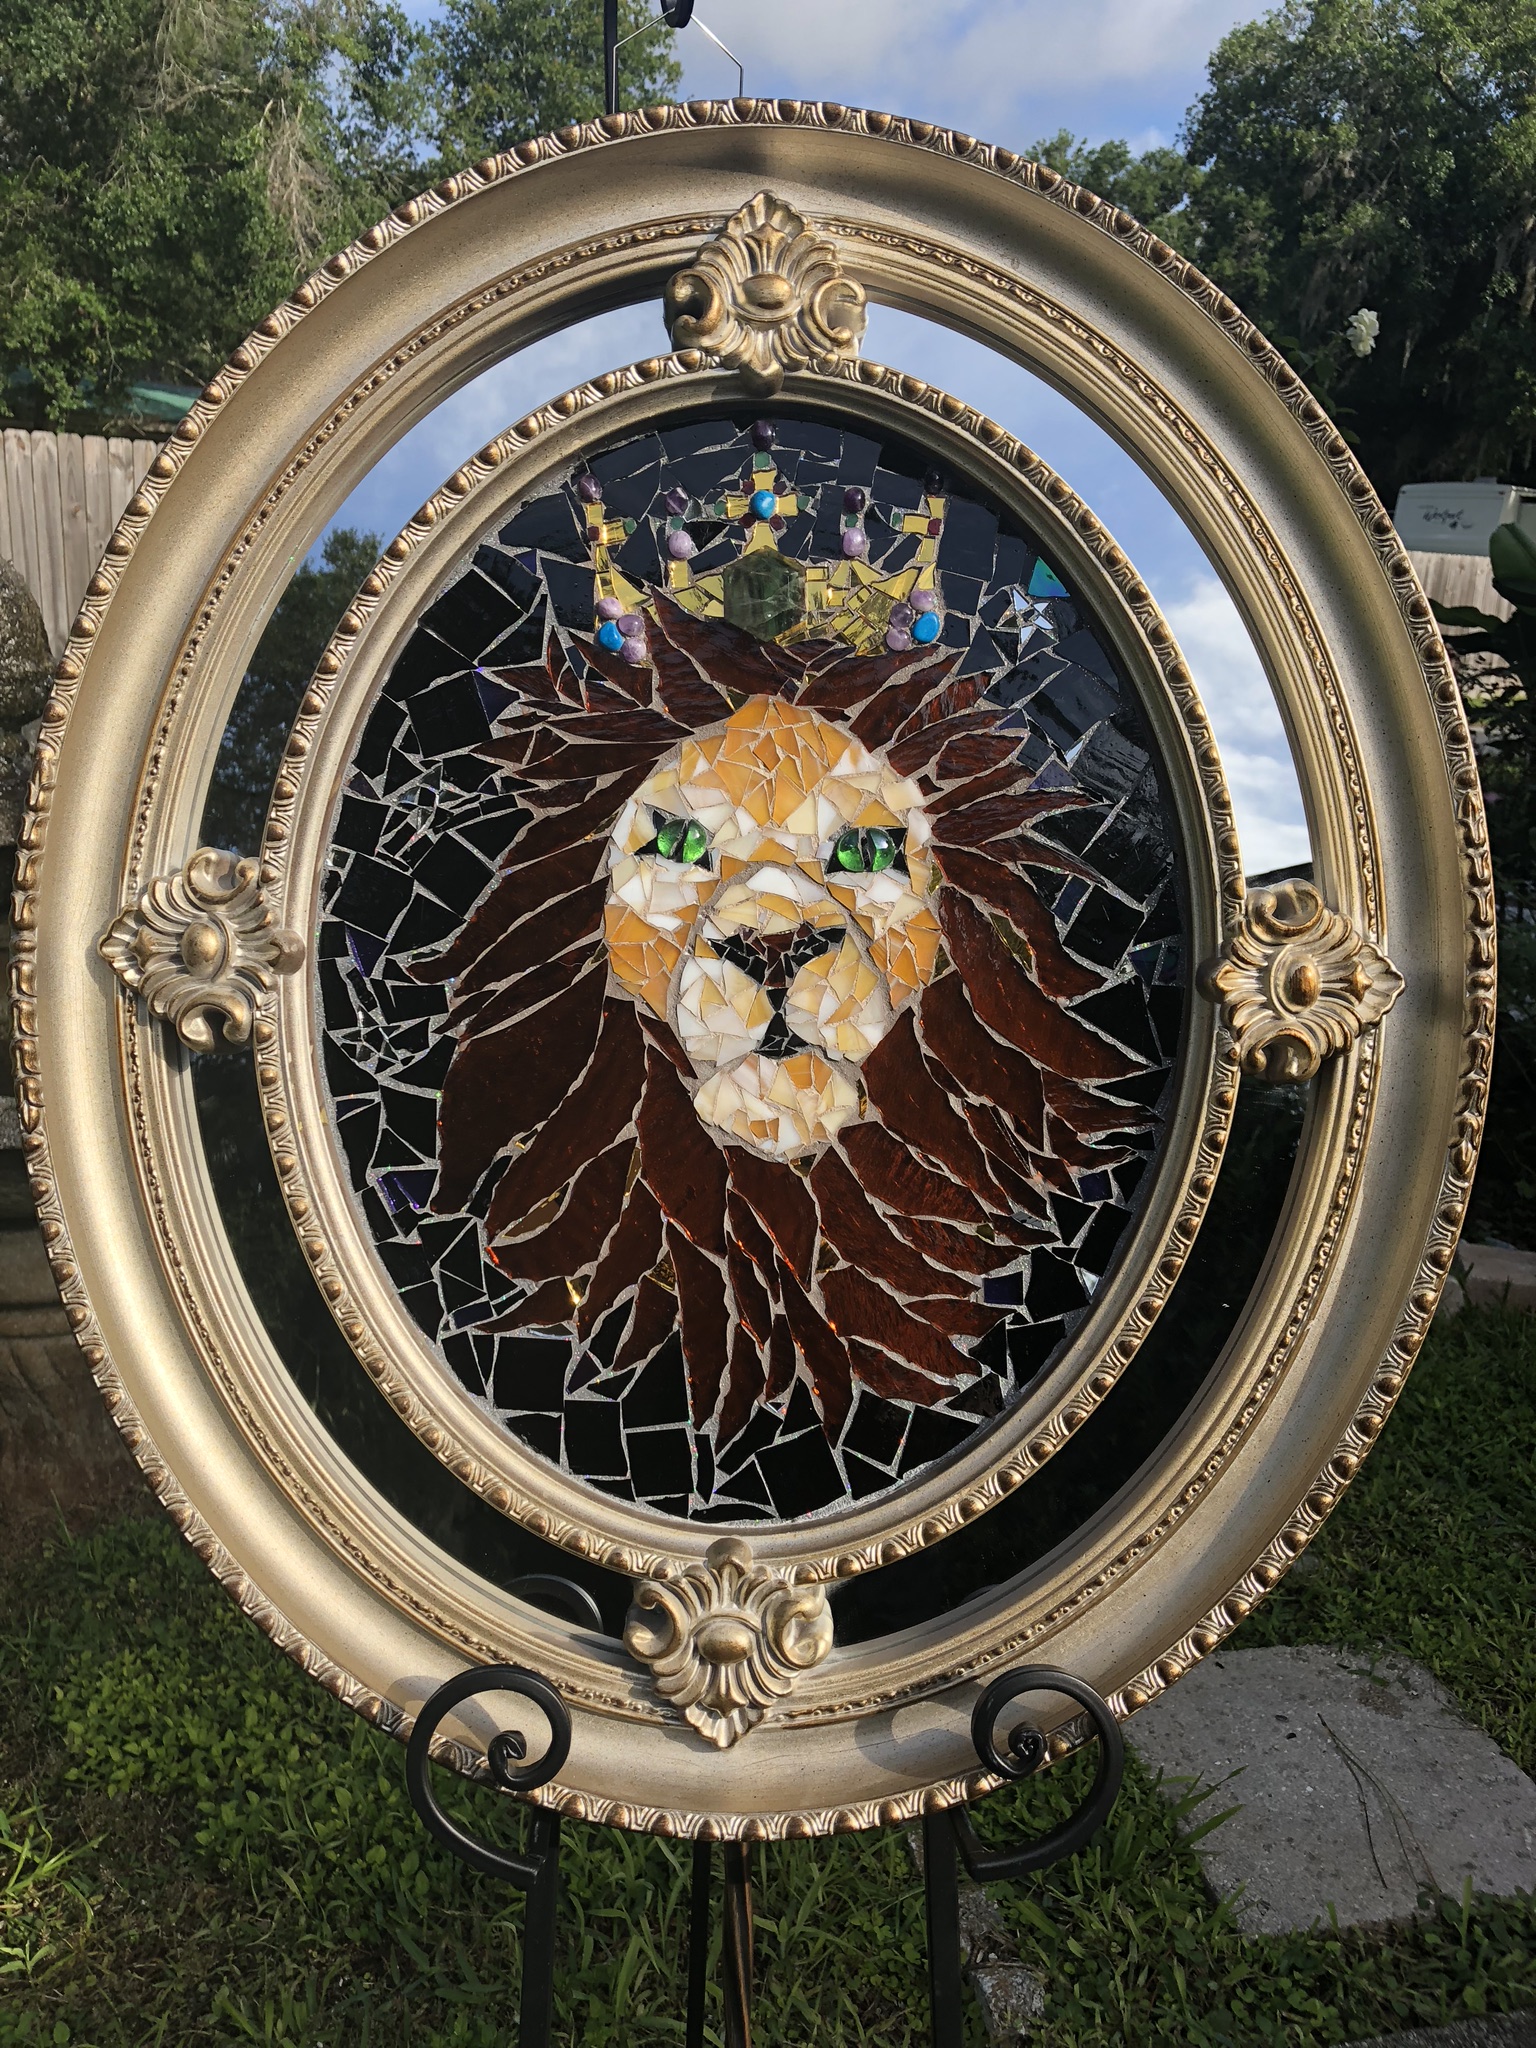
Lion on Display
Update: My Mosaic Lion, named “King of the Alcazar” will be on display at the Lightner Museum in Saint Augustine July 25-29, 2018. Come out and see it in person, and vote for me for “Guest Favorite!”