
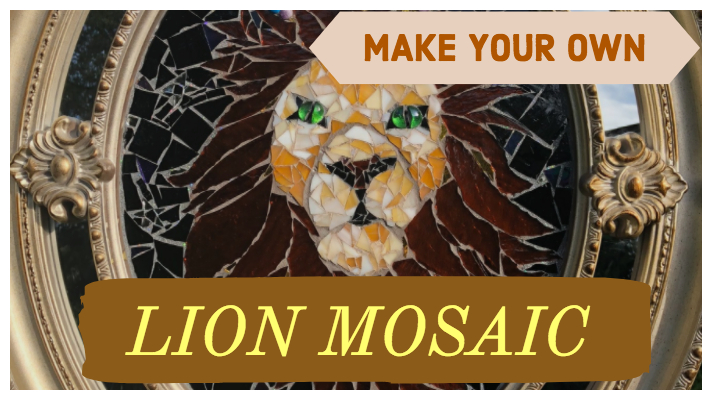
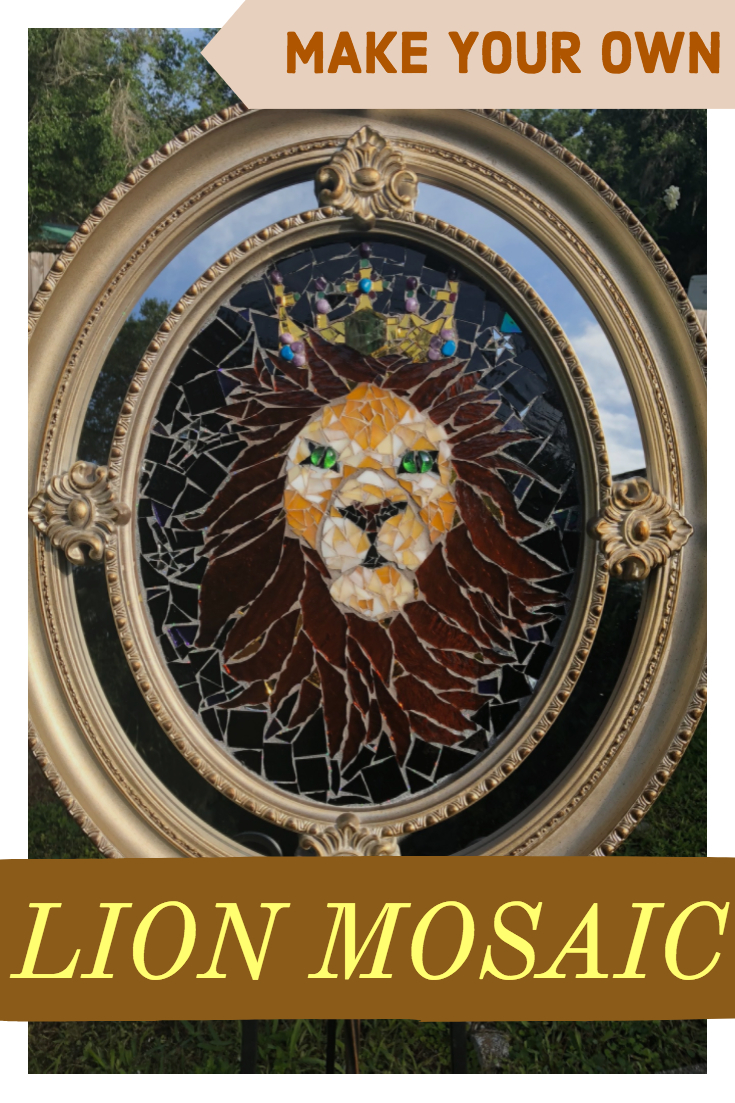
This is part one of a gorgeous lion mosaic. If worked on consistently, this piece should take about two weeks to recreate. Be prepared to get cut, as no glass project is complete without at least a few little scratches on your fingertips.
What you will need (about a $300 dollar is required)
- Big frame, preferably oval and guilded
- Gold mirror glass
- Regular mirror glass
- Dark brown transparent glass
- A tan and white mixed piece of glass
- A tiny bit of purple glass
- Black glass
- Grout
- Breakers
- Nippers
- Scoring tool or cutter’s mate
- Whiting
- Hard bristled toothbrush
- Paper bowls
- Glass beads
- Patience
- Time
- Skill
Hunting for the Frame

Our journey started at good old Hobby Lobby. Our mission failed. We also stopped by Michel’s and Goodwill, and we found nothing that was perfect for the base. Note: Plain glass in a frame will work just as well for a background frame.
Finding the Ideal Frame in an Unexpected Place
We stopped by a architectural selvage yard and found this mirror just chilling in the corner. We knew it was perfect, and purchased it and packed it up.
The Nice People in Sarasota, FL.
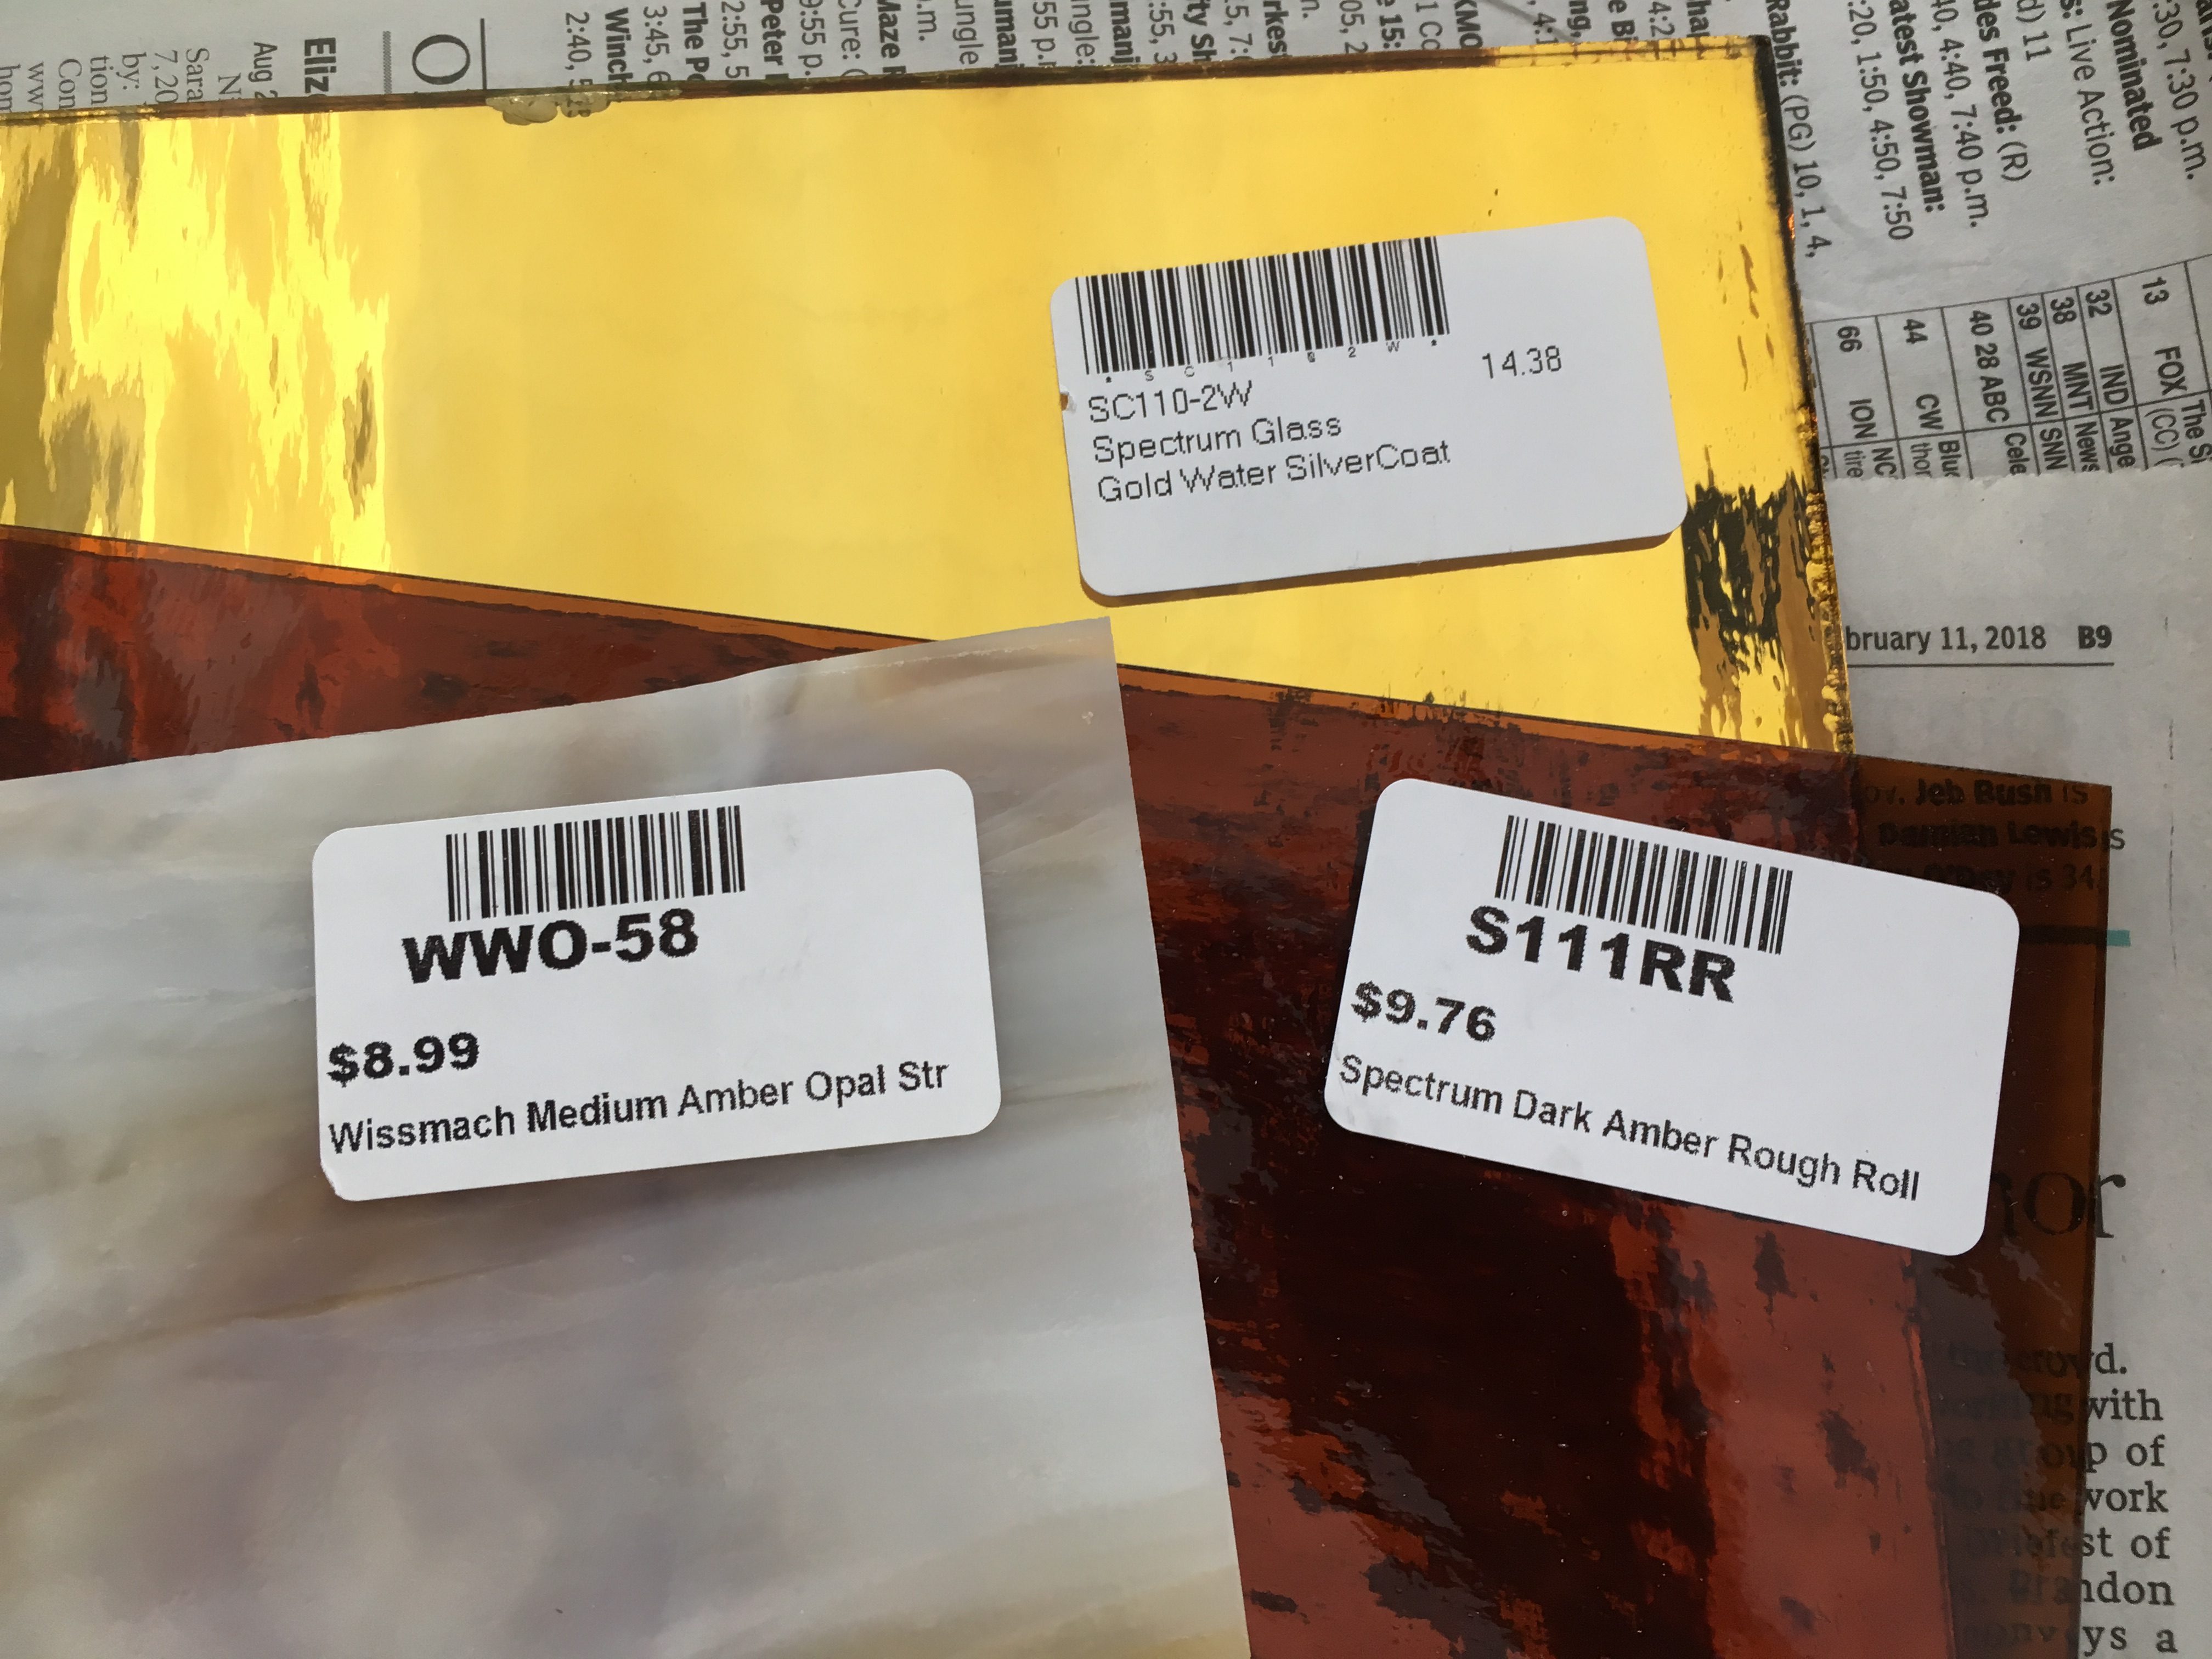
After buying the frame, we brought it to our favorite glass shop in Sarasota, and a kind lady helped us pick out glass that fit the frame well. We chose the mane color, face color, and background color here.
Bringing it Home
After spending about 50 dollars on the mirror and about 100 dollars, including extra pieces we picked up, on glass, we were ready to get Chick- Fil-A and go home to start working.
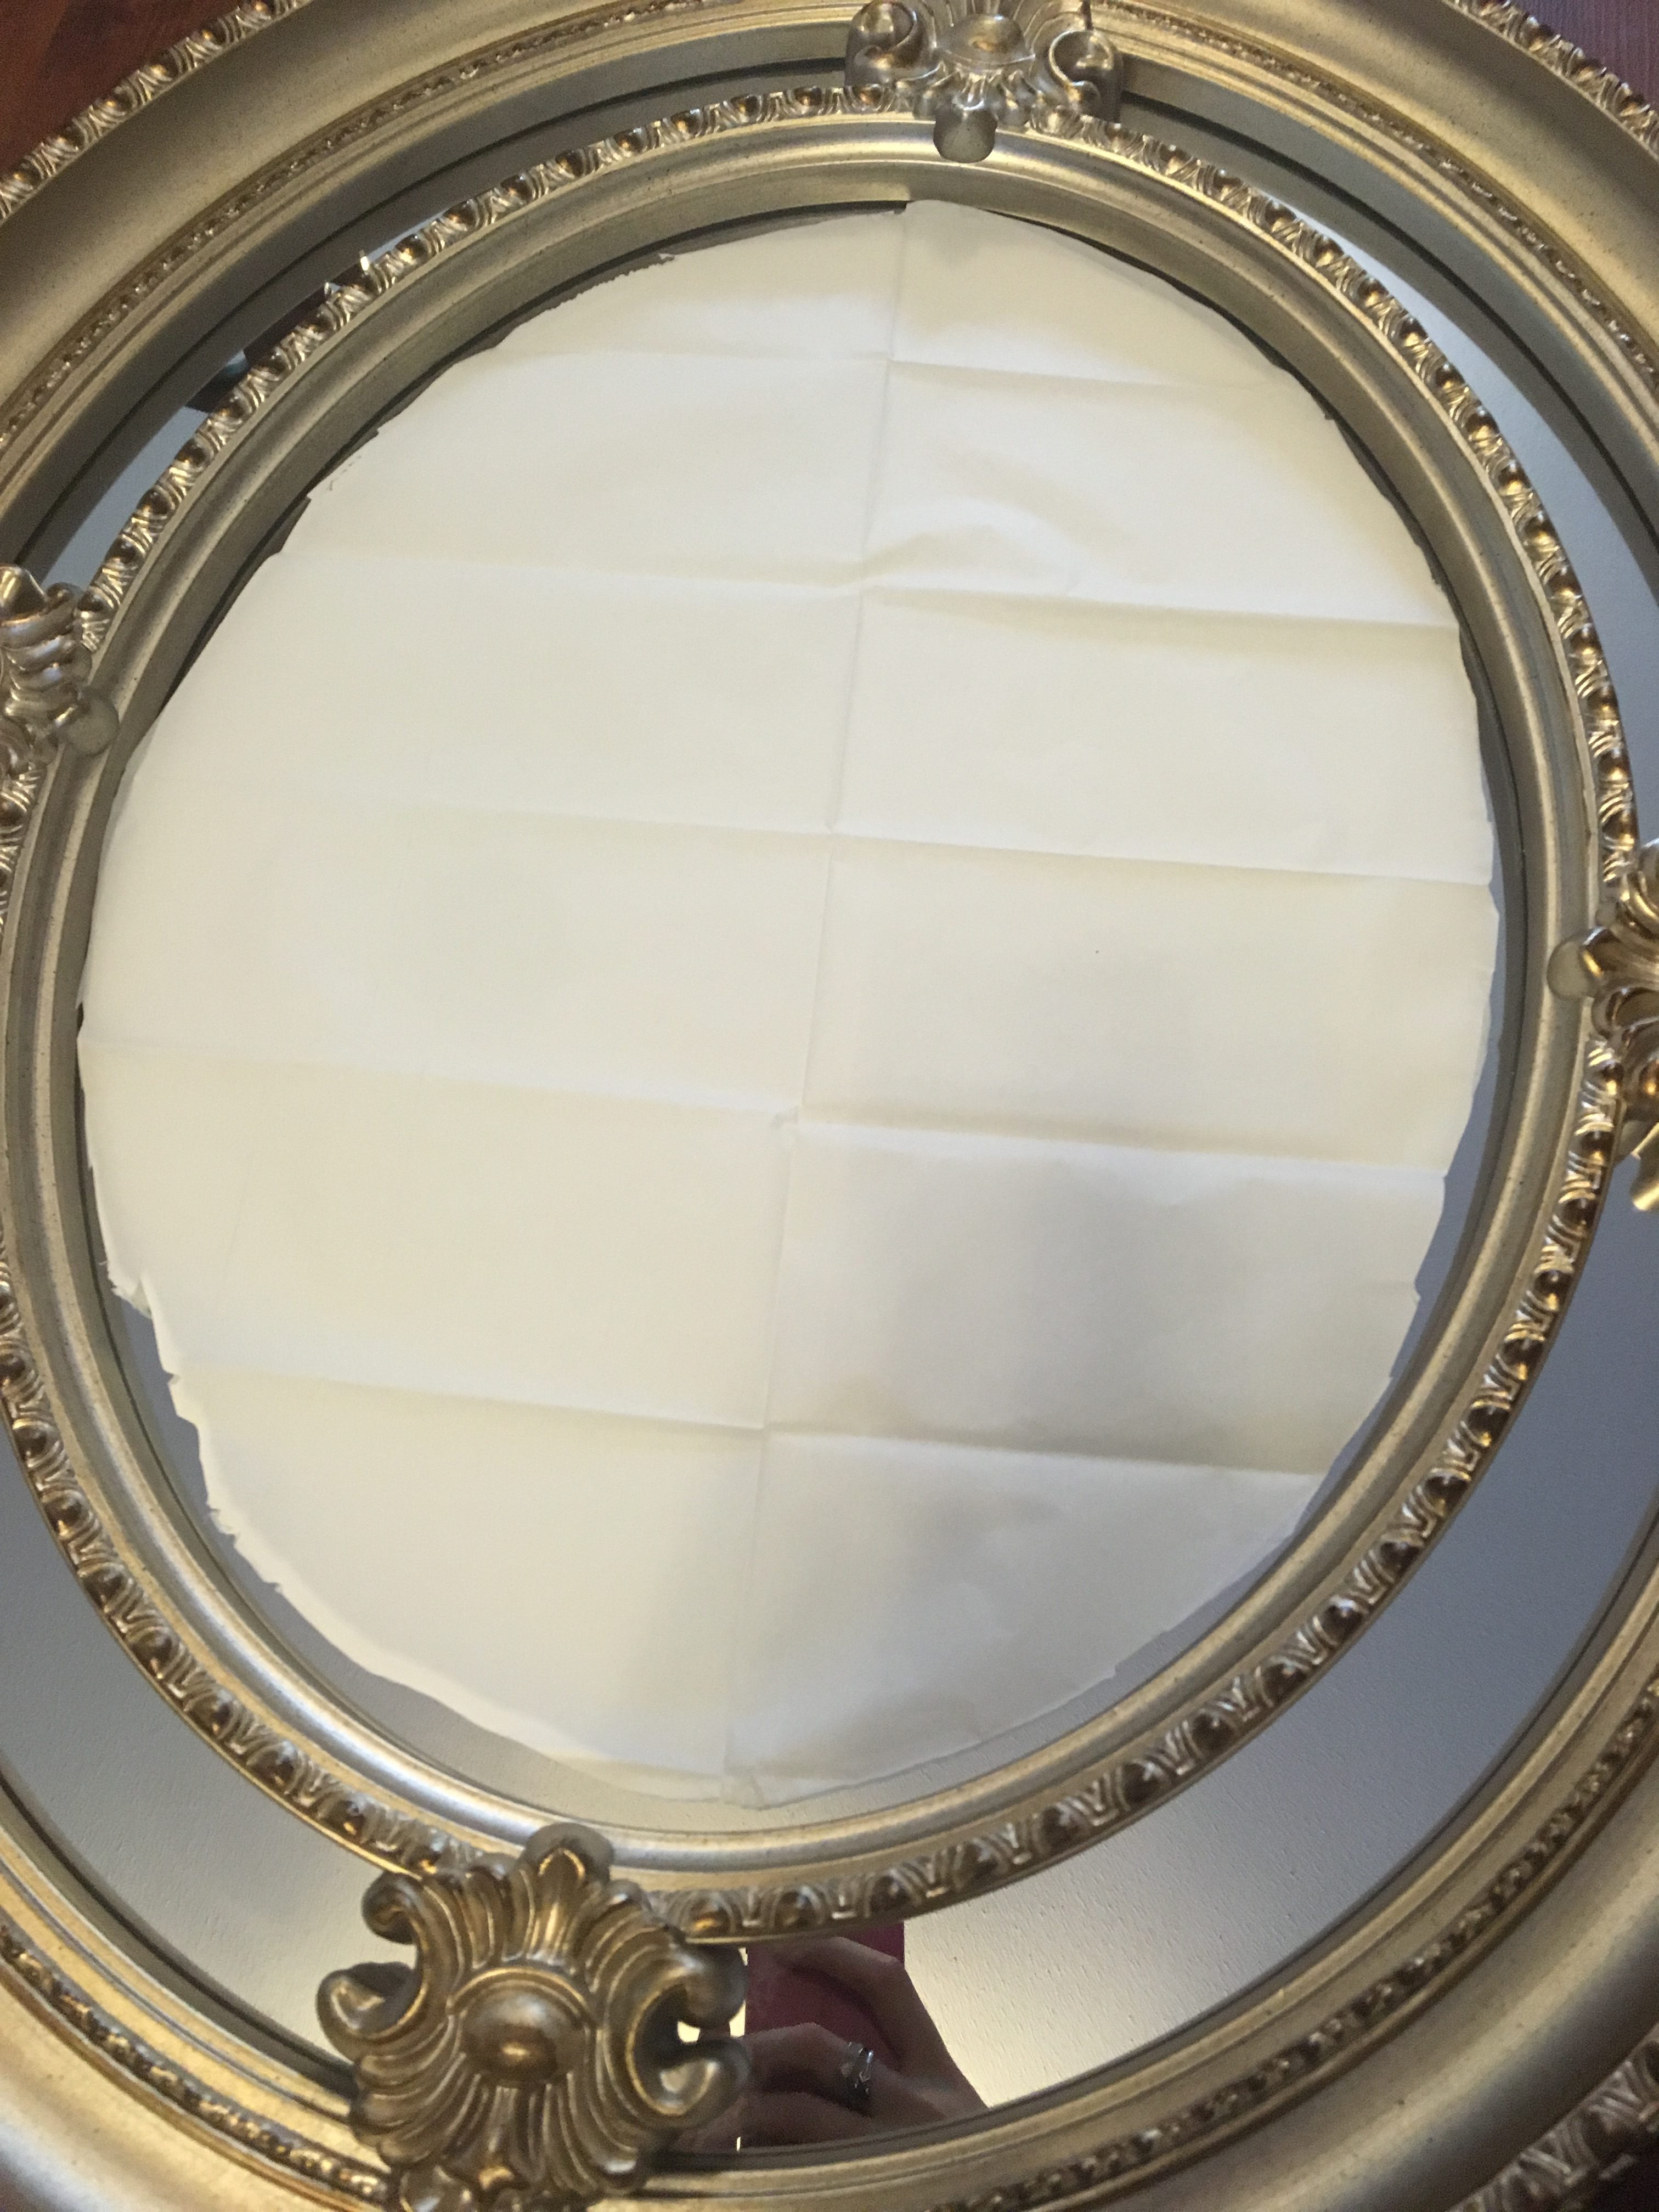
Using Butcher Paper to trace the Glass
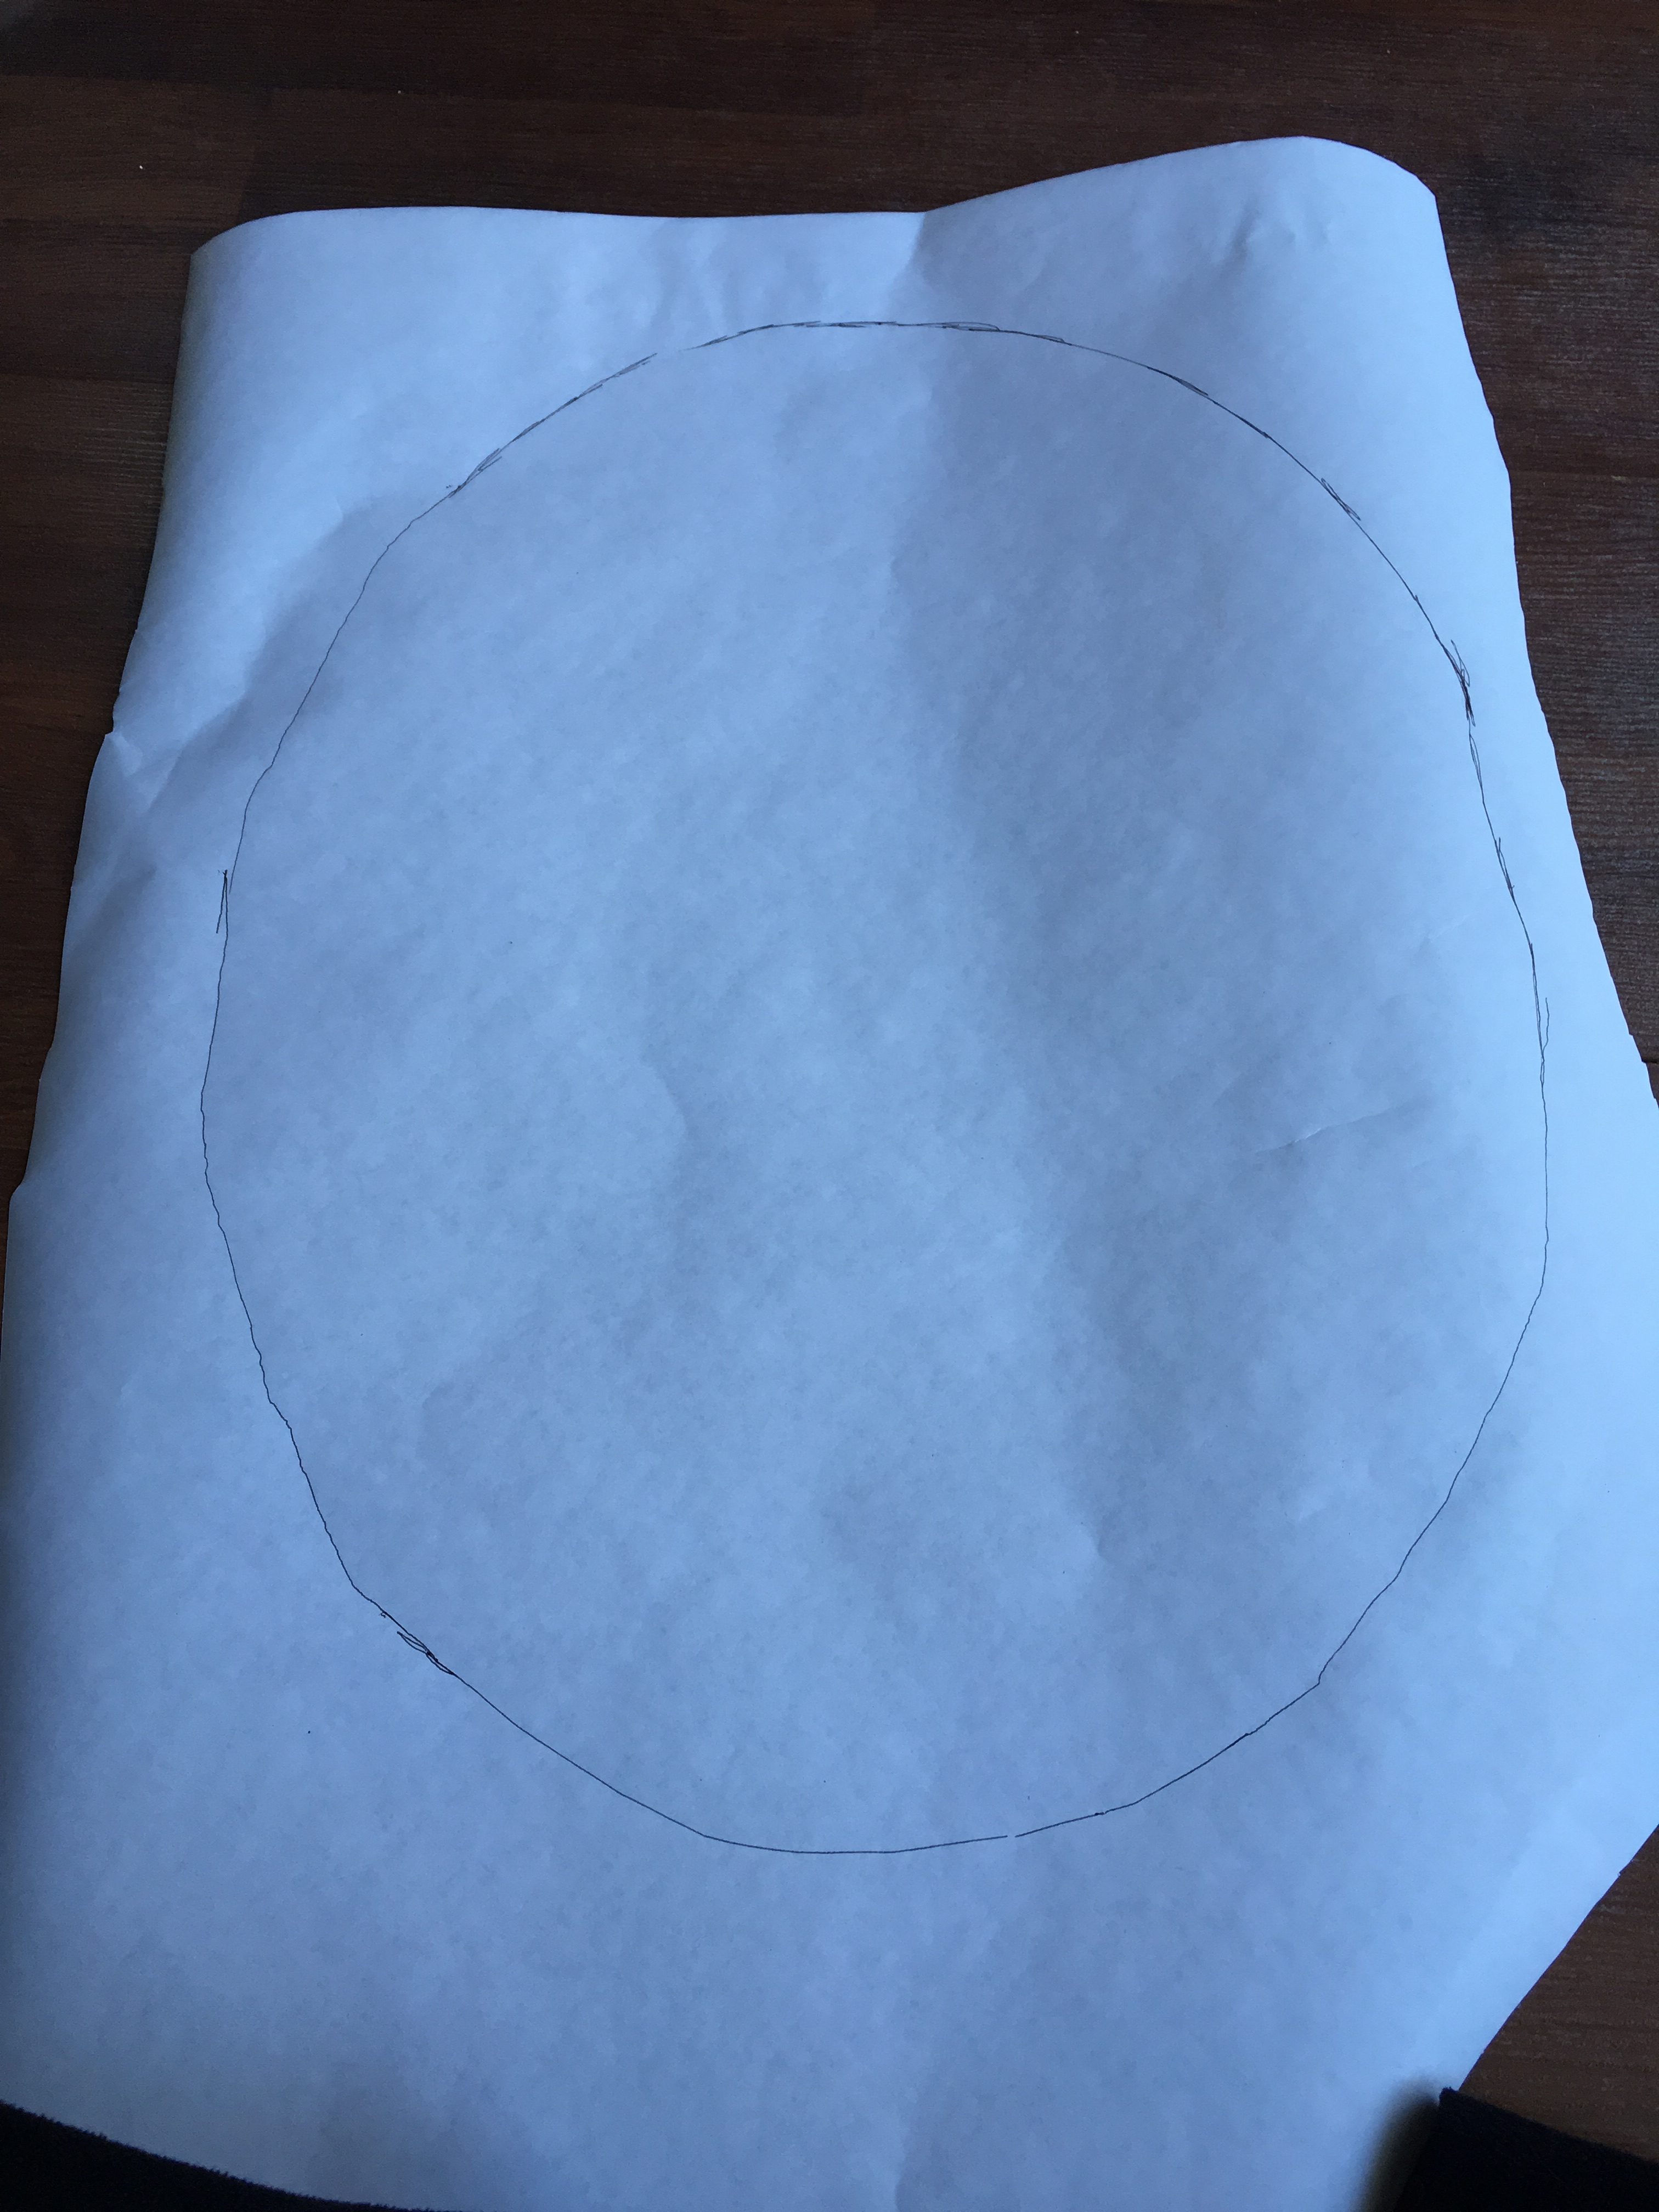
The glass of the mirror, not including the frame, needs to be traced. I traced the rough outline out, and trimmed it to fit inside the frame perfectly, then made a few copies by tracing around the oval on more butcher paper.
Cutting the Perfectly Sized Paper
I proceeded to cut out all of the ovals and set them aside just in case.
Taking it to Staples with the Original Lion Drawing
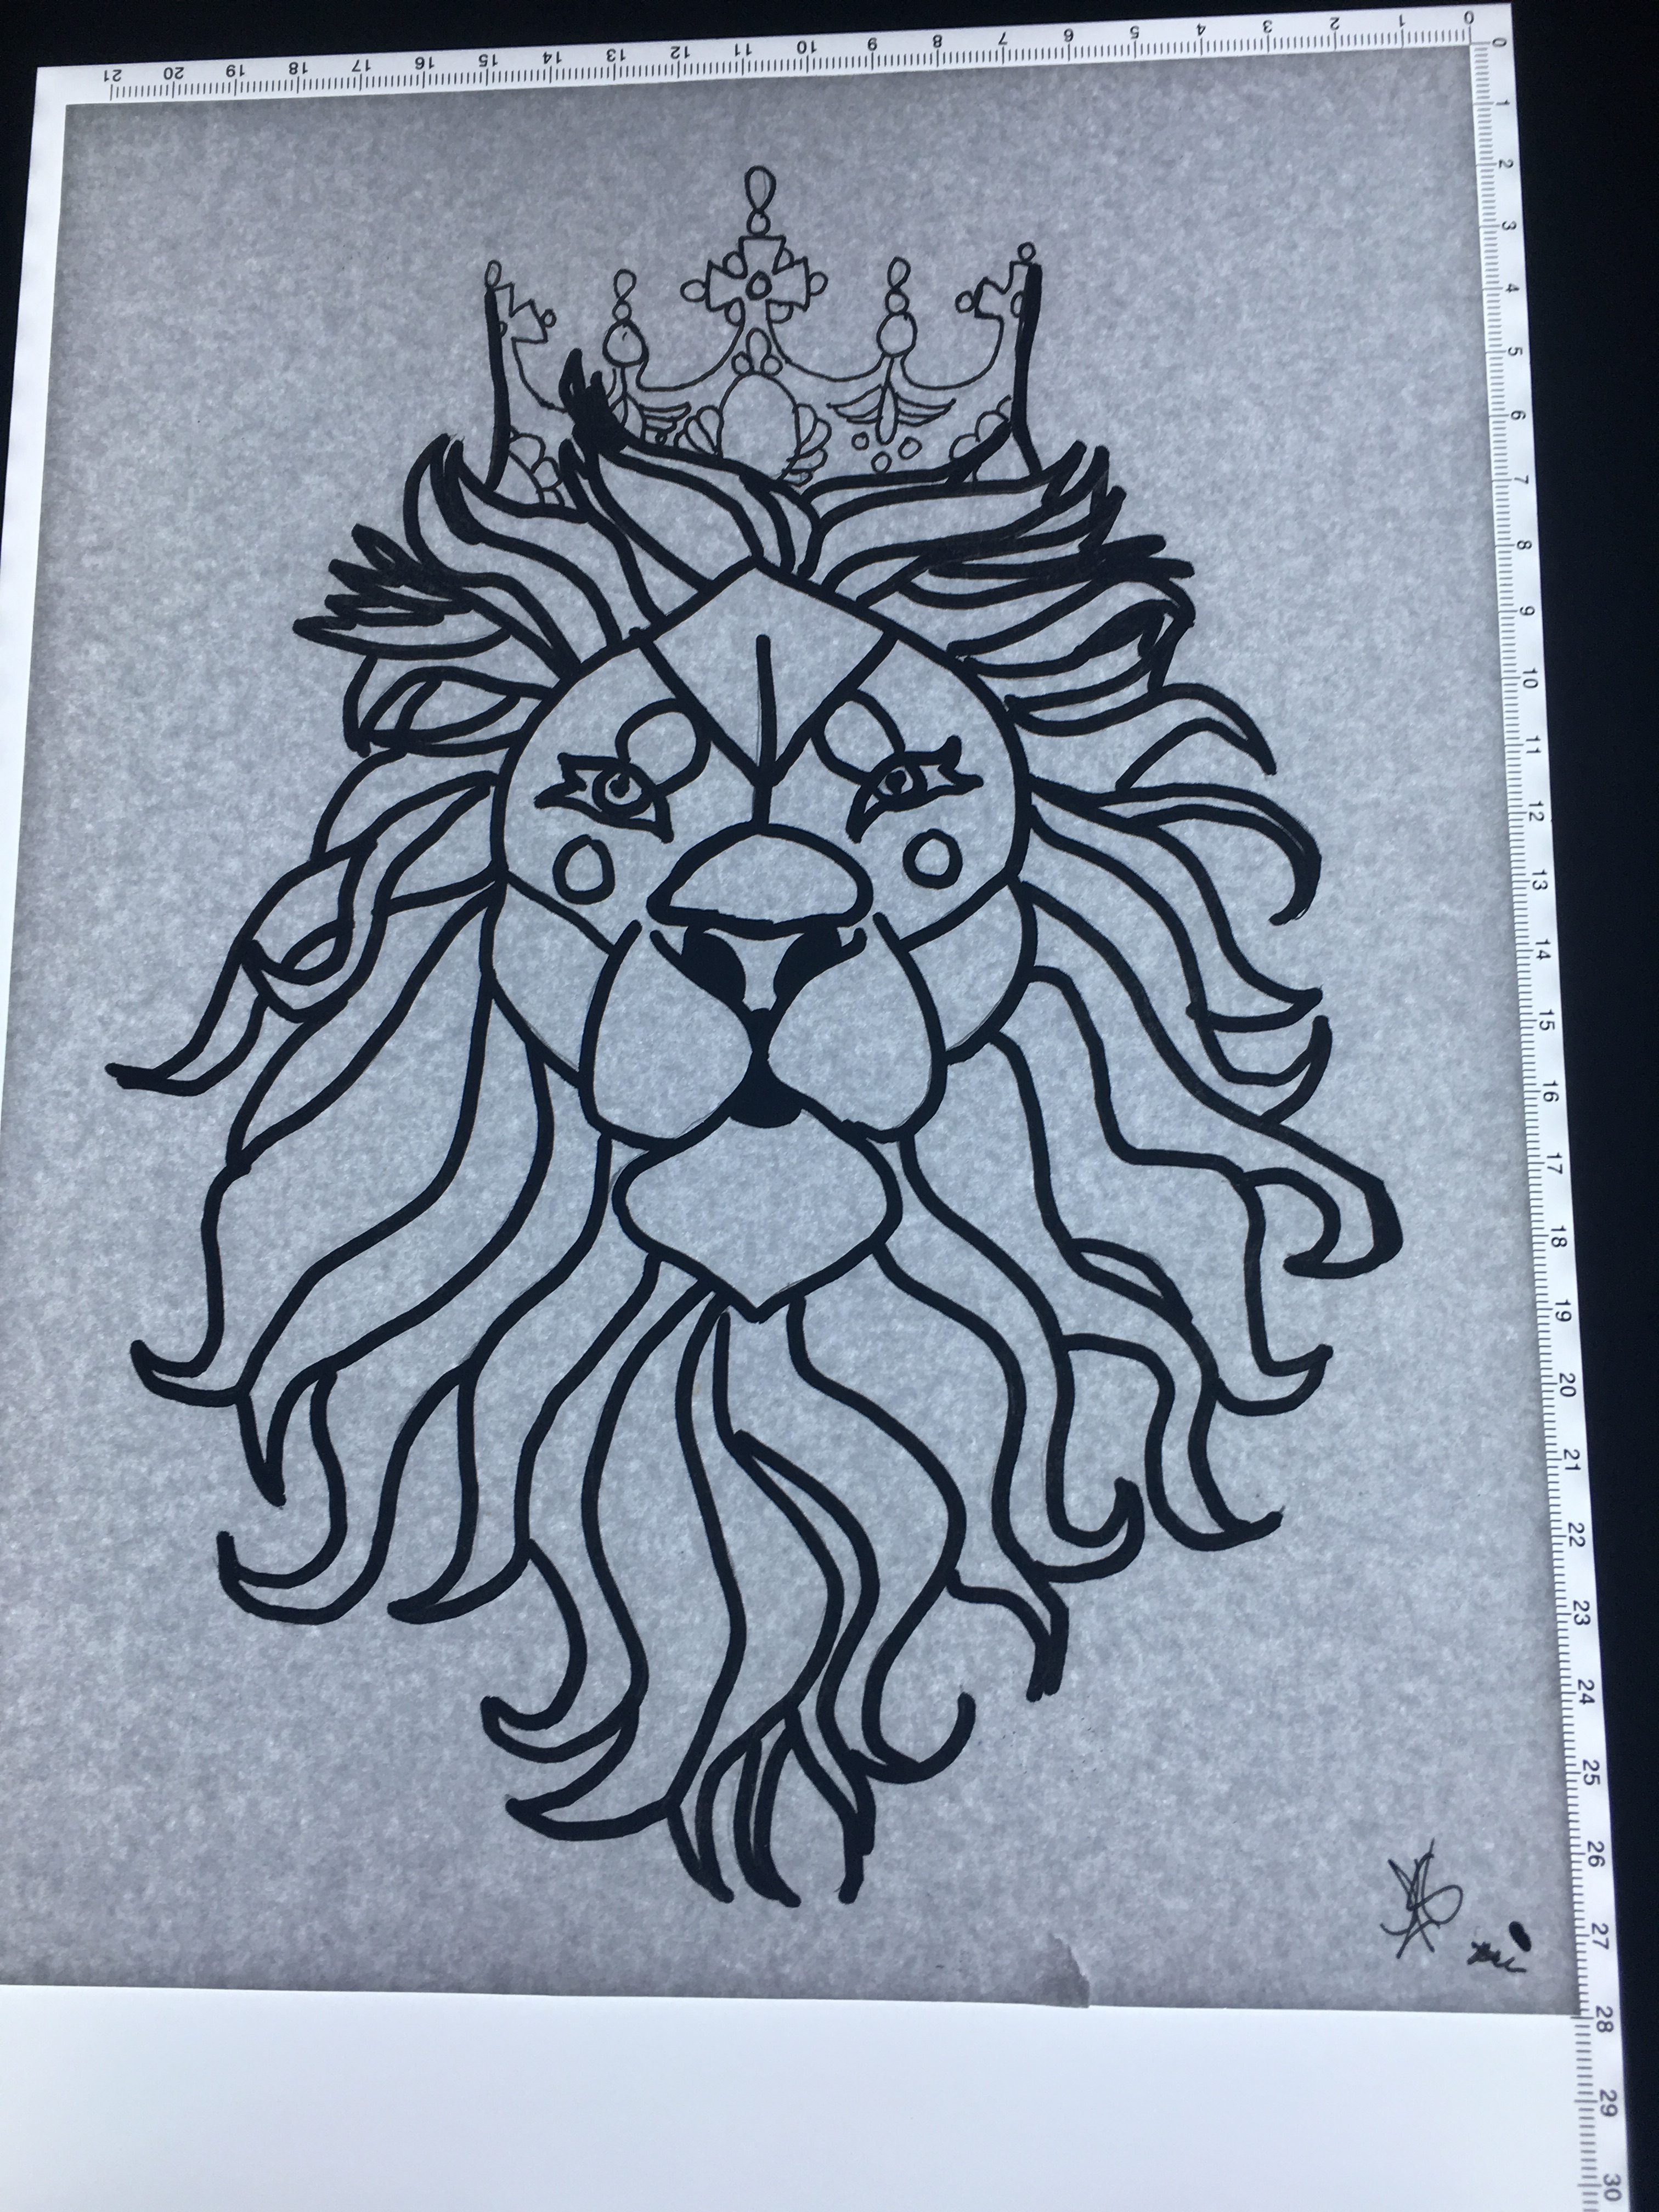
Taking the paper cut out and the drawing of the lion my mother drew for the project, we had them size it perfectly to the frame and had three copies made.
Getting the Magical Tracing paper
At Hobby Lobby, they have this white tracing paper that is truly magical. It is a bit like tissue paper with a waxy feeling coating on one side, so when you press down on it with a dotting tool the mark shows on the surface behind it. It easily wipes up, no worries.
Cutting down the Lion Copy to fit
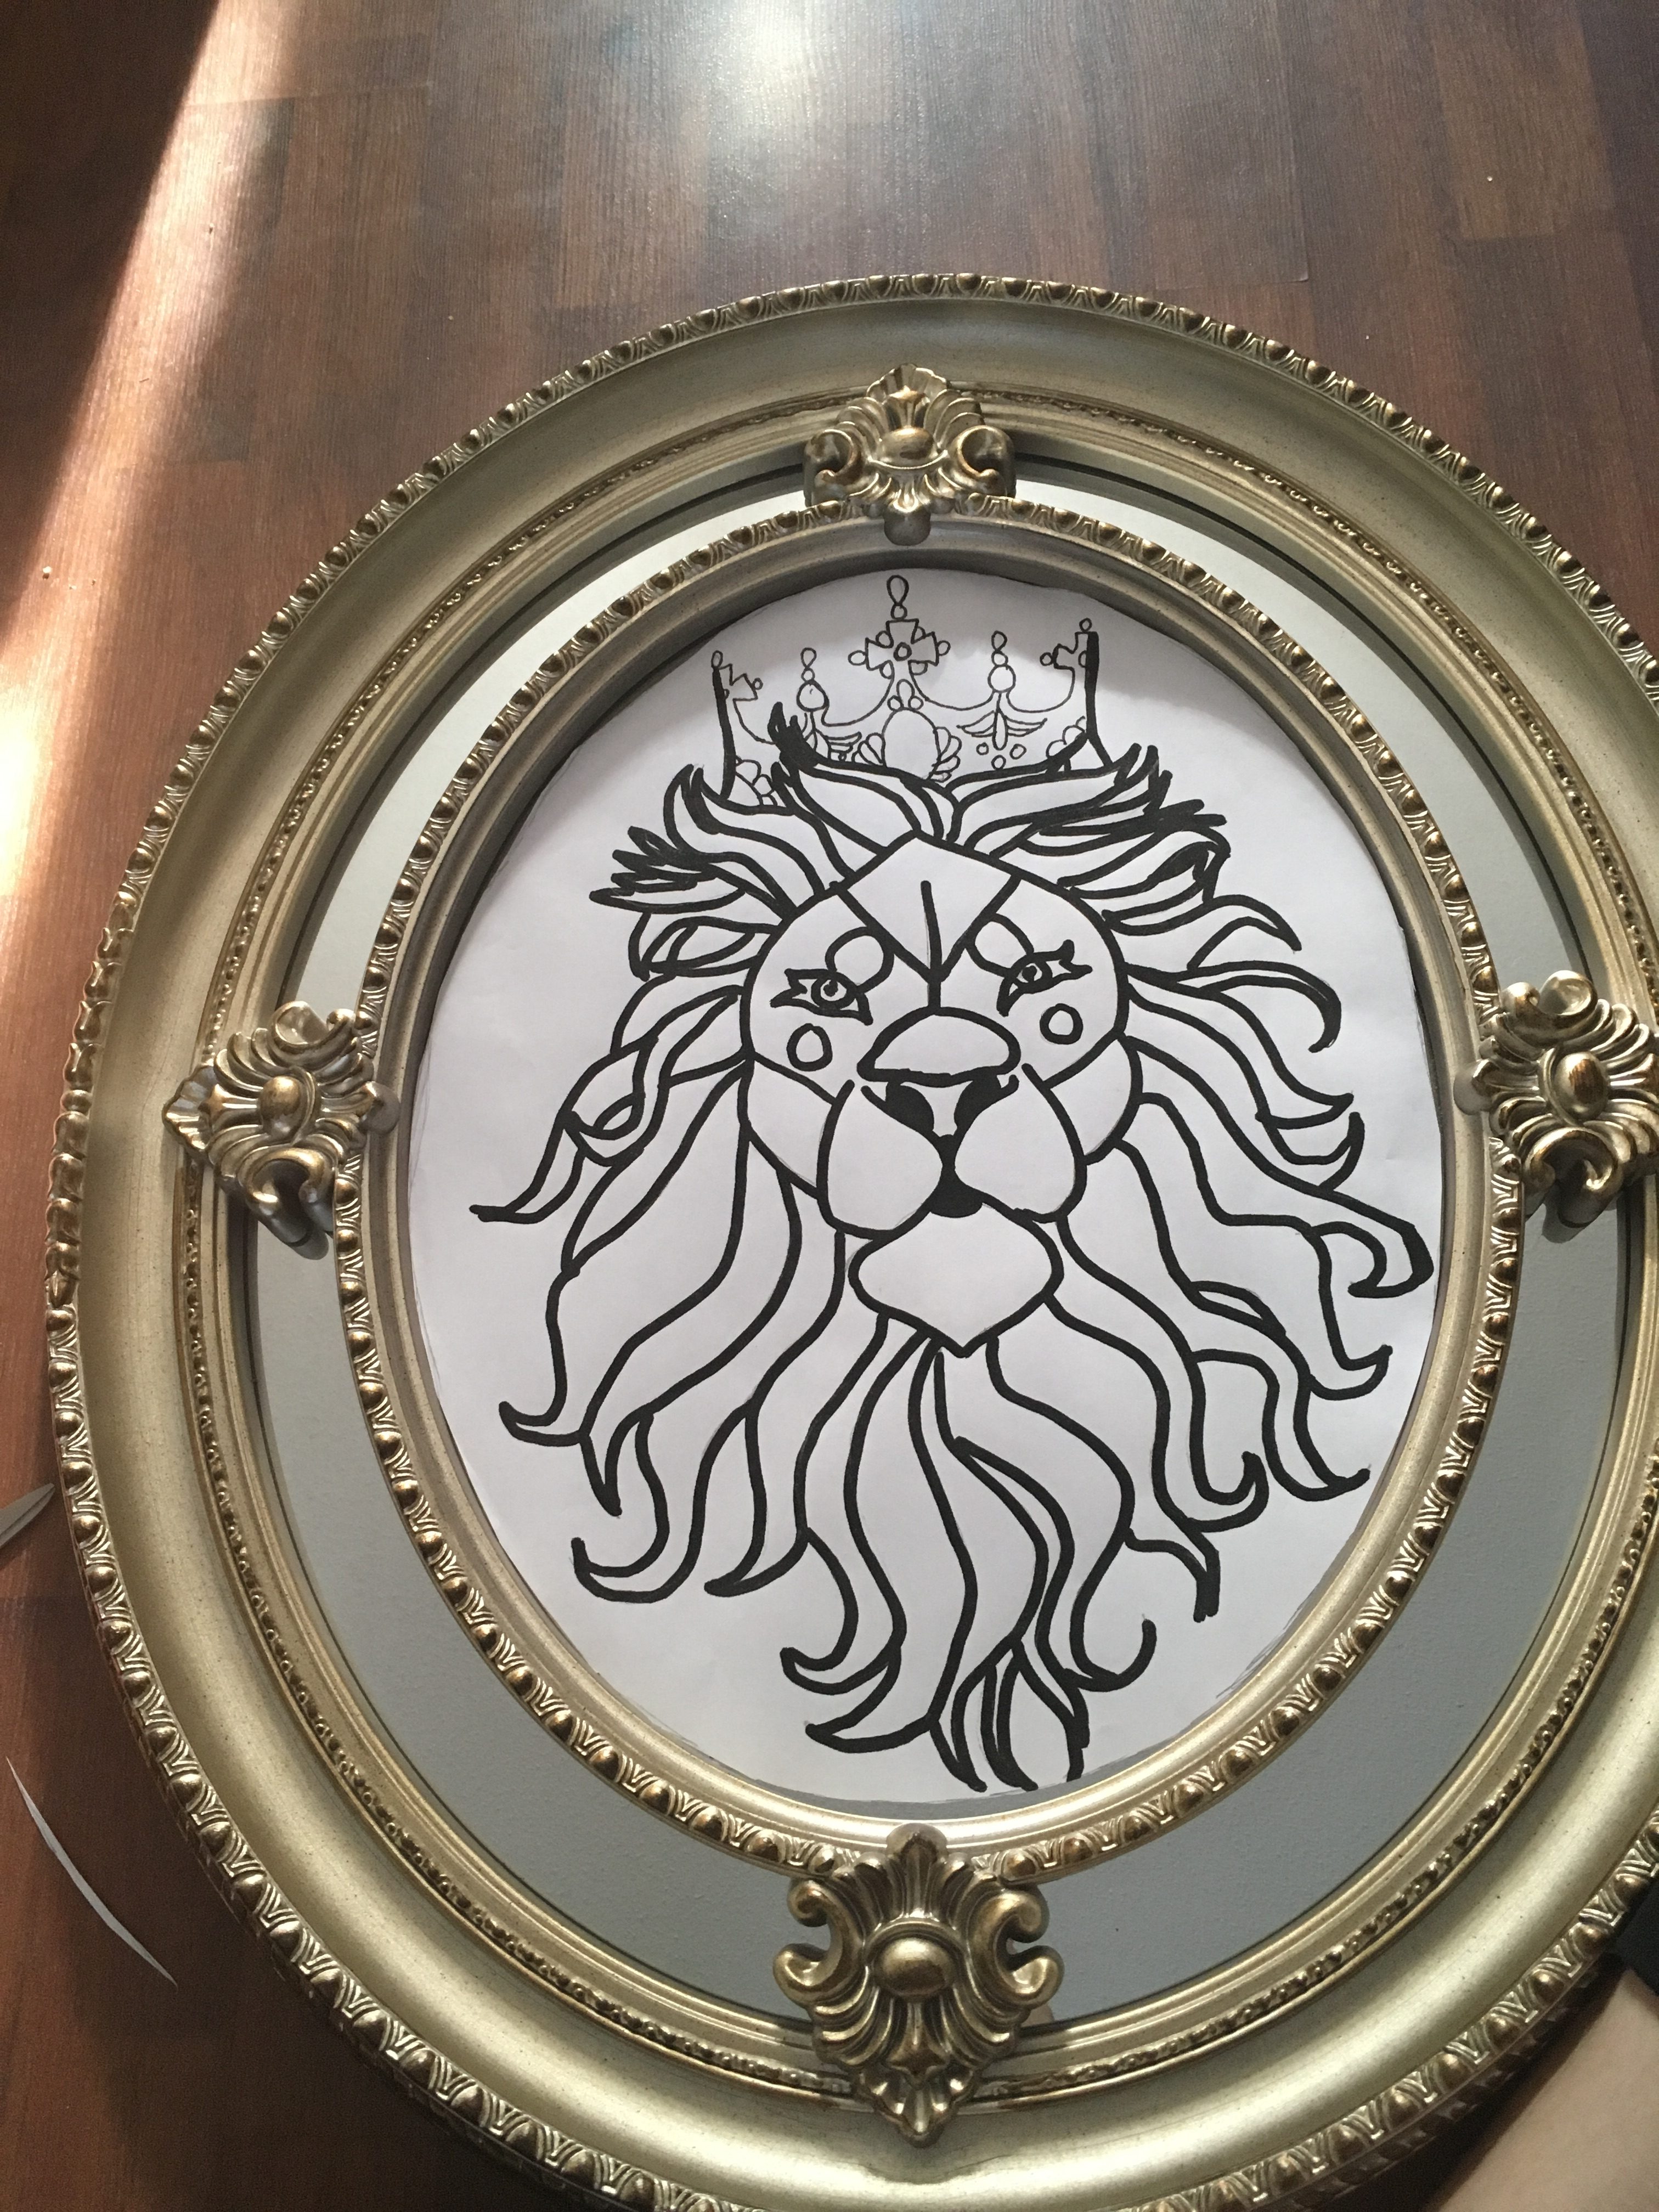
Using the cut out of the butcher paper, trace it onto one of the lions printed at Staples and cut it out so that it perfectly fits in the center of the frame. Line the crown up with the middle of the top of the oval.
Cutting the Tracing Paper to Fit
Trace and cut the tracing paper to fit as well, being careful to make sure not to get the white marks anywhere. It does not have to be perfect, just fit under all of the lion to trace.
Securing down to Trace onto the Glass
Using frog tape or painter’s tape, secure the tracing paper wax side down so it will rub as you work. Make sure you are on the correct side and the paper will not move in the slightest, as this can cause your outline to be damaged, Secure the cut out of the lion on top with more tape and very carefully.
Tracing with a Dotting Tool
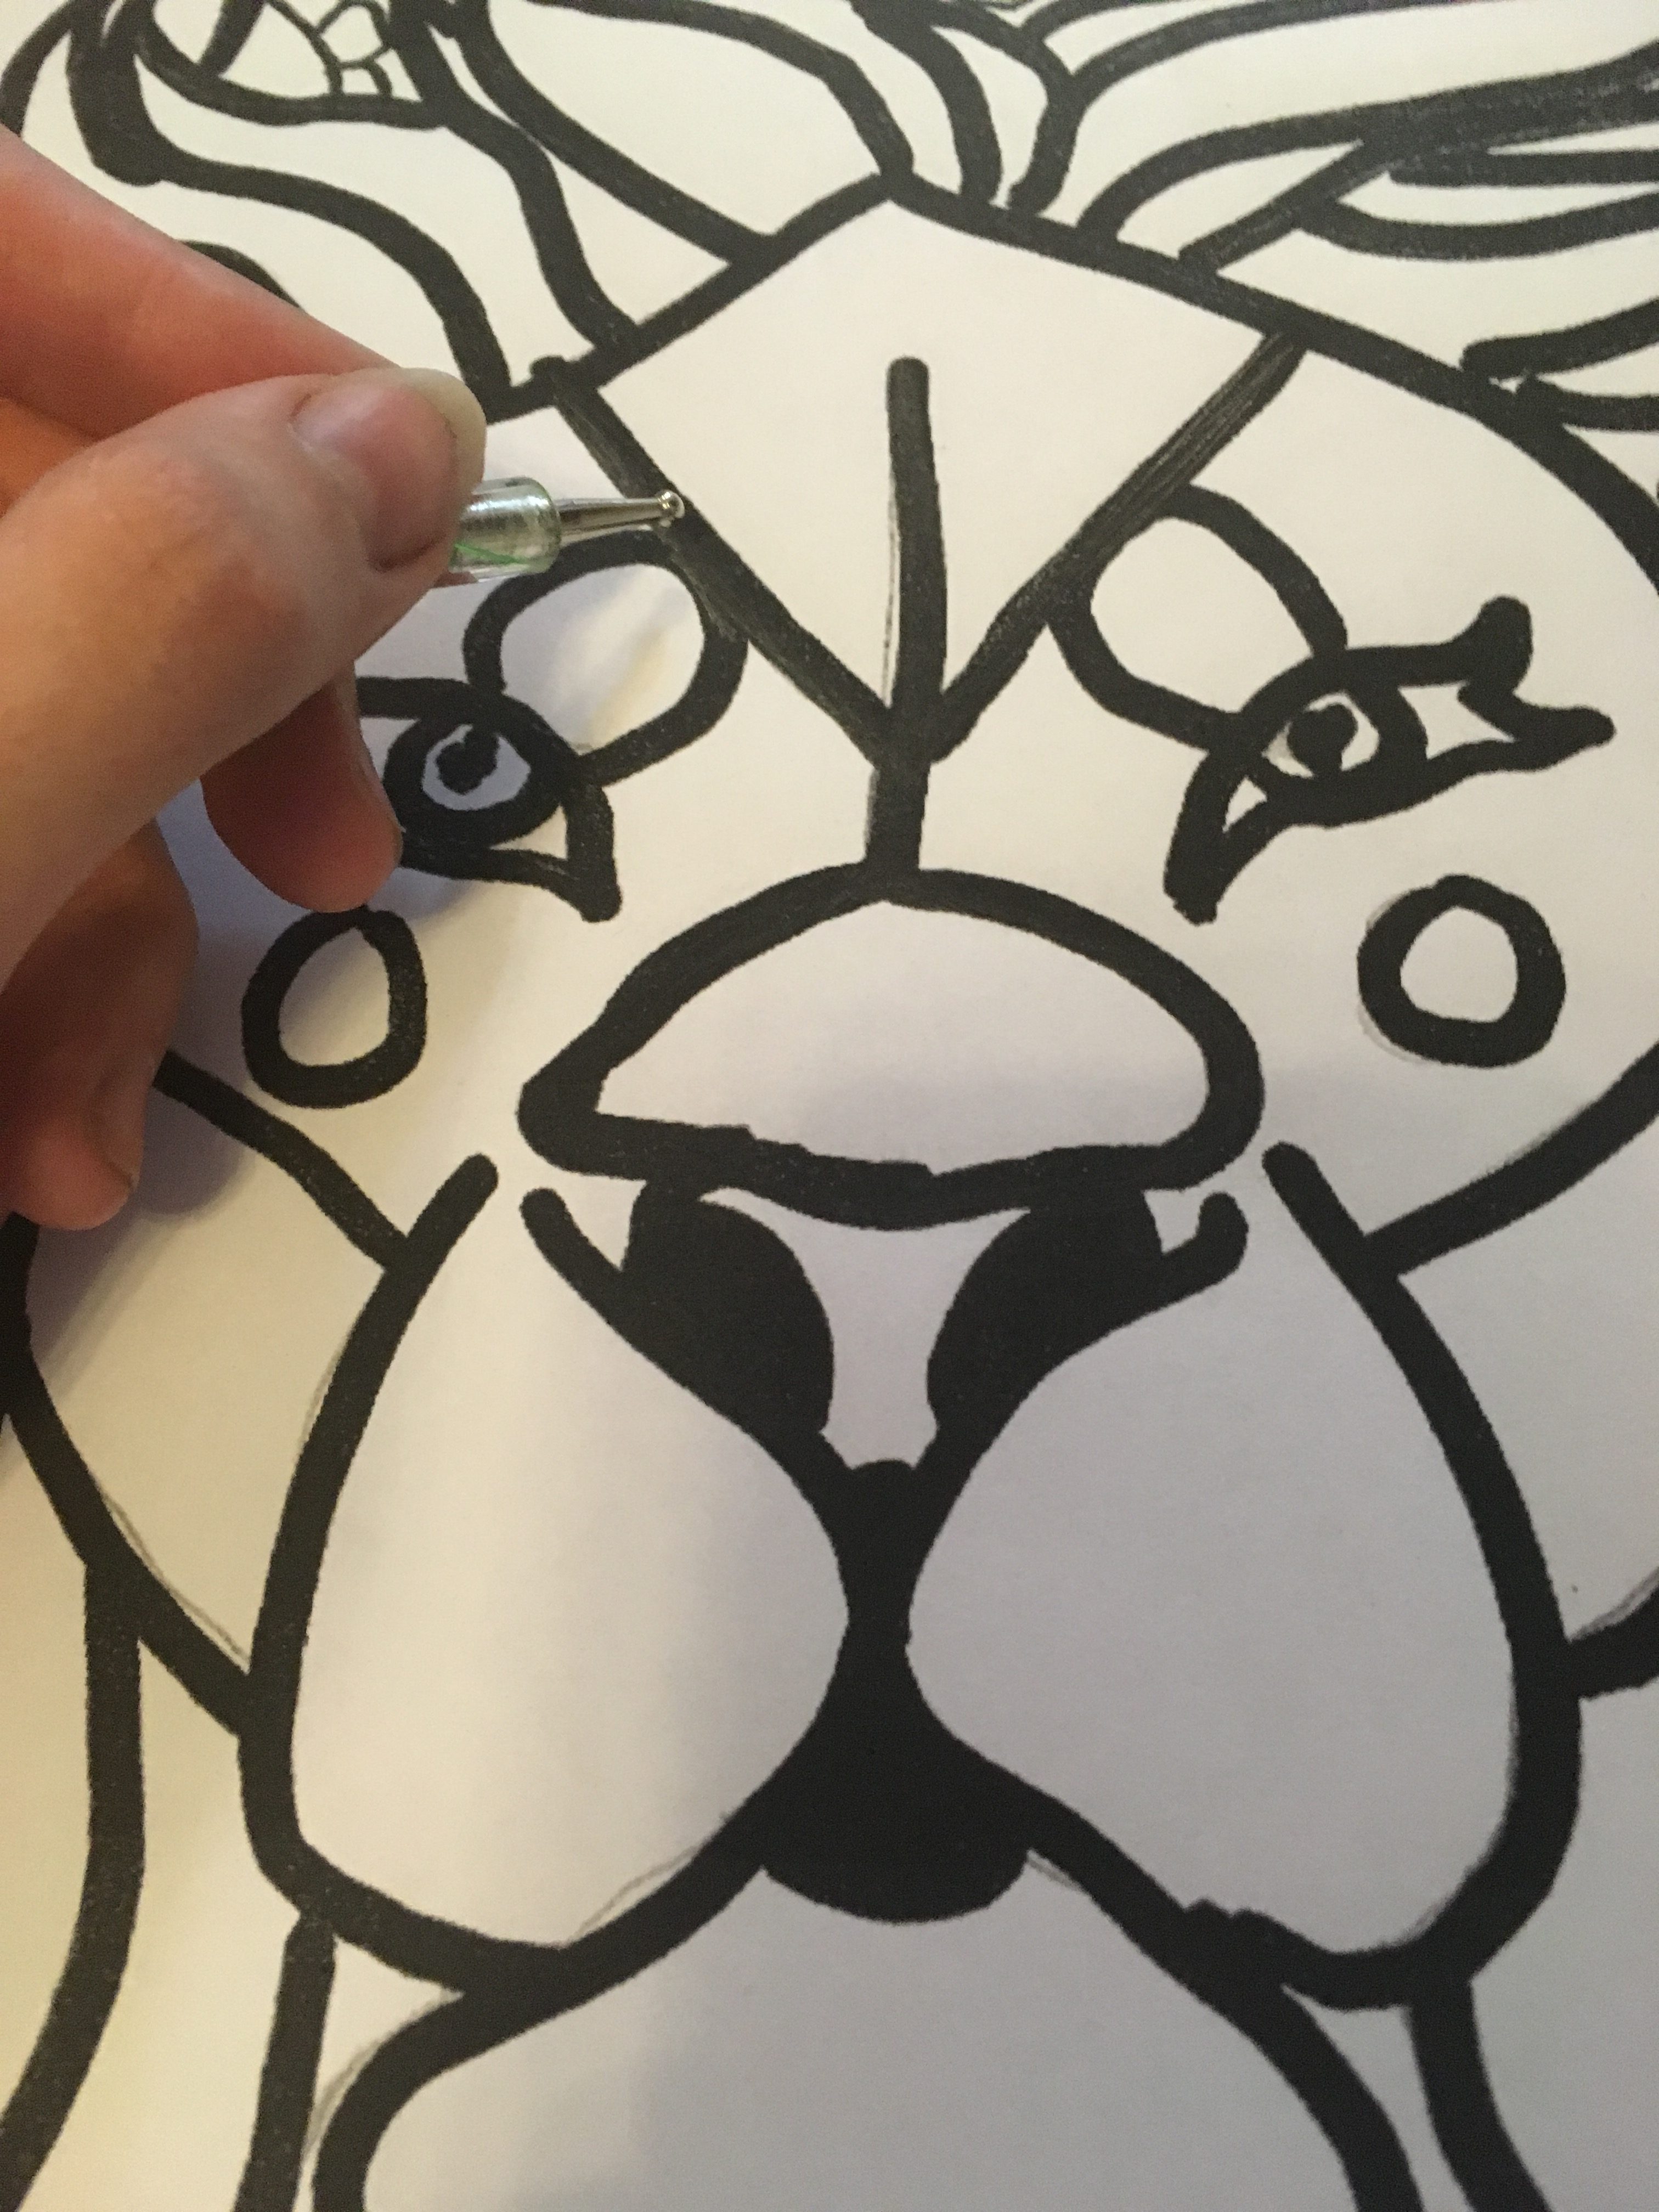
This part will take awhile, but use a dotting tool and scrub over all of your outlines. Do not color outside of the lines or you will not see your outline. This took me about two hours to fully imprint the lion on the glass.
Magic
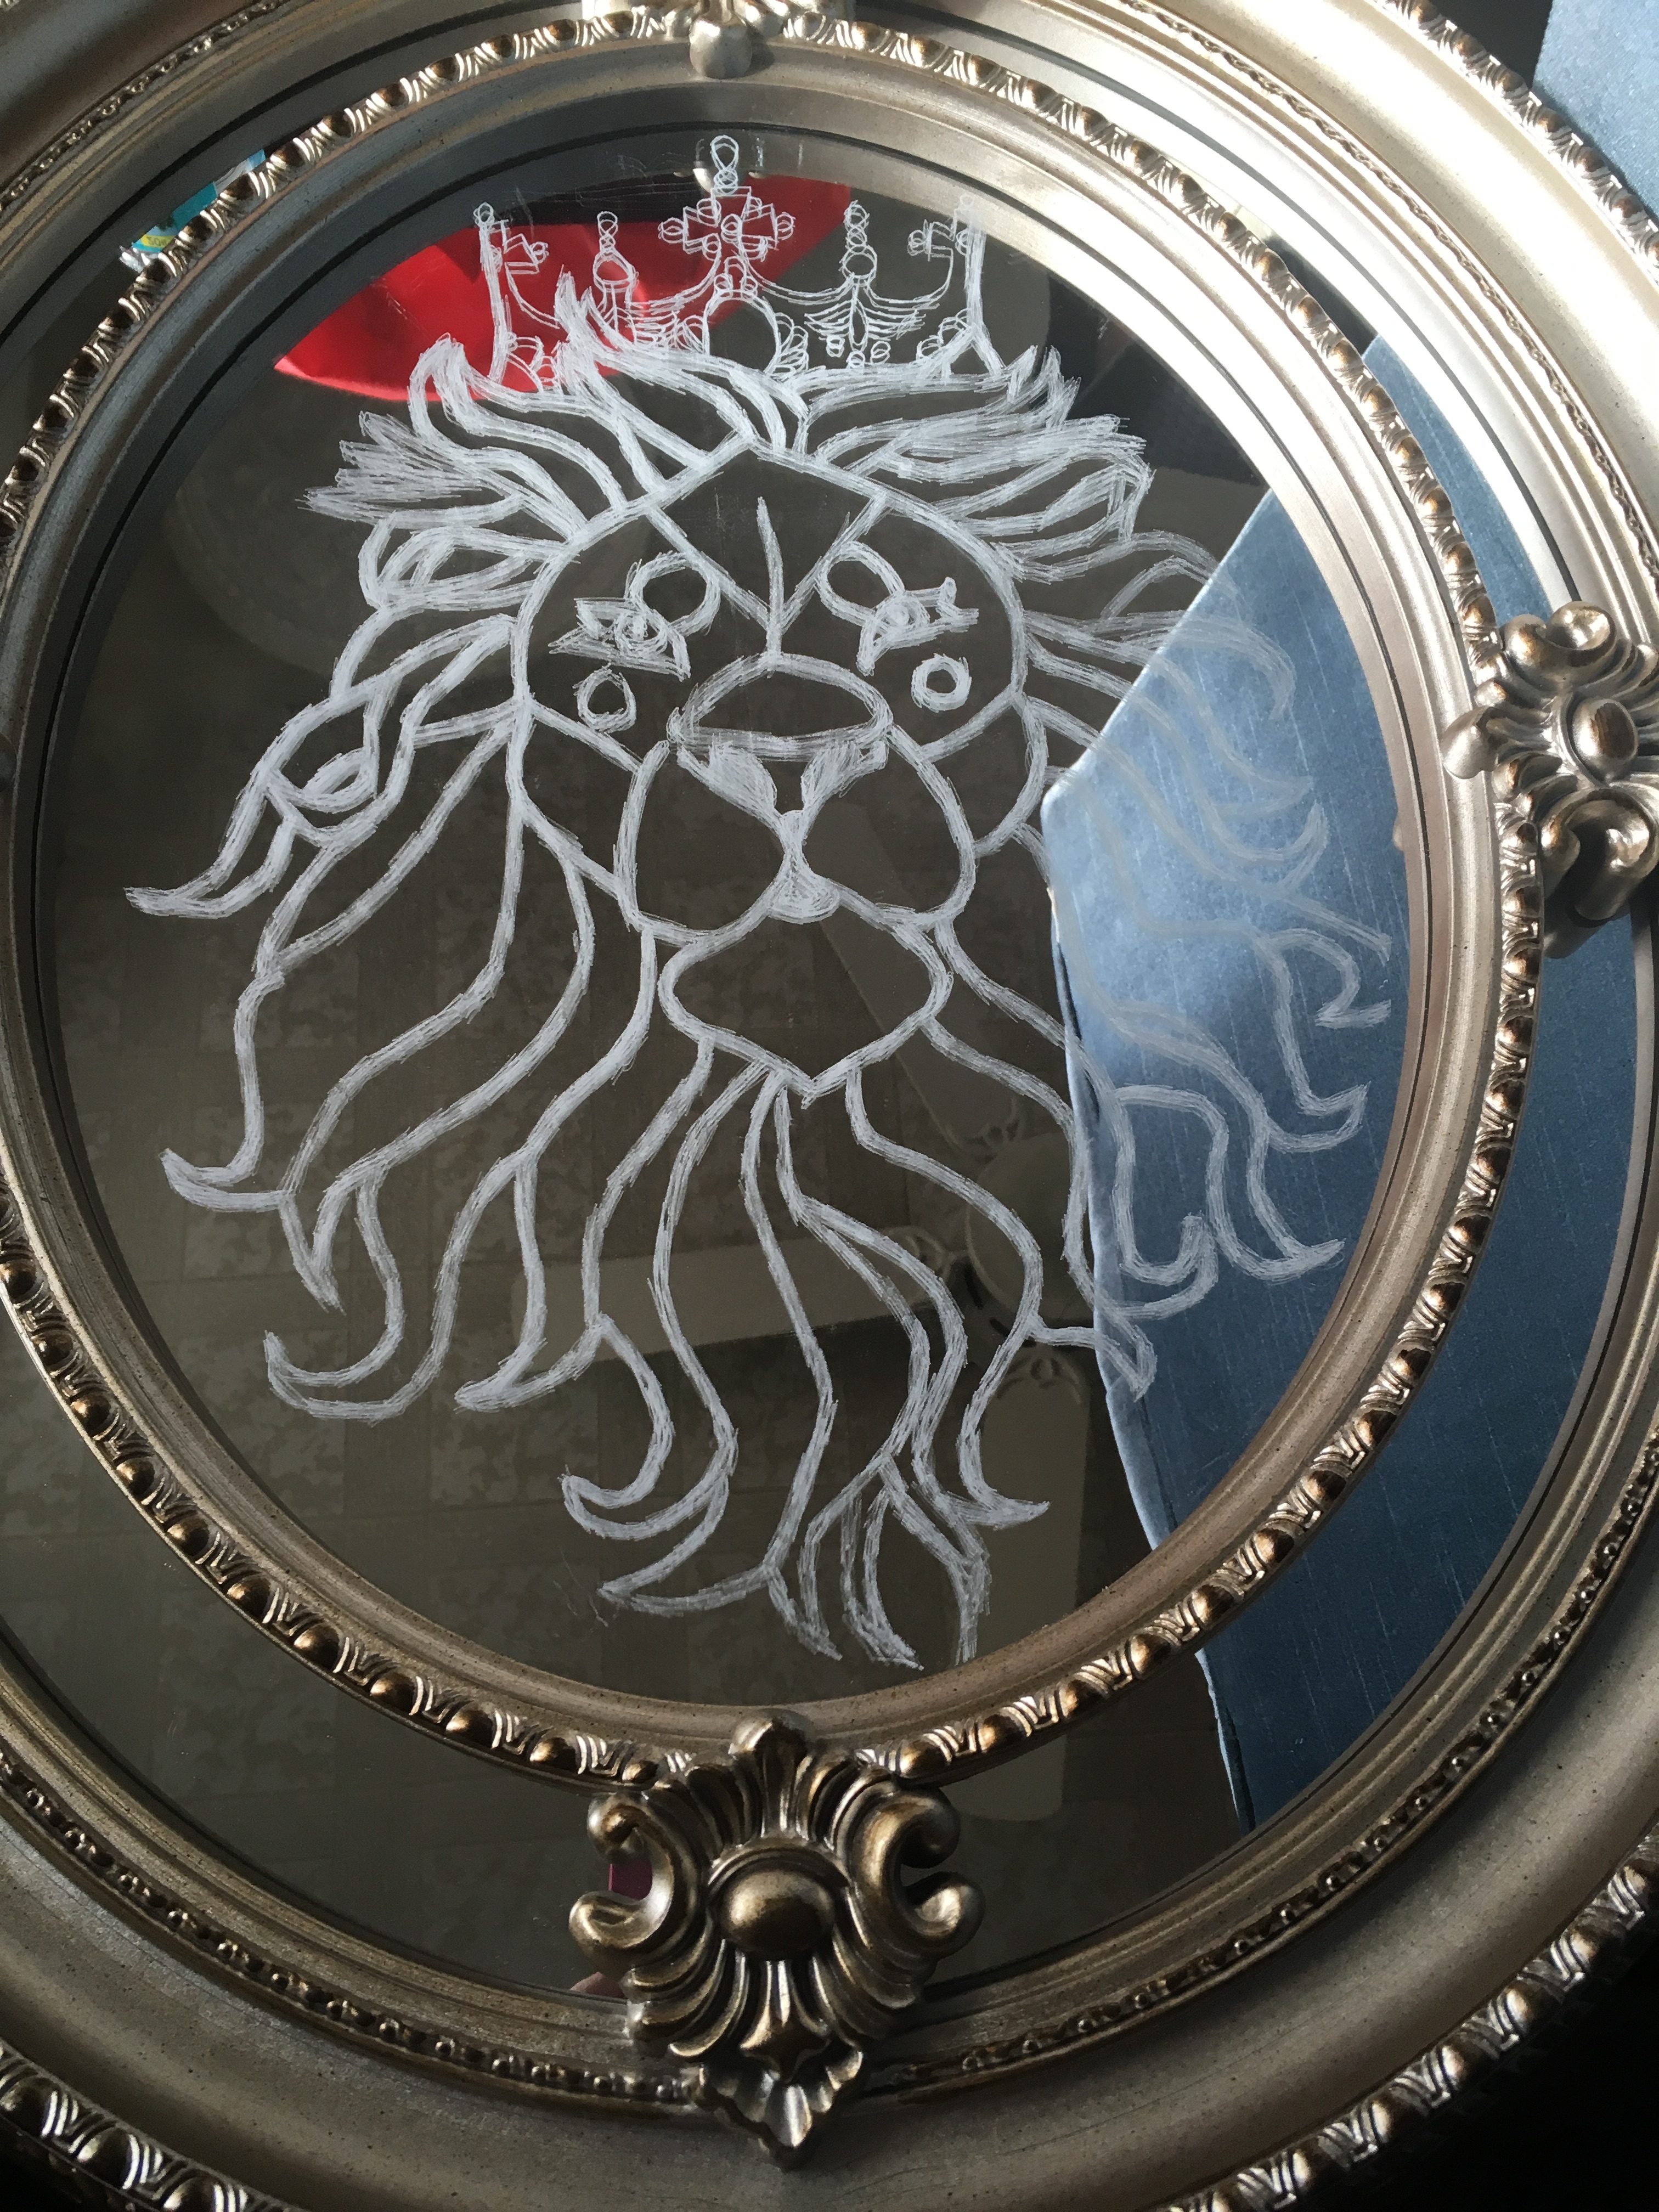
All of that hard work pays off in this step- pull the paper and tracing paper off carefully and ta-da! You have a perfectly copied lion on your glass to help you get those pieces just right.
Part 2: Coming Soon
Later this week we will start working on the actual glass part. Happy crafting.